News
Installed Philips Ultinon LED bulbs in my Volkswagen Polo
Well, I feel it sure is a good quality bulb, which delivers a fairly crisp light which is compliant to the Polo's Halogen housing.
BHPian fluidicjoy recently shared this with other enthusiasts.
This is actually quite an old update to the car and it marked the first headlight upgrade I tried with the stock Dual Barrel Halogen Headlights.

Headlights and Exterior Lighting Upgrade
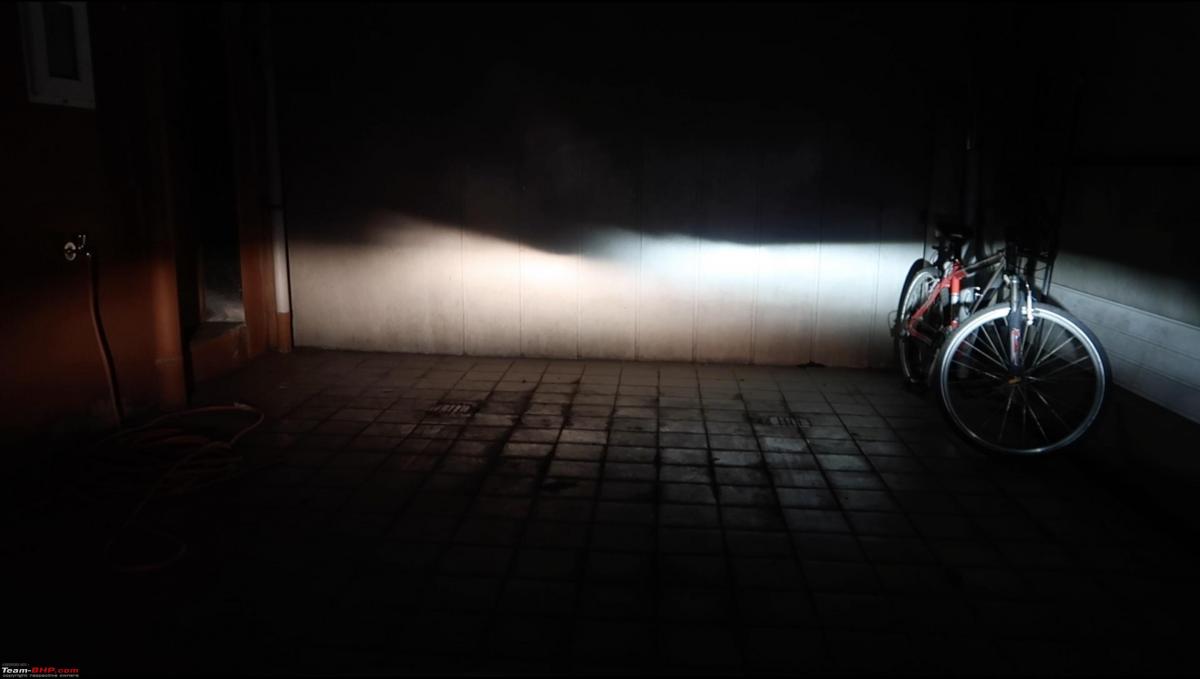
Since we’ve only had sunny days for the most part ever since I got this car, I haven’t had too many complaints about the headlights in general. However, I have been exploring ways to improve the lighting from the stock lights, but one thing is for sure, even in the stock configuration, I have found the Low Beam to be a lot more useful than the high beam. Here is a quick GIF featuring the Low and High Beam on the parking wall.

The most straightforward upgrade to the headlight bulbs on a Polo with a Dual H7 Halogen Headlight, is a better bulb. The stock bulb should have a good 4-5 year life, but it isn’t the brightest nor the best bulb available in the market. H7 bulbs by Osram and Philips sold in India are only marginally better than the stock bulb.
I found that the best H7 bulbs you can buy for your car are available on a site called Powerbulbs UK and it is here that I found quite a lot of good options like the Philips XtremeVision 150 and RacingVision 200. Both of these are Road Legal and quite better compared to the stock bulb. The pros of both of these options is an ever so slightly whiter light and improved visibility.
These are way better models than the XtremeVision Philips sells here. They however have two major cons in my opinion. The rated lifetime of both of these bulbs would only be 2 to 3 years at best assuming a mere 30 minutes of night driving daily. And the other aspect is naturally the price. So replacing bulbs every 2-3 years is something not most users would be happy about considering the expense of these as well as they’d end up at about 40-45GBP a pair. So considering all of these factors, I decided to explore another not so popular option amongst the purists as a small experiment to see the result for myself.
Trying LED bulbs in a halogen housing
I know this response can have immediate polarising responses. True to that, I have seen cheap LED bulbs fitted incorrectly and causing a mayhem in a reflector housing. I’ve sworn at people with low beams which cause a glare when I’ve been walking or driving across such cars and I knew I did not want to be such a driver.
However, I respect an automotive brand like Philips for continuing to engineer and explore LED retrofit bulbs which they advertise so strongly to gel well with reflector housing and I really wanted to try their supposedly finest engineered LED bulb available in the market and see for myself, if I could attain a good lighting pattern and so I decided to purchase the Philips Ultinon Pro 9000 LED, by Philips LumiLEDs.

I have made an attempt to simulate quite a lot of lighting and glare tests on this headlight before continuing to use these, and the end result beam pattern wise has been flawless.
Purchase Experience
I purchased these bulbs and a few other interior LEDs from PowerBulbs and I found a few coupons with a 40% off which I applied on my purchase. The site itself is always giving out fair discounts, so do keep an eye on that if you’re looking for an upgrade. The shipping on most orders about 50GBP should be free, but we do need to account for the custom duty since this is coming all the way from UK, and it naturally is not going to be undervalued.
I had to pay 6000 rupees worth of duty for the entire package, which translated to 45% of the invoice value. This nearly made me cry, since I was scrambling for paper money in what has been a digital lockdown.
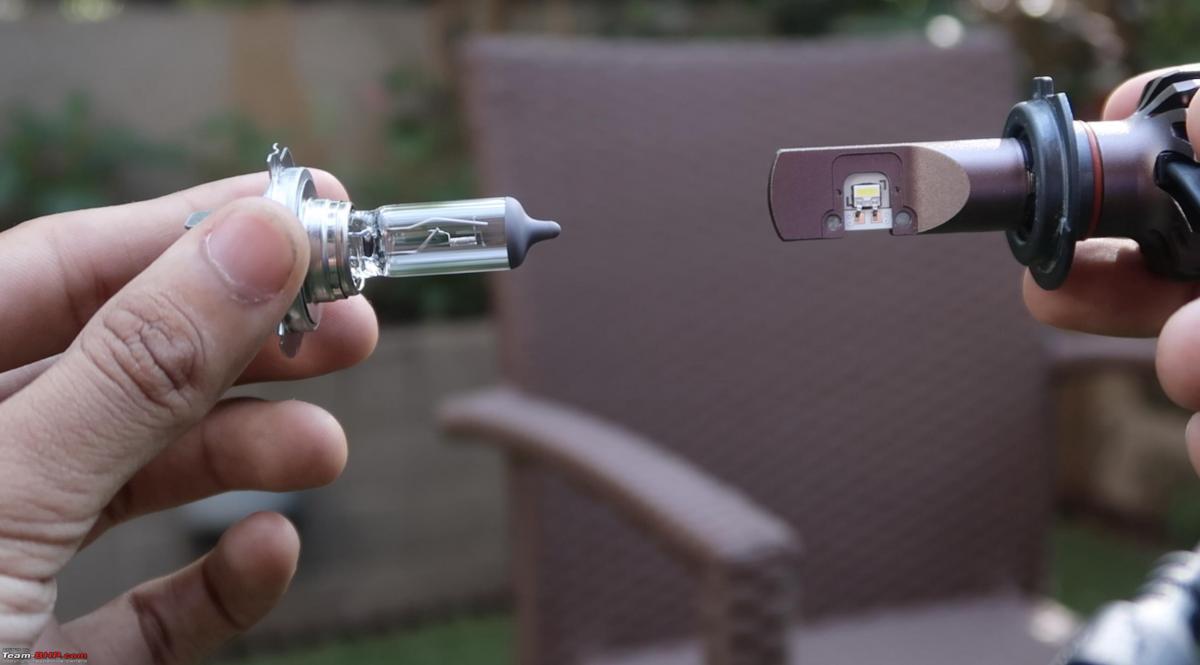
Bulb Design and Characteristics
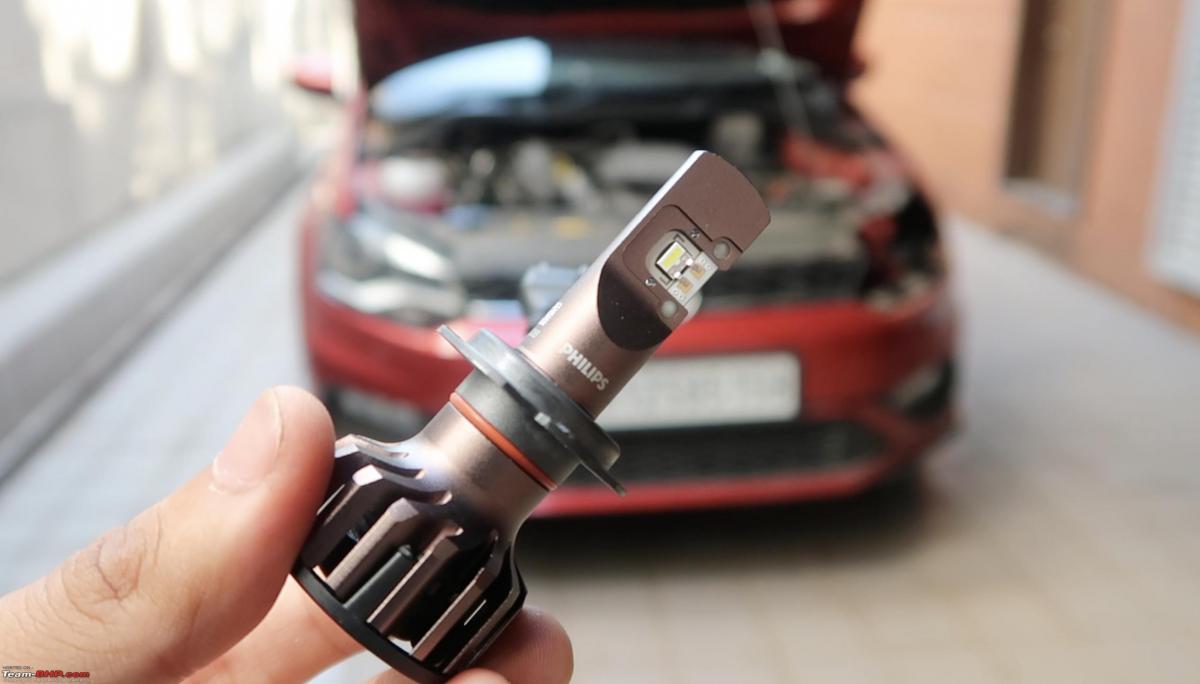
Now there’s a lot of good things about this Ultinon Pro 9000 LED Bulb. Firstly, it has a top contact LED chip. It features an integrated fan and an aluminium body for good thermal dissipation, and all of this in an assembly which doesn’t stick out or need modification of the headlight weather boot. It has a rated colour temperature of 5800K but I honestly found it to be practically white light. Philips claims a 5000 hours life and is also offering a 2+3 year warranty. However, I must share that in the Europe, these are not classified as Road Legal Bulbs, since LED Bulbs continue to be illegal when placed in Reflector housings and they’re only recommended at best for Off-Road use.
Another USP of the Ultinon Pro 9000 is the in-built CANBUS compliance, but this isn't a concern for the India spec Polo, since headlights are not BCM controlled and only the Fog-lights are BCM driven.
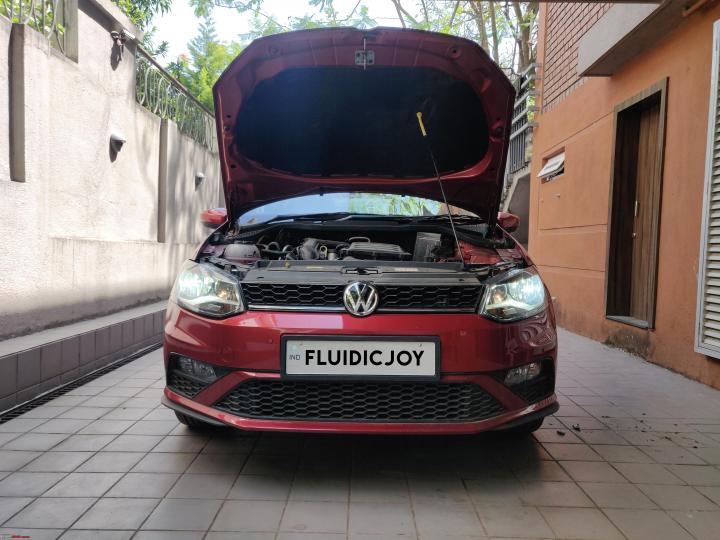
First Attempt To Install
I took the headlights out and was expecting them to be a straight fit, but it was then that I realised I'd need a small ring connector to get it to perfectly fit and align it along the stock halogen filament.
Philips India had listed a few ring connectors on their site, but as per Philips UK, I’d have needed a P Type Connector, which even they had no clue about. Since then, I raised multiple queries with local and international Philips
Retrofit LED teams for procuring the LED Connector Rings.
Roadblocks
The H7 Ultinon Pro 9000 documentation said it would not need any LED Headlight adapters for working on the Polo H7 housing, but on taking the headlight out, I realised this was far from true. In fact, Philips was right about not needing any external fixtures, but only for European Polo 6Rs with a European Halogen Bulb fixture.
Volkswagen India is using a modified adapter for their H7 Bulbs, which is not the case for its other H7 offerings globally. The stock Halogen Connector ring will not let the Headlight Bulb pass through, even after unscrewing So, I started looking for what Philips was advertising as an LED Ring Connector. They offer a Type B and a Type C and the European Philips LumiLED Customer Care executive told me to procure one of those for installing it in the vehicle.
Philips India had also listed these ring connectors, and I tried procuring them, but to no avail. I raised a query with LumiLED India and got in touch with two senior executives where I voiced my concerns about installing my bulb, but they too could not source an adapter for me.
They were firstly curious about the very bulb I was using, since it was not yet available in India. And secondly, they were wondering how their other customers had been installing the Philips LED Headlights since they admitted it was highly improbable to achieve their engineered beam pattern without a proper headlight connector which allowed alignment inside the Bulb Holder. They tried to help me with a pair of Headlight connectors and said they had assigned teams in China and Europe to expedite a pair. After a month, I heard that they had no luck from their international teams about these headlight connectors. Now we come to the irony.
I independently managed to source 4 headlight ring connectors from China within a week. So moving ahead, the rings were finally here and I hit another bump. The rings that were supposed to work with these bulbs, were specifically not compatible with the Ultinon Pro 9000.
Now, this made me really angry since there was no reference on Philips Europe, Philips UK or anywhere that this ring is just not made for the Ultinon Pro 9000. For someone paying over 120GBP on a pair of bulbs, I expected a more reliable installation and product knowhow.
I was back to square one when it came to the installation of these bulbs, and finally, I took the decision to salvage a pair of my connector rings and convert them to a workable Retrofit ring and it finally worked out!
List of Instructions To Install Them The Right Way
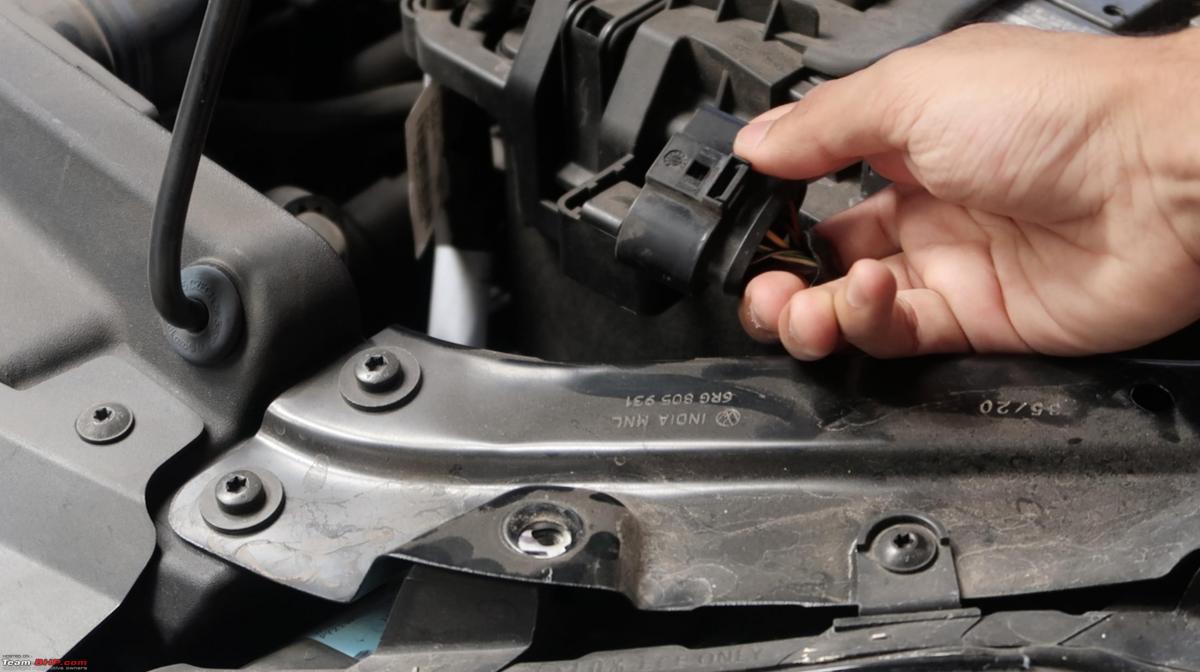
1. Take the headlight assembly out of the car by unscrewing 2 T30 screws.
2. Release the T10 Headlight Connector.
3. Take the dust cap off.
4. Slightly loosen the Headlight Connector ring held by Torx Screws.
5. Pull the old bulb out and then release the headlight connector ring.
6. Prepare the Ultinon Pro 9000 by aligning it to an LED adapter ring, and mount the bulb.
7. Reconnect the LED power adapter to the headlight connector. (2 Wire terminal goes to Negative).
8. Put everything back.
9. Check headlight cut-off and alignment, by following markings and tutorials, from about 25 feet (as per a few references.)
Most of these installation steps have been covered in my video linked below, but I'll add a few pictures along with the key points.


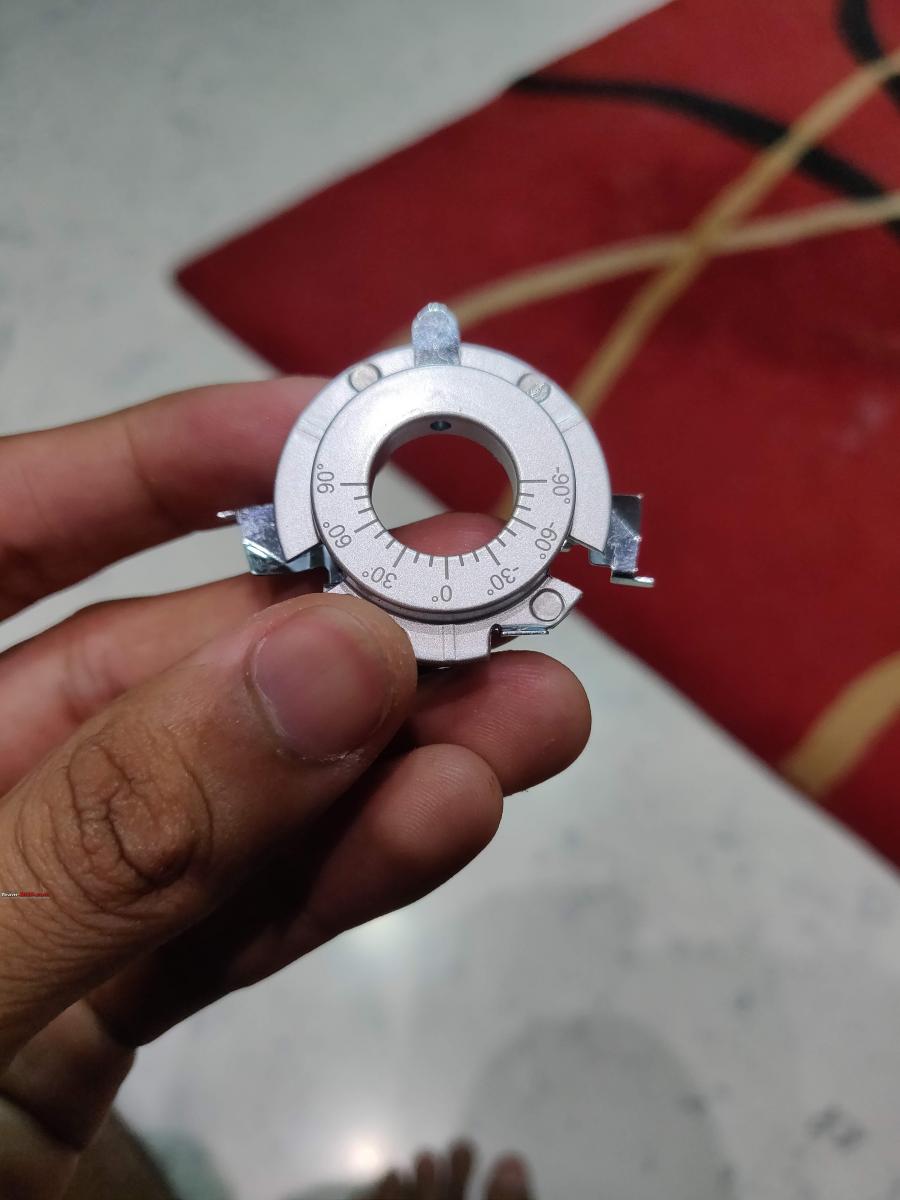
Getting The Best Beam Pattern Possible
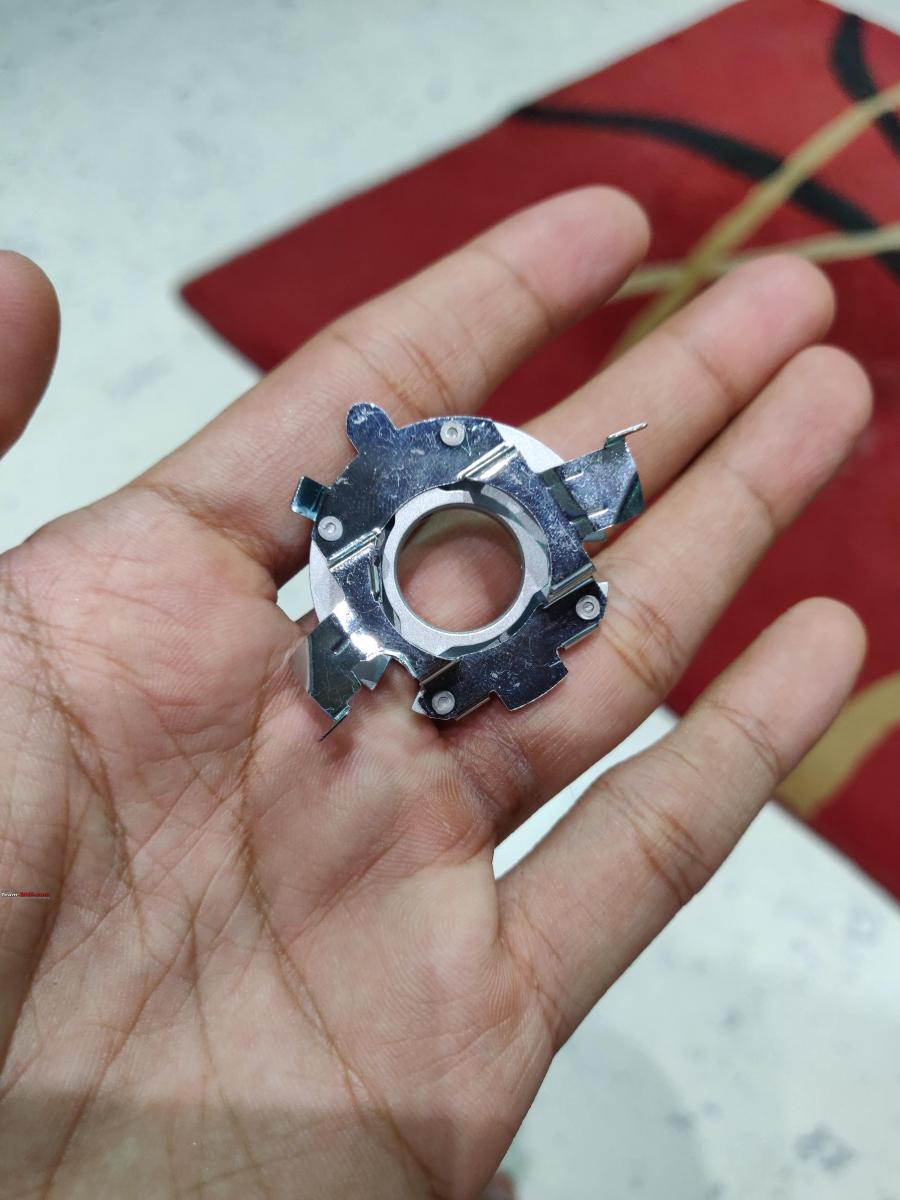
To get the sharpest beam pattern possible in a reflector, the LED bulb to be used should have a filament orientation and design which sits along the original orientation of the best.
As you can see, there is a small stem at the bottom of both rings. This stem should match during the final fitment and tightening. If there is some play, or if this is installed inverted, you will get a glare and a scattered beam, which is neither useful to you nor pleasing to pedestrians. The stem should be aligned along the natural direction of the reflector bowl, marking with this small line. This feedback was received from executives at Philips and from a few popular Automotive channels who specialise in Automotive bulbs and I'll like them below.


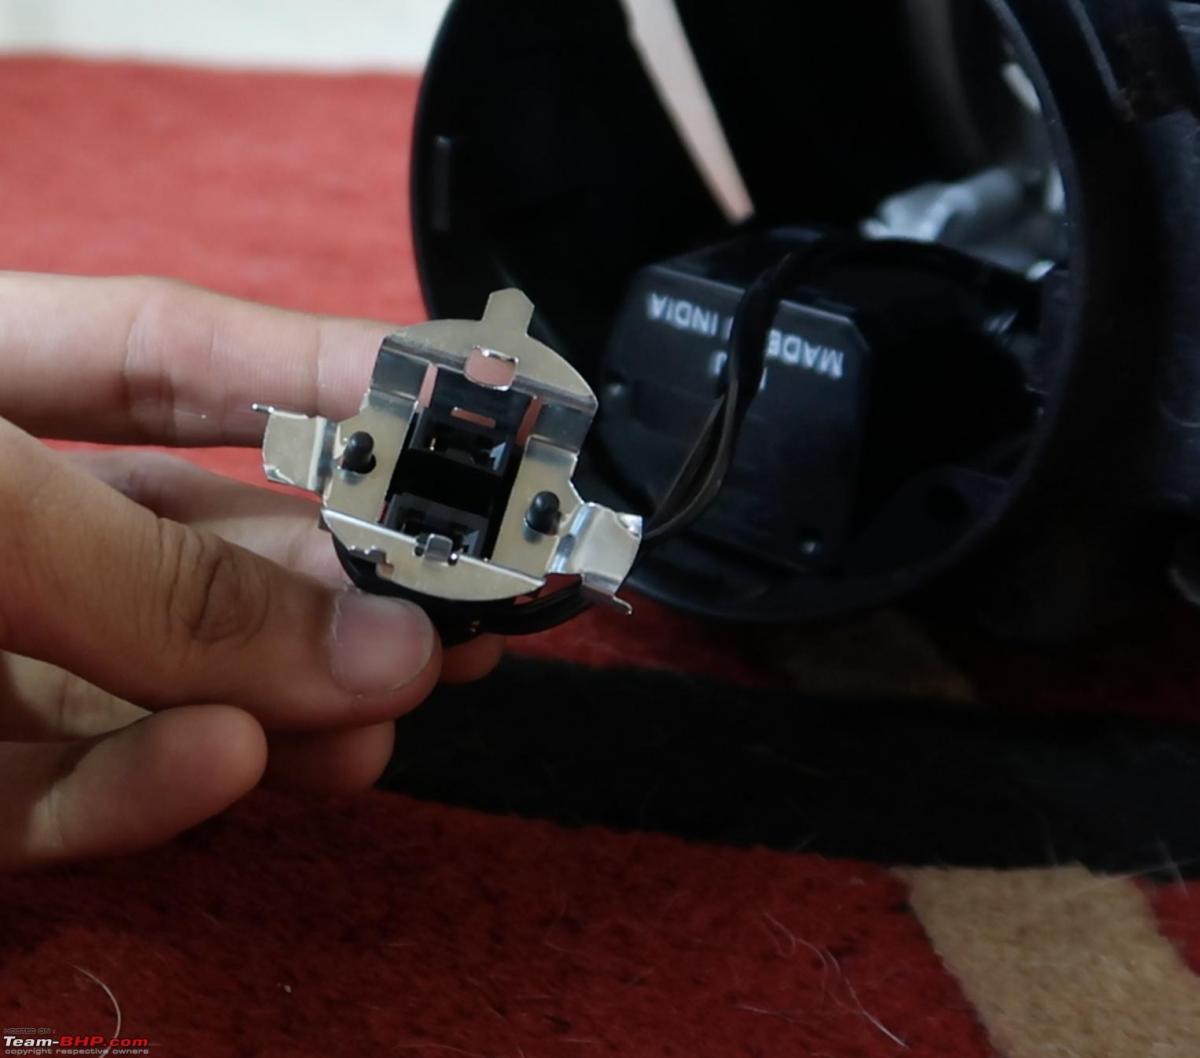
The bulb connector connects to the 2 pin socket on the stock headlight. The pin with one wire joined to it is the positive terminal on the LED.

Testing And Glare Disclaimer
I’ve tested these bulbs thoroughly in quite a few scenarios, and during my testing I did not find these to cause a glare to other passengers and drivers, once they were perfectly aligned. Now sometimes on camera, even a proper genuine headlight assembly can appear to cause a glare from a particular set of angles, but once these were properly aligned, they exhibited a fairly sharp and controlled cut-off.
What’s The Performance Like?
It is my belief that a video is not really the best metric to judge a headlights performance since the camera and the image sensor and processing greatly alter the perceived brightness, but I’ve tried my best to downplay the camera settings to give you a fair idea of the lighting experience with these bulbs. The beam pattern is close to the Stock Halogen in crispness, but still not as perfect, but that's still pretty good for an assembly originally designed for a halogen bulb.

Coming to the luminous performance, I wasn’t able to run any Luminous Flux tests, but I feel there is a notable improvement in the visibility, compared to the Halogen Bulb in dry driving scenarios. The beam colour is rated around 5800K, but it is definitely on the cooler side, and as I was expecting, these did not do the best in moderate to heavy rains. Since I premeditated this, I kept the High Beam stock Halogens as a failsafe mechanism.
Philips makes a lot of bold claims about the performance and claims upto 250% more light. I would love to see how they try to make such claims, since it's definitely not that huge of an improvement.
After beam alignment, I noticed the headlights were not causing any glare to on-going cars and pedestrians. If you have a look at some of the driving sample footage or even experience this bulb yourself, you’ll notice the low beam cutting in below the window-line of most parked and on-coming vehicles. No pedestrian was reacting adversely to the incoming car since the light was cutting sharply below the waistlines of most average height pedestrians. Here's a picture in a dark parking lot to see the cut-off line.


I wanted to test this aspect thoroughly since I absolutely hate the LED Retrofit that my neighbour’s GT TSI has, and the beams cause a terrible glare that makes me swear. Wow that even rhymes!
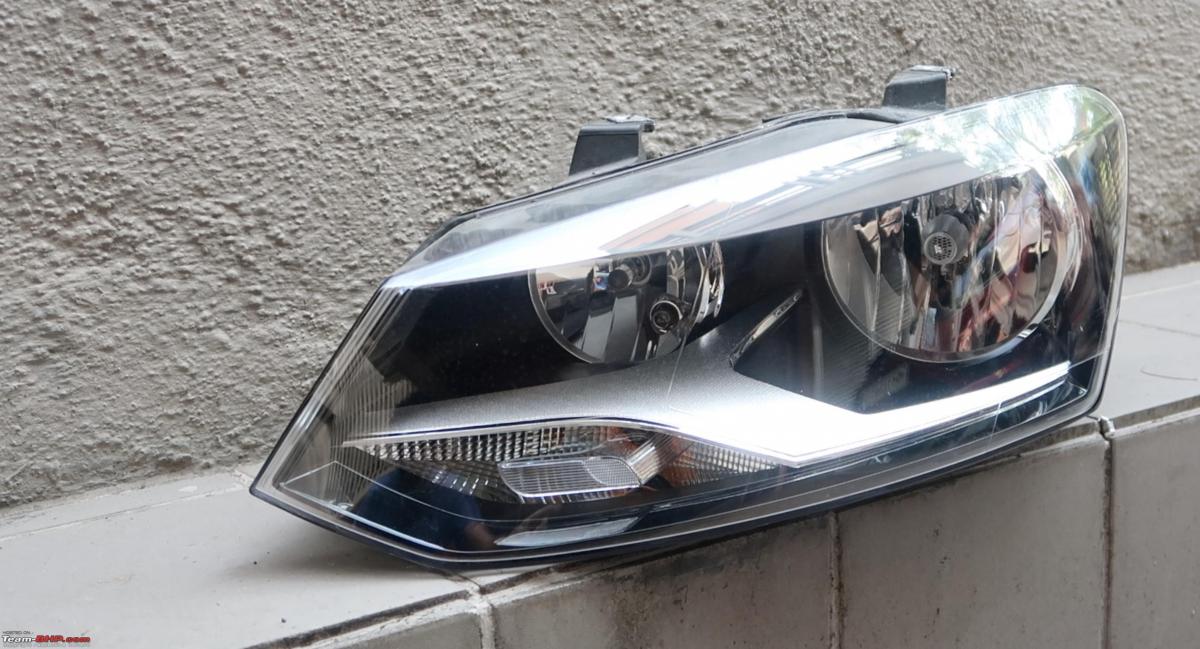
Some Miscellaneous Pictures About These Headlights
The Indian headlight on the car is made by HELLA.
These are the set of screws you need to tweak if you have problems in your stock beam pattern. Be gentle with them, and be sure to make appropriate markings on a wall to get the best possible cut-off.


These headlight tabs may break down with age or abuse, and may need to be refurbished with a repair kit as the car and plastics start to age.
Is It Worth It?
Well, I feel it sure is a good quality bulb, which delivers a fairly crisp light which is compliant to the Polo Halogen housing, but it still bears the same traits of an LED light which falters in extreme weather, making these a slight disappointment, and definitely not a permanent, all-round solution.
The high cost and availability of these bulbs also makes it a pain to recommend to everyone, but if I had the chance, I’d definitely have liked to try a few other Ultinon Philips LED bulbs which are sold in India. It is slightly sad that I did not keep this headlight bulb in my Low Beam assembly for long, but to summarise, I think with respect to the trouble I faced and the performance I expected and finally observed, I found them slightly disappointing.
I strongly believed they'd be the best pair of bulbs to buy, because of the brand name, the generous warranty and the promise of incredible light, but the best thing about the bulb has been the cut-off and near Halogen beam pattern.
Here's a detailed installation video with a few night-time driving samples. I wanted to test these bulbs a lot more, but due to the lockdowns in 2021, I simply couldn't drive out too much at night.
Read BHPian comments for more insights and information.
Find Car News
Just News


About Us


Buy & Sell
USED CARS