News
Fixing my Jaguar's electrical antenna: One of the coolest car gadgets


When you switch on the audio system the antenna will extend itself and when you switch the audio system off, it will retract.
BHPian Jeroen recently shared this with other enthusiasts.
Yesterday I worked on the electrical antenna of the Jaguar. Just about all modern cars have a built-in audio system. These days the antenna's are built into the window, or carefully hidden as shark fins, or at worst a little stub on your car roof.
But there was a time when cars had proper antennas that had to be extended. The plebs did this manually. You had to get out of your car and pull the antenna out. Us Jaaaag owners have an electric antenna, so you don't need to get out of your car and mingle with the plebs. You just stay in the comfort of your car. When you switch on the audio system the antenna will extend itself and when you switch the audio system off, it will retract.
Joking aside, I think electrical antennas are one of the coolest gadgets on a car. I also installed one on my Mercedes W123. Many of our younger members will never have done this, but in the olden days, installing a radio, speakers and antenna was par for the course for any car owner. Cars did not have built-in radios, let alone audio systems in those days. You had to visit specialised Car Radio Shops. They would have hundreds of different radios, speakers and accessories on display. Very few of these shops exist today.
When you sold your car, it was not uncommon to remove your radio and build it back into the next car you bought!! How times have changed?
So working on antennae and antenna wiring is something from the past for most! But I enjoy it.
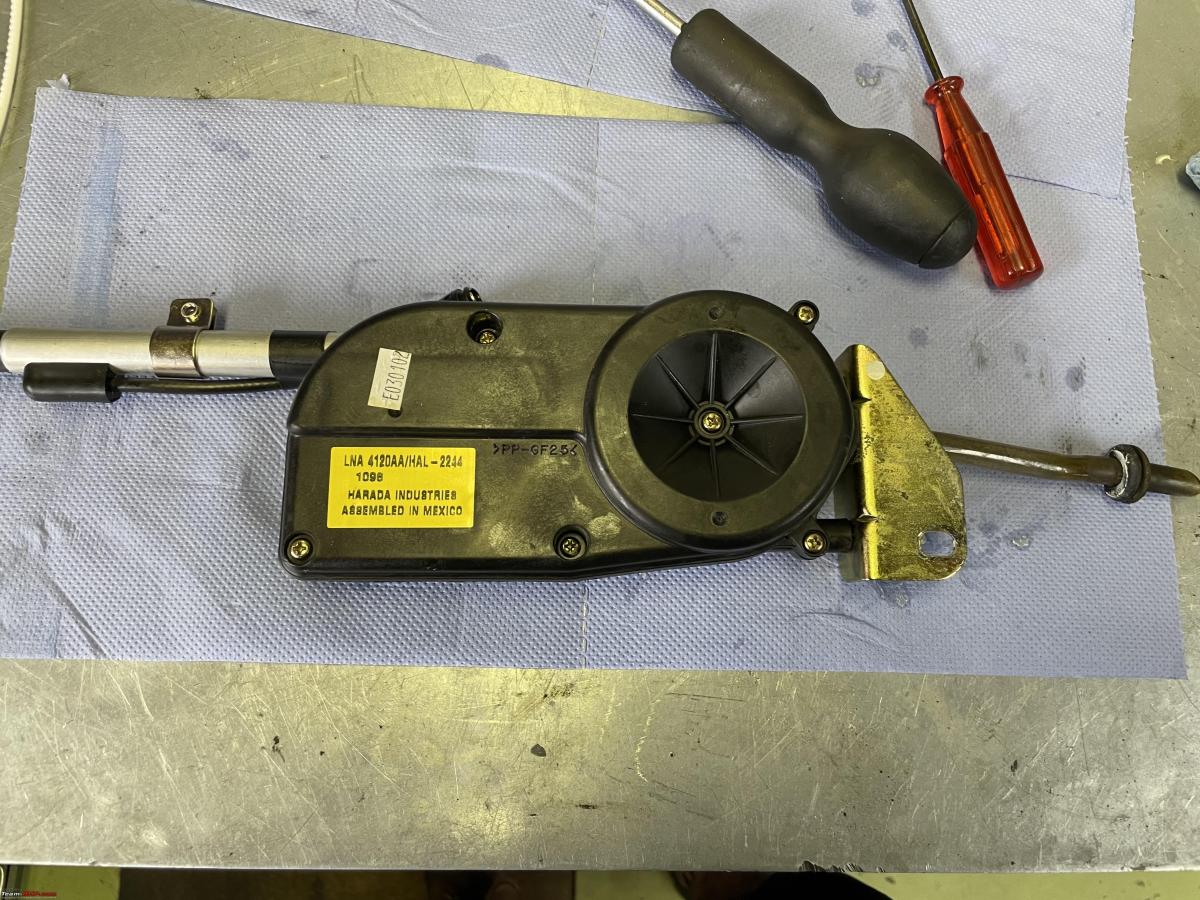
When you have a car with an electric antenna at some point in time it will fail. The antenna mast is moved utilizing a plastic/nylon-toothed belt that is driven by a little motor and some clever gears. Replacing the mast is usually very easy. But in my case, I could not extract the antenna at all, so I took the whole antenna motor assembly out of the Jag. Very easy, two little bolts, two connectors.

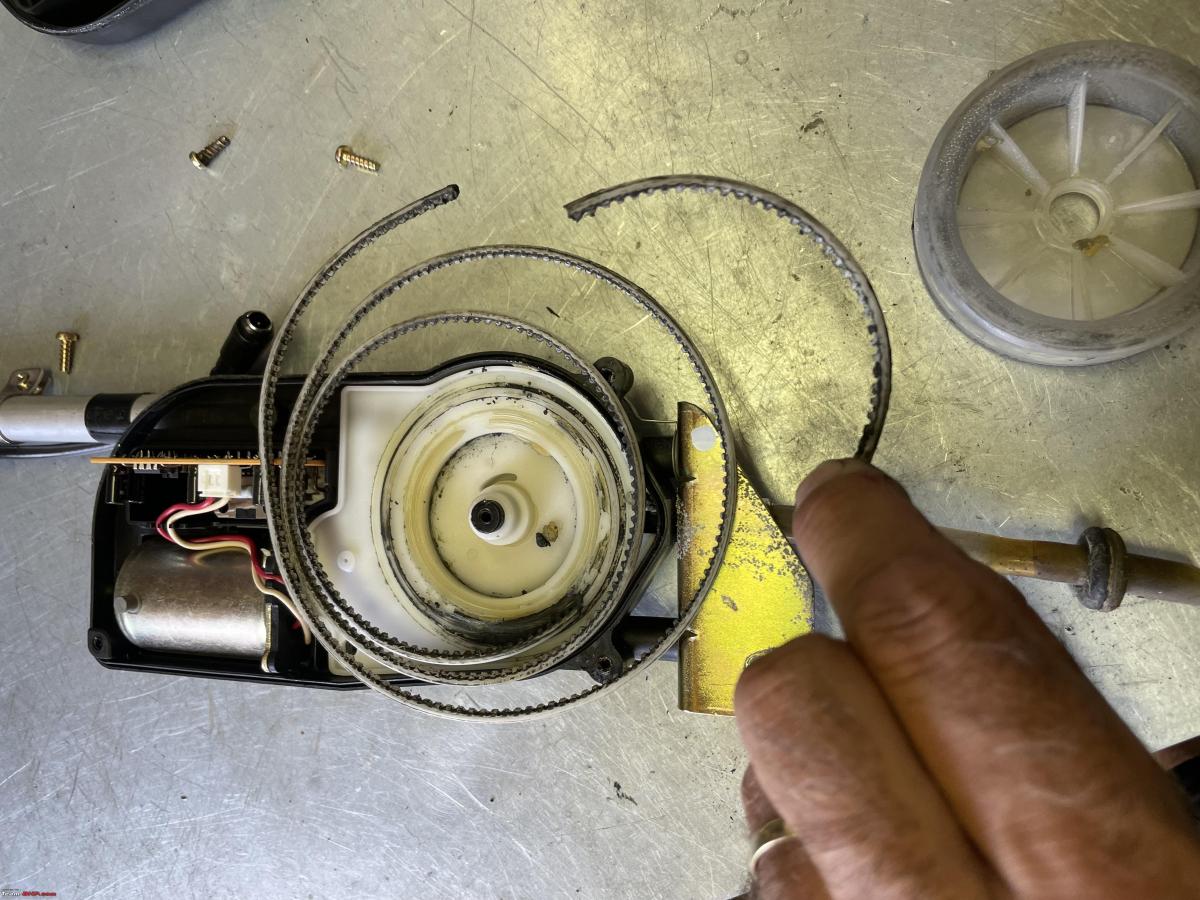
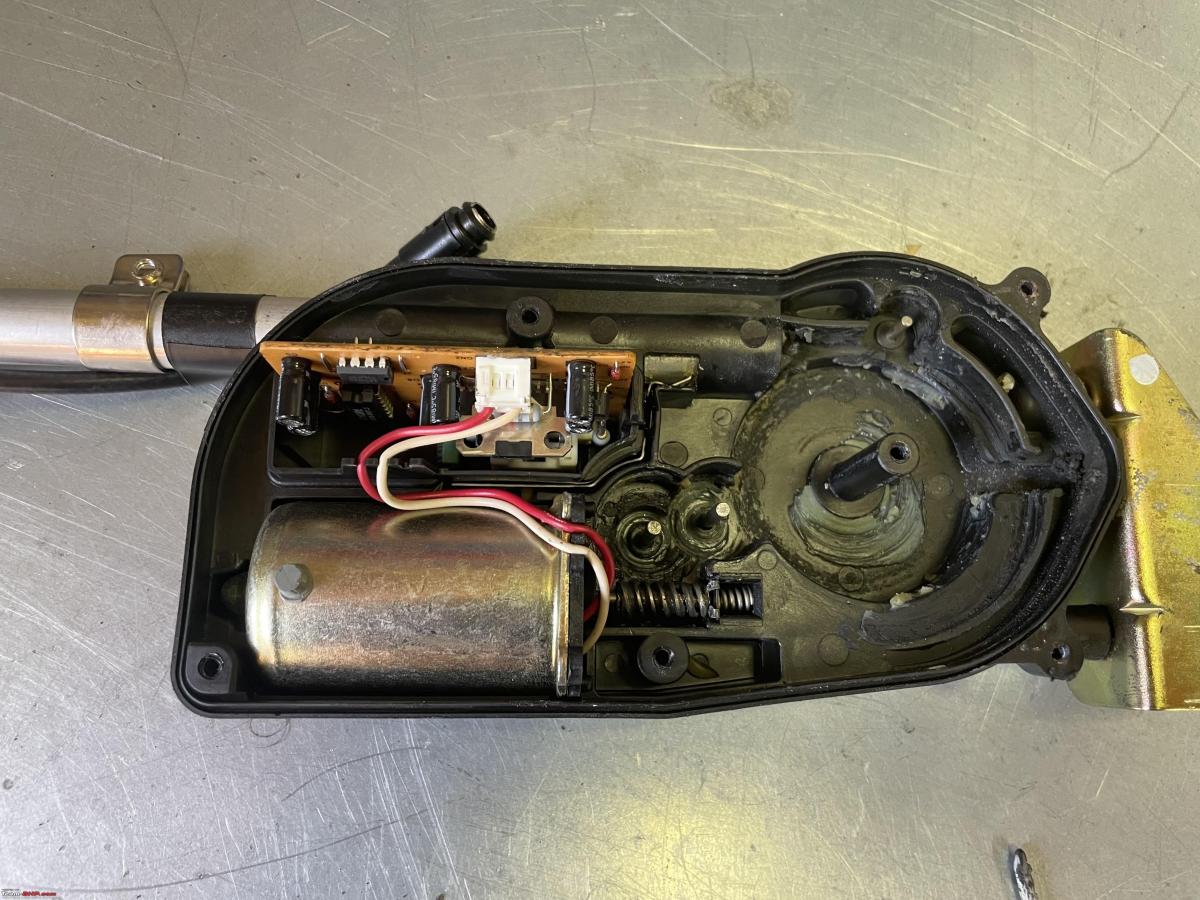
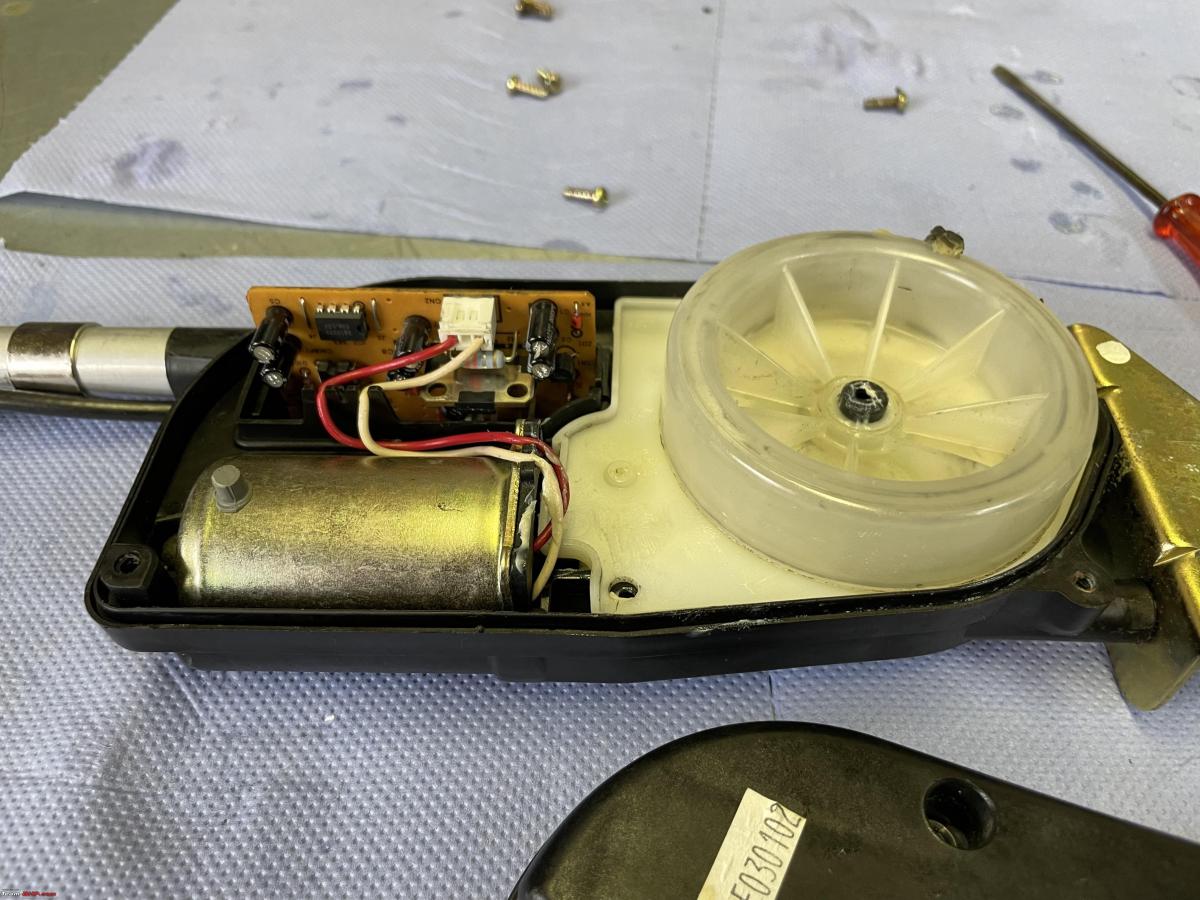
Let's open it up and see what's causing the problems. cover removed. You can see the little electric motor that drives several gears and you can see the spool into which the toothed belt is wound.

I took things apart a little further and the problem became obvious. The toothed belt had snapped! Usually the tooth, over time, gets stripped and the mast won't extend anymore. This is a little more severe. But the solution is still the same, replace the antenna mast.
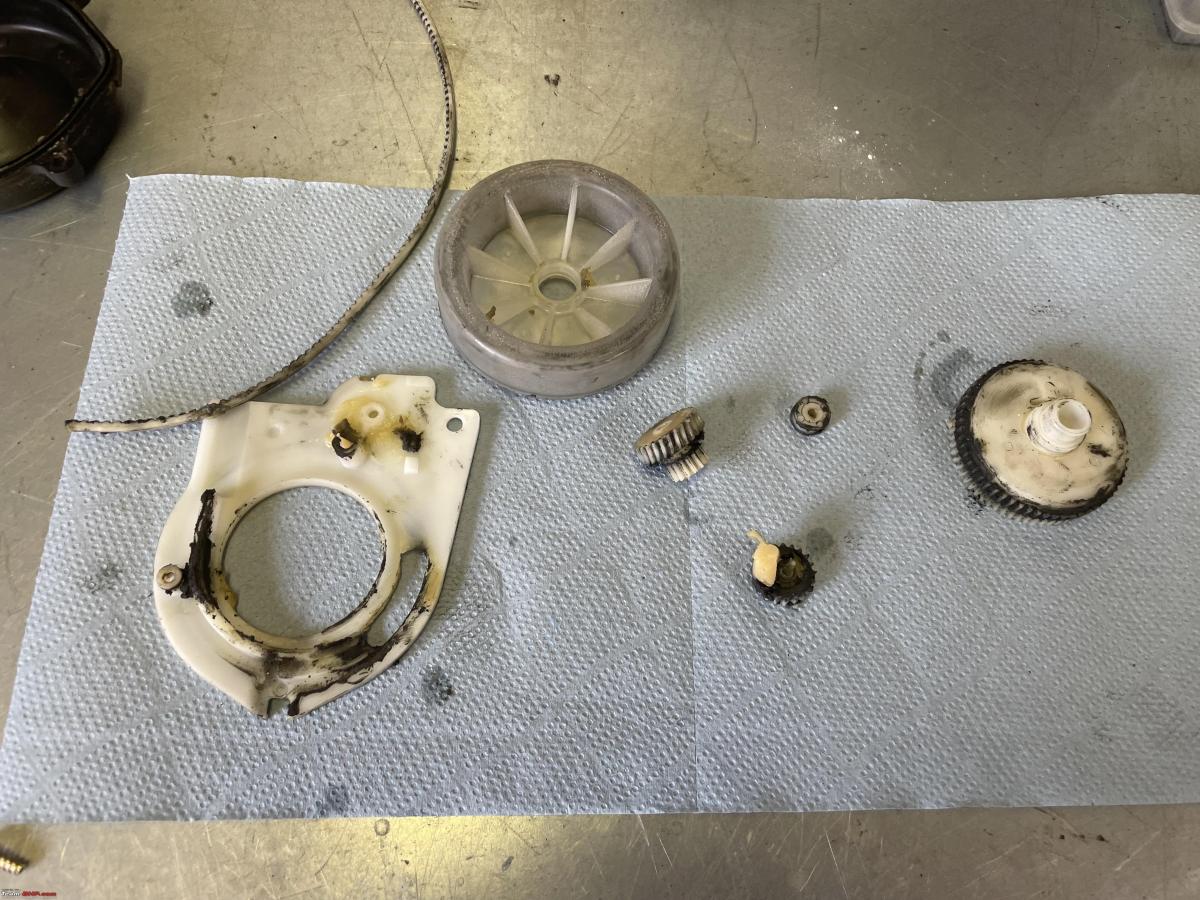
Everything apart is ready to be cleaned.
I called my Jaguar specialist friend Raymond and he had antenna masts in stock. I called him at 15.00 hours and asked him to send me one. Ten minutes later his wife Joke called me back, to confirm our address. The next morning I had a new Antenna mast!! Excellent service. Here you see the new antenna mast with a few other parts you will see me use later on as well.

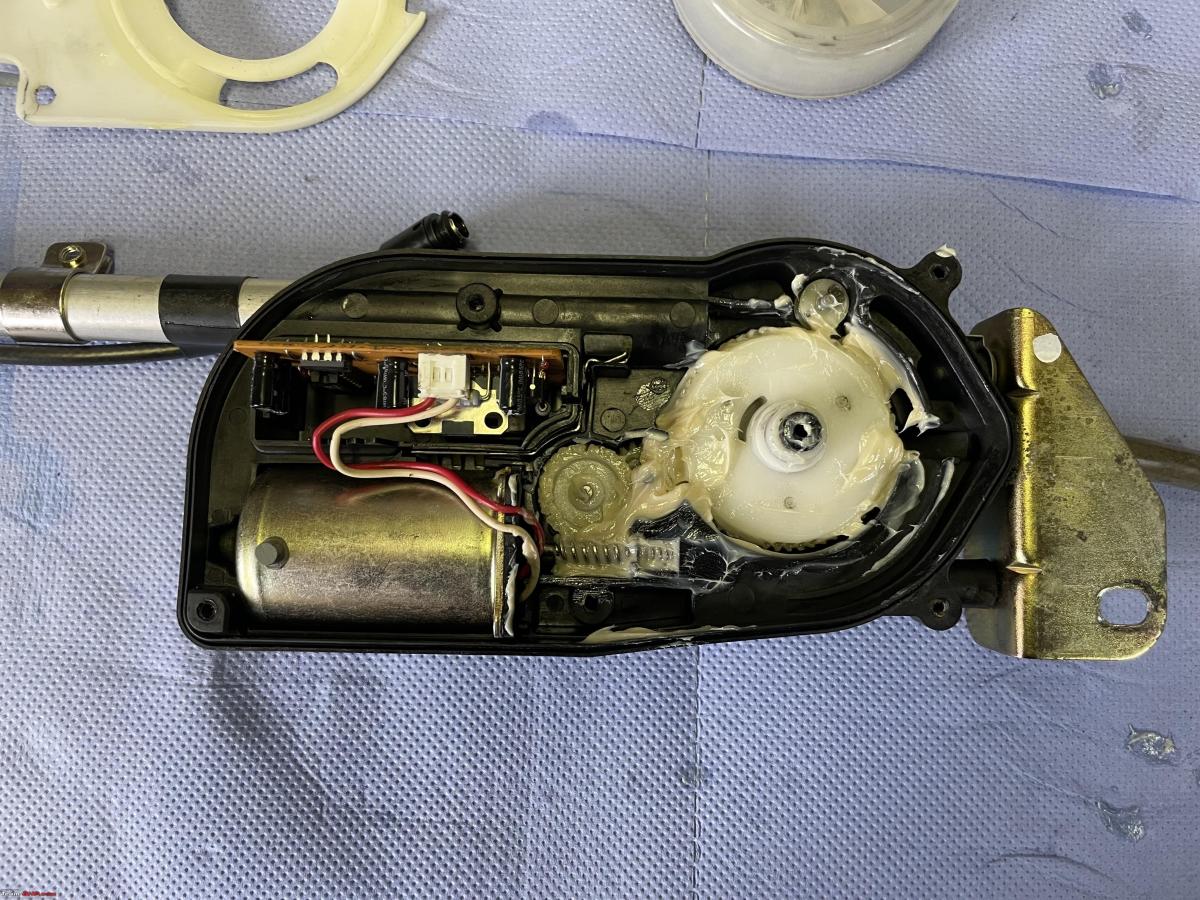
As so often with these little jobs, cleaning everything is the most labour-intensive. It took me about an hour to get rid of all the old grease. I used different de-greasers, soapy water and lots of paper towels. All ready for re-assembly.

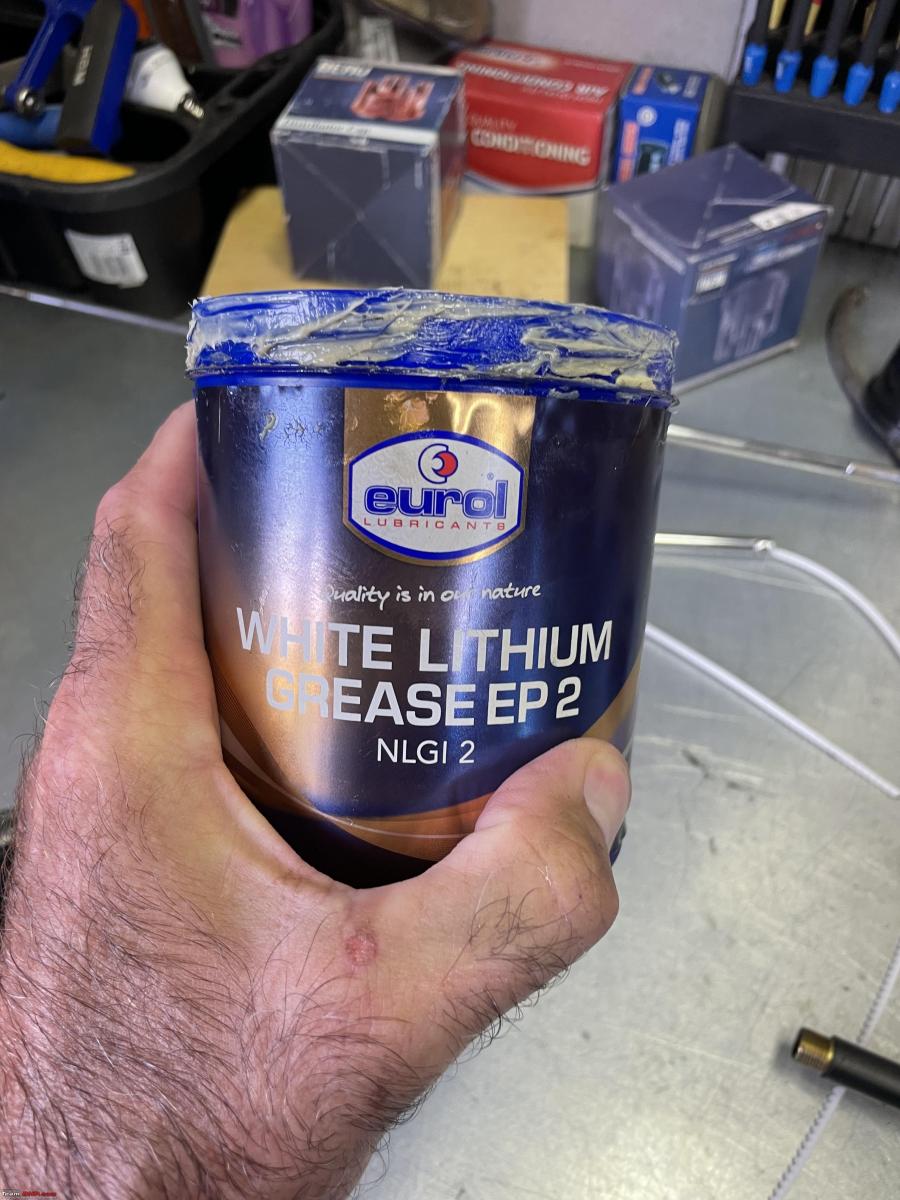
I packed all the gear with my usual, general-purpose, white lithium grease. I find this stuff works great on many different applications.
Putting it all back together is very straightforward


All done, ready to go back into the Jaaag.
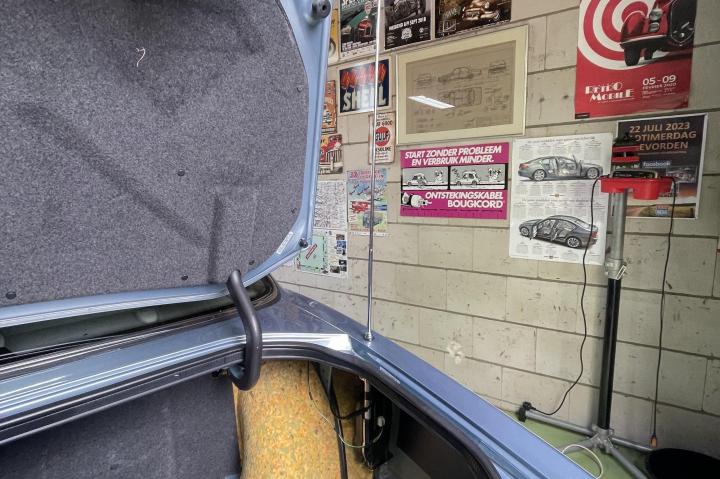
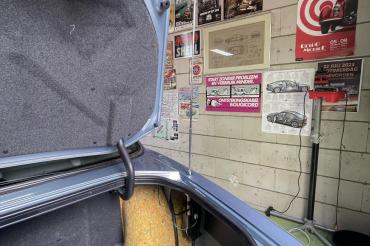
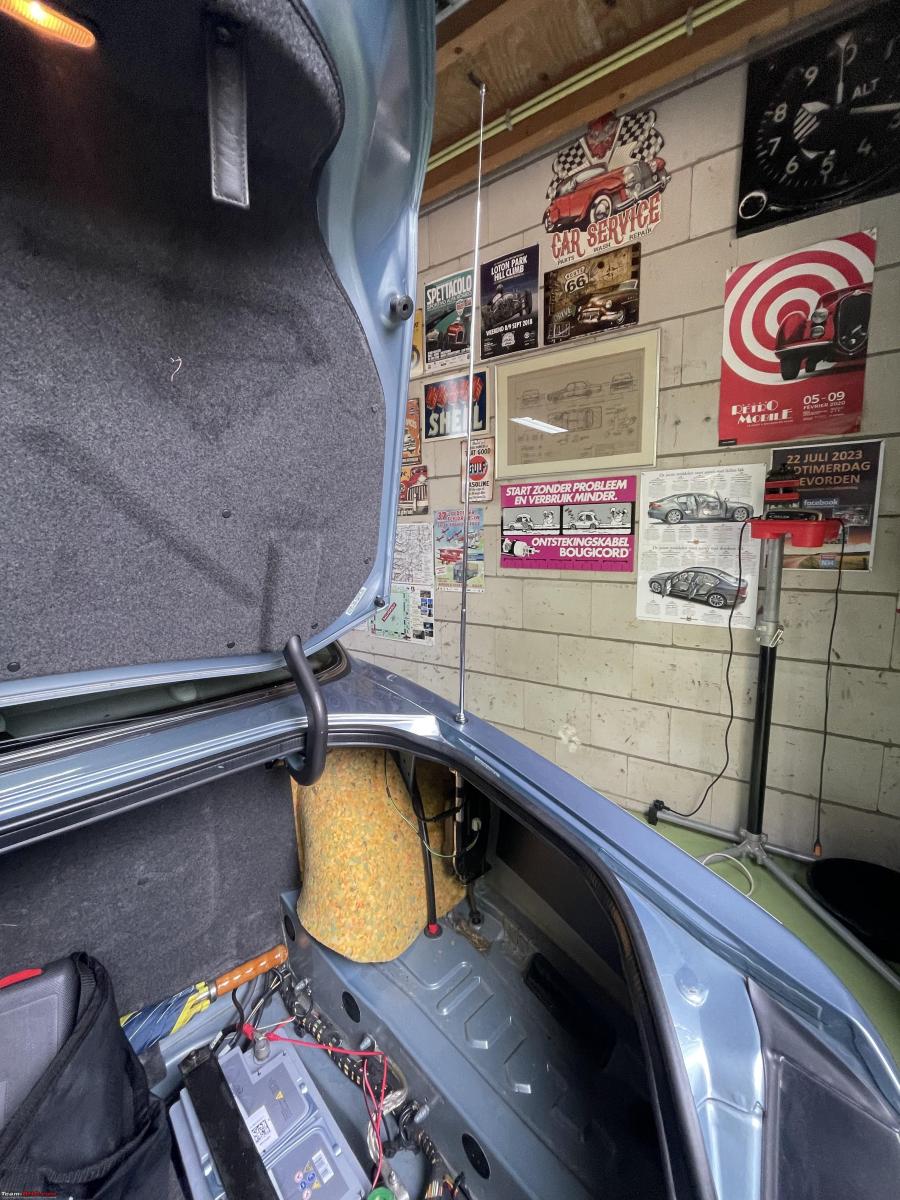
Mounted back into the boot. To get access to the antenna motor assembly you just need to remove some trim. Very easy.

To get the new antenna mast installed, I used the same procedure as always. You let the antenna motor pull in the toothed belt. So you just feed the belt into the top of the antenna tube. You do need to ensure you have the belt in the correction orientation. It can only go in one way. In the case of the Jaaag, that means the tooth needs to face outward. (Look closely at the previous image and you can see how this is the correct orientation as the toothed belt comes down the antenna tube and is fed into the storage spool and gear naturally.

All you do is switch on the audio system, which means it signals to the antenna motor to extend fully. So you hear the motor whirring, but nothing happens as there is no antenna yet. Next, you switch off the audio and push the toothed belt into the antenna tube, once the gear engages the toothed belt it will pull in the complete antenna mast! Very easy, very simple.
However, the base of the antenna mast would not go in. It appeared too big. Very strange, so I took the antenna motor out once again and did some measurements on the old and the new antenna. This little flange at the bottom of the antenna is pretty crucial. There is a locking nut on top of the antenna tube that holds the mast in place. So the flange needs to be small enough to slide up and down the tube, but also large enough to catch on the locking nut.
The flange on the old antenna: is 9.63mm

The flange on the new antenna: is 9.84mm

The inside diameter of the tube: is 9.67mm

So this was never going to fit. Only 0.2mm but still! I took the antenna to my grinding wheel and ever so slightly took off a tiny bit till it just fitted into the tube.
Working!!
As I was working on this antenna job I decided to tackle another little job I had wanted to do ever since I got this car, but somehow never got around to it.
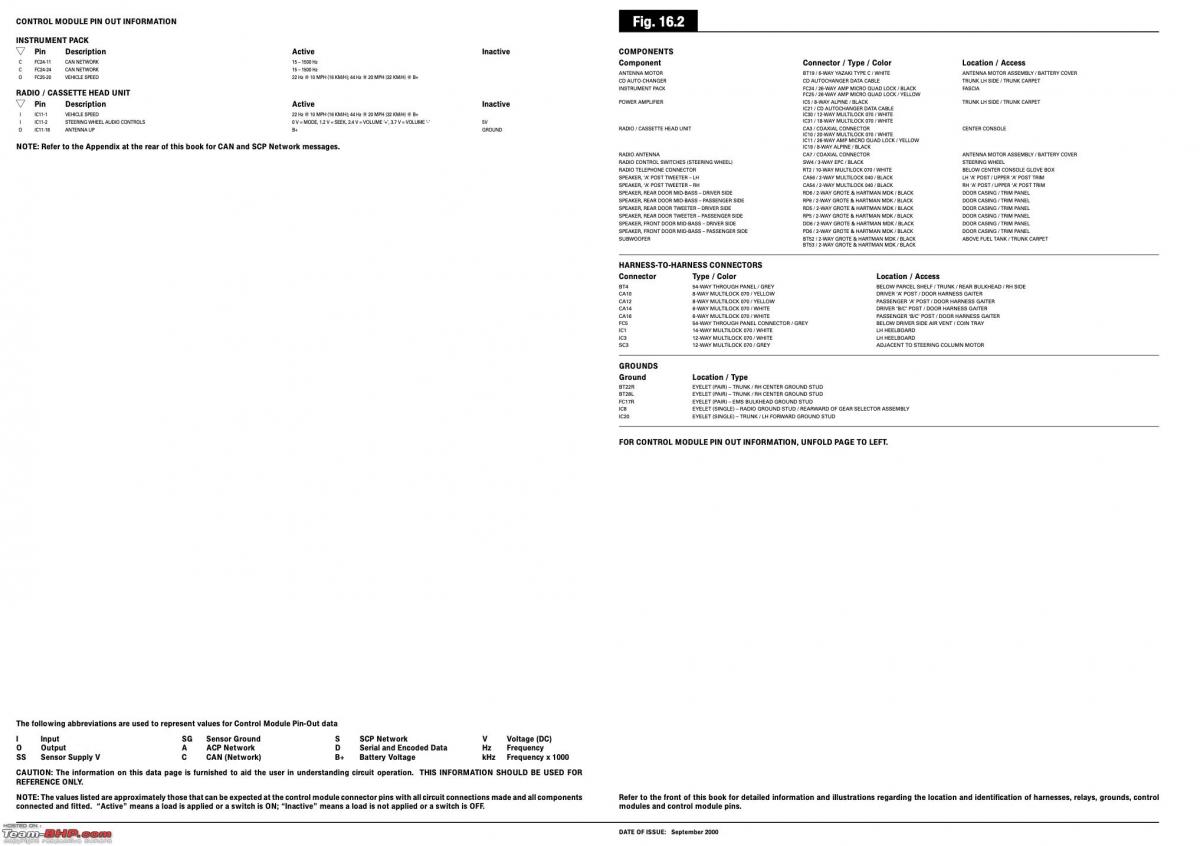
The electric antenna extends as soon as you switch on the audio system. But the audio system has also a multi-CD player attached, it has a cassette deck and I have installed an FM modulator so I can stream my music from an iPod and or iPhone. Only the radio requires the antenna to be extended. But it is always extended as soon as you switch on the Audio system. Very annoying, so I decided I wanted to have a manual override. Which means installing a simple on/off switch between the audio system and the antenna motor.
Time to break out the electrical diagrams:

I wanted to install a little switch in a very unobtrusive way. Because I like to keep my cars as original as I can. So when I do the odd little modification, it has to be out of sight and very easy to put back to the original as well.
Based on the diagram I figured the easiest way was to pick up the signal wire from the connector against the left heelboard. That would also be close to the centre console. So I could run a wire from that connector back into the centre console storage compartment and into the ashtray, where I could mount a little switch.
See from above. The ashtray is just in front of the centre console storage compartment.

This Jaaag is chock full of electrical and electronic stuff. Under the left and right heel boards are a bunch of fuse boxes, relays and a massive amount of wiring. I lifted the rear seat to get better access.

The first thing was to run a new cable from underneath the ashtray to the connector on the left heel board. Of course, that cable needs to be out of the side, so it has to go underneath the carpet. I tried several devices to get the cable through.

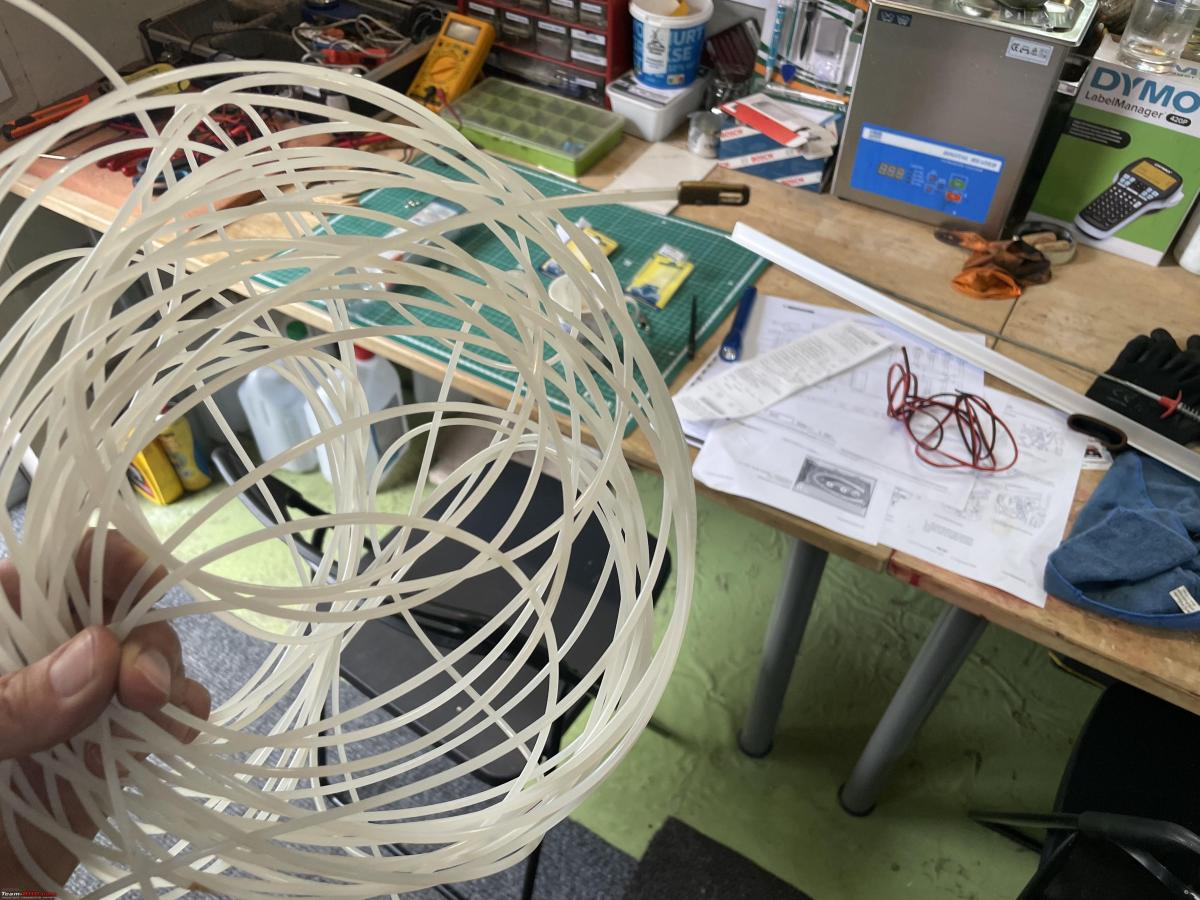
Part of the challenge is that Jaguar installs the carpet and the wire looms very tightly. There is little room to start with. Also, you want to be a little careful poking around 20-year-old wiring. These Jaaags are known for having poor-quality wiring, it gets very brittle over time.
In the end, I got myself a one-meter long, 15mm wide very flat piece of plastic. Rounded off one side and drilled a hole into it. Works very well getting it underneath carpets and past wire looms.
Goes in here

Wiggle, wiggle, push a bit, some more wiggling and out it comes on the other end!
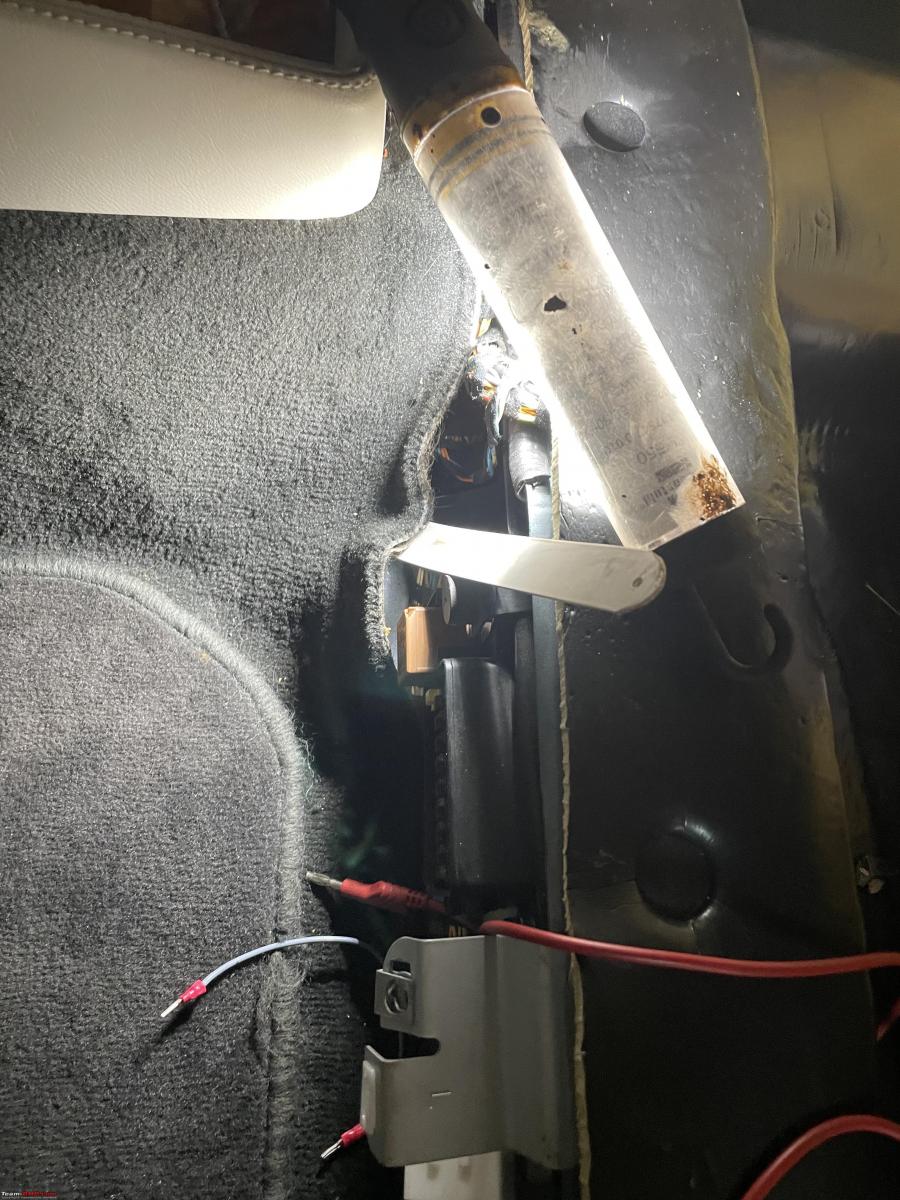
Attach the cable

Pull back and voila: one new cable installed out of sight!

Continue reading about Jeroen's DIY experience for BHPian comments, insights and more information.
- Tags:
- Indian
- Member Content
- Jaguar
- DIY
Find Car News
Just News


_5.jpg)


About Us
Buy & Sell
USED CARS