News
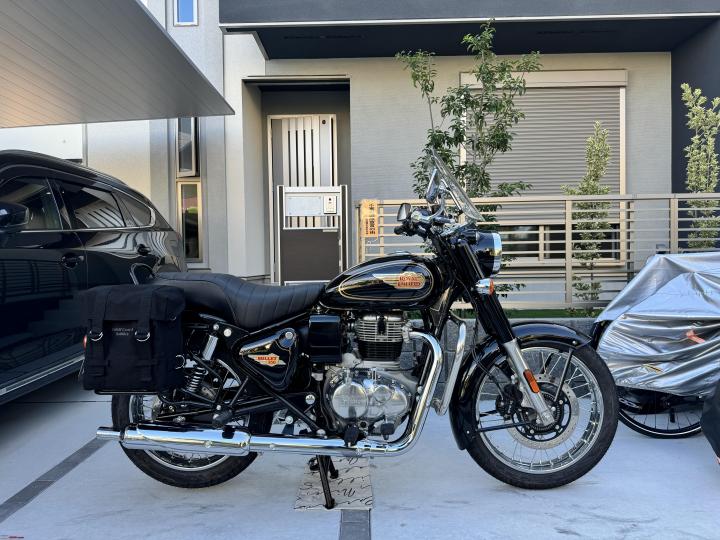
DIY Windshield, Crash bar & Heel toe shifter on my RE Bullet 350
As the toe shifter started scuffing up my favourite Onitsuka Tigers, I decided that I need to add a heel toe lever.
BHPian Viju recently shared this with other enthusiasts:
In my quest to make the Bullet a bit more touring friendly, I made a few more DIY additions.
The export models come with a toe only shifter. I am not sure of the exact reason, but it may be to suit the rider preferences, or to maintain the authentic look and feel of the original Bullet toe shifter. I had no issues with the shifter as such, and the gearbox has a really nice, positive clicking action.
However, I do use the Bullet for short runs to drop the kids off to their swimming classes or pick up some groceries etc. It is painful to wear the riding boots for these 2 km runs. As the toe shifter started scuffing up my favourite Onitsuka Tigers, I decided that I need to add a heel toe lever, fully well knowing that I may be compromising the satisfaction of the positive gear-shift somewhat.
Heel & Toe Shift Lever
Likes:
- No more scuffed shoes!
- Positive gear shifts, 90% as good as a toe shifter
- Makes riding a bit more effortless on an already effortless motorcycle
Dislikes:
- Does not look as clean as a toe shifter
- Need to move the foot a bit more around the foot peg
Tools required:
- Ratchet with sockets (10mm, 12mm, 17mm)
- Ring spanners (10mm, 12mm, 17mm)
Fitting time: 20 minutes
Difficulty level: Easy

Loosen and remove the retaining nut of the shift lever

Shift-lever cannot be removed due to the LH rider foot-rest mount

Loosen the rear mounting bolt of the sub-frame

Remove the rear mounting bolt

Remove the bolt & retaining nut

The original bolt & nut holding the sub-frame

Sub-frame & foot-rest down; shift lever can be removed / re-fitted (I stupidly missed to untie the vent hoses before pulling down the sub-frame)

Push this side on to the shifter

This side stays out

Rubber boot assembled

How the two shift levers compare

Before

After
Caution:
- Once the front and rear mounting bolts are fully removed, the sub-frame will may not drop down on its own as it is a tight fit.
- It needs to be gently pulled down, but please be careful to not drop it to the floor and damage it.
- Also, the vent hoses from the fuel tank are tied to this sub-frame. Make sure not to damage them.
- Make sure that the lever is slightly higher on the heel side than the toe side so that it is easy to upshift using the heel.
Continue reading BHPian Viju's post for more insights and information.
Find Car News
Just News


About Us