News
DIY: Hardwire front & rear car dashcam installation guide
Based on my budget, I purchased a 70Mai A800 dashcam & installed it on my Maruti WagonR.
BHPian KarDIY recently shared this with other enthusiasts.
DIY Install: Hardwired Front and Rear Dash Camera
I usually commute in Gurgaon and Delhi where roads are rough and people drive rougher. So, just to be safe in such cases, I installed a dash camera in my car, Wagon R. And it was easy and you can do it too using this guide.
So, the first part of installing a dashcam is to get a dashcam. After researching and keeping the budget in my mind, I bought 70Mai A800 dashcam. Its cost was about INR 14,000 and I ordered it from www.70mai.in.
I hardwired my dashcam so it can record videos in case something bumps into my car while it is parked. You can buy this as a combo or buy the hardwiring kit separately. Some people worry that hardwiring a dashcam will drain its battery but I have had this dashcam for the last four months and I haven't faced this issue even once. 70Mai claims that the module that they attach to their hardwiring is smart and it will not let your battery drain below the voltage of 11.4 V. Moreover, when it is parked, it is not constantly recording video, it only does so when it senses someone bumping into the car preserving the battery.
Tools required
- Dashcam
- Pry tools (One was already included in the dashcam box)
- Tissue paper
In case you are someone who understands better from watching a video if you get stuck somewhere, use these videos.
Procedure
- Ideally, you should put the front dashcam on the top of the windshield behind your IRVM so that it covers the road and the bonnet of the car. Clean the area well with tissue and make sure there is no dust on the glass.
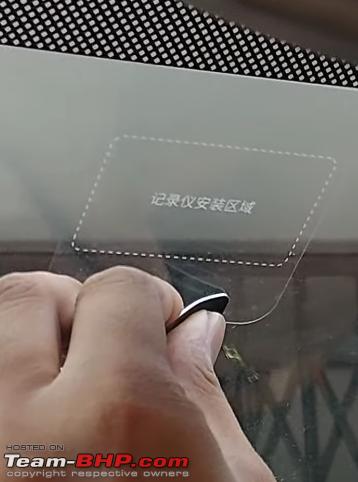
- Carefully take an electrostatic sticker and stick it on the glass. Make sure that there is no bubble left. Use a sturdy flat-surface object to remove any bubble.

- Stick the dashcam mount on the sticker using double-sided tape. Now put the dashcam on the mount. (Note: Make sure it is perfectly aligned and not skewed.)

- Connect the hardwiring kit’s cable to the dashcam. Use the pry tool to slightly remove the roof inner lining near the windshield and push the wire under it from the dashcam to the right A-pillar.

- Open the panel on A-pillar and push the wire through the hole in it to the bottom. (Note: Make sure the wire is not stretched too tight. Keep it a little loose.)
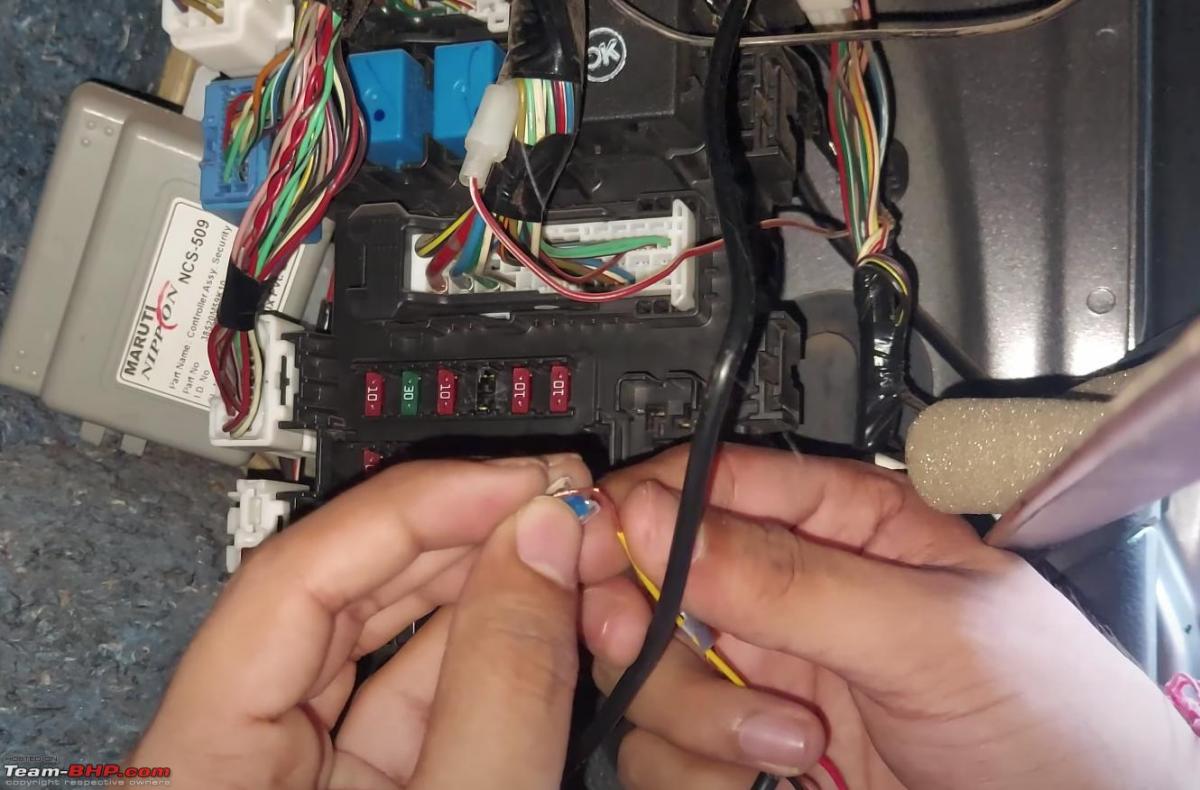
- Now, we need to hardwire the dashcam, so we need to connect it to a circuit that has current even while the car is off, for example, the horn. Open the fuse box and use labelling to find the horn hazard and accessory fuse. (Note: You can also find the diagram in the car’s manual)
- Connect the wires to ACC (accessory) fuse and VCC (Voltage Common Collector) fuse. You can connect the ground wire anywhere on the body. (Note: Connect the wire with only one side of the fuse otherwise current will bypass the fuse.)

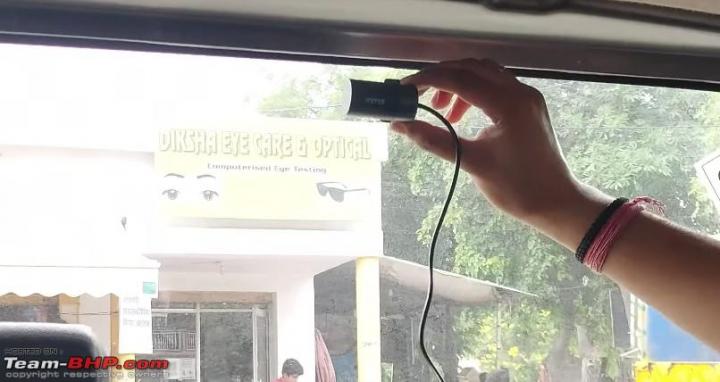
- Similarly, for the rear dash camera, clean the windshield with tissue and make sure there is no dust.
- Apply the electrostatic sticker where you want to install your camera, preferably on the top center to cover the rearview properly. Make sure there is no bubble left.
- Stick the dashcam on the sticker using double-sided tape.

- Same as earlier, use the pry tool to slightly remove the roof inner lining and push the wire inside it. Take the wire from the camera to A-pillar under the roof inner lining. (Note: You might need to slightly remove panels on B and C pillars)

- Connect the wire to the front dashcam. Push this wire from the dashcam under the roof inner lining too like we did for the front camera and take it to the A-pillar. If you have some remaining middle part of the wire, make a bundle, tie a zip tie and put it under the A-pillar panel. Being organised right now will help your future self.

Now just insert a memory card to record the recording, and your dashcam is ready to go.
Here's what BHPian Goandiaries had to say about the matter:
Good one, KarDIY. However, those who have cars with curtain airbags should route the rear cam wires from BEHIND the airbag modules or along the floor in order for the airbags to function properly in any unforeseen event. Also, you need to give some slack cable for the rear cam if you are attaching the rear cam to the boot windshield so that you can open and close the boot without damaging the cable/connector.
Here's what BHPian Swarup5 had to say about the matter:
Thanks for sharing the DIY. Fuse tap is always much better than direct wiring for the sake of safety. You get fuse taps of different sizes and for your case, I'm sure you will be able to use micro or mini. A bit costly but much more failsafe.
Check out BHPian comments for more insights and information.
- Tags:
- Indian
- Member Content
- dashcam
- DIY


.jpg)


