News
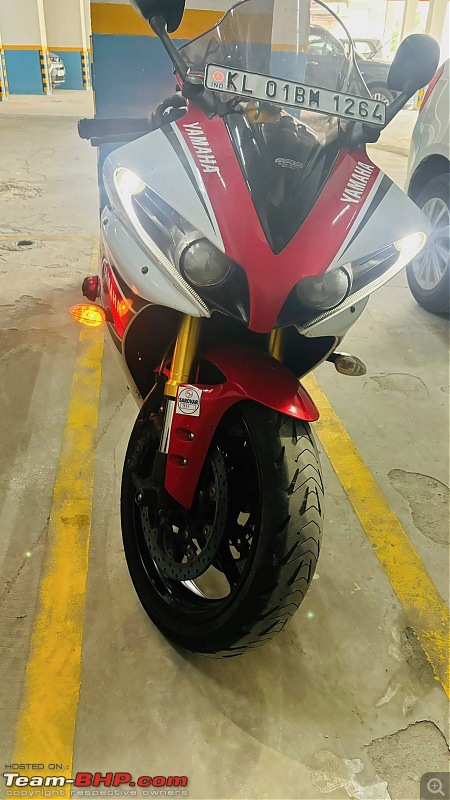
Electrical issue with my Yamaha R1: How I diagnosed and fixed it

"As soon as he cranked the bike the right side indicator lamp on the dashboard turned on was hyper-flashing at a rate as if it was staying on continuously."
BHPian krishnaprasadgg recently shared this with other enthusiasts.
Picking up from the last post. So I wanted some more testing to be done but I had to be out of town on some personal work fortunately Xaos636 was free and he took on the task of stress testing the bike once more through similar conditions as last time. The in-city tests went all good and so did the highway test, but this time a new issue crept up.
During the final leg of the highway ride he had stopped for a break, until the ignition was on everything was good, but as soon as he cranked the bike the right side indicator lamp on the dashboard turned on was hyper-flashing at a rate as if it was staying on continuously.
A short video of the issu
This was weird and unusual, so he did not think much of it and toggled the key on and off and the issue went away, he called me to let me know about this and we chalked it to some random electrical hiccup and since it went away didn't think much of it. But the same afternoon curiosity got the better of us and went to investigate.
The right indicator just stays on and hyper flashes
The issue came back again, so turned on the ignition and all was good, cranked the bike up, and the right side indicator hyperflashed on the meter, but while this was happening the front and rear right side indicators were also on and hyper flashing. Still, the light output is pretty dim than usual.
It is to be noted that while this is happening the indicator stalk position is neutral, and the right side indicator is not been turned on manually if I move the indicator slider to the right nothing new happens, it just stays on as it was before, but if I move the slider to the left to activate the left indicator, the left indicator works perfectly fine, but during this the right side indicators are still hyper-flashing both on the Dash and the front and rear right indicators.
Next, It was noted that if we press the hazard switch the meter shows both the left and right indicator lights to be flashing in unison at the right rate, as if nothing was wrong to begin with, and the rear indicators flash properly at the same time and at the correct intervals, but the front indicators while they do flash correctly for the right duration they are not flashing in unison, the are now flashing in turns, left flashes then right then left and so on. Almost like the emergency vehicles or safety car types. Forgot to record this part in the video.
During this, it was also found that when this happens the headlights do not work at all while the DRL works just fine.
Why I say "when this happens" is that up until now this issue since the first occurrence has been not happening all the time, with a few on/off key toggles and it used to go away. but after 1-2 more days of testing it started happening all the time.
So it was almost certain there was something wrong with the wiring because it couldn't be a relay issue if it was then both indicators would be affected as there was only one relay for the indicator system, we ruled out the headlight relay issue because somehow this issue was connected between the indicator and the headlight because when the issue happens the headlight doesn't work and when the issue isn't there the headlight and indicators both are working perfectly fine. So it was decided that once I was back in Bangalore I'd take it down to Karthik at Highlander and try and investigate this electrical gremlin in a peaceful way because diagnosing anything electrical is a potentially time-consuming affair. So I called ahead and booked an appointment for troubleshooting the issue, a few days later I was back in town, went and collected the bike from Xaos636's place, and sure enough the issue was happening every time now, I had a 1-1.5 hrs trip back to highlander in peak traffic during which twice the issue just went away on its own and the indicator stopped hyper-flashing and the headlight turned on and a few minutes later fell back to the same issue, this happened twice.
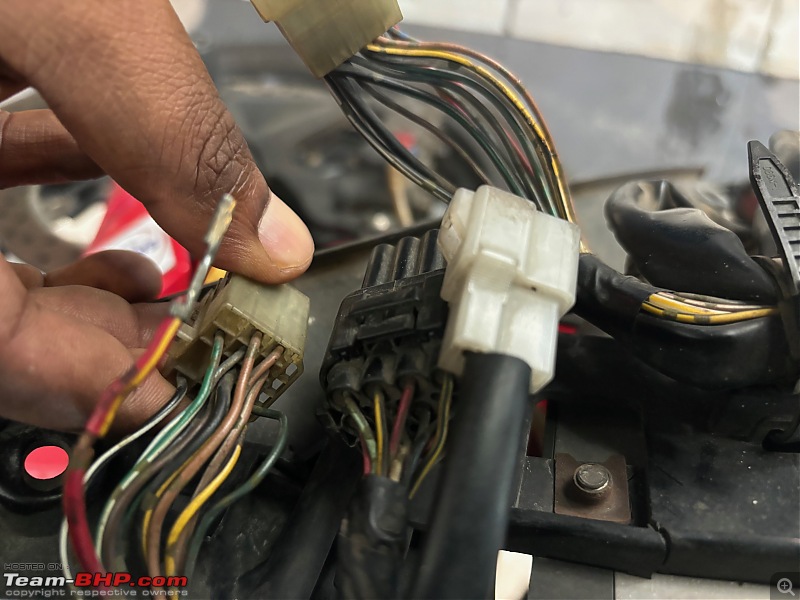
Once at Highlander, we started by removing the right side fairing of the bike as the headlight wiring look is situated there, Almost immediately we spotted what could be the potential issue, so this predates to late 2019 to early 2020 when I had got the bike and the first checkup was being done, we had noticed there was a green wire that was jumped between the make and female end of a connector on the right side of the bike when I had enquired with the previous owner and the shop that used to maintain the bike before it was told that back when the bike was serviced at Yamaha cochin they have done this because one of the pins in the connector wasn't working/ making proper contact so they had jumped the wire, and since it was something related to the DRL light we didn't worry much about it(first mistake). Since it was a wiring related stuff and since the bike was running fine at that point we decided not to mess around with it and find out.
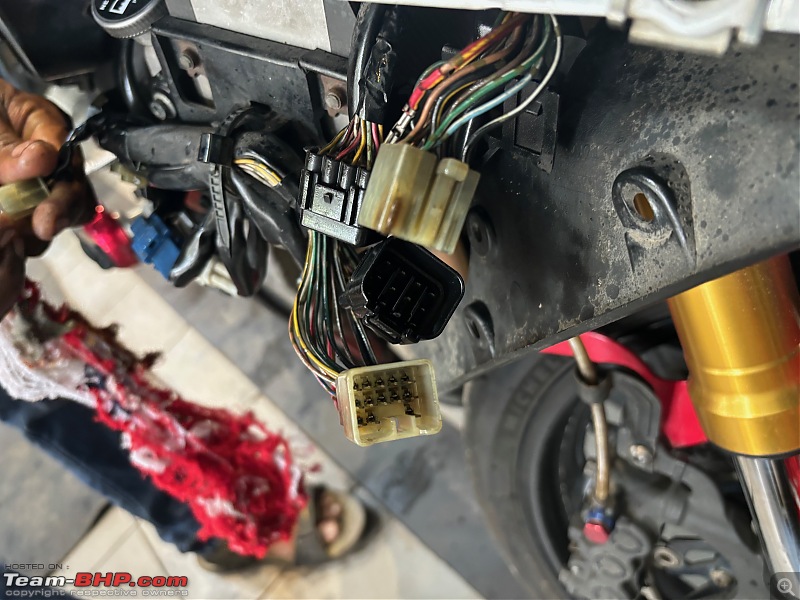
Headlight harness 1, all seems good, no corrosion found
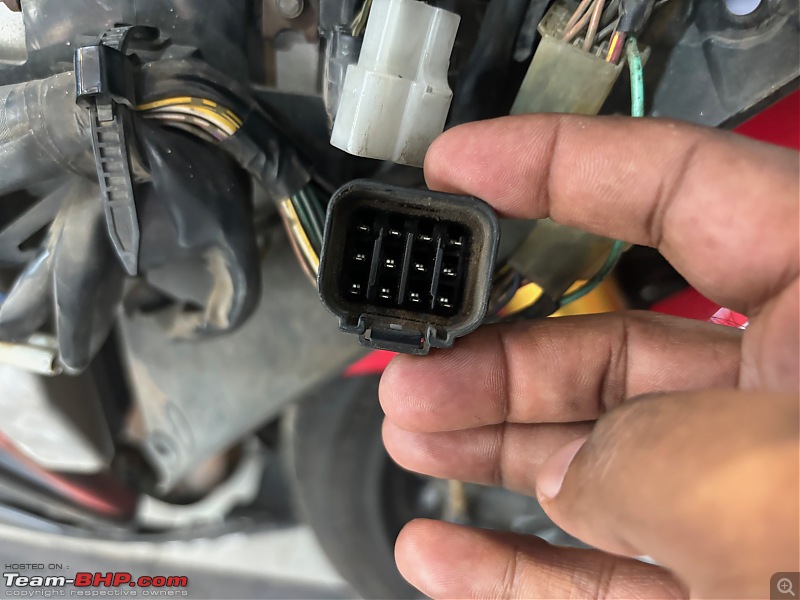
Headlight harness 2, notice the green jump wire. But the leads on the female end seem fine on inspection
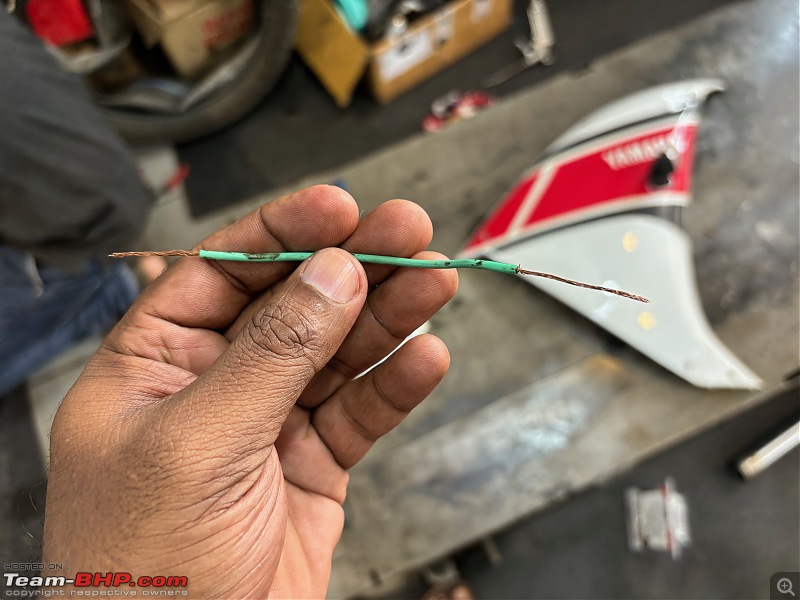
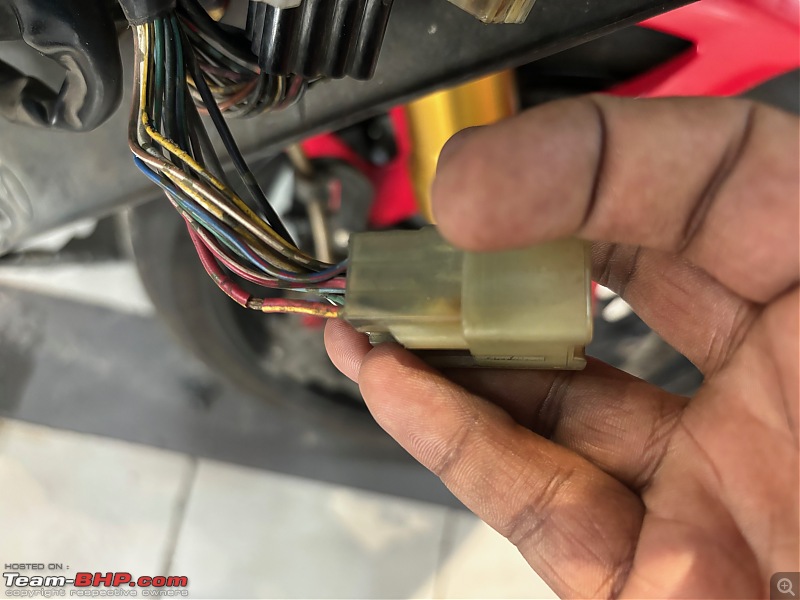
So since now we are here and we are having an issue we thought, let's anyways look at it too because what if it's related? Might catch a lucky break. So first line of business was removing the jump wire and to our surprise almost as soon as we touched the wire it just came off, overtime the number of heat cycles in the general area has not been too kind to the wire and the copper strands had started to break off and the wire was just hanging on on the merit of the insulation tape that was used to seal the connection. we removed the tape and inspected the connector.
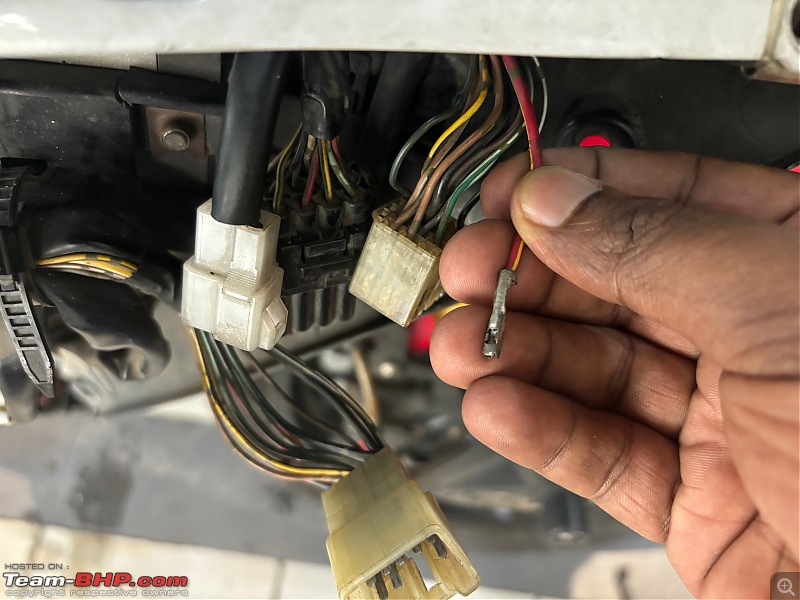
The jump wire/offender in this case
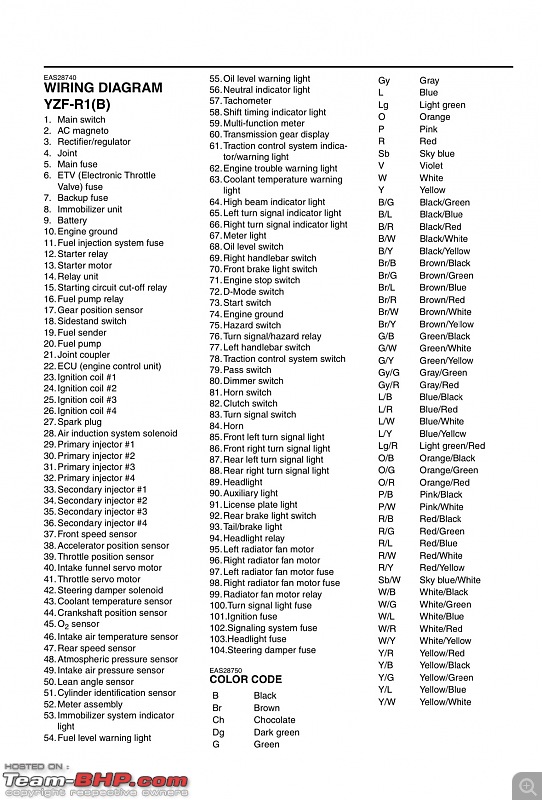
Reffered the shop manual and found that the connector we were looking at was part of the headlight harness, color matched the wires to the connector type, and following the wire across the wiring diagram found that the red/yellow wire onto which the jump wire was attached to was actually the headlight wire that comes from the fuse box.
Notice the Table marked "A" on the rightmost section and the connector named "Wire Harness" is the connector in question, you can see the color coding on the wires matches the one on the connector.

So we follow Loom A with the Red/Yellow wire and it goes from connector 94- 103
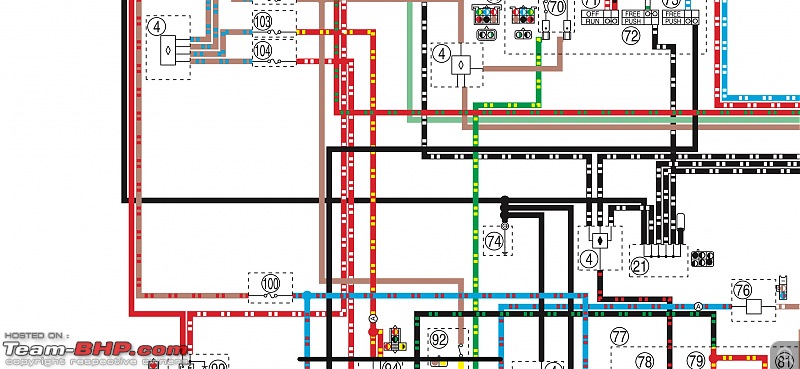
94 being a Headlight relay and 103 being the Headlight fuse
This was a bingo moment, so maybe we lucked out and found the offender of this particular issue. So to test it out we removed the jump cable, put the connector back on connected the indicator wire to the right-side fairing, turned the bike on, and voila! The indicators and headlights are working perfectly fine. So it was actually a loose connection that was causing all the issues.
And then there was light!

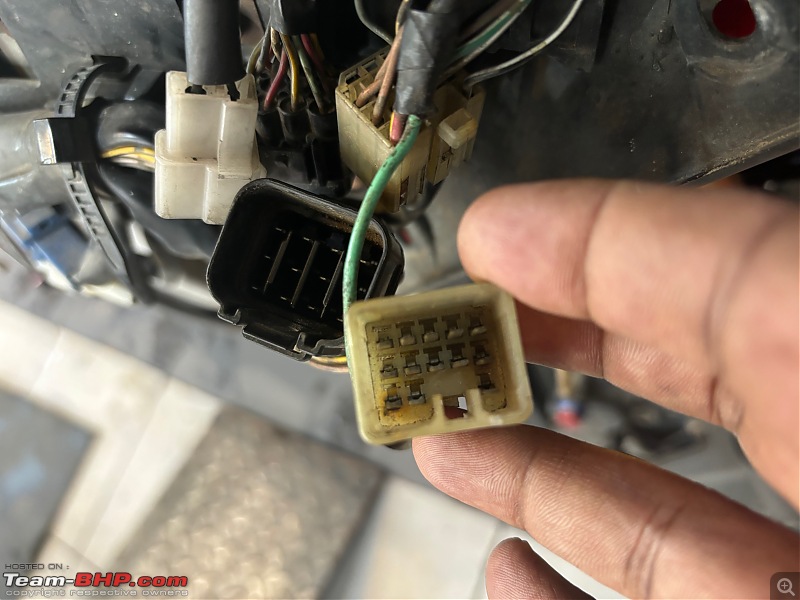
But then one question almost immediately got raised, if everything was working fine then why was there a jump wire across the male-to-female end bypassing the connector, so we went back to the connector and while trying to isolate the red/yellow wire, the wire just came off the connector at the male end.
The red/Yellow wire just came off, notice the area where the insulation has been removed to accommodate a jump wire
In this pic, you can see the locking pin is no longer present on the lead pin
Surprised we removed the connector and found our issue, that specific connector had been burnt out completely inside the connector and the pin was barely making contact as it was not able to lock itself to the male connector end. So why did it work this time, well, when we were inspecting the connector we had made sure there was a solid connection by pressing it in properly and that's why it made a connection.
So now everything made sense, this issue had happened many many years back when Yamaha Cochin was working on the bike and their solution for this was to jump the wire and call it a day, while with just a little bit more care they could have easily just replaced the burnt lead which also had its locking clip that locks in place in the connector break off. A proper fix and connection would have been done which would have negated the need for making a jump connection which is not ideal.
You can see the burnt mark on the female end of the connector too, but the wire is locked in place at the female connector end unlike the make connector end
So over time the jump connection had failed many many years later and being able to make only the connection randomly was causing this whole issue. A quick forum search and we were also able to find that the headlight connector on the headlight loom burning is a known issue apparently in R1's of this generation (09-14).
A better look at the damaged pin

A burnt area on the male connector can be seen in this pic

Now why was the right indicator hyper-flashing in this whole issue, I am not entirely sure, I am not an expert on wiring loom issues but I was willing to investigate further but that would mean opening up the connectors in detail and finding out, but the wiring loom as we had observed had started to become brittle and didn't have much give to it and that means if we messed around with it too much it could cause new issues with potential of wires cracking and breaking the connection, so to avoid that scenario we took the line of "if it ain't broken don't fix it".
As much as I hate not being certain about this, I have come to the terms that the improper connection to the headlight power wire was causing some voltage issues in the loom, and the power surge/fluctuation was happening to the right indicator wire. Making sure a solid connection through the headlight wire seems to be fixing this where both the headlights and the indicators are going back to working as intended.
Anyway, now we tried to fix the issue properly, to which we went on a hunt for a proper locking lead but could not find any in the shop in the right size, so the decision was made that we will have to make do with the jugaad that was already done years before.
Observe the locking clip on this pin, but the size of the lead was thicker than was what used on the R1 from the factory so could not use this

But the jump connection made was done in a much more solid way and insulation tape was used to seal it up Karthick would place an order for the right size connector lead and once he gets the part we will fix the issue the proper way and be done with it for good.
Back to the jugaad for now.

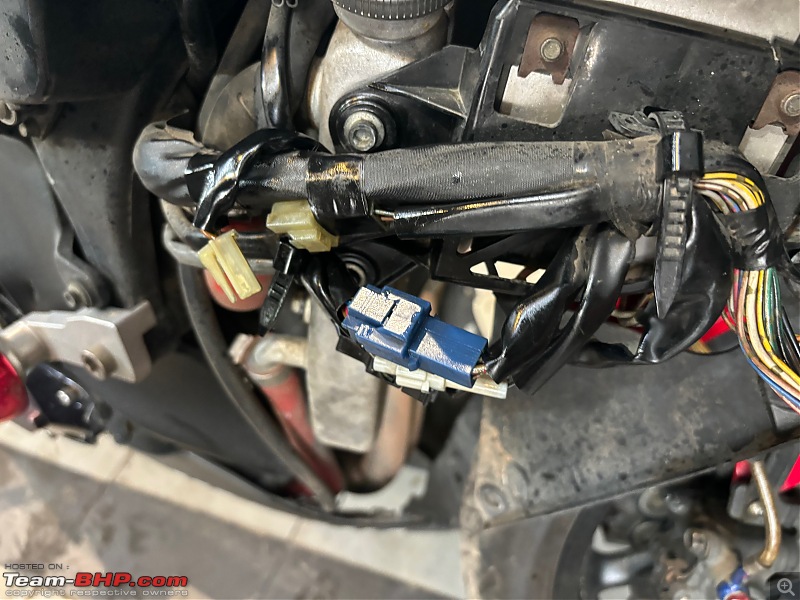
During this whole fiasco, we had disconnected a few more connectors just to check their condition and we found one connector that had corrosion inside, and that too was properly corroded but was somehow still making good connections.
Corrosion found

All cleaned up!
We gave all the connectors that were accessible a good amount of contact cleaner treatment and silicon paste was used to keep water ingress to the minimum and the connectors were plugged back in.

Now that the main issue was sorted while putting the bike together we finally decided to address one more thing on the bike which somehow funnily enough we kept forgetting to do for over 4 years, when I bought the bike I noticed that the front 2 clips of the front fairing mask just under the headlight was in it proper place. For the longest time during each service both at Highlander or as DIY I would always think of getting it fixed, and in the end for 4 years straight always forgot to fix it too, to fix it we had to remove 2 other panels under the front mask, so this time while we were buttoning the bike back together we decided to finally do it then and there itself and finally it was done, literally took us less than 2 minutes to do it and it has been pending for over 4 years.
Here is a photo of how it looked before

And how it looks now.

It was pretty satisfying to finally see it fixed, ngl.
Anyway, the fix was done and the bike is back to its full glory, here is a video of the bike post the fix.
Settled up the dues at Highlander and went straight to fill her up with a fresh batch of XP100 because I had a ride the very next day.
Gulping down a full tank of XP100

Cheers
Krishna
Check out BHPian comments for more insights and information.
Find Car News
Just News


_4.jpg)
.jpg)


About Us