News
How to get wireless Android auto on any car for less than 2,000 rupees
Technically, this setup worked flawlessly for my Raspberry Pi Zero W. I got absolutely all the features of the Android Auto on my Nexon.
BHPian fspeed100 recently shared this with other enthusiasts.
Wireless Android Auto Dongle for Your Car Using Raspberry Pi Zero W
Practically all cars these days support Android Auto, but most of the time, it needs to be connected via a wire. Personally, I find it a cumbersome, more so with my Nexon, since it supports only wired Android Auto. In my search for Wireless Android Auto Dongle, it was found that they are quite expensive, upwards of Rs. 6000, and that not having very good reviews. So I looked for other solutions, and after some searching, I got a way to set up Wireless
Android Auto using a Raspberry Pi Zero W.
Things Required:
- Raspberry Pi Zero W
- A Raspberry Pi Zero W is a very small, cheap model with on-board Wi-Fi and Bluetooth. Its easily Available on Amazon or any other Ecommerce Portal. I bought it from Silverline Electronics at the Price of Rs. 1240.
- Any OEM Mirco USB cable is fine.
- SD Card of Any size of card is fine, as more or less, we need 32 MB space. You will also need an SD card reader.
- The head unit shall support a wired Android Auto and shall have a display screen.
Step-by-Step Guide
Download the Image File for the board from Github
-filename = raspberrypi0w for Raspberry Pi Zero W

The Image file size is around 32MB in size.
Now its time to Flash image to the Raspberry Pi Zero W Board
Download and install BalenaEtcher. It's a tool that will help you flash the image to the SD card.
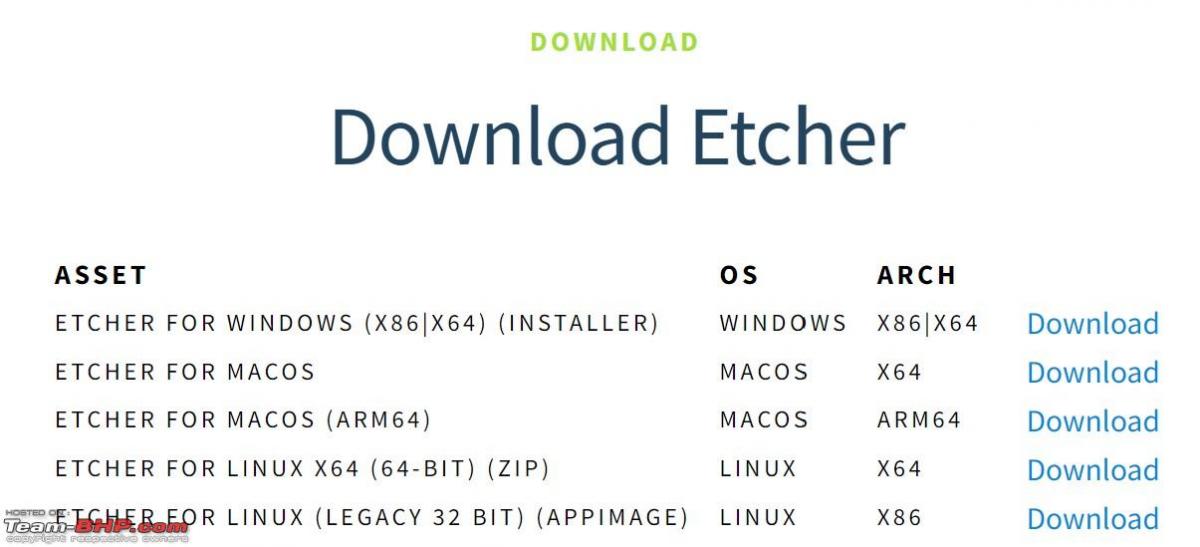
Connect the SD card to your PC using an SD card reader.
Launch BalenaEtcher and select the 'Flash from File' option. Choose the downloaded image file.

Now select the SD card from the list and hit 'Flash'.


Click on "Flash!" to start loading the image onto the SD card. The process will take a maximum of one to two minutes.

Once it has finished flashing, unplug the SD card, and then plug it into the Raspberry Pi board.

Installation in the Car:
Attach your Android phone to the car head unit using a USB cable and then make sure the Android Auto connection opens up on the display inside your car.
Unplug the Android phone from the car's head unit.
Connect the Raspberry Pi board to the car's head unit using the USB cable. Make sure that the SD card flashed is inserted properly on the Raspberry Pi Zero W board itself.

Wait for around 10-20 seconds for the green LED on the board to glow.
On your Android phone, go to the Bluetooth settings, and you will find "AndroidAuto-Dongle" or "AA Wireless Dongle". Pair with your phone and give permissions if needed.

Then, on the Wi-Fi settings on your phone, you shall find "AAWirelessDongle". You just connect to the password
ConnectAAWirelassDongle
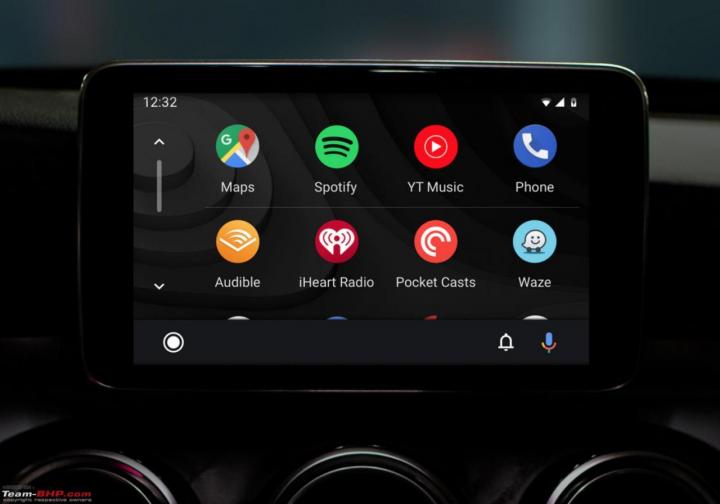
Android Auto should appear wirelessly on your car screen.

Technically, this setup worked flawlessly for my Raspberry Pi Zero W. I got absolutely all the features of the Android Auto on my Nexon. I have not tested it in another car yet, but it should work as long as the head unit supports wired Android Auto.
One may use the cover type that can accommodate a heatsink for the board to stay cool during operation. The best-recommended type is the cover with space for a heatsink which is easily available in Amazon or any other ecommerce site.
The entire expenditure is as below:
- Raspberry Pi Zero W: Rs. 1240
- SD Card: Old Card lying around. (Rs.250 by value)
- USB Cable: Old cable lying around. (Rs.100 by value)
- Cover with Heat Sink: Rs.350
- Total Costs upto Rs. 1940
Techniclly, we are having a DIY Wireless Android Auto Dongle under Rs.2000.
Read BHPian comments for more insights and information.
Find Car News
Just News


About Us