News
DIY: Changed the ATF fluid and filter on my Innova Crysta
This procedure is similar for all AT Gearboxes without dipstick
BHPian varun560061 recently shared this with other enthusiasts.
DIY β AT oil replacement for Innova 2.8 - AC60
As most of them who owns a Innova / Fortuner / Hilux or any AT car for that matter, the service centers are not happy to replace the AT oil stating its sealed for life.
I had the similar experience and after requesting a lot they agreed to replace the oil but not to flush and replace the filter. Basically they were just ready to drain the oil from the oil pan and fill back in, which is not the correct procedure.
I wasnβt convinced and started going through various forums and videos to understand how it is done properly. Let me not waste your time with too much of write up and lets straight away go into details.
Odo at the time of Oil change was 1,11,800 kms
Parts Required:
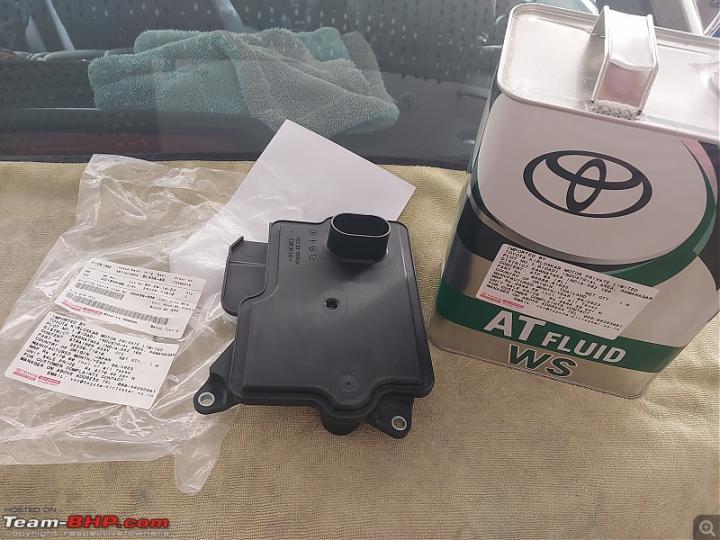
- 8 Ltrs of Toyota WS oil (each can is 4 ltrs) β Part No 0888681855 β Approx. 4800rs each time
- AT oil filter β Part No β 3533071010
- Oil Pan Gasket (optional)
- Brake cleaner / Carburetor cleaner (any make)

Tools Required
- Hose clip remover / nose plier
- 10 & 12 size ratchet / Tubular spanner
- 24mm Socket / Spanner
- Bucket & Jug with measuring scale
- 12v pump (funnel and pipe could be used in absence of pump)
- Allen key β M8
- IR thermometer
- Waste Rags
- Plastic prying tool (screw driver tip can be used carefully)
- Paint brush / Soft brush
- Jack stands

Note : Here I borrowed a mechanics space with a work pit which I could go under the car when the workshop was closed.
Step 1 β Loosen the filler bolt (24mm) on the GB (passenger side), this is to allow air in for the oil to flow out. Then drain the oil from the pan by loosening the drain plug with an Allen Key (m8 or equivalent in the ratchet set) . Make sure to drain the oil into the bucket which has measuring scale.
In my case I did a jugaad of marking the white bucket with 1 ltrs scales.

Step 2 β Unscrew the pan protector held with five β 12 size bolts. Once the protector shield is off, unscrew eight β 10 size bolts around the oil pan. Use prying tool / flat head screw driver to pry out the pan slowly.

Step 3 β Once the pan is off, let the oil drip out. Clean the oil pan and the 3 magnets with the brake cleaner and let it dry. My suggestion is to use thick paper towels to clean them up.
In this step you could notice how much wear & tear the GB has gone through by seeing the thickness of sludge on the magnets.


Step 4 β Time to remove the filter. Unscrew three- 10 size bolts holding the filter. Make sure you place the bucket before you pull the filter out. Slowly full the filter downwards, its just held by the O ring on the neck.
Once the filter is out, soak the paper towel /rag with brake cleaner and clean the surface including the pan mating surface.

Step 5 β Just apply a thin coat of new oil on to the new AT filters O ring and push it back into place and put back the 3 screws holding it. Make sure not to over tighten them as theyβre held on to aluminum valve body. Be careful around the filter as there are electronic valves / wires around them.


Step 6 β Check for any cracks or cuts in the oil pan gasket, if none put back the cleaned pan using 8 -10mm bolts. Tighten the bolts in cross pattern. Clean any oil drips around the pan or GB post installation of the Pan.

Step 6 β Check for any cracks or cuts in the oil pan gasket, if none put back the cleaned pan using 8 -10mm bolts. Tighten the bolts in cross pattern. Clean any oil drips around the pan or GB post installation of the Pan.
Continue reading BHPian varun560061's report for more insights and information.
Β


.jpg)


