News
DIY: Adding more ambient lighting to my Fiat Linea T-Jet
FIAT in all its wisdom, decided to leave this feature out for the Indian variants & I wanted it real bad. Not that a lot of people travel in my car and fumble around for the door handle, but I wanted it.
BHPian PatchyBoy recently shared this with other enthusiasts.
I came across a pic of the door pad of an European version of a FIAT. It had ambient lights in the door handle recess. How convenient. People coming along in your car now don't have to fumble around to locate the door handle. FIAT in all its wisdom, decided to leave this feature out for the Indian variants & I wanted it real bad. Not that a lot of people travel in my car and fumble around for the door handle, but I wanted it. They have it. So, I must have it.
This is how it looks OE:
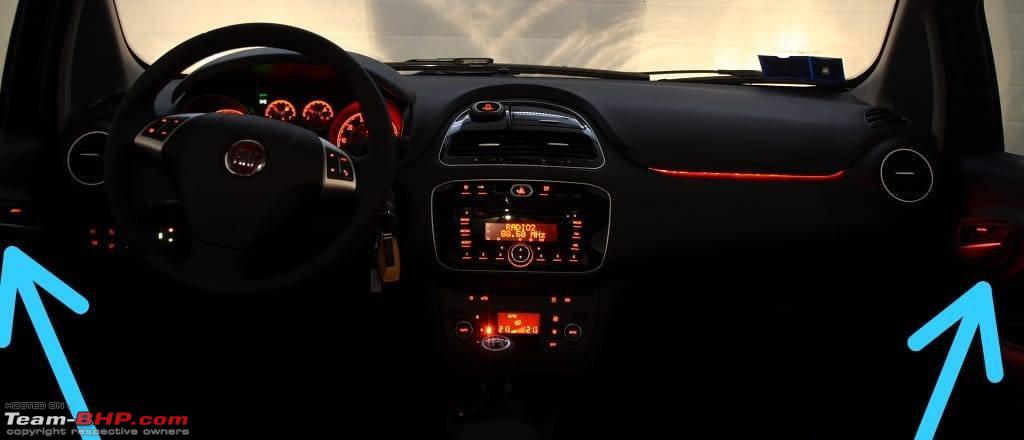


Here is an aftermarket install:
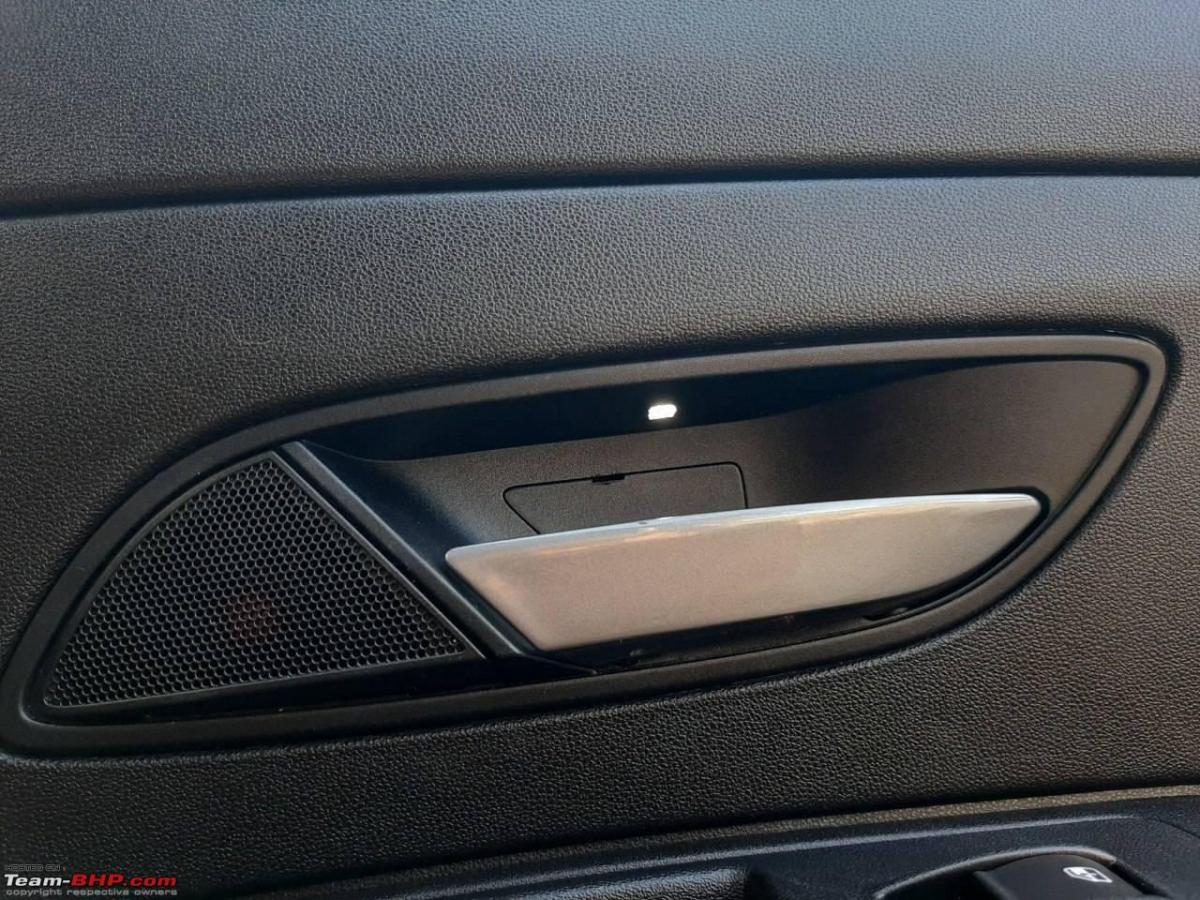
My conditions were - it shouldn't be "in your face" loud. The color should match OE ambient lights & button backlight as closely as possible. The LED must be concealed & look as OE as possible. Replacement of any components on this circuit, if ever needed, must be relatively easy. This meant a modular install. The thought process was - If the LED goes bad, its easy to replace. If the resistor goes bad, still easy to replace. If the window switch panel needs to be removed, easy to do. Just one more connector to disconnect. If the door pad needs to be removed, same as now. If the OE PCB goes bad - you are on your own.
So, as usual, I started doing the homework. I found Cree 5 mm LEDs in Amber to be the closest match. Special thanks to fellow FIAT owner Anil TG, for not only recommending them, but also sending a few over for this project. Then I experimented with resistor values - ranging from 1KΩ all the way up to 22KΩ. The recommended value for maximum brightness is 625Ω, when running on a 14.4V power source. After much consideration & lot of experimentation, I decided to go with 5.6KΩ, based on how I planned to mount the LED. For good measure, I connected the LED to a battery pack & left it on all night. Next day morning, neither the bulb, nor the resistor was even warm to the touch. The resistor value may differ, depending on the mounting approach used. In my case, the LED is a good 25 mm above the roof of that recess.
First step is to remove the door pad. It is described in another thread of mine. So will not repeat here.
Here are the steps:
Step 1 - The lighting window
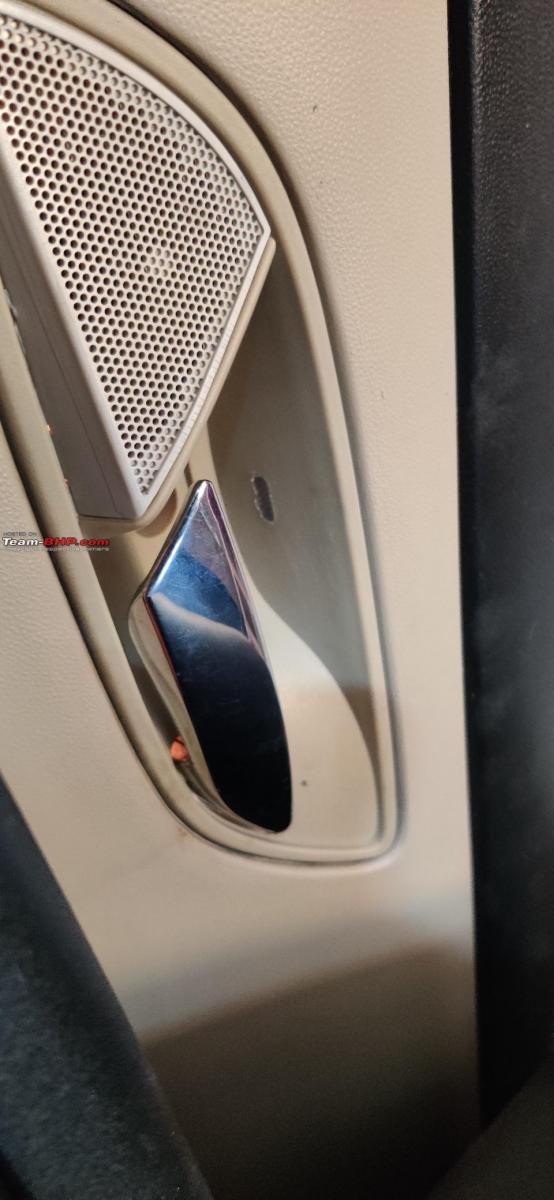
Make a hole in the roof of the door handle recess. Apply a piece of masking tape to the exterior covering the hole we just made & fill the hole with hot glue, from the other side. Press a coin to the other side, to get a nice flat filling. Remove coin & tape after the glue hardens. Takes just a few seconds. Now you have a slot filled with translucent glue - diffuses the light a bit & prevents dust ingress into the door pad.
After taking the door pad out, I first cut a slot in the roof of the recess. On the first door I tried using a Dremel, with not so nice results. For the remaining doors, I used an old soldering iron to melt the hole, with much better results.
Step 2 - Wiring
For this, I decided to solder wires directly to the OE PCB, instead of splicing wires.
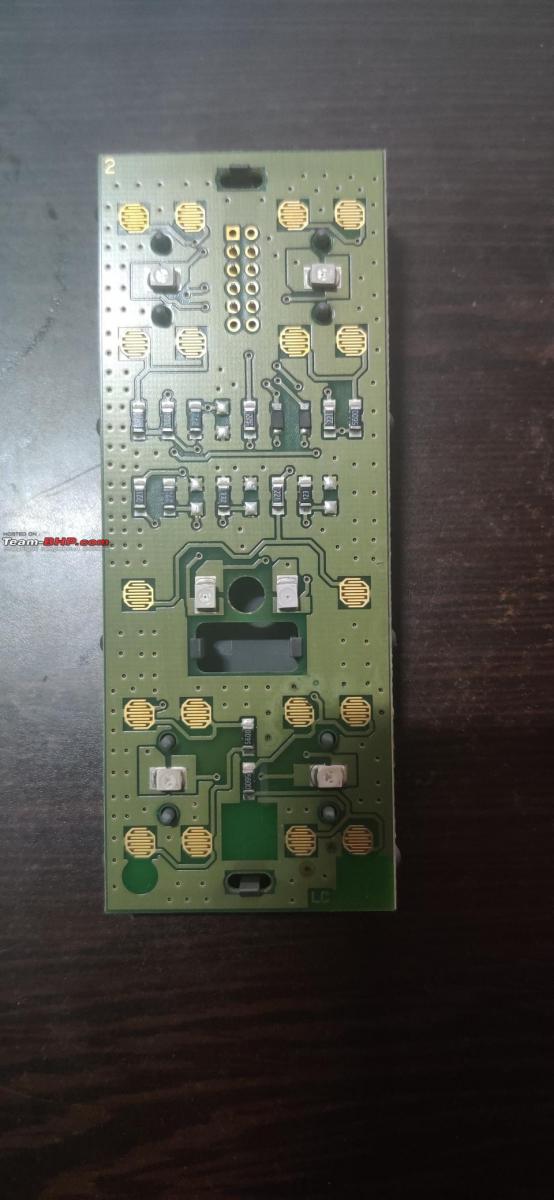
The driver door PCB has switches for all four doors & a switch for disabling rear windows. Ignition power is supplied on pin 3 (+ve) & pin 5 (GND) to that PCB. Near the pin headers, there is conveniently placed hole. So, I soldered wires to those pins, routed them through the hole & assembled the PCB back in its enclosure and soldered a JST 2 pin connector (dismantling is very easy. Anyone who looks at it, must be able to figure out how to take it apart).
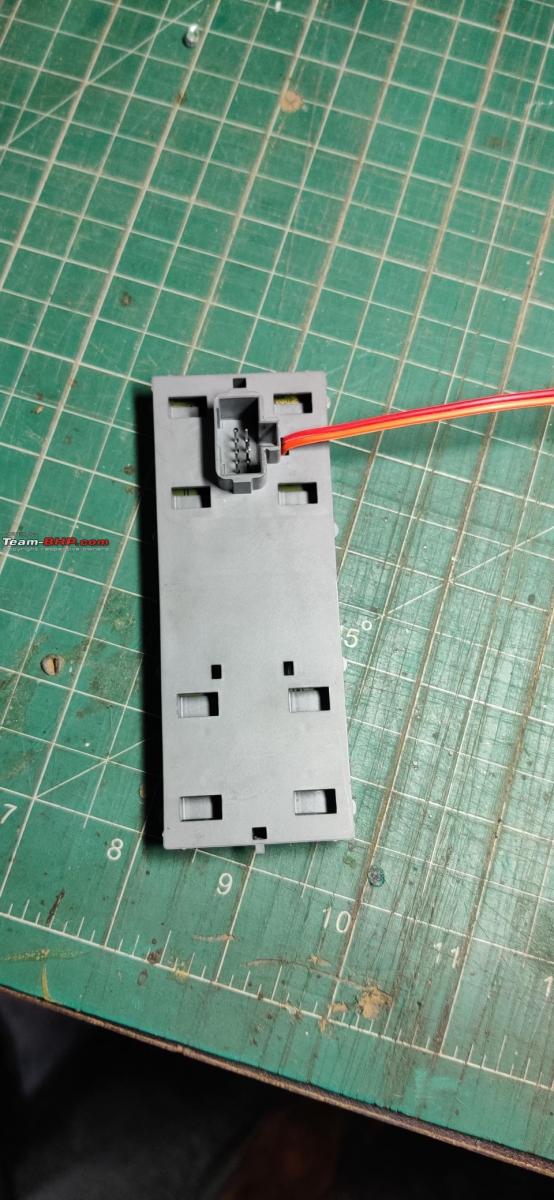
The rear door has a very simple circuit & gets power on pins 1 (GND) & 3 (+ve). In this case, there are no holes available. There is ample space above the PCB in the enclosure. So, I made a hole in that area, soldered two wires to pins 1 & 3 and routed them outside the enclosure and soldered a JST 2 pin connector. The connector is then hot glued to a spot near the OE connector. This will allow the switch panel to be detached, by disconnecting one additional connector.


Step 3 - Preparing the LED
I cut small strips of perfboard, soldered the LED to one end, then the resistor & a 30 cm length of wire to the other end of the perfboard. The counterpart of the JST connector is on the other end of the wire. The entire perfboard assembly was covered in heat shrink, for added protection.

Step 4 - The bulb holder
I searched a lot of 5 mm LED holders which will allow mounting of the LED, without jutting out through the roof of that recess. Couldn't find any. Then I found a few bottles of eye drops (Suzan recently had a cataract surgery & these were empty bottles, which never got thrown out). These caps were the ideal size and shape. So, I drilled a 5mm hole through the top. The LED fits there snugly. However, these caps were white, which means a lot of light spillage into the door pad. So, I painted them black. I always keep a bottle of black nail polish handy, just for such occasions
So the now black eye drop cap gets stuck to the door pad with hot glue, directly above the slot we created in step 1.

Step 5 - Finishing up
Just insert the LED into the hole on the holder, route the wires to somewhere near the switch panel opening. Fit the door pad back in the car, reach through the opening where the switch panel goes, get the OE connector & the newly added connector, plug them in & push the switch panel into place. Job done.
This is how it will be connected in the car:
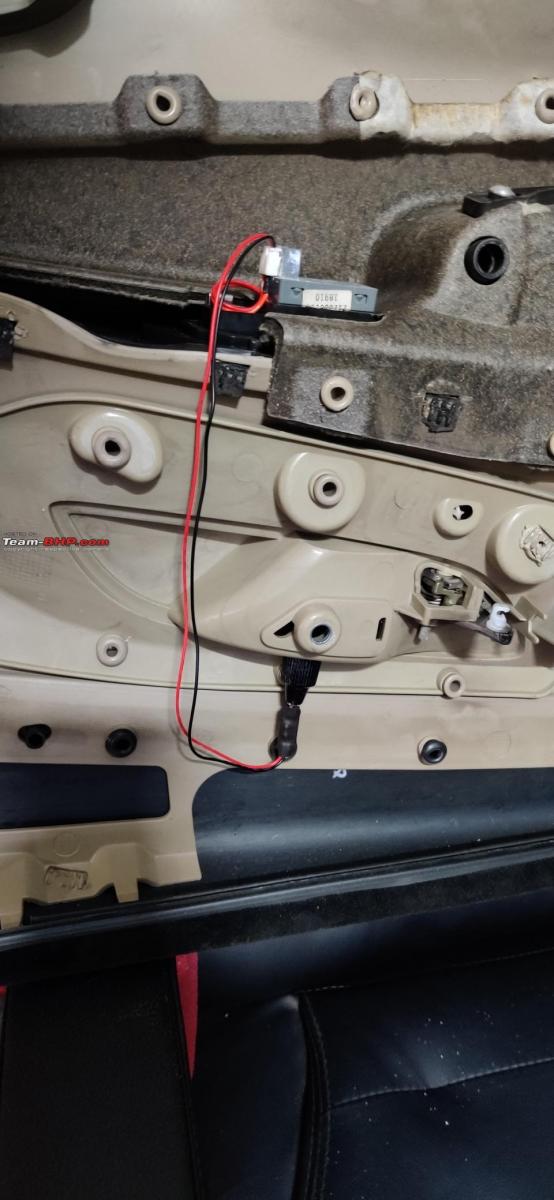
This is how it looked, when lit up on the bench, powered by a battery pack:
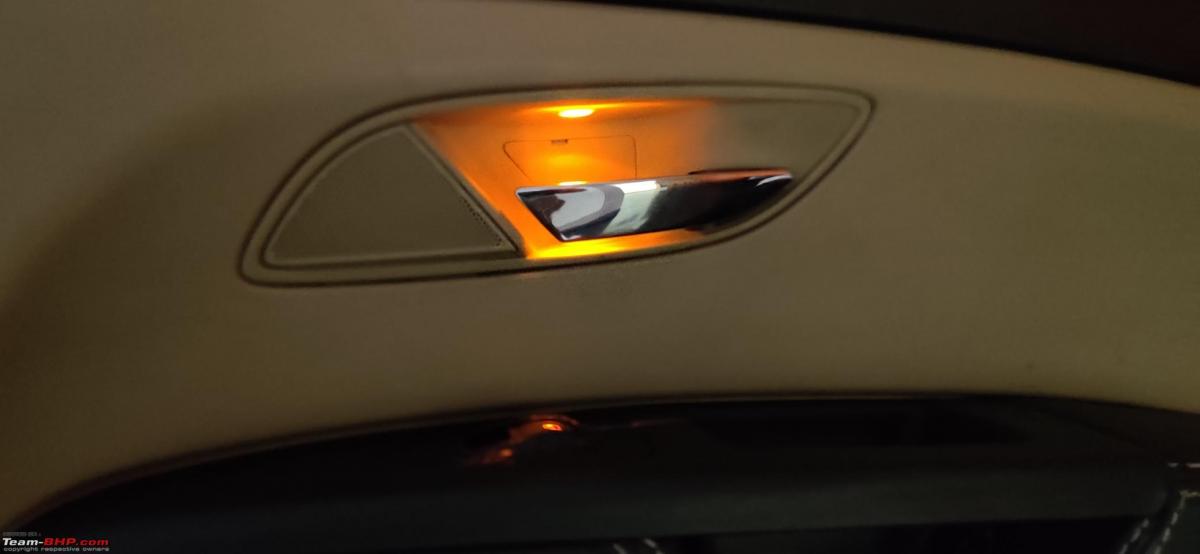
Here are some pictures after completing the install in the car. Now I hope anyone travelling in my car, who is getting dropped off late at night, can locate the door handle easily. Jokes apart, I like to do these things, just for the joy of doing it, even if the feature will be seldom used.
Driver door closed as viewed from the driver seat:

Driver door open, lit only by the dome lights in the car:
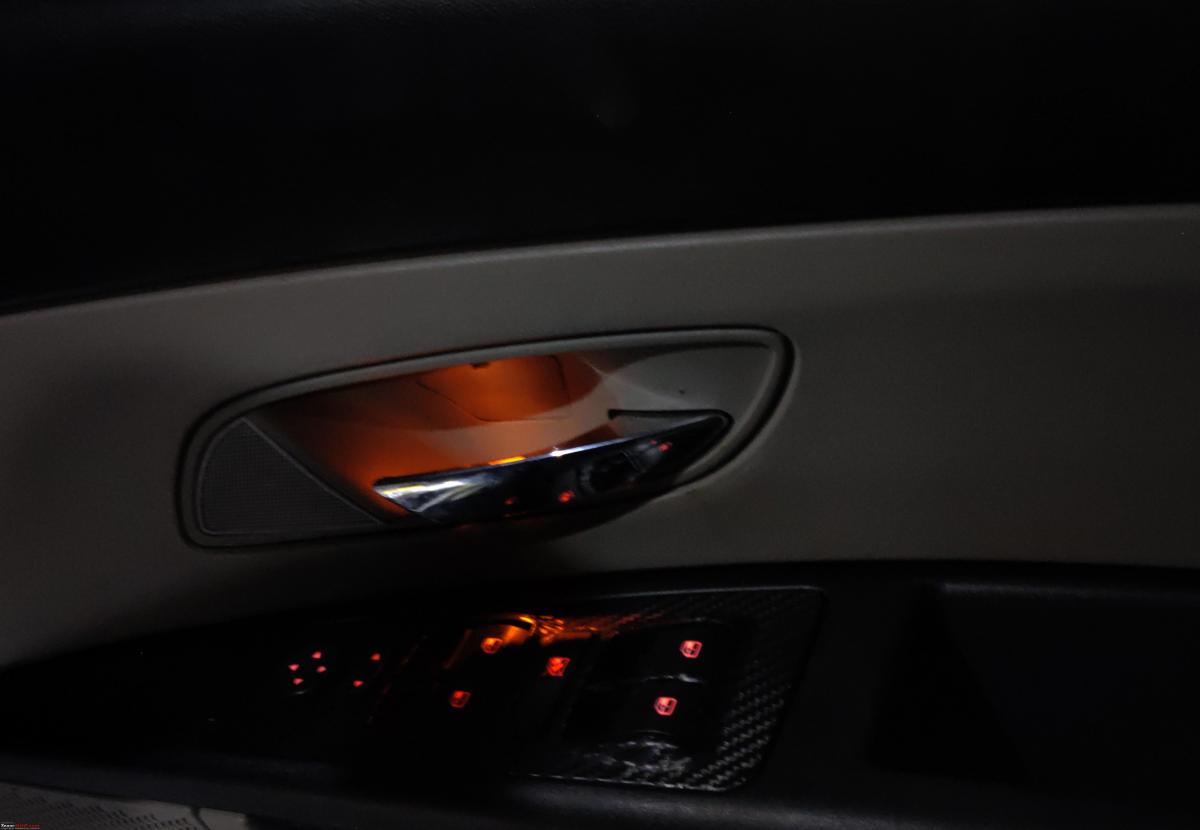
Rear door closed as viewed from the rear seat:
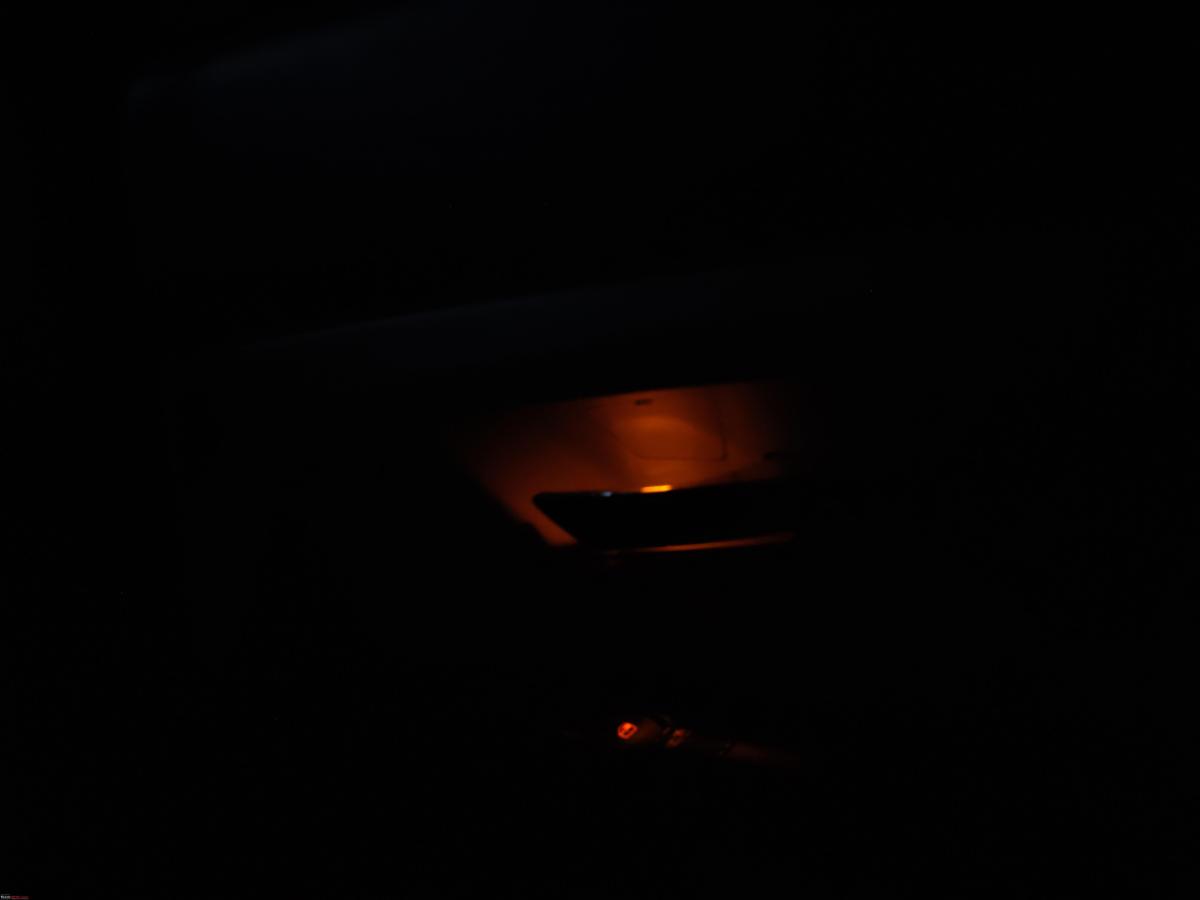
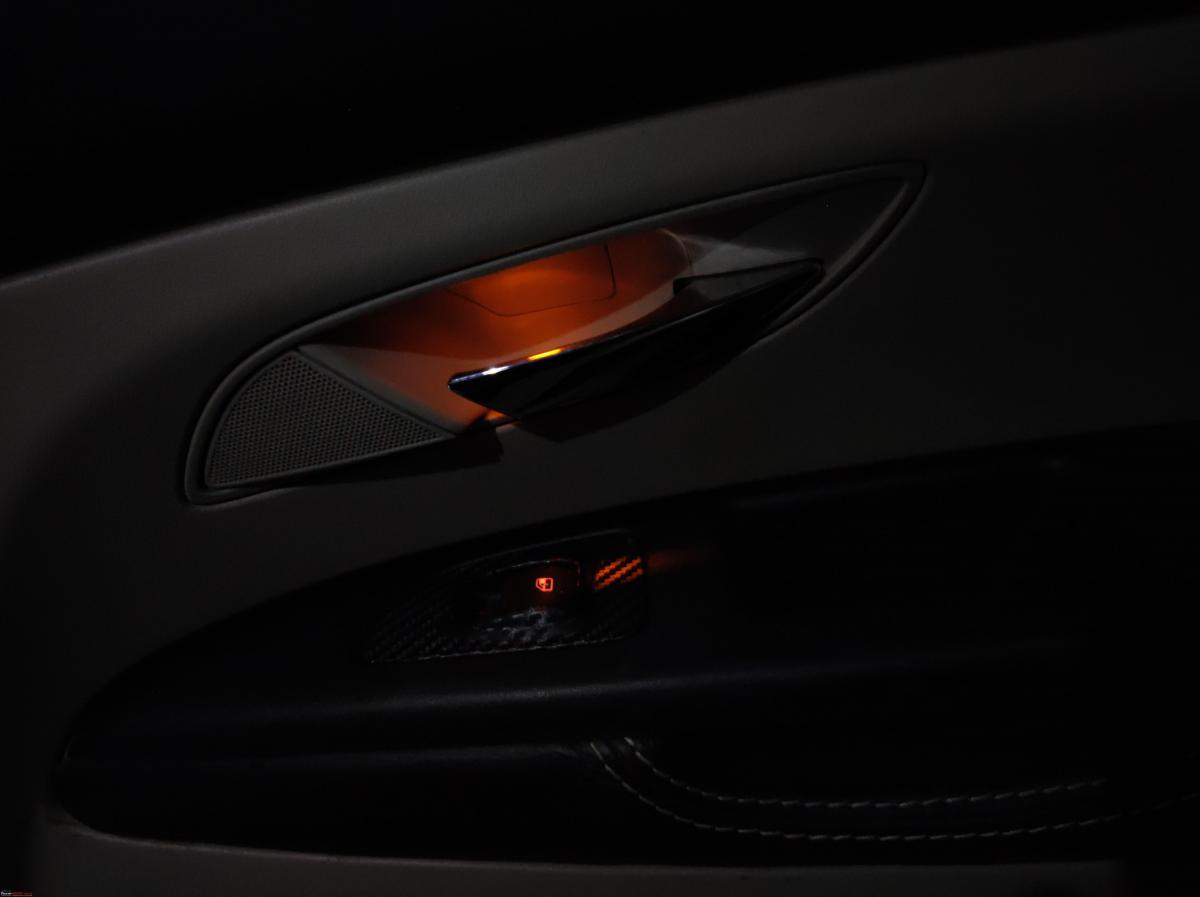
Rear door open, lit only by the dome lights in the car:
Check out BHPian comments for more insights and information.


