40,000kms Update: DIY Dashcam + infamous Skoda beading rattles
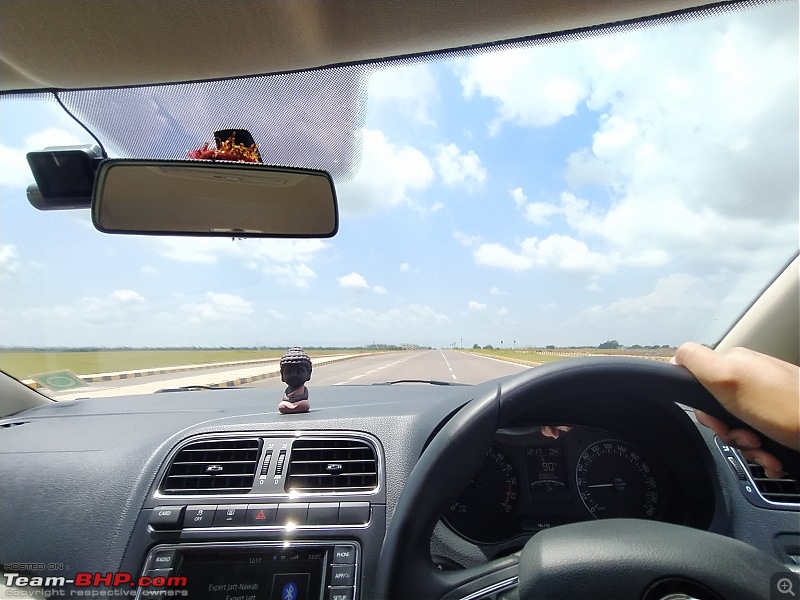
It feels like I just met you yesterday and I did not even realise that it has been two whole years since you came into my life. It surely has been one hell of an amazing journey together from beautiful motorways to river bed to non-existent roads across 5 states, but you never let me down. I cannot express how proud I feel of my Czech beauty and more so after the lovely dsg+TDi was axed. I promise you dear that I will nurse you till your extinction. Enough of blabbering now and coming to the fact of the matter:
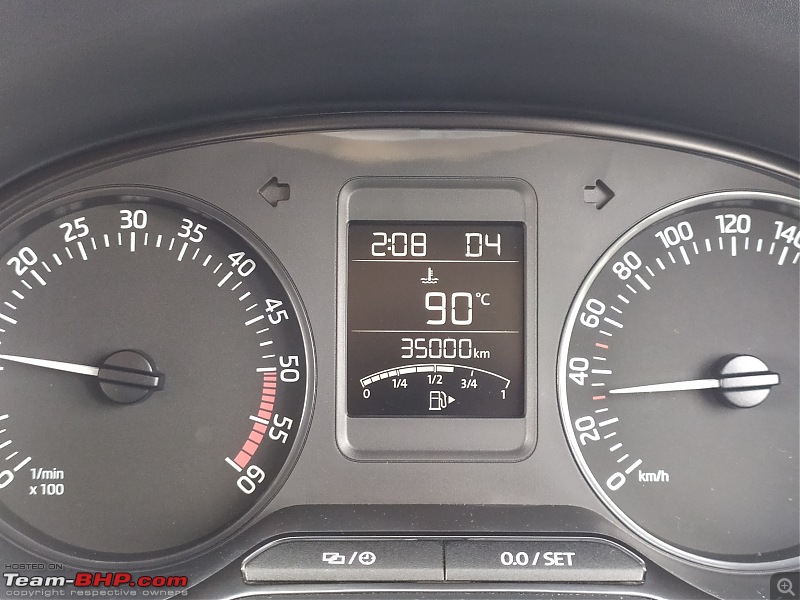
How has been these two years & 40,000kms and the most talked Skoda A.S.S.?
I'm a really happy Skoda customer to be honest, and I find their after-sales experience way better than what people perceive. I feel like they are trying very hard to improve their image now and also since they sell fewer cars so service centre is usually not crowded and people listen to your service demands which unfortunately doesn't happen when I visit to get my other cars serviced here in Raipur.
What's new?
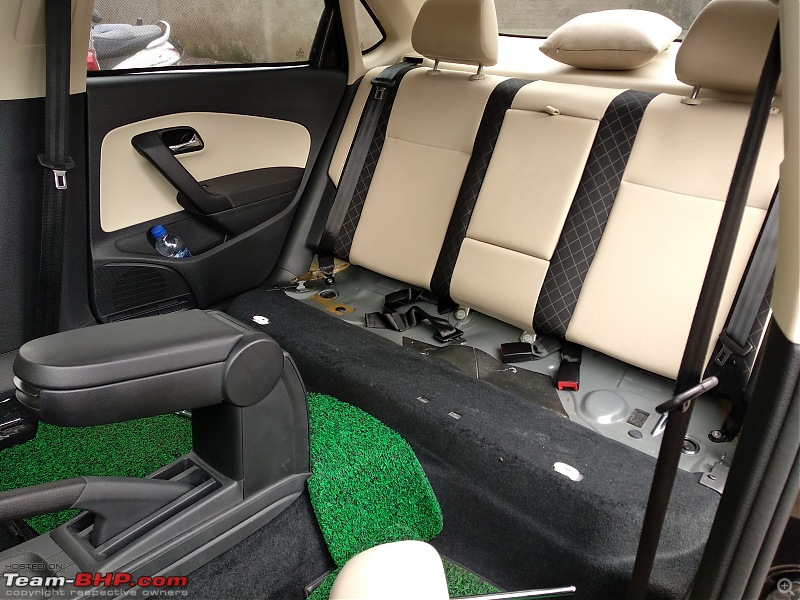
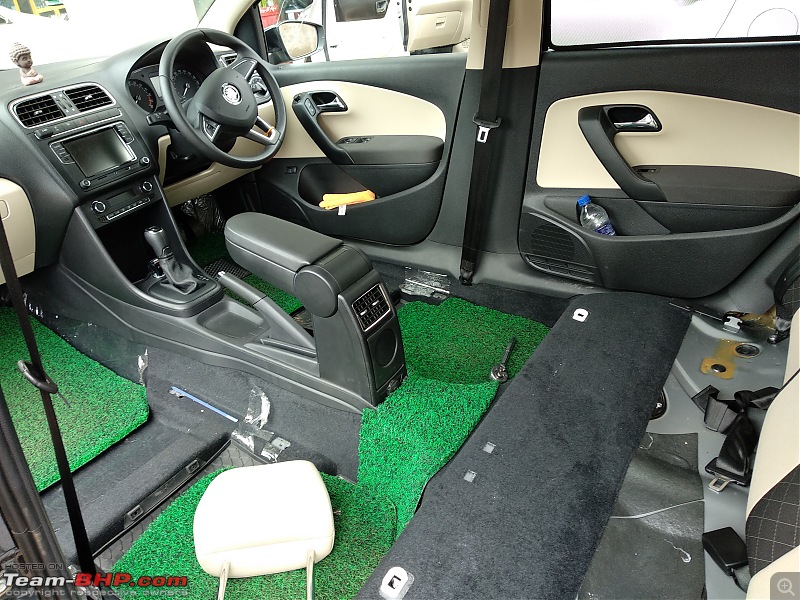
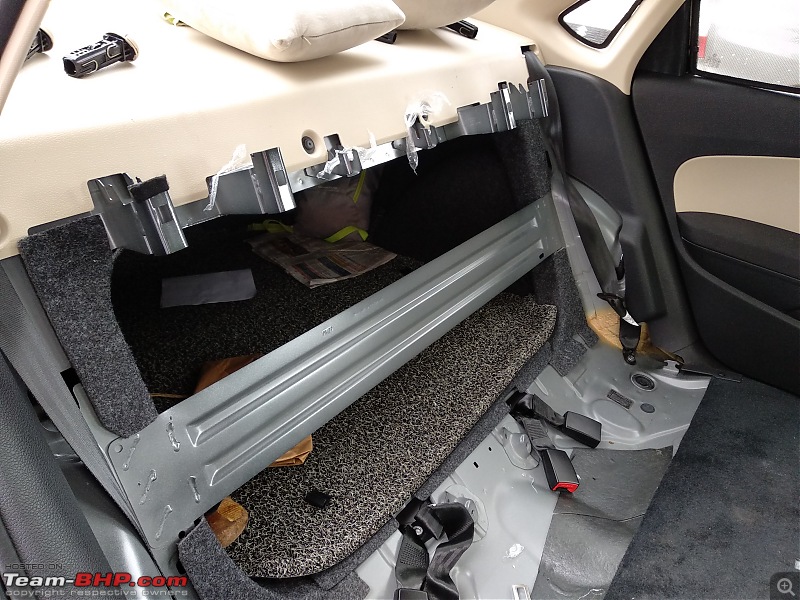
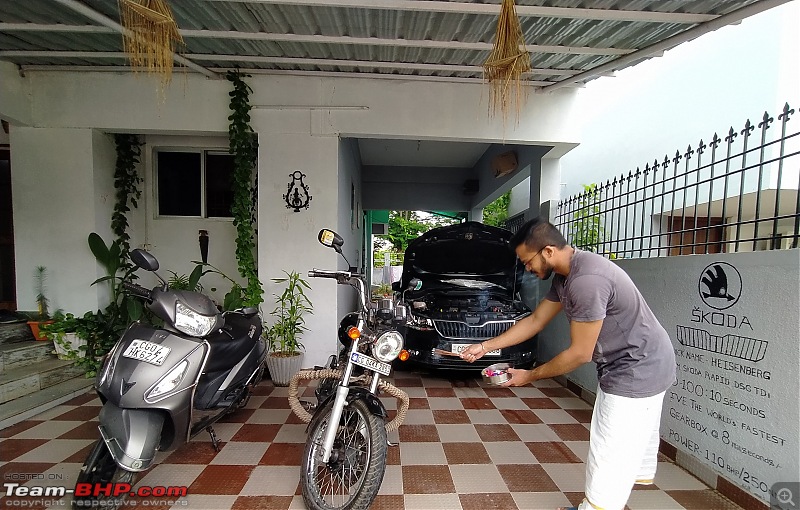
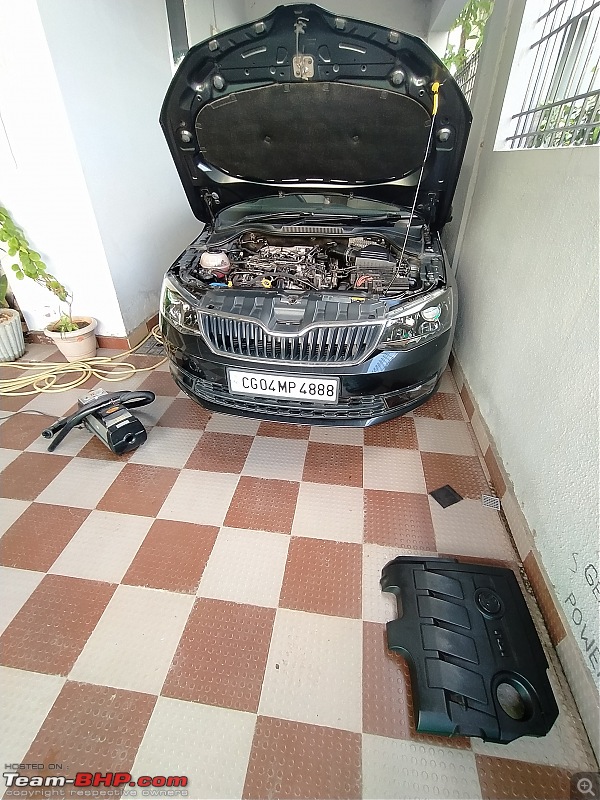
Had a bit of time in hand after a long while so gave my beauty some TLC session. Which includes dashcam installation, solving door rattles once and for all, headlight beam adjustment, tyre rotation and some cleaning, waxing, polishing etc.
A. DIY DashCam :
I bought 70mai dashcam pro before the import ban was announced and I got it from some seller based in Gujarat. IIRC it cost me around 5.5k including the GPS unit (which I feel is a useless piece of crap). I was not able to source a good quality hardwiring kit, so, for now, it has been plugged into the central 12V socket and I'm not much of DIY guy either so I don't plan to make one by myself (I know a thread exist here on DIY hardwiring kit).
Tools needed:- Prying tool
- Electrical tape
- Zip ties
- Gloves
- Scissors
- And a bit of time
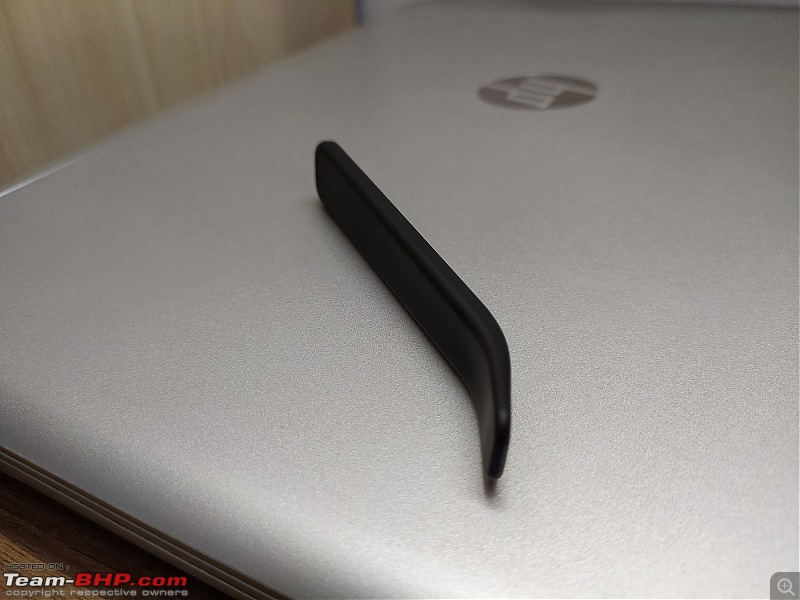
Here we go: 1. This is how the packaging looks 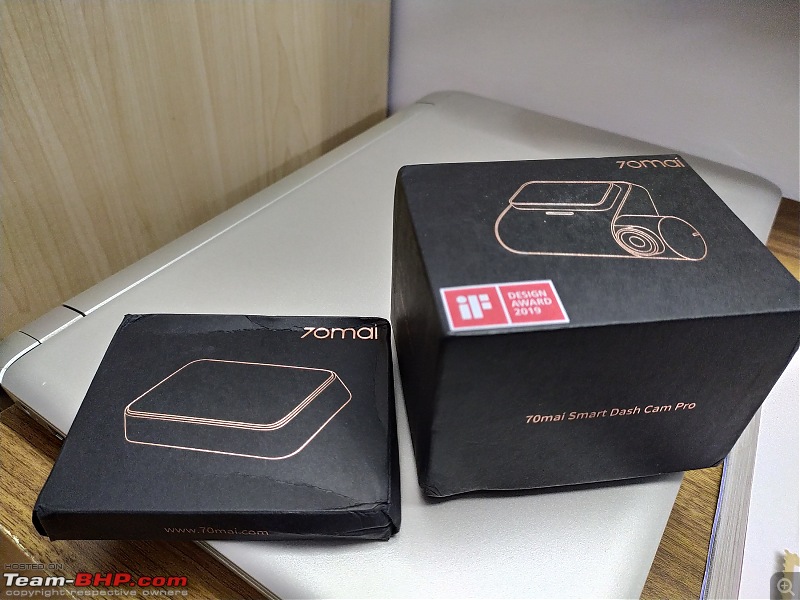 2. Prying tool is included in the package
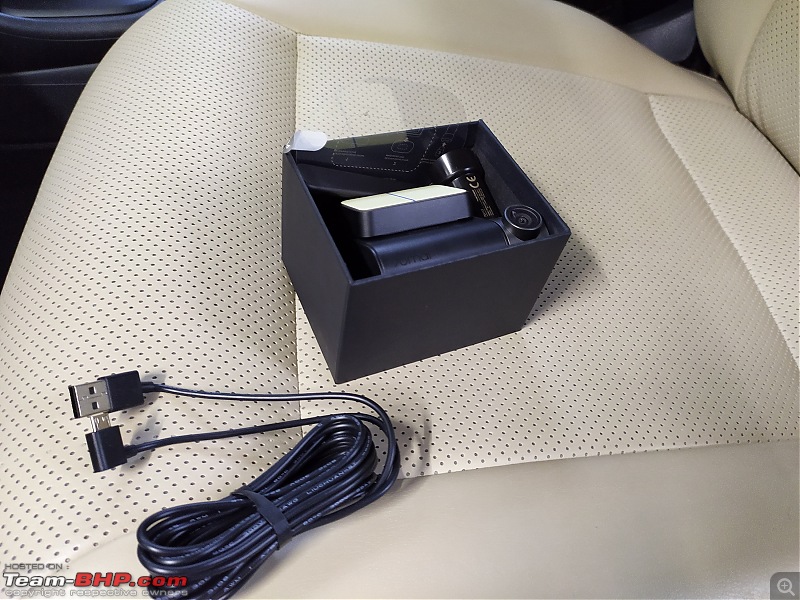
  3. Dashcam + mount + cable + adapter (memory card was bought separately)
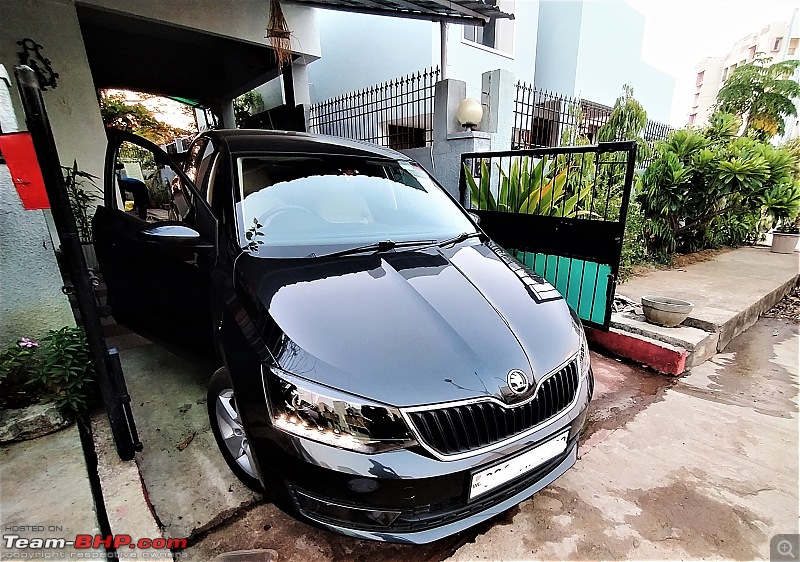
  4. Finding a working space as our garage is narrow
  5. Decided to go with this orientation
 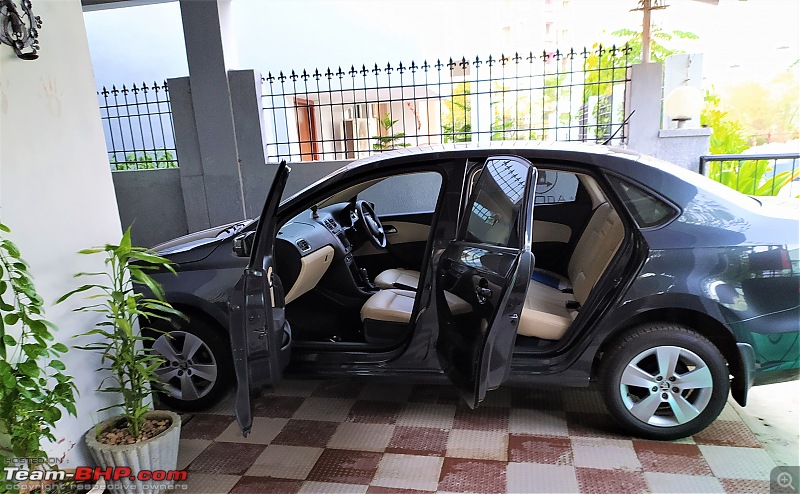 6.
6. First thing first- connected with the power source and ensured its working and did all the configuration setup like language etc before the final installation
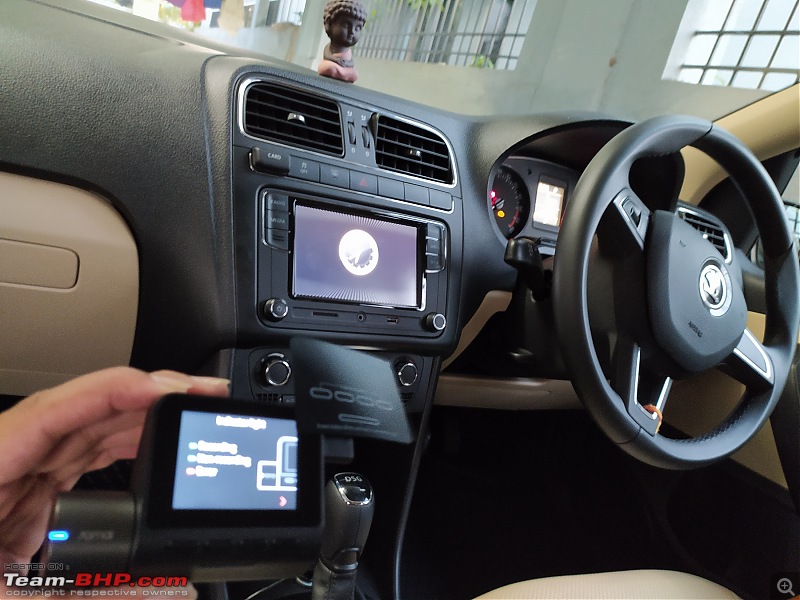 7.
7. This is where you would start with: A-pillar panel is held in place with the help of 3 V-clips. You can slide your fingers on the upper part of the panel where it meets the headliner and slowly start pulling it outwards. The fitting is so tight that you might feel as if the panel will break but trust me that's how its opened. I had my apprehensions on the same so I texted the legend of VAG DIYs
Gannu sir and he guided me through the process. Thank you again!
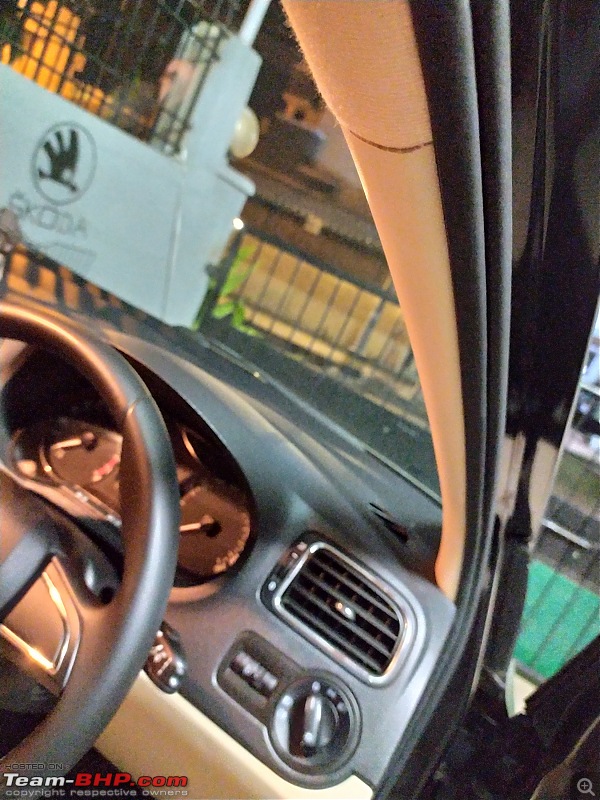 8. Once the first clip comes off, the rest will be easier to release and this is how it would look
 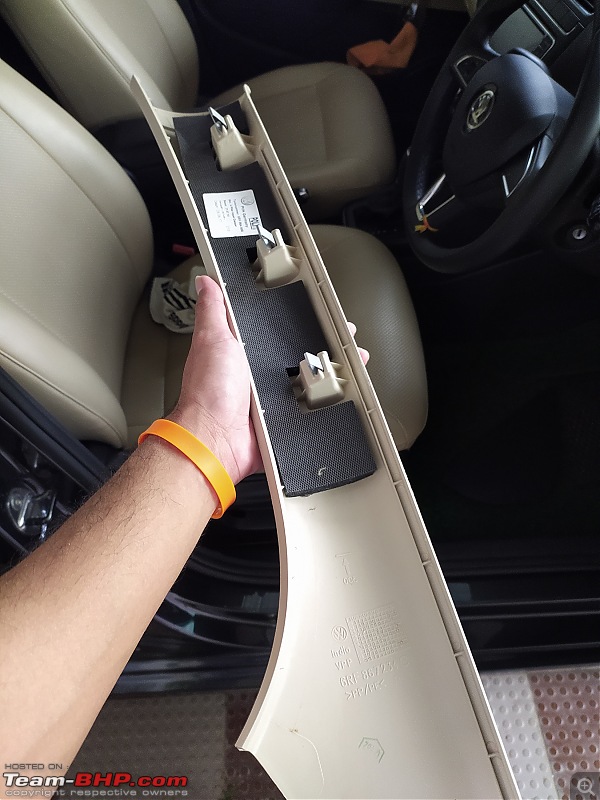 9. This is the tough guy
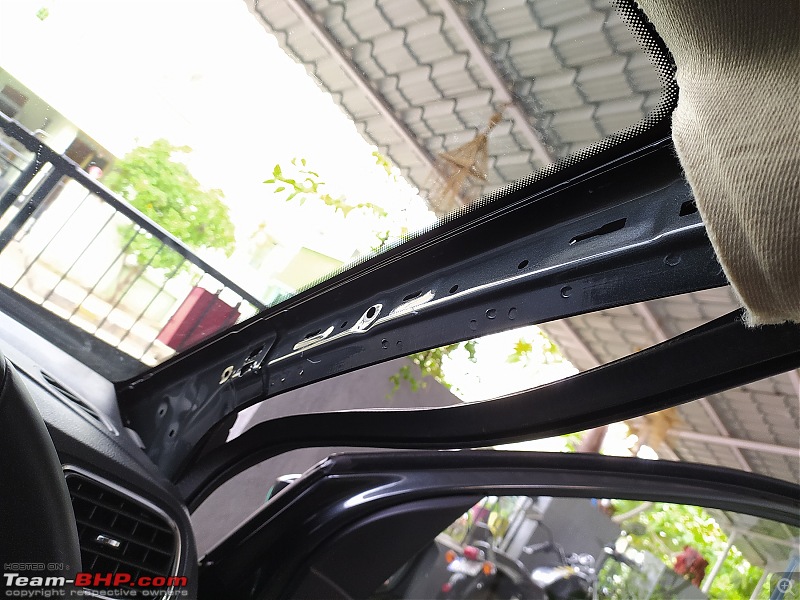
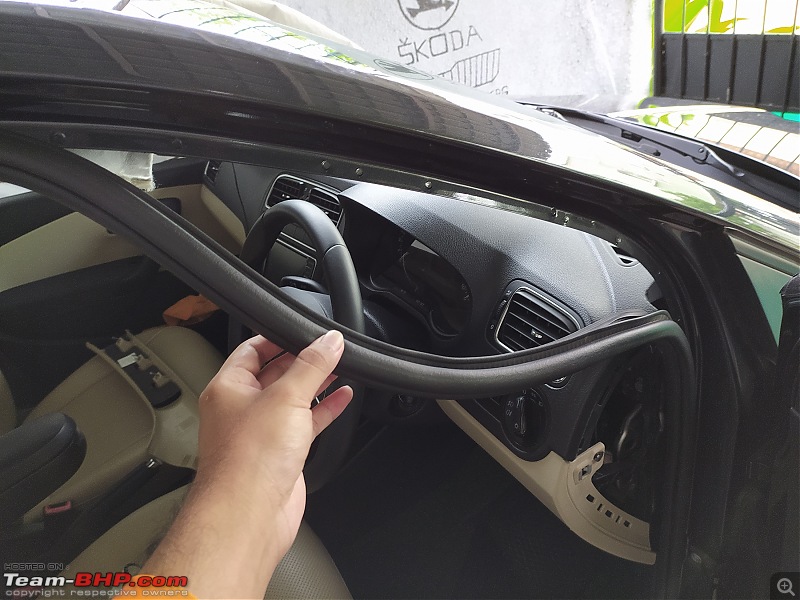
 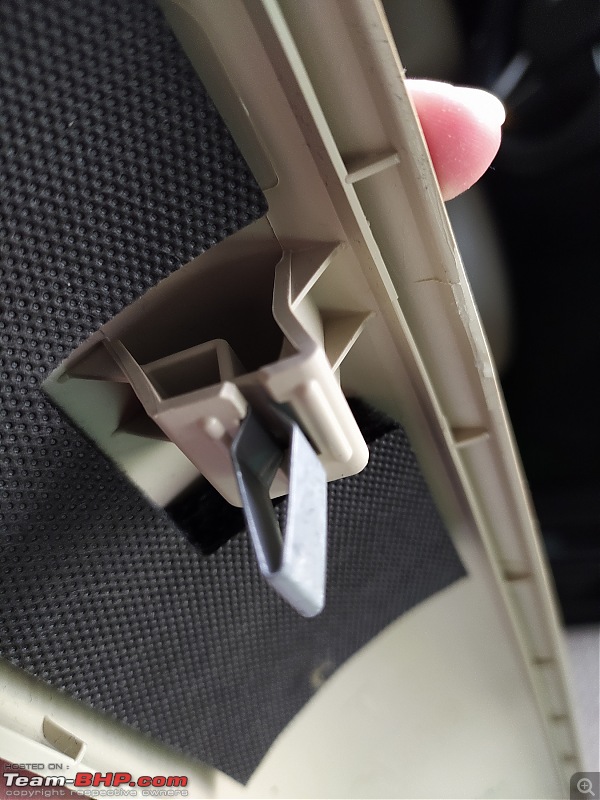 10. Now remove the door beading by simply pulling it outwards
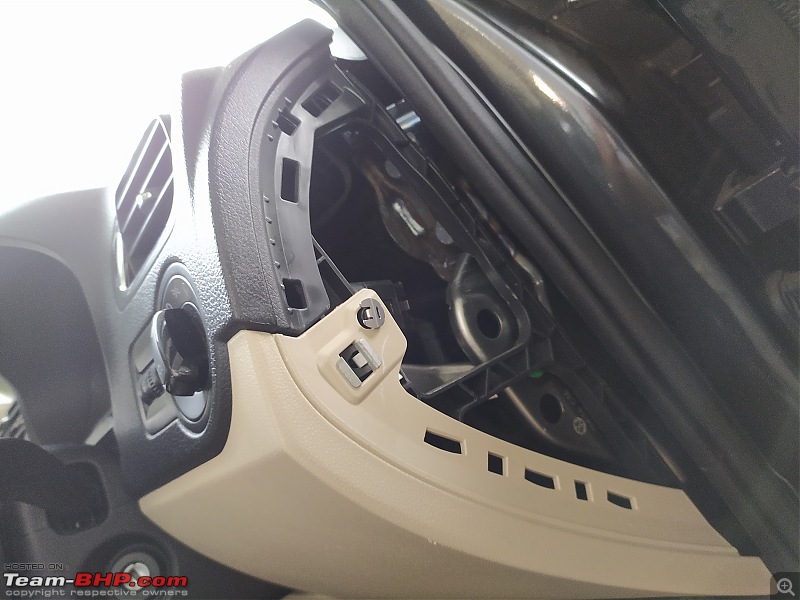
  11. Now use the prying tool to cleanly open the dashboard side panel, its held by a couple of clips and is easier to remove
  12. Now decide your dashcam position and start bringing the wire with the top-bottom approach
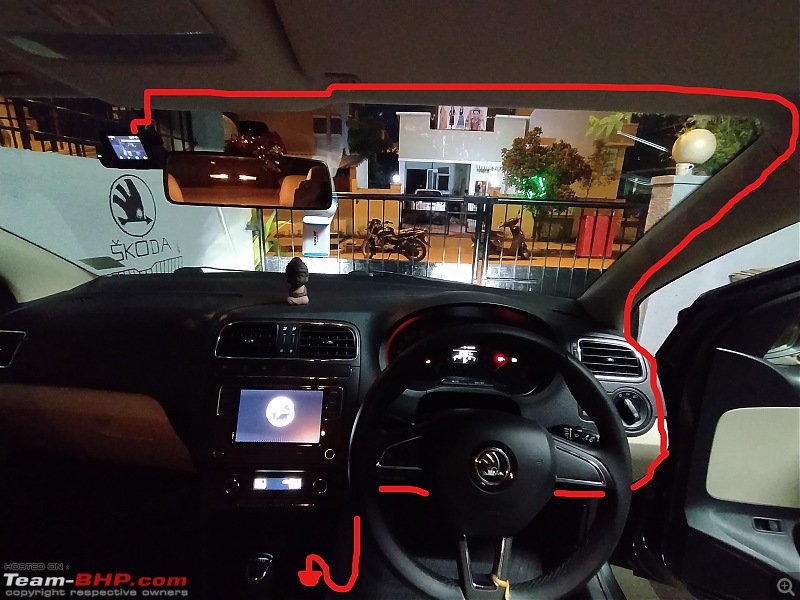
 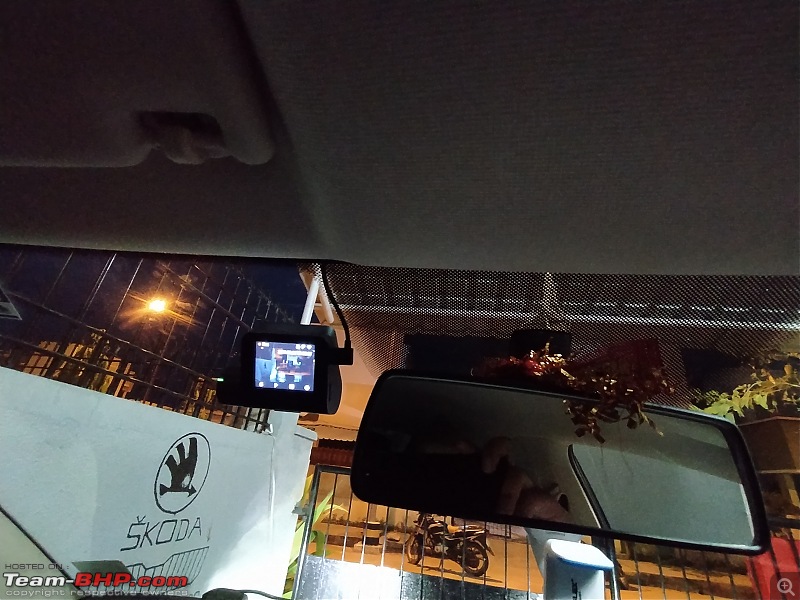 13. Tuck the wires under the headliner and bring it to the A-Pillar
 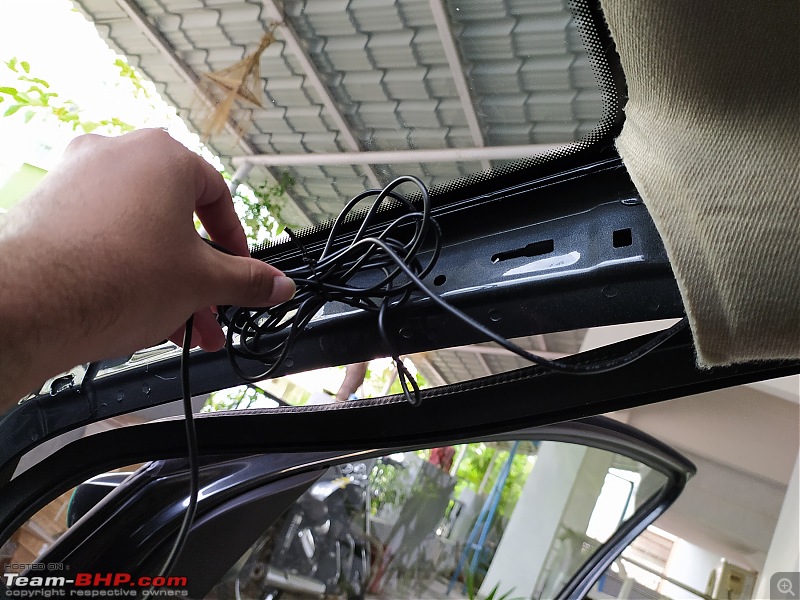 14.
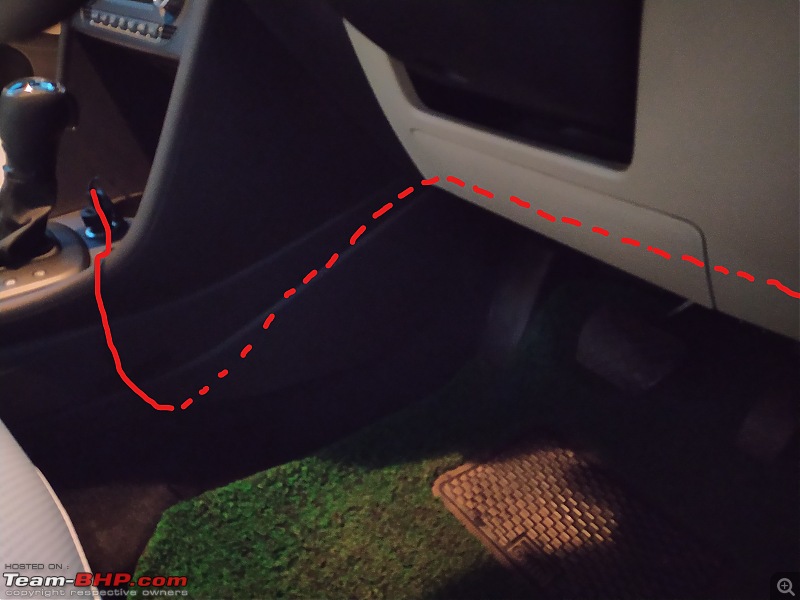
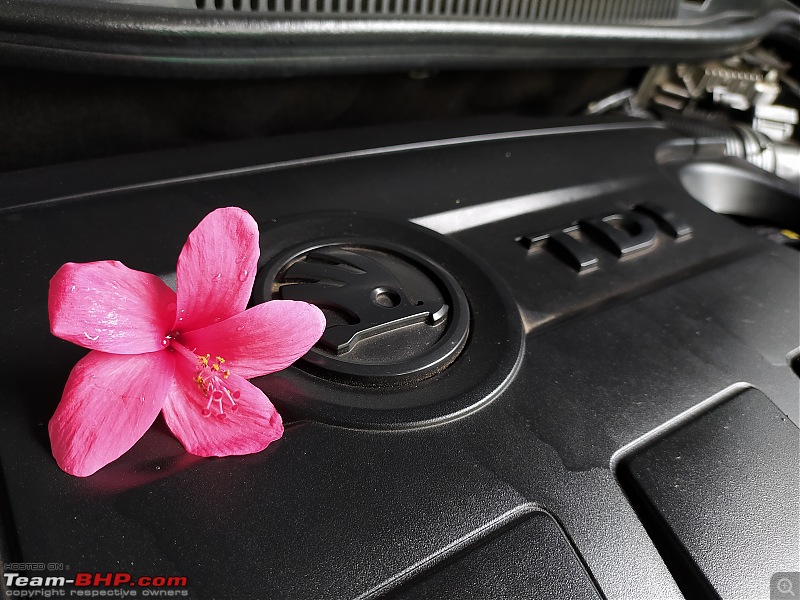
14. Now route the wire through dashboard side panel towards the footwell and the 12V Socket. While working on the foot well I found a couple of Audi logos

(Perks of a VAG)
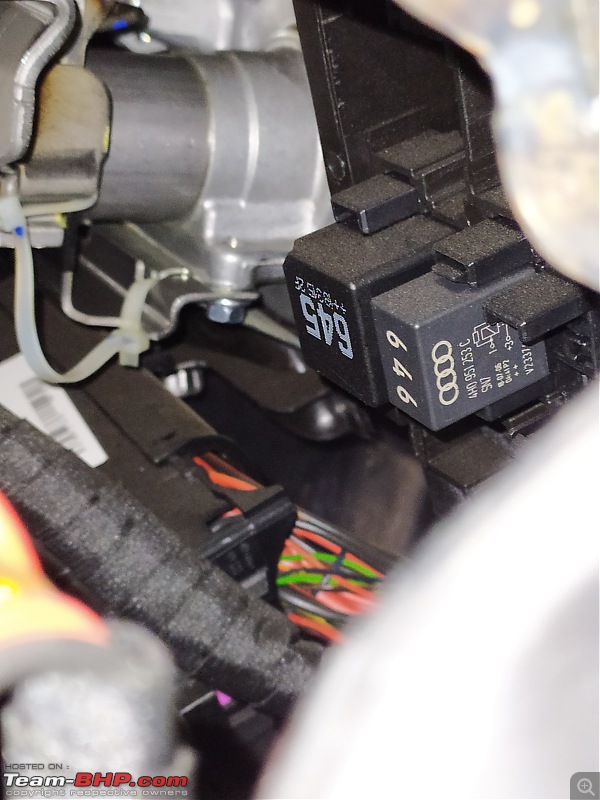
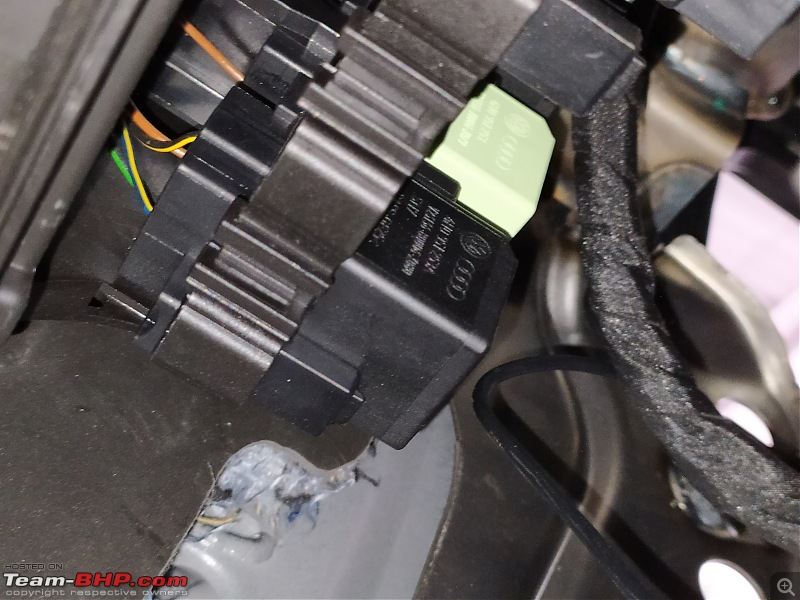 15. In the end make sure you use tape and zip ties generously and try to eliminate all the loose wirings
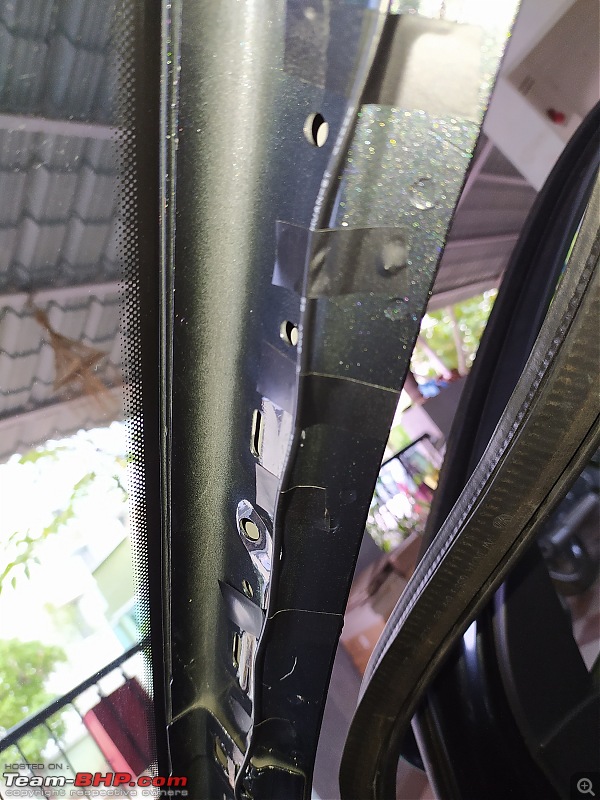 16. You are almost done here and now start putting things back in place and you would want to start with the beading first then A-Pillar trim
  17. This is how the wire has been tucked inside the centre console panel, making it almost invisible
  18. The Final setup
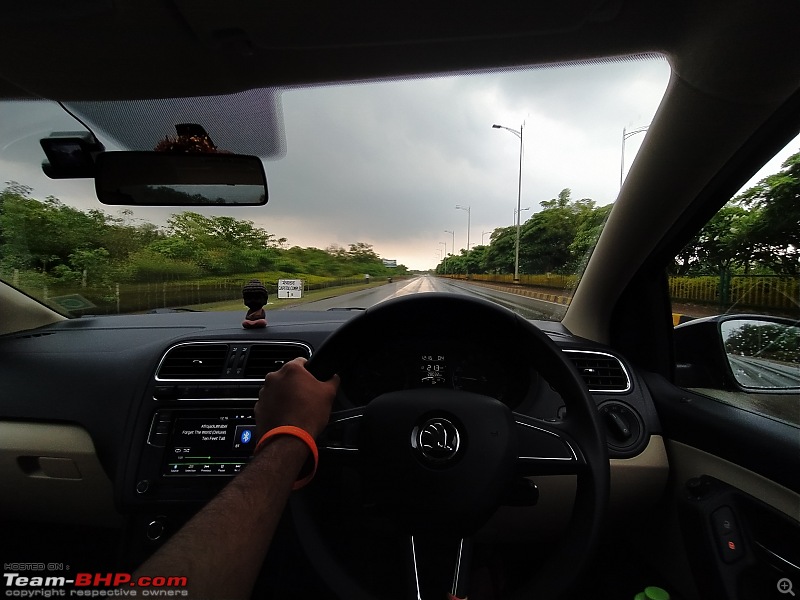
  19. Looks neat for now. Will plan hardwiring kit once I source a quality kit.
 B. DIY Door beading rattle:
I would like to thank Bhpian
Saisailendra for guiding me through the idea and the thread for the door rattles solution
Quote:
Originally Posted by saisailendra  |
Tools required: - Water purifier plastic pipe 1'4 (available on amazon)
- Scissors
- Micro fibre cloth
- Carnauba wax/Collinite
- Beading conditioner (I used formula1 protectant on beadings to make them soft)
This one is rather simple: 1. You will need this 1'4 pipe
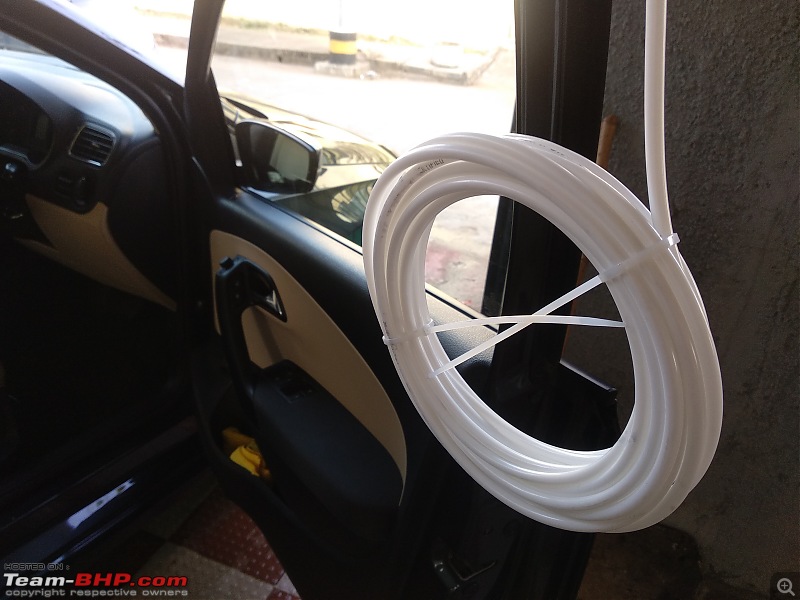 2.
2. Clean the beadings with a microfibre cloth and remove all the muck and dirt especially from the lower part and then apply conditioner on the beadings of all 4 doors
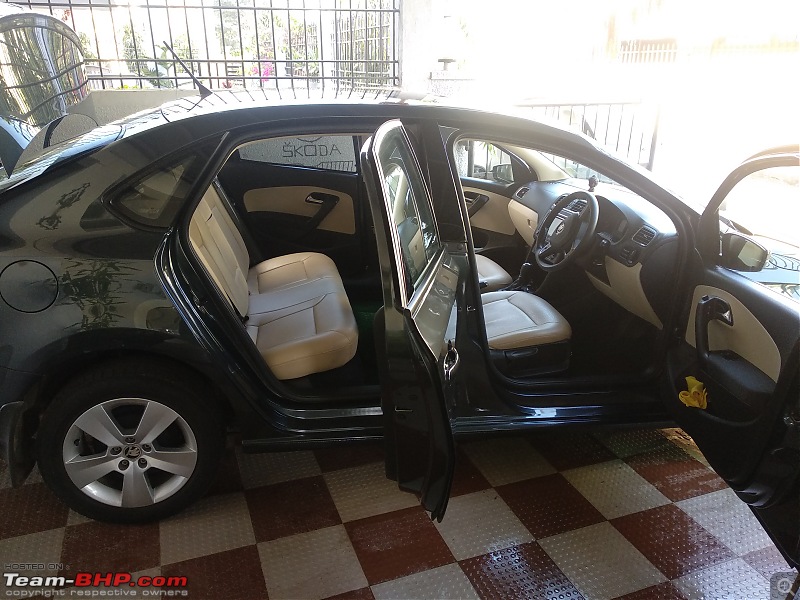 3.
3. Apply wax/collinite on this part after thoroughly cleaning it
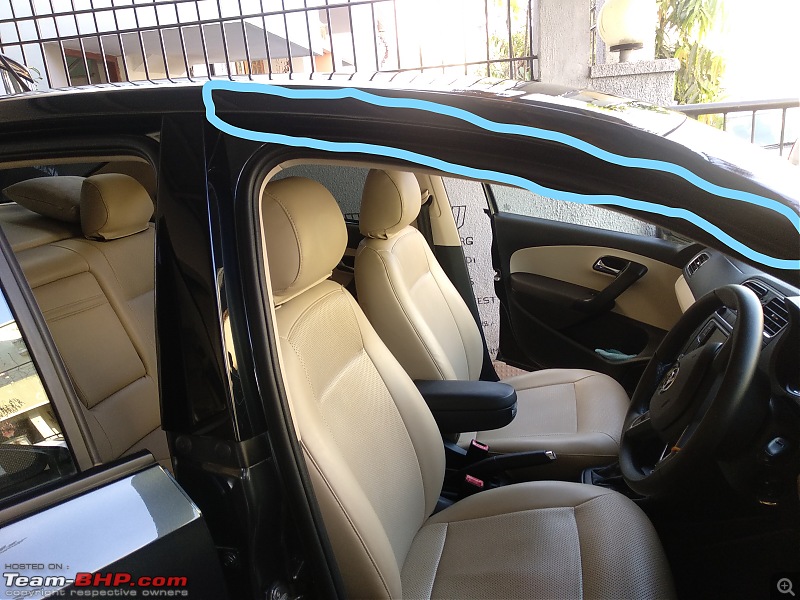 4.
4. Start inserting the pipe on the gap available in the top of the door weather strip
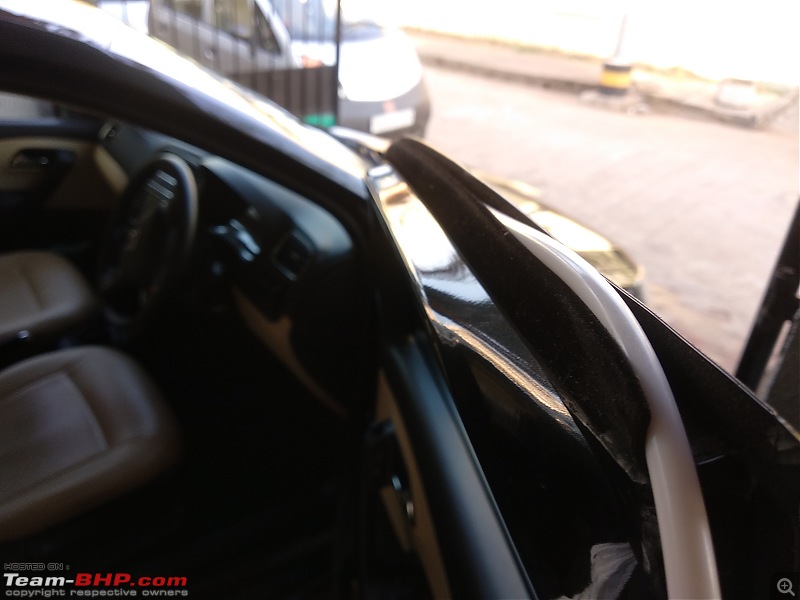 5.
5. Ensure the pipe is throughout the length of the weather strip and cut appropriately
6. Repeat the same procedure on the rear doors and you are good to go.
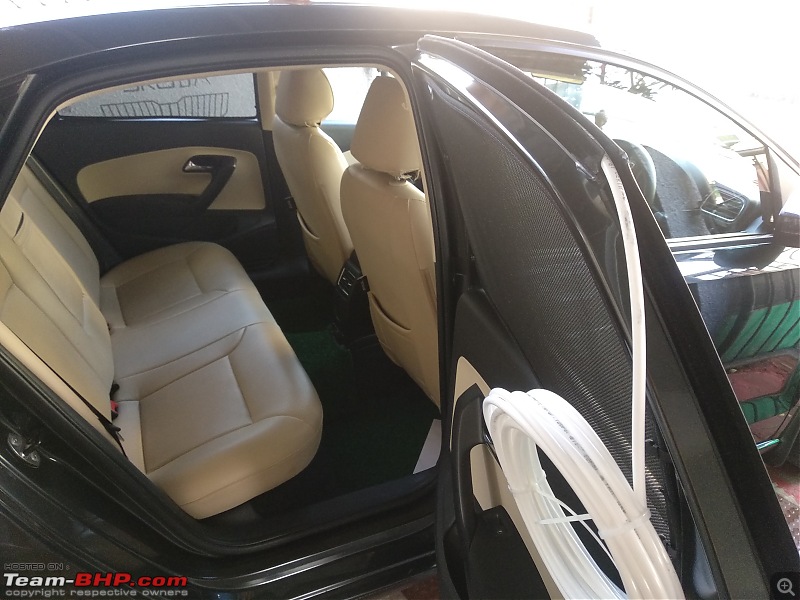 Results:
Upside- The interior has become further silent.
Downside- Tyre noise are more prominent now
 Miscelleneous: Drinking Problem
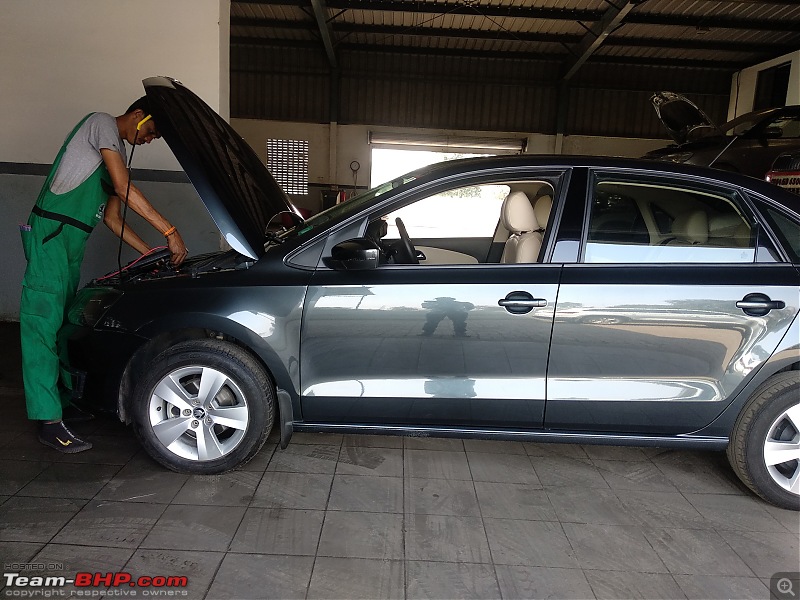
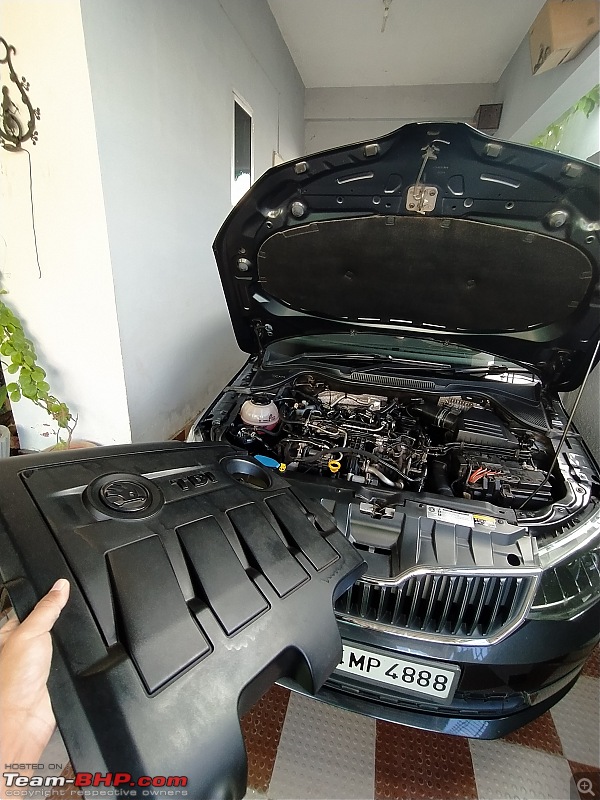
Took the car for a wash and also asked them to check the engine oil, so it drank 200ml in 8000kms. Tyres were rotated and the tread looks good for another 6k kms. However, I'm confused about tyre upgrade as to whether upsize to 205/55R15 Continental MC5 or stick to 185/60 OEM size. My drive consists of 70% highways and rest rural roads.
Headlight adjustment screw: 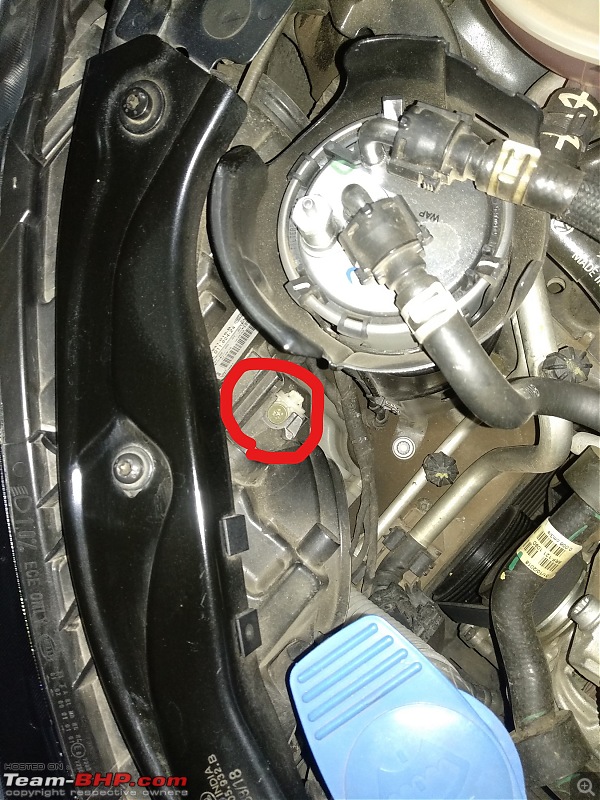
Using this screw circled(almost) in red, you can adjust the throw of the headlight beam for both high and low beam simultaneously
Signing off for now: your Heisenberg 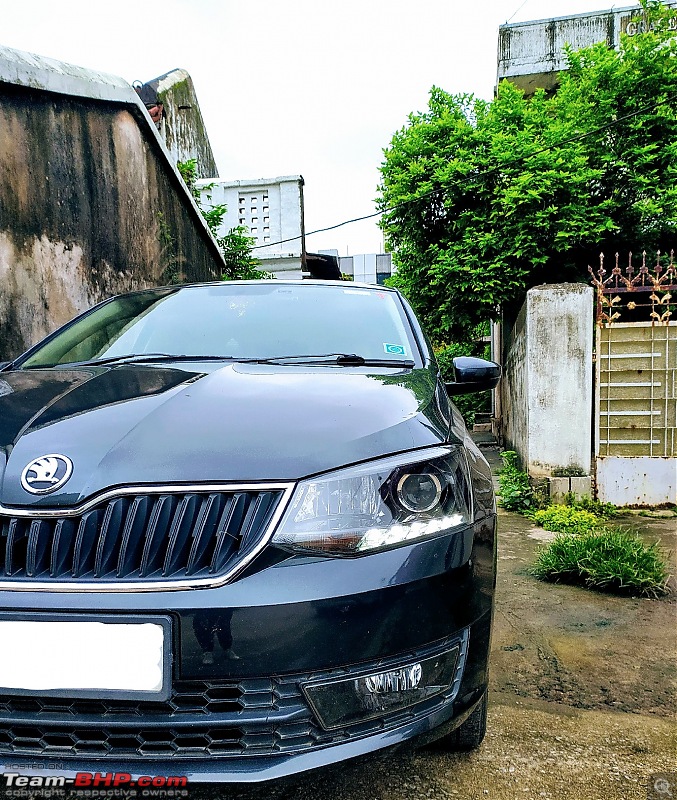
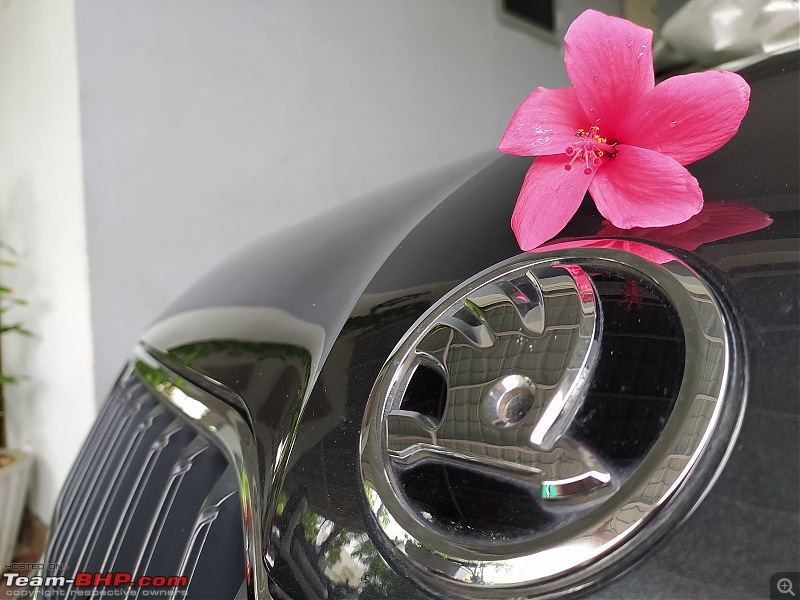
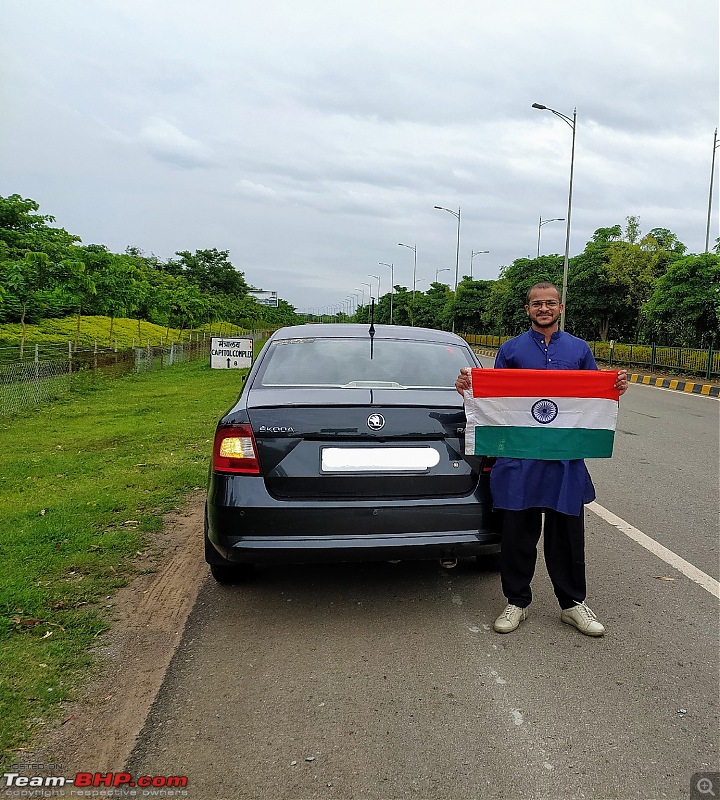
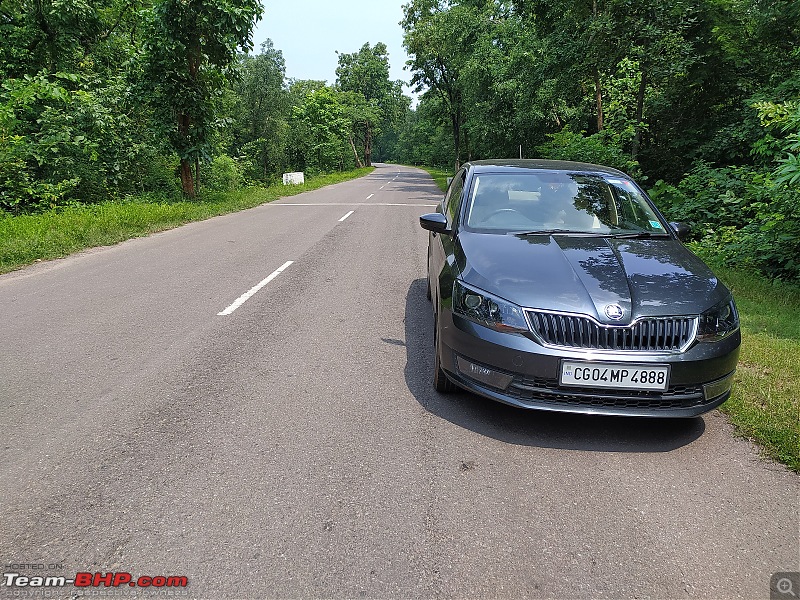
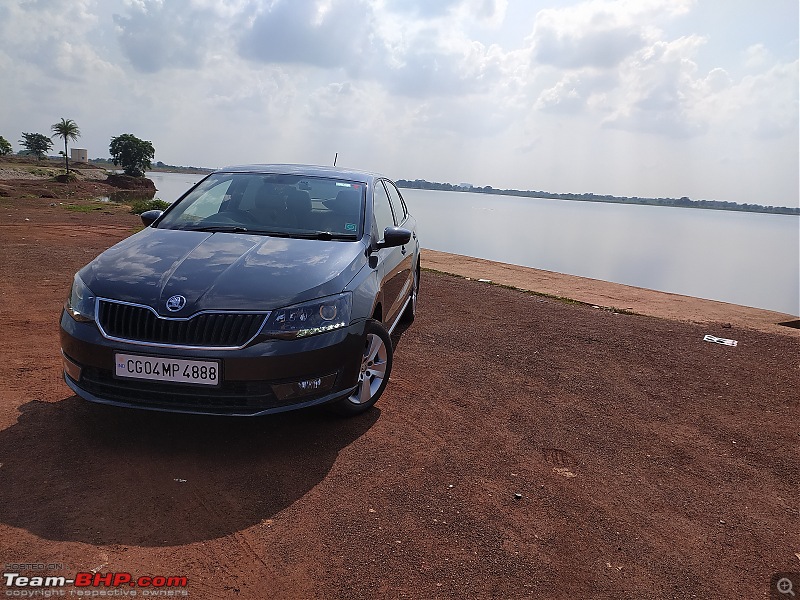
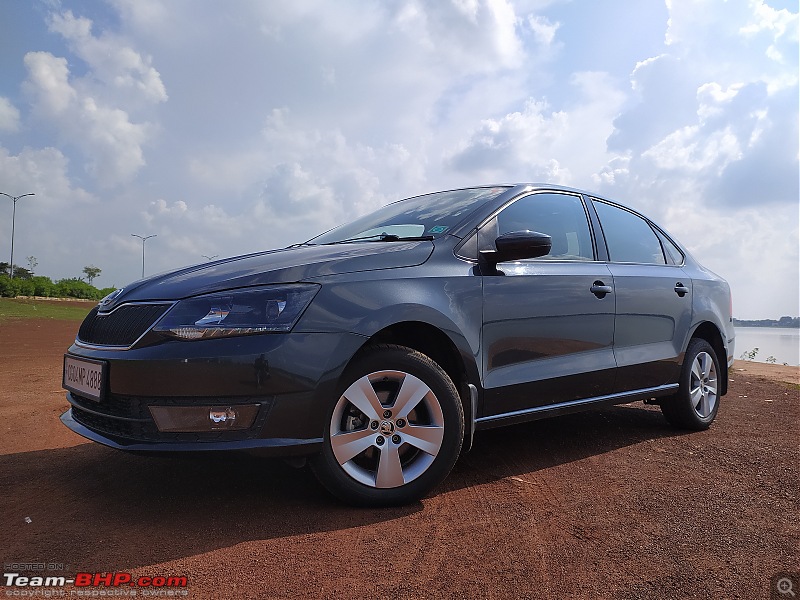
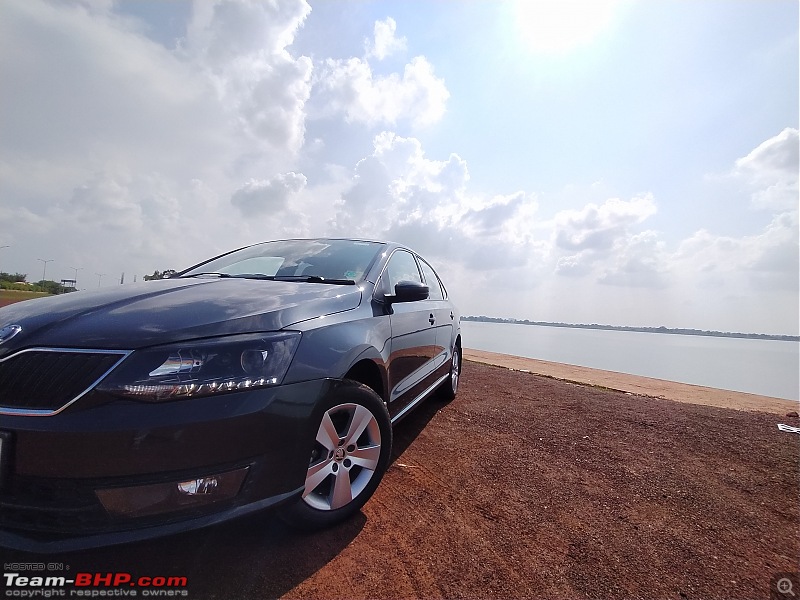
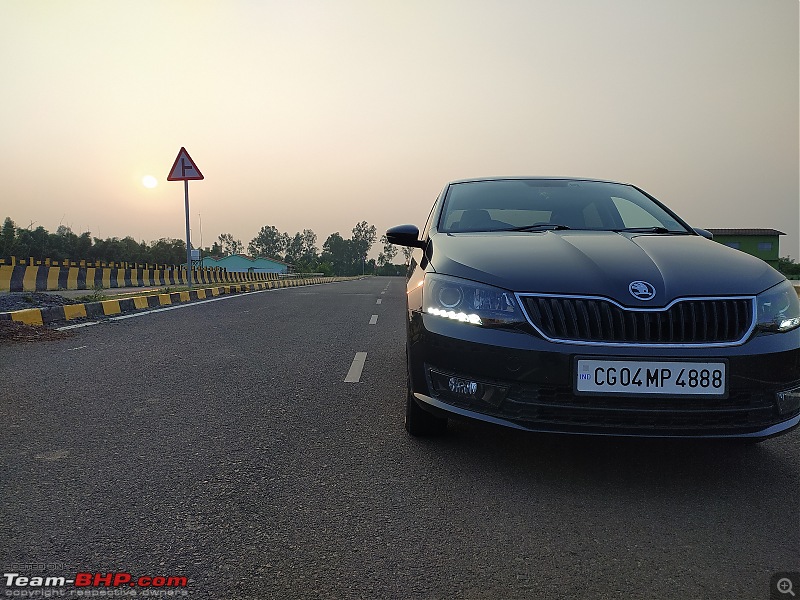
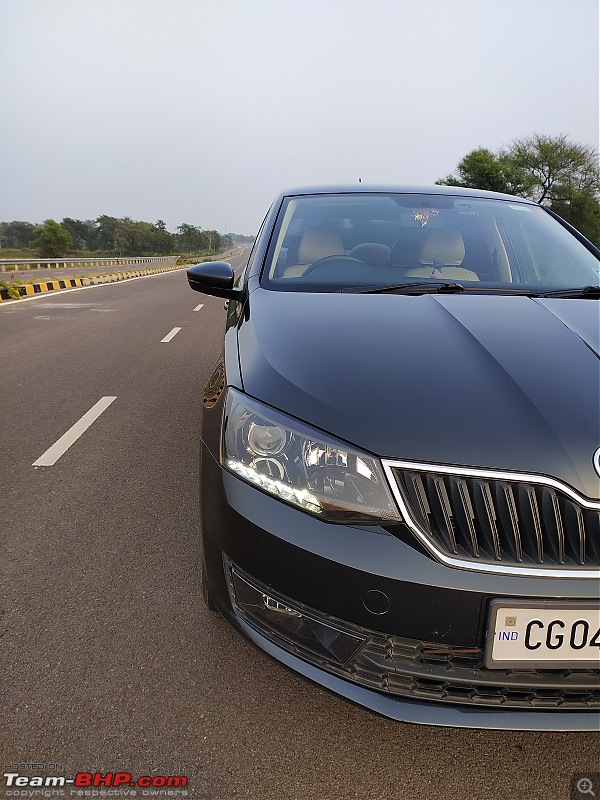
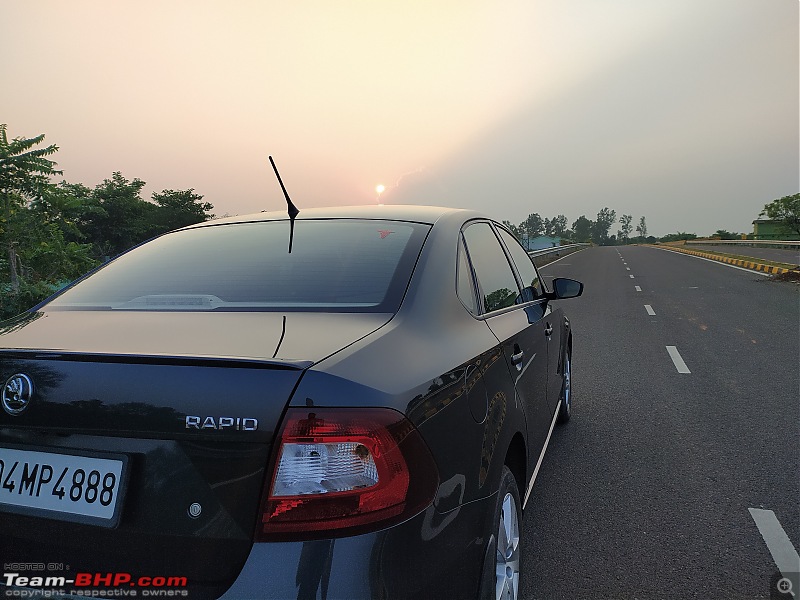
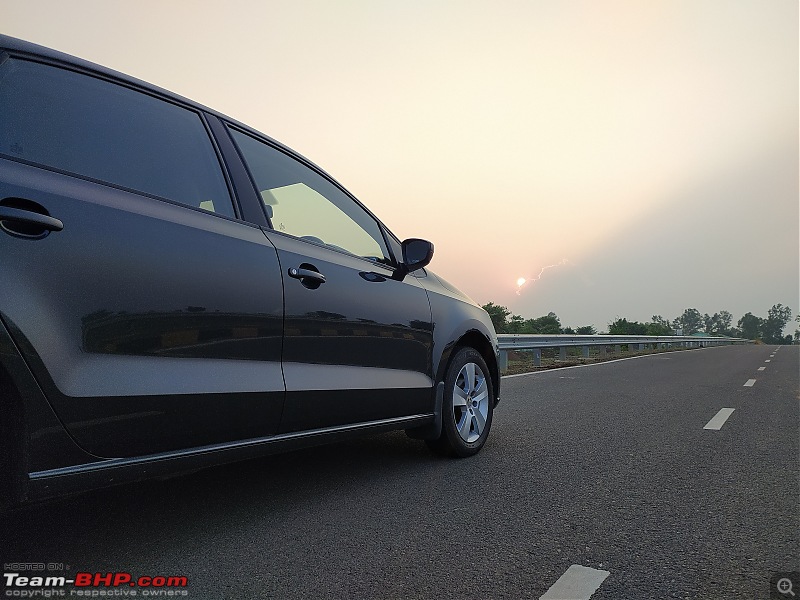
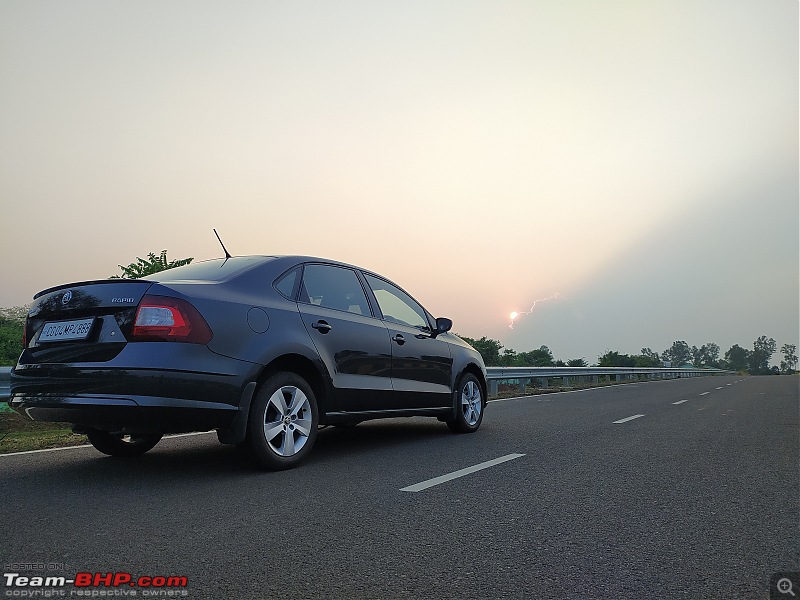
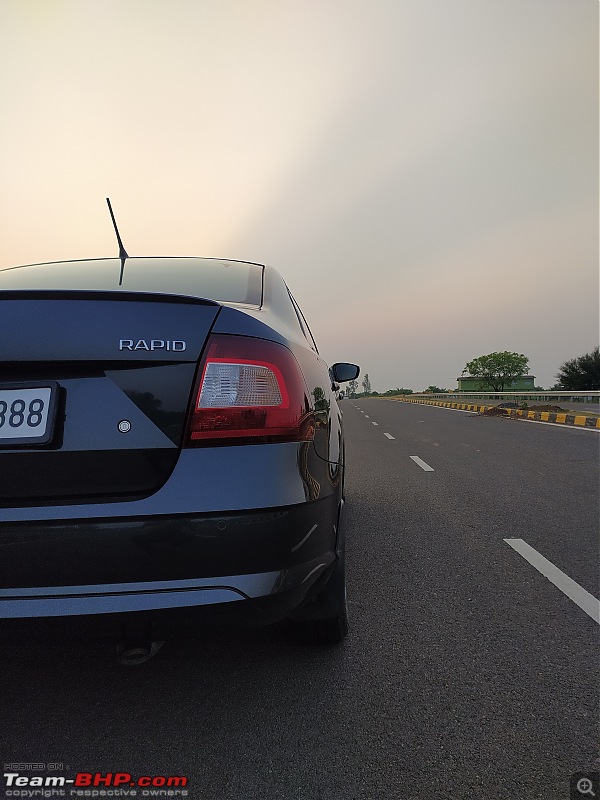
I'm not among those who park their car and turn back to have a look. Instead, I park my car and stare for a while then click a picture every time. So much so that my phone has more pictures of our rapid than our family members xD


 (16)
Thanks
 (40)
Thanks
 (8)
Thanks
 (4)
Thanks
 (3)
Thanks
 (1)
Thanks

 (5)
Thanks
 (2)
Thanks
 (1)
Thanks
 (2)
Thanks

 (2)
Thanks
 (1)
Thanks
 (2)
Thanks
 (5)
Thanks
 (1)
Thanks





 (Perks of a VAG)


