Team-BHP
(
https://www.team-bhp.com/forum/)
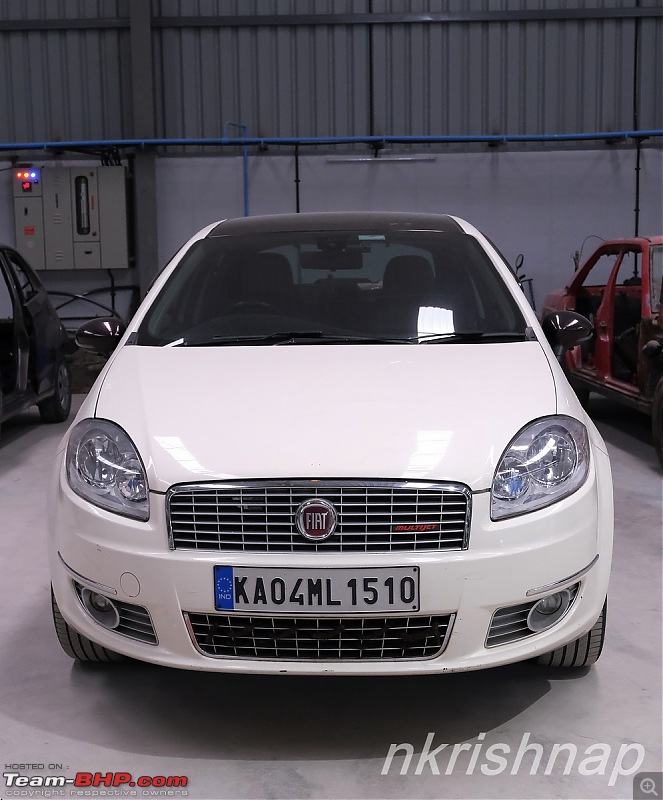
My Linea turned 10 years this September 2022. The ownership thread is
here
Well the car was running perfectly with just a few things to be sorted out on the car. They were
1. Suspension Strut and Related replacements
2. A thorough flush and replacement of all the fluids
3. A few broken cosmetic parts replacement
4. A couple of panels required minor tinkering and paint work.
5. Clutch Replacement
However, since it was 10 years and with no plans of selling this car, I went about doing a thorough overhaul. Stripped the entire car down to bare bones and went about finding issues and fixing them.
This is how it all started

I was very clear from the beginning that the color will remain the stock factory colour that is Bossa Nova White (Paint code 268/A) and we would do paint it with a Glasurit Paint. Though Bossa Nova White is a paint which is painted as a solid color which has a mixing clear, I opted for the base coat plus clear coat as this method will give more durability and also provides flexibility of having more number of clear coats.
Now the color out of the way, what kind of painting should be done? Overcoat or a full repaint? Decided to go for a full repaint and did not want to redo any of these work for the next few years. This also helps in identifying any rusting issues and address them as the plan is to retain this car for a lot more years. As for a full repaint process, a complete strip down of the car would do justice for such kind of a paint job. The process of getting the car down to bare bones began.
Step 1 - Removal of Body Panels
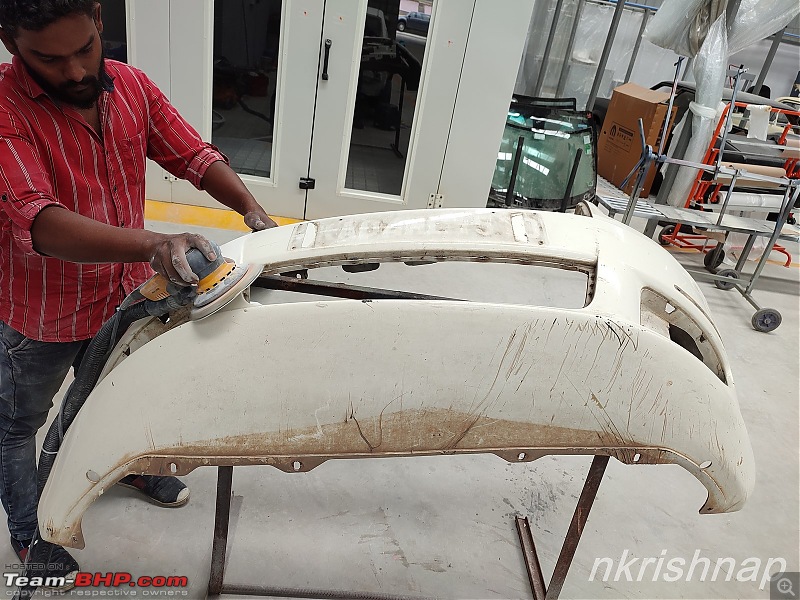
The work finally began with a target of completing the work before the 10th anniversary of the ownership of the car. The below body panels were removed.
1. Bonnet
2. Front Bumper
3. Rear Bumper
4. Boot
5. Doors
6. Fenders
7. Front Windshield (had aged a bit, hence new one was ordered)
8. Rear Windshield
9. All exterior lights were removed
10. All exterior plastic trims
11. OVRMs
A few pics 


Post the exterior panels were removed, we got engine and gearbox out of the car.


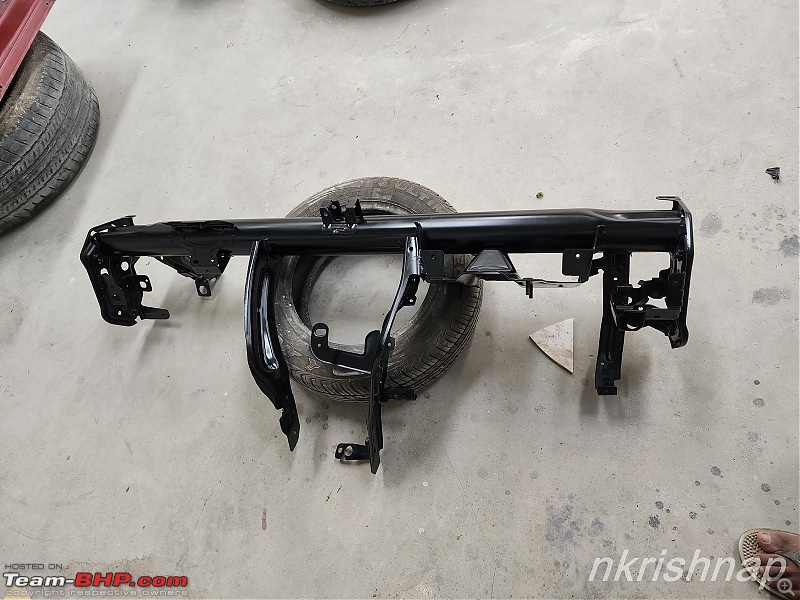
Next the interiors were stripped down with each panel removed.
Post the all the painting and underbody coating work, the interior were put back but not before the entire engine bay (firewall), floor, dashboard and boot were covered with damping material.


The blower unit and evaporator coil were thoroughly cleaned as it is not too often these parts are opened up. The interior wiring was installed back and each part was thoroughly cleaned before the part was assembled back. The radiator and intercooler was cleaned off all the muck too.

Now came the time to mount back the engine assembly and the related parts.

The below parts were changed as a part of preventive maintenance and a few bodyshop parts.
1. Front Suspension Struts and Strut Mount
2. Rear Suspension Struts and rubber mounts
3. Link Rods
4. Gear Shifter Assembly
5. Flywheel
6. Clutch Kit, Clutch Release Bearing and Clutch Slave Cylinder
7. Front Grill with logo
8. Lower Grill
9. Fog lamp covers
10. Tail lights
11. Front and Rear Bumper Chrome
12. Thermostat
13. Driver side switch panel was aged, ended up replacing them too.
Apart from this, the regular servicing too was done.
1. Engine oil replaced
2. All filters (air filter, ac filter, fuel filter and oil filter) were replaced
3. Transmission oil was replaced
4. Brake fluid was replaced
5. Power steering fluid was replaced.
Gear Shifter Assembly replaced as the shifter had a wee bit more freeplay than desired.

Post all of the work, the diagnostics was run and the car was fired up. There were two errors that popped up for the airbag and seat belt pretensioner. Primarily grounding was not done correctly. the ground points were sanded out, the contacts were cleaned and connected back. The errors were gone.
The AC Gas was filled back and it was time to get the wheel alignment and balancing done.
Took a longish trial and found it be running fine. It was time to head to EVO Car Customs for the audio upgrade. None of the existing audio set up was installed back as the wiring would anyways change.
I earlier had Pioneer DEH 80 PRS head unit in the car with DLS RM6.2 Components at front and Stage 5.25 inch components at rear and a Cerwin Wega sub woofer in a two way active network mode
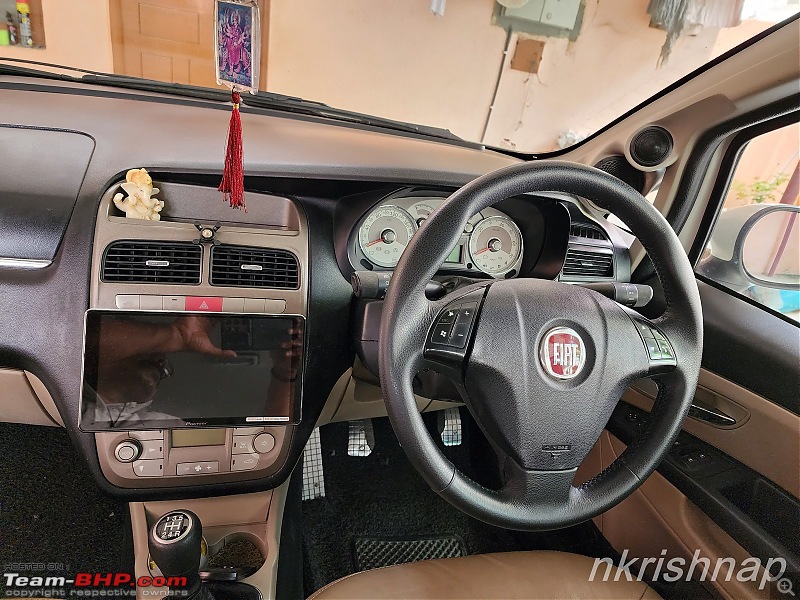
link. With the technology moving on, decided to upgrade the player with a touch unit with features like Android Auto, etc. However with Linea allowing only single din units, the choices were very limited. Decided to go with Pioneer DMH 9350 BT unit which comes with wireless android auto and host of other features apart from the features on the audio side.
The below are the list of items added or used from the previous set up.
1. Pioneer DMH 9350 BT
2. Helix P62C components
3. Helix S 3M Mids
4. Stage 5.25 inch components (retained from the previous set up)
5. Two ARC Audio Class D amplifiers (retained from the previous set up)
6. Zapco 4 channel amplifier
7. Helix 8 channel DSP
8. New Wiring Kit
9. Fiber Glass pods on A pillar to accommodate the tweeters and the mids.
10. Dampening on all 4 doors
Player  Components


Mids added to make it 3 way Active network set up

 DSP
DSP 
 A pillar Fiber Glass Modification


 Door Dampening


The set up definitely sounds much better than the previous set 2 way active set up. There is some more fine tuning to be done with the Helix DSP.
Beautifully done @nkrishnap. Thoroughly enjoyed reading the process. Any struggle finding any specific part?
Linea is gleaming and I just cant get bored of its pics.
Linea looks like new, like just out of showroom @nkrishnap :)
I still remember how it was just a skeleton when I was there in November last.
What a lovely transformation from that to this!
Quote:
Originally Posted by nkrishnap
(Post 5469184)
This also helps in identifying any rusting issues and address them
|
Brilliant painstaking effort @nkrishnap. I am not too sure if bringing the body panels down to bare metal was required, but I presume you did that to identify under paint corrosion. I am associating pics of your car with the one of the white Corolla that you recently did. Kudos to you and do hope the Linea goes on and on and on, giving you many smiles!:thumbs up
Looks Brilliant.
I am really happy that someone has overhauled and is planning to keep for long a Fiat Linea. I don't remember coming across another restored or overhauled Linea.
Do you mind sharing the cost break down of stripping and painting the car.
I had completely restored my 2003 Fiat Palio GTX in 2016. But during lock down, the car was left unattended under a Muntingia calabura tree for months as I was onsite and my father dint realize the damage being done. The bat dropping, fruits and leaves took a heavy toll on the car painting. Its peeled off and looks horrible. Mechanically though its still brilliant.
I am planning to repaint the car and fix few minor mechanical issues.
Regards
That's one lucky Linea @nkrishnap, and this is what's called coming out better than factory fresh.
Wish you many more kms in the 'new' car
| All times are GMT +5.5. The time now is 19:27. | |


