| |||||||

| Search Forums |
| Advanced Search |
| Go to Page... |
 |
| Search this Thread |  35,069 views |
 7th November 2020, 02:38
| #1 |
| BHPian Join Date: Apr 2015 Location: Secunderabad
Posts: 28
Thanked: 117 Times
| Restoring my 20-year old Maruti Esteem LX Finally after a long time the project has started taking shape. My childhood dream car - The maruti Suzuki Esteem (LX 2000) type 2 has been acquired and being fully restored to mint condition. Fully stock & no modifications. Here is a 10 stage approach we have planned for restoring the iconic Maruti esteem. Stage 1 Analysis : Original body line beyond repair due to holes and severe rusting. Firewall is also about to collapse. Outer shell not fit for work. Stage 2 Plan : The original Silver color esteem LX is badly rusted and beyond repair in terms of the shell. Engine is in perfect condition. Still starts with a single click. So after talking with our mechanic we decided to source a good shell that is repairable if needed and swap all our parts into it Stage 3 Swap all engine components and engine bay Into the sourced shell. Stage 4 Dent & fix the donor shell Stage 5 Repaint and clear coat the shell. Stage 6 Replace trims and small spares (MGP) Stage 7 Teflon the new body work and get back the original shine on the car Stage 8 Get the paper work (extension of 5 years) Stage 9 Get a full service done and make the engine feel better. Stage 10 Get the car on road and have fun  I know some of you will ask why I chose the Carb instead of MPFI. The reason I chose the carb because I wanted the old school feel of this iconic beauty. I know the MPFI has better pickup etc but this is what I love more and want to persue. How it all began This is a run down car that was up for sale couple of years ago on an online market place. The day being a sunday, I was going through the listings (as I often do in my free time) and stopped on this one. It was a petrol 2000 LX dual tone (horrible choice of color, sky blue n dark blue using cheap paints) which showed 58k on the odo. I suddenly thought, how about I buy this for cheap and bring it back to life and maintain it in stock condition. This was my first dream car as a kid anyway. I made a call to the guy and and we met a day later. The car sounded so silent like a honda but the body was maintained badly and had this horrible color choice and all loose parts dangling. I test drove the car and was surprised how peppy and new it felt mechanically. I Checked the engine bay and under the car and there were no signs of oil spill or leakage yet. He quoted 60k but I convinced him to hand it over to me in 30k with my hard bargaining skills and cash in hand. I was kind to drop him back and offered a ride home after that deal. I reached home and inspected the car thoroughly. - ORVMS missing - hole in dikki lining - yellow headlights - orange old indicators - rusted fire wall -faded tail lamps but all working -cabin lights dangling and not working -seat covers damaged -bumpers out of alignment -cracked pipes and bad plastics. -tyres worn out. -jerk during gear shift / clutch release I thought I will start with buying a few spares and see how this dream project goes. I ordered the missing and damaged plastics and started working on the cabin lights which then worked with a simple wiring. Then next day, I took the car to a service station and got it flushed and poured Shell helix and a good coolant. Refilled the steering oil and brake fluid. Parts were to arrive a week later and I was impatient. I Got inspired by YouTube and tried a DIY - repainting at home with spray cans. Result - a big disaster.  The car looked better than before but not how I wanted. Silver finish was not glossy and it looked like a matte silver. I purchased pre owned tyres for time being which had 50% life left. I paid 1k for the set after a bargain.  Next day, I went to a mechanic for the drive shafts and front shocks and got all of them fixed (refurb) for about 2500/- Now, the car was feeling much better as the clonking and knocking has stopped. I ordered headlight and tail lamp assemblies for 7500/- Lumax & dipon. Then came indicators and parking lights for 600/- (Lumax). Overall the car was looking and feeling a lot better than what it was earlier. I had a set of sony speakers and a spare head unit which I was able to fix on my own. I bought 2 JBL dashboard speakers which were plug and play and to my surprise they played without any need of rewiring since the old speaker slots were empty and I was expecting the wiring may be problematic. I tore off the faux leather seat covers and the seats underneath were of cloth and sponge (Grey) finish which were looking mint. I parked the car and waited for window garnish and ORVMs. They came a little late and this is where the back kick on this project began. The Amaron Battery discharged and it was left stranded for a month as ours is an underground parking and I could not find time to take it to a workshop. I got busy and a year passed and then 1.5 years. The plastics developed fungus and spider webs inside the cabin. Covered in dust, the car screamed for help. I wanted to scrap it off and move on. I took the battery to a battery shop and got it recharged for 80/- rupees. Next day I fixed it and thought I would drive it until the main gate and park it there till I find a scrap dealer. The game changer I slotted in the key and boom one turn and it fired up. I was taken aback, a fully neglected and ignored machine fired like a new one? I thought to myself I would be a fool to scrap a machine of this capacity just because I was busy and did not have time to spare for it. I took it to a wash instead and came back home. That night I became restless and browsed websites, team bhp, and other inspiration sources and I promised to myself, no matter how busy or how much money this demands, I will not give up on my dream. I got in touch with a mechanic the next day and the project began. We have segregated the project into parts and will follow it for smoother progress. We sourced a scrap esteem which was not a scrap at all. The dark blue bodywork was pristine and rust free, no major dents or even scratches. It still has the shine underneath and had a beautiful set of OEM alloys and original music player. No accessories or wire splices. This was used by an Army officer and it showed signs of his decent usage and timely maintenance. It was sitting for a year at the yard. We sent it for a full wash first. Next day, we removed the engines and swapped them. I retained the donor gear box as the original one was problematic and this one was perfect. Next in line were front shock absorbers and radiato which were swapped seamlessly. Budget 70k Paint & filler to be used Wanda 2k Wanda 2k clear Nippon 2k clear Asian ppg putty Parts ordered - Charcoal canister / Evap x 1 - window garnish x 4 - ORVMS x 2 - Door handles x 4 - rubber for pedals x 2 - Gear lever boot and knob x 1 - Emblems - 1 set - battery compartment and holders - clips for sill x 16 - alloy wheel nuts x 16 - steering pad -number plate light assembly x 2 - boot light x 1 - cabin light Assembly x 2 - Radiator cap x 1 - engine oil cap x 1 Parts retained from original car - Engine assembly - radiator & fan - Headlight assembly - Taillight assembly - front indicators - music player - storage box under music player - AC vent x 1 - fuel tank - wiper arms & motor - ignition coil - coolant reservoir - wiper Blades Parts to be retained from donor car - Outer shell - OEM Alloy wheels - front bumper patti - wiring - dash, steering, seats - alternator - gear box assembly - pipes - washer fluid reservoir - steering oil & break oil reservoir - Fog lamps To be acquired Type 3 OEM spoiler Currently the denting has completed and putty work has started. Final stages of repainting is about to start and the dream project on the verge of completion. I will retain the dark blue color and get it updated in RC. Fitness is pending for extension on December 17 2020. You can watch the full videos here divided into 10 parts. I will keep posting as the work progresses. Suggestions, inputs are welcome. Let some pictures do the talking Starting from the original condition to DIY (silver) to dark blue (donor) Day 1 of purchase 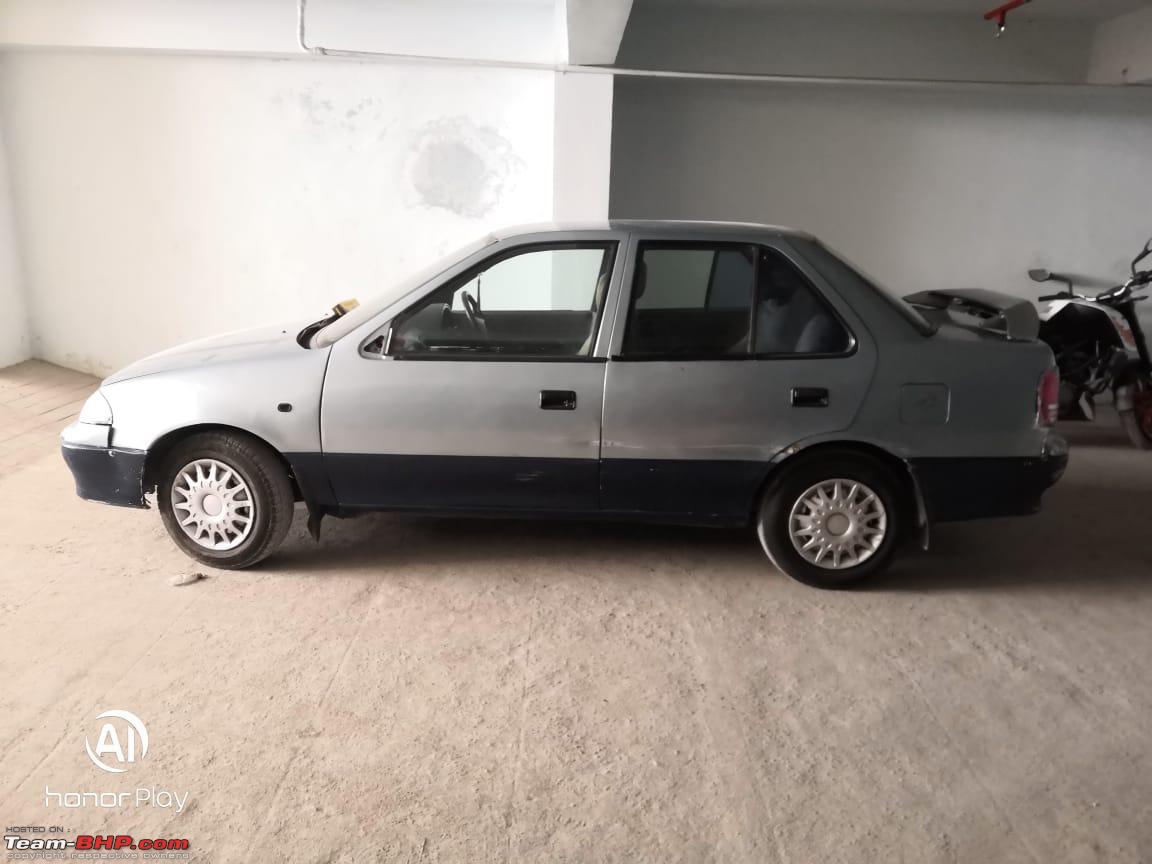 All Doors opened  All dusted and broken 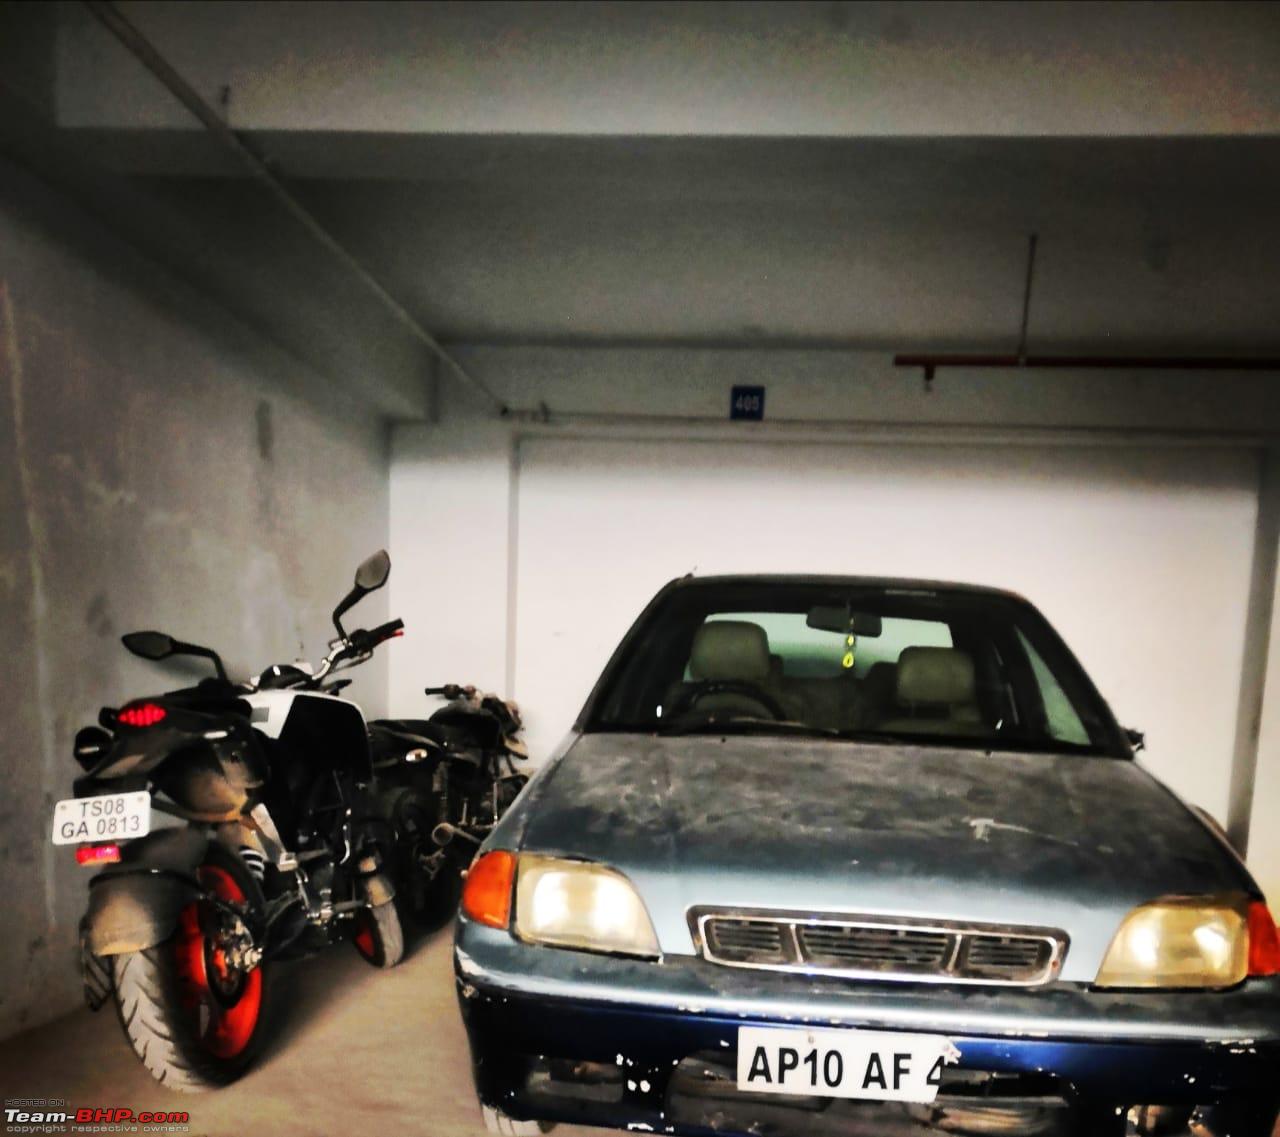 First Attempt at diagnosing the missing parts 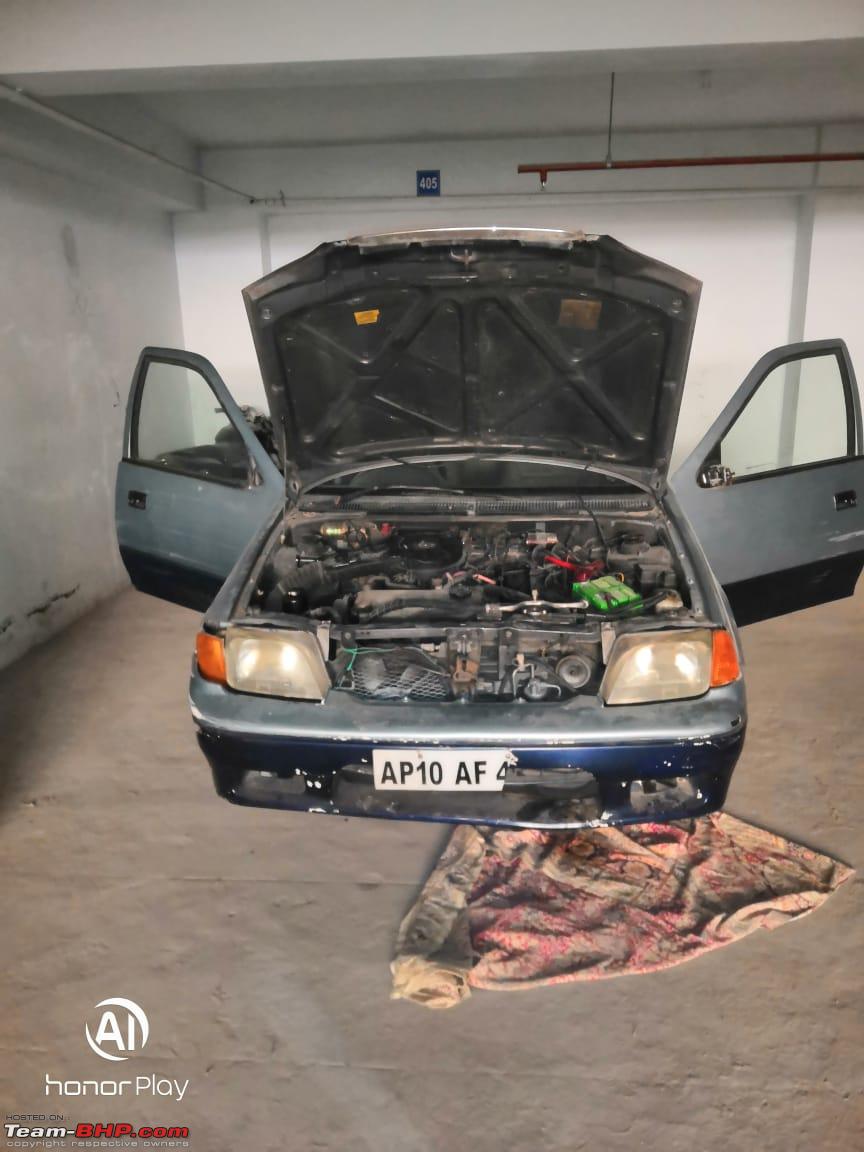 First Wash 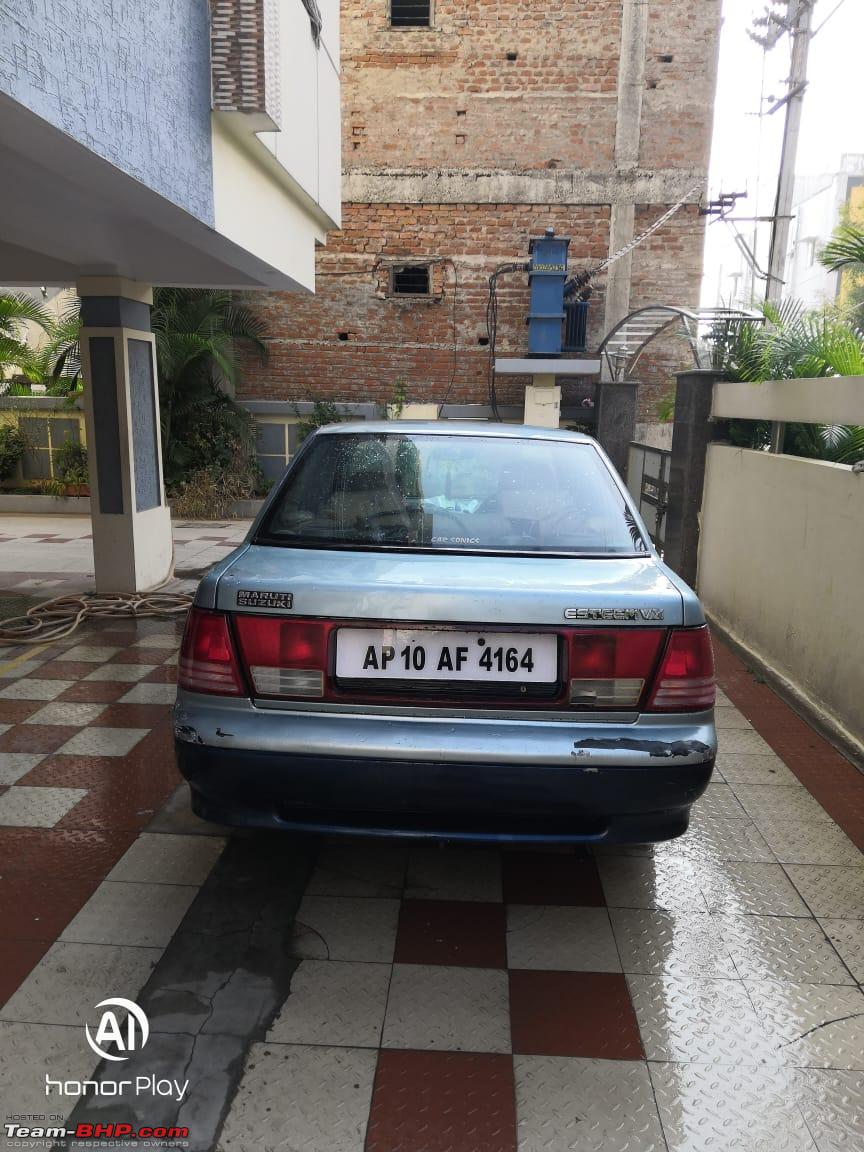 First piece of new Spare fitted 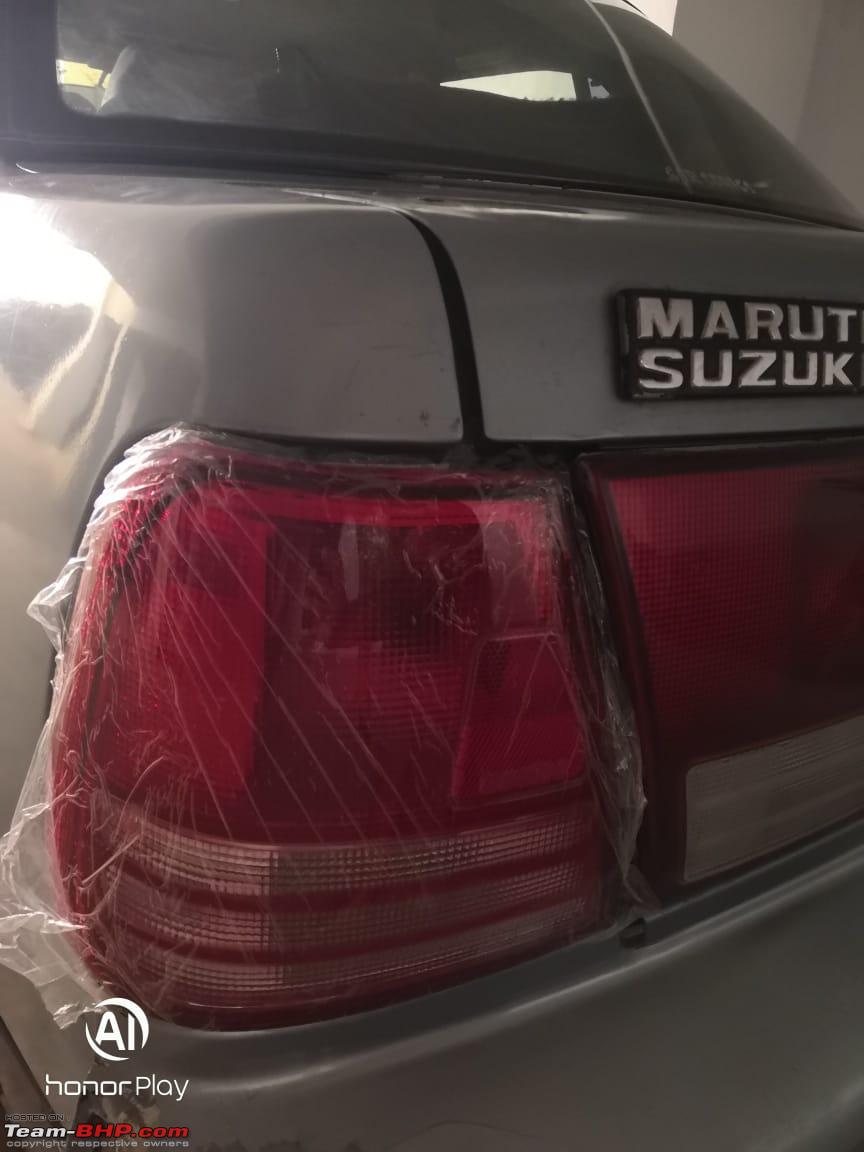 Tried doing minor denting and filling work 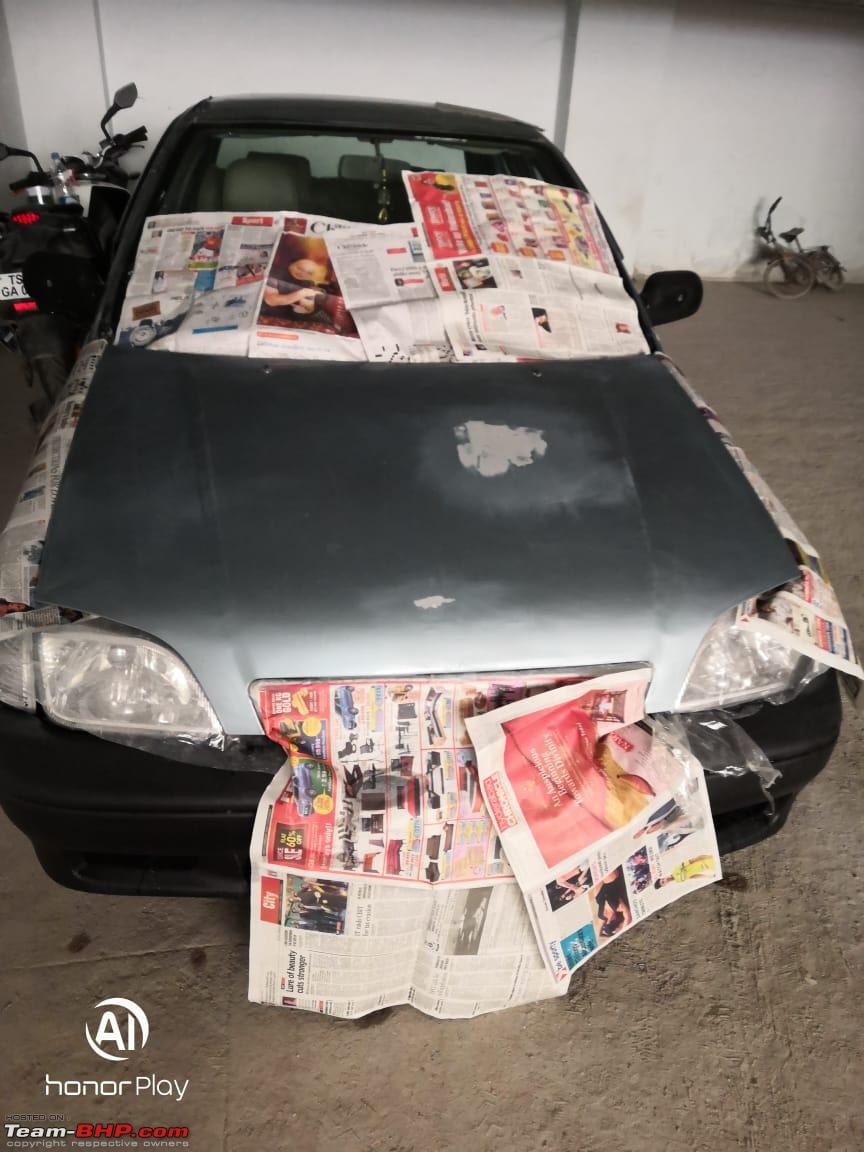 Second spare ORVM installed 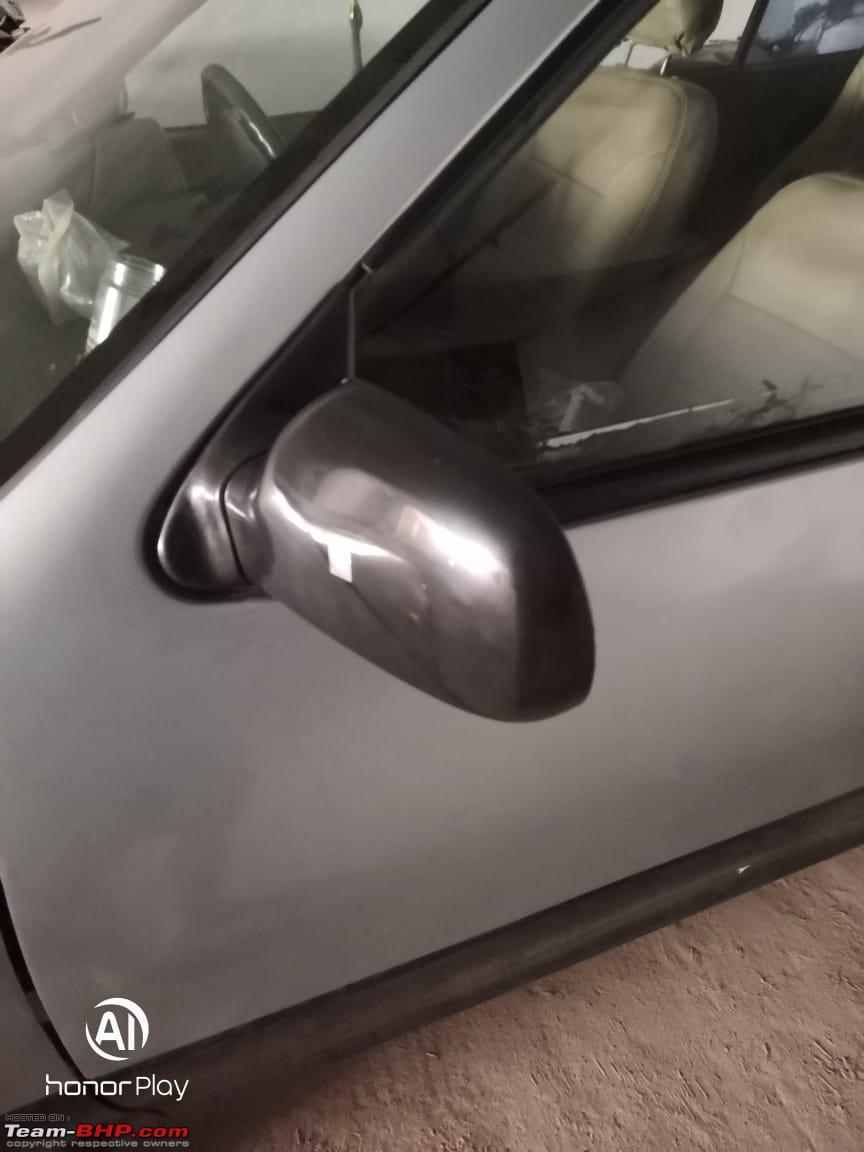 New Headlights added and Painted Silver with Spray cans which did not look how I wanted  Parked in my underground parking spot 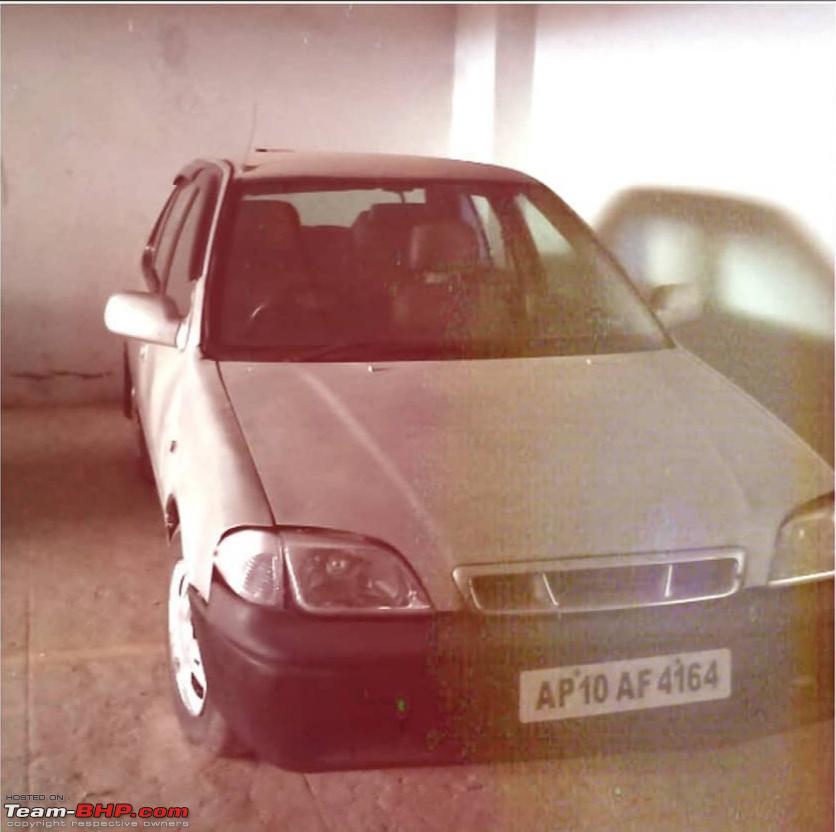 After long delay the car is at garage showing signs of rust all over 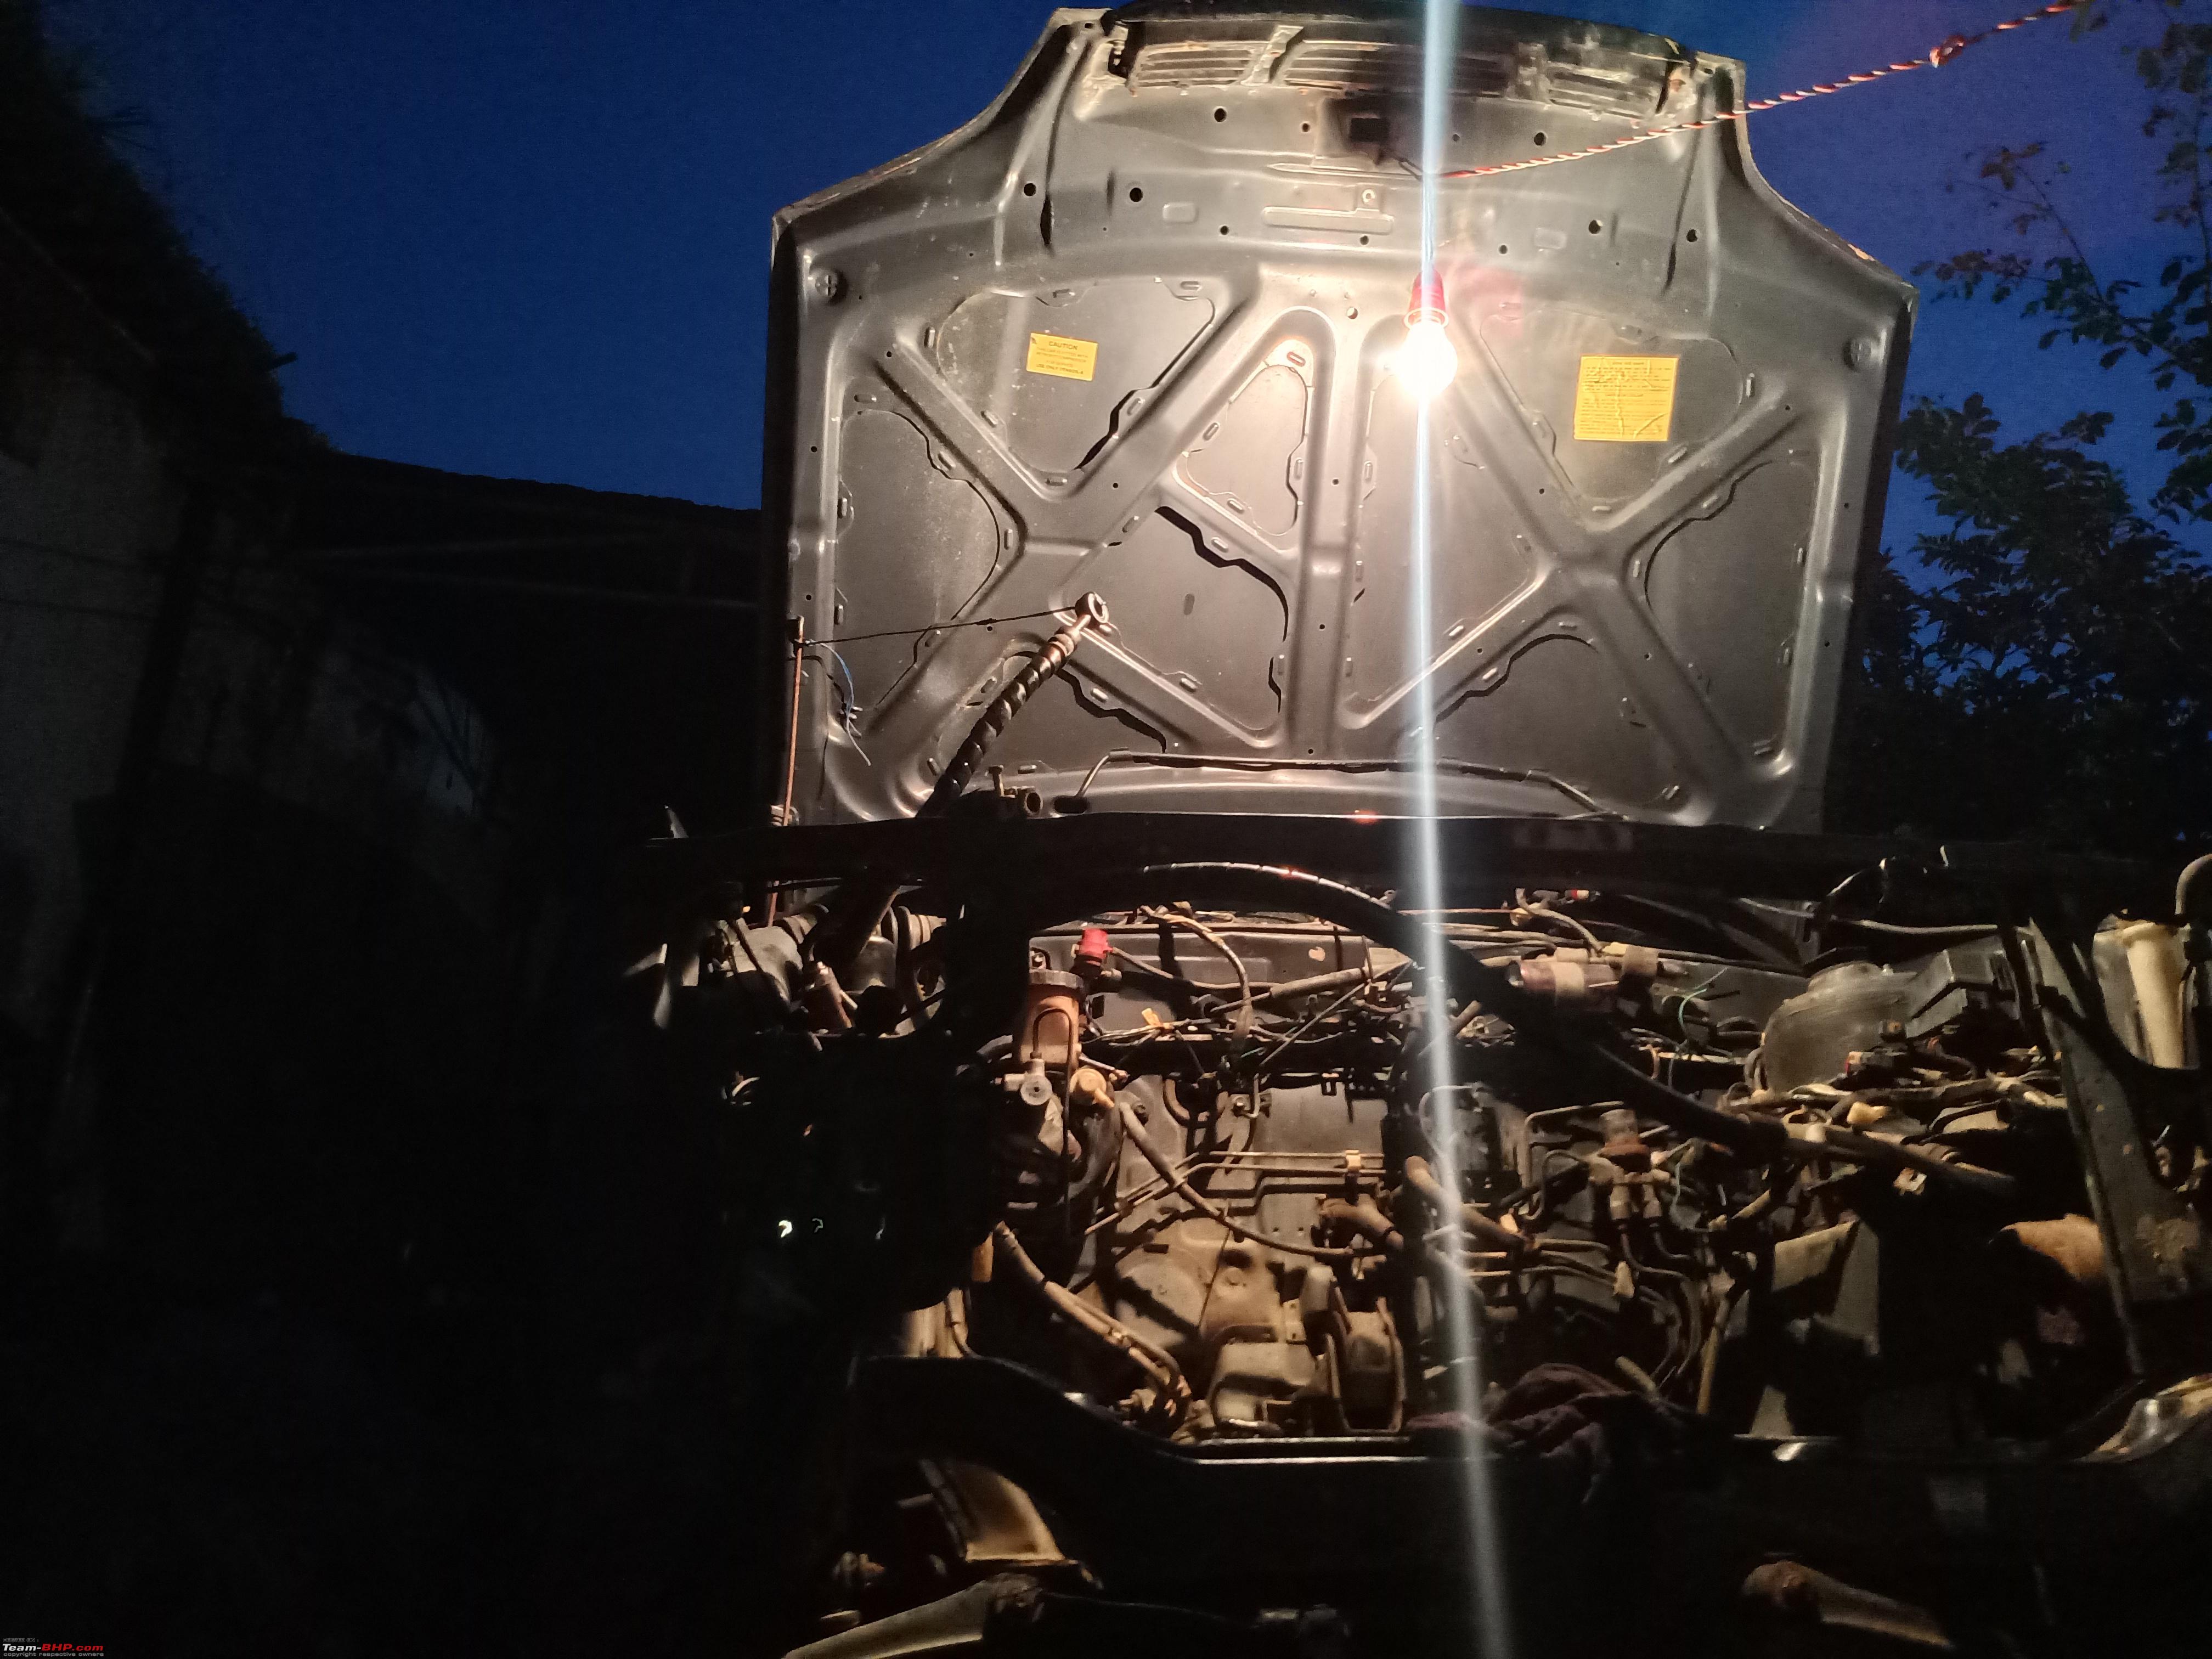 Fenders and firewall eaten away by rusting  Headlights removed 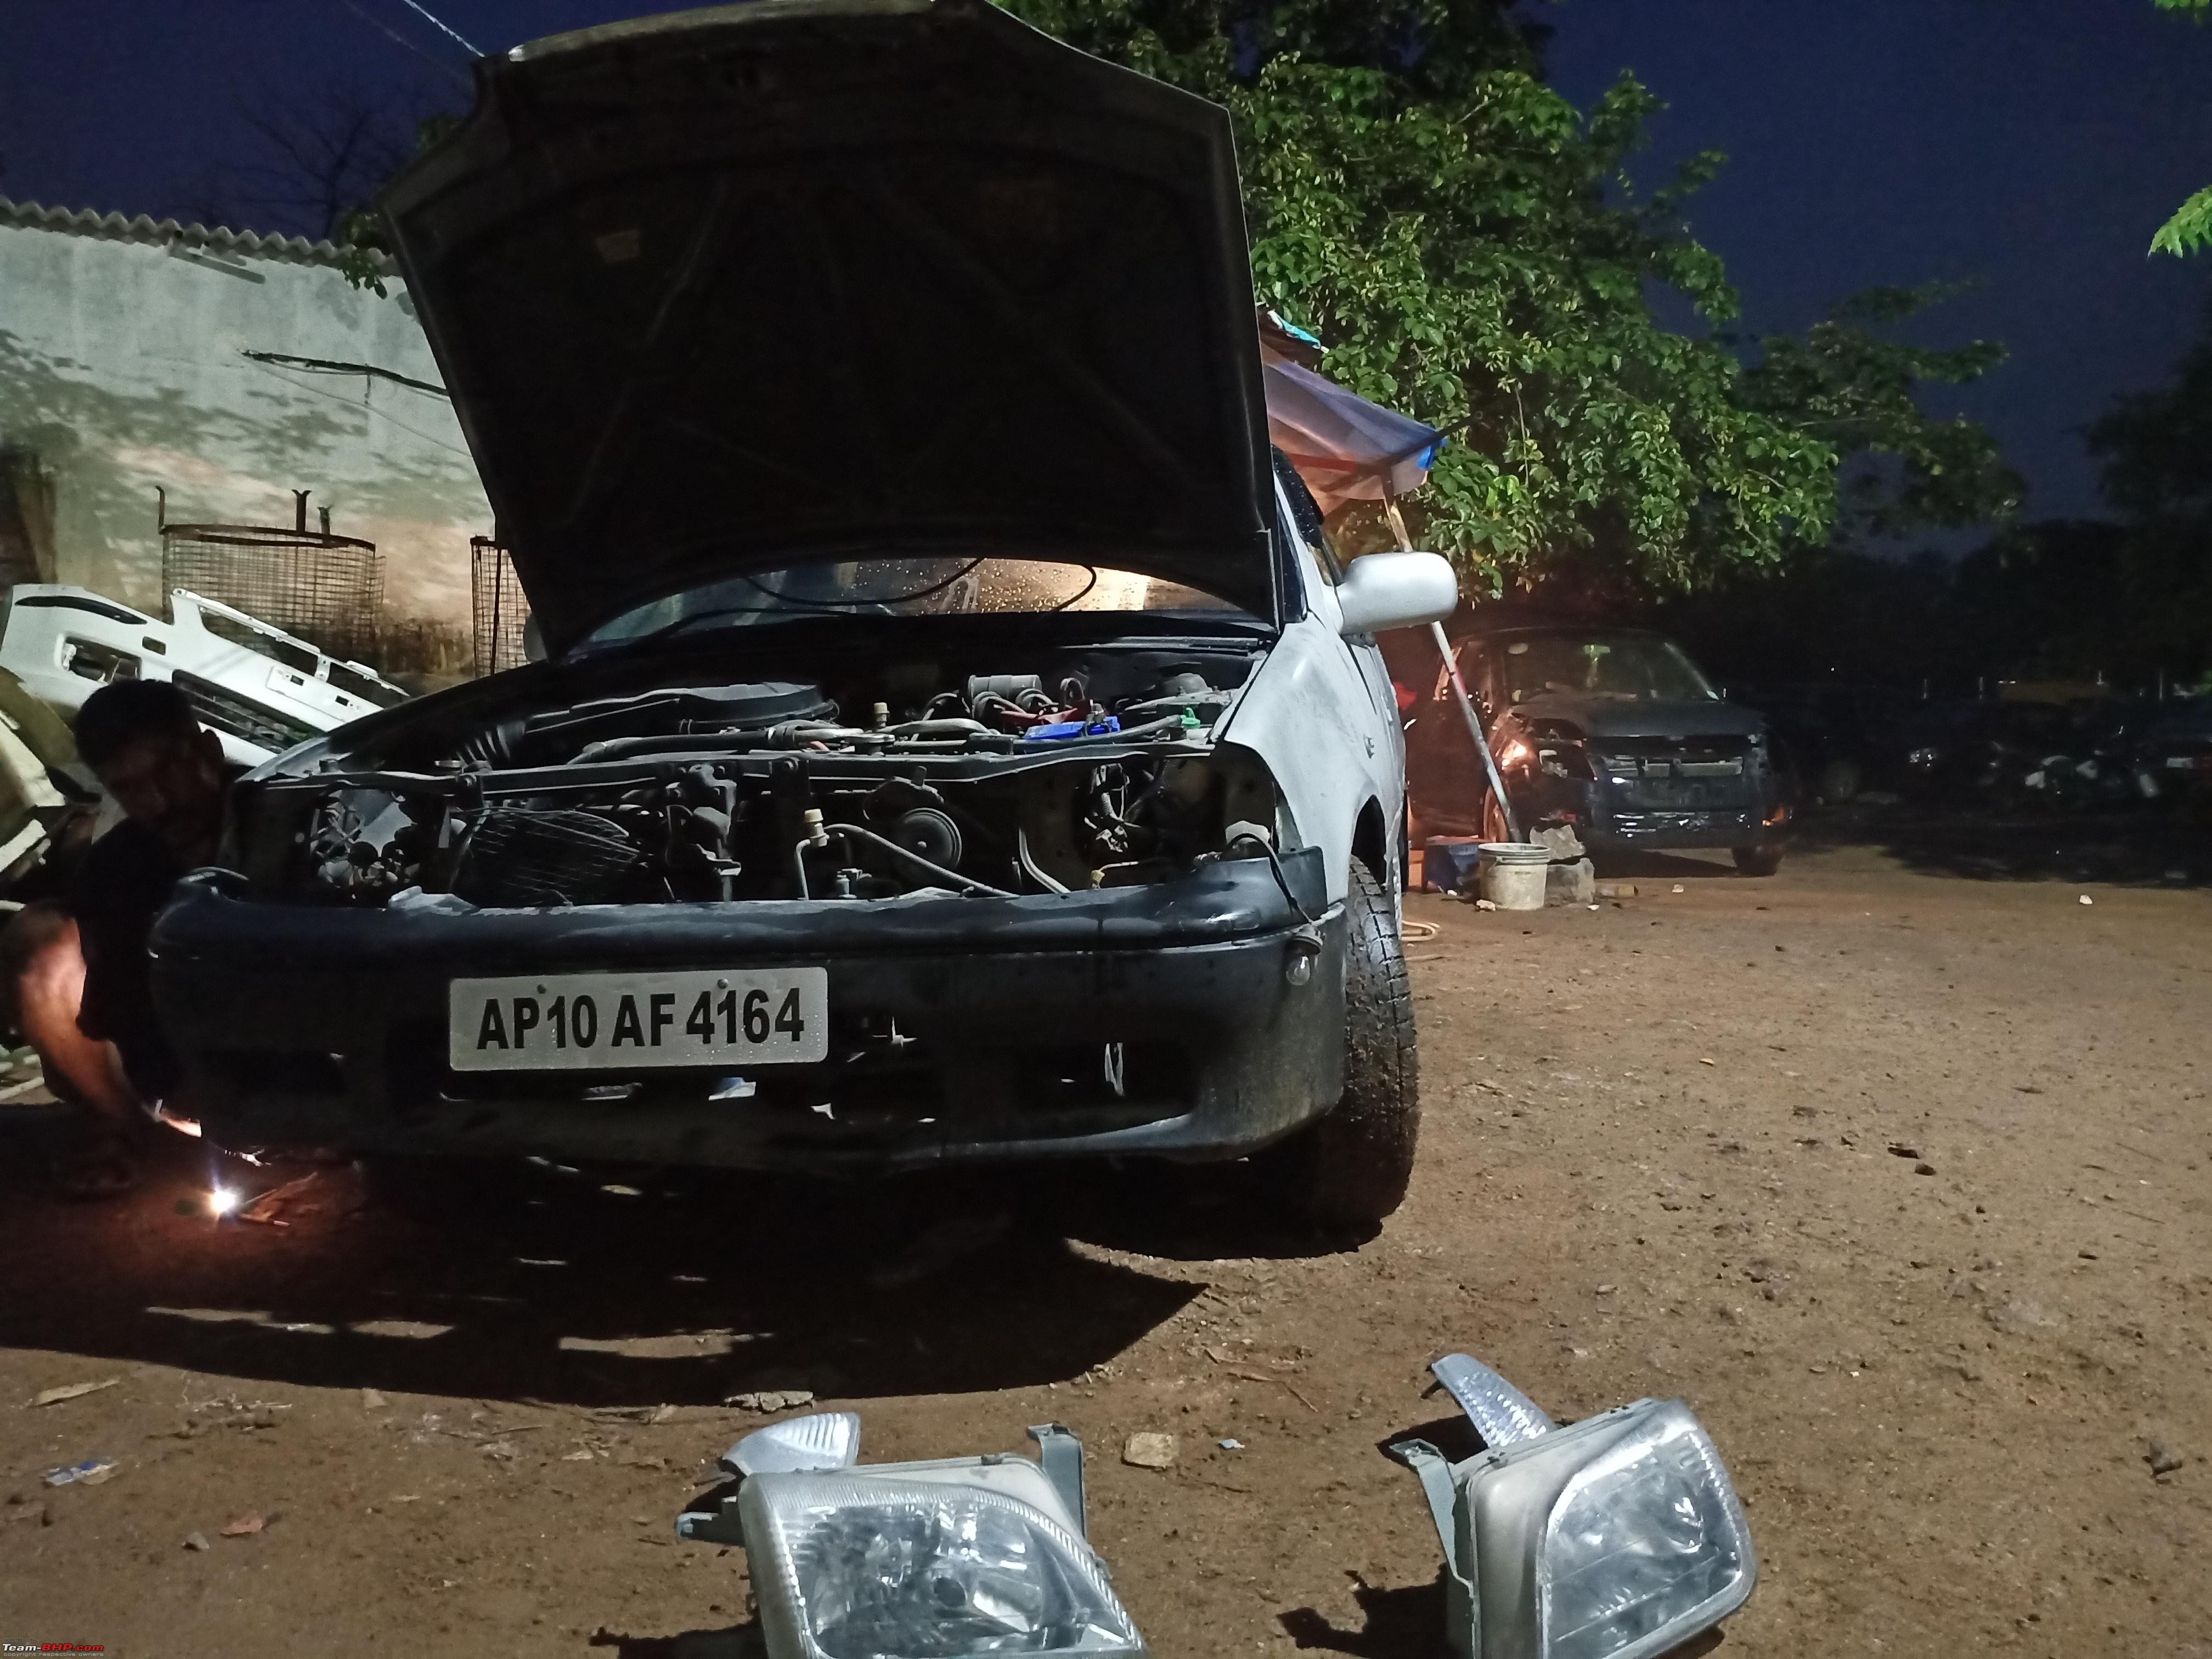 Donor Sourced  Headlights of donor being removed  Rubbing of paint has started. Paint preps at work 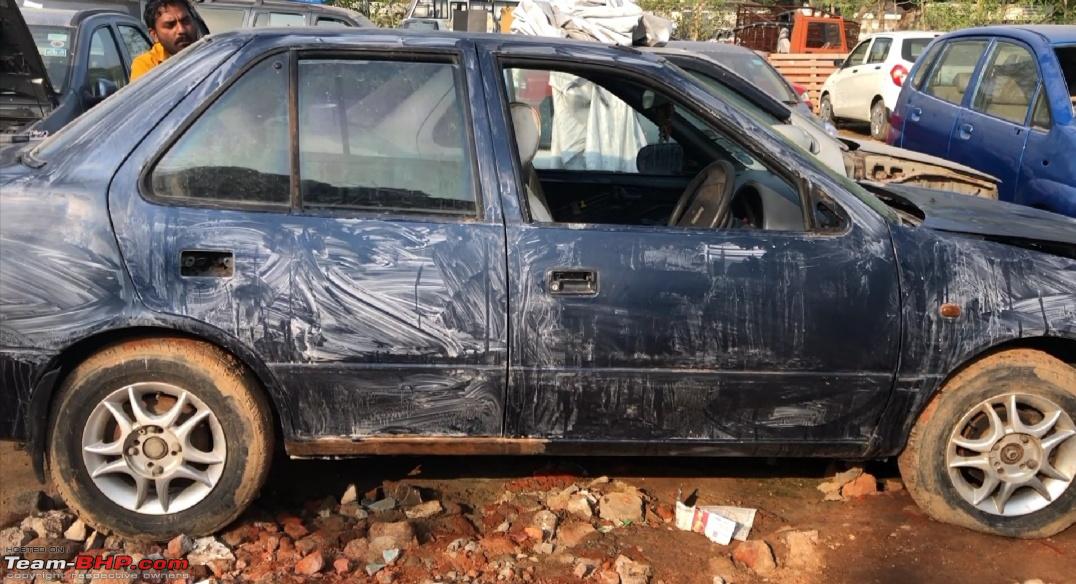 Rubbing done. A glance at beautiful alloys and side profile 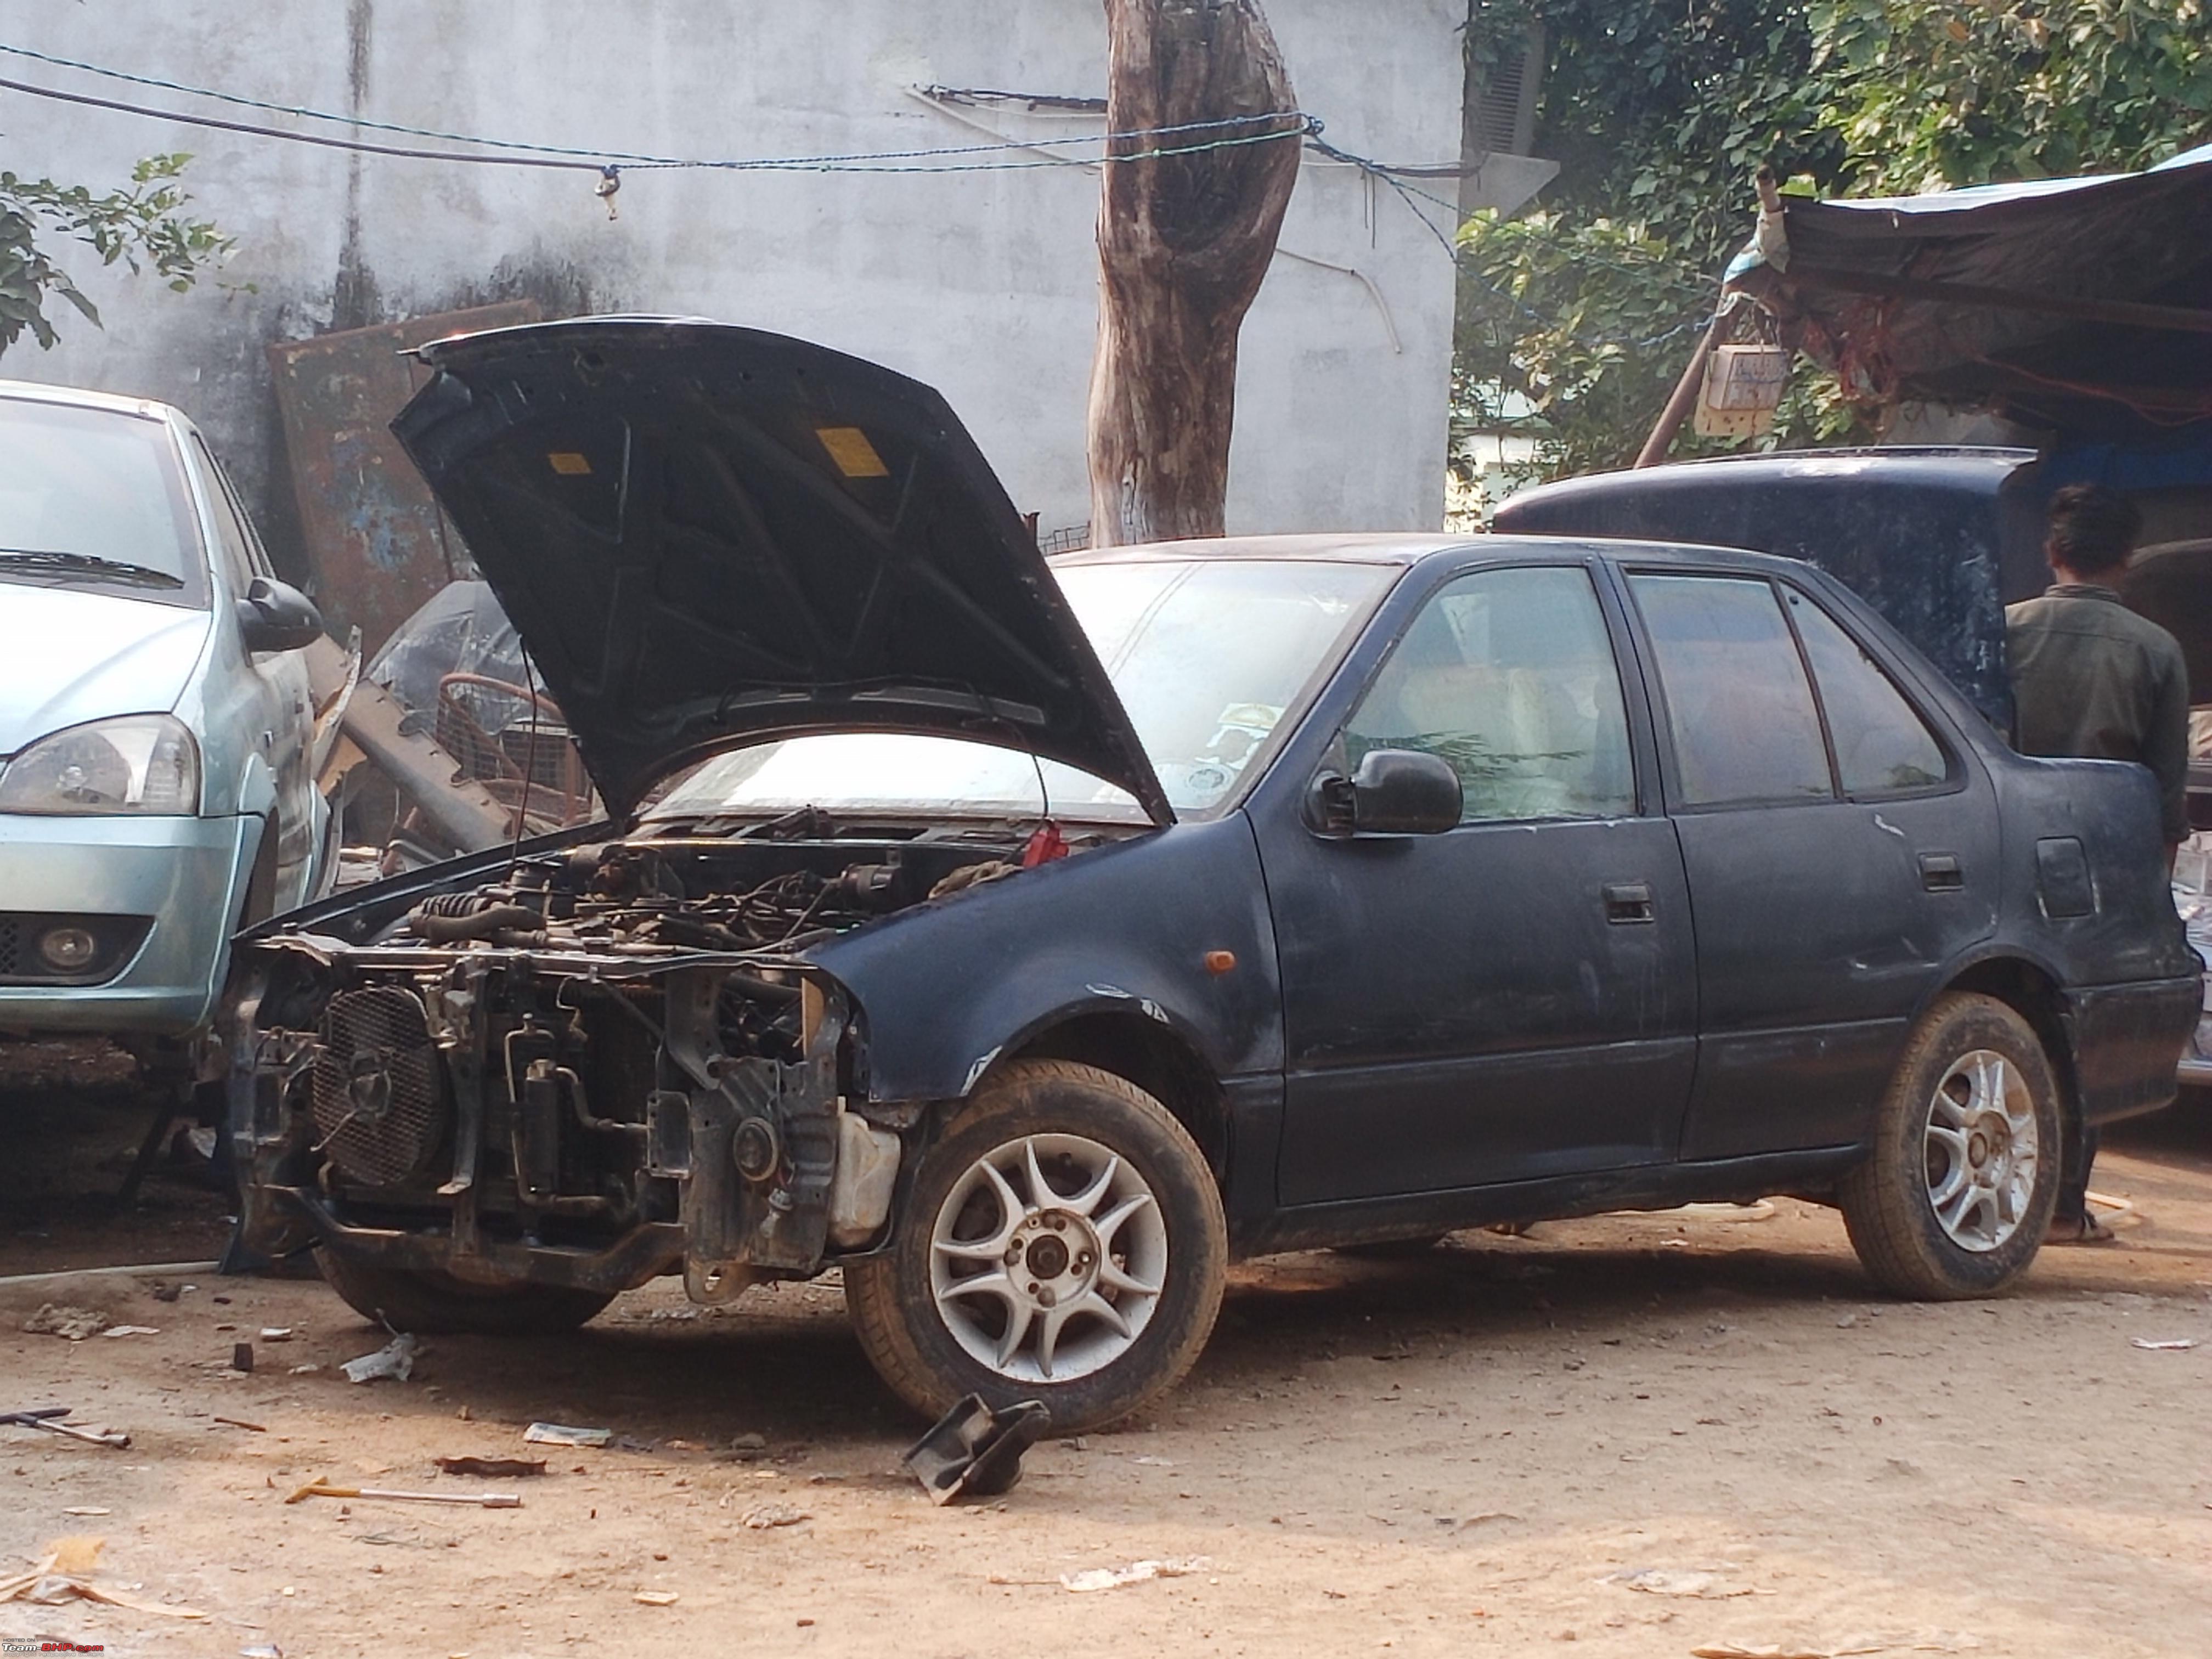 Radiator and Fan swapped from original car  closer look at the swapped engine, radiator and fan  New Charcoal canister/evap 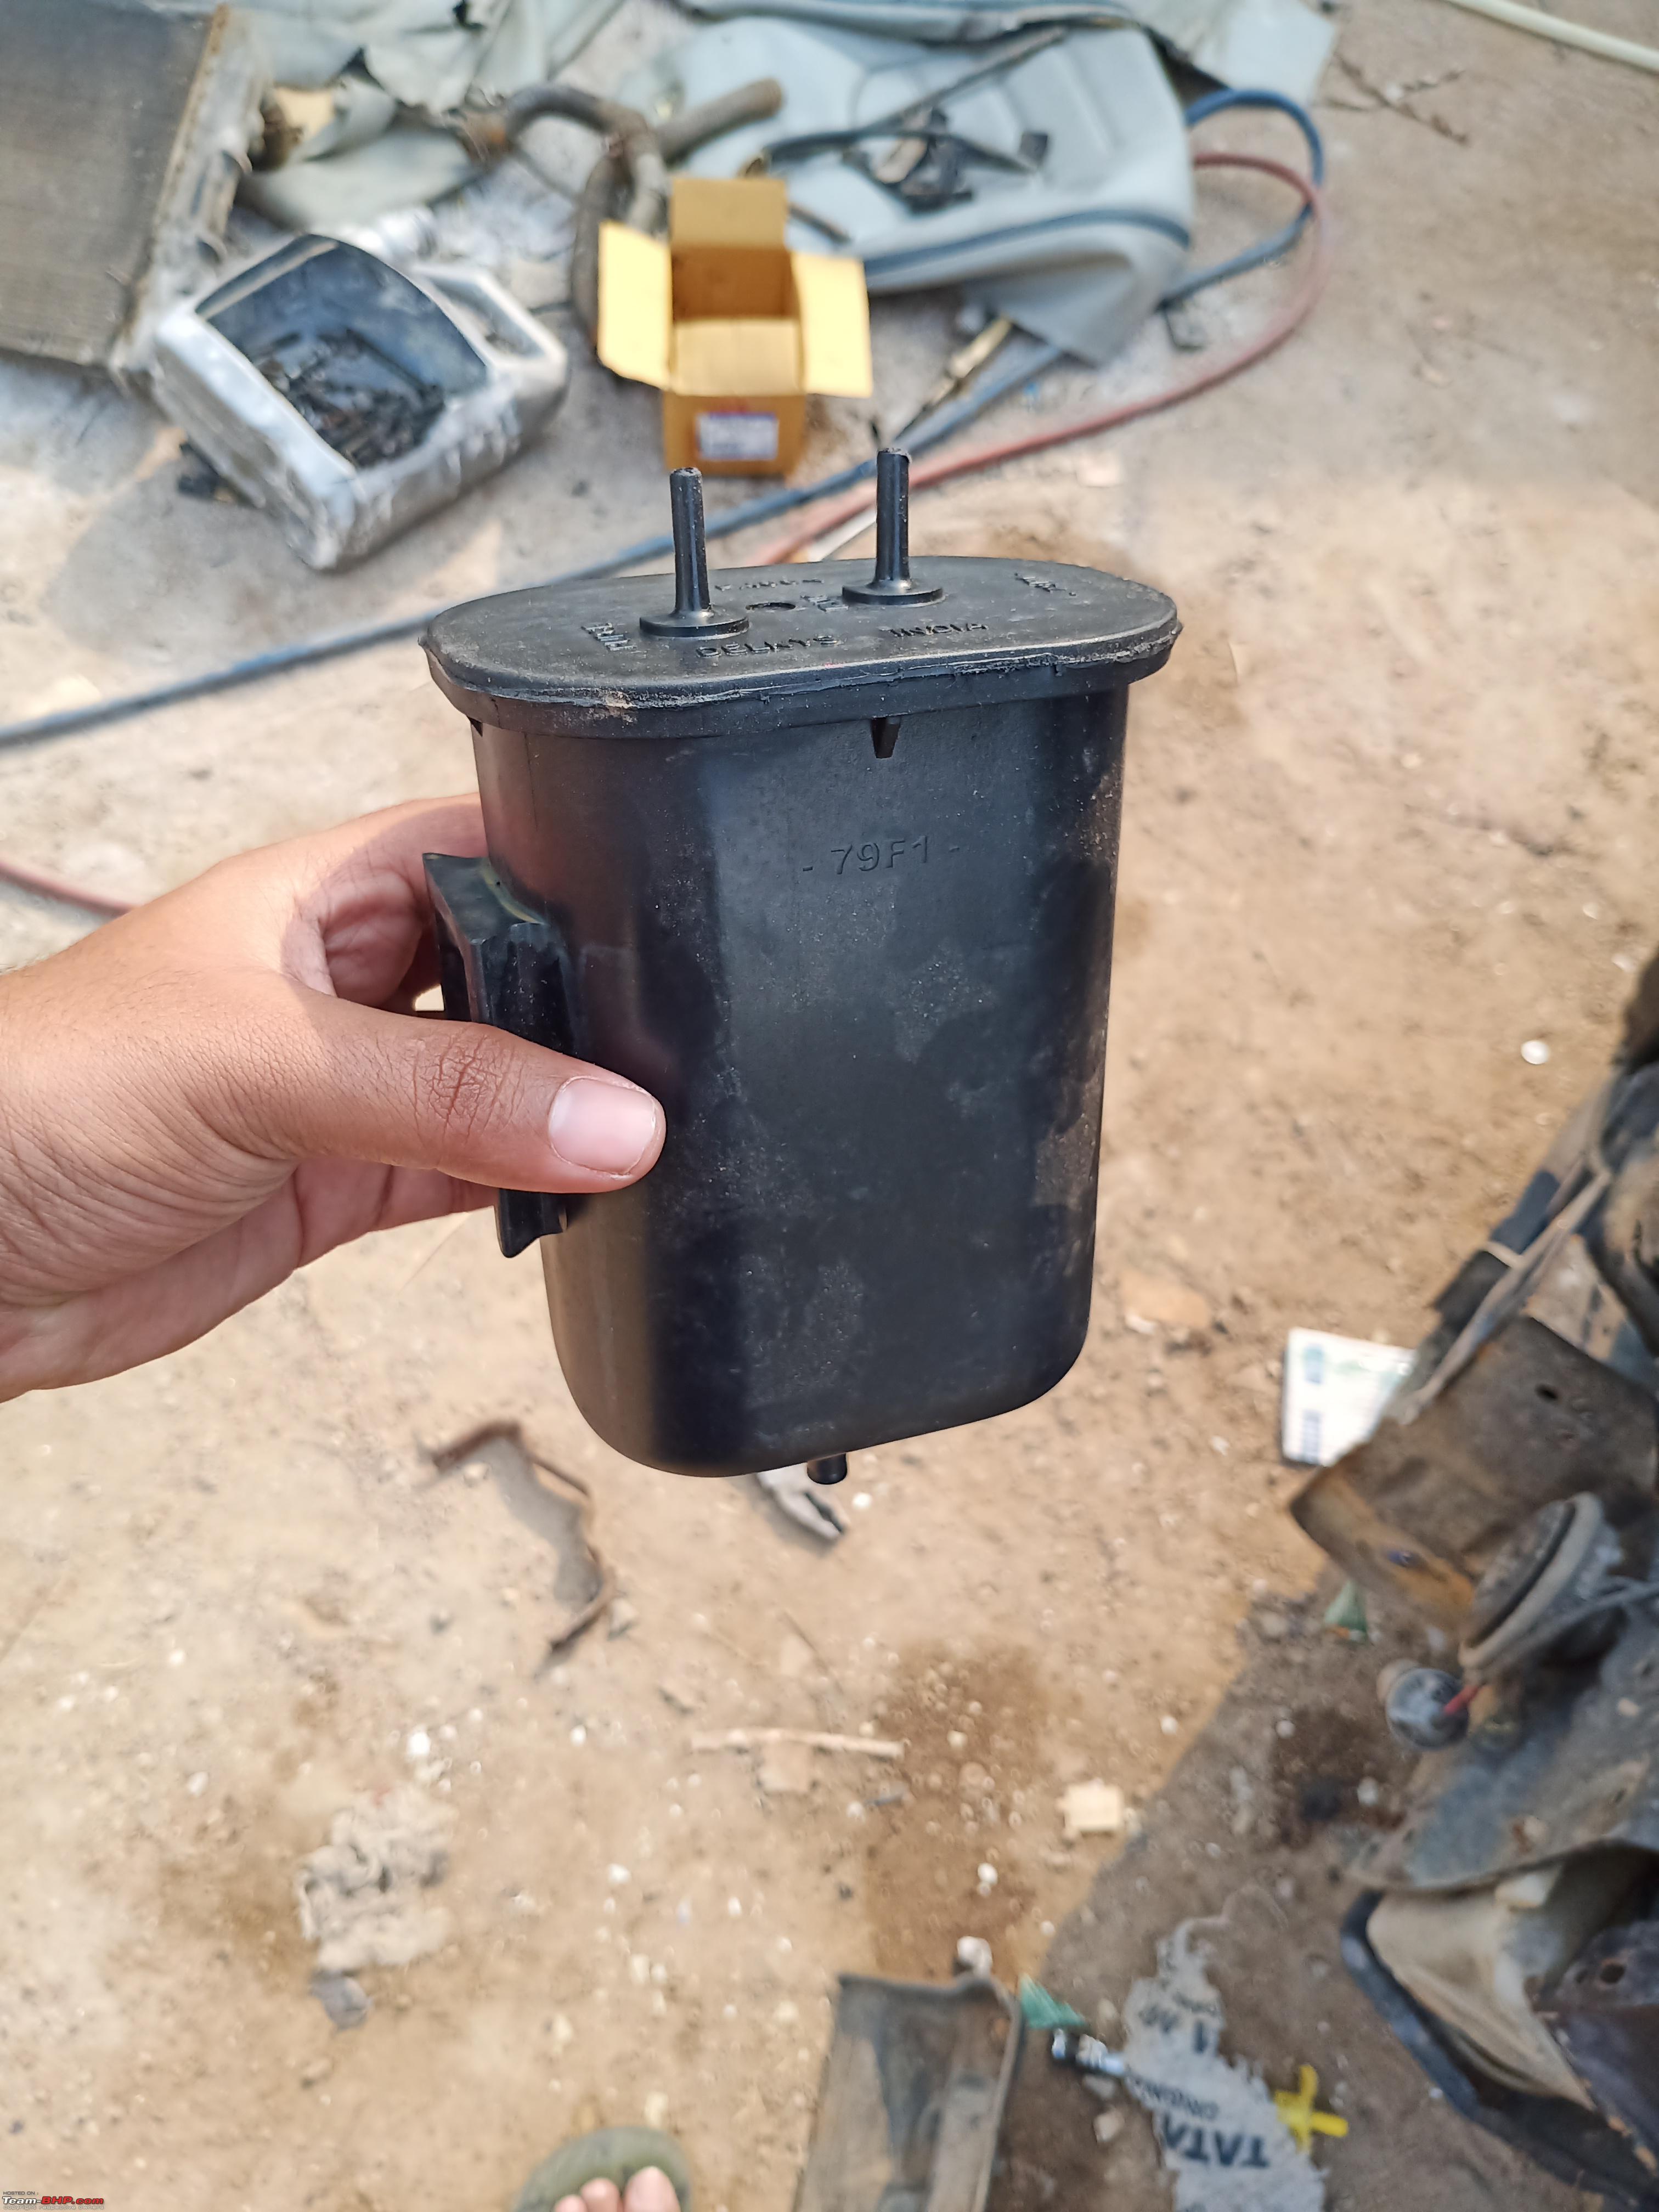 Last edited by mod_freak : 9th November 2020 at 11:57. Reason: Adding full details & pictures |

|  (38)
Thanks (38)
Thanks
 |
| The following 38 BHPians Thank mod_freak for this useful post: | aeroamit, Aish_4761, aman9393, ashis89, bongSENse, catchjyoti, CEF_Beasts, chiranjitp, Dani7766, Dr.AD, Ertigiat, gauravanekar, Geo_Ipe, GTO, hiren.mistry, InControl, JTM, keroo1099, landcruiser123, Leoshashi, Maedhros, pritanshchandra, R2D2, Rehaan, Researcher, Roy.S, samabhi, sanyog26, Shanksta, sudeepg, The_Outsider!, trivian@k, tunedv8, unk9ja, vaish9925, vigsom, VivekCherian, WhiteSierra |
| |
|
10th November 2020, 08:00
| #2 |
| Team-BHP Support  | Re: Restoring my 20-year old Maruti Esteem LX Thread moved out from the Assembly Line to the Technical Section. Thanks for sharing! Your car will go to our homepage this week  . . |
|
| (2)
Thanks
|
| The following 2 BHPians Thank GTO for this useful post: | mod_freak, Researcher |
|
11th November 2020, 09:57
| #3 |
| Distinguished - BHPian  Join Date: Feb 2006 Location: NSEW
Posts: 3,879
Thanked: 27,647 Times
| Re: Restoring my 20-year old Maruti Esteem LX Good decision to spruce up the dark blue with good parts from the Moonbeam silver (am assuming the original car was in that shade). Waiting for the final product, which I am sure will be kickass |
|
| (2)
Thanks
|
| The following 2 BHPians Thank vigsom for this useful post: | Cessna182, mod_freak |
|
11th November 2020, 13:51
| #4 |
| BHPian Join Date: Oct 2012 Location: Chennai
Posts: 822
Thanked: 3,449 Times
| Re: Restoring my 20-year old Maruti Esteem LX While I love reading all manner of reviews, DIY projects / Restoration projects are the cream of the cake. Am excited to see how the final product will look like. Do keep us posted. |
|
| (1)
Thanks
|
| The following BHPian Thanks Stribog for this useful post: | mod_freak |
|
11th November 2020, 16:16
| #5 | |
| Newbie Join Date: Jul 2020 Location: Shillong
Posts: 23
Thanked: 77 Times
| Re: Restoring my 20-year old Maruti Esteem LX Quote:
And may I commend you on the decision to keep it bone stock. Nowadays, its easier to get it modified rather than restore it to stock condition. | |
|
| (2)
Thanks
|

| The following 2 BHPians Thank Maedhros for this useful post: | mod_freak, Tucker48 |
|
11th November 2020, 16:29
| #6 |
| BHPian Join Date: Mar 2016 Location: Faridabad, HR
Posts: 224
Thanked: 404 Times
| Re: Restoring my 20-year old Maruti Esteem LX I have one question. Was the donor car engine run down? I don't understand the swap to that otherwise. |
|
| (1)
Thanks
|
| The following BHPian Thanks Ravi Parwan for this useful post: | Cessna182 |
|
12th November 2020, 06:36
| #7 | ||
| BHPian Join Date: Apr 2015 Location: Secunderabad
Posts: 28
Thanked: 117 Times
| Quote:
Quote:
Last edited by vb-saan : 12th November 2020 at 14:42. Reason: Back-to-back posts merged; please use edit/multi-quote options when posting back-to-back. Thanks! | ||
|
| (2)
Thanks
|
| The following 2 BHPians Thank mod_freak for this useful post: | Cessna182, vigsom |
|
12th November 2020, 08:28
| #8 |
| BHPian Join Date: Jun 2018 Location: Nil
Posts: 350
Thanked: 2,252 Times
| Re: Restoring my 20-year old Maruti Esteem LX Great thread. Just one question- why are you removing the paint from the blue car? Keep it original. No matter what someone says, there's no substitute to the factory paint. Don't even allow a respray. Just put in some detailing and keep it original. We have a 2002 Esteem LXi that's still a daily driver on everything on the body just the way it fitted. It will last at least a few more years. |
|
| (1)
Thanks
|
| The following BHPian Thanks Cessna182 for this useful post: | vigsom |
|
12th November 2020, 10:29
| #9 |
| BHPian | Re: Restoring my 20-year old Maruti Esteem LX Great restoration process, looks like here your donor car is undergoing complete restoration and not the original car (you are retaining the original engine though).  Waiting for the finished product. |
|
| (1)
Thanks
|
| The following BHPian Thanks WhiteSierra for this useful post: | mod_freak |
|
12th November 2020, 13:06
| #10 | |
| Senior - BHPian | Re: Restoring my 20-year old Maruti Esteem LX Quote:
| |
|
| (1)
Thanks
|
| The following BHPian Thanks rr_zen for this useful post: | mod_freak |
|
12th November 2020, 19:14
| #11 | ||
| BHPian Join Date: Apr 2015 Location: Secunderabad
Posts: 28
Thanked: 117 Times
| Quote:
  Quote:
 yes, its like getting together the best parts and restoring. The engine, radiator, fan, coolant reservoir, starter motor, wiper motor, some plastic trims, bottom part of front bumper headlights, taillights indicators, spoiler are from original car, outer shell, seats, alloys, wiring, oil and break reservoirs, gear box, fog lamps are from donor car. Gear knob, gear lever boot, logos, evap, trim clips, door handles, pedal rubbers, window outer beading, alloy wheel bolts, bulbs, cabin light asembies with bulbs, driver side and passenger side ORVMs, Battery are new and except battery all are MGP parts. yes, its like getting together the best parts and restoring. The engine, radiator, fan, coolant reservoir, starter motor, wiper motor, some plastic trims, bottom part of front bumper headlights, taillights indicators, spoiler are from original car, outer shell, seats, alloys, wiring, oil and break reservoirs, gear box, fog lamps are from donor car. Gear knob, gear lever boot, logos, evap, trim clips, door handles, pedal rubbers, window outer beading, alloy wheel bolts, bulbs, cabin light asembies with bulbs, driver side and passenger side ORVMs, Battery are new and except battery all are MGP parts.Fixing minor flaws in the metal 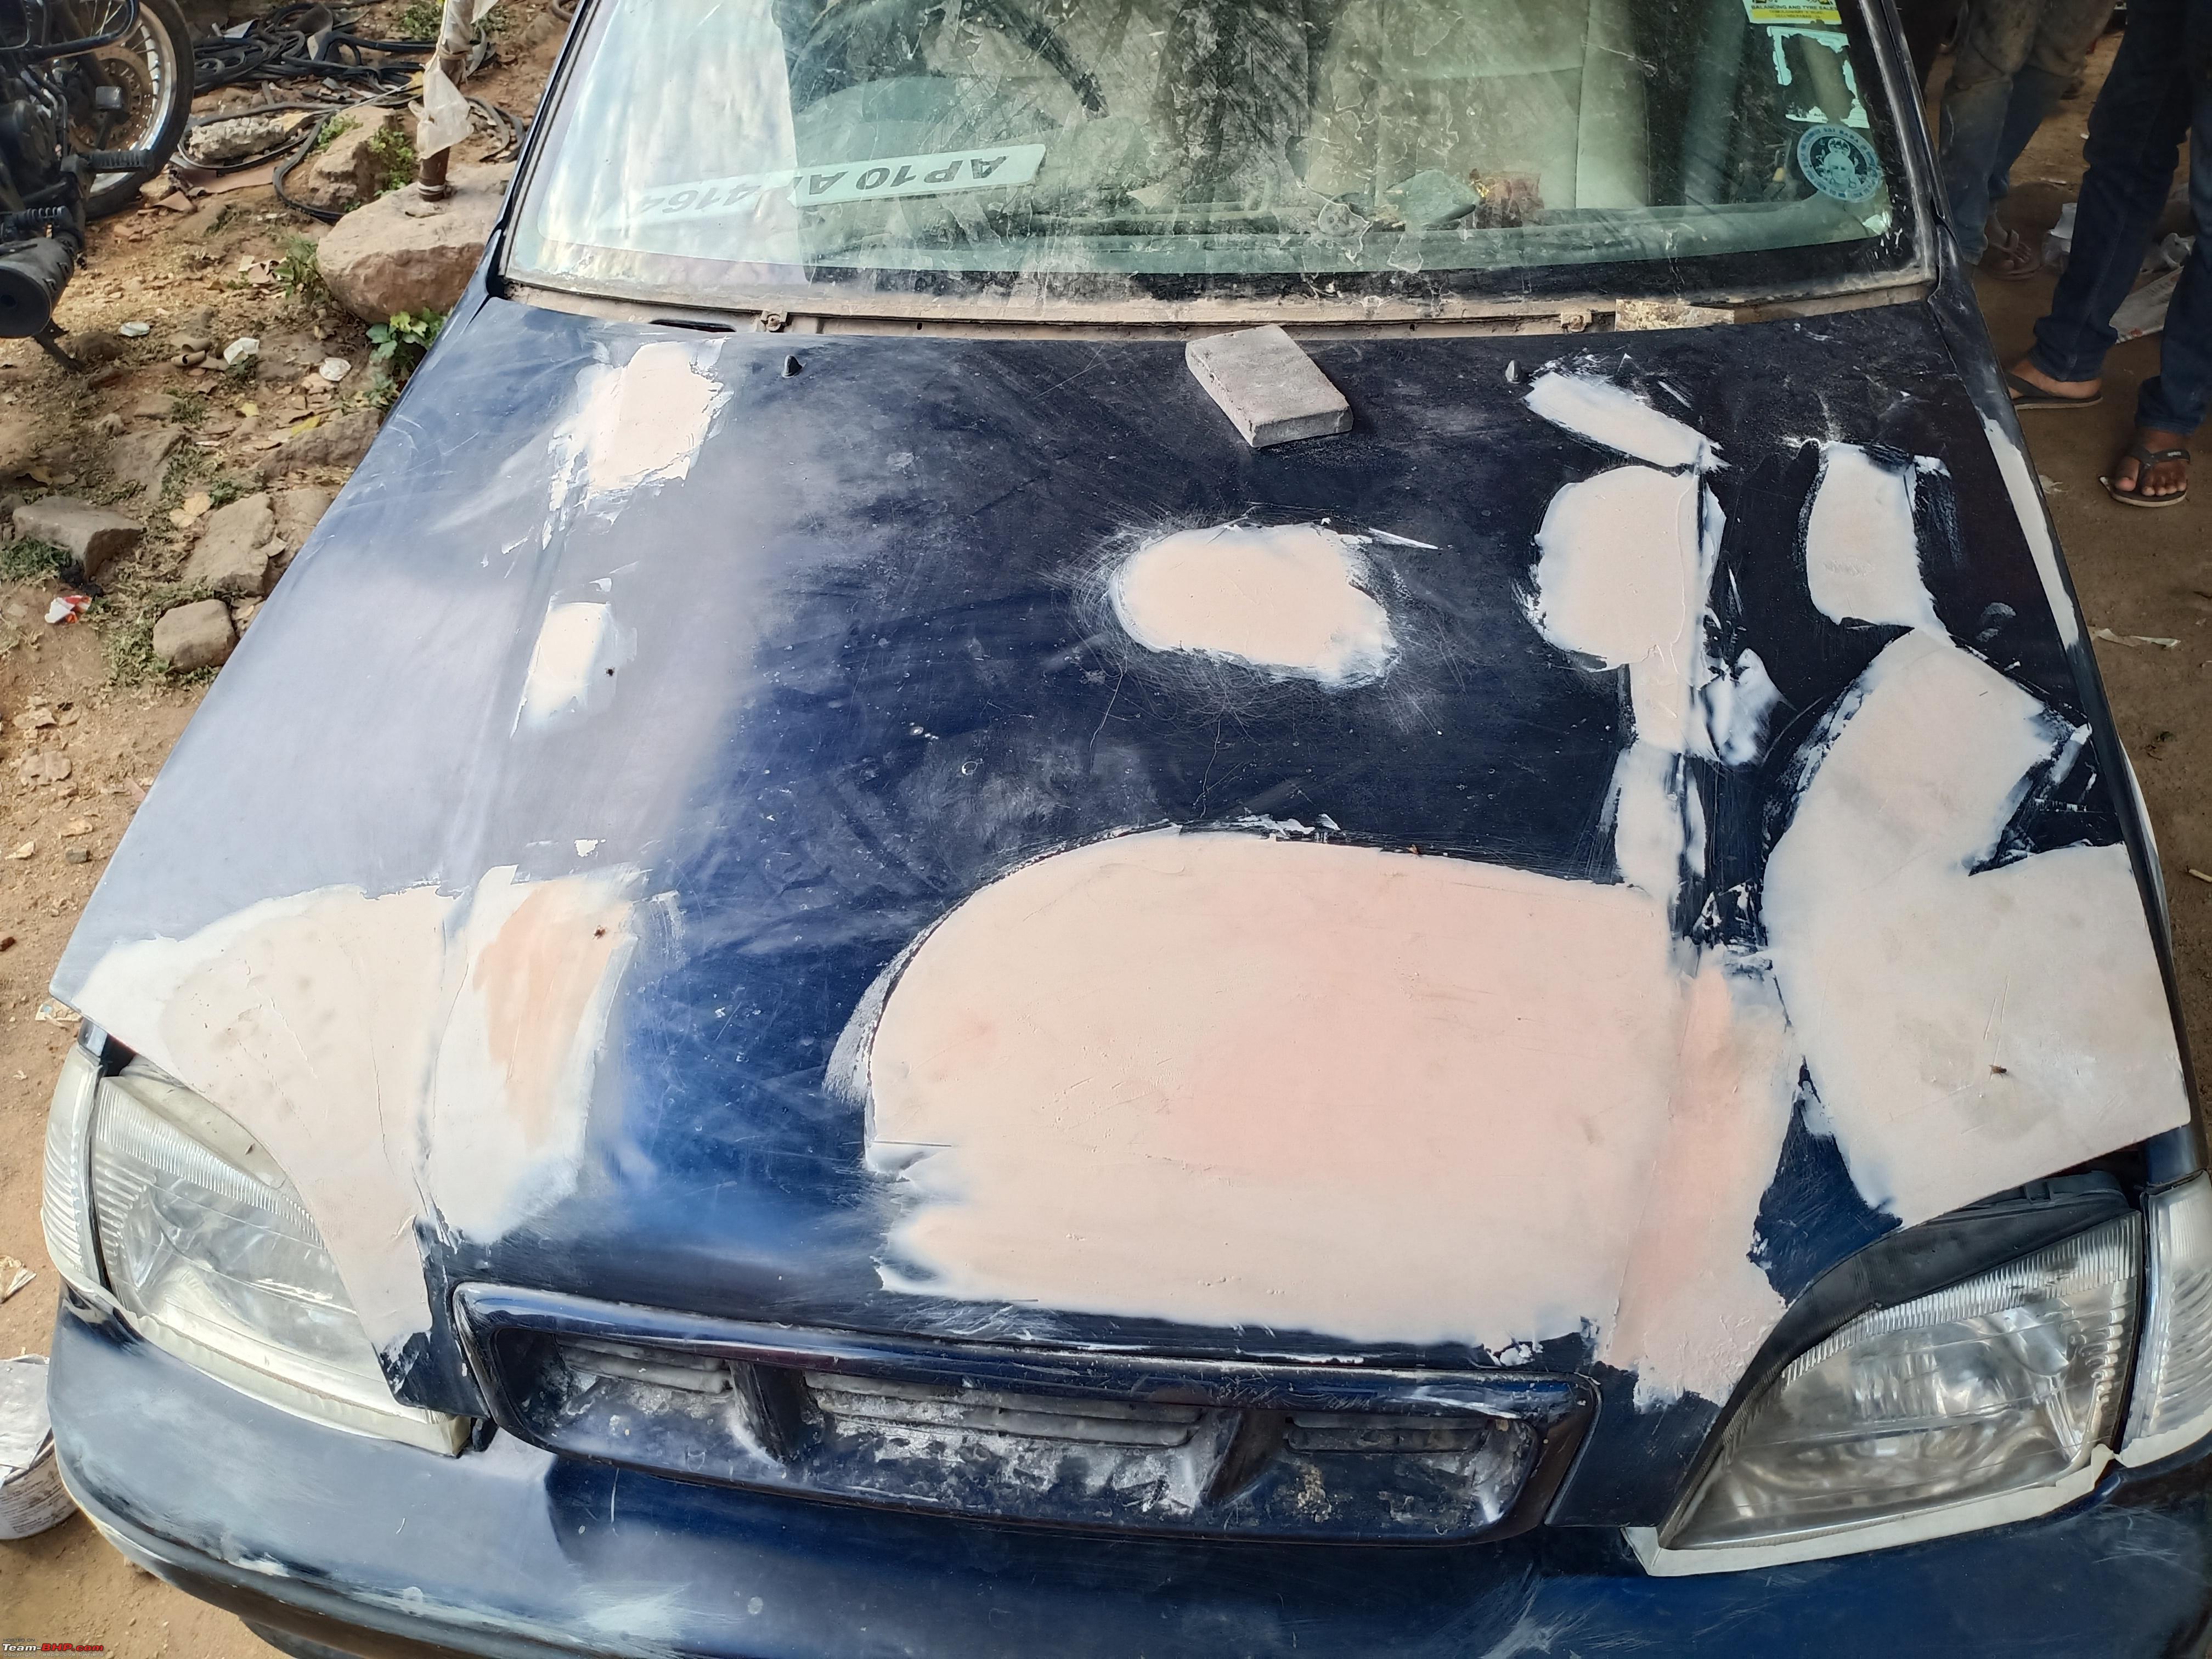 This steering pad will be replaced with new one  Sun kissed  Bumper and fender fixed  Rear bumper and Boot Lid taken care  Retained OEM spoiler from LX  Liner removed from roof and the metal looks brnd new with no rusting 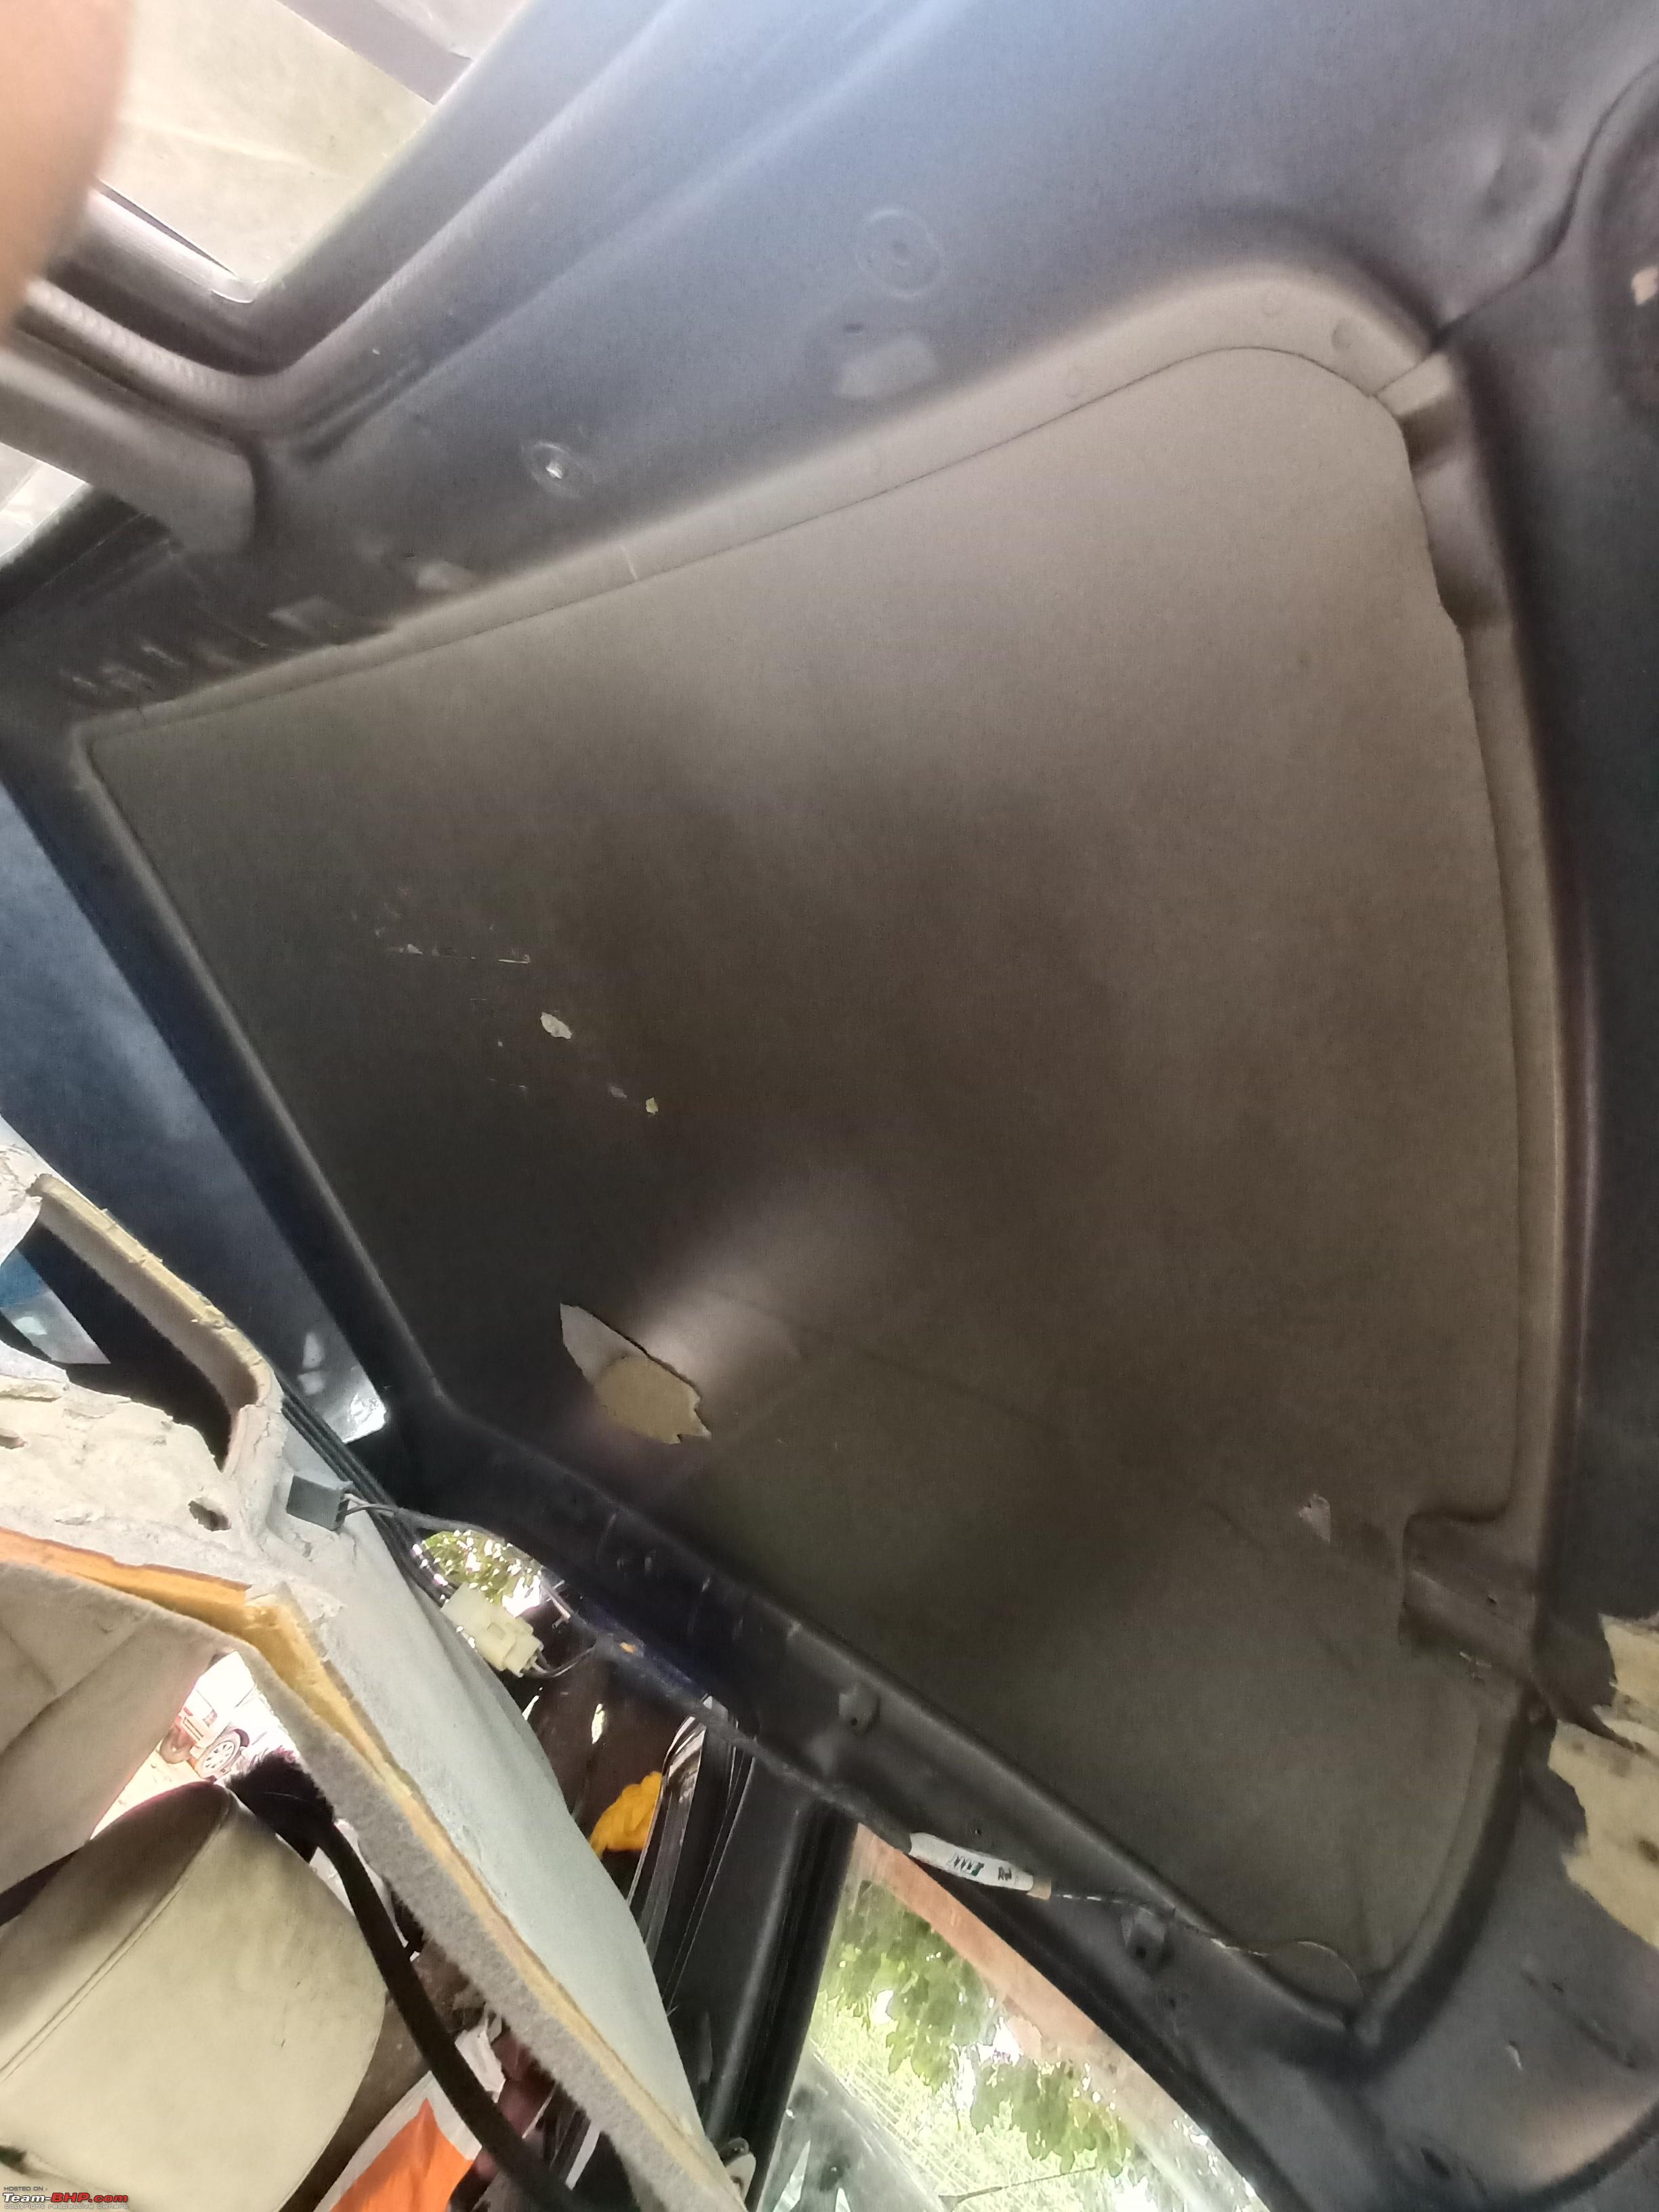 Last edited by Aditya : 14th November 2020 at 04:44. Reason: Back to back posts merged | ||
|
| (10)
Thanks
|
| The following 10 BHPians Thank mod_freak for this useful post: | Bibendum90949, chiranjitp, Dr.AD, Geo_Ipe, JTM, Sanidhya mukund, sanyog26, vaish9925, vigsom, WhiteSierra |
| |
|
12th November 2020, 21:14
| #12 |
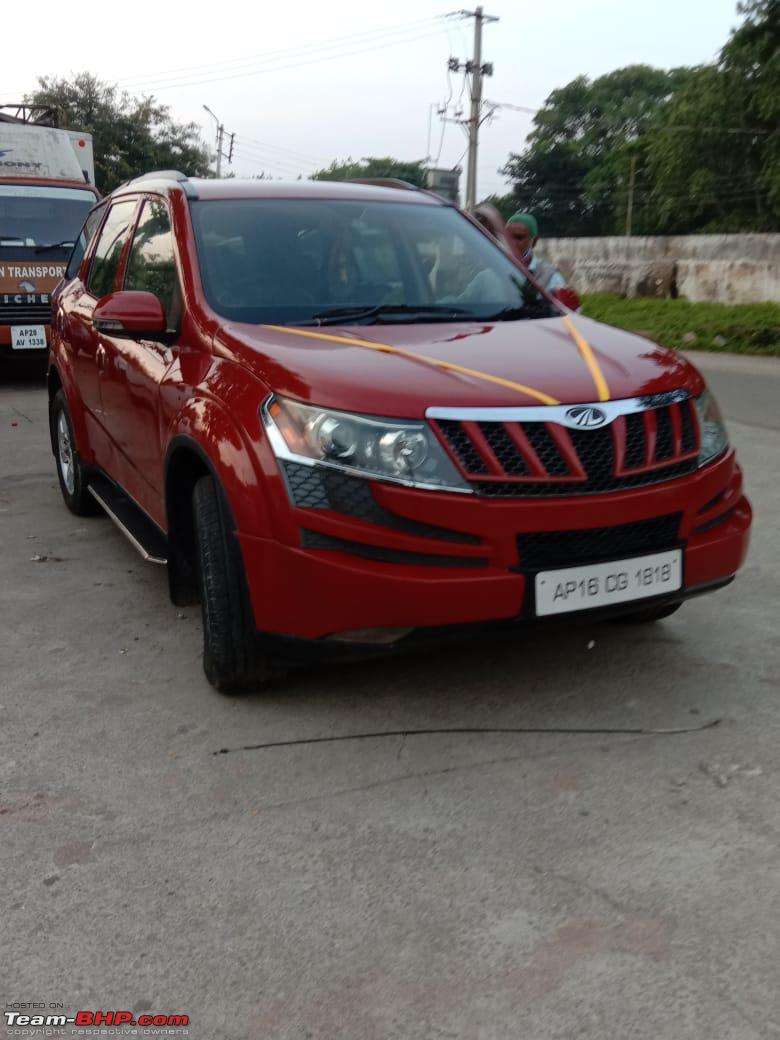
| BHPian | Re: Restoring my 20-year old Maruti Esteem LX Looks amazing, you won't believe, I'm waiting on restoring an esteem too. My friends hasn't taken their esteem out in 8 years. Neither of her parents know how to drive. I'm looking to eventually take it off their handss hehehe. Where is the restoration happening??! would love to come have a look and maybe learn a thing or two. The XUV looks sweet. I think your silver painjob looks matte because that's only the base coat. you have to apply another layer of clear coat on top of the base coat. |
|
| ()
Thanks
|
|
12th November 2020, 23:02
| #13 |
| BHPian Join Date: Oct 2020 Location: Mld, Ghy, Kol
Posts: 95
Thanked: 262 Times
| Re: Restoring my 20-year old Maruti Esteem LX It's been a dream to restore an old Suzuki (Zen/ Esteem / Baleno 1.6/ Gypsy 1.3), But it didn't materialize yet. Tried starting it with our F10D Wagon R, but somehow family is not convinced to retain a 15 year old car and looking for a replacement in couple of months. Best of wishes for your restoration job. Looking forward for the finished product. |
|
| ()
Thanks
|
|
13th November 2020, 06:12
| #14 | |
| BHPian Join Date: Apr 2015 Location: Secunderabad
Posts: 28
Thanked: 117 Times
| Re: Restoring my 20-year old Maruti Esteem LX Quote:
Restoration is happening in karkhana, Hyderabad. That silver esteem is the result of my own crap job. Its a cheap spray can job which failed. Shade was high heat aluminium. We applied clear as well but somehow the shine never came | |
|
| ()
Thanks
|
|
27th November 2020, 18:58
| #15 | |
| BHPian Join Date: Apr 2015 Location: Secunderabad
Posts: 28
Thanked: 117 Times
| Re: Restoring my 20-year old Maruti Esteem LX Quote:
We decided to use blue shade primer instead of the grey color for a better output as we will paint our esteem in deep ocean blue like the BMW & balenoish blue shade. Pictures during primer work 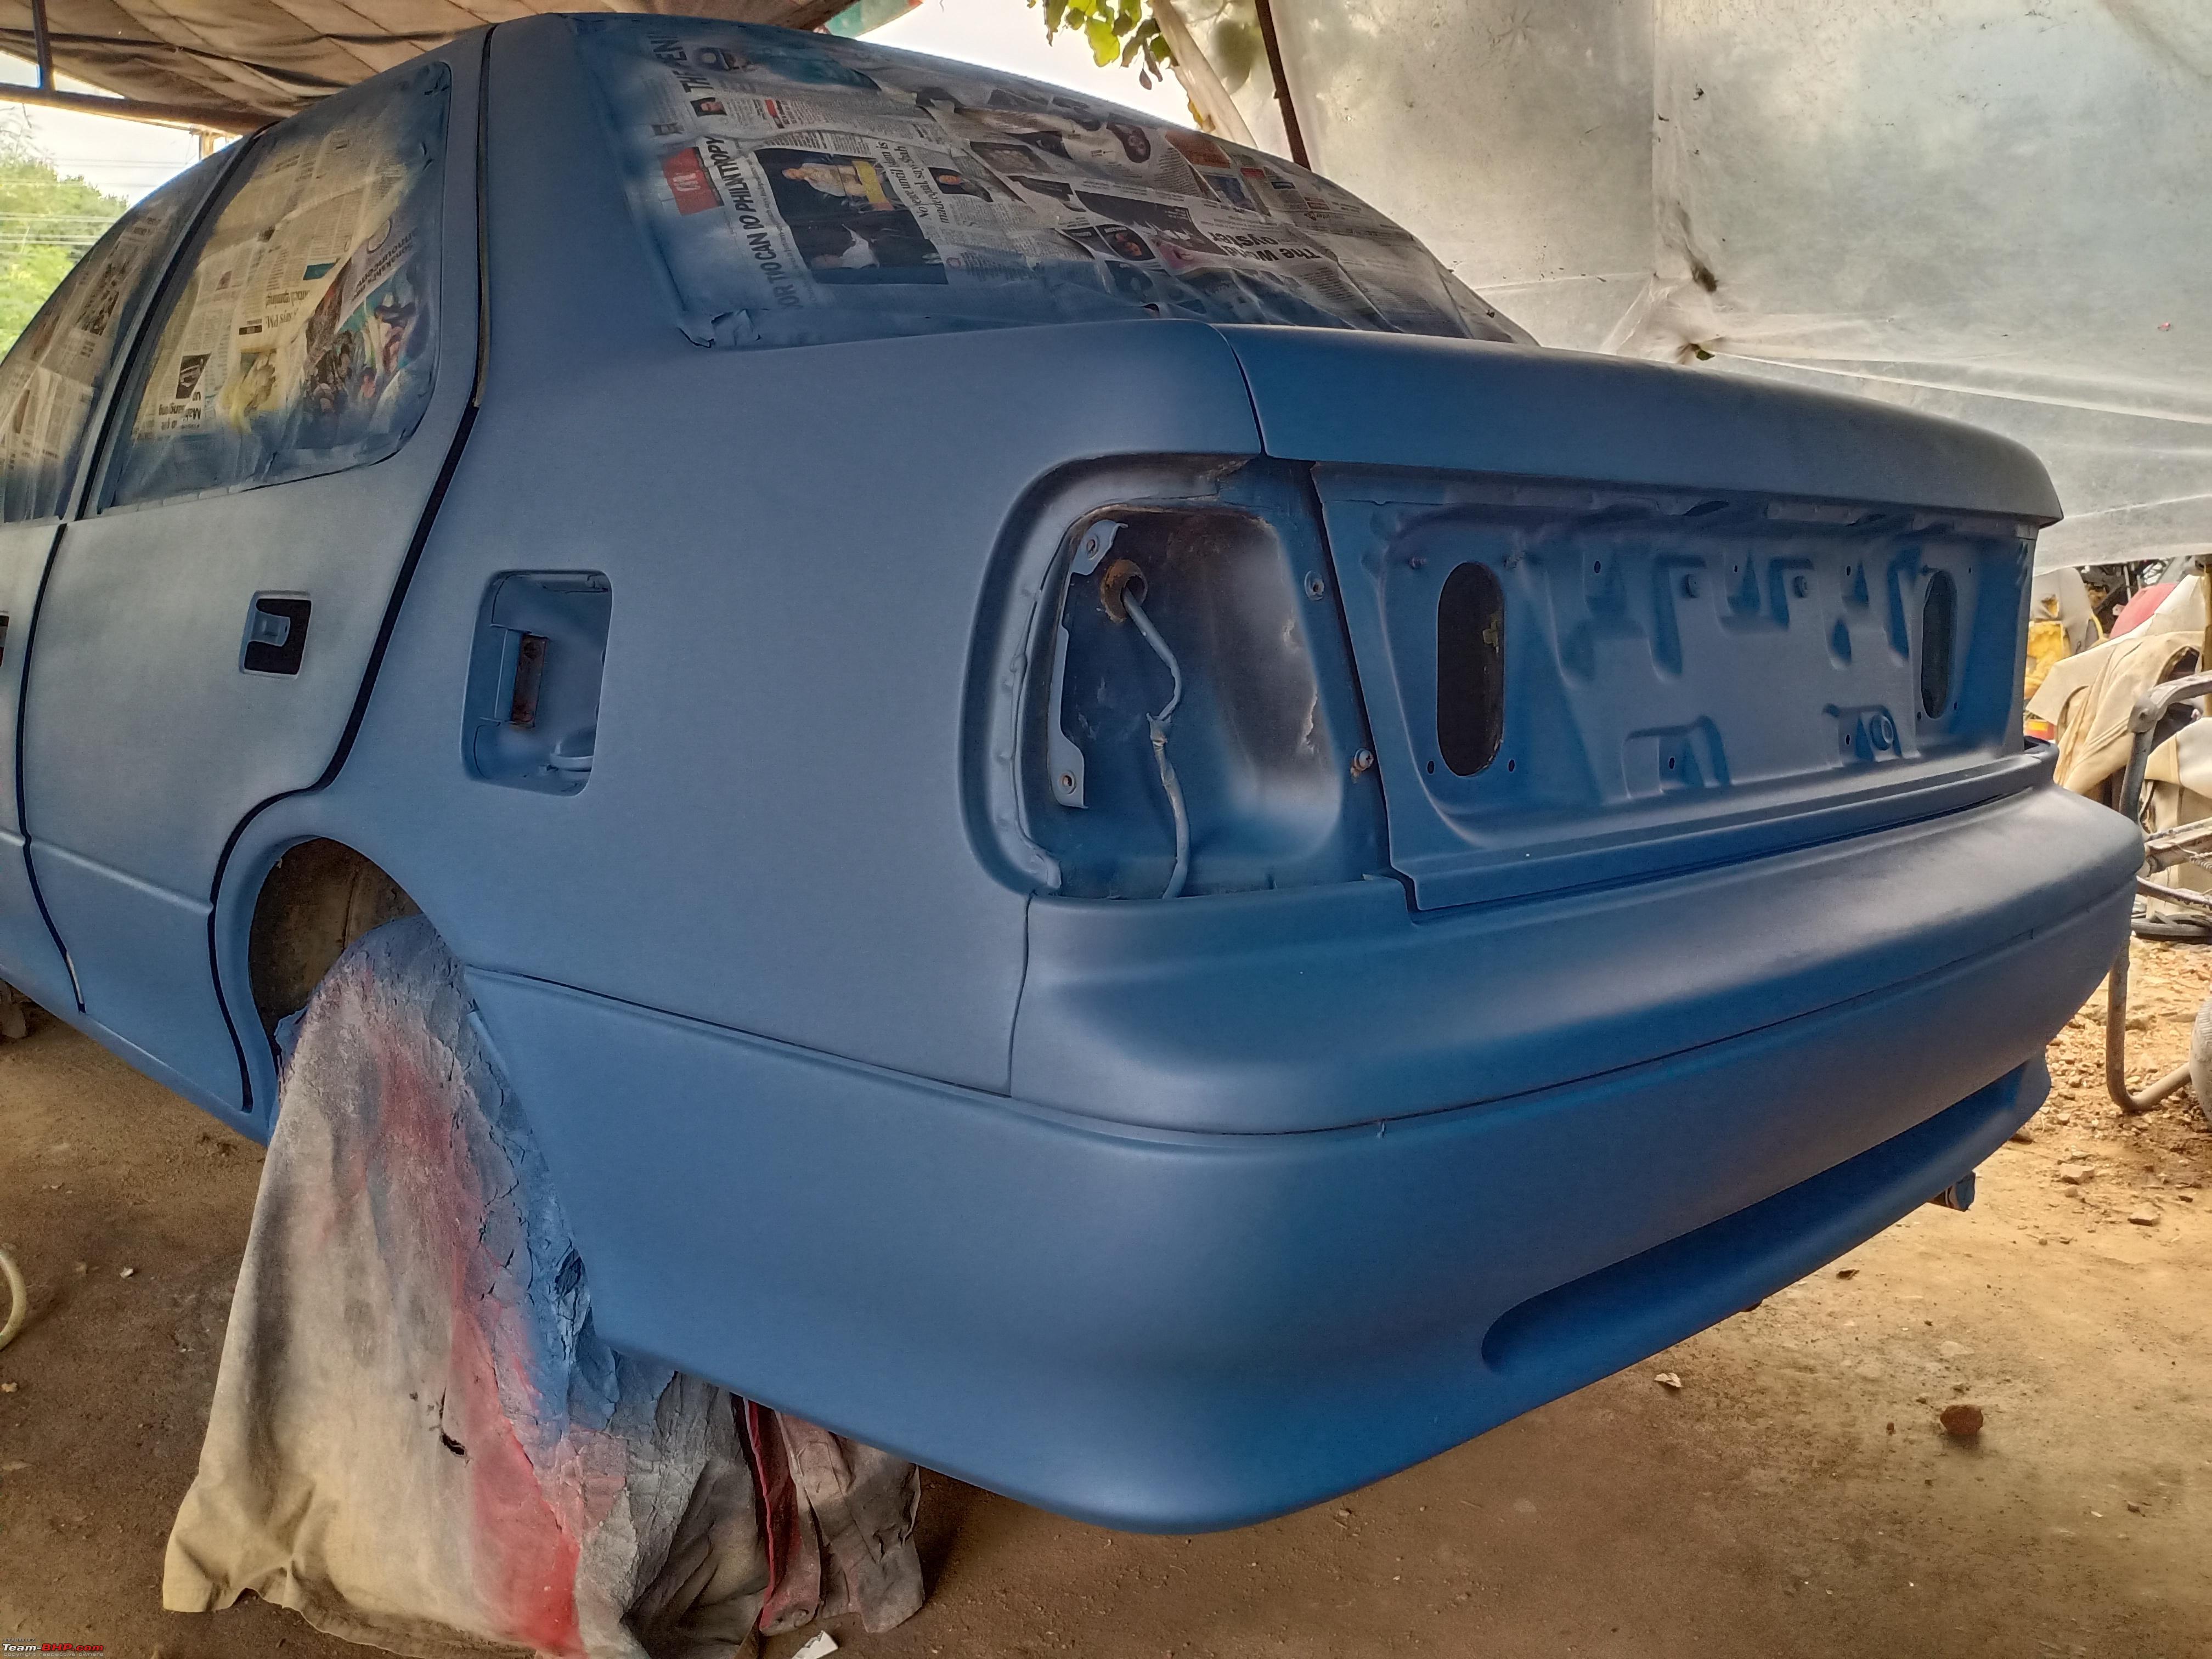 in love with the matte blue finish 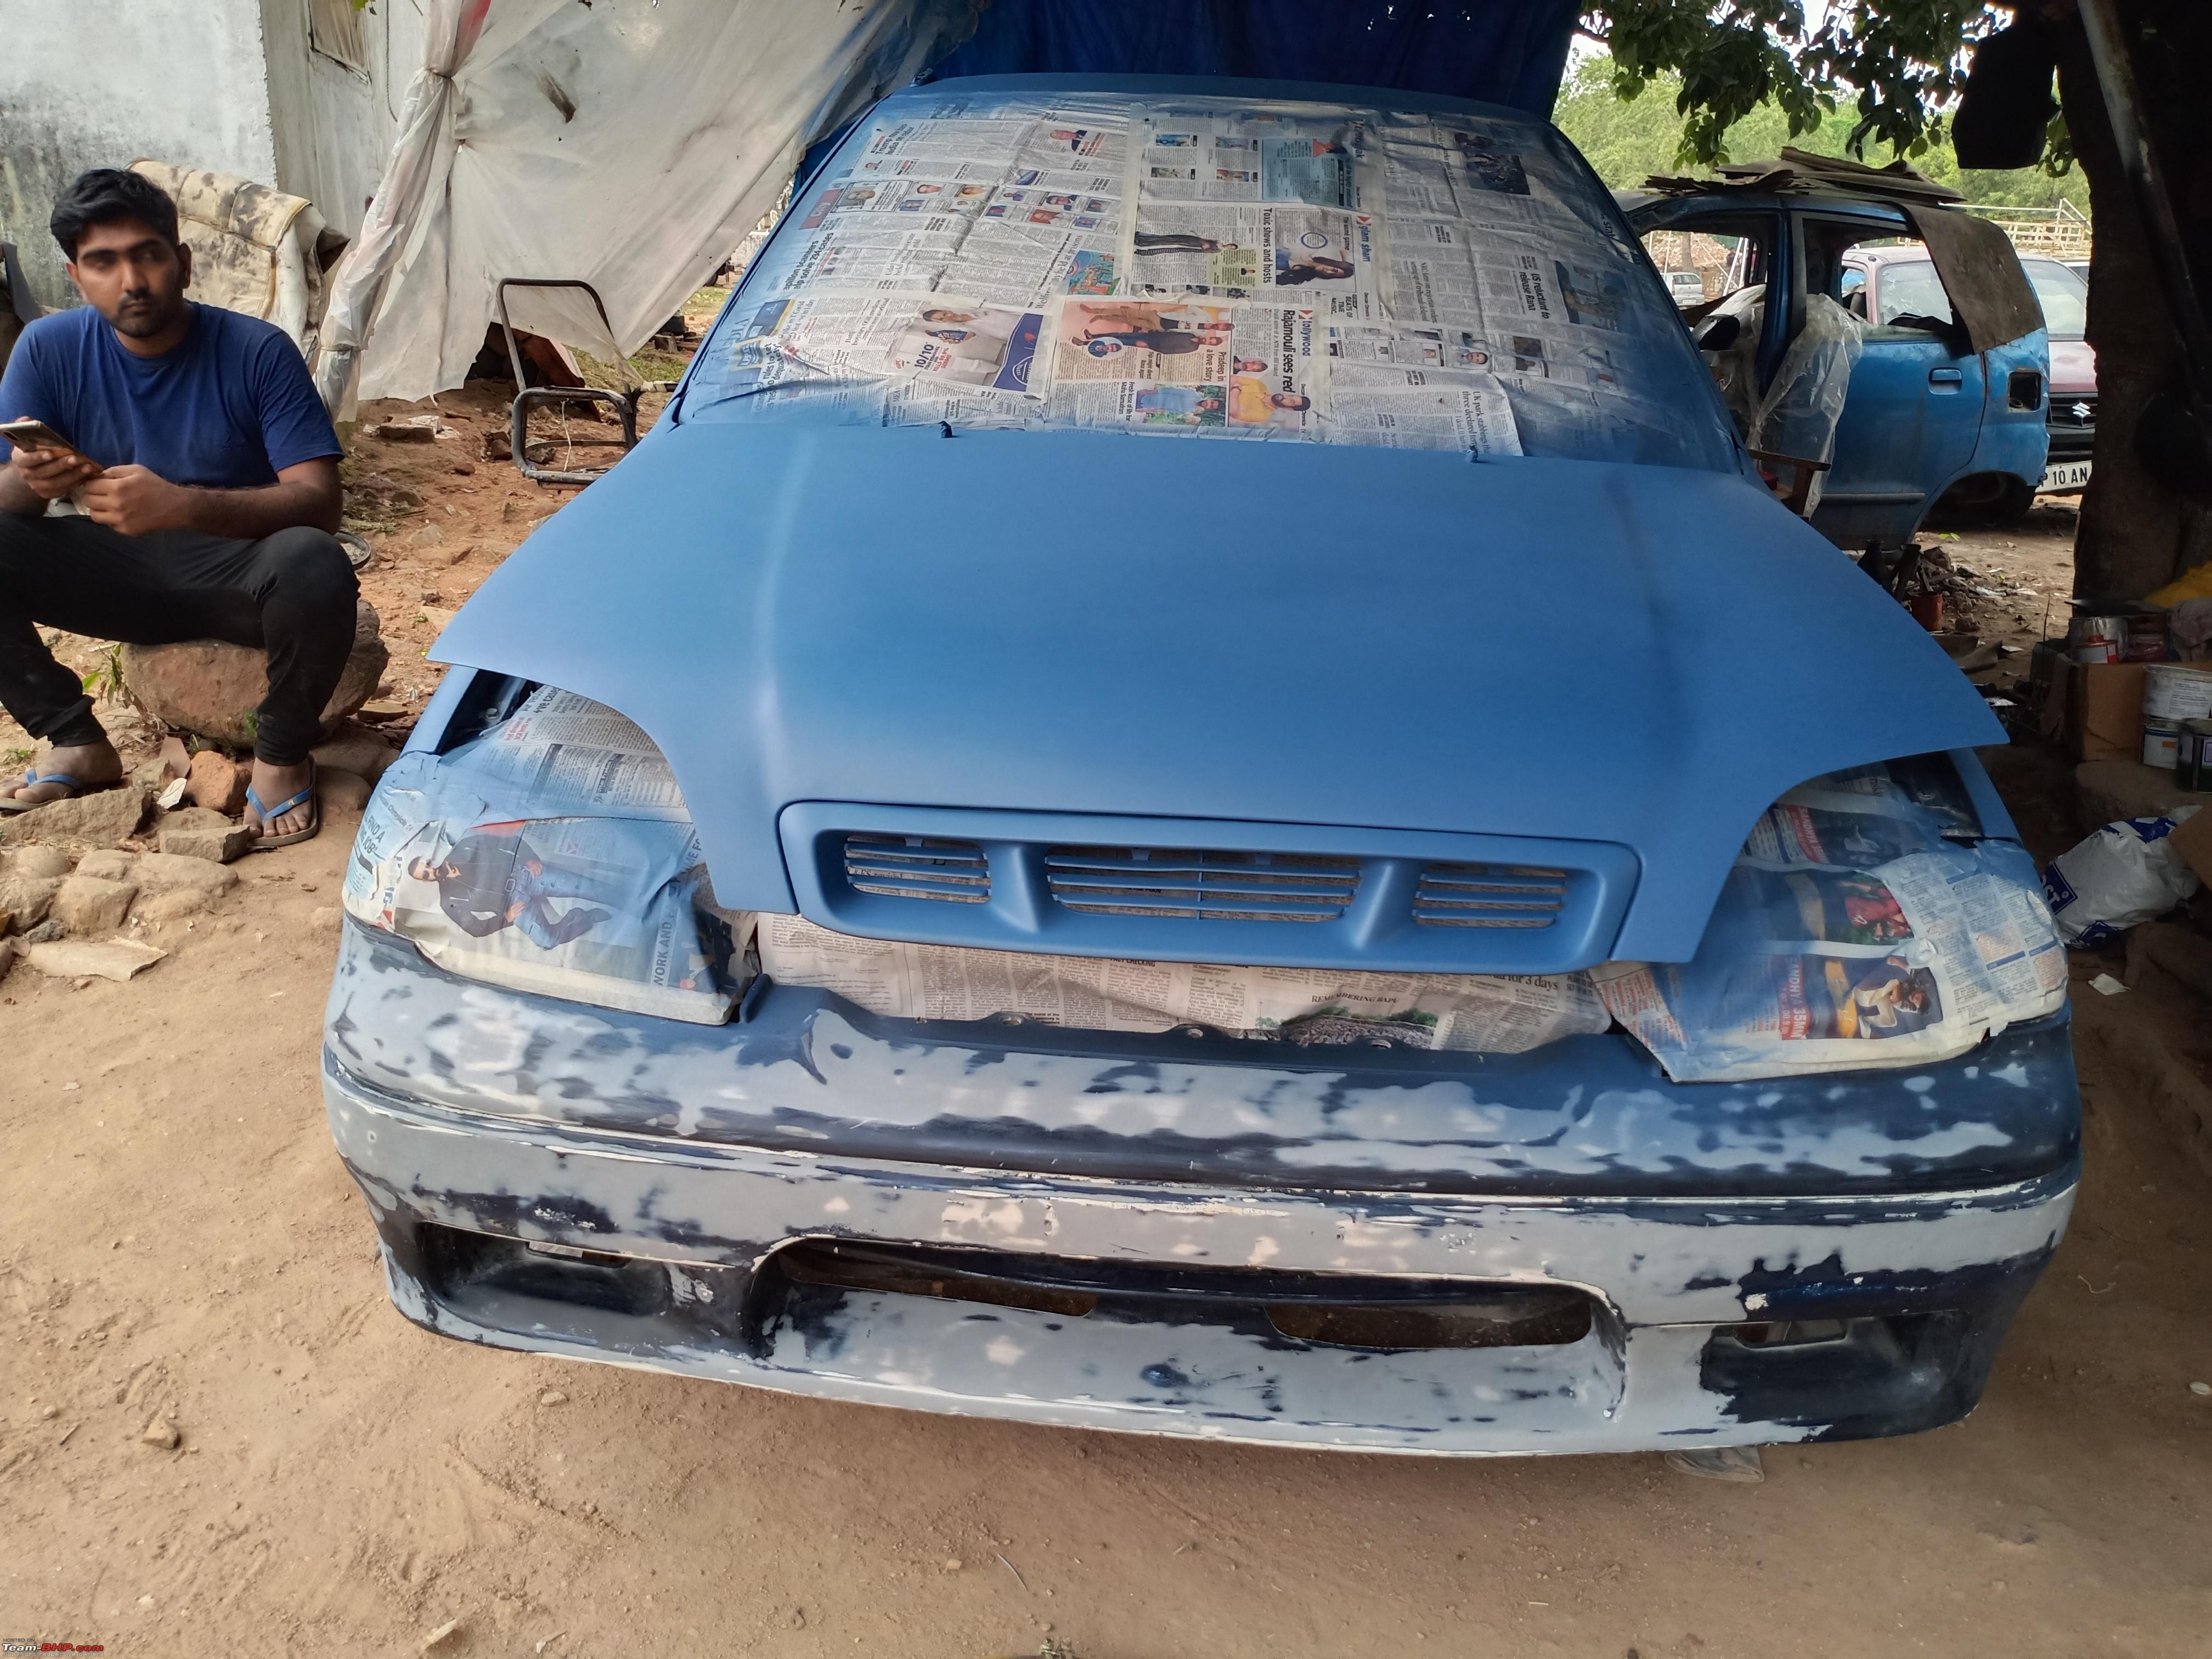 beautiful matte look of primer  front view, fully being masked 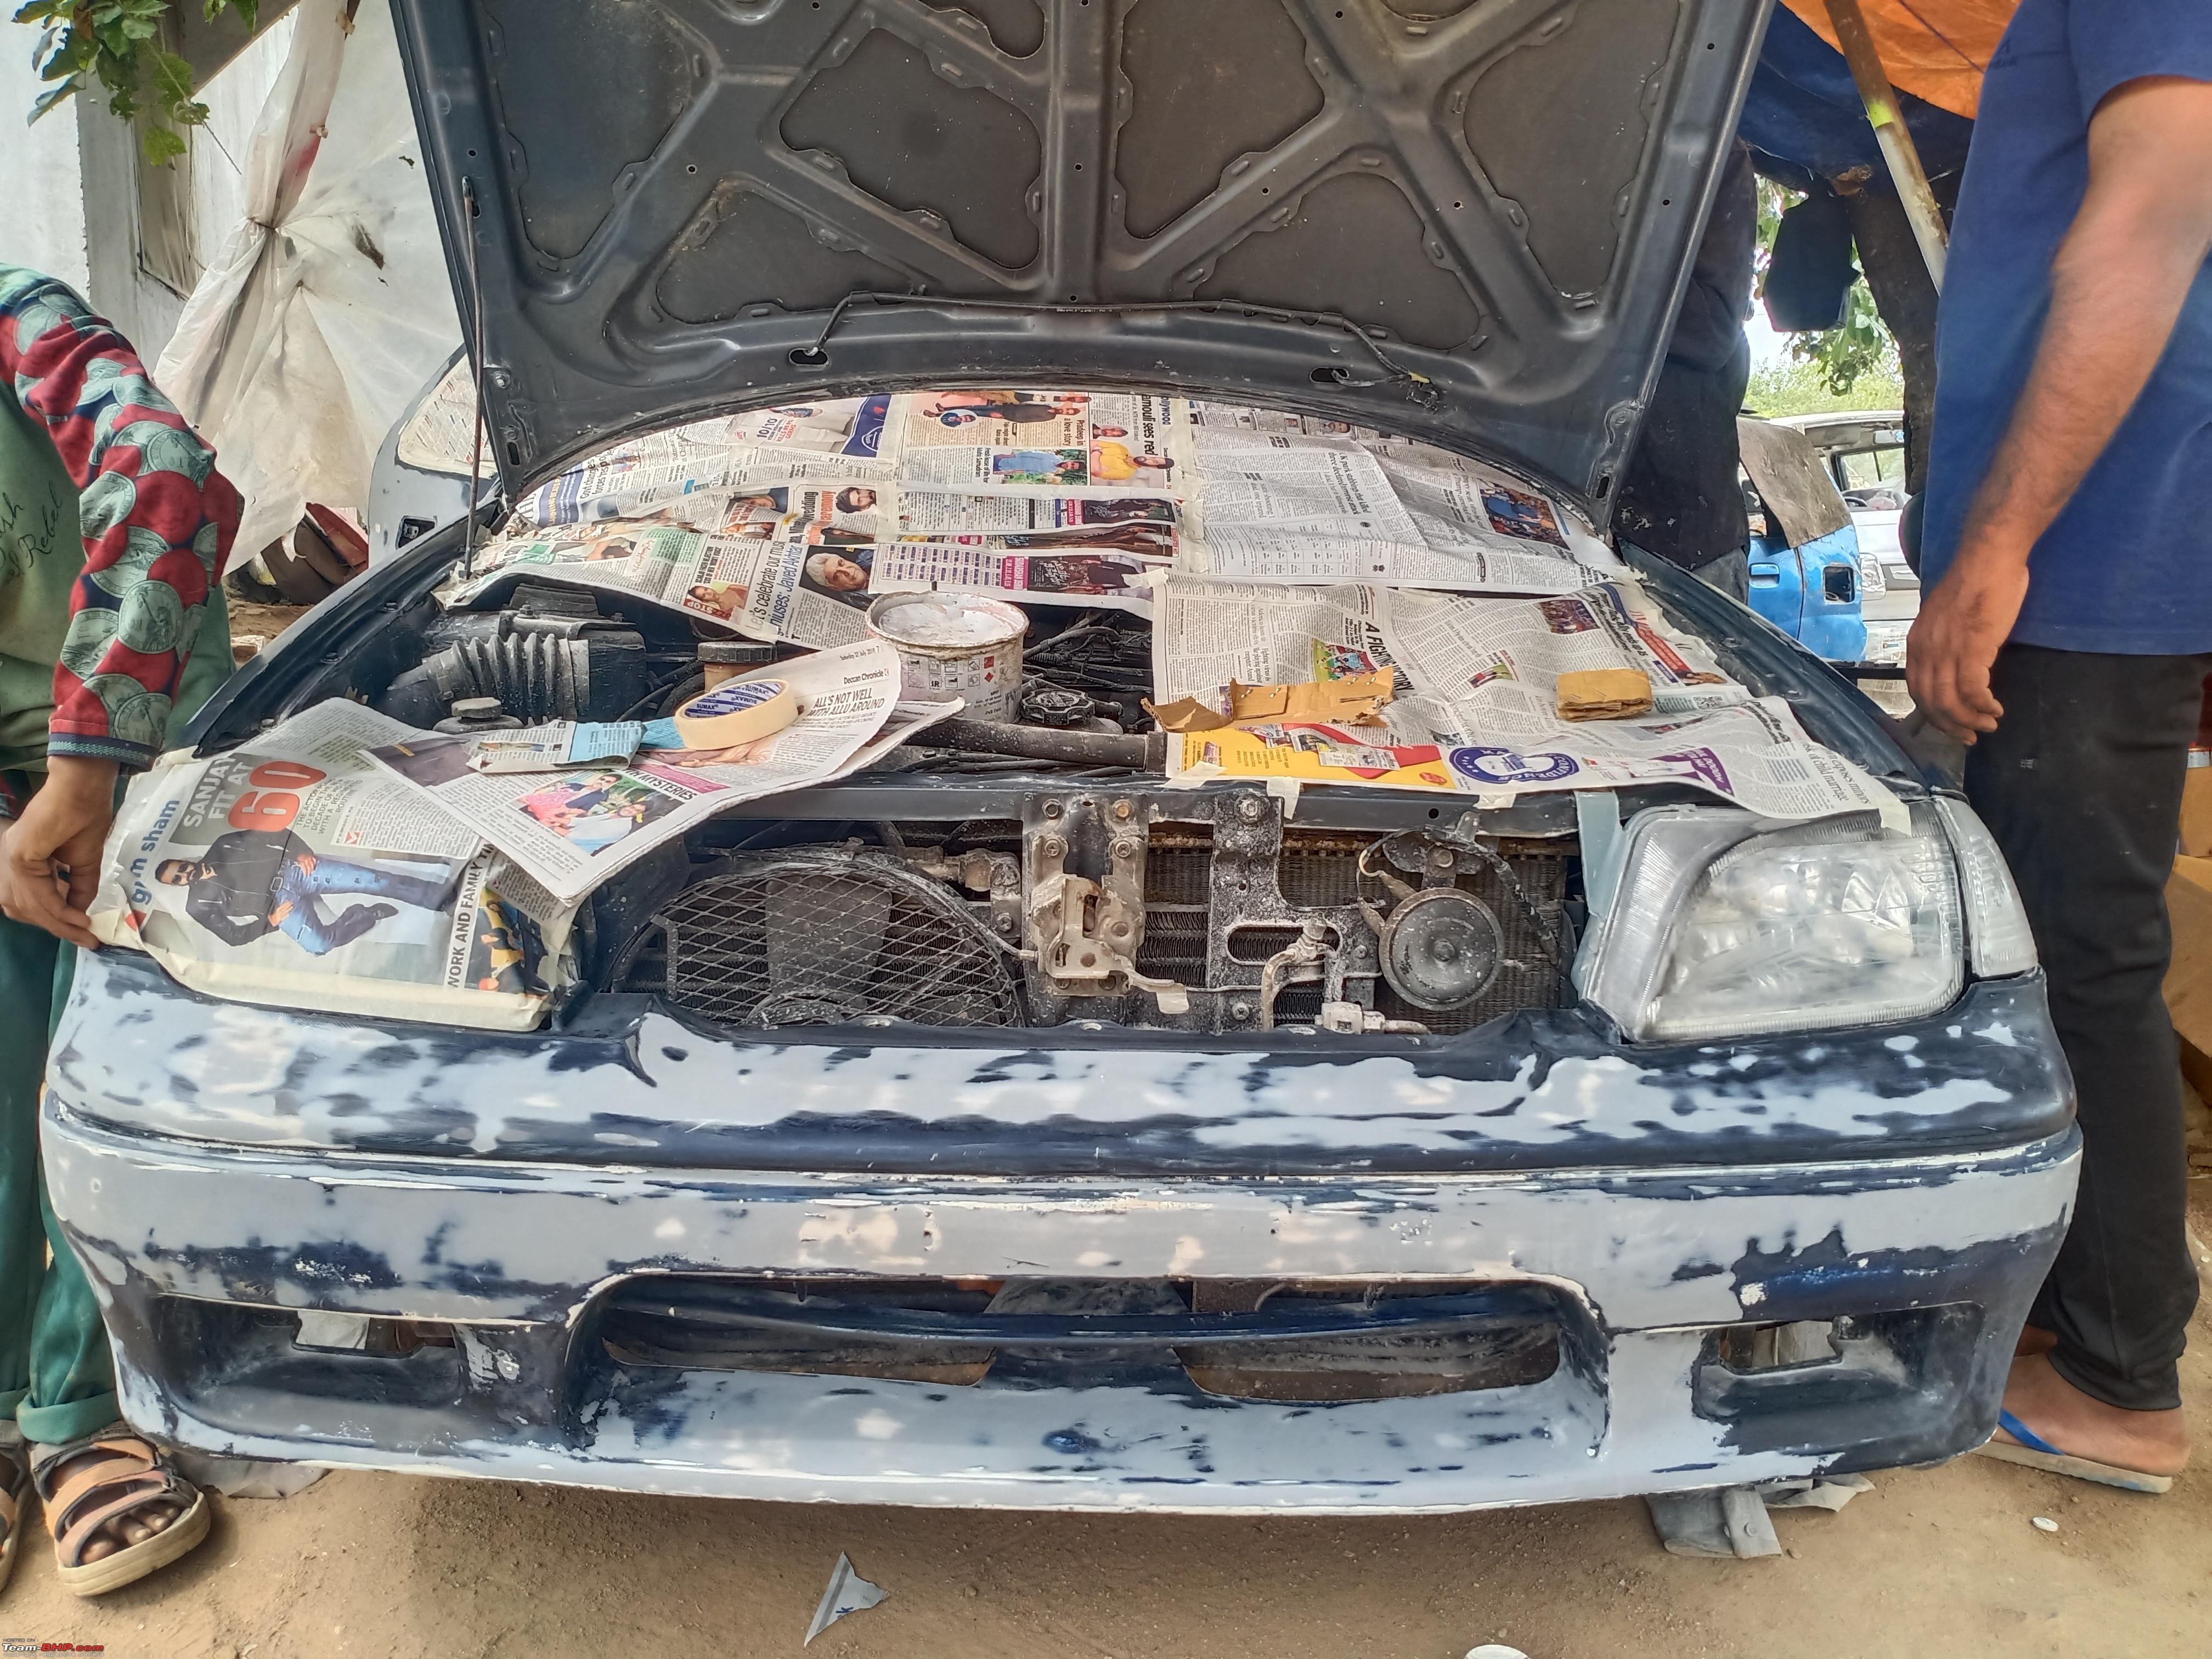 side view before primer with masking  | |
|
| (8)
Thanks
|
| The following 8 BHPians Thank mod_freak for this useful post: | Dr.AD, InControl, JTM, Maedhros, Rigid Rotor, Roy.S, Sanidhya mukund, vaish9925 |
|