And finally got the
Philips DayLight Guide installed on my 2014 Honda City SV i-DTEC from an accessory shop. Haphazardly took the installation pictures from a phone; please excuse the amateur photography
 Step 1: Where to fix 'em?
Not sure about you guys but for me this decision was tough. Either my creativity slept-off for a while or the 2014 City's sweet sharp edges couldn't accommodate these DRLs. Finally I chose to make the cut - the unused fog lamp covers (or whatever they are called). The installers removed these by simply prying on the edges and pulling them out with a little bit of force.


As is the case with all plastic clip-ons, please exercise caution if you are removing them - this may damage the clips. Mine got damaged a bit, although it was nothing superglue couldn't fix.
 Step 2: The Incision with precision
Where? Dead center. My installer hesitated a lot about cutting the plastic cover right. He took a day! I had to drive my ride back without these covers. No wonder why fellow motorists were giving me way with a single honk from the meek City horns - they were exposed! Anyway, here's a picture of back of the cover, before the installers had at it:

Lo and Behold! No, not really. Came back the following day and was more or less happy with the work. You might notice the installer's hesitation though. Some ragged edges and the not-so-factory-finish fitting. From a distance, I felt they looked alright.

Since these LEDs come with an awesome heat-sink, but also take up space depth-wise, the fog lamp housing had to be cut...

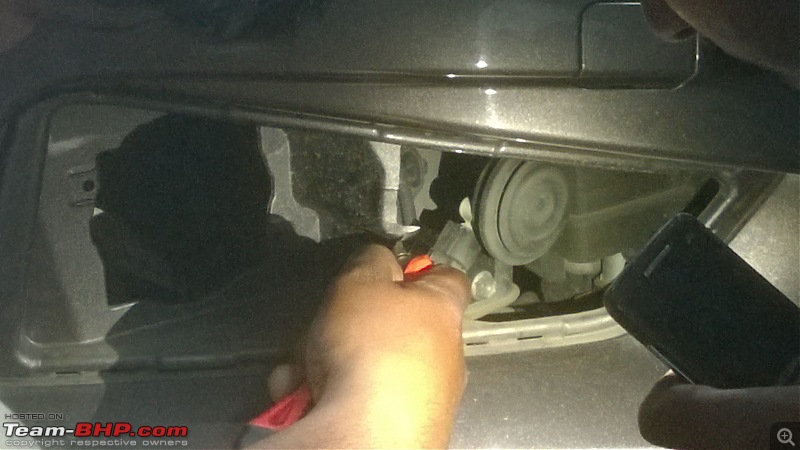
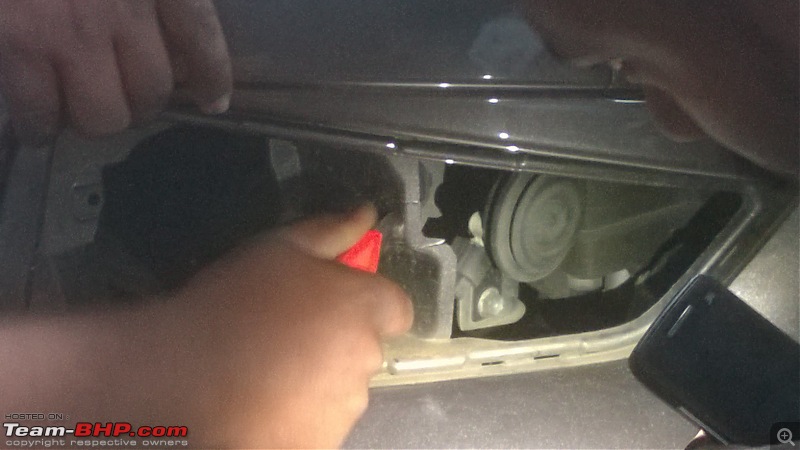
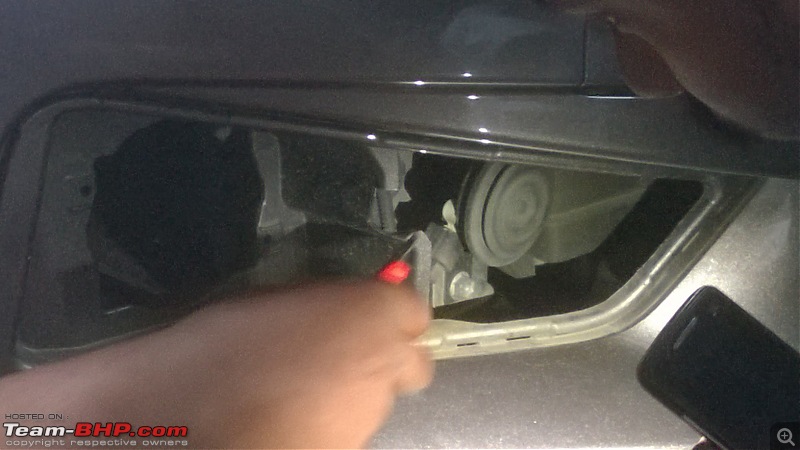
...so that they fit like this!
 Step 3: The Dread..the Wiring
Now comes the tricky part. I was really scared of losing my extended warranty and told the installer to work his magic and fix it in a way which would not void it. Trust me, he was no magician.
If you have been intently reading this post until now, you might be interested to learn what the DayLight Guide offers you. The components first -
1. The Daytime Running LEDs (you might want to throw a 'Like duh' at me

)
2. The control module
3. A 'one-touch' connector
4. Two 'dead' park-lights (to fool the CANbus in some European-makes; it is illegal there to use two sets of park-lights. So you remove the stock ones and place these into the sockets.)
5. Ten or so cable ties
6. Clamps, screws, washers and the rest
The specialty of these expensive DRLs is the auto-dimming feature. When the park lights are on, these dim down to 50% of their brightness. For that to happen, the orange wire from the control module needs to be connected to one of the park lights'
stock wire unfortunately. You could insert the open end of the orange wire into one of the park light's power plug-in connectors. But mind you, you would need an artist's skill to make this connection robust. I am sure you guys can come up with better ideas! FYI, you can purchase these control modules off ebay too. Take a look at the circuitry and place that thinking hat on your head:

Now, pull the DRL cables into the engine bay...


...plug the DRL modules with the control module...
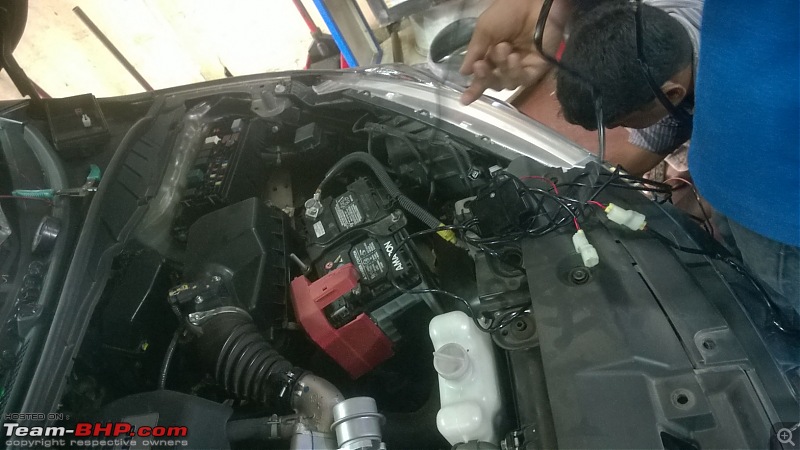
...and secure the cables with cable ties. Now, one of the cables from the LEDs is longer than the other. The LED with the longer cable should be fixed on the side farther from the battery.
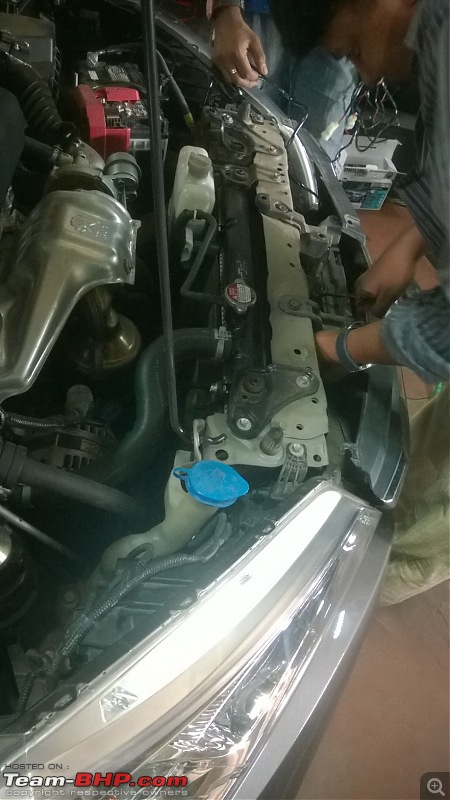
Okay, did I tell you the installer was no magician? He used the 'one touch' connector which basically (correct me if I am wrong) splices up the stock wire. One side would hold the orange wire and the other would hold the stock wire in parallel. Both wires are connected using a metal blade in the case which holds them in place.
Another bomb the Honda City threw at me was the fact that there were no ignition position fuses in the fuse box, or at least we were not able to find one! We could not 'decode' the user-manual diagrams. Again, Honda City owners, please do share if you are aware of one.
So, the installer had to cut open the veins of the City for the right wire. Bet he got this one right!
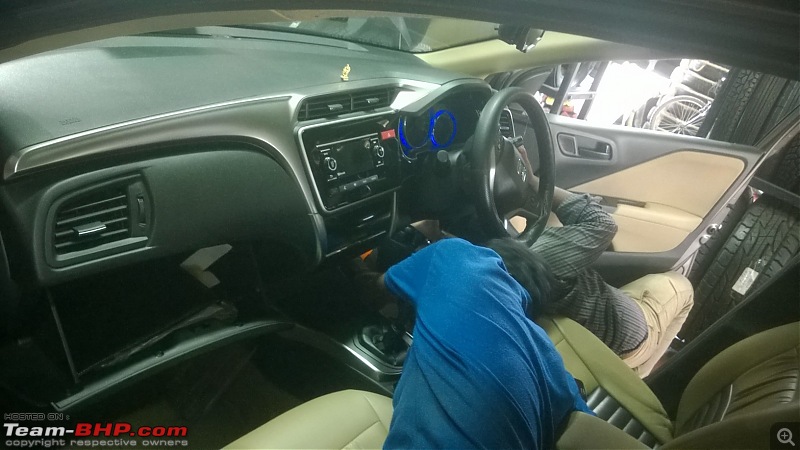
According the wiring diagram, the blue cable must be connected to the KL15 or ACC Pole/fuse(?). This switches on the DRLs when the ignition is on and the voltage is more than 13.5V. Basically the 12V across battery terminals in your car jolt up to render around 14V after the car has started. This change in voltage is sensed by the control module and the DRL switches on. There is a clear mention on the LED case that they function at 13.5V.
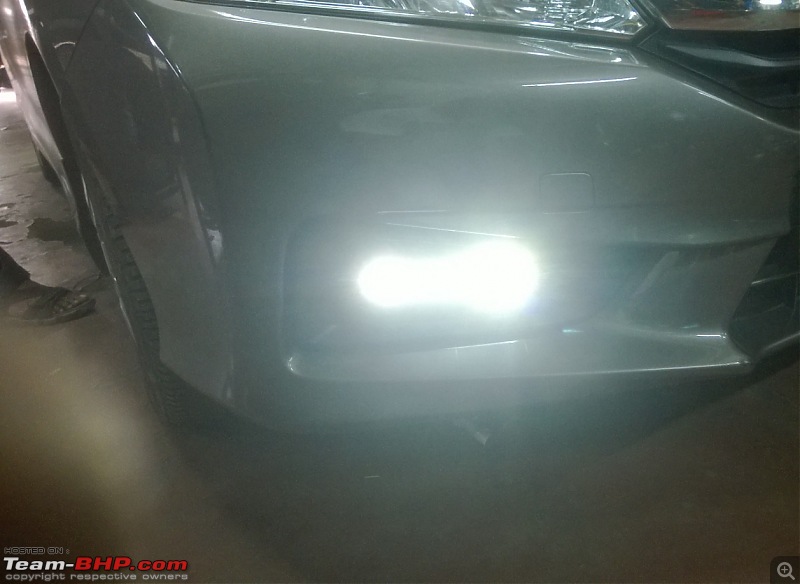
In this case, the installer connected it with the ACC (not to be mistaken with the AirCon) wire, which I assume required another splicing. Moreover, the DRLs switch on as soon as I twist the key into ignition mode and remain on. They also switch on when the park-lights are switched on, even without inserting the key. Rings a bell about the European law? However, the fun part is they remain on around 20 seconds after the engine is turned off. This is kinda similar to the 'follow me home' feature that some cars offer (you are right, the City doesn't).
Well, it goes without saying - despite the deprecatory remarks made about the installer, I do appreciate his patience and skill. He got the job done for a very reasonable price and exceeded my expectations! The end result was worth it:
 Mod Note : Please do NOT use acronyms (e.g. ANHC, T-Fort, ANHV) when referring to cars. You are ONLY permitted to use the full Make & Model name for cars. This will make our content useful, searchable & easy-to-understand for experts & newbies alike.
Any further usage of acronyms will invite Moderator action on your account.
Thanks!

 (1)
Thanks
 (1)
Thanks
 (5)
Thanks

 (1)
Thanks
 (1)
Thanks


 . I ordered a set myself from PowerBulbs and am waiting for it to be delivered. Here is the URL:


 )
)


 .
. I have seen the biker's sign for Lights On being shown to cars with DRL.