Team-BHP
(
https://www.team-bhp.com/forum/)
Quote:
Originally Posted by BANDHAV
(Post 2468971)
Few pics of latest addition to my collection, this happened after eons, all thanks to my Auto journo friend who gifted me this:
|
Awesome snap. Second pictures looks more realistic
BTW is this color available in Yeti? Haven't seen a single specimen of this color.
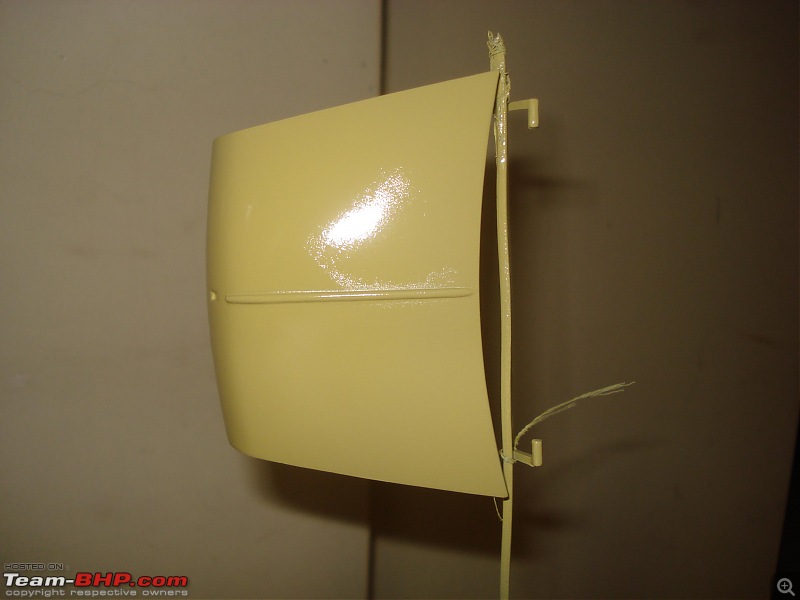
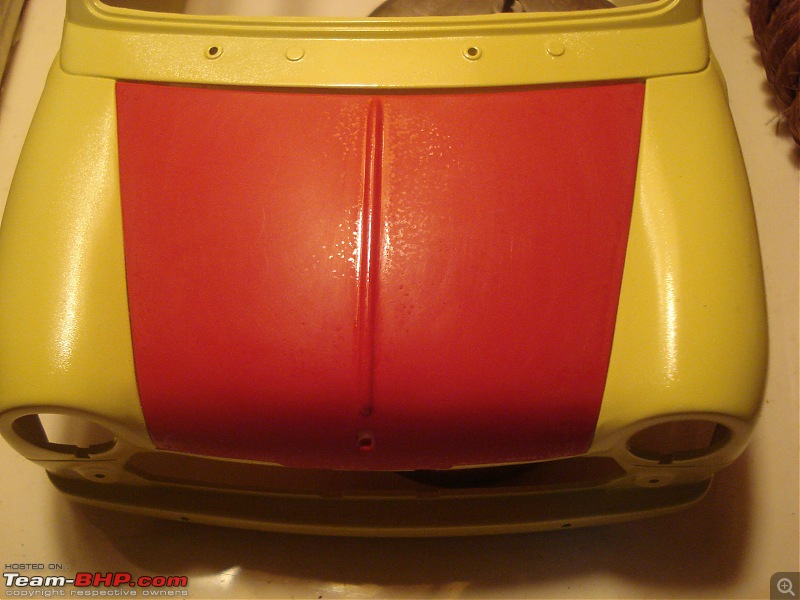
Wanted to share on how I acheived a glossy finish on the mini cooper hood (the car that I am building).
Tools - Grey primer, wet emery paper (400,600,1000,2000), Royal Ivory paint, Red paint, Clear coat, buffing and wax polish.
1.) Grey primer / surfacer. The wavy lines are moulding defect called Flow marks. This is present all over the body. This meaning more and more sanding.

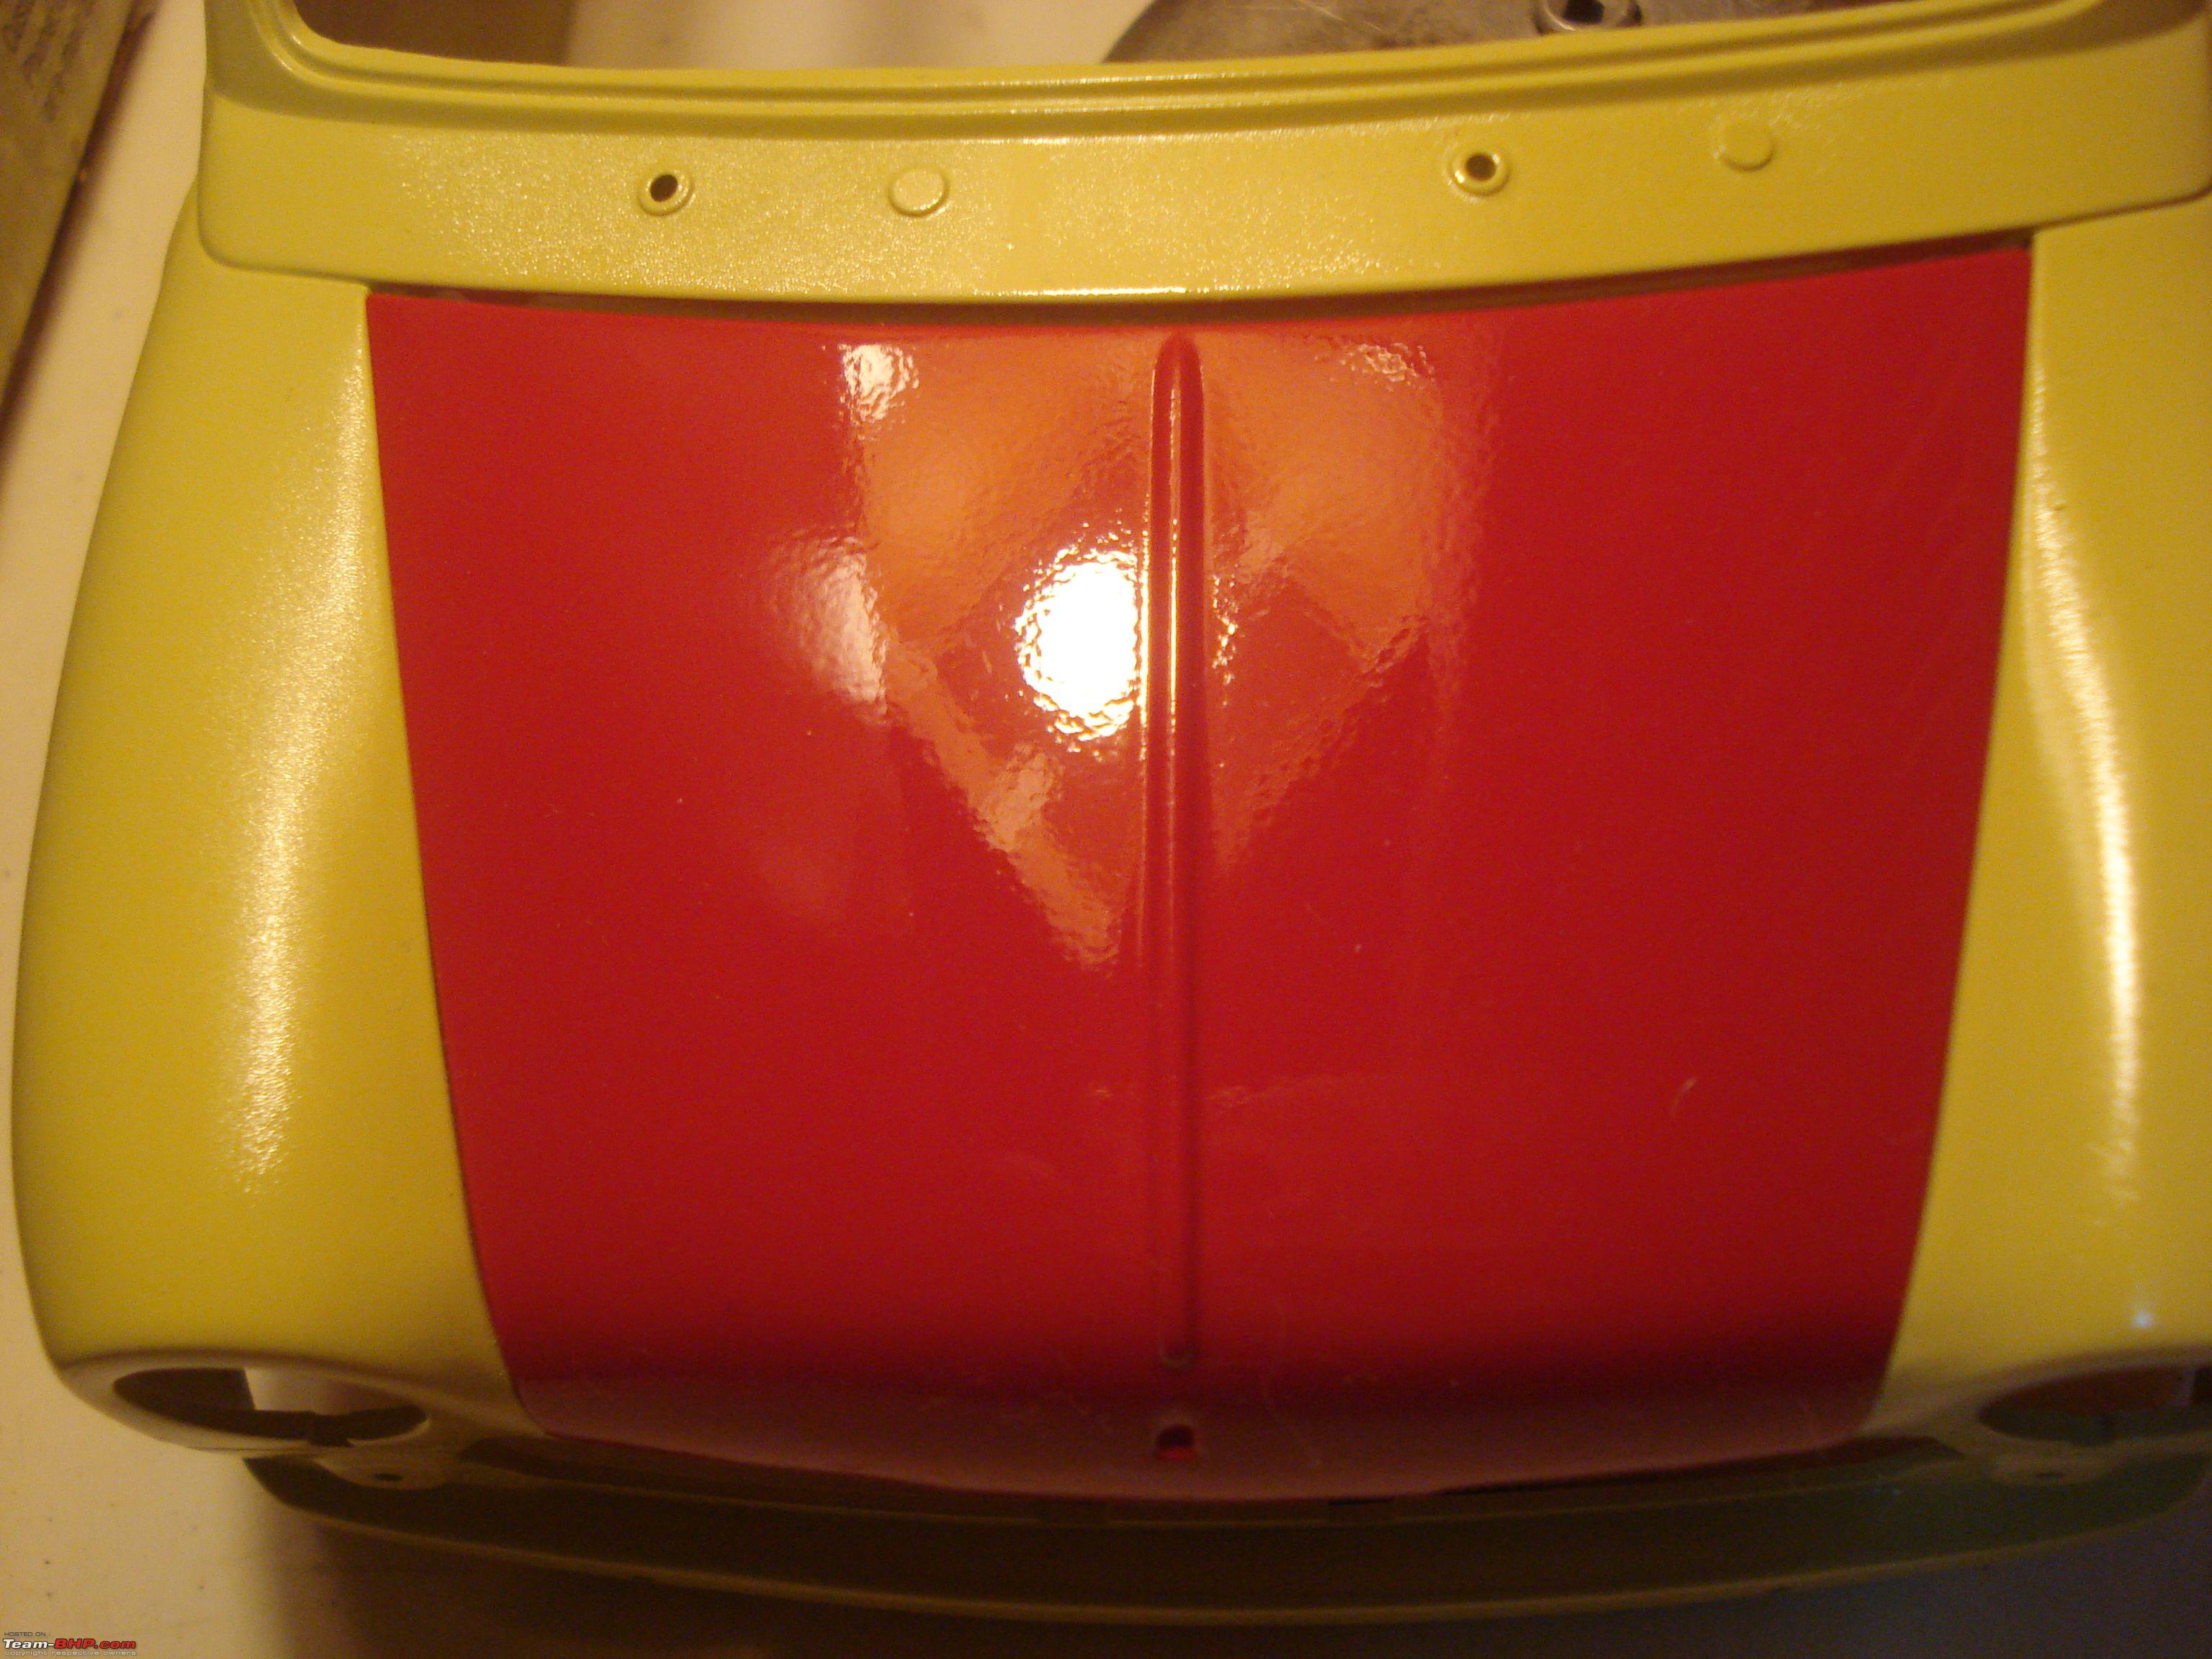
2.) After First coat of Royal Ivory paint. Wavy lines still present. The off white paint is applied on base to brighten up the red color.
3.) After sanding with 400, 600 wet emery and 2 coats of red paint. Used 1000 grit sanding between intermediate coats. Wavy lines are gone. Paint imperfections clearly visible. Common in this weather if you do not warm the paint can.

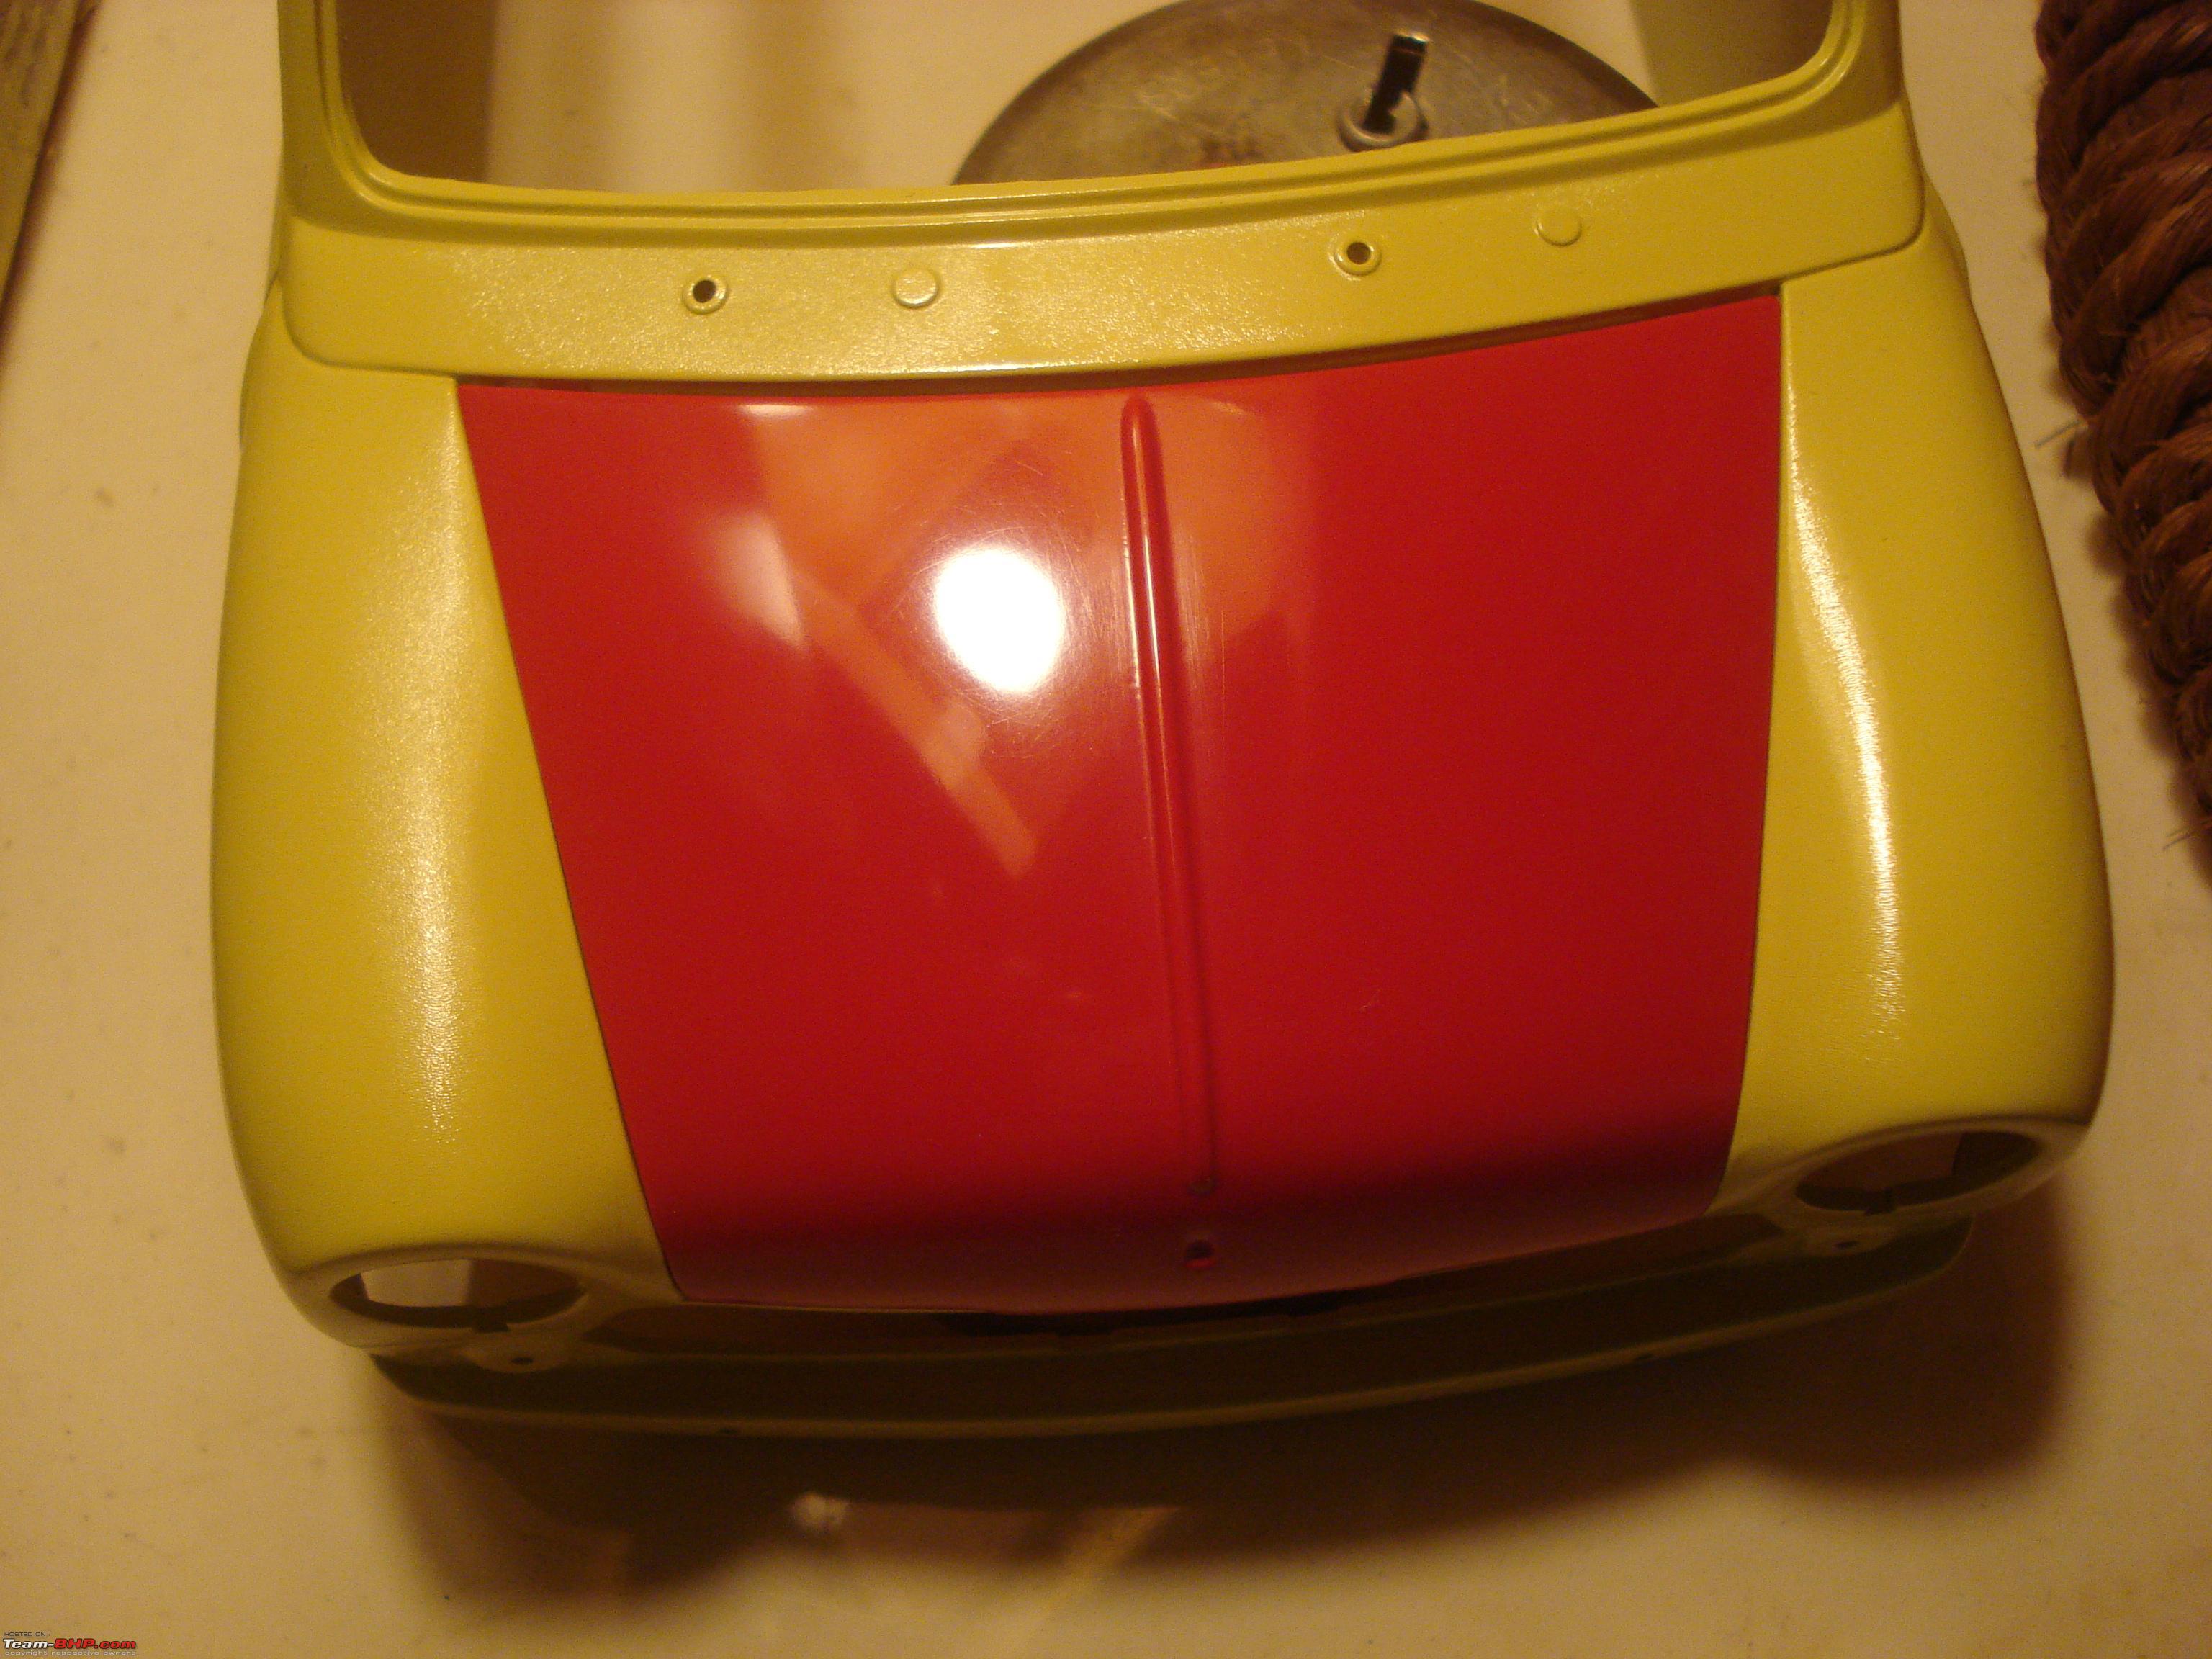
4.) After buffing down with 2000 grit paper. All shine and imperfections gone.
5.) This picture shows the shine after the buffing polish and wax polish.

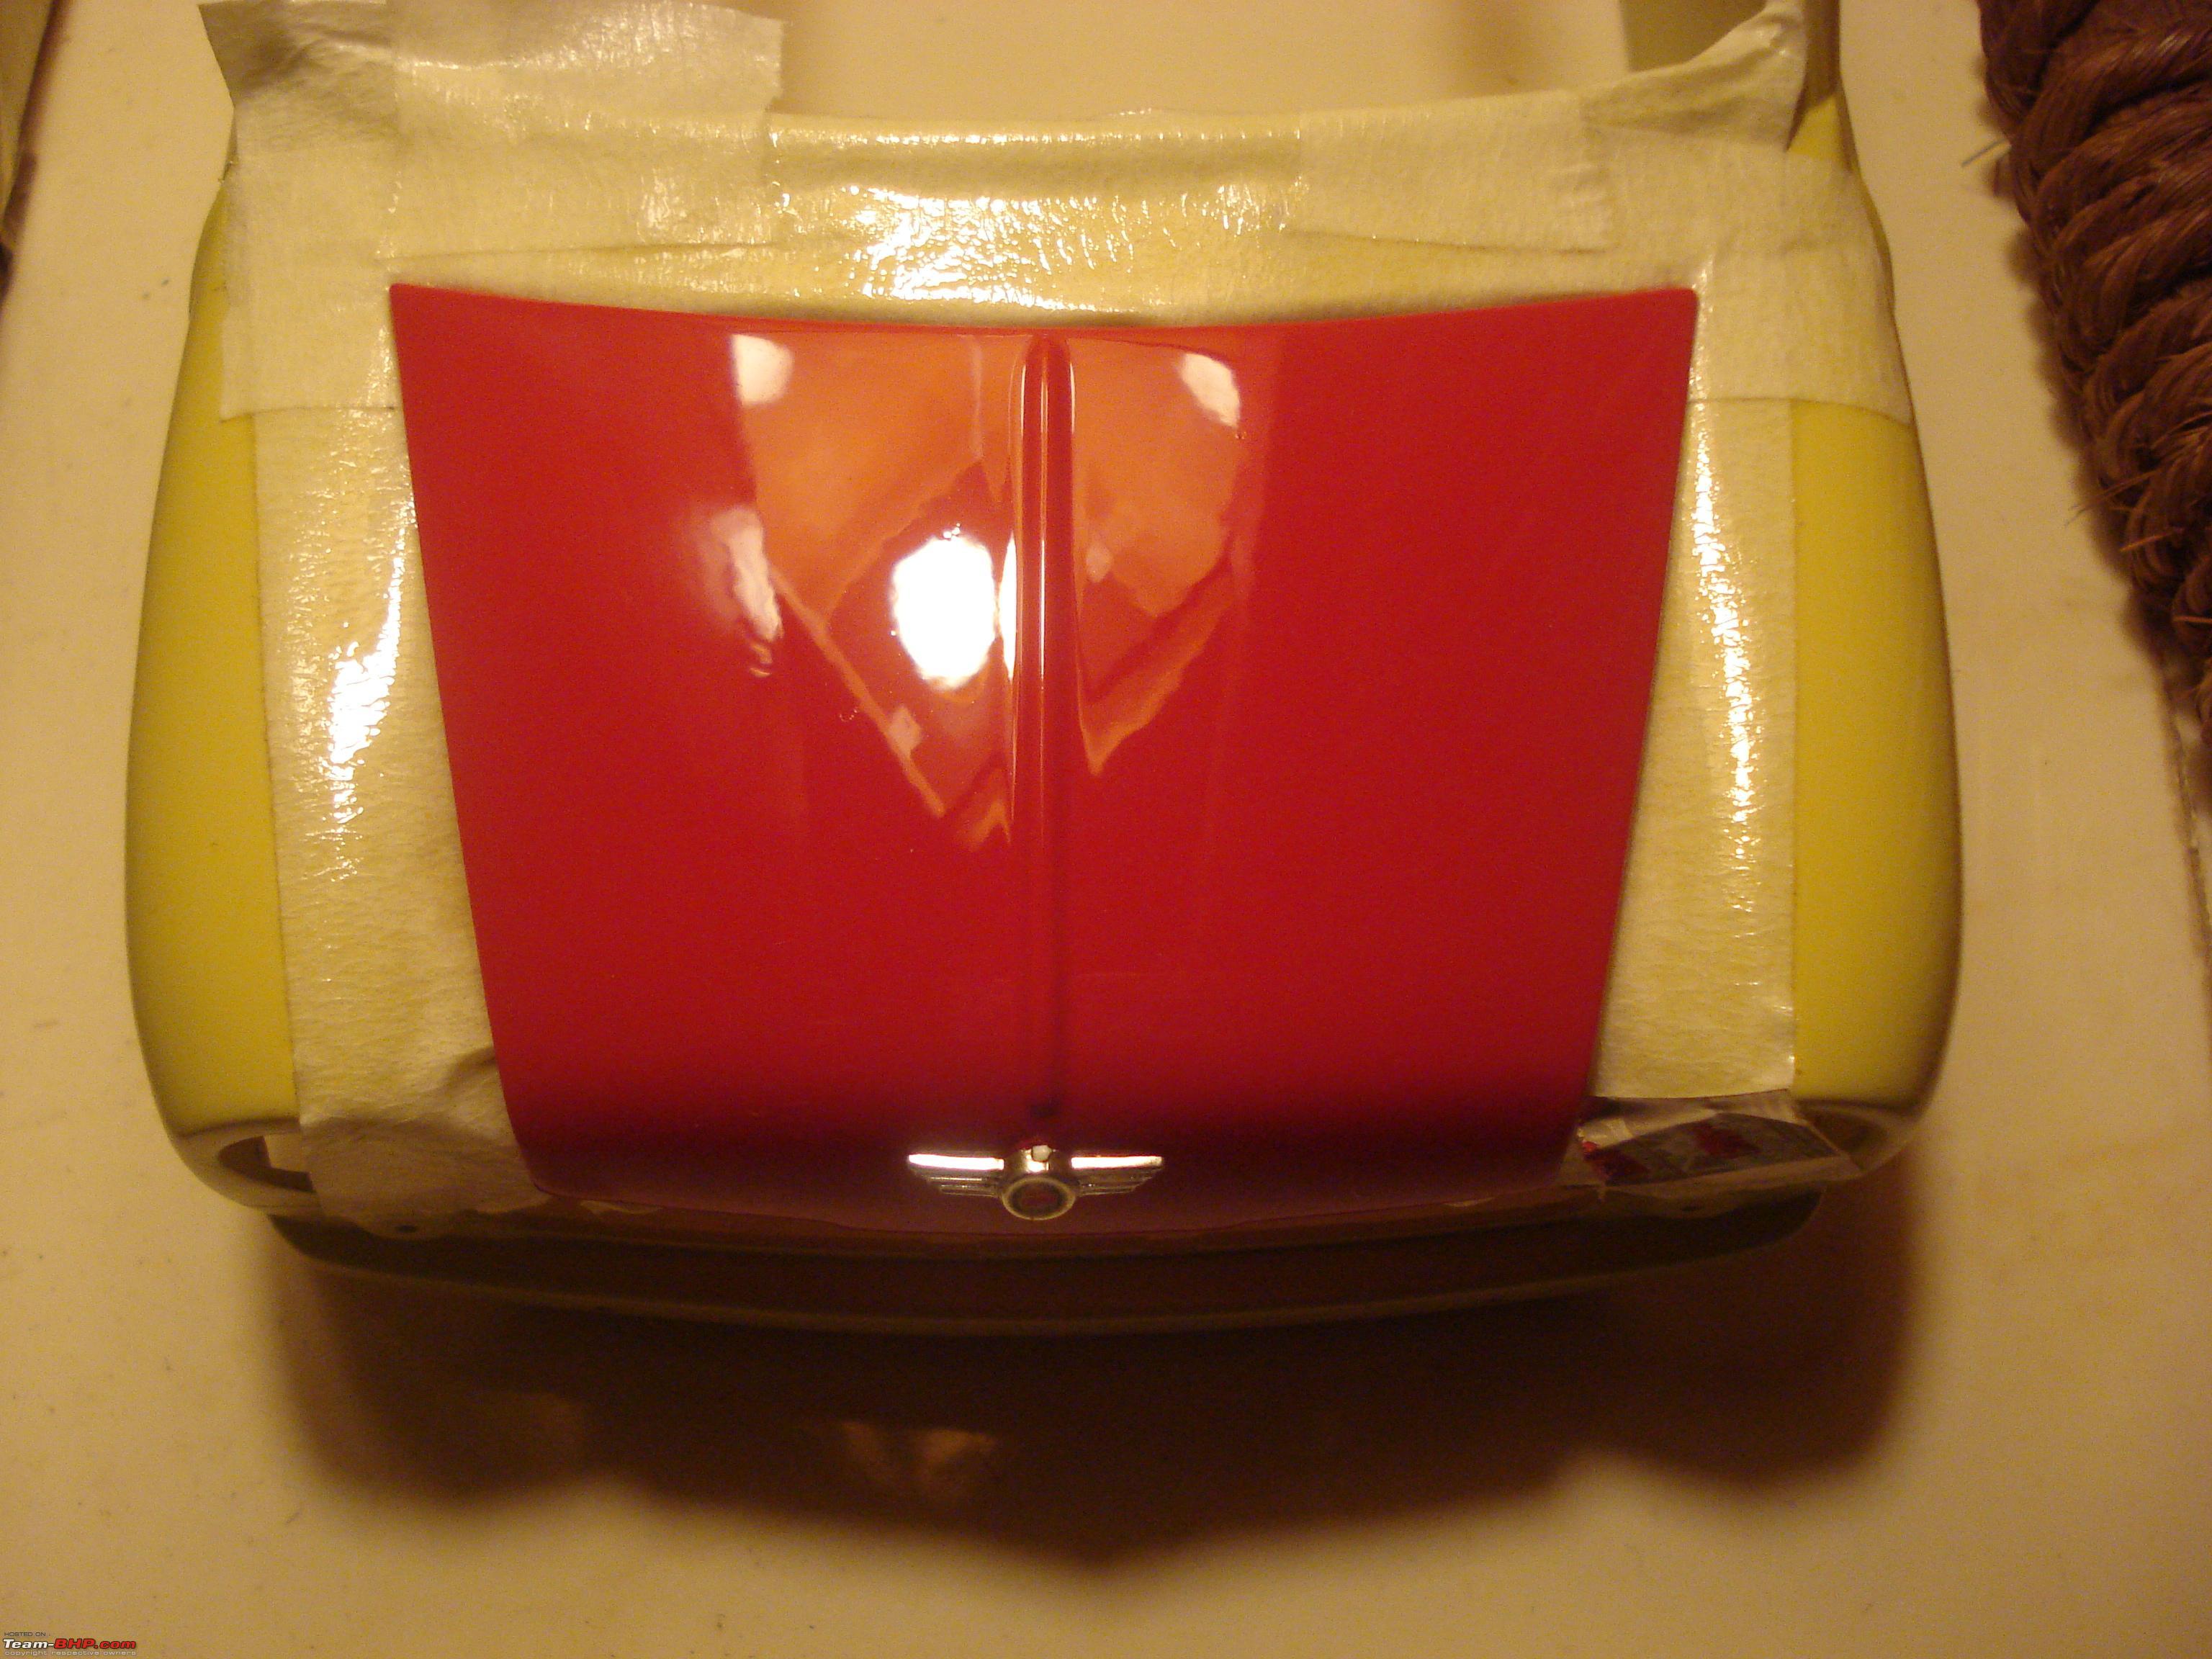
6.) Last picture with the bonet badge glued and whole thing clear coated. the shine is to die for.

Now it is up for drying for 48 hrs. The time a clear coat takes to harden.
Thanks for sharing Manish ..looking forward for final result.
Manish bhai thanks for sharing the step by step WIP pics of the paint process.
The final picture looks nice with the clear coat on, now you have to just prevent swirl marks from forming on the surface.:D Keep up that great work.:thumbs up
Quote:
Originally Posted by diecast
(Post 2471207)
Thanks for sharing Manish ..looking forward for final result.
|
Thanks Ravi. Final result is miles away. Yesterday I damaged the rest of the model when I was drying her on Gas stove after wet sanding. So foolish of me. Moral of the story -
never take shortcuts. Now repair will take a lot of time and patience. I will put up pictures later.
Quote:
Originally Posted by samsag12
(Post 2471943)
Manish bhai thanks for sharing the step by step WIP pics of the paint process.
The final picture looks nice with the clear coat on, now you have to just prevent swirl marks from forming on the surface. Keep up that great work.
|
Thanks sagar bhai. The swirl marks will not come as no more sanding will be done only polishing will be done. Weekend I will get 3000 grit emery paper for even better results :).
Quote:
Originally Posted by manishalive
(Post 2472038)
Thanks Ravi. Final result is miles away. Yesterday I damaged the rest of the model when I was drying her on Gas stove after wet sanding. So foolish of me. Moral of the story - never take shortcuts. Now repair will take a lot of time and patience. I will put up pictures later.
Thanks sagar bhai. The swirl marks will not come as no more sanding will be done only polishing will be done. Weekend I will get 3000 grit emery paper for even better results :).
|
thats sad to hear !!! but i would rather day give him one more try
Quote:
Originally Posted by diecast
(Post 2472466)
thats sad to hear !!! but i would rather day give him one more try
|
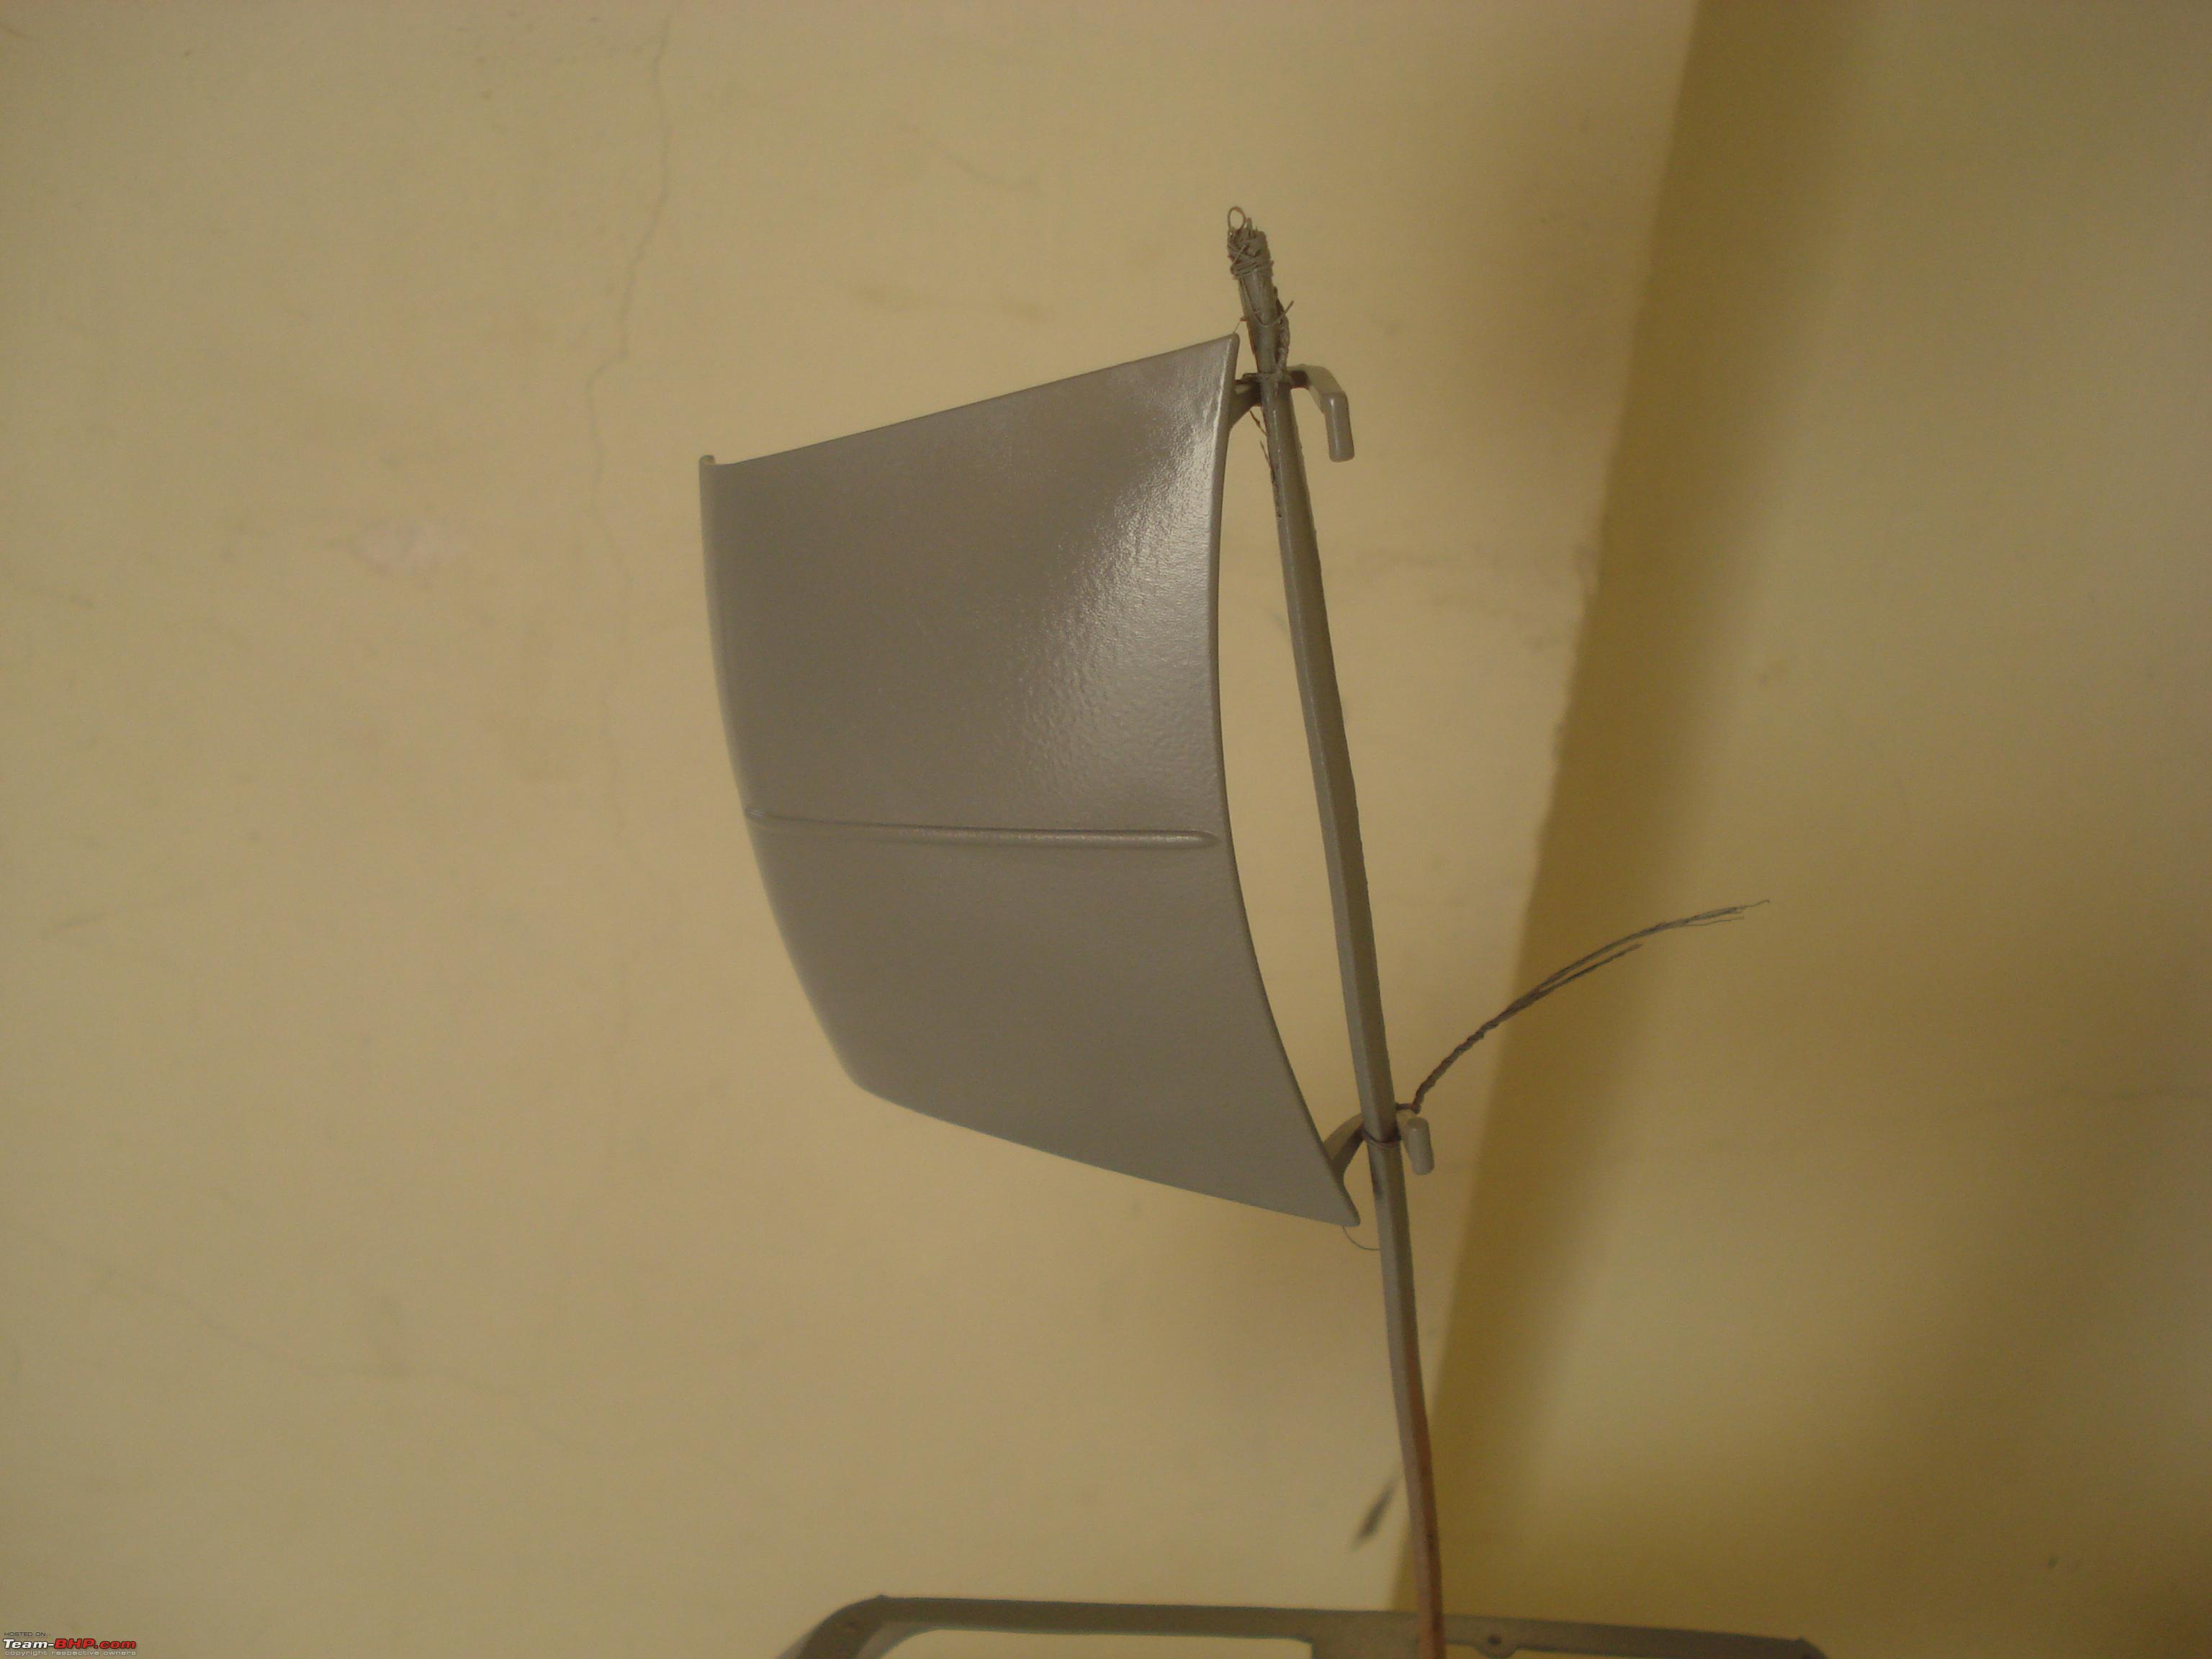
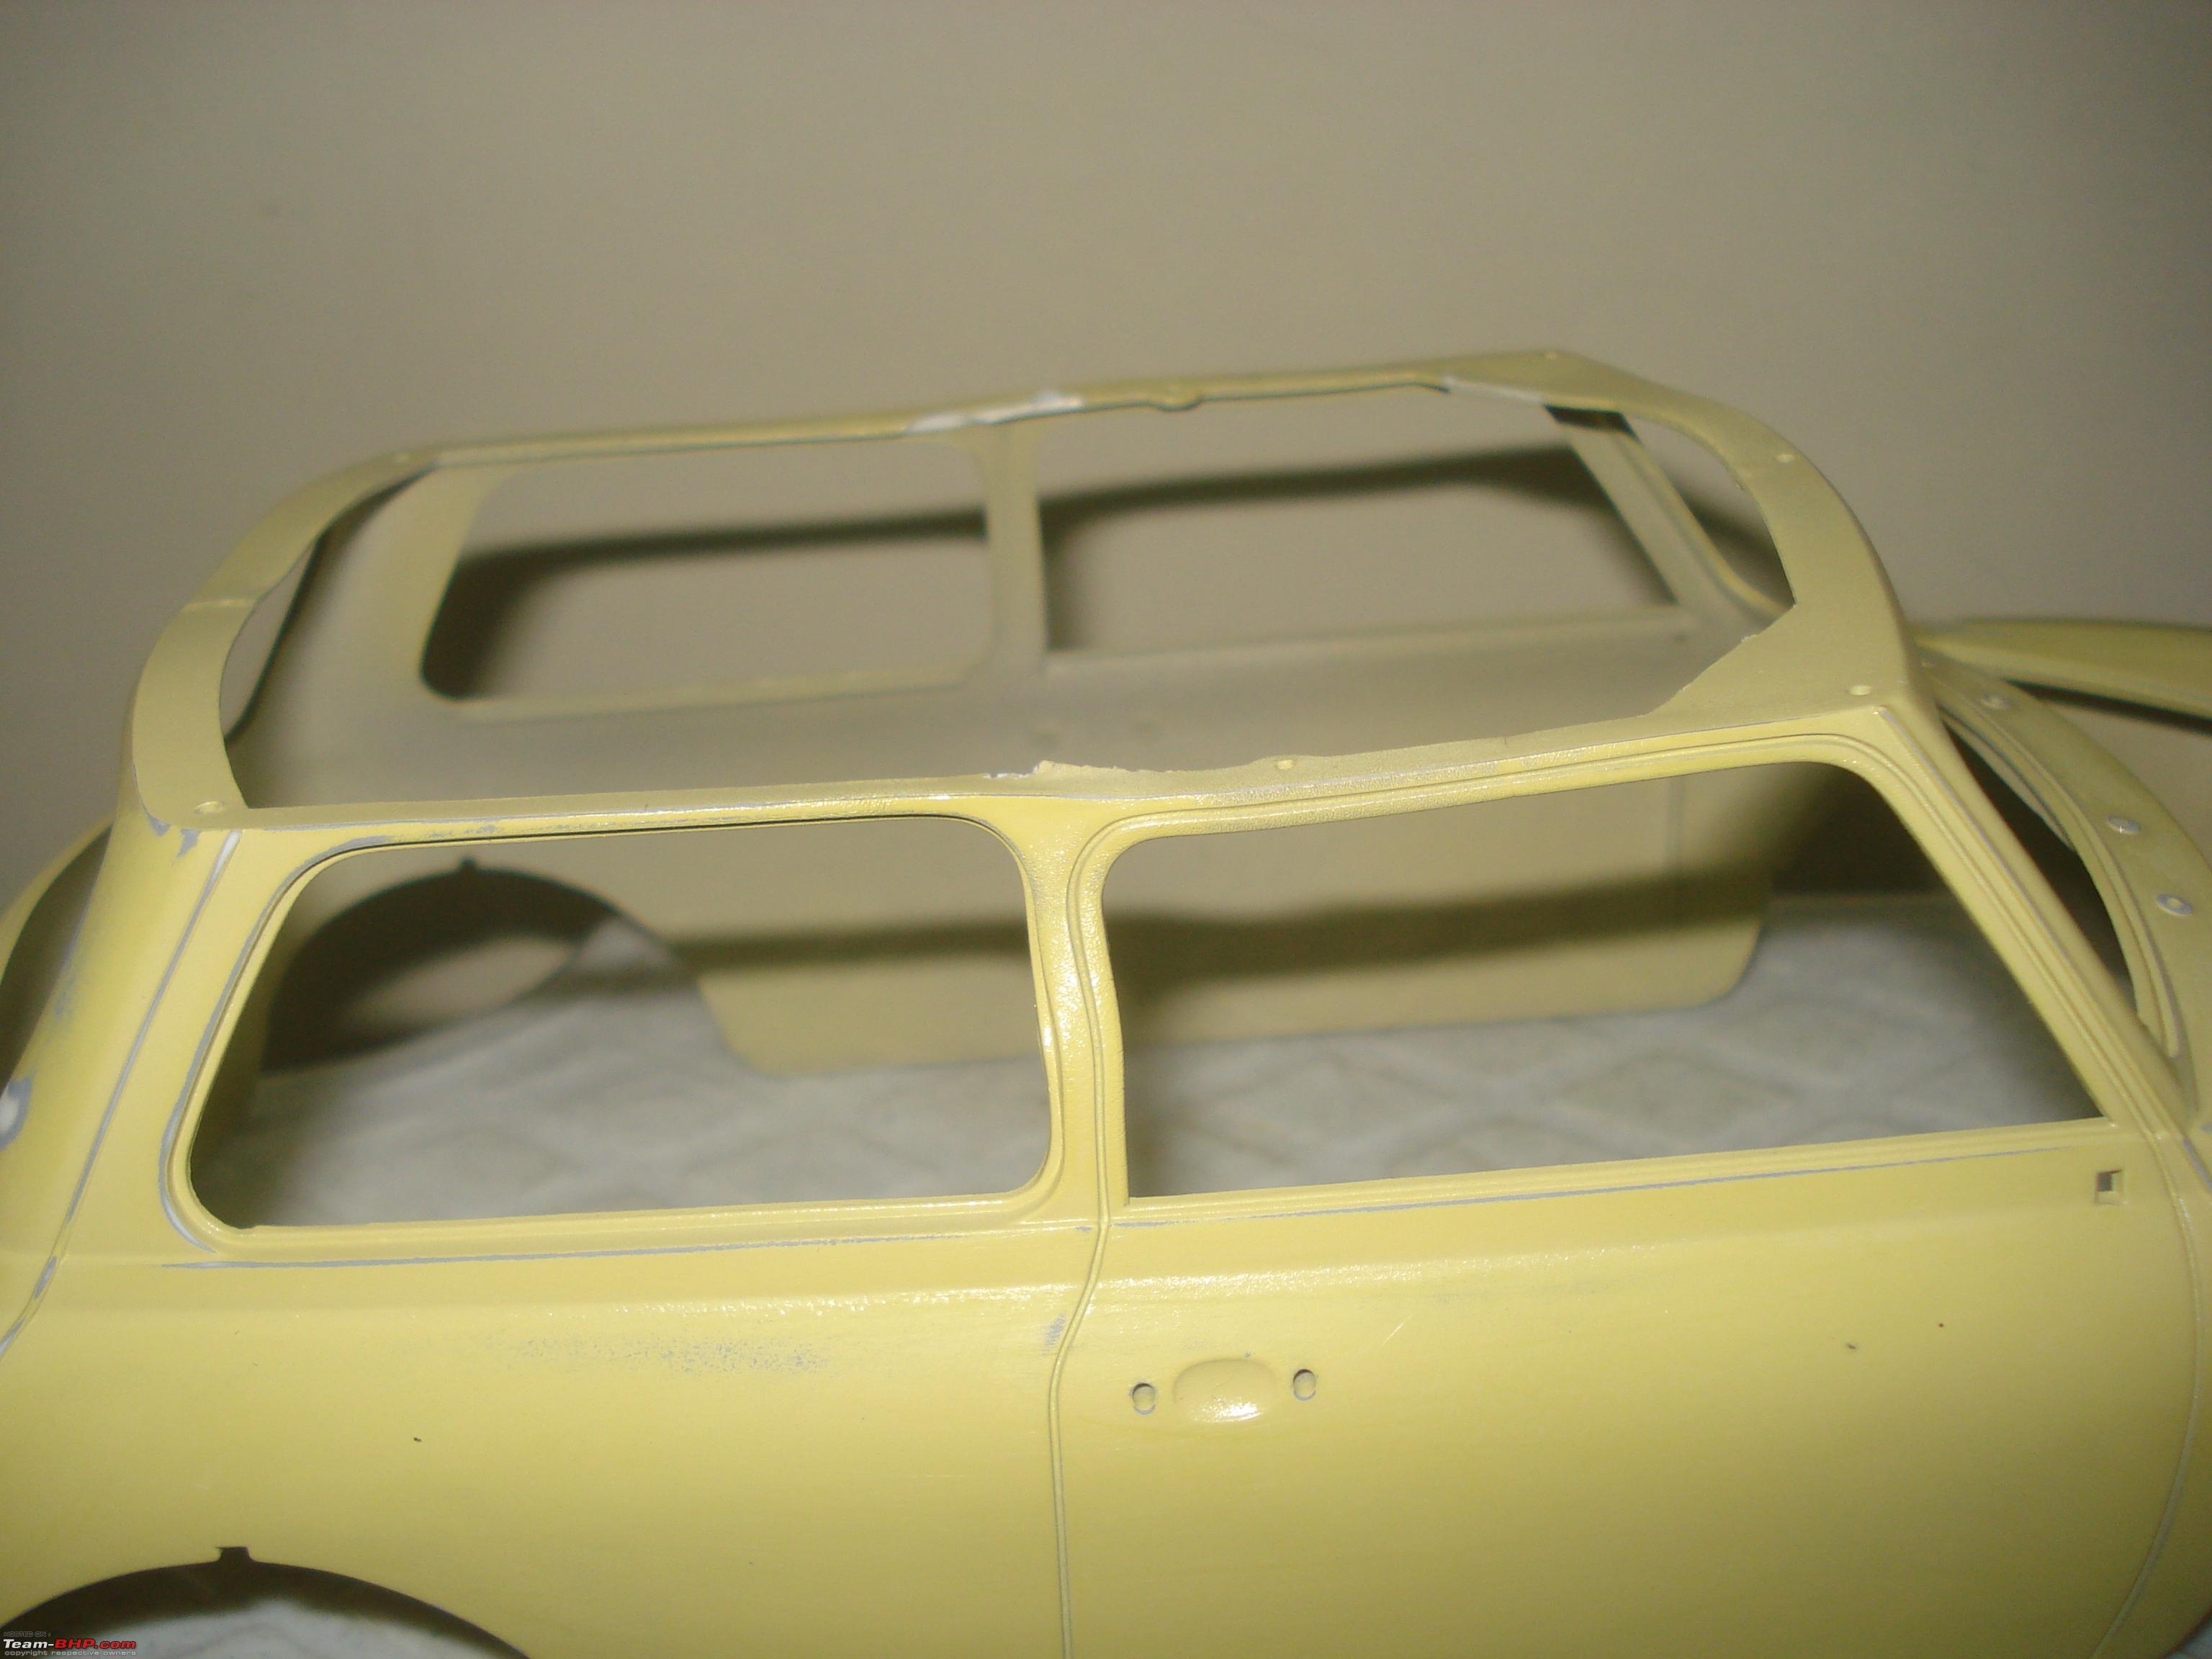
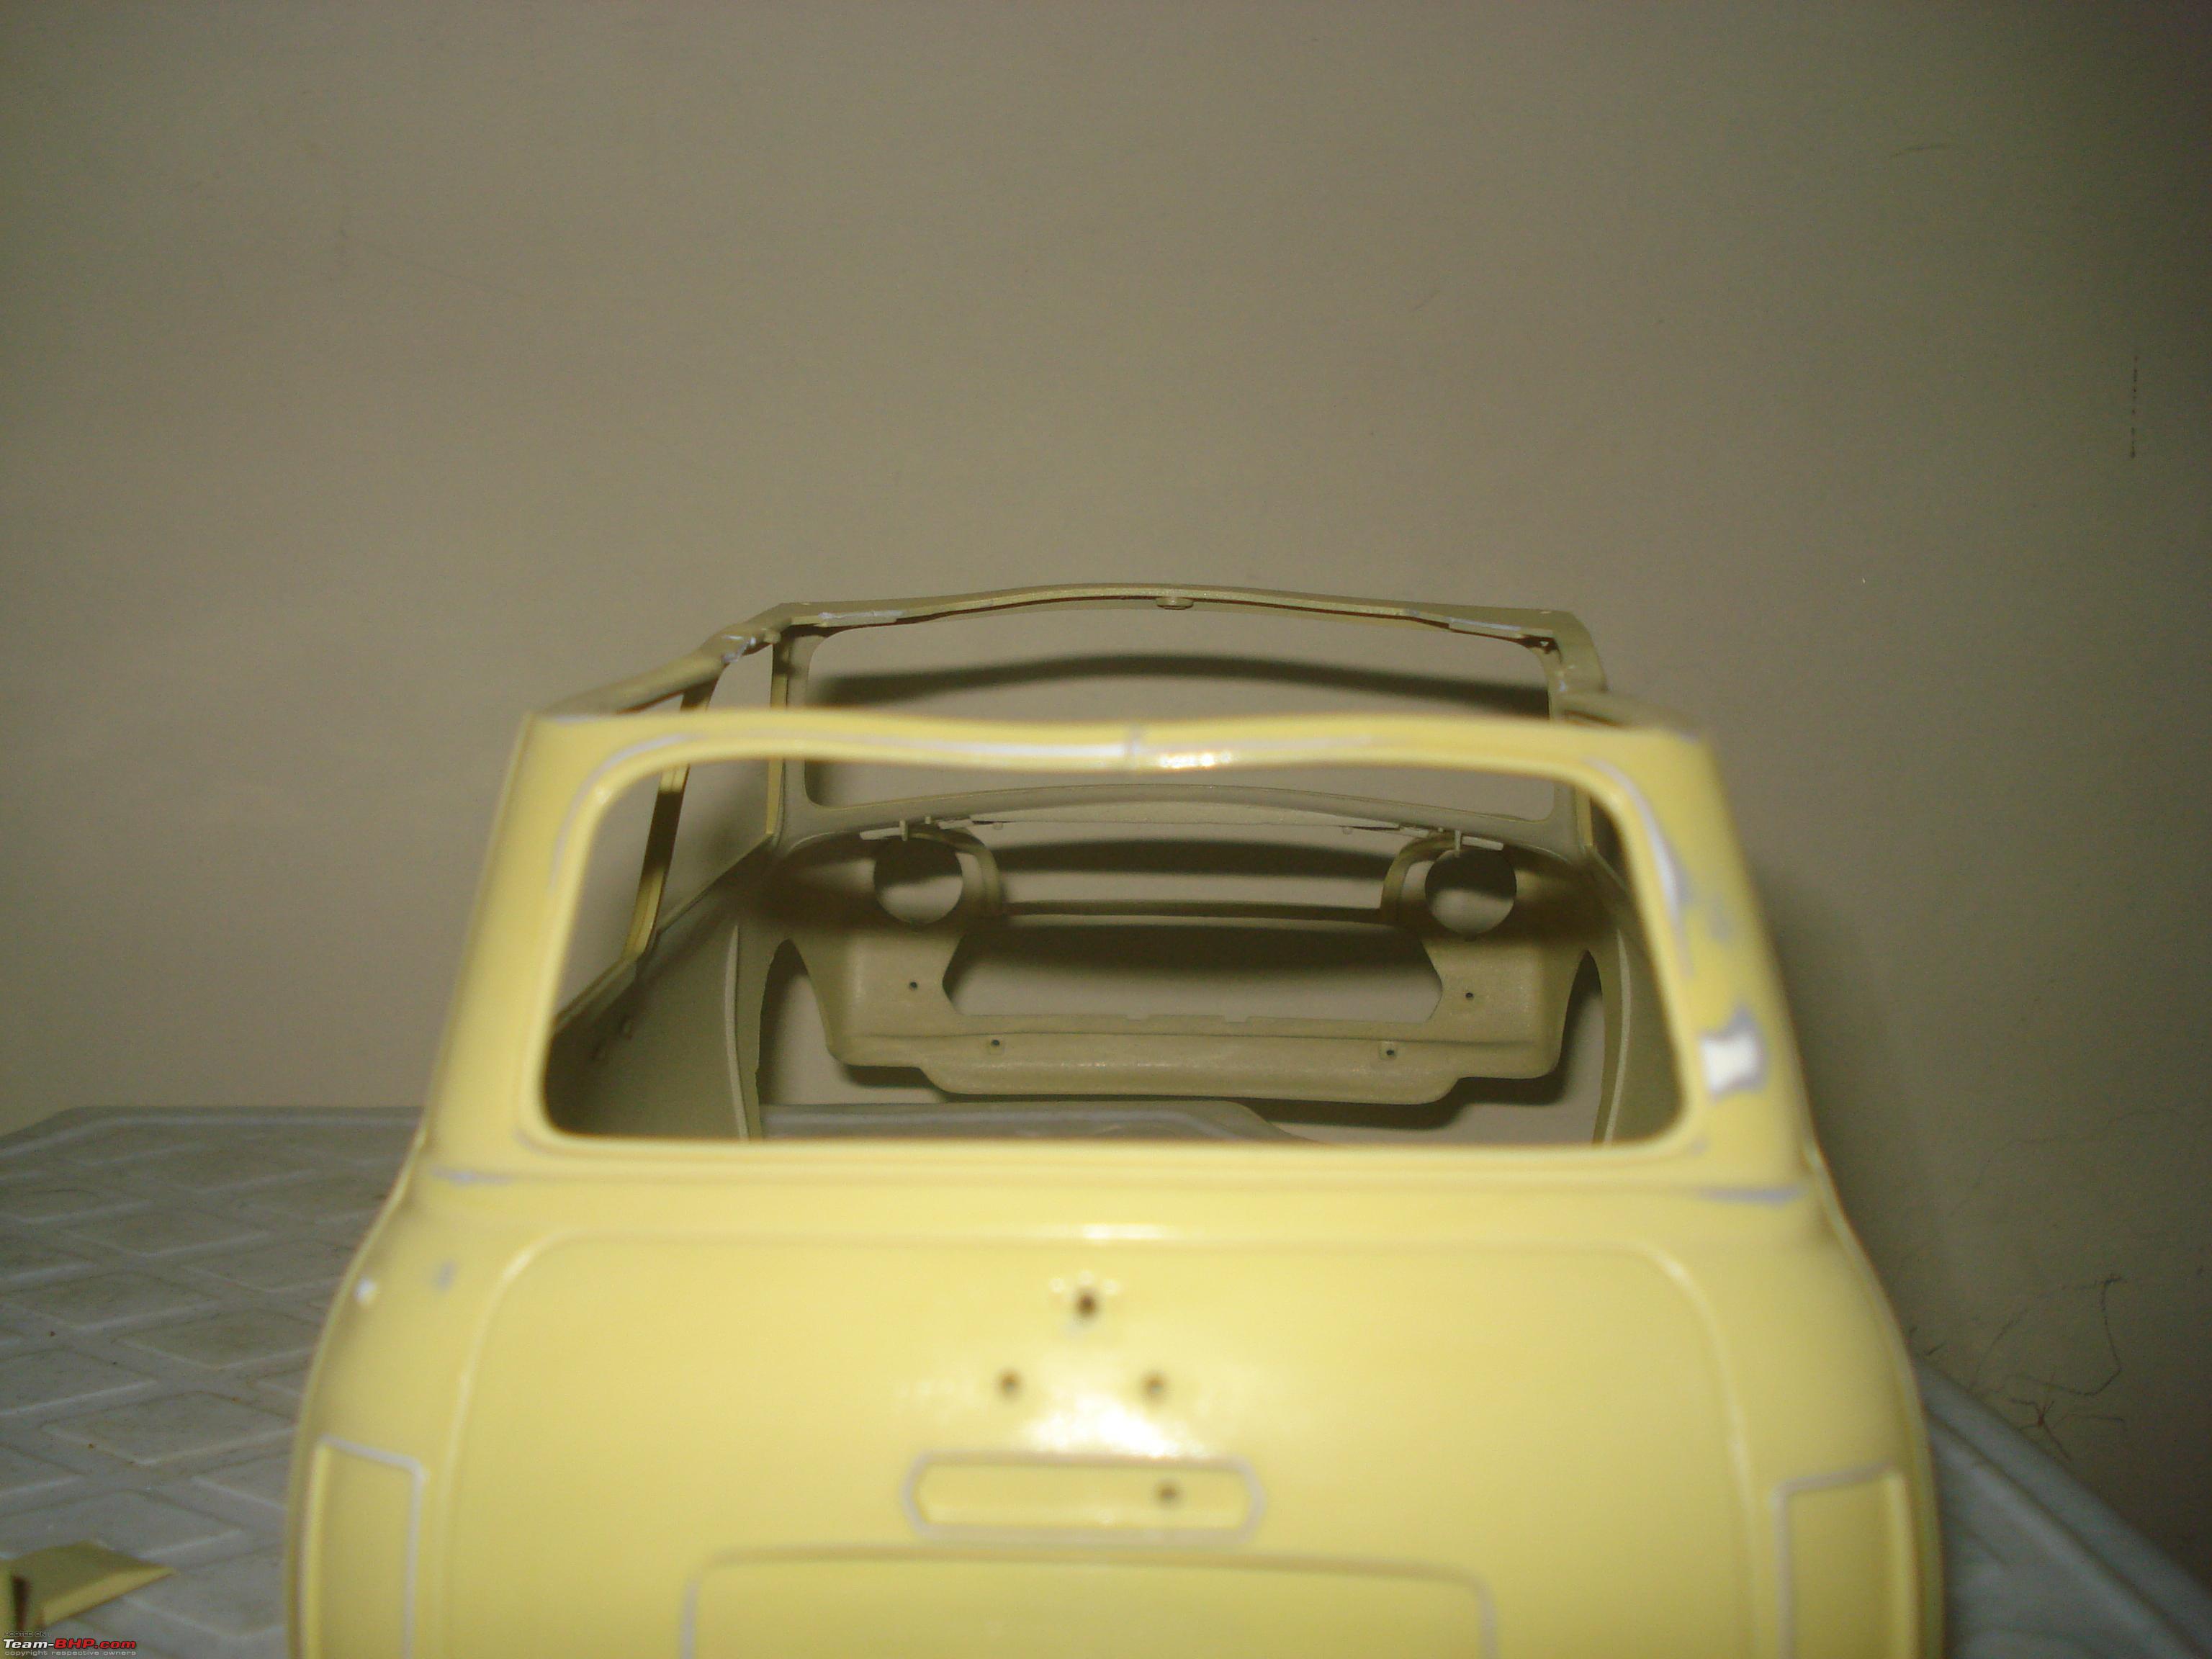
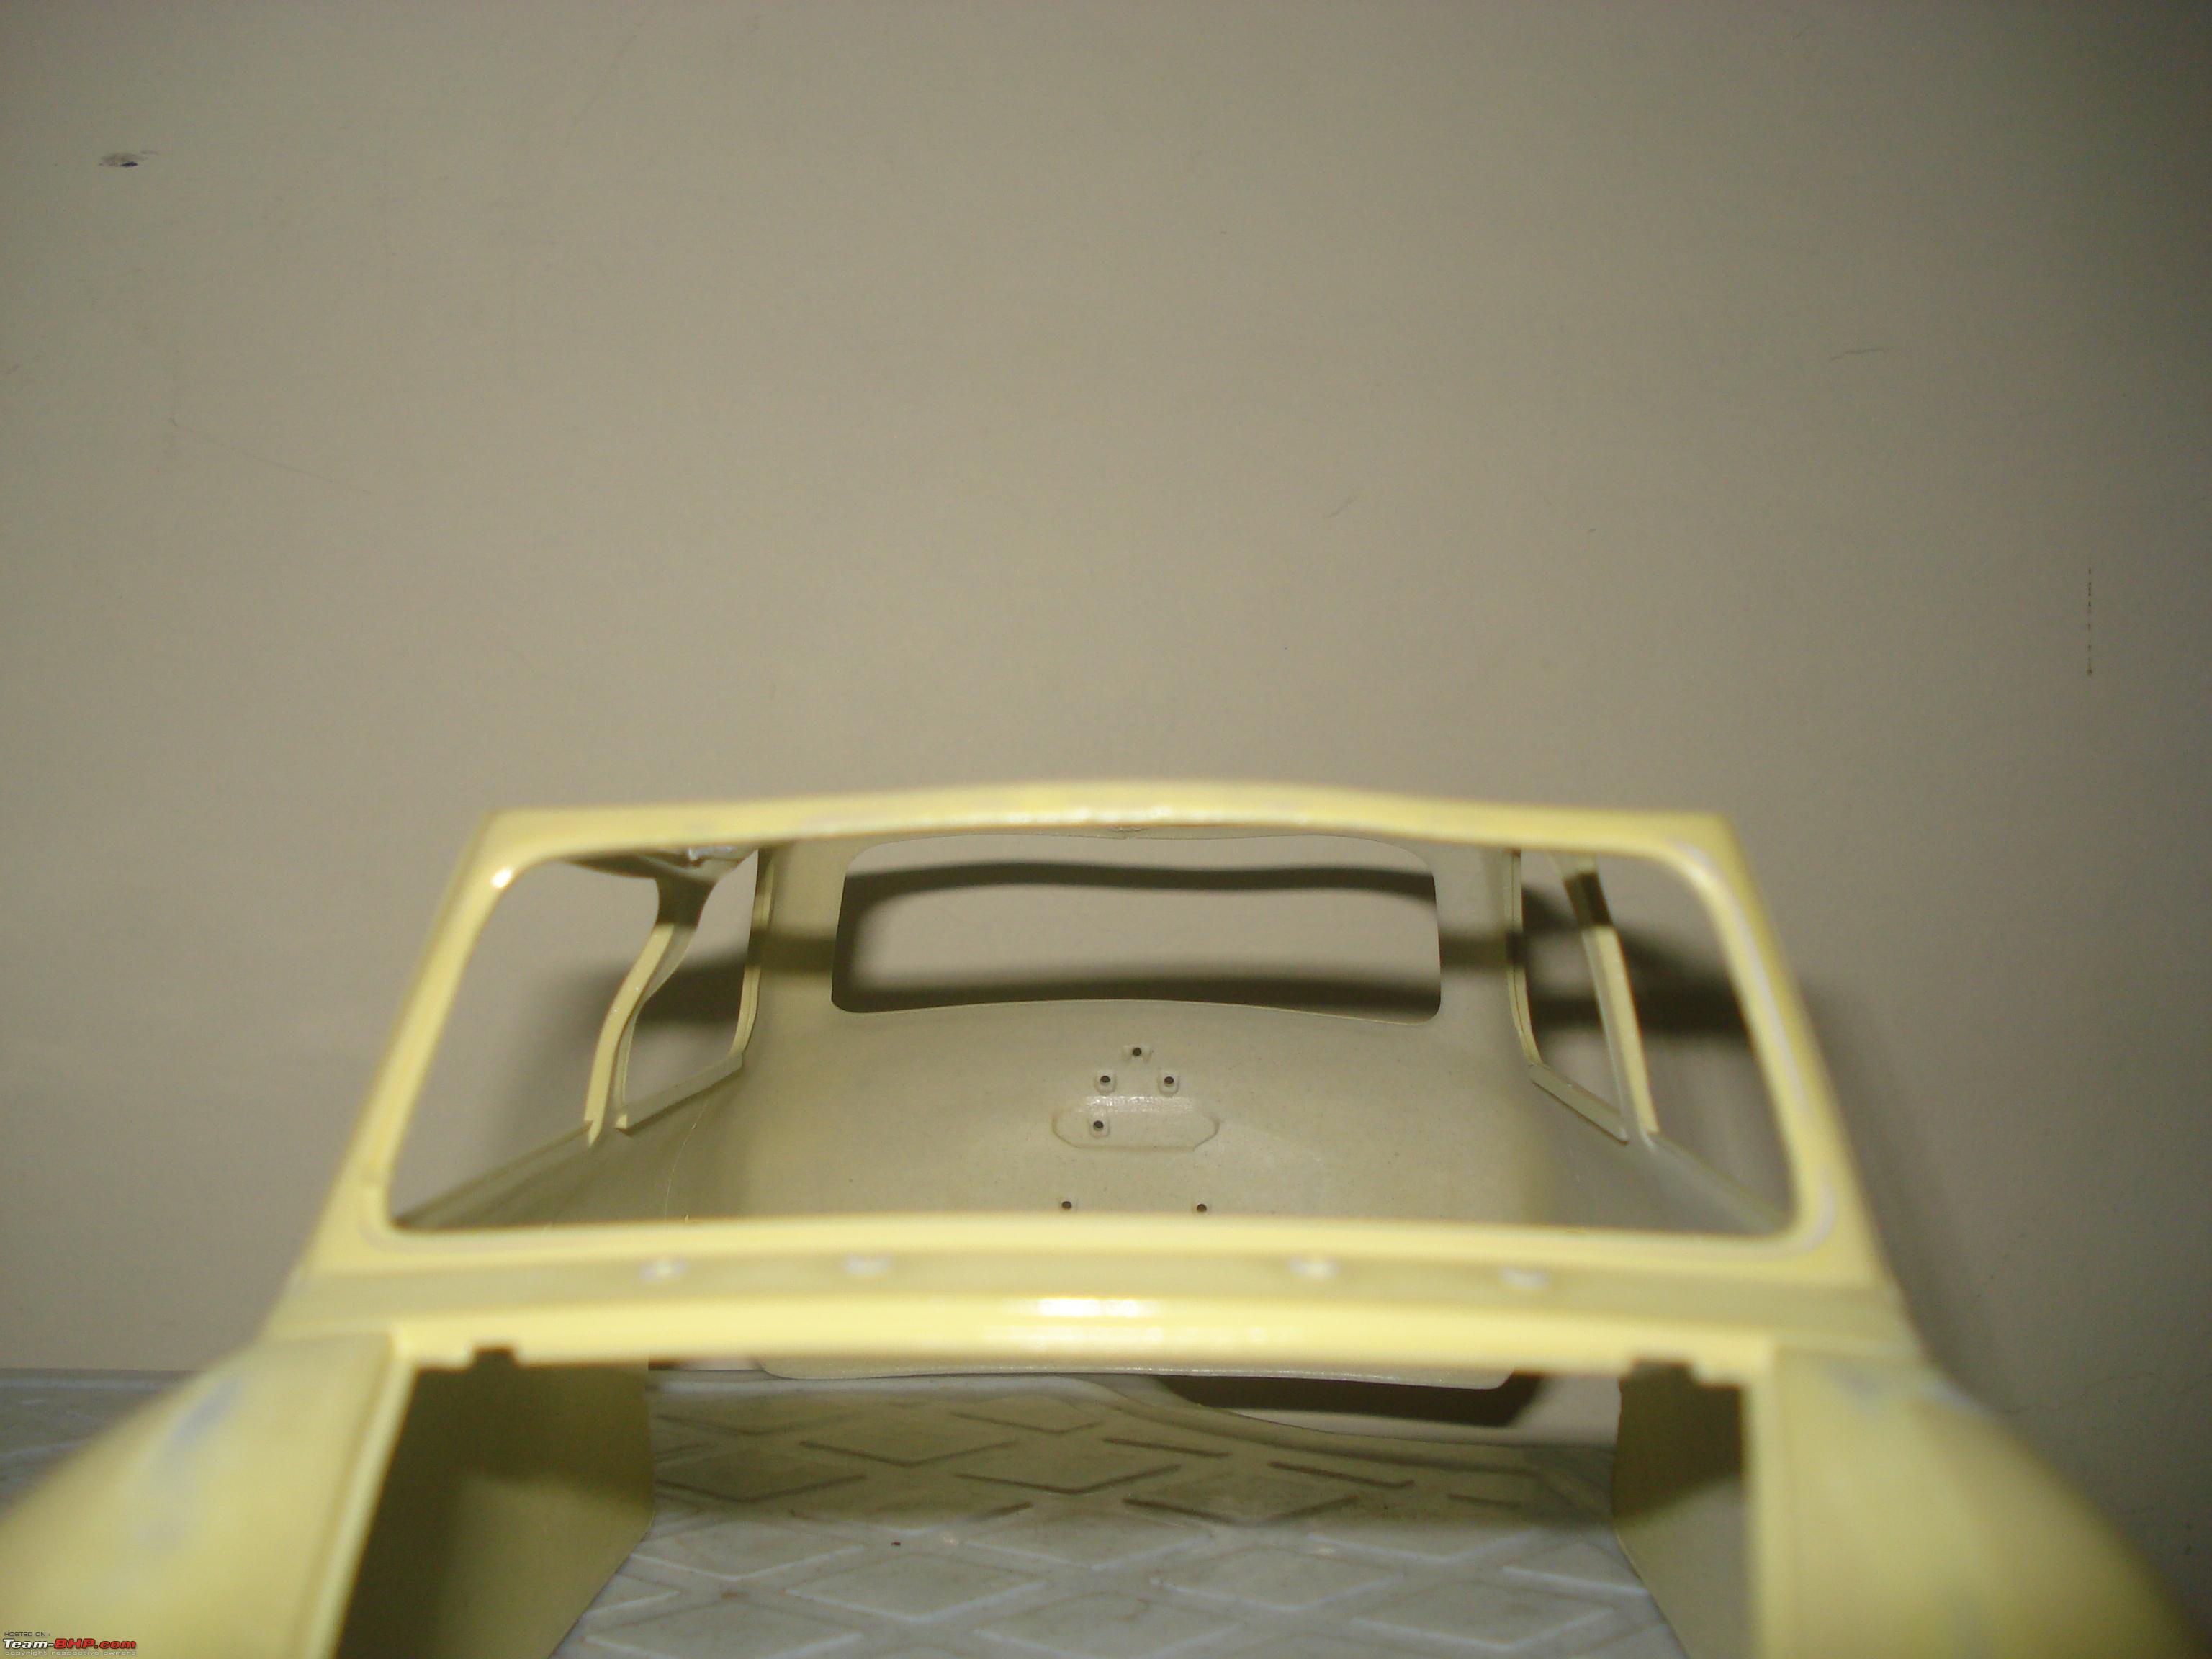
Ravi Bhau, my english is poor and as such am unable to understand. If it means one more try to repair the damage, then yes I will. If it means drying again on a gas stove then never again :D. Any way here are the pictures of the damage.
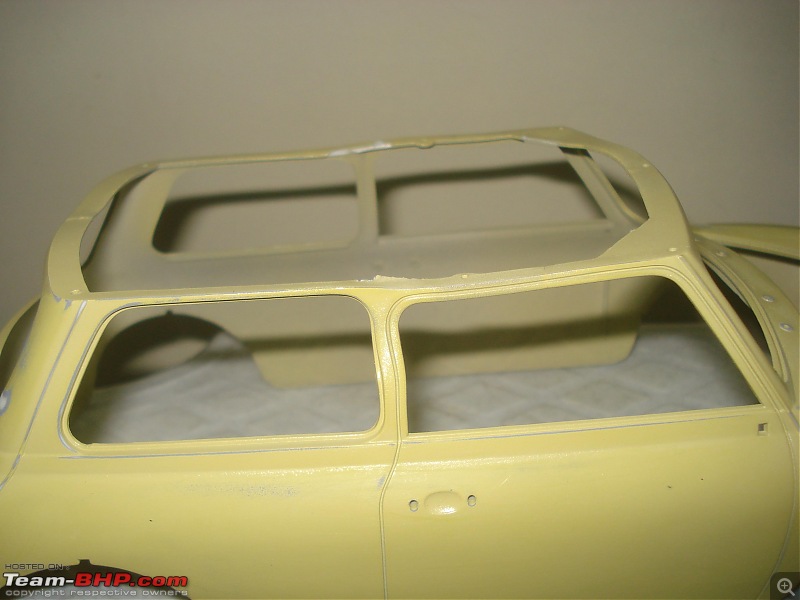


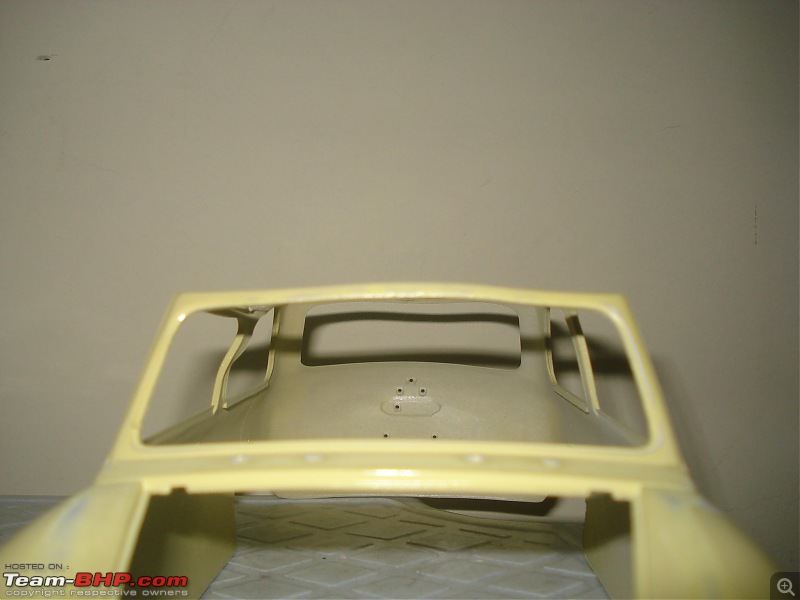
Any one know of how to repair the damage. I know one way this is by dipping in hot water and then trying to flaten out the damage. Don't know if it will work. If every thing fails then I will make her a convertible :uncontrol, what say guys.
Wow, Manish !! This thread is certainly getting exciting - just saw your WIP.
Got my eyes glued now.
Quote:
Originally Posted by manishalive
(Post 2472493)
Any one know of how to repair the damage. I know one way this is by dipping in hot water and then trying to flaten out the damage. Don't know if it will work. If every thing fails then I will make her a convertible :uncontrol, what say guys.
|
I am no expert in DIY, I take inspiration from you all to think about doing something like this but I think a convertible would look best. The metal has disfigured and I think it will be difficult to get it back to the original shape. That too we don't know how to or if there is an assured result.
Manish, you could try this: moderately heat a small piece of towel by placing it on a tava and wrap it tightly on the deformed part, e/g. - your B pillar has bent, wrap the heated piece of towel around that part tightly and hold it for some time.
You may have to do this repeatedly as applying too much heat at one time may worsen the case. Try this.
As far as possible, do not make the Mini a convertible.
Quote:
Originally Posted by SuperSelect
(Post 2472771)
Wow, Manish !! This thread is certainly getting exciting - just saw your WIP.
Got my eyes glued now.
|
And I am excited from the lovely comments my friends give. I think I should have separate thread for my build.
And after seeing this how about sending your Fiat's for resto :D.
Quote:
Originally Posted by curiosity
(Post 2472860)
I am no expert in DIY, I take inspiration from you all to think about doing something like this but I think a convertible would look best. The metal has disfigured and I think it will be difficult to get it back to the original shape. That too we don't know how to or if there is an assured result.
|
Convetible only if nothing works. By the way this is plastic and not metal. The bent top rail is actually 2 mm thick and the "B" pillar around 2-3 mm.
Quote:
Originally Posted by AmarPaithankar
(Post 2473139)
As far as possible, do not make the Mini a convertible.
|
You speak my mind Amar, I will not make her convertible. I will try your idea today evening itself. Also how about cutting the bent parts away, straighten them and glue again togather. Just trying to get different perspective befor trying out the best ones.
Try this method first and only if you do not get the desired results, try cutting the parts. This will only affect the final finish of the car as joints may be visible. Even this can be avoided by applying some kind of putty (M Seal phataphat) and then sanding it down just as much as to match the actual shape.
Henceforth, please keep in mind you need not hold the car over a flame in order to dry it as painters do. Even they dry metal parts by holding them over a flame and that too at a considerable distance.
Quote:
Originally Posted by manishalive
(Post 2473202)
You speak my mind Amar, I will not make her convertible. I will try your idea today evening itself. Also how about cutting the bent parts away, straighten them and glue again togather. Just trying to get different perspective befor trying out the best ones.
|
Some images of my Jeep Wrangler Rubicon in 1:18 scale by Maisto.
This well detailed model with amazing suspension travel joined my collection in 2003.
My Hummer H2 also by Maisto in 1:18 scale:
Hey guys! Here's a set of pics of my latest acquisitions:
| All times are GMT +5.5. The time now is 19:39. | |