Tata Motors picked up the baton for safety early and that has worked very much in their favour. Nowadays, everyone associates Tata cars with safety. Their cars have proven themselves in the GNCAP crash tests as well as the recently introduced BNCAP crash tests. In an attempt to showcase how they reached this point, the company had arranged a plant visit for the media to display how they crash-test their cars before sending them to GNCAP or BNCAP. So buckle in your seatbelts as we go behind the scenes at Tatas in-house crash test facility.

The Integrated Safety Centre or the crash test facility is situated inside Tatas passenger and commercial vehicle manufacturing plant in Pune:

We had a quick briefing session before we got to see the different areas of the facility. This facility has been functional since August 1, 1997. The first vehicle to be tested in-house was the Tata Indica:

Heres a look at the timeline of when different types of tests were introduced:

ADAS-related tests arent carried out at this facility. As of now, Tata cars are tested at the NATRAX (National Automotive Test Track), Indore:

Before the cars are subjected to an actual crash test, a CAE (Computer-aided engineering) simulation is done to understand how the car would perform:

Then we moved on to the structural model of a Safari. The aim here was to show how the load dissipation takes place to keep the passenger cabin structurally intact:

The parts marked in blue are high-strength steel and the parts marked in red are hot-stamped steel which youll usually see in the pillar areas:

Frontal area is the crumple zone and is meant for absorption of the impact. The bulkhead area is where the front airbag sensor is placed. It works in collaboration with a unit inside the passenger cabin to determine if the impact is worthy of deploying the airbags:

The small yellow arrows indicate how the impact force is transferred:

Reinforcements inside the doors also help in dissipating the impact force:

Some amount of force is also directed to the floor structure. You can see the arrows here as well:

The model was coded in blue and red for frontal collision. In case of a rear impact, the boot area would be responsible for absorbing the force:

There was another cutout of the Tata Safari on display which showed the airbag positioning:


The driver gets a knee airbag:

Next up we moved on to the crash test dummy calibration area. These Anthropomorphic Test Devices or crash test dummies are manufactured by a company called Humanetics. These are a global standard and are used by all crash assessment programs across the world. Heres a female crash test dummy with a child dummy:

Heres a look at 2 male crash test dummies which look similar but are quite different. The one on the left is a 50th percentile male design which is the most widely used crash test dummy in the world for frontal crash testing. The 50th percentile model is indicative of an average male who would be 5'9" tall and would have a mass of 78 kg (approximately). Next to it is a 95th percentile large male crash test dummy. The 95th percentile means that he is larger than 95% of the males in the population. Theyre heavier and are used for seatbelt integrity testing. The standards are based on USA anthropometry studies of the adult population:

Dummies for the side impact crash test are different as the placement of sensors is on the side:

This futuristic hoverboard-like thing is actually the platform on which a dummy person or car is mounted while testing ADAS-related features:

Heres a look at the ADAS test dummy:

The two battery-like devices on top are data acquisition centres. Its essentially the black box into which all the sensors are plugged and it collects all the data. All the others are sensors placed in various regions of the crash test dummy to collect data. From right to left, you have the Tibia sensor, Lumbar sensor, Knee sensor, Chest displacement sensor and lastly Femur sensor:

The two balls on the right are used for the pedestrian impact test. The suit and gloves next to it are used by the officials while retrieving parts after the crash:

These are used in case of electric car crash tests to check if theres a current leakage and the temperature of the battery:

Sensors need to be calibrated regularly for the most accurate results. In fact, the temperature and humidity of this lab were also constantly maintained at 20 degrees Celsius and 54% RH (Relative Humidity) respectively for the best results. There are these rigs for different sensors to calibrate them regularly:

Heres the foot impact test rig. Fun fact Humanetics has even standardized the shoes for each crash test dummy:

This is the knee impact testing rig:

This is the neck flexion/extension rig. The arm on which the neck is mounted is swung and brought to a sudden halt to check the flexion in the neck:

As mentioned on the sticker, this is the head drop test rig:

This rig is to check the chest displacement sensor. The thorax impact probe is allowed to swing and hit the dummy in the chest:

After checking out the dummies, we moved on to the Servo Acceleration Sled Test Facility. This is a crucial step between the crash test CAE simulation and the physical crash test. As you can see, this is a passenger compartment buck that is mounted on a movable rig. An actual crash is not conducted here, but it is simulated (keep reading):

The test is primarily used to check all the crash factors inside the cabin. This is where the engineers calibrate the airbag opening time, seatbelt pretensioners, impact on the dashboard, etc. The smallest of details like the placement of the touchscreen so that it doesnt hit the driver or the passenger in the event of a crash are also tested out here. Every part of the cars interior is thoroughly tested for all possible outcomes here:

So, how does this thing work? Its based on inertia. In case of a real-world crash, your car is the object in motion that suddenly comes to a halt. The passengers of the cabin continue their trajectory and keep moving and are restrained by seatbelts and airbags. In the servo test sled, the process is reversed to simulate the crash. The passengers inside the cabin are stationary and the rig which has the buck mounted on it is accelerated in reverse (in the context of the cabin). Essentially, the passengers inside are stationary and the cabin is moving back. Pretty ingenious to be honest as this serves 2 purposes it allows engineers to simulate a crash without crashing a full vehicle and they can do this test multiple times to fine-tune each and every aspect of the interior. Just for reference, an actual crash test that you might have seen in GNCAP or as you will see later on takes about 3-4 days for preparation. Engineers can conduct about 2 of these Servo Acceleration Sled Tests in 1 day!

You can see a few of the data acquisition centres that we saw earlier (blue boxes). The 4 plates that you see next to it are, in fact, disc (not round, but yes) brakes to slow down the rig. From the real crash data, engineers calculate the force of impact and then replicate the same in propulsion. It is further fine-tuned by application of these hydraulic brakes:

Seattle Safety is the company that provides the propulsion system:

This is a pneumatic actuator thats capable of accelerating the rig from a standstill to 100 km/h in barely 2 meters!

Pneumatic cylinders with compressed gas:

Theres a stopper at the end to halt the rig:

High-speed cameras are placed to record the test:

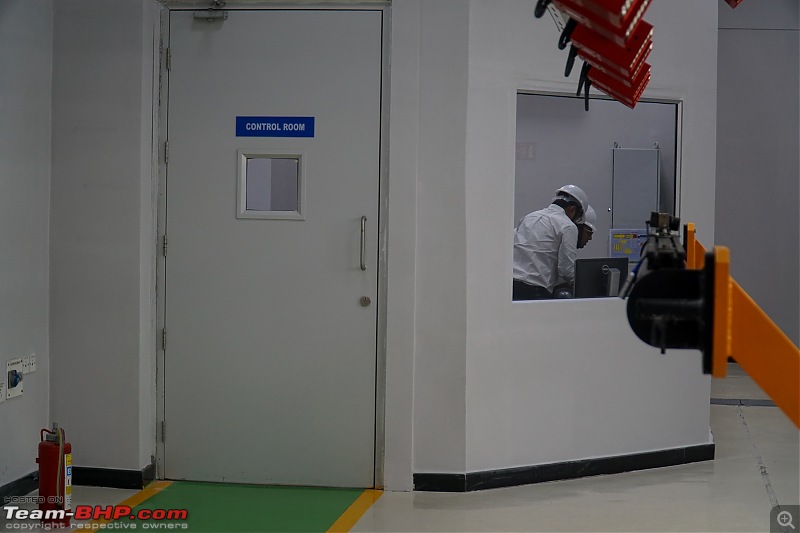
Engineers monitor everything from the control room:


 2nd March 2024, 12:11


 (66)
Thanks
(66)
Thanks


