

 4th February 2010, 09:02
| #346 |
| BHPian Join Date: Jan 2009 Location: -
Posts: 969
Thanked: 1,130 Times
| |

|
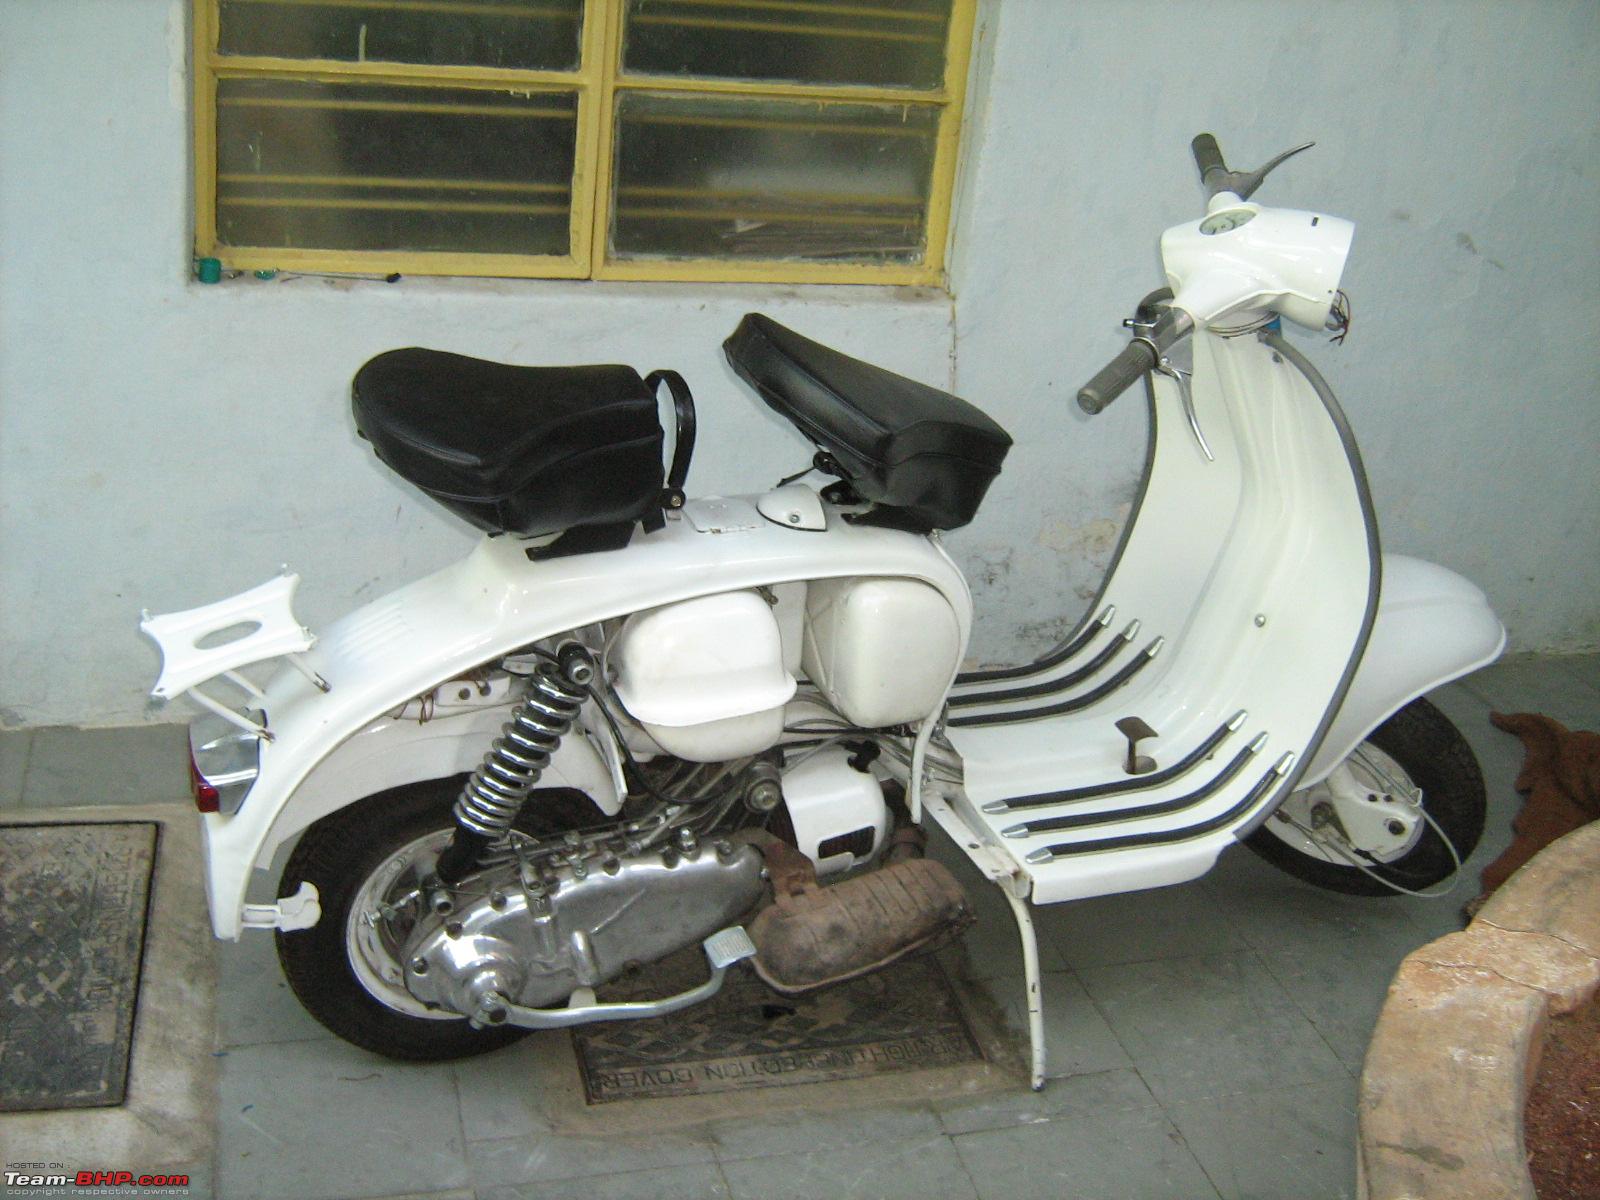
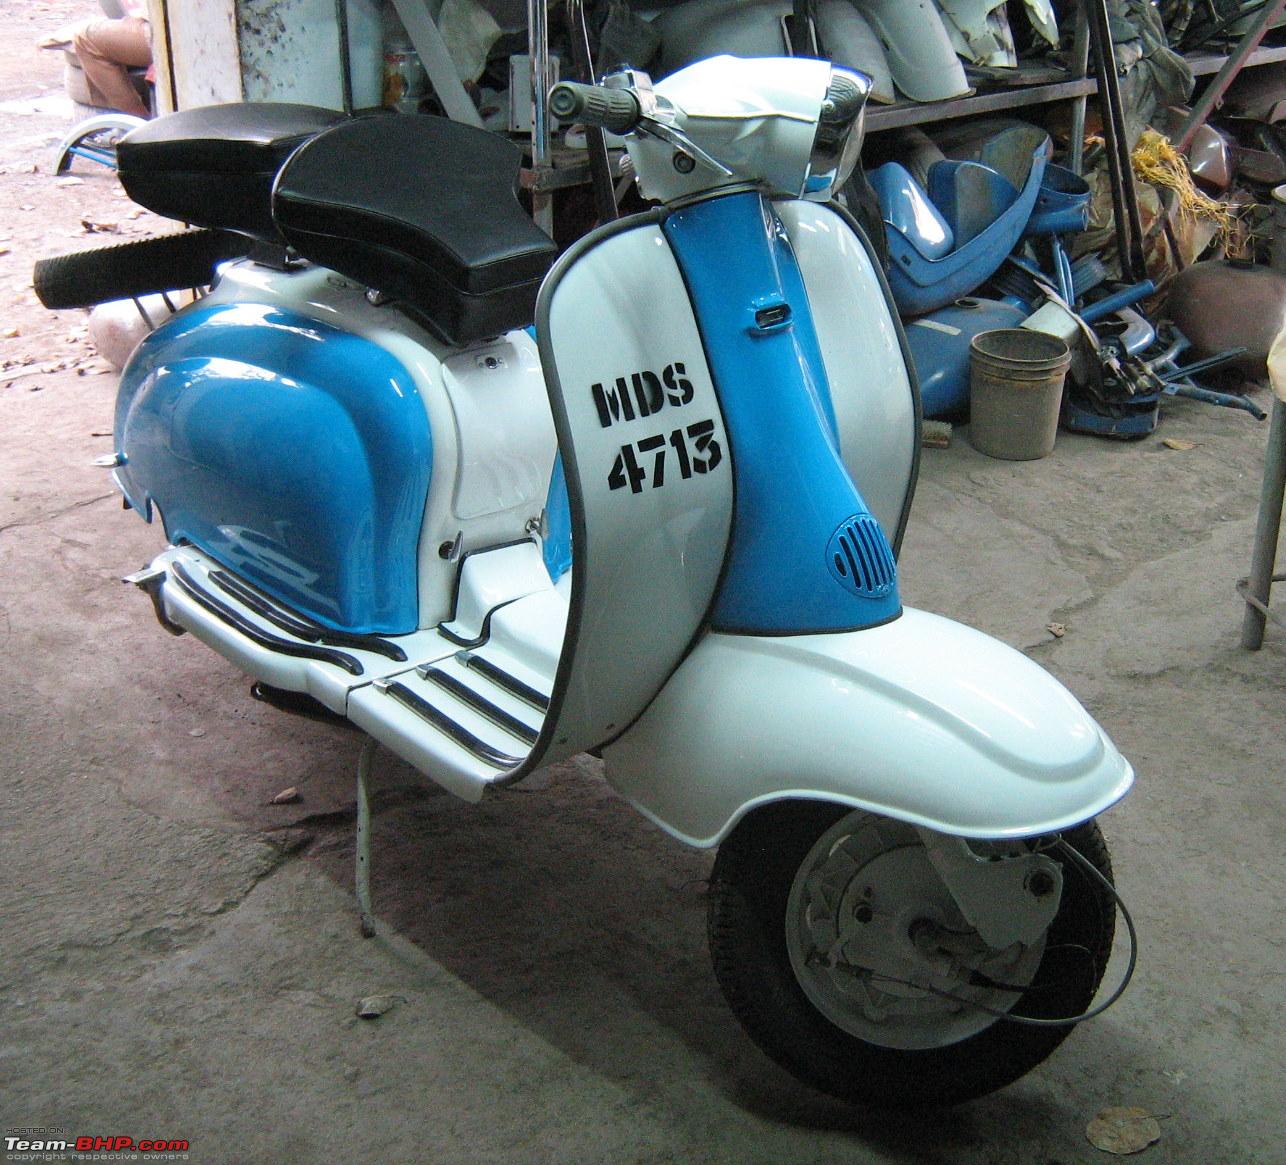
 Especially the paint job is great!!

| |
|
4th February 2010, 09:30
| #347 |
| Senior - BHPian | |
|
|

|
4th February 2010, 13:40
| #348 |
| BHPian | |
|
|
|
8th February 2010, 20:38
| #349 |
| BHPian | |
|
|
|
8th February 2010, 21:00
| #350 |
| Senior - BHPian | |
|
|


|
9th February 2010, 09:13
| #351 |
| BHPian | |
|
|
|
10th February 2010, 12:02
| #352 |
| BHPian Join Date: Jul 2008 Location: DELHI
Posts: 297
Thanked: 154 Times
| |
|
|
|
10th February 2010, 18:41
| #353 |
| Senior - BHPian | |
|
|


|
11th February 2010, 22:31
| #354 |
| Senior - BHPian | |
|
|

|
16th February 2010, 18:42
| #355 |
| BHPian Join Date: Jul 2008 Location: DELHI
Posts: 297
Thanked: 154 Times
| |
|
|
|
16th February 2010, 21:52
| #356 |
| Senior - BHPian | |
|
|
| |
|
20th February 2010, 00:01
| #357 |
| Senior - BHPian | |
|
|


|
22nd February 2010, 09:42
| #358 |
| Newbie Join Date: Feb 2009 Location: Bangalore
Posts: 7
Thanked: 0 Times
| |
|
|
|
23rd February 2010, 10:28
| #359 |
| Senior - BHPian | |
|
|

|
23rd February 2010, 20:36
| #360 |
| Senior - BHPian | |
|
|


 |
Most Viewed