Here is another DIY on how to replace your RR 310's air filter.
Tools Required
1) Allen Key from Tool kit.
2) 10 mm socket wrench.
3) Air Filter - Part # N7040380 , Cost - 376 Rs
At first I thought we could just remove part of the fuel tank cover to expose the air filter housing. Unfortunately , that's not possible as both halves of the fuel tank cover are screwed together from the underside. So we need to remove the entire fuel tank cover to get to the air filter housing.
So let's start.
Step 1 : Remove the black panel pictured here which is held by 3 allen screws. Remove the screws and Slide the panel sideways and upwards as shown in the pic to remove it. Do the same for the opposite side as well.
Step 2 : Remove the rider's seat. Then remove the 3 allen screws as shown in the pics.
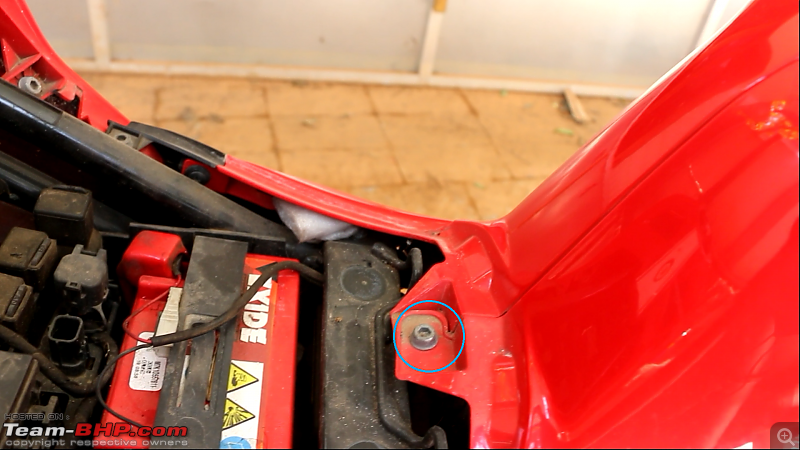
There is one more screw on the other side. So don't forget to remove that as well.
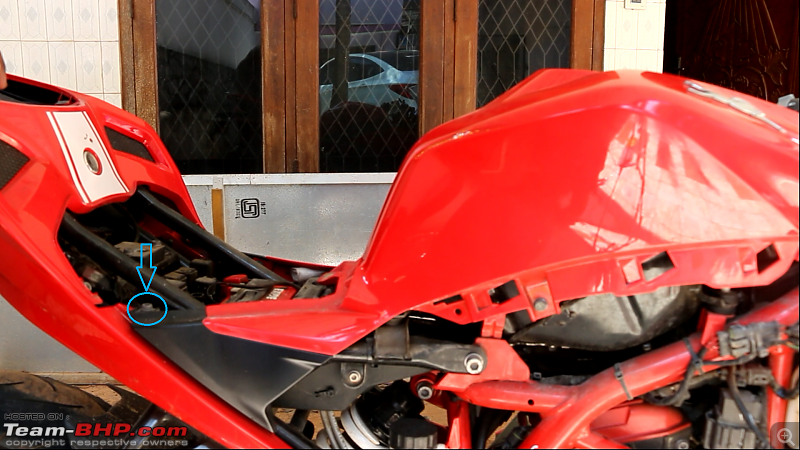 Step 3
 : Remove the black plastic pull tab screw and the 10 mm bolt with the help of socket wrench as shown below. Do the same for the opposite side as well.
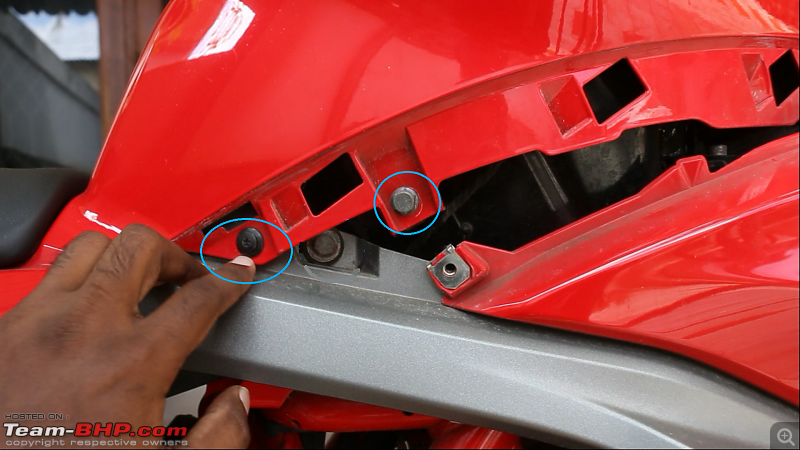 Step 4
 : Keep the handle bar in straight position and gently pull the tank plastic cover upwards. It should come out with a slight wiggle.
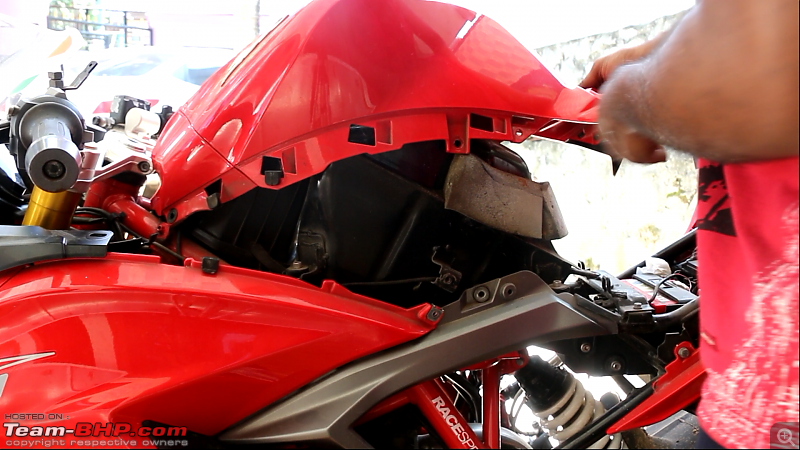
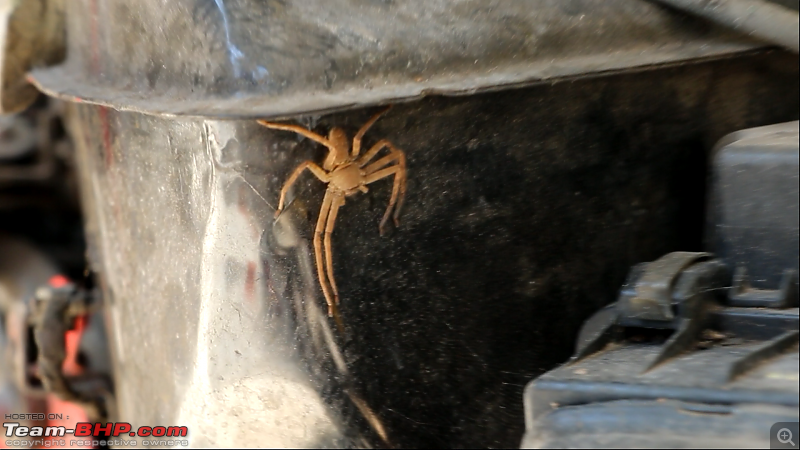
You should then be greeted by this giant spider

. Unfortunately it got away before I could smack it.
 Step 5
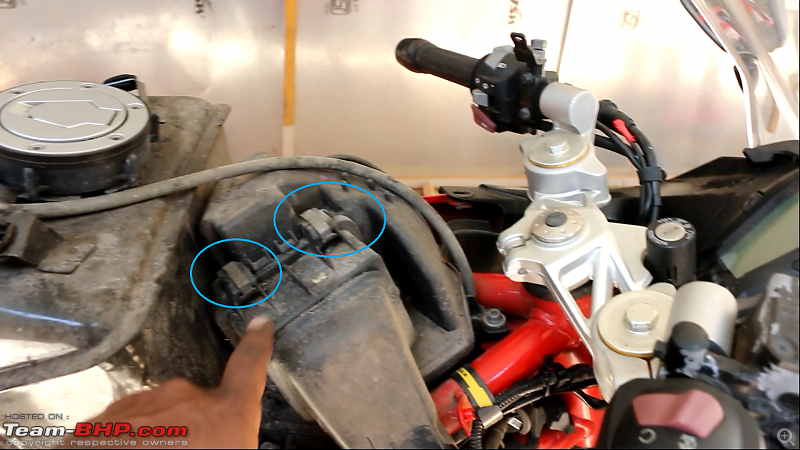
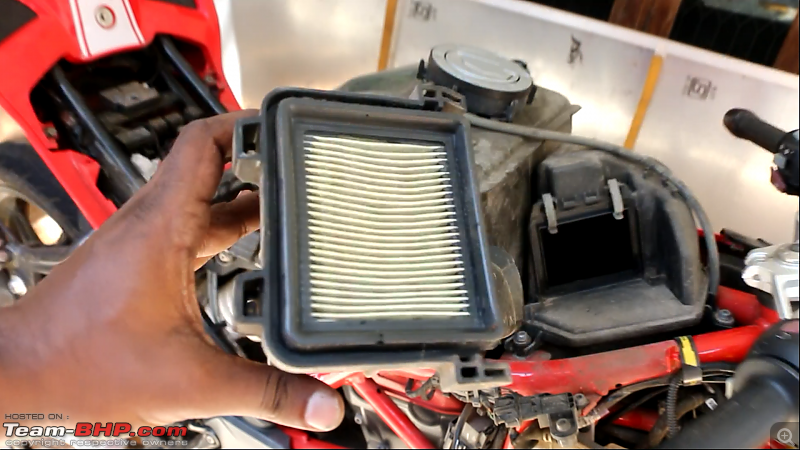
 : Pull these 2 clips upwards to release the filter cover which has the filter inside. Now might be a good time to clean all the surrounding areas as well.
 Step 6
 : Replace with new air filter. You should place the filter in such a way that the color code on the side of the filter and the lettering on the filter cover must be on the same side.
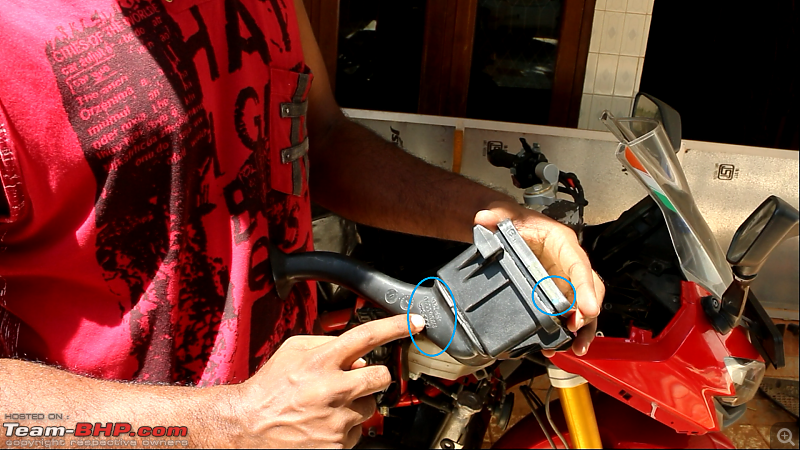
Nice yummy looking new filter.
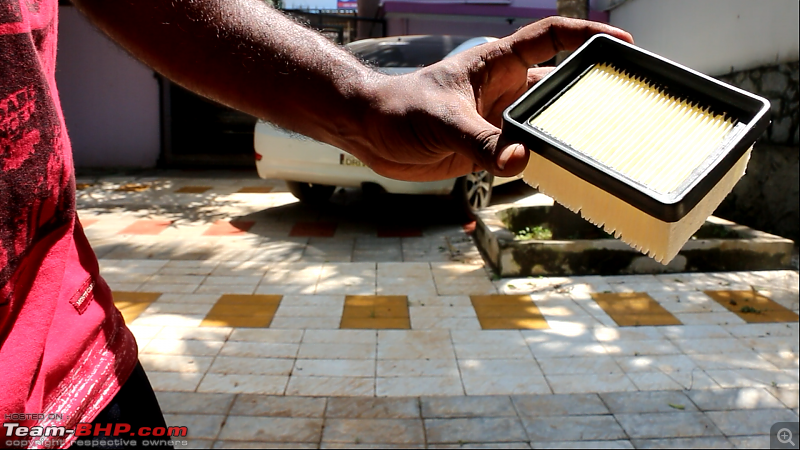
Fix the filter back into the housing and reverse all the steps mentioned above. Hope you enjoyed this DIY.
As usual I have done a vlog of this DIY as well, those who want , can watch it here