Hello Friends and Experts,
A Bullet is not a Bullet unless it leaks some oil. It is a trait that has been passed down though generations of Bullets

. So the gene is no different in the modern UCEs even though the indications are mild when compared to it's ancestors.
Every Bulleteer knows that his machine is like a fountain pen. It might soil your hand but then the bliss of writing is different when compared to ball point pens.
My Royal Enfield Standard UCE 350 was no different in the leaking department, spitting oil through the rocker covers and tappet doors when it was brand new. I had taken it to the service center for rectification during free service and well, I must say they almost did the job. The tappet door oil leak was rectified and the rocker cover oil leak was reduced to an acceptable level, which I later rectified by replacing the gasket, stripping the allen bolt in the process. I had then posted my experience as a heads up somewhere in the Classic 350 thread.
So what made me start this thread now is that my machine's dormant oil leak genes got activated again. This time again through the tappet door.


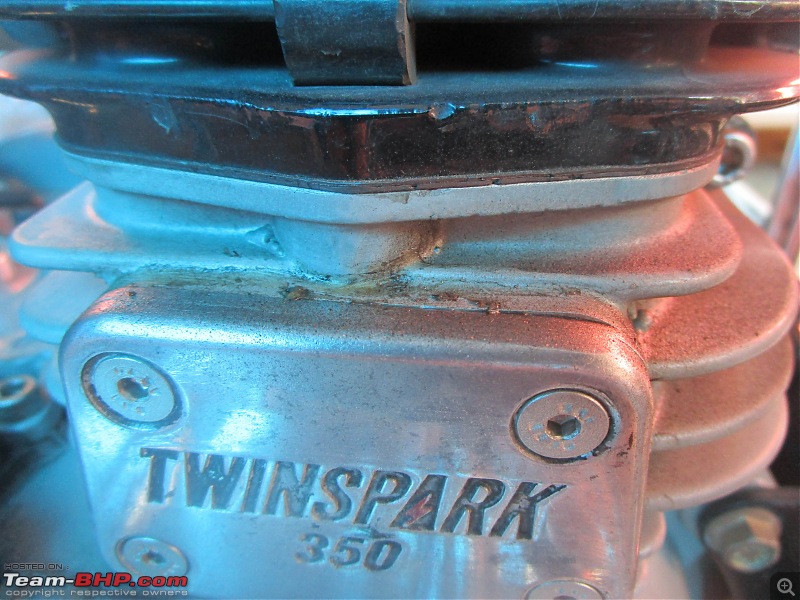
This Saturday at the Office, we were granted public holiday for the afternoon session due to the inauguration of National Games in Trivandrum and I decided to spend the afternoon with my machine with my dear 6 year old Son behind the camera. Needless to say I tested his patience during this 30 minutes and it would be heartless of me if I didn't thank him for his time out of his busy schedule.

(All parents with a 6 year old at home will understand what I mean).
The tappet cover in the UCE is just there for the purpose of installation of the hydraulic tappets. There is no need to adjust the tappet clearance as these are automatically adjusted. All you can see if you open the tappet cover is the inlet and exhaust push rods and the channel through with oil drains back to the sump. Oil pressure doesn't build up in this passage, but some how oil leaks are common though tappet door joints which is held in position by 4 numbers of M5 x 0.8 x 12 CSK Socket Head Screws (Part No. 570198/C) and some high temperature RTV sealant .
How to rectify the oil leak as a DIY
The rectification of oil leak through the tappet door is a maximum 30 minute job which is easy to execute.
As with any repair job, the first step would be to prepare the region by cleaning up the mess.
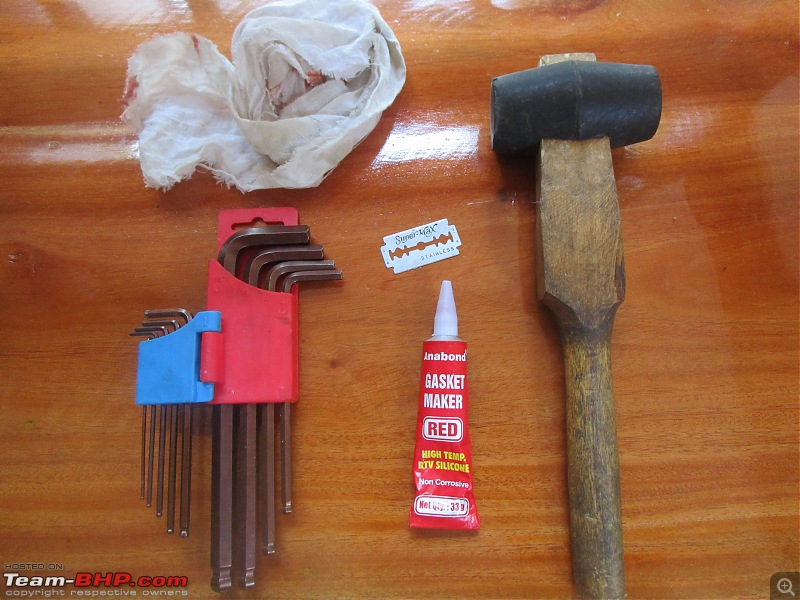
 Tools required
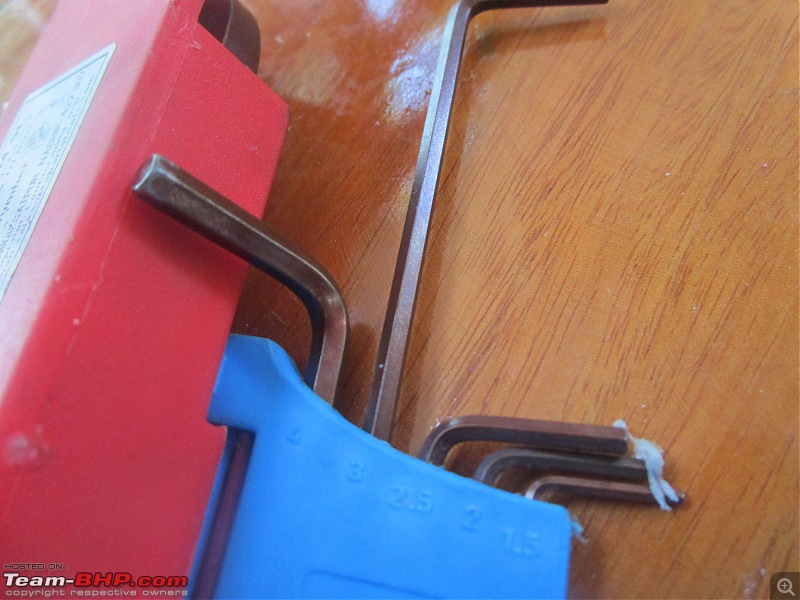
1. No. 3 Allen key
2. Rubber hammer
3. Razor blade
4. Anabond high temperature RTV silicone gasket maker

Even though Royal Enfield recommends the use of Liquid Gasket (Loctite 5699) - Part number - 570278, the same is not available even with authorized part dealers.
5. Lint free cloth
 PROCEDURE
With the number 3 allen key, loosen the head socket screws in the counter clockwise direction.
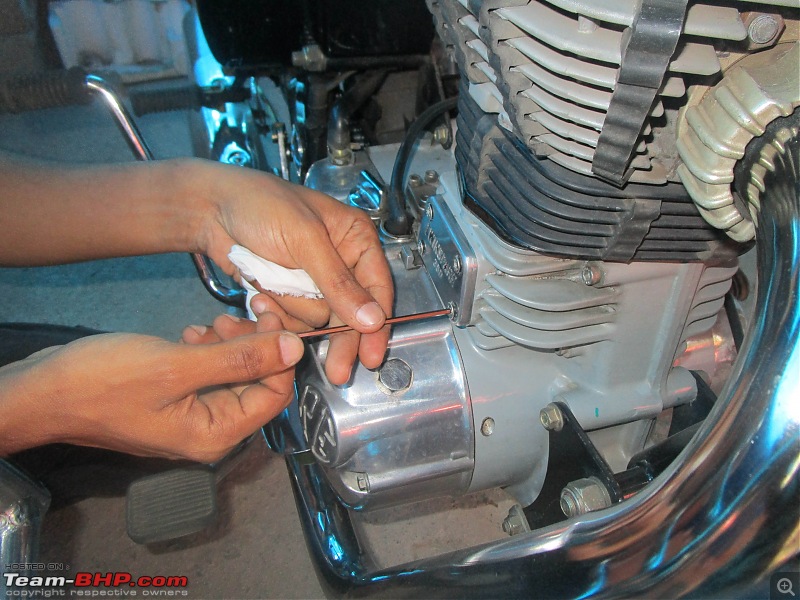
Even with the screws removed, the tappet door may stay firmly in place due to the binding force of the RTV sealant.

Gently tap the tappet door with the rubber hammer and take it off. Care may be taken not to drop the tappet door. You can see the inlet and exhaust push rods and the residue of the gasket sealant used by the service center and looks like they had used excess gasket sealant.


Clean the tappet door with cloth

Gently scrub off the gasket sealant residue at the tappet window with the razor blade. The cloth should be held by the window to prevent the sealant residues from falling into the oil passage. Care should also be taken not to score the machined surface using the razor blade.

Cleaned up tappet door and window

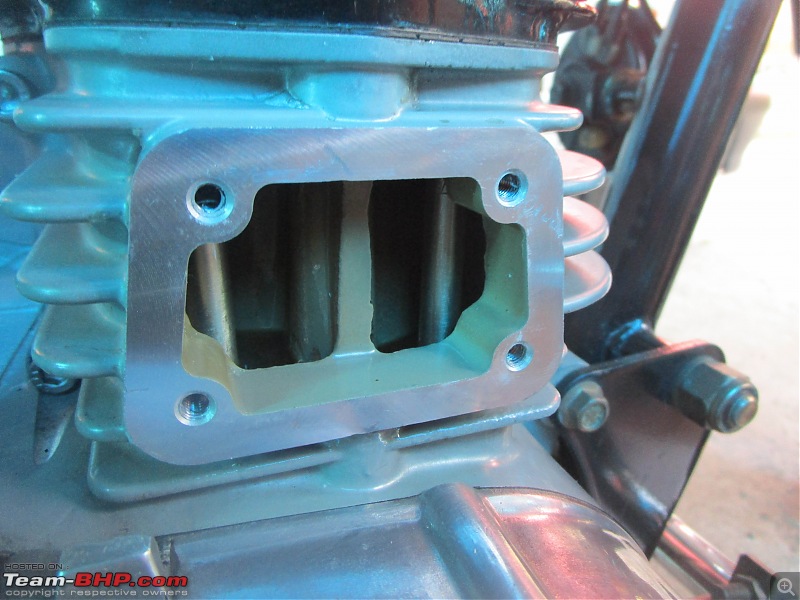
Now apply a thin sting of Anabond high temperature silicone sealant on the tappet door.

Smear the silicone sealant evenly on the tappet door ensuring that there is only adequate sealant on the mating surface.
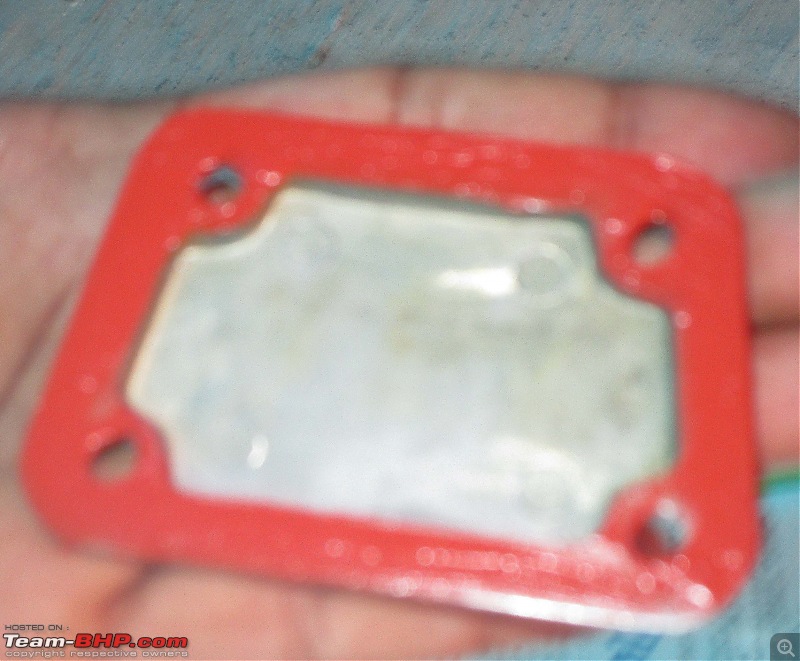
Sorry for the picture quality - my little one's patience had run out by the time and all he wanted was to be relieved of his photography mission :-)
Align the tappet door to the tappet window and tighten the socket head screws evenly. Extreme care should be taken while tightening so that the threads or the socket screws are not stripped.

On tightening the screws you can see that the excess RTV sealant is pushed out.

Wipe off the excess RTV sealant with the cloth and you are done.

Even though the RTV silicone sealant cures within a couple of hours, it would be better to give it a 12-24 hours curing time.
After 12-24 hours, take your warmed up motorcycle for a spirited ride and check for oil leaks. If you find leaks, go through the loop once again and if not, let that odometer roll, burn some rubber and ride safe.
Thanks for bearing with such a long post,
regards adrian


 (16)
Thanks

 (1)
Thanks
 (1)
Thanks
 (1)
Thanks


 . So the gene is no different in the modern UCEs even though the indications are mild when compared to it's ancestors.


 (All parents with a 6 year old at home will understand what I mean).


 .
.