DIY is the best thing which can happen to your vehicles for TLC, but only if you know what you are doing. Expensive labour charges and compromised job quality at times by service centers add another strong reason for going the DIY route. Hemmed in by such thoughts, I put the last Sunday to some good use. My humble Honda Stunner (as many of you would know by the thread of my Mandarmani/ Tajpur ride) is my vehicle of choice for most city errands, including being the transport for office. It's frugal, stylish and most importantly, reliable as a rock. However still, proper service at stipulated time interval means the machine is up for anything, anytime.
But from the last few days, my bike had decided to steal the punchline from Maruti A-star: Stop @ Nothing!

That is, of course an exageration; not that the brakes were completely gone, just that the front disc system was not performing to the best of its efficiency. And it was not without a reason. The background to the story is that last week I decided to bleed the brakes and inadvertently spilled some brake fluid on the disc which ultimately made its way to the brake pads. Due to this blasphemy, the braking efficiency was reduced. After a half hearted service attempt by a mechanic (which did not made it any better), I decided to get my own hands dirty. And thought of sharing the process with the community; hoping you guys will find it useful.
So here it is, a guide to service motorcycle disc brakes.
This will cover 2 aspects: cleaning/ replacing brake pads and a brake bleed to wrap it all up.
Tools required: 1. Ring wrench (of your bike specific size),
 2. Small hammer,
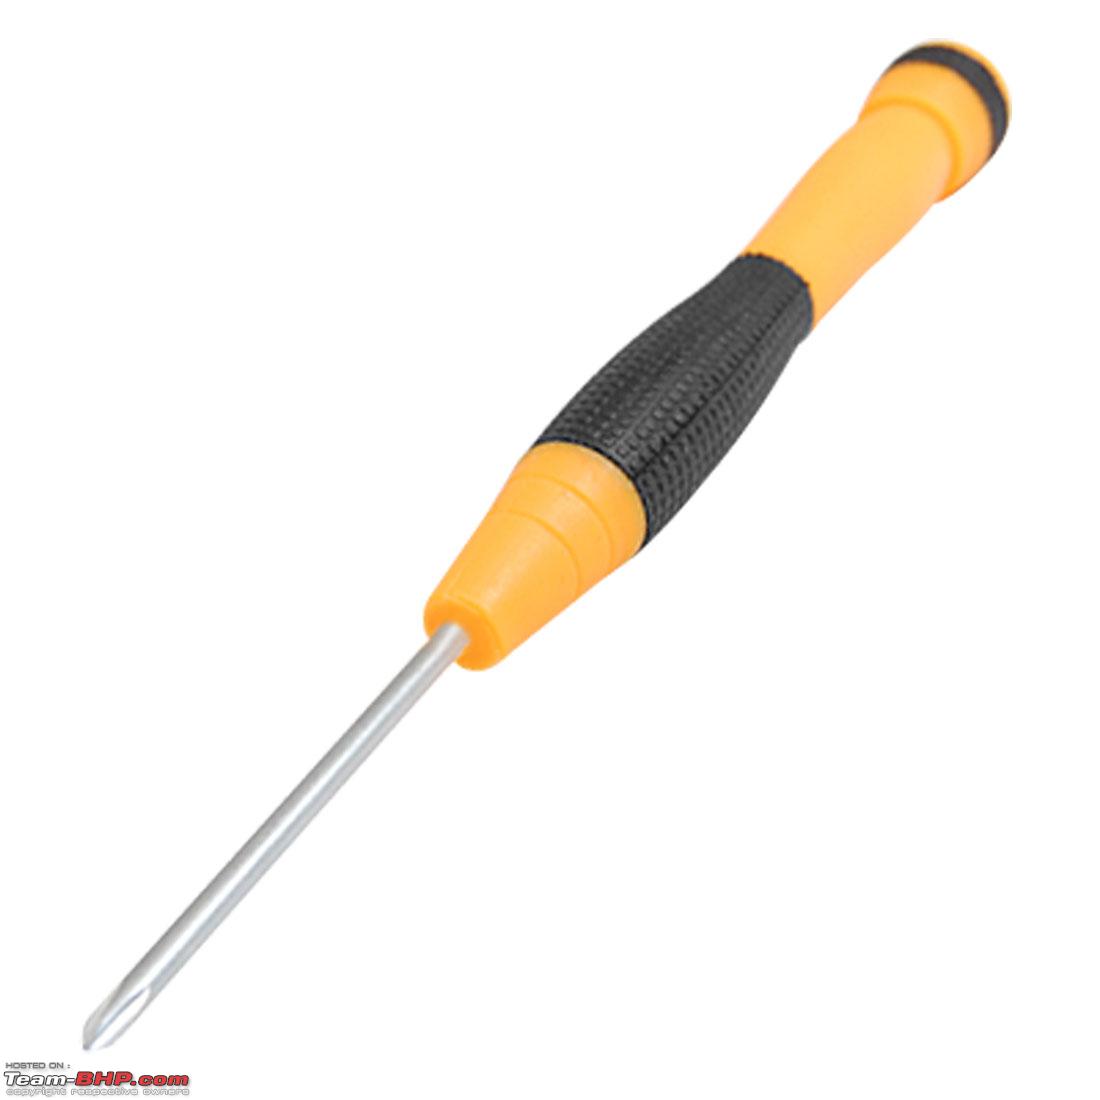
 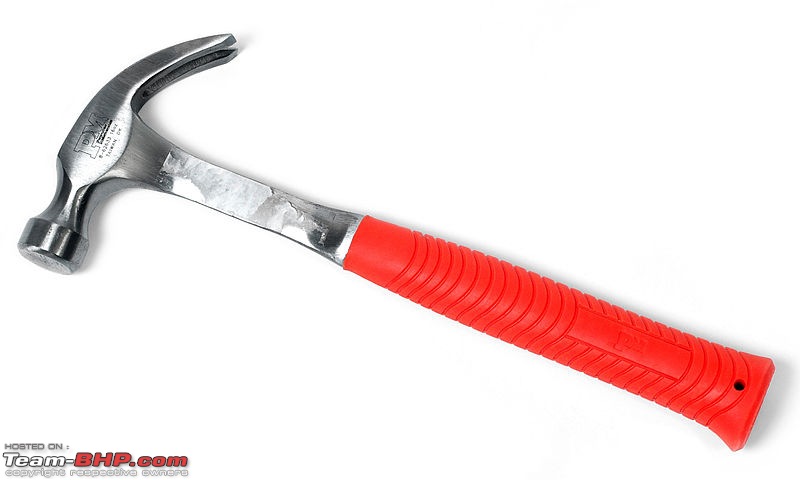 3. A thin screwdriver (to hammer out the caliper through the thin hole),
  4. Sand paper (if re-using the old pads)/ new brake pads (if they need replacement),
 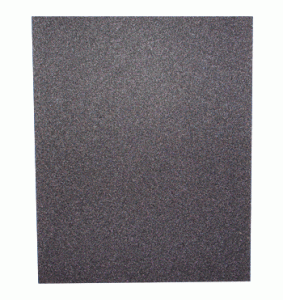 5. a long & strong four head screwdriver,
  6. Brake fluid (refer to the Dot no. on fluid container or bike manual),
 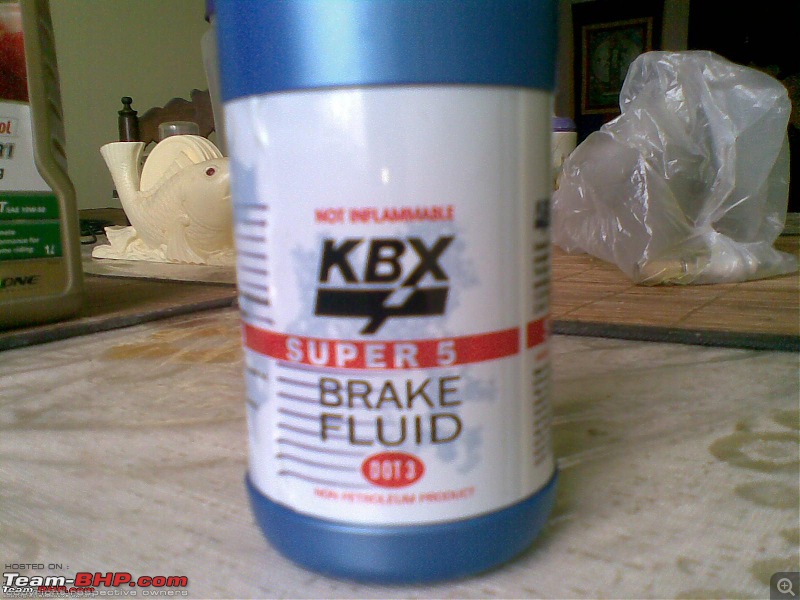 7. A small bottle container to avoid spilling fluids and;
  8. A thin pipe which can fit on the bleeder valve.
  9. Caliper Grease.
  Please note that since I was short of helping hands, I could not click pictures of the job, so I am providing necessary illustrative pictures from the internet. Please pardon the non-continuity of pictures since all are from different sources and different bikes. PART-I: Cleaning/ replacing brake pads: Step 1
:
Clean the disc first, else you may end up with slippery pads again when the cleaned pads makes contact with oily disc after service. (mine was a case of oily disc & pads). You can use any good oil remover or de-greaser. I did not have such thing, hence I used Pril. Works just fine for the job. So, gave the disc a good wash with Pril and made sure that there are no traces of slippery oil on it.
Step 2: 
Locate these 2 bolts (marked in the picture) to get the entire brake assembly out from the frame. For my bike, all it needed was a 12 no. ring wrench. Size may differ for other bikes.
Step 3:
Once you have unscrewed the two bolts completely, slide out the entire assembly from the disc carefully.
 Step 4:
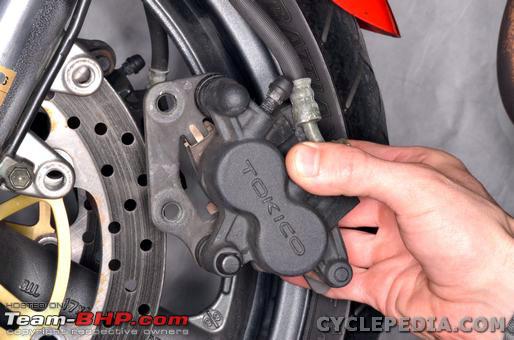
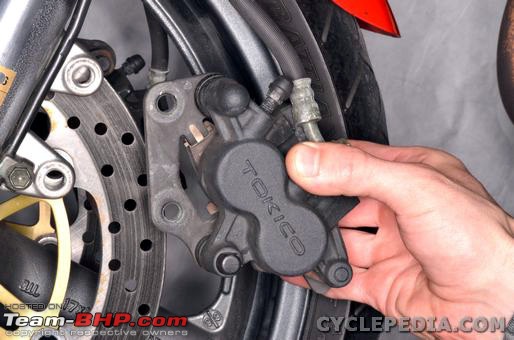
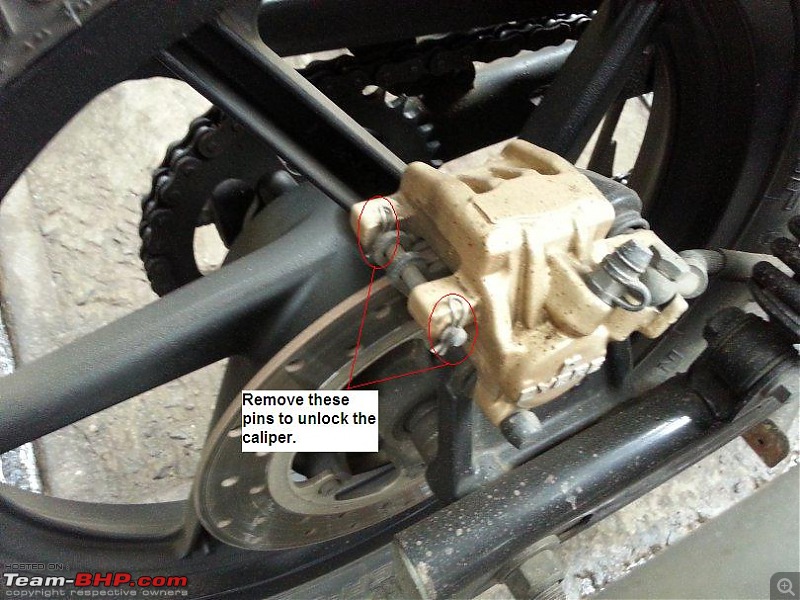
Locate the caliper lock pin in the lower side of the assembly. To open this lock, simply slide it outwards and without much effort, it should come out. This is a lock which keeps the caliper from sliding in & out inadvertently, thus securing the brake pads in place. For those who are newbies at the task, the caliper is what holds the brake pads in place by providing a pivot at its end. The picture below is for the rear brakes, however, similar arrangement will be for the front brakes too. Pardon for poor continuity of pictures.
 Step 5:
Once you have got the lock pin out, you need to slide the caliper out so that you can take the brake pads out from assembly. You may need a thin screw driver or a nail which can let you hammer out the caliper from place, if its a little tight. Hammer gently. Slide out the caliper completely.
 Step 6:
Once the caliper is out, the brake pads should come out easily, as they are only held by the caliper. But before you take out the pads from place, have a good look at it. The inner brake pad is different from the outer pad. You will have to keep in mind this fact when you assemble them back.
 Step 7:
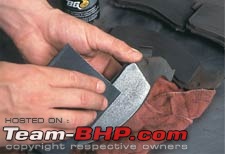
When I took out my brake pads, they were all dirty & greasy due to the spill. They had good life left, hence I took a metal sanding paper and rubbed the brake pads against them for a few seconds. This cleaned the pads and exposed the new, efficient layer of brake shoe.
 *Imp*: Do not press the brake lever while the assembly is out of its place. This will make the pistons come forward (since disc brakes are self-adjustable) and you will not have the required clearance to fit it back. If accidentally you have pressed the lever, you will need to loosen the bleeder valve to lose pressure so that you can push the pistons backwards. Step 8:
Clean the innards of assembly. You will find a lot of dirt & brake rust there.
Step 9:
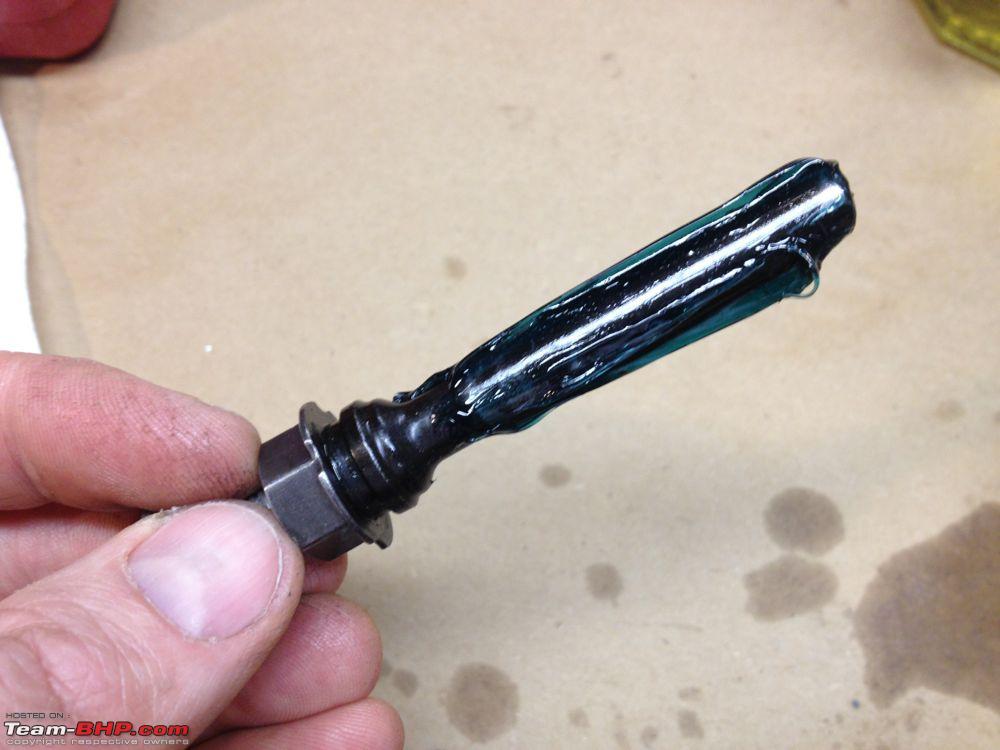
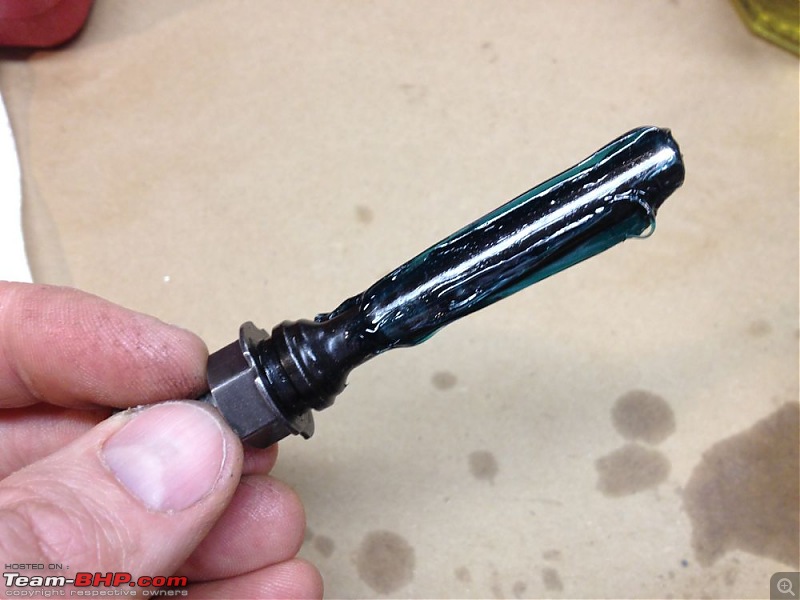
Assemble back by putting the new/ cleaned brake pads in place. Put grease generously on the caliper before sliding it back in place so that the pivot action on the caliper is smooth.
 Do not forget to lock the caliper in place by sliding back the lock pin
. Now put the assembly back on the fork by aligning the disc in between the brake pads. Match the holes and put back the bolts that you opened in step no. 2.
Tighten them well.
Test the brakes by pressing the brake lever while pushing the motorcycle with your hands. Make sure that the brakes are working. PART-II: Bleeding the brakes.
Hydraulic Braking systems require fluid action to work. However, with time, air & moisture tends to enter the system which reduce the effectiveness of the brakes. Brake bleeding is the process to remove the air in the system and restoring back the efficiency. Ideally it is a two person job, esp. in car, but it is not too difficult to perform it on a bike even with no helping hands. If you have smart help available, so much better. You also need to know this procedure if you want to replace that ageing brake fluid. So, lets get hands on it:
Step 1:
First things first. Prepare a bleeder bottle where you will collect the waste brake fluid coming out from the bleeder valve. It is a very simple process. Brake fluids are nasty fluids, both for you & your vehicle paint and hence, proper care should be taken to avoid spillage. Also, collecting the waste fluid in a bleeder bottle is environmentally the better way of doing it. For preparing a bleeder bottle, get a thin transparent pipe which can fit on the nozzle of the bleeder valve. The other end leads into the waste bottle. Consider wearing plastic gloves for the job.
 Step 2:
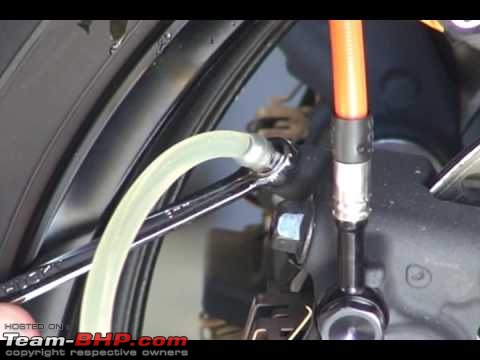
Identify the position of bleeder valve. See the picture for reference:

After you have prepared the bleeder bottle & identified the bleeder valve, put a 11 no. ring wrench on the bleeder valve as in the picture. Once the ring wrench is in place, open the bleeder rubber boot-cap and insert one end of the thin pipe. The other end of course leading to the waste collector bottle.
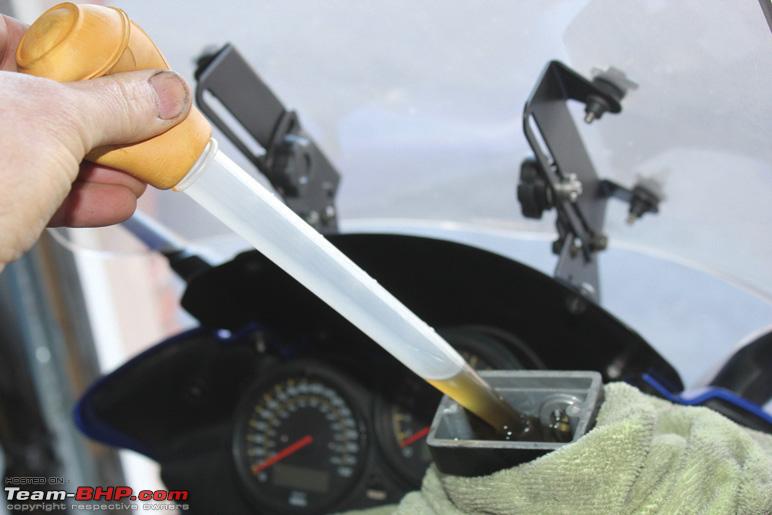
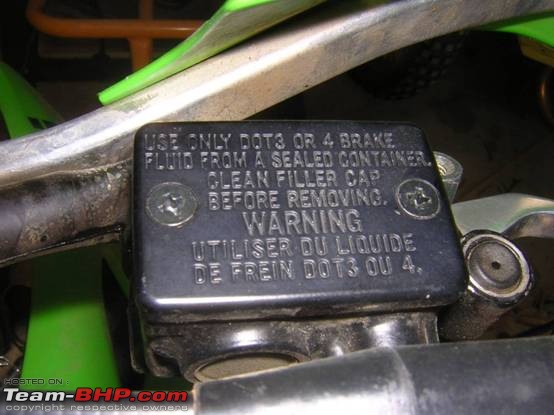
Also, open the brake fluid container on the handle bar with a four head screw driver so that you can monitor the level of fluid while performing the job.
Also, you will need to add fluid in the container as you will end up draining some during bleeding.
 Step 4:
Now pump the brake lever 3-4 times quickly and hold. While the brake lever is held, open the bleeder valve by moving the wrench counter-clockwise. You should see brake fluid escaping from the valve to the pipe. You may also notice small air bubbles within the fluid.

Now, as the fluid escapes, the brake lever will sink fully. Do not get scared that you have screwed the system; just keep on holding the lever and do not let it go under any circumstances. Now, tighten the bleeder valve and let go the brake lever finally. Repeat this step 3-4 times to get all air out from the system. While performing this step, make sure that the fluid level in the brake fluid container on your handle bar (near the brake lever) does not dip to the bottom. So, you may need to keep adding new fluid during this process too.
Step 5:
Once you are convinced that no more air bubbles are coming out with the fluid, tighten the bleeder valve fully.
Failing to tighten the bleeder valve completely can lead to complete loss of hydraulic pressure and eventually a brake failure. Hence, double check it. Put on the rubber boot cap on the bleeder valve back.
Step 6:
Once the bleeding is done, you should feel that lesser effort is required to press the brake lever and that it has become softer than before. Again, before riding, check the efficiency of brakes by pushing the motorcycle for a few feet by hands and applying the brakes. After affirmative test, ride the bike in a safe place with scant traffic/ people like your apartment basement/ garden/ compound. Take the bike to the roads only when established that the brakes are efficient and working perfectly.
Step 7:
Take a breath and feel good about the job you just did. If no one is around, you can pat your back too! The process for bleeding your car brakes is the same. Just make sure that you bleed the wheels in order of farthest to closest to the brake pedal. This means for a RHD car, you start from Rear-Left wheel> Rear-Right> Front-Left and finally Rear-right wheel. In case you have any confusion about disc/drum thing, then yes; even if your car has drum brakes at rear, they still require bleeding as bleeding is for any fluid -action hydraulic braking system. Disc or drum does not matter. And just to remind, bleeding car brakes is strictly a two person job.
I hope this guide comes handy and useful to fellow members and all readers. If you have questions, do let me know and I will try my level best to answer them. Also, in case you feel like I have missed a useful step whose addition can make this guide even simpler, please let me know or ping the mods. I would be more than just happy to get your contribution in this thread. Ride safe fellas!
Thanks,
Saket


 25th August 2014, 16:23


 (31)
Thanks
(31)
Thanks