| |||||||

| Search Forums |
| Advanced Search |
| Go to Page... |
 |
| Search this Thread |  78,899 views |
 11th June 2021, 15:31
| #1 |
| BHPian Join Date: Dec 2017 Location: Guwahati
Posts: 559
Thanked: 4,711 Times
| Modification Diaries | Maruti Baleno Zeta | Remap, lowering springs, exhaust, audio upgrade & more This is the story of a 2015 Maruti Suzuki Baleno, a car that is owned by a fellow enthusiast Shankhanil Tamuli, someone who is like a brother to me and this is the whole story of how he built his car through multiple stages over the span of multiple years. This thread will be divided in two parts, in the first part I will be acting as a messenger and will be delivering the words of my friend, who is the actual owner of the car to this forum. In the second part, I will be posting my own experience as I've driven this car for over hundreds of kilometers on various conditions. The modifications done to this car has been cherry picked after countless hours of browsing through the internet, talking to others with similar modifications in person or through the internet, or browsing through modifications available in the offline market. The idea behind the compilation of this thread is that the owners of similar Baleno cars or other cars can have a fair idea of the options available to them at their hand.  Special thanks to my good friend & Bhpian Tanveer02 for helping me in compiling this thread  . . Last edited by chiranjitp : 15th June 2021 at 23:31. |

|  (56)
Thanks (56)
Thanks
|
| The following 56 BHPians Thank chiranjitp for this useful post: | --gKrish--, adwaith, ais, Akash.D, akash_v12, Akshay6988, Ashtoncastelino, BhaskarG, Big Smoke, dailydriver, DevOnWheels, dhruvritzed, digitalnirvana, Dr.Naren, Drive_30, drrajasaravanan, FloatingCanvas, fluidicjoy, Gaboonviper04, Gorkey, GTO, gunin, hdman, Herschey, hmansari, icar, InControl, JD_404, jothishX, keroo1099, krishnaprasadgg, Leoshashi, LONG_TOURER, mazealot, Meer, Mustang Sammy, na_agrawal, RaghuVis, ramnaresh_2000, Researcher, rGT, rj22, Rshreyansh, Sachin V.W., SnS_12, sumeethaldankar, swiftnfurious, Taha Mir, Tanveer02, theexperthand, The_Outsider!, vigsom, Viju, vishy76, vredesbyrd, wheelguy |
| |
|
11th June 2021, 15:33
| #2 |
| BHPian Join Date: Dec 2017 Location: Guwahati
Posts: 559
Thanked: 4,711 Times
| re: Modification Diaries | Maruti Baleno Zeta | Remap, lowering springs, exhaust, audio upgrade & more PART 1 Choosing the Baleno Back in 2015, we were looking to buy a new hatchback, that was going to replace our 01 ZEN VX Deluxe. I loved our Zen to the core, but there was need for a bigger and more spacious car at home. Although Zen was very fun to drive, the family wasn't particularly impressed with its low seating, lack of space and weak AC. It was okay back in 2003-2004 when it entered our lives, but not in 2015 when hatchbacks had became way more modern, with better space, comfort, AC etc. The idea of a car had improved by every means of imagination by then. The premium hatchbacks on sale in 2015 were the likes of i20, Jazz, Punto Abarth, Polo GT TSI and Baleno. I was spoilt with choice. Was awed with the performance offered by the Italian and the German counterparts (i.e the Punto Abarth & Polo TSI), I was sure of what I wanted. But here came the Indian mindset while buying a car in the picture, with parents instantly rejecting this duo, primarily due to the face value of the brand. Fiat in Guwahati already had a reputation for bad service, lack of spares etc. On the other hand the only VW showroom had shut shop in Guwahati. So it was a three way race between i20, Jazz and Baleno. Somehow Baleno appealed the most to me, with reviews clearly praising the features, space and performance (comparatively). We took a test drive in late October 2015 from our nearby Nexa dealership and was immediately impressed by how bigger & better it felt when compared with the tiny Zen, it felt like a proper upgrade, in every means imaginable. Though I would like to mention that it was nowhere as fun to drive or had soul like the Zen. We took the delivery of the Baleno in pearl arctic white shade in the Zeta guise on 16th November, 2015. Baleno on her first long trip:    The baby steps towards Modification Never have I ever imagined that I would end up doing any modifications to the car apart from putting basic amenities like seat covers and floor mats. Also coming from this part of our country, where spotting a modified car is as rare as seeing the blue moon, the motivation to make one was never there. However, in the 2016-2017 period there came a trend of wrapping. Following the trend, I unknowingly fell into the pit, onto which I'm still falling deeper and deeper to this day. Upon doing some research, I found a popular car accessories shop doing a roof wrap for Rs. 6000 and another for just Rs. 1800. Being a typical Indian, and with little knowledge, I opted for the latter. The roof was wrapped by splitting into two parts (which explains the low cost) and quality was also nothing to write home about. I wrapped the roof, ORVMs, boot chrome panel, rear bumper lower area, the grille, all in gloss black shade. Also wrapped the chin of the bumper in tacky red shade to give it some sort of contrast. Following the wrapping, I painted my rims black as well (to enhance the overall looks). I felt it gave a sporty look at that point of time. Ordered a rubber bumper lip which goes by the name samurai from amazon, thereby commencing the 1st stage of personalization. Post which my college started and I shifted to Chennai (that's where the real story started). The wrapped look:   Last edited by chiranjitp : 15th June 2021 at 18:06. |
|
| (28)
Thanks
|
| The following 28 BHPians Thank chiranjitp for this useful post: | adwaith, Akshay6988, Arnav Vaghela, BhaskarG, DevOnWheels, digitalnirvana, GTO, gunin, hdman, hmansari, InControl, keroo1099, Leoshashi, LONG_TOURER, mazealot, Nitish B Shetty, porsche_guy, Researcher, Rshreyansh, SnS_12, swiftnfurious, Tanveer02, theexperthand, Thermodynamics, vigsom, Viju, vredesbyrd, wheelguy |
|
11th June 2021, 15:46
| #3 |
| BHPian Join Date: Dec 2017 Location: Guwahati
Posts: 559
Thanked: 4,711 Times
| re: Modification Diaries | Maruti Baleno Zeta | Remap, lowering springs, exhaust, audio upgrade & more Phase 2: After spending a solid 6 months in the south, which is also known for its unique car modification scene. I was stung by the bug. Seeing cars with loud exhausts, FRP bumper kits, blow of valves (BOV) and whatnot, all I could imagine was turning my humble Baleno into something which is on par with what I saw there. After completion of the semester, there was an upcoming 1 month vacation. I convinced my parents into funding me a set of alloys. As they say, if you dress well, but your footwear is soiled, all your effort gets thrown out of the table. In a similar sense, for me a car's profile is incomplete without a decent set of alloy wheels. After seeing the trend of low profile upsized wheels, I too wanted to have the taste of it. As for negatives like slightly poor ride quality, risk of damage to rims/tyre, slight loss in performance etc, I felt it can be compromised just for the sheer look it offers. Having made friends with Baleno guys from South, I saw few designs in 17" size for Baleno. 17" is the perfect size to enhance the looks for the Baleno, as 16" fails to fill the wide arches. This variant of Baleno also comes with 16" alloys, so there was also a desire to go one size up. After finalizing the design, I chose a wheel from the brand Power India Wheels (PIW) of size 17" and width 8J of 100 PCD which was perfectly compatible with Baleno. With the money paid, the wheels made its journey from Kerala to Assam in a jiffy. The very moment the wheels made it to home, immediately took them for fitment. With vast tyre options available at various price spectrum, I went for Kenda Kasier tyres in the size 215/45/17 as they fit my budget. Meanwhile removed the ugly red chin wrap. The whole look of the car changed, it was no more the humble and calm Baleno I saw everyday. Can't deny the fact of how alloys can change the whole aura of your vehicle. First glance of the wheels:  When they finally reached my place:  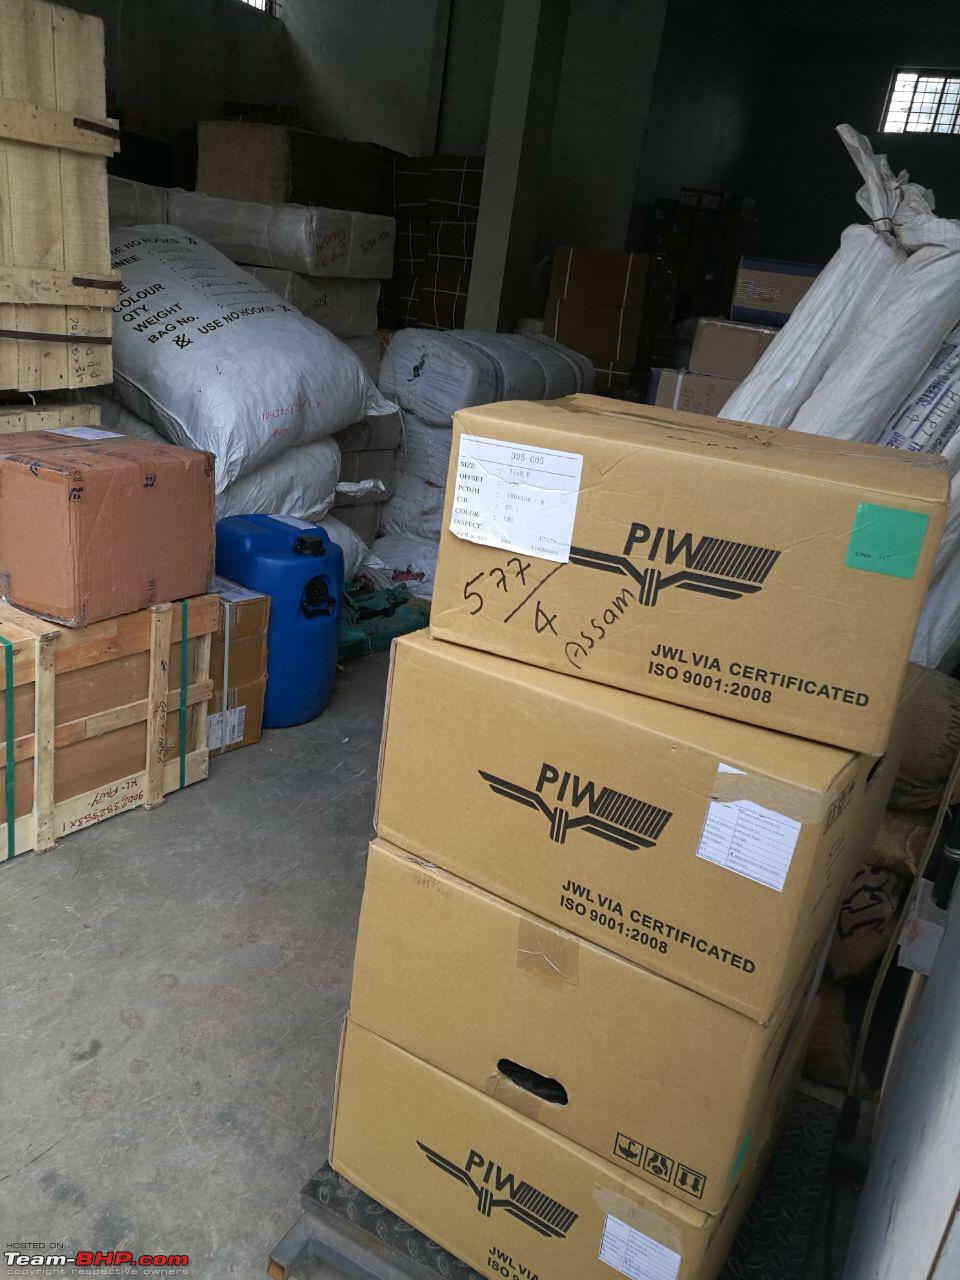 Installation in progress: 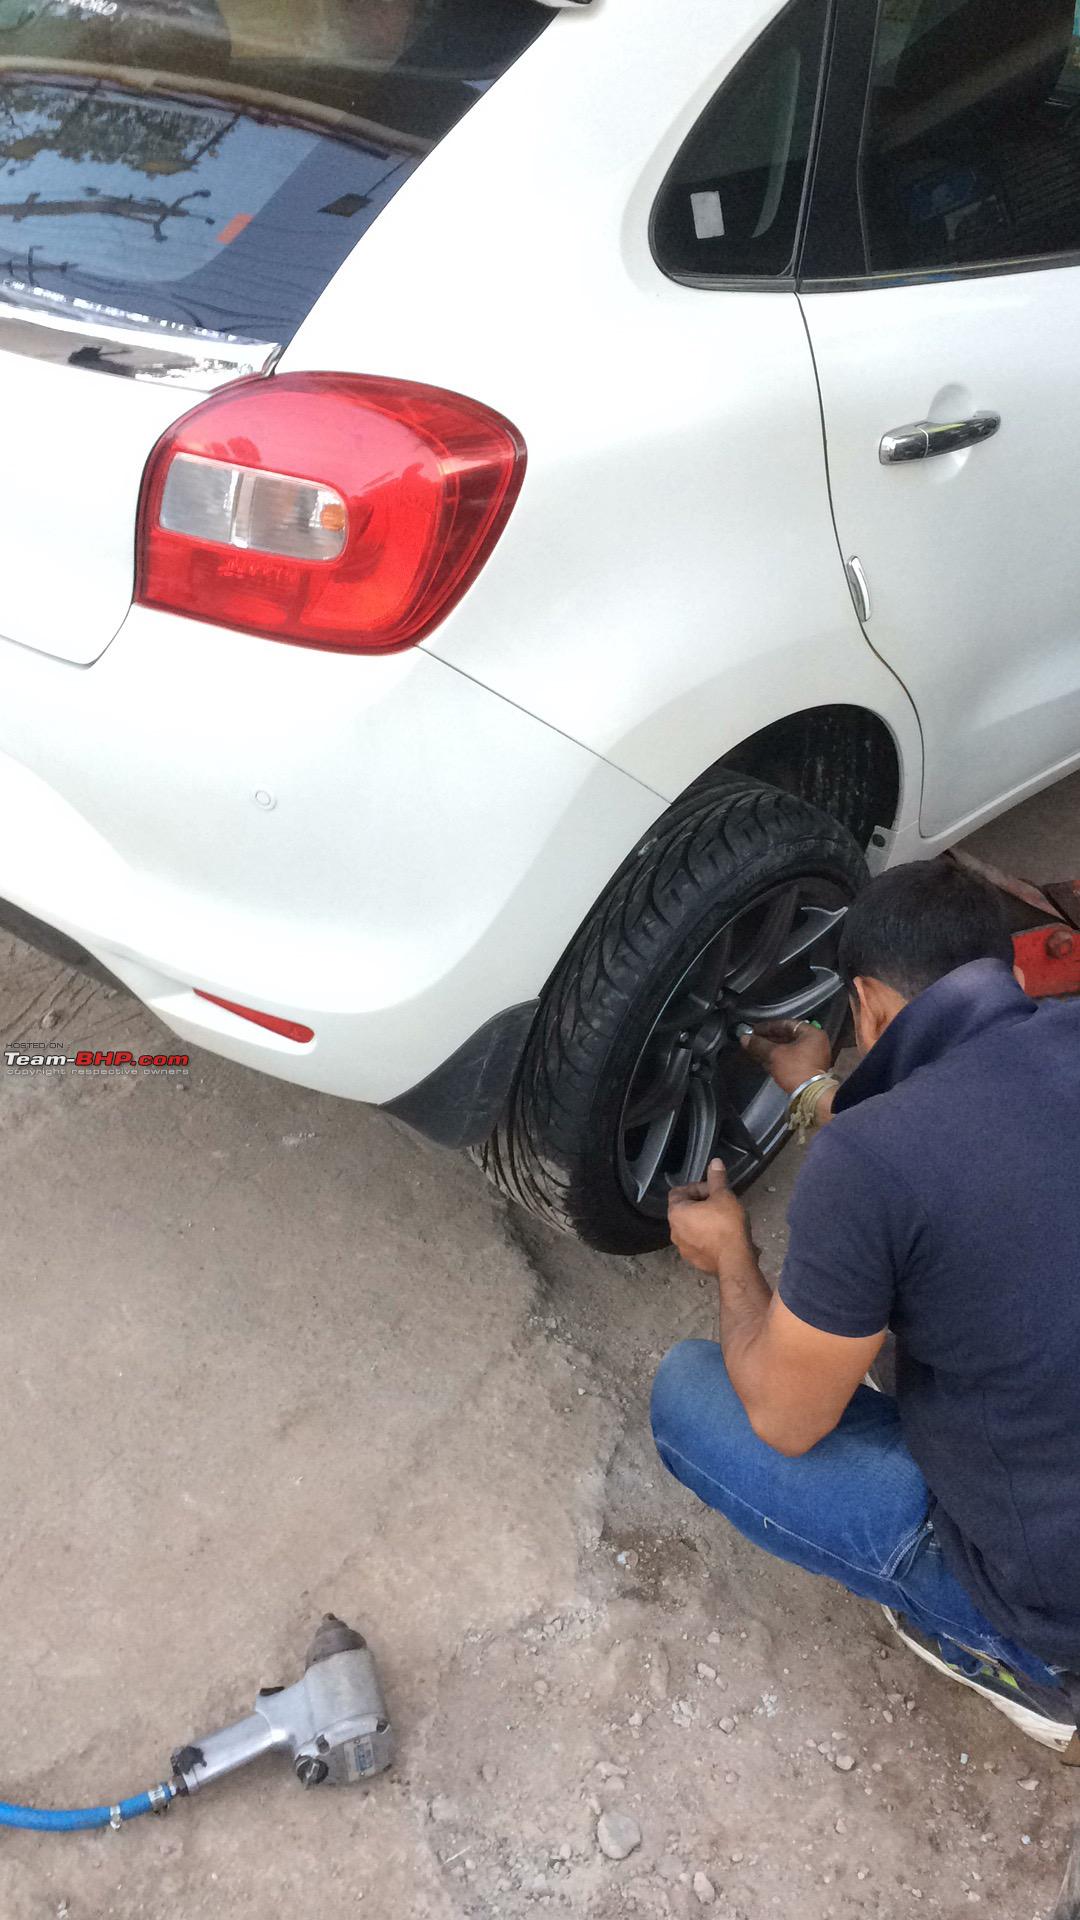 Later I replaced the fog light bulbs with Excelite HID bulbs of 6000K, and headlight parking light into cool white. The difference in the show factor of the car immediately added. Although the HID's would scatter all over, the light output was very good. I wasn't very happy with the light scatter, so was looking for better lighting solutions (more on that later). Also being a fan of windshield stickers, after spending a lot of time in deciding what to name the car, I named my Baleno Illest. Made a custom sticker and stuck it to the windshield. Note: The sticker isn't too thick & doesn't hamper visibility in a noticeable way. Excelite foglight HID conversion kit being installed: 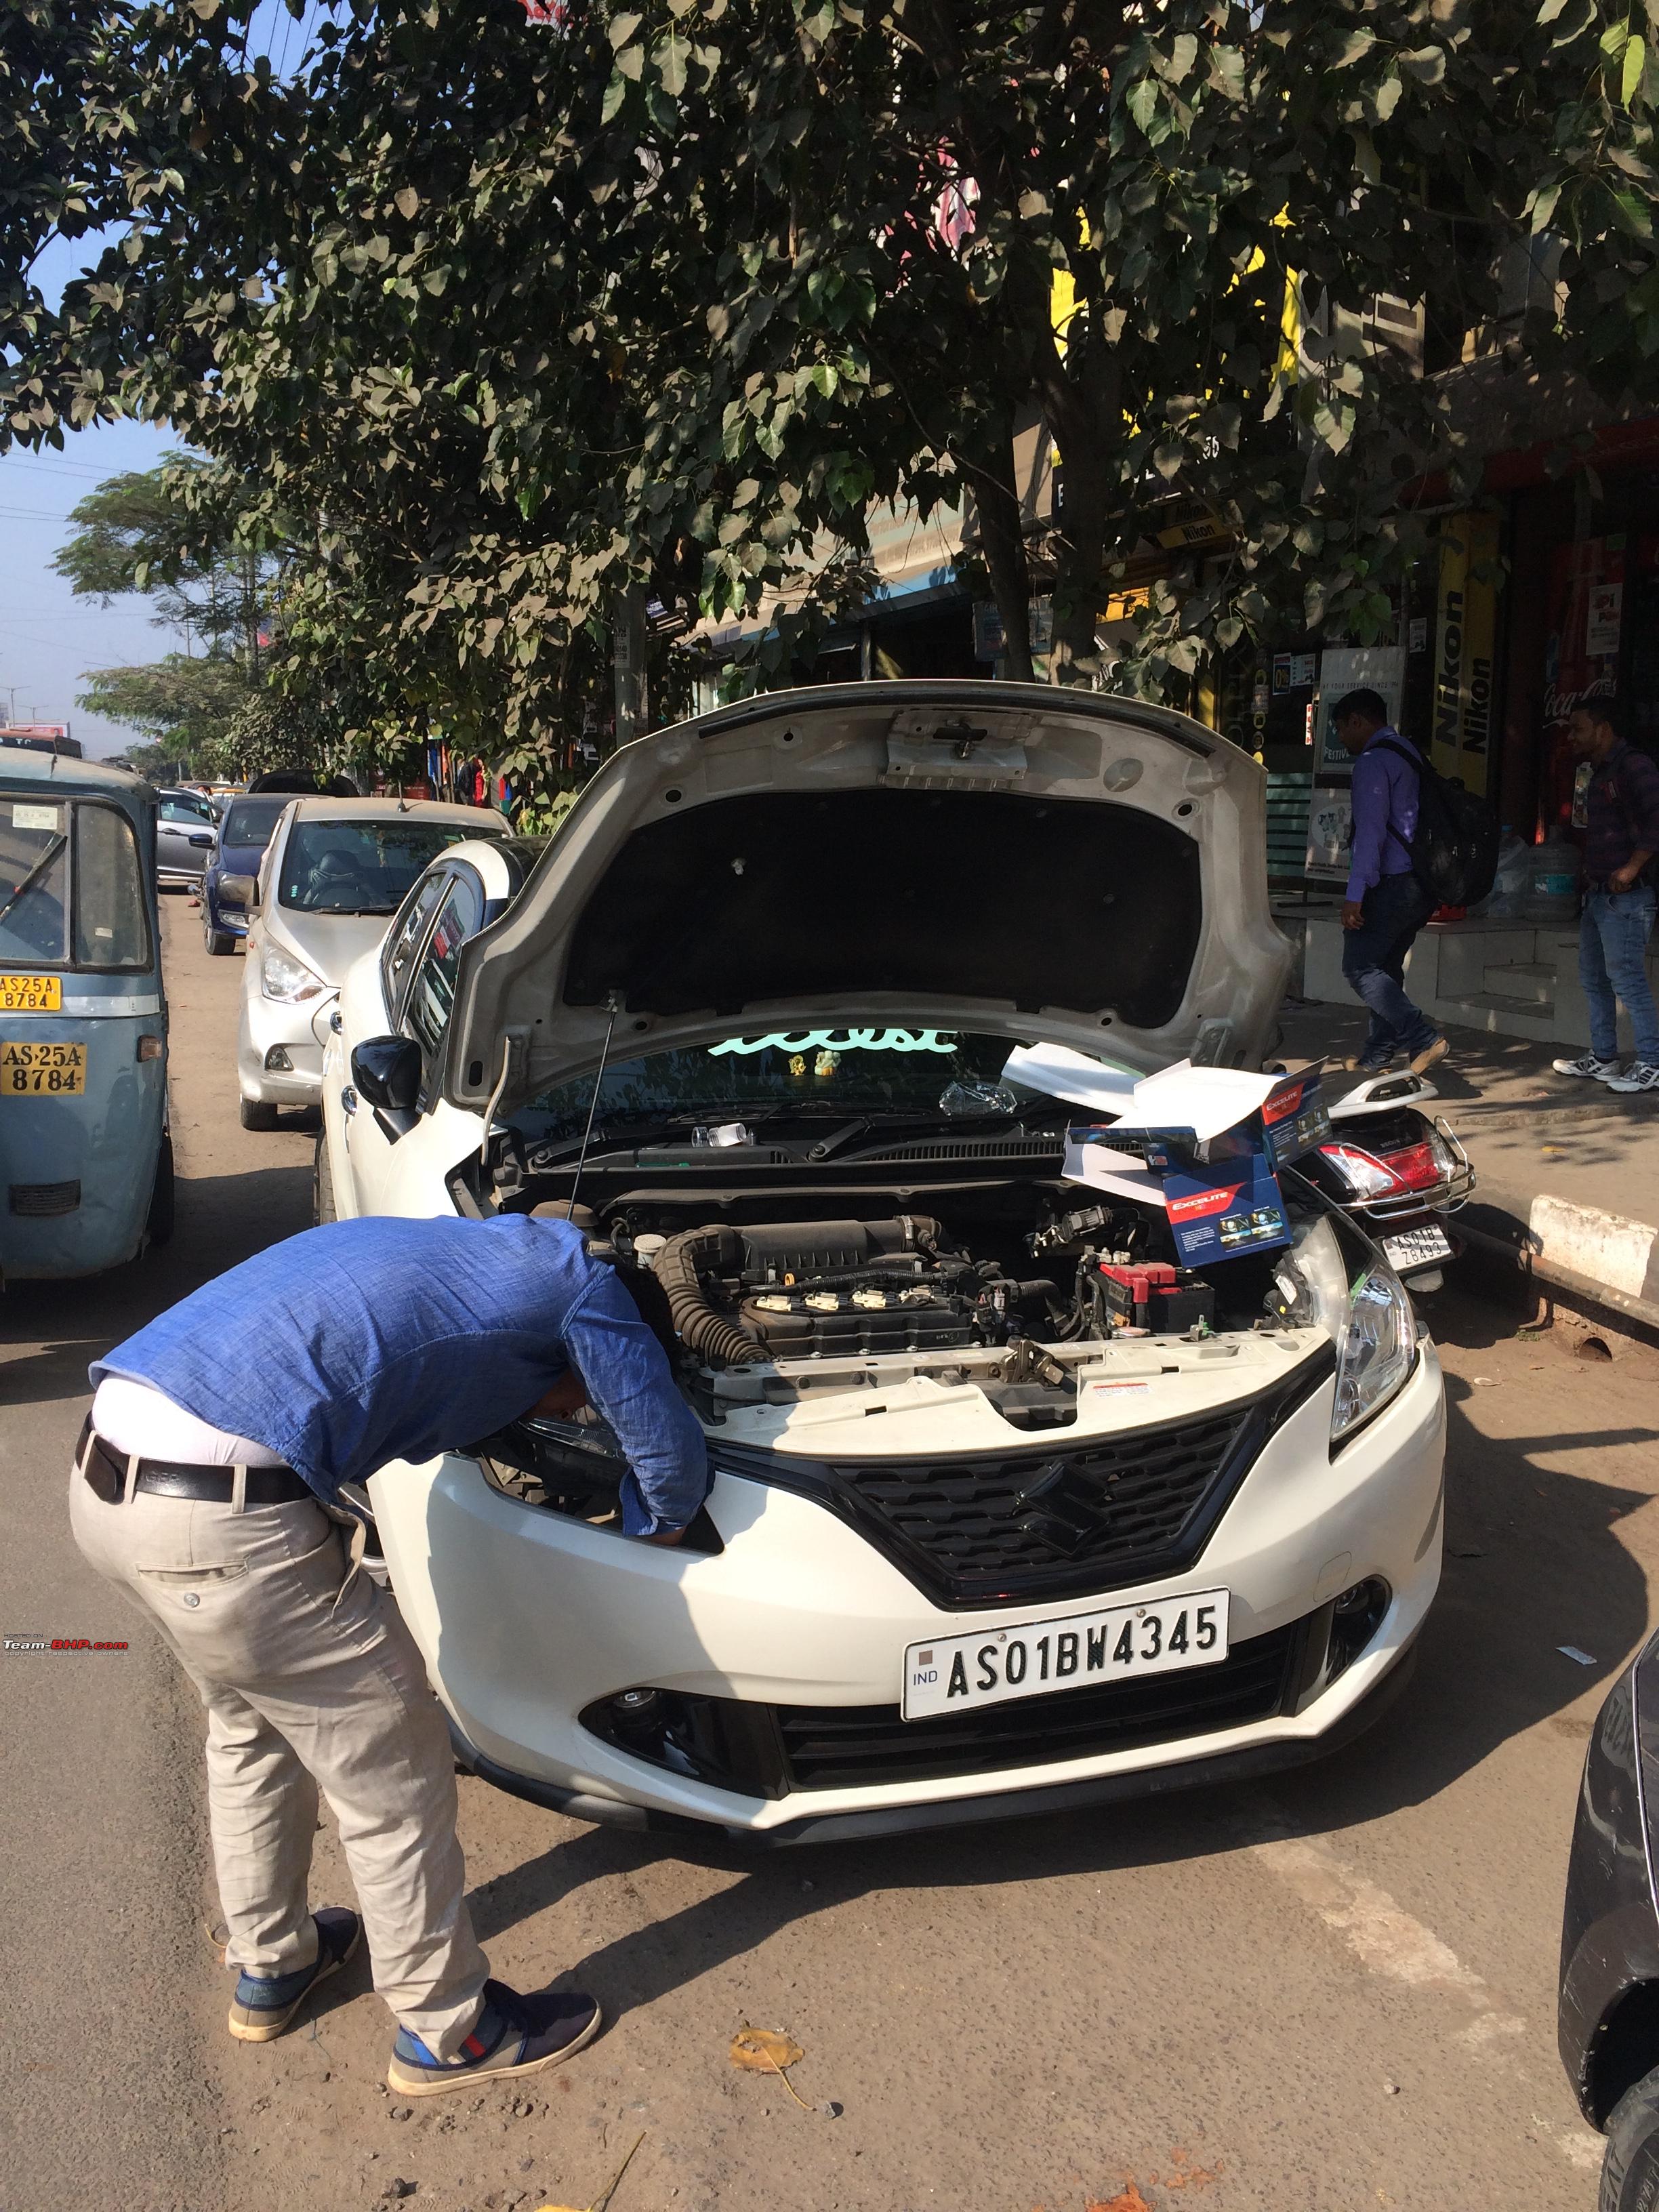 HID's in action: 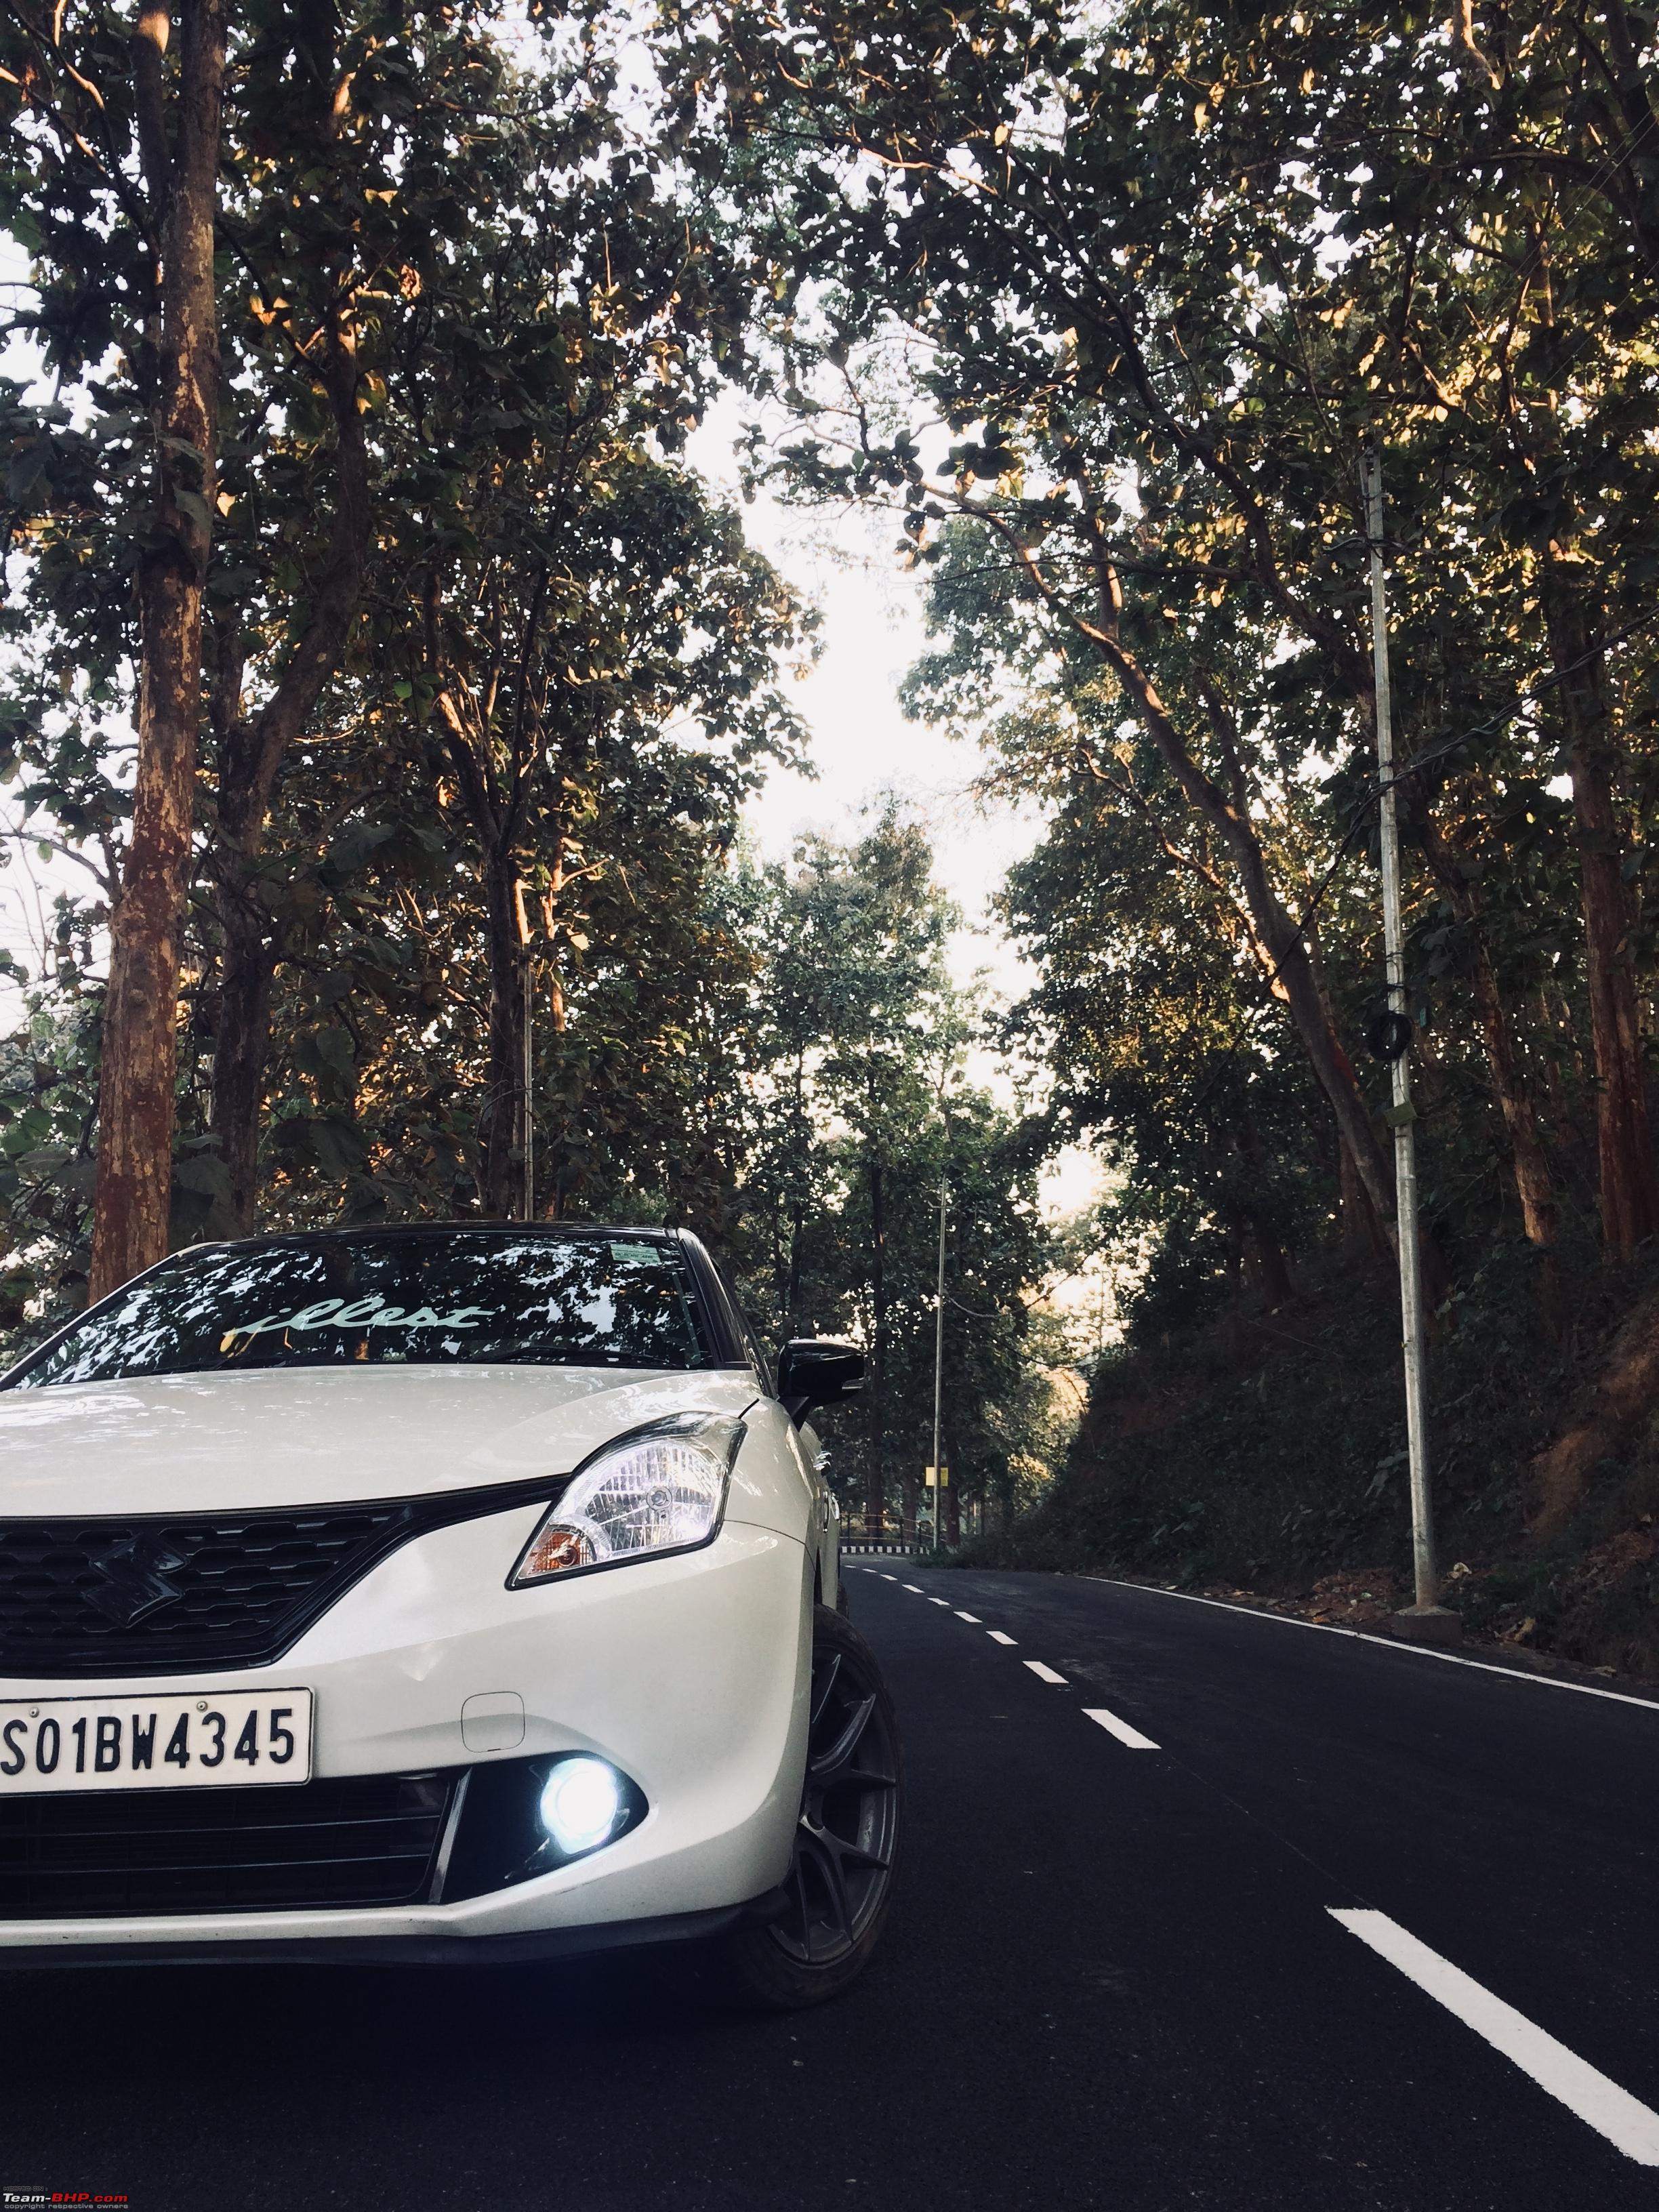 Parking lights + foglights. Notice the massive glare (which would be rectified in the future): 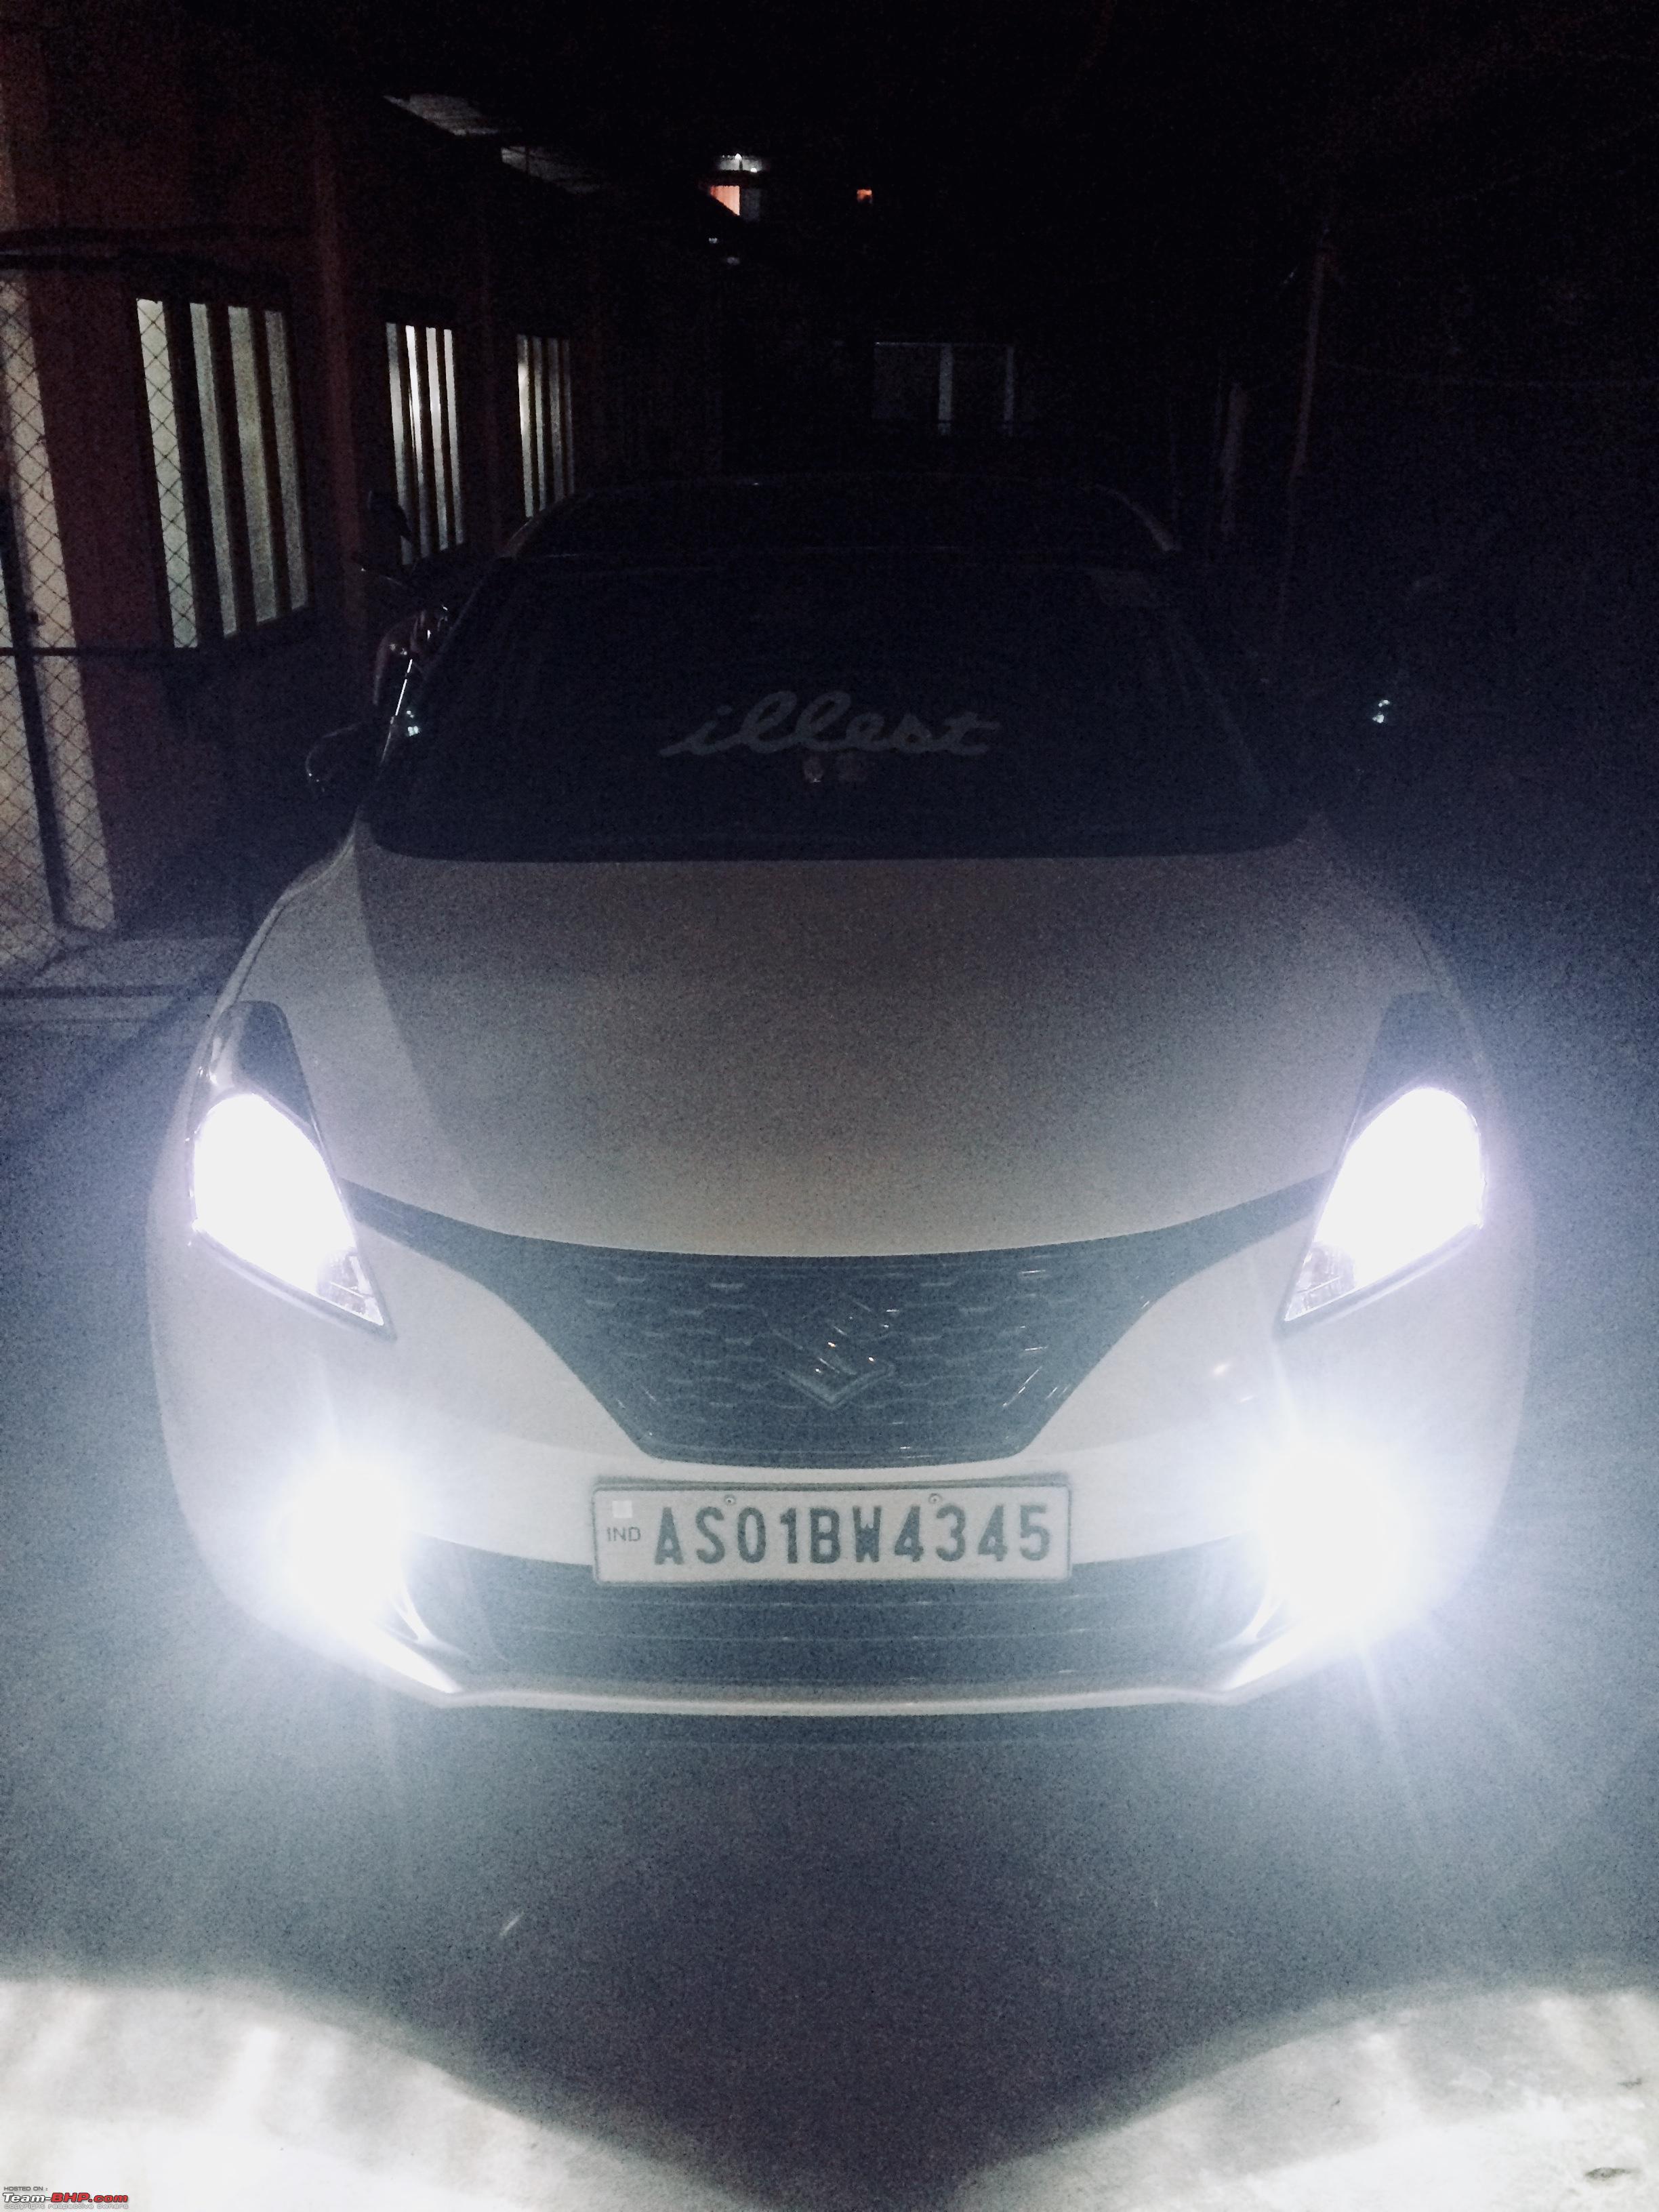 Final look after phase 2:  Phase 3 Soon the month long vacation ended, and I had to part with Baleno again. Seeing the amount of praise the car received among my friends & on social media, it encouraged me to be never satisfied with what I have and always crave for more. Basically college was 5% studying, and 95% was what mods to reward Baleno during the next vacation. After interacting with more car guys, and learning more about the car culture down South. I made an outline of what mods can be done during the next vacation. Seeing way many white cars with gold wheels, I couldn't resist my temptation of wanting golden wheels. Also the reflector based headlights (on the Zeta) looked quite bland and neither it's lighting output was extraordinary. After doing some research I found out about a shop named Om Car Accessories, situated in Delhi, which sold the Alpha variant lookalike projector headlights, it was also plug & play with the wiring of stock reflector based headlights. I contacted the shop, and in no time I ordered the headlights. After knowing him better, I was also convinced to buy the Suzuki OEM skirting kit for less than half the price for what it was offered for at the dealership. Holidays started and I got welcomed with car parts waiting for me. The projector headlights looked absolute brilliant in front of the basic 1990s reflector setup. Installation of the Alpha variant projector headlights:  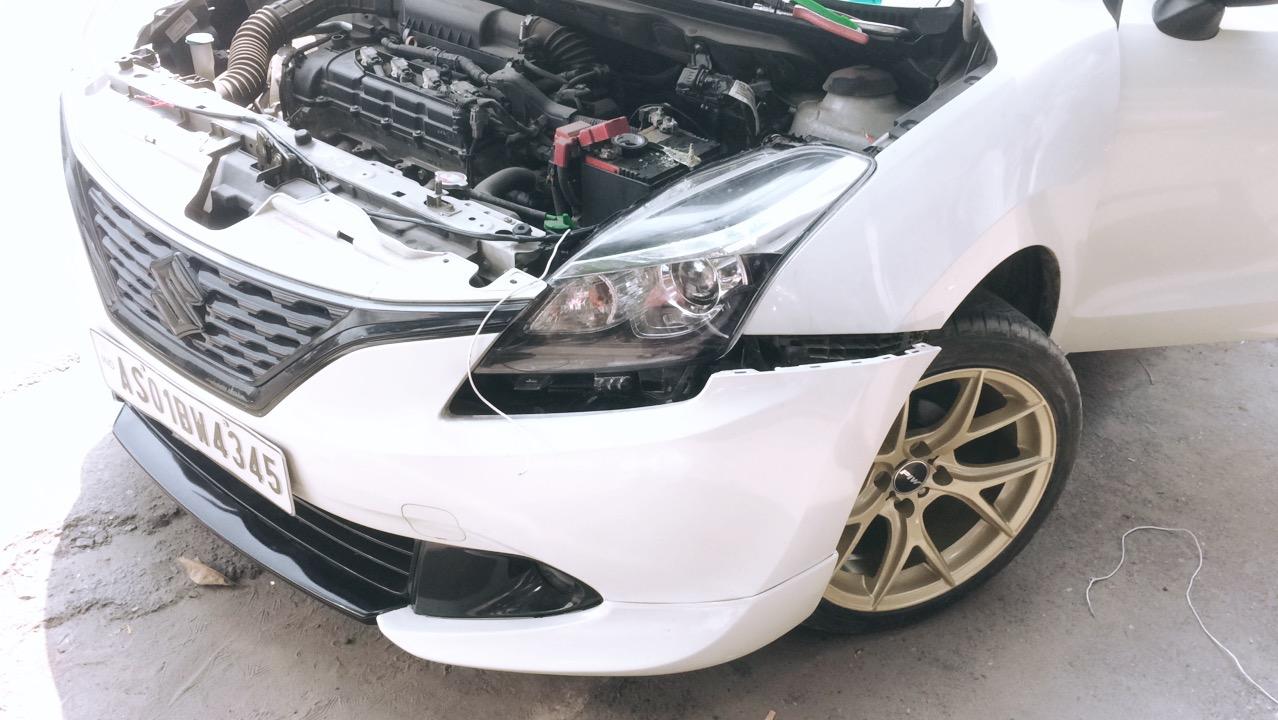 The alloys were given to paint in the shade of gloss champagne golden from it's original satin gunmetal grey. The skirting kit was also given to be painted, all at a nearby local FNG. However I later realized that the amount of money I had paid for the painting of bodykit, it ran quite close to the amount quoted at the dealership. Being in FRP material, it was nowhere near the ABS plastic material in fit & finish, which Maruti offers. So whoever wishes to get a bodykit upgrade, my advise would be to go for the MGA ones. After the paint and fitting work was complete, the Baleno's look was completely transformed with projector headlights, side skirting & these gorgeous golden alloys. Body kit fitting in progress: 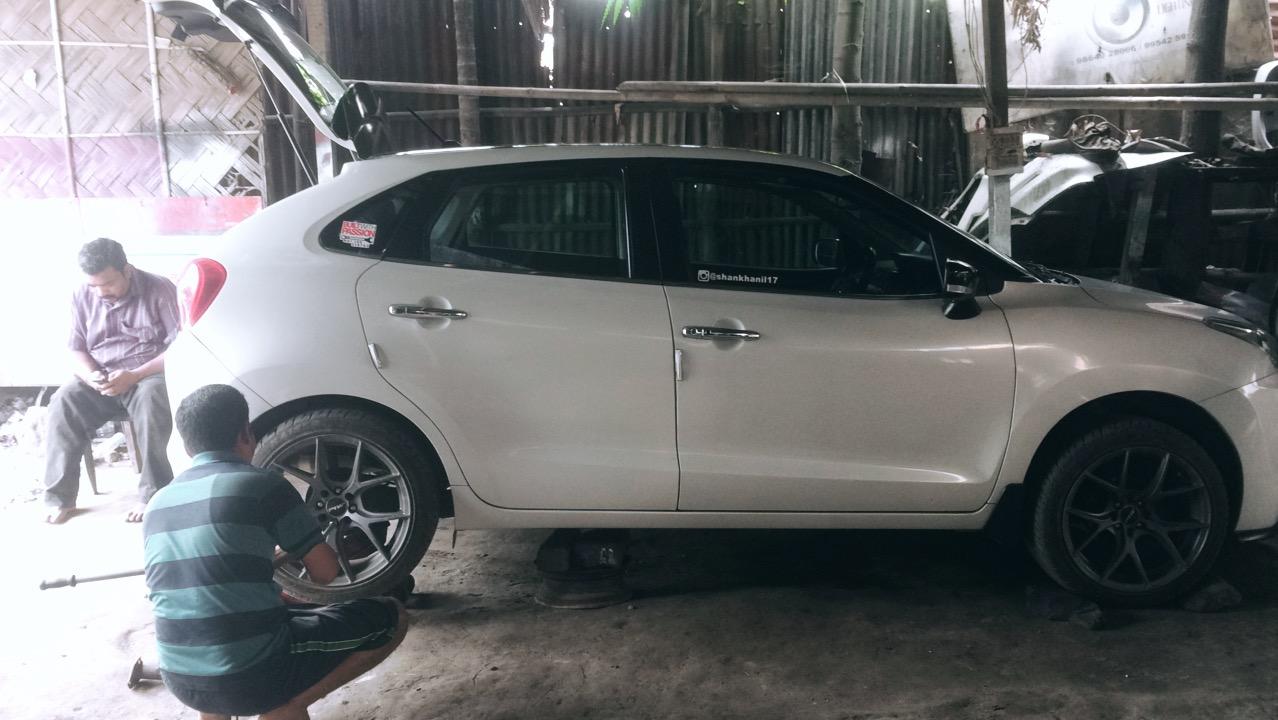 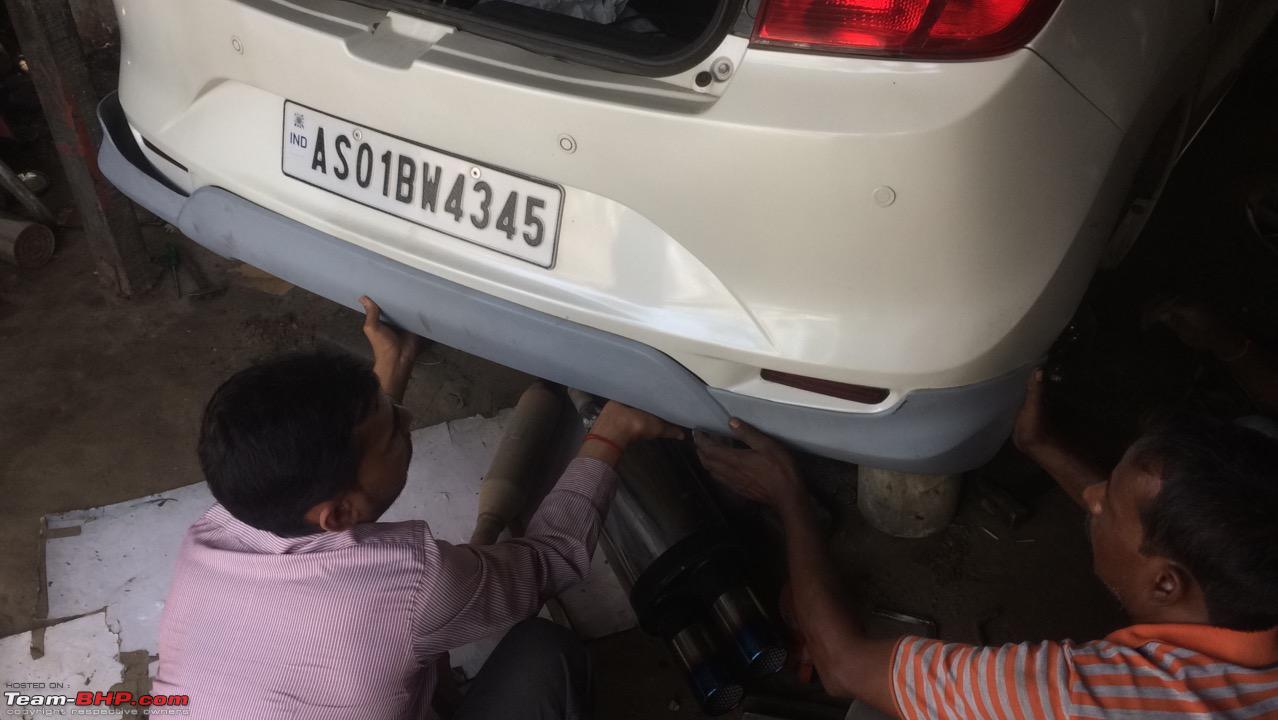  Painting in progress:  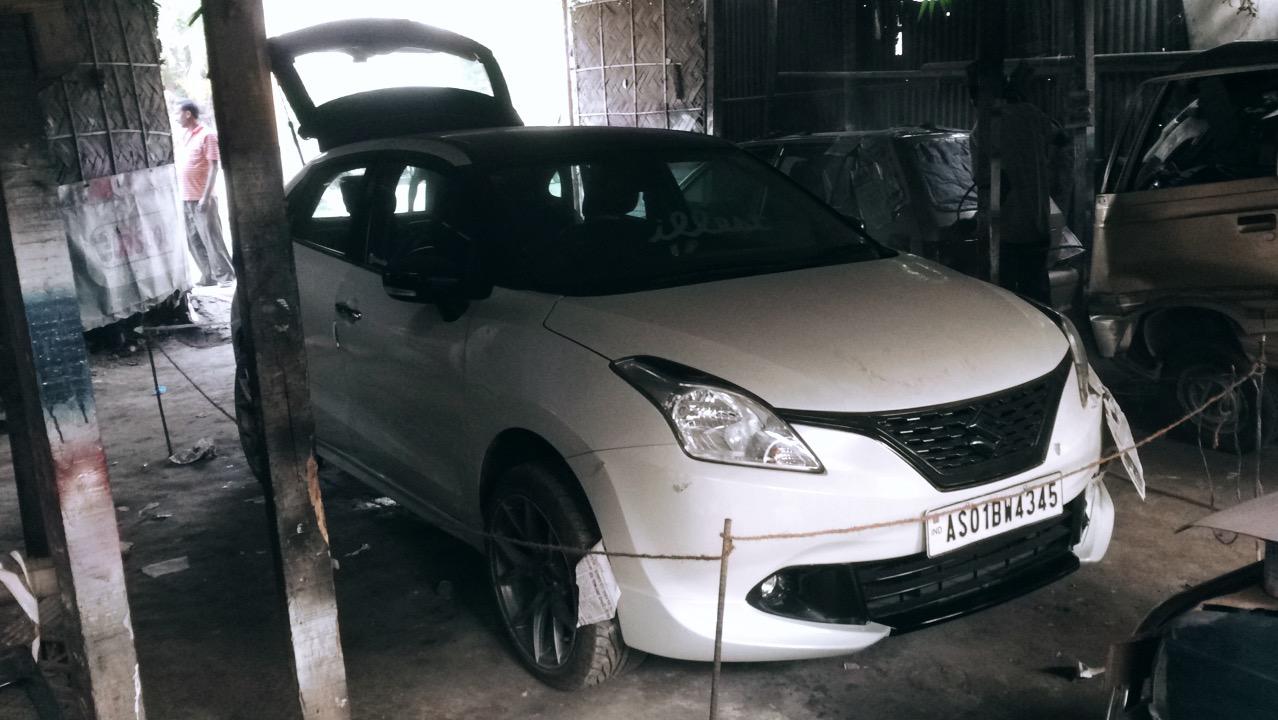 Goodbye gunmetal grey: 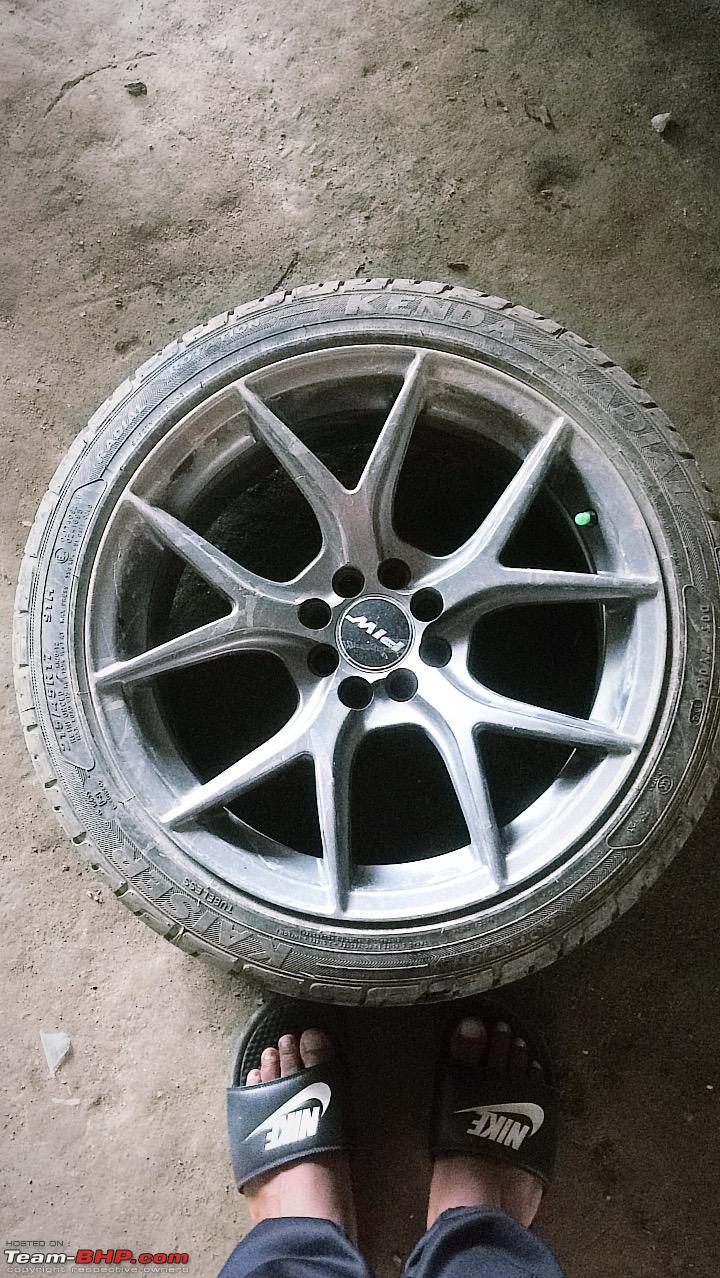 Welcomes Golden:  Next up was to make the car sound a bit better, i.e work on the exhaust. I ordered a Remus make dual tip muffler for that sporty sound. Yes I was aware that Remus never made these universal endcans. But nonetheless, the quality and finish was superb. However to my surprise, the car sounded almost identical after the muffler upgrade. Soon I realized that Baleno is equipped with a pretty large resonator, without deleting it or putting a custom resonator there wasn't going to be any noticeable improvements. The resonator was deleted and a MS pipe of similar length was welded in place of the resonator. Push the start button, and there she roars to life. Finally there was noticeable change in the exhaust note, just like I wanted it to be. Closeup of the end can: 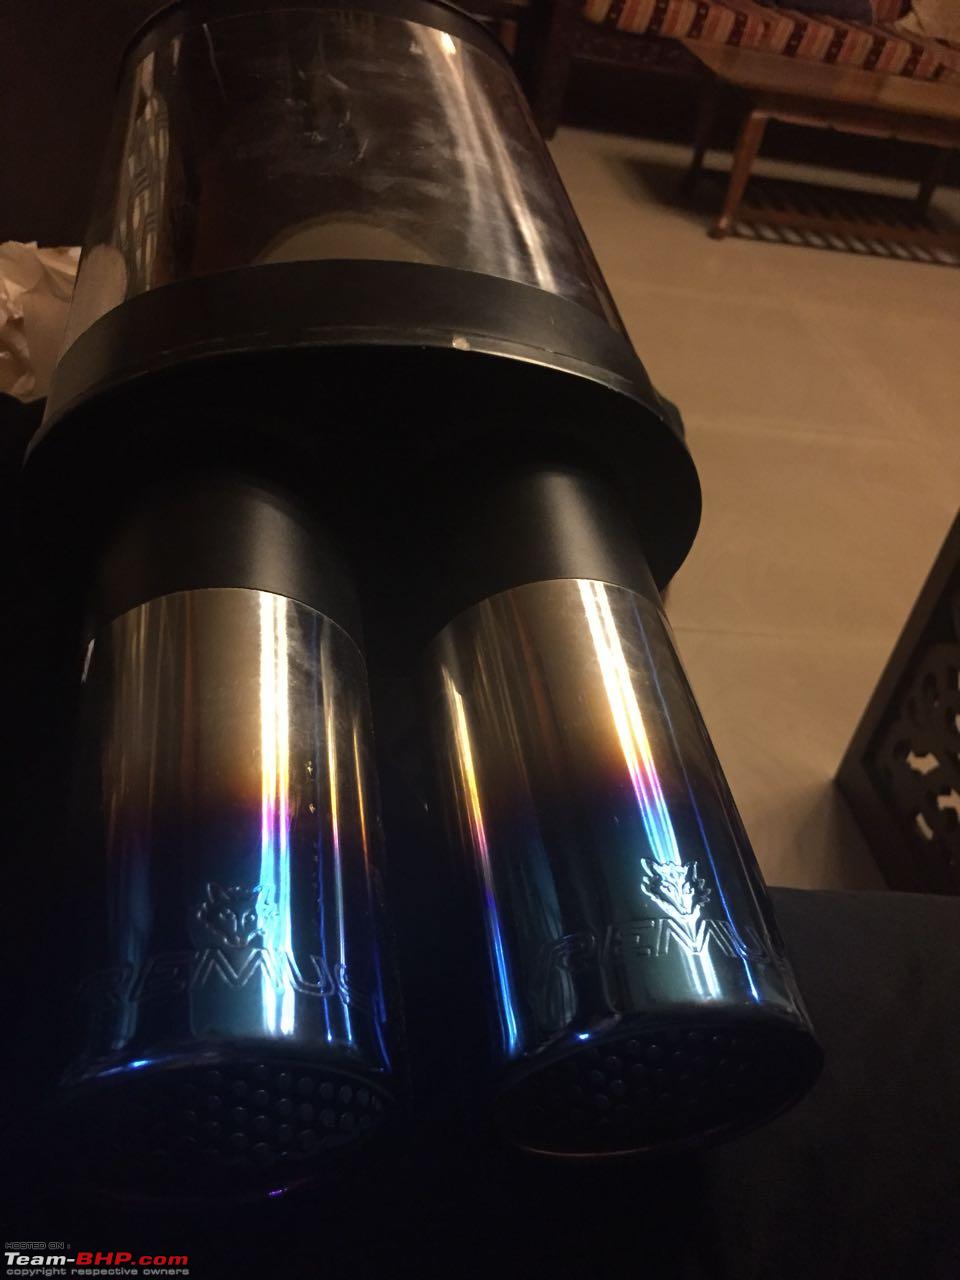  Remus end can vs stock end can: 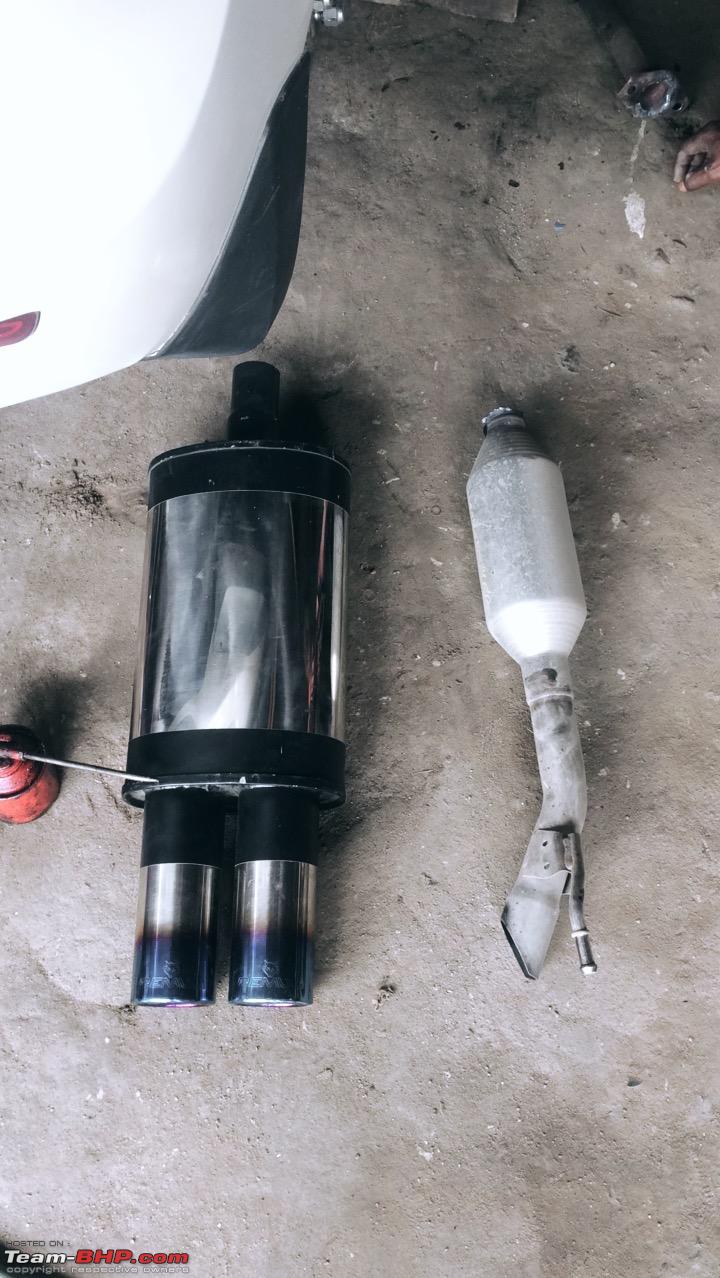 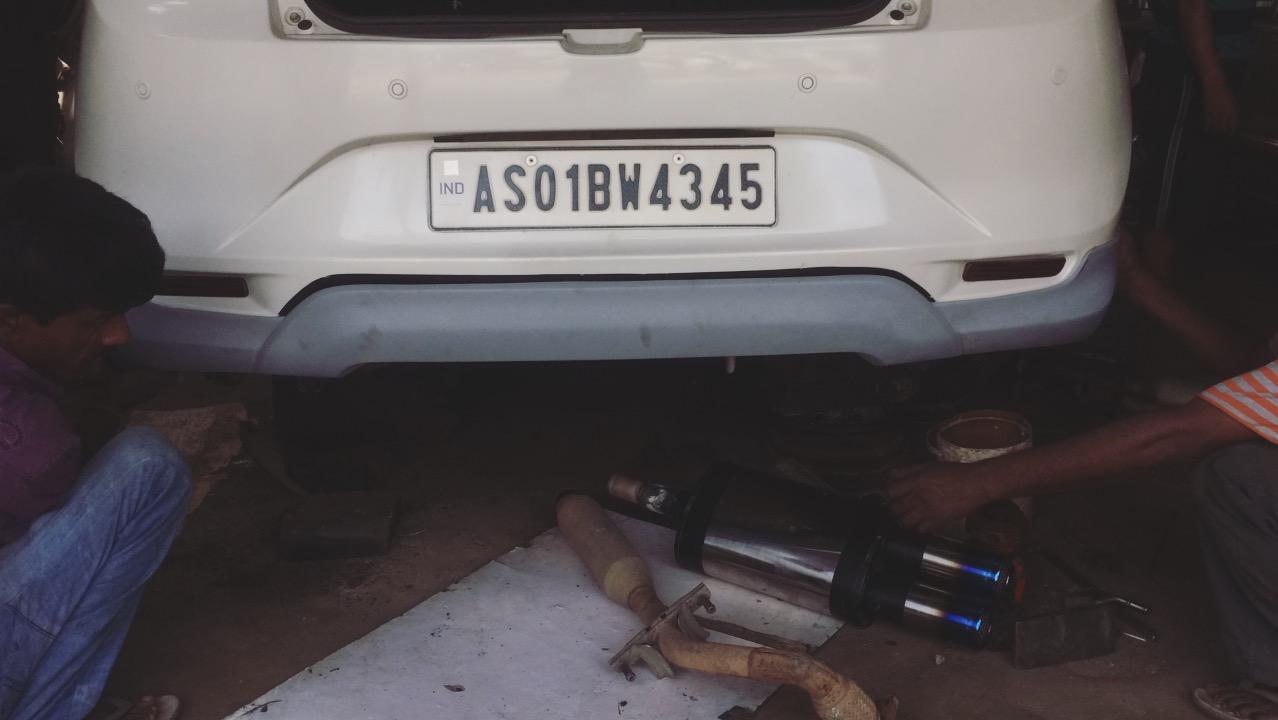 Installation in progress:  The look after the transformation:  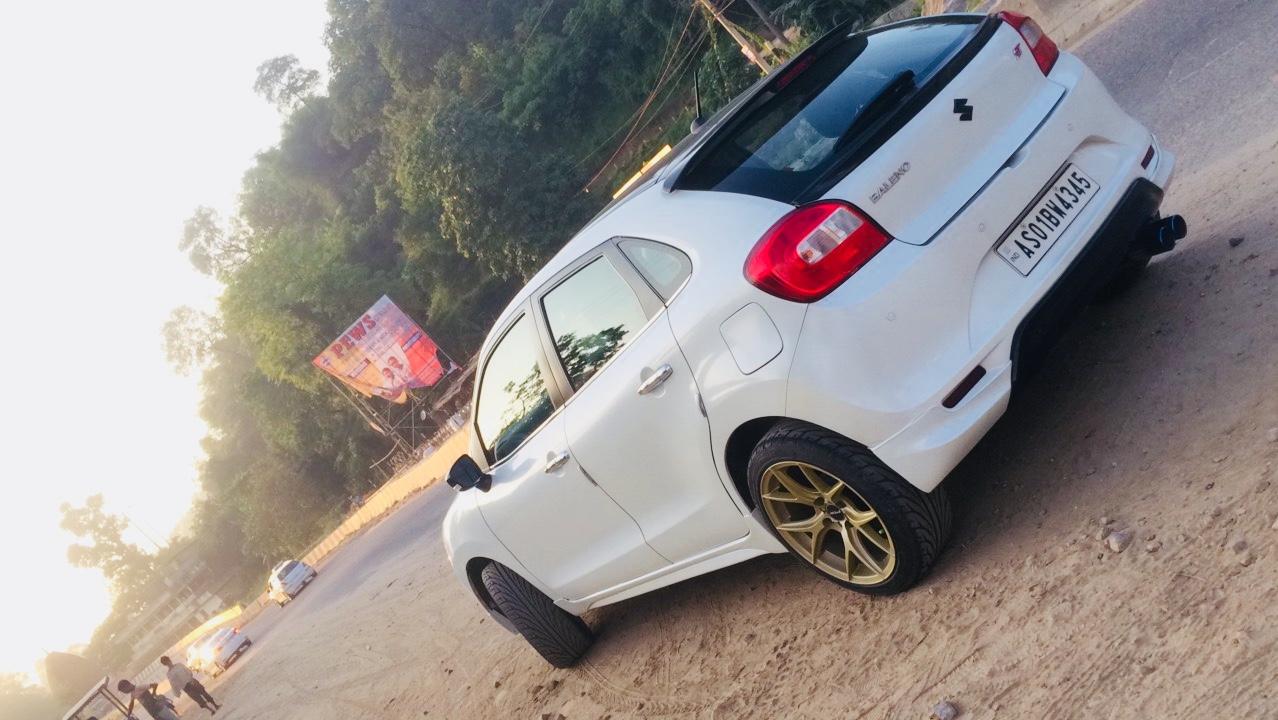 Last edited by chiranjitp : 14th June 2021 at 20:21. |
|
| (40)
Thanks
|
| The following 40 BHPians Thank chiranjitp for this useful post: | adwaith, Akshay6988, Arnav Vaghela, BhaskarG, Big Smoke, DevOnWheels, digitalnirvana, Gaboonviper04, GTO, gunin, hdman, hmansari, Hrishi_111, InControl, keroo1099, Leoshashi, LONG_TOURER, maximus., mazealot, motorpsycho, Mustang Sammy, na_agrawal, Nitish B Shetty, PGNarain, Prakritij, ramnaresh_2000, Researcher, Rshreyansh, siddarthab, SnS_12, swiftnfurious, Tanveer02, theexperthand, TheLxGuy69, Thermodynamics, The_Outsider!, Viju, Vik0728, vredesbyrd, wheelguy |
|
12th June 2021, 02:20
| #4 |
| BHPian Join Date: Dec 2017 Location: Guwahati
Posts: 559
Thanked: 4,711 Times
| re: Modification Diaries | Maruti Baleno Zeta | Remap, lowering springs, exhaust, audio upgrade & more Phase 4 Being happy with the compressive makeover, the car felt like new. With the roaring exhaust and those bright DRLs, it definitely gained attention. But the hunger for more didn't stop. To keep listening to the exhaust roar at revvs, my right foot was often heavy. Thus the need for better brakes came into picture. After doing some research, I came to know about replacement brake pads available for Baleno. Options being Brembo, EBC, Dixcel, etc. Brembo suited my budget and I immediately ordered one. Did the installation and there was an instant difference. I enjoyed every bit of it. Brembo brake pads:  Meanwhile an audio guy started growing inside of me. Like almost every car audio upgrade, I fetched a subwoofer, JBL Basspro 12 to name it. It was an active subwoofer rated at 1100W peak and had a RMS of 300-320W. Being an active subwoofer meant no amplifier was required, just a hi-lo converter and it perfectly worked with my stock headunit. Although the bass was clear and punchy, it overpowered my stock speakers, and that's how a journey to a more complete audio setup started (more on that later). JBL bass pro:  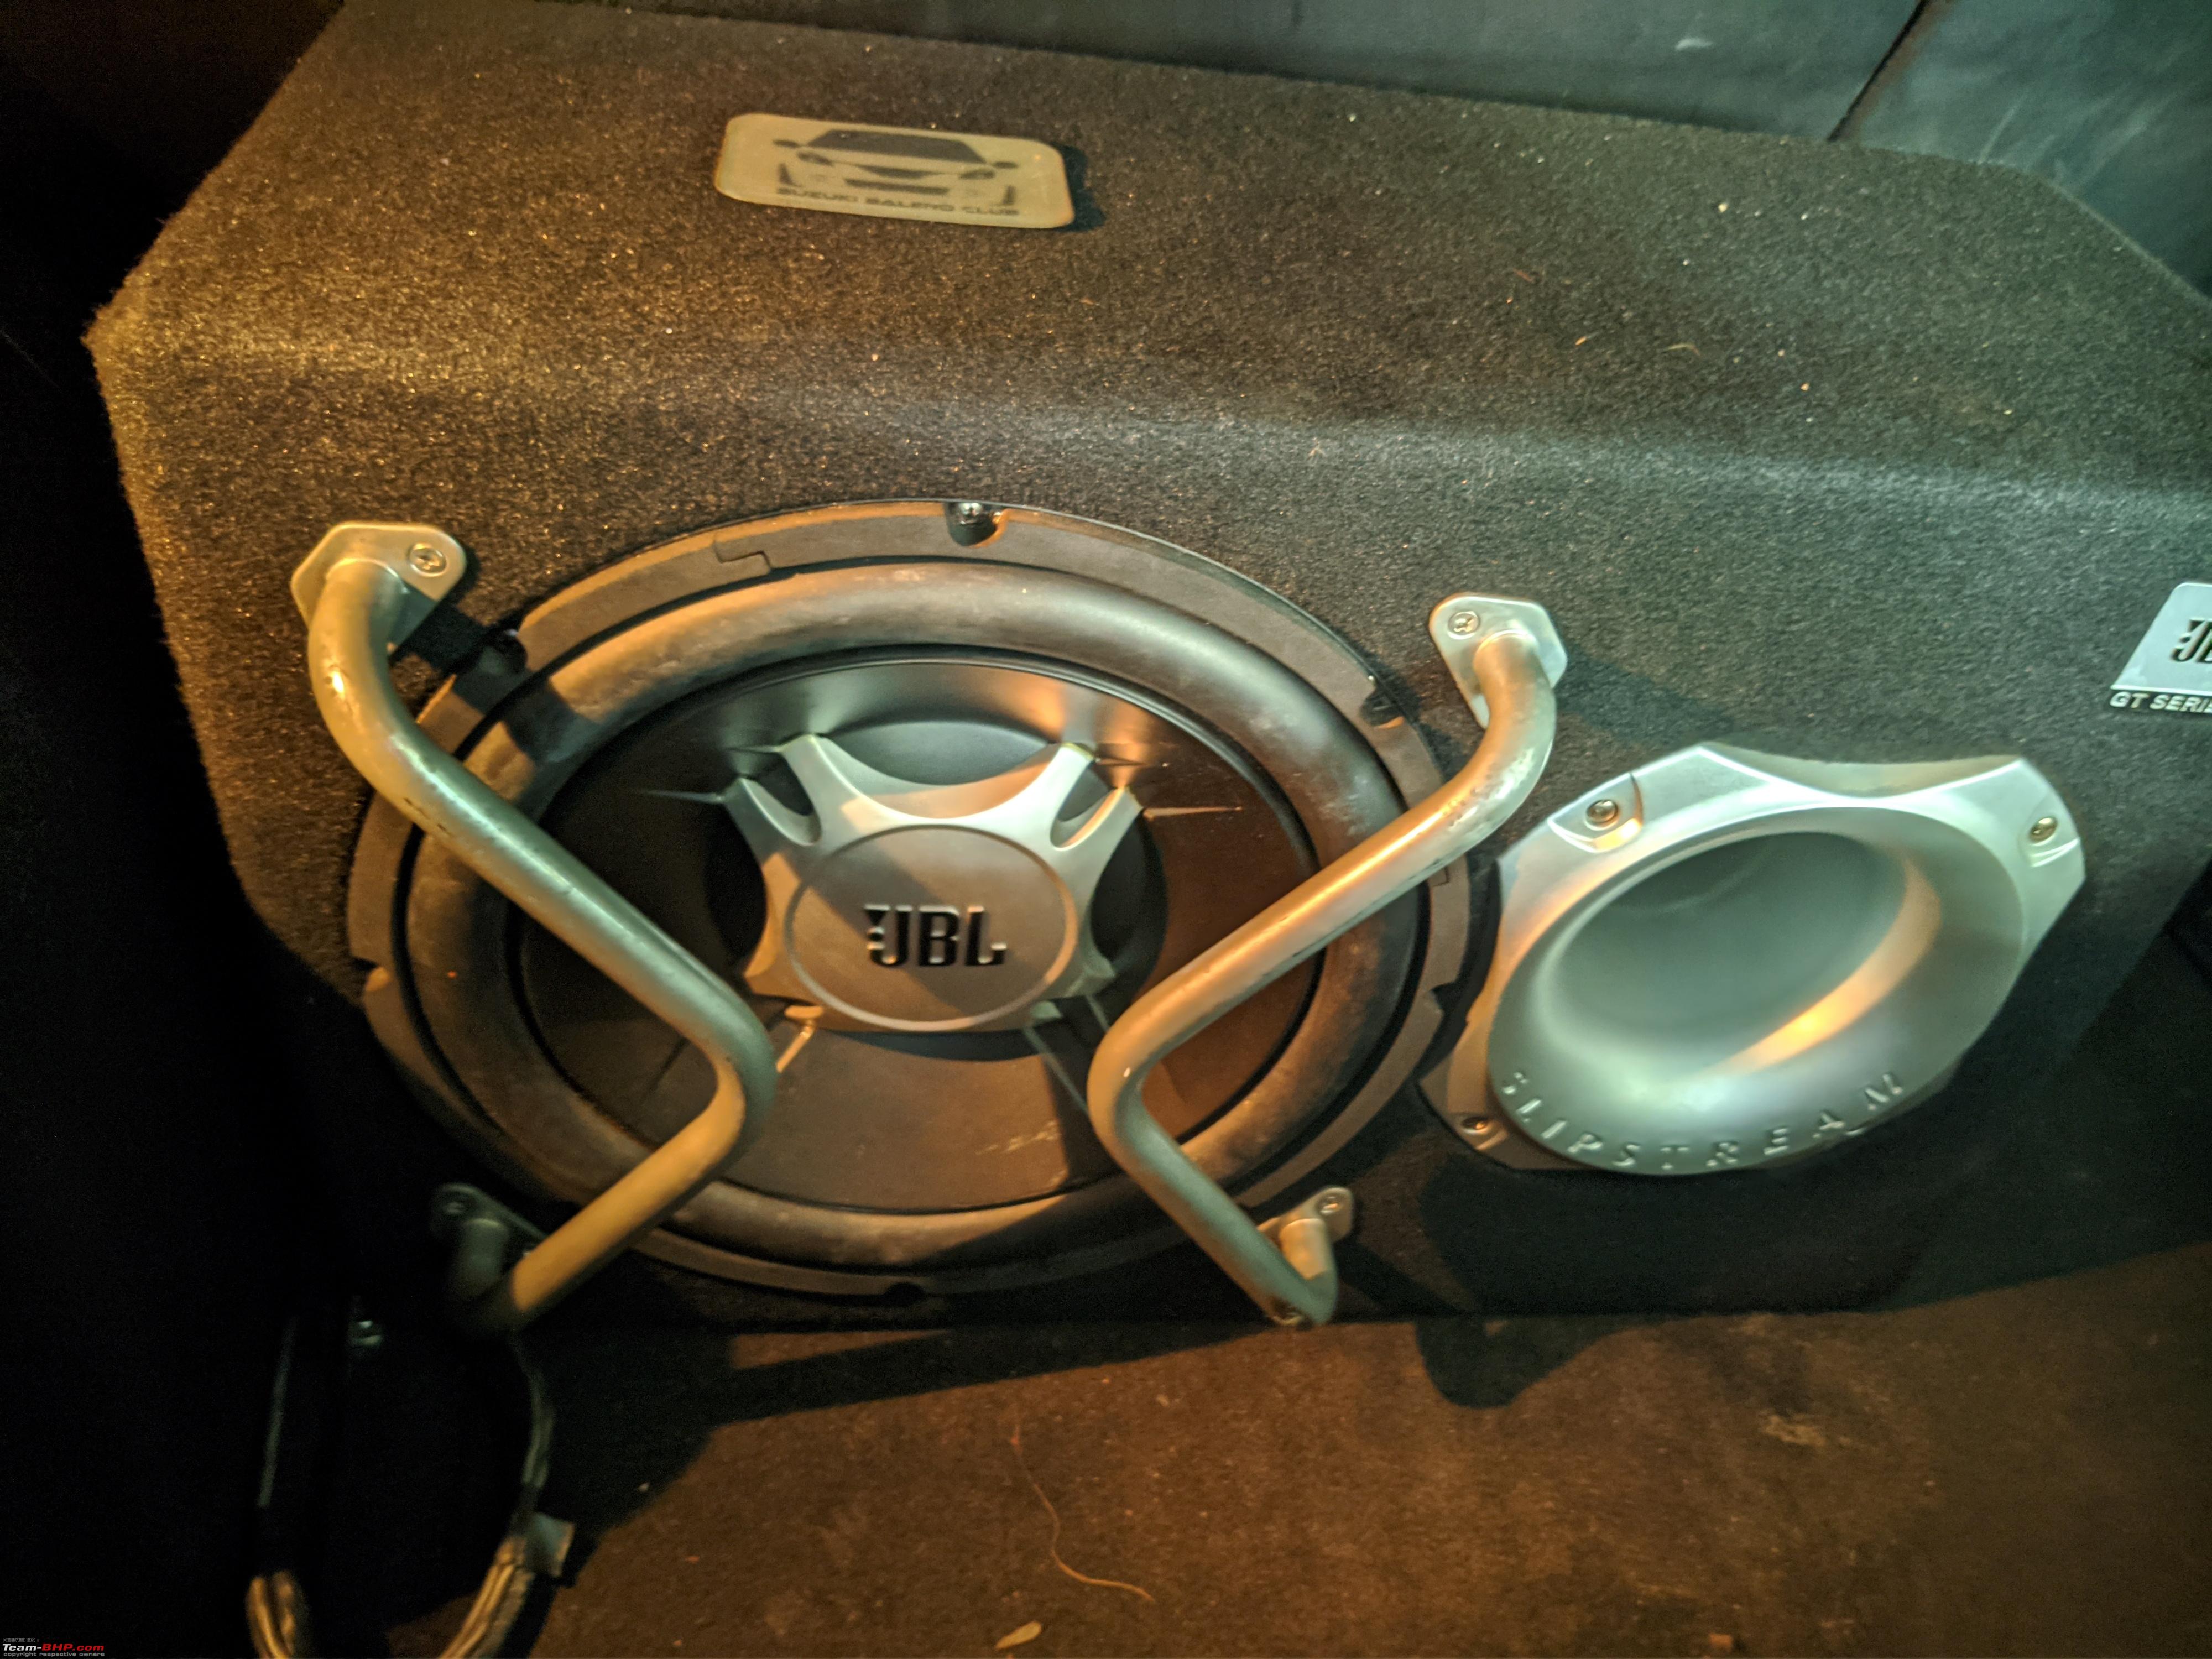 After years of owning the Baleno, I happened to notice the minute difference in the taillights of Alpha and the other variants. The alpha taillight just seemed a bit nicer too look at with the smart LED patch. However it was nowhere near the look provided by the aftermarket Taiwan made taillight. And going with the flow, I too got one from Om Car, Delhi along with the honeycomb grill the Baleno RS came with. The stock Nexa floormats of Baleno were bad, they would foul a bit with the accelerator pedal. Seeing many YouTube videos, I quite liked the 7D mats. It was easy to clean, yet had a premium feel to it with faux leather construction. Never having accessorized the interiors of car, I gave it a massive accessories overhaul, with things like seat covers (black with silver insert), 7D floor mats, LED door sill plates, Momo (replica) aluminum sporty pedals, Sparco seatbelt pad. Aftermarket taillamps: 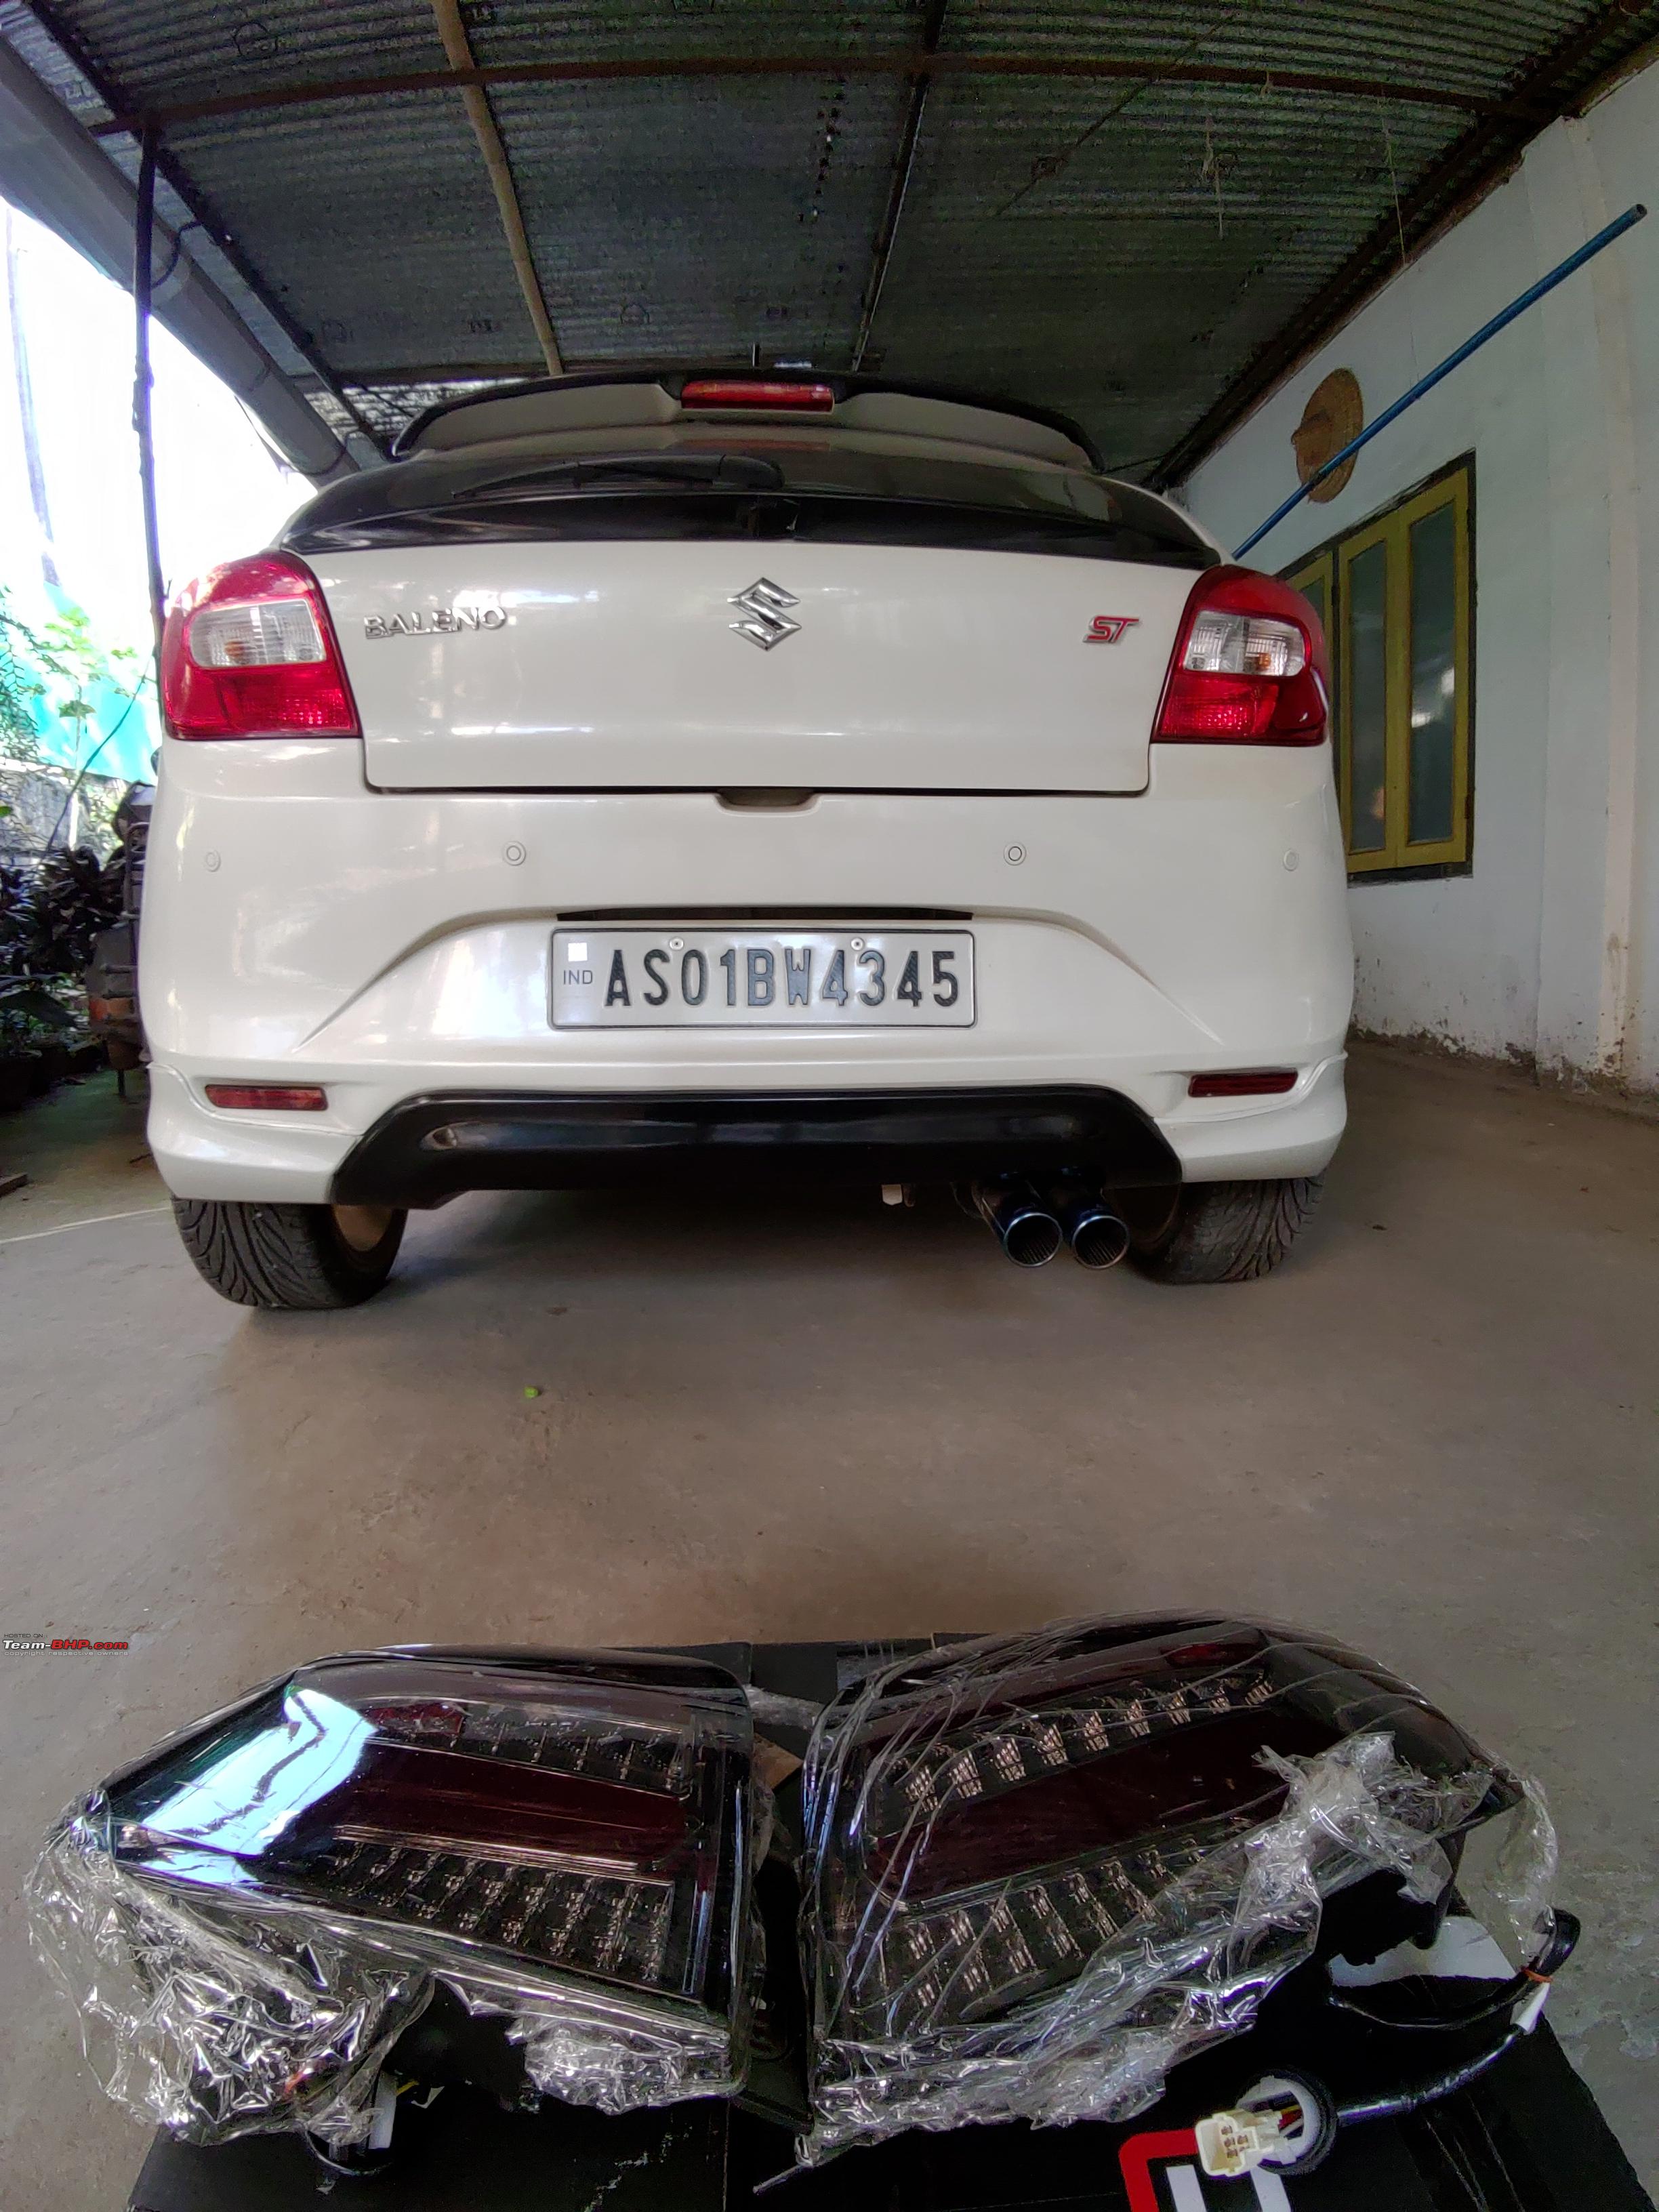 Led tail lights + Led reflector lights: 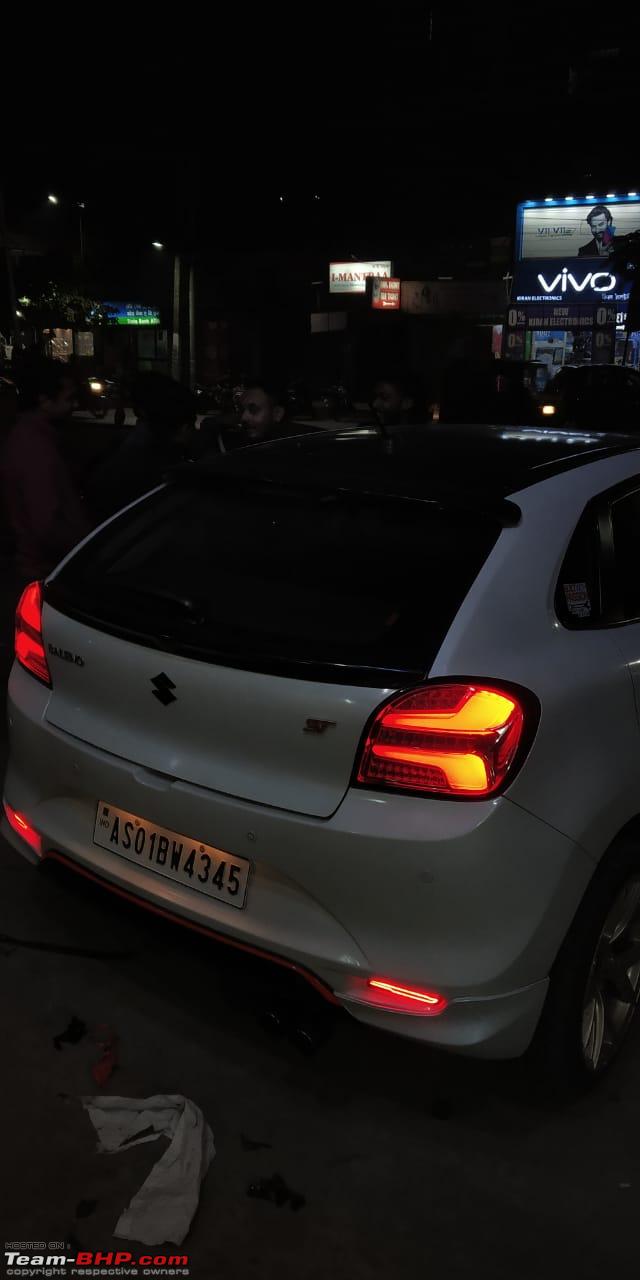 Momo aluminum pedals: 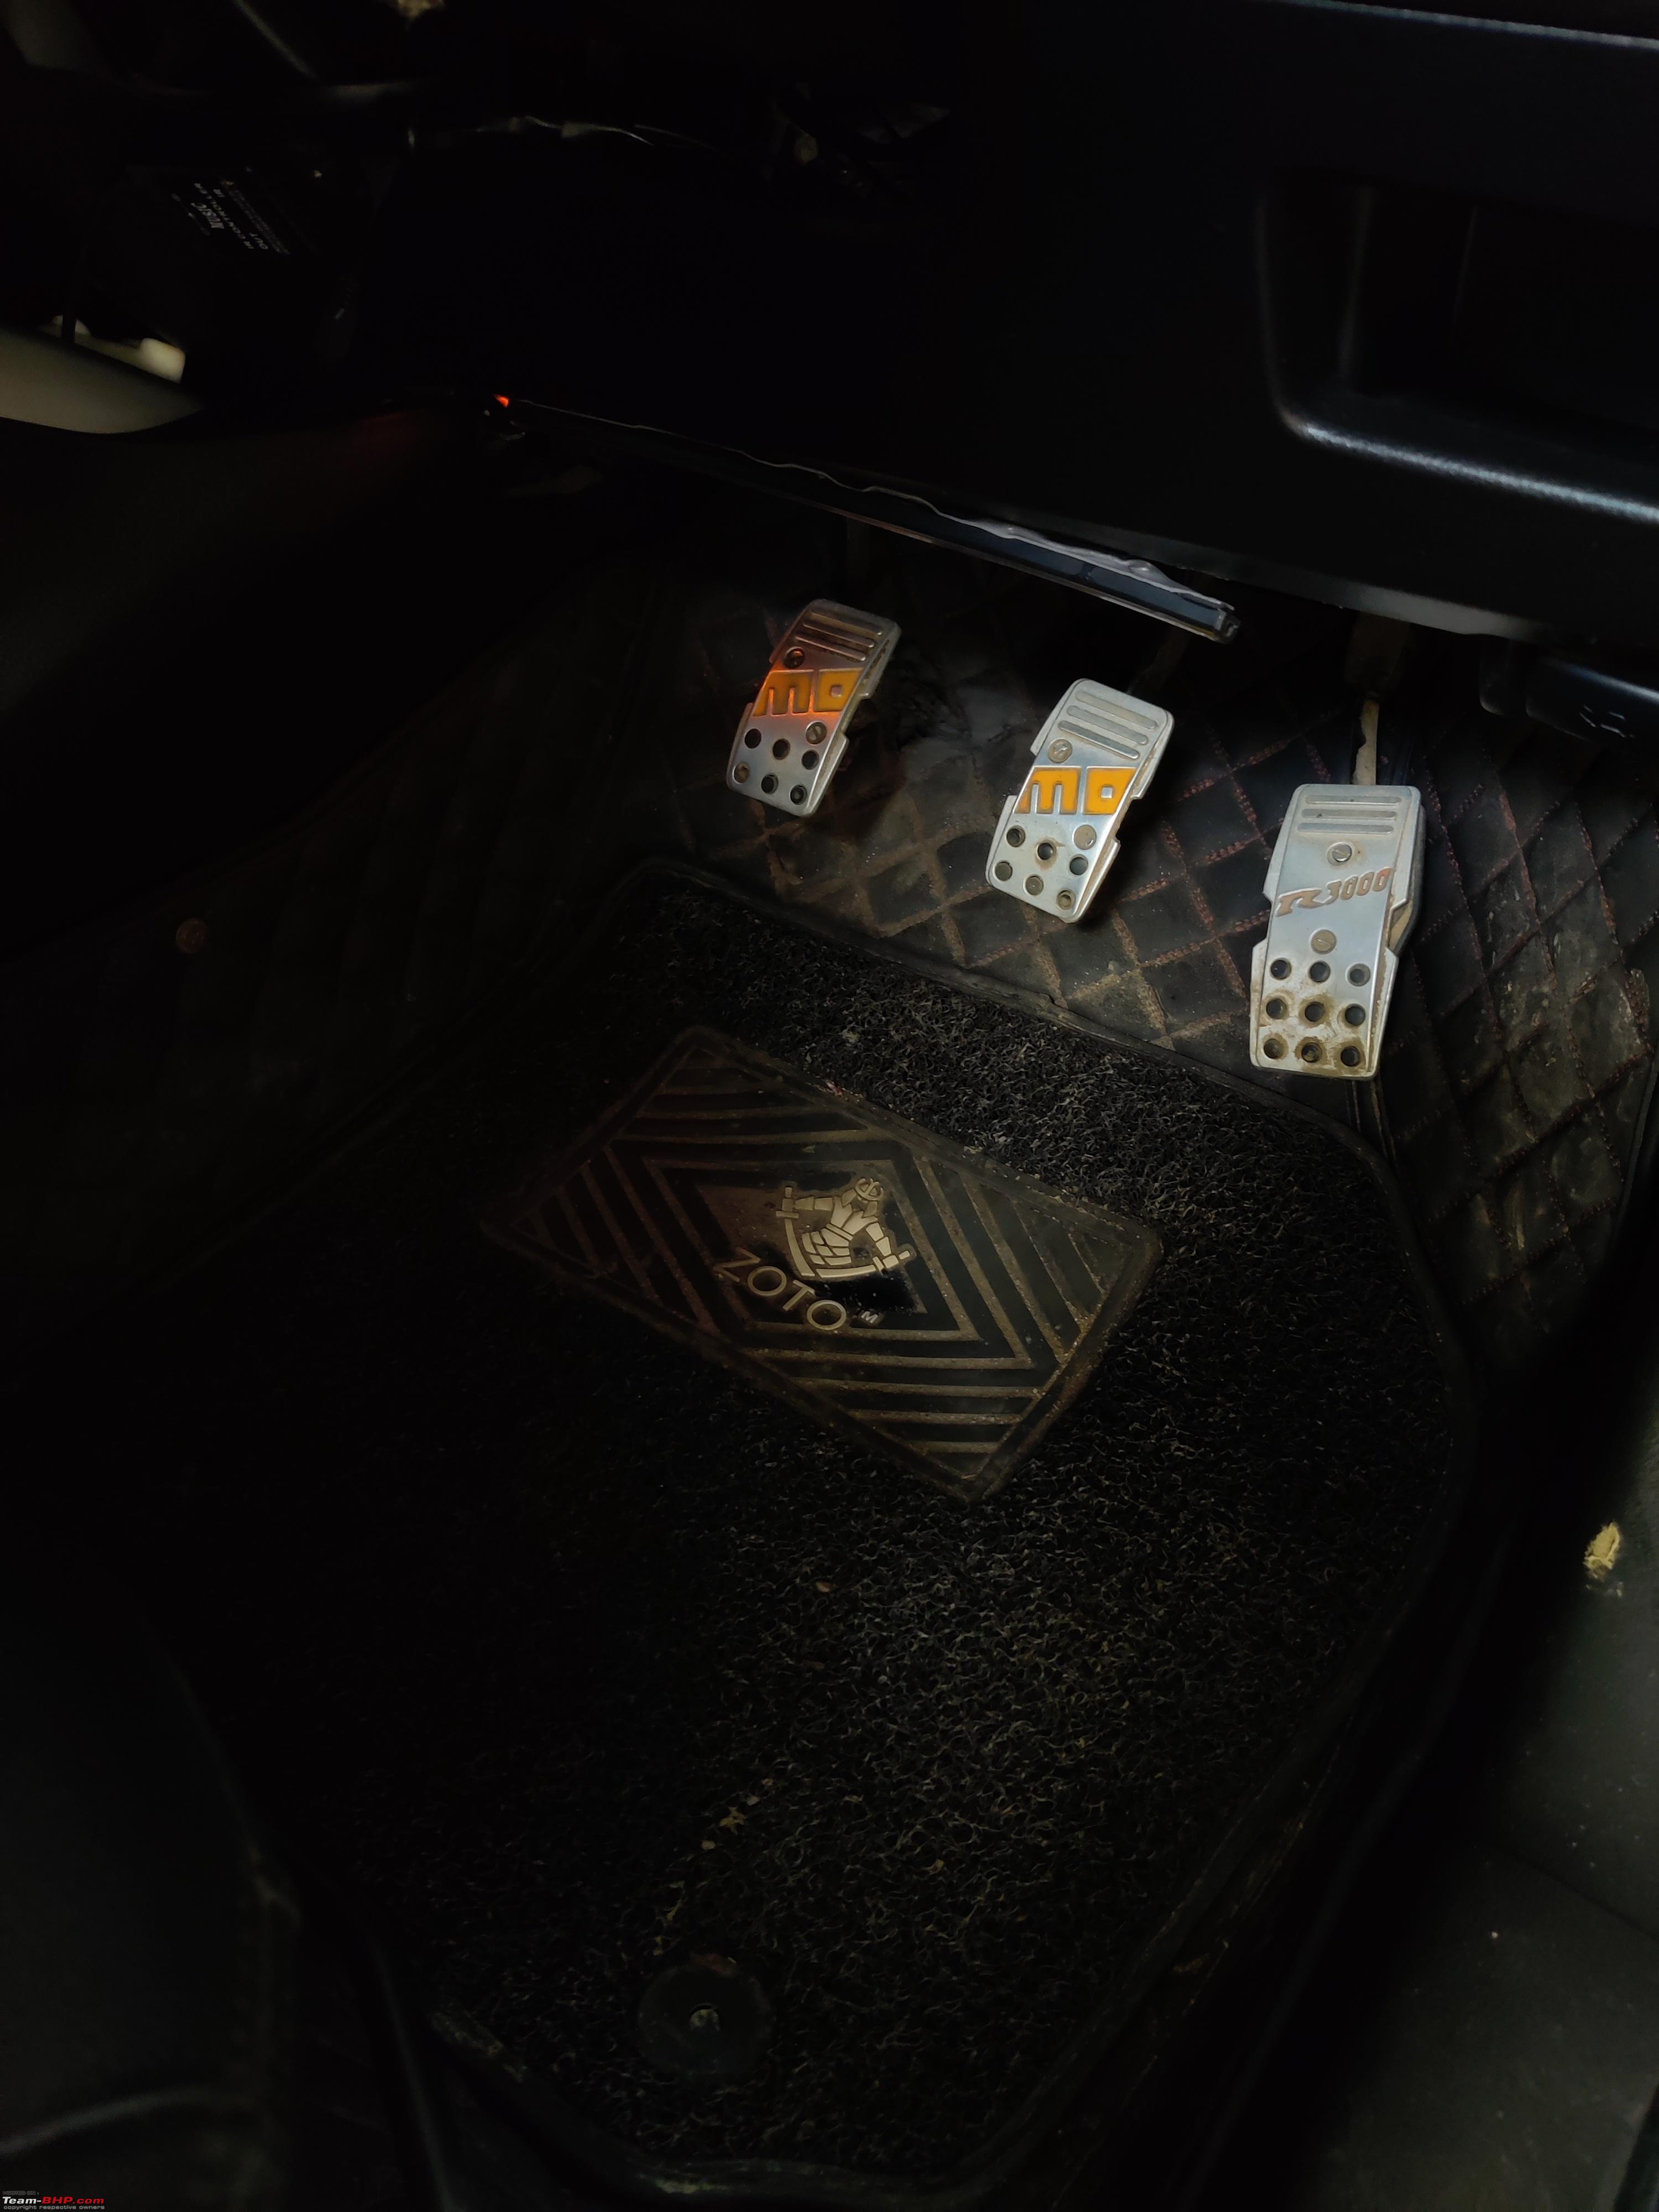 Sparco seatbelt pad with Momo pedals:  Seat covers:  Illuminated scuff plates: 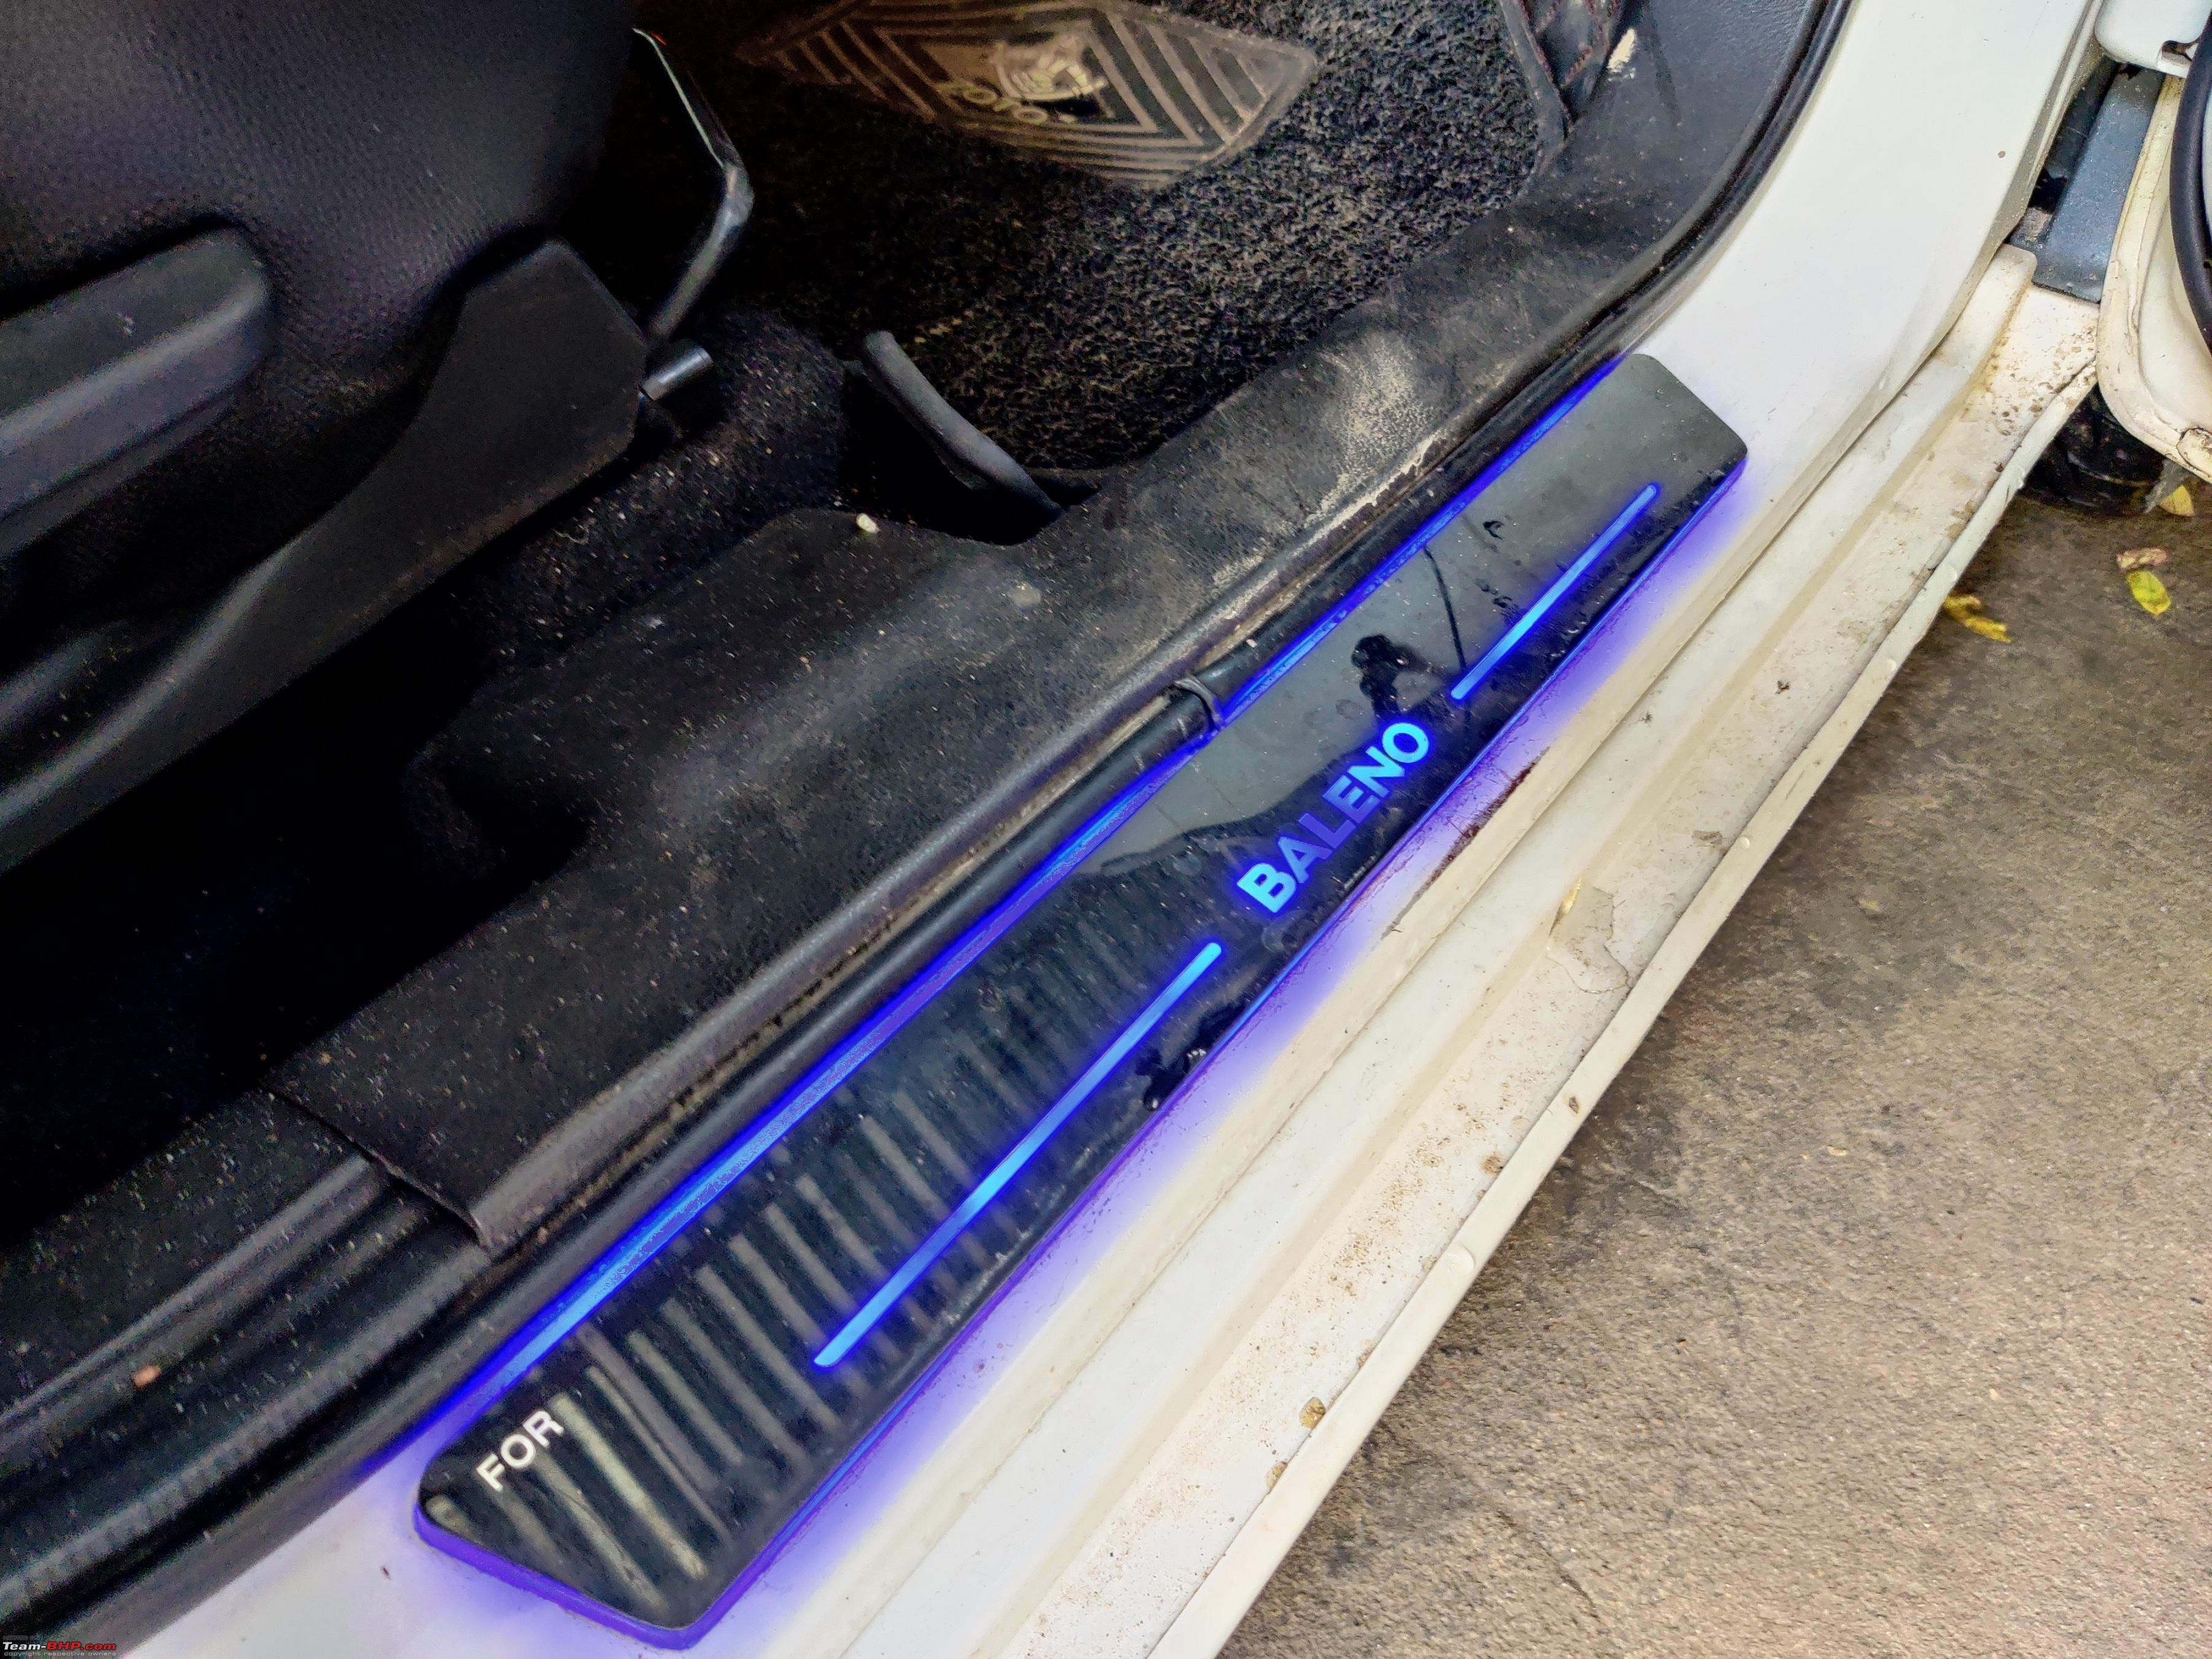 Finally got the Bi-xenon projectors foglamps replacing the stock reflector type, hence solving the issue of glare caused by using HIDs on reflector based fog lights. Bi-Xenon projectors fitted with the existing Excelite 55W HID kit: 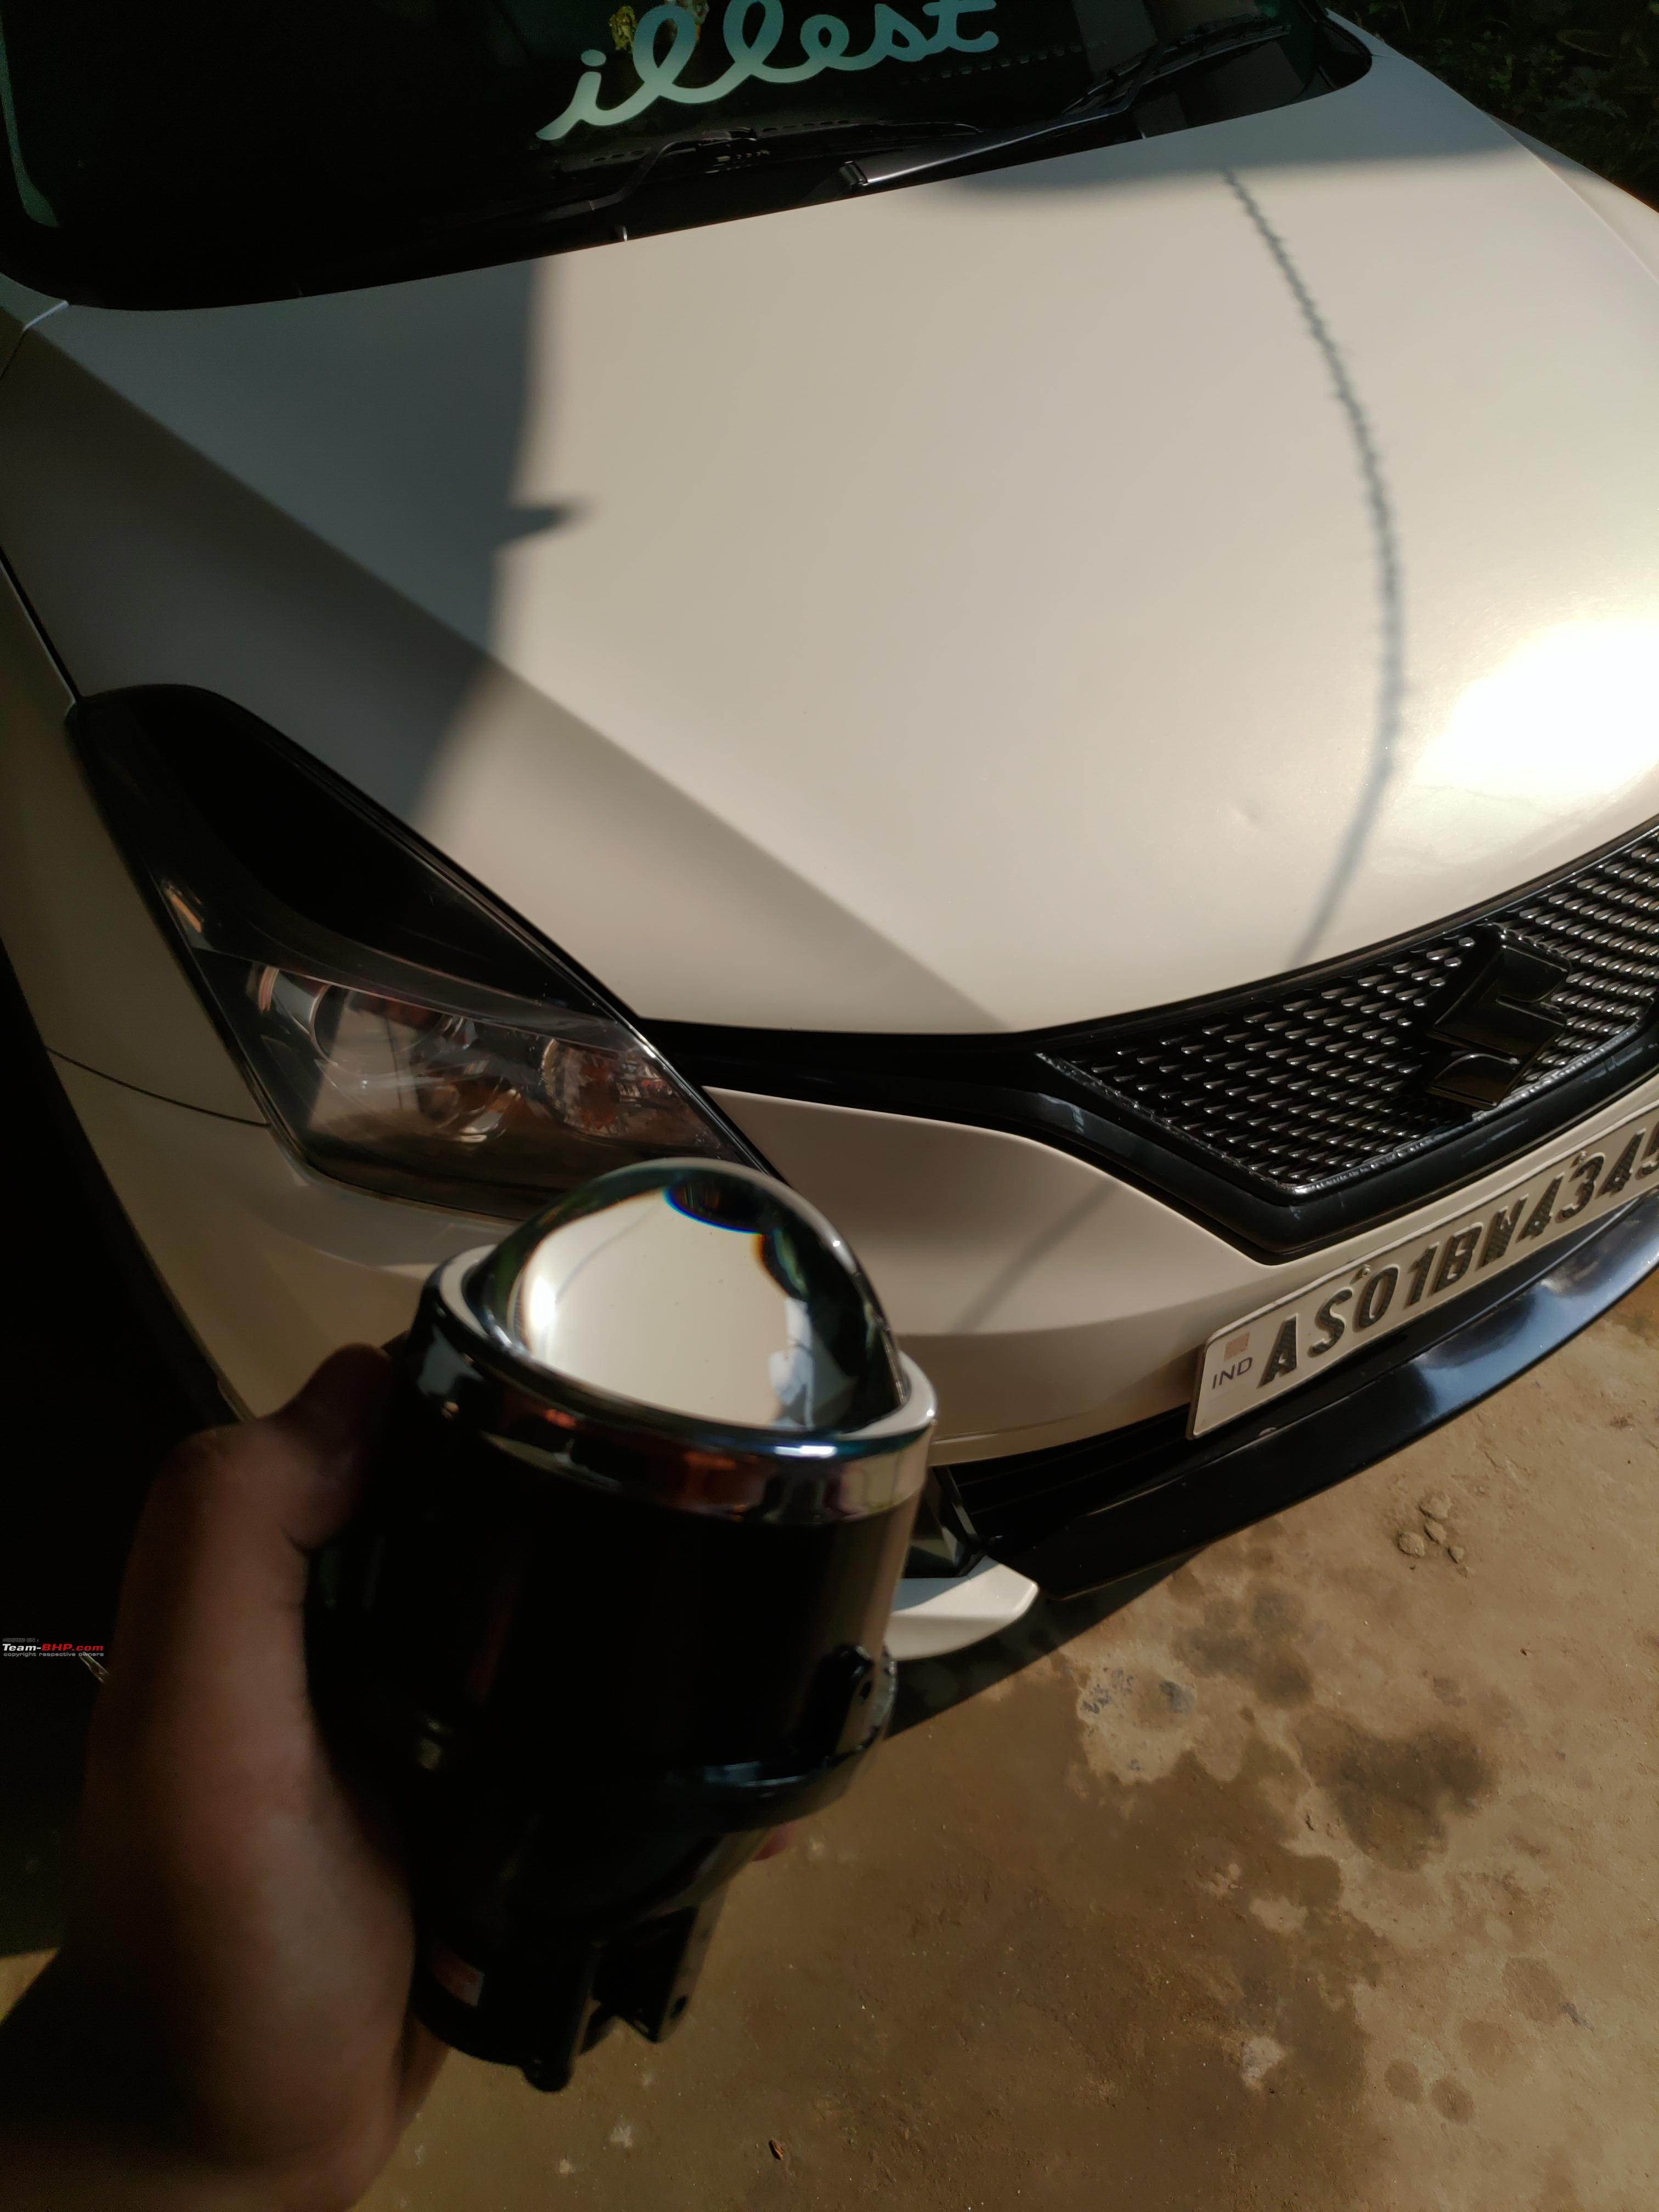   Phase 5 The accessories and the audio upgrade did give the car a feel good factor. However I would like to advise all Baleno owners to avoid 7D mats, as the movement of clutch and throttle pedal is hampered a bit. Also the clips tend to break upon repeated removal cycles. Soon the next vacation arrived, and all I could think of was a headunit upgrade. Having seen Ola, Ubers with touchscreen infotainment systems, Baleno's 2-din system felt out of place. Android stereos were a hype then, obviously with the attractive price point and big screen size, it does draw some attention. However it somehow never appealed to me, and seeing it lag in my friend's cars with my own eyes, I never felt confident enough. Also there was the issue of the audio output of the android units being not satisfactory. It was decided that the headunit has to be either Pioneer or Sony, nothing else. After watching many reviews, I zeroed upon the Pioneer AVH Z5290 BT, which was the latest offering by Pioneer. It came with all the bells and whistles namely android audio, apple carplay, YouTube playback etc. While ordering the headunit, I got tempted to upgrade to components speakers for the front. The likes of Infinity Reference series, JBL GTO, Ground Zero, Avatar audio, DD audio were in my budget, finally I went with DD Audio Redline series. The shipment arrived, and the installation began. The new HU up close: 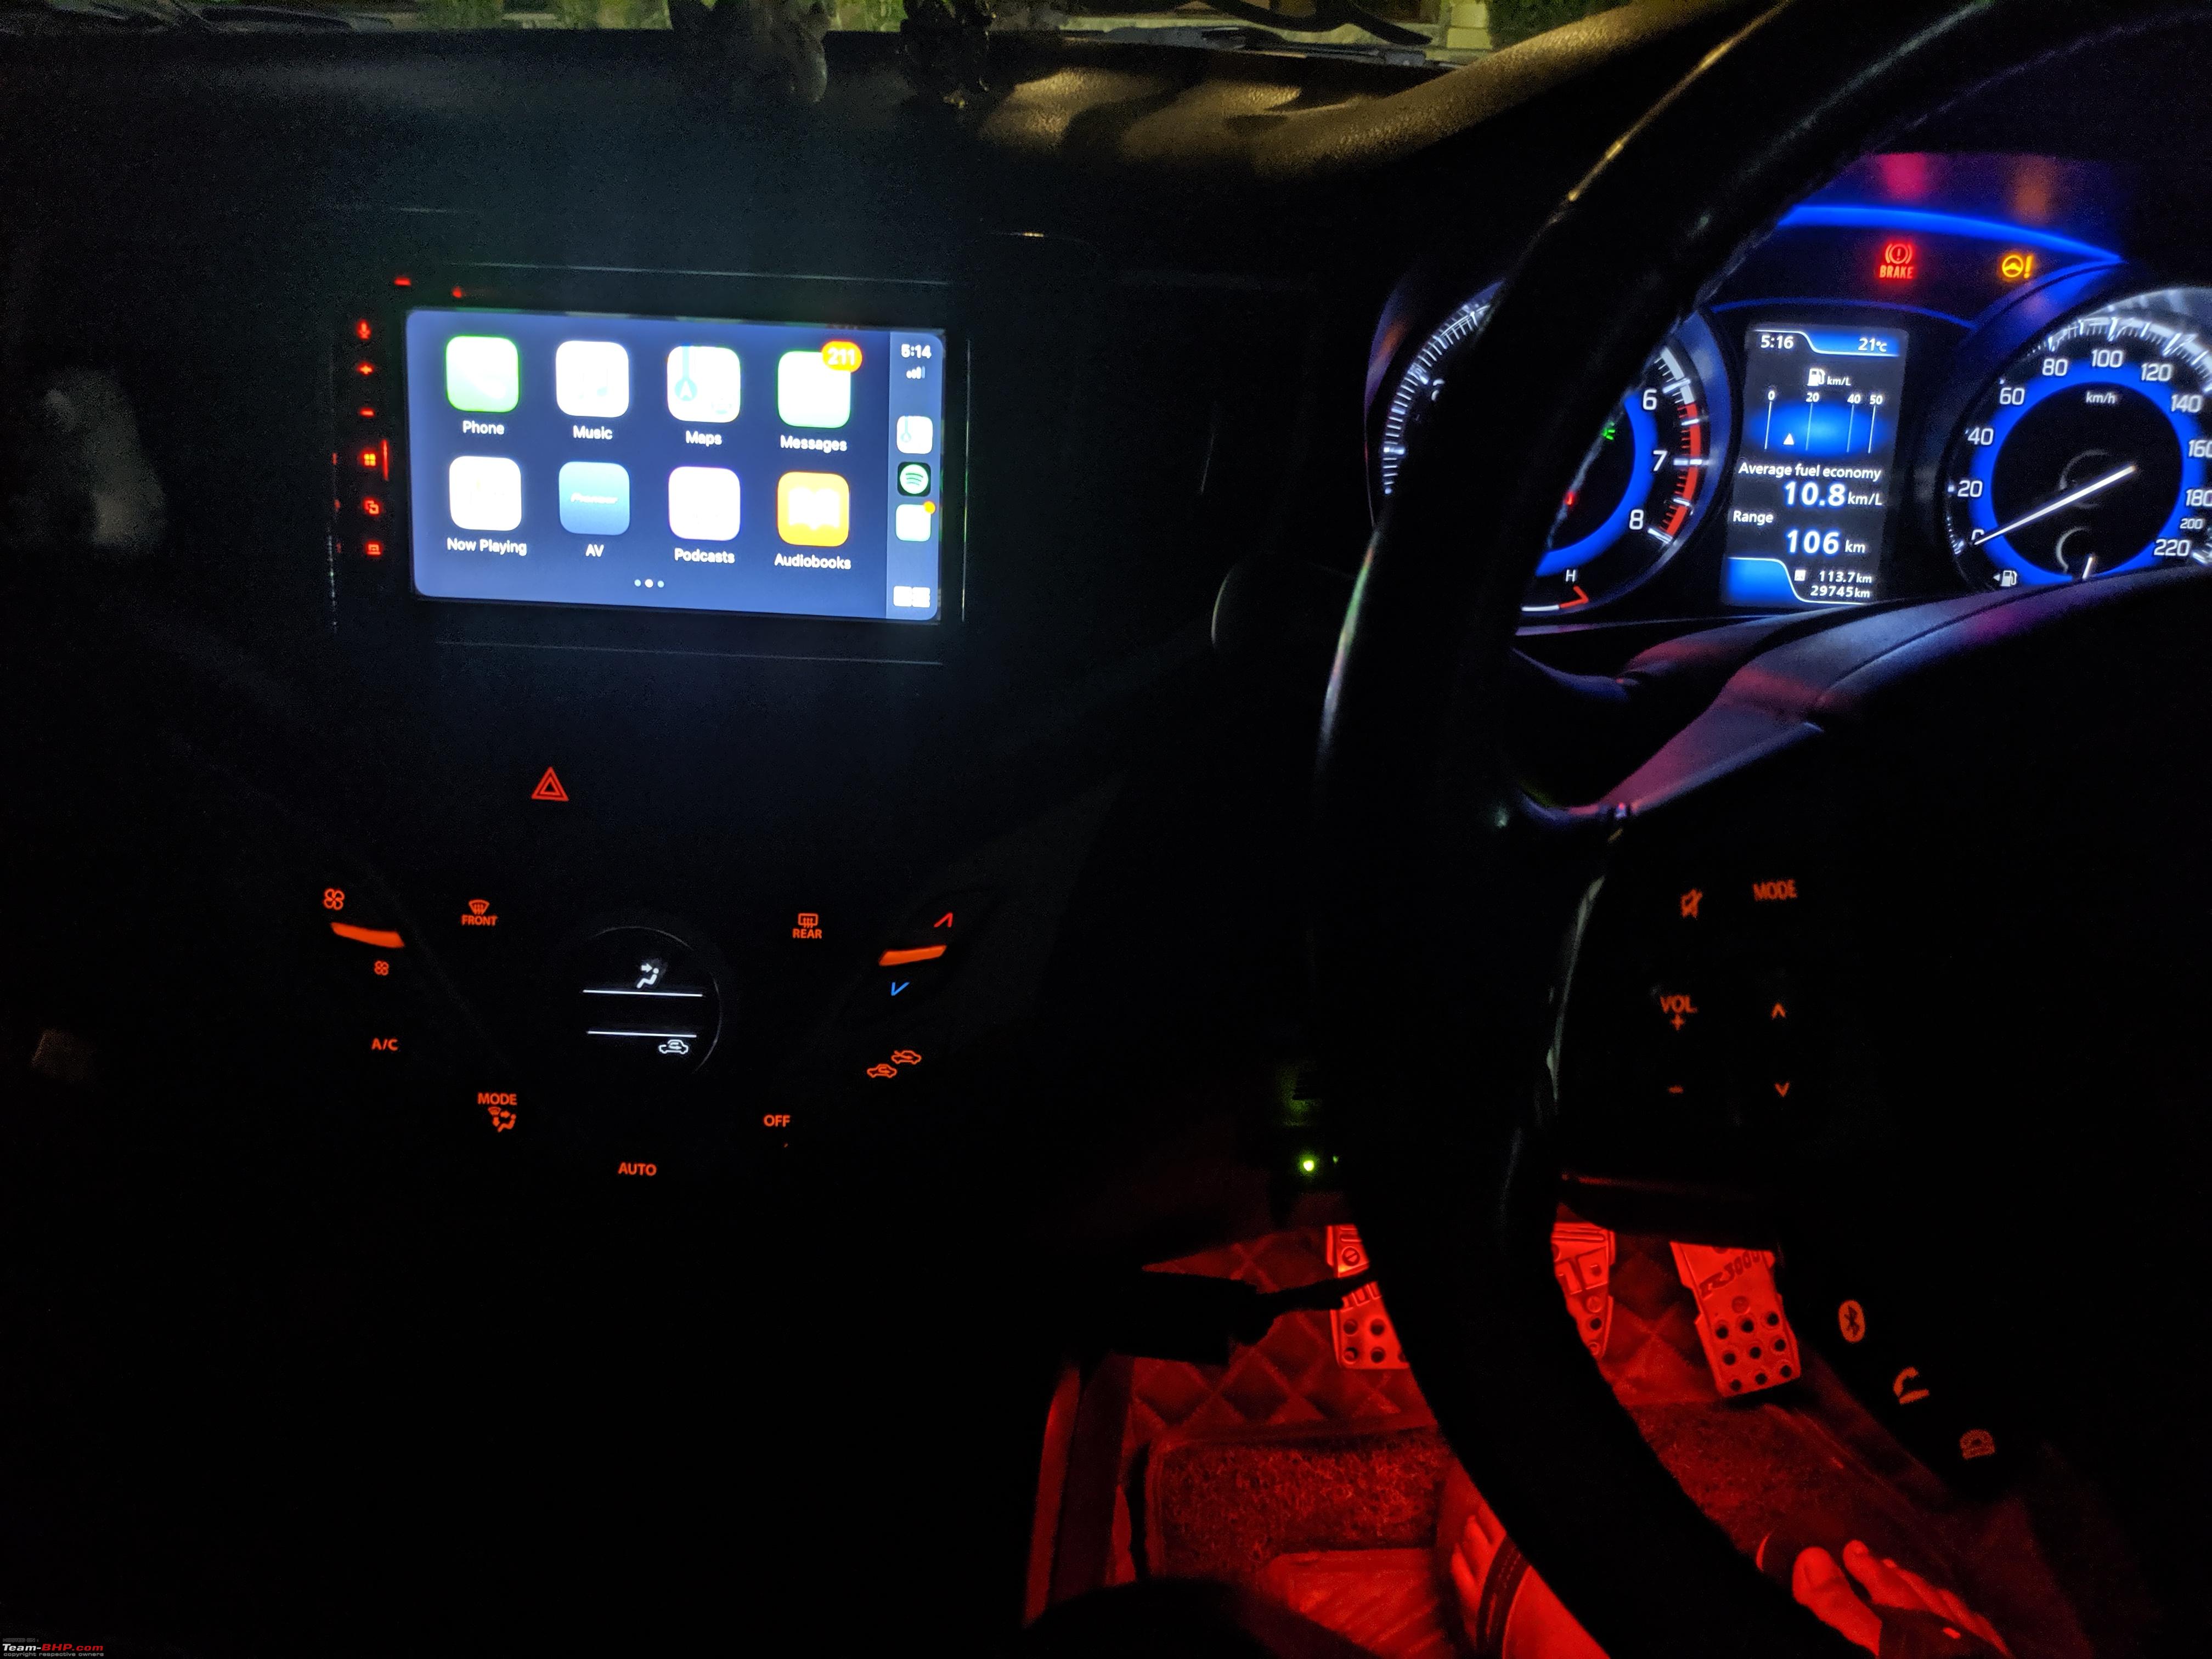 Interiors look complete with the new HU: 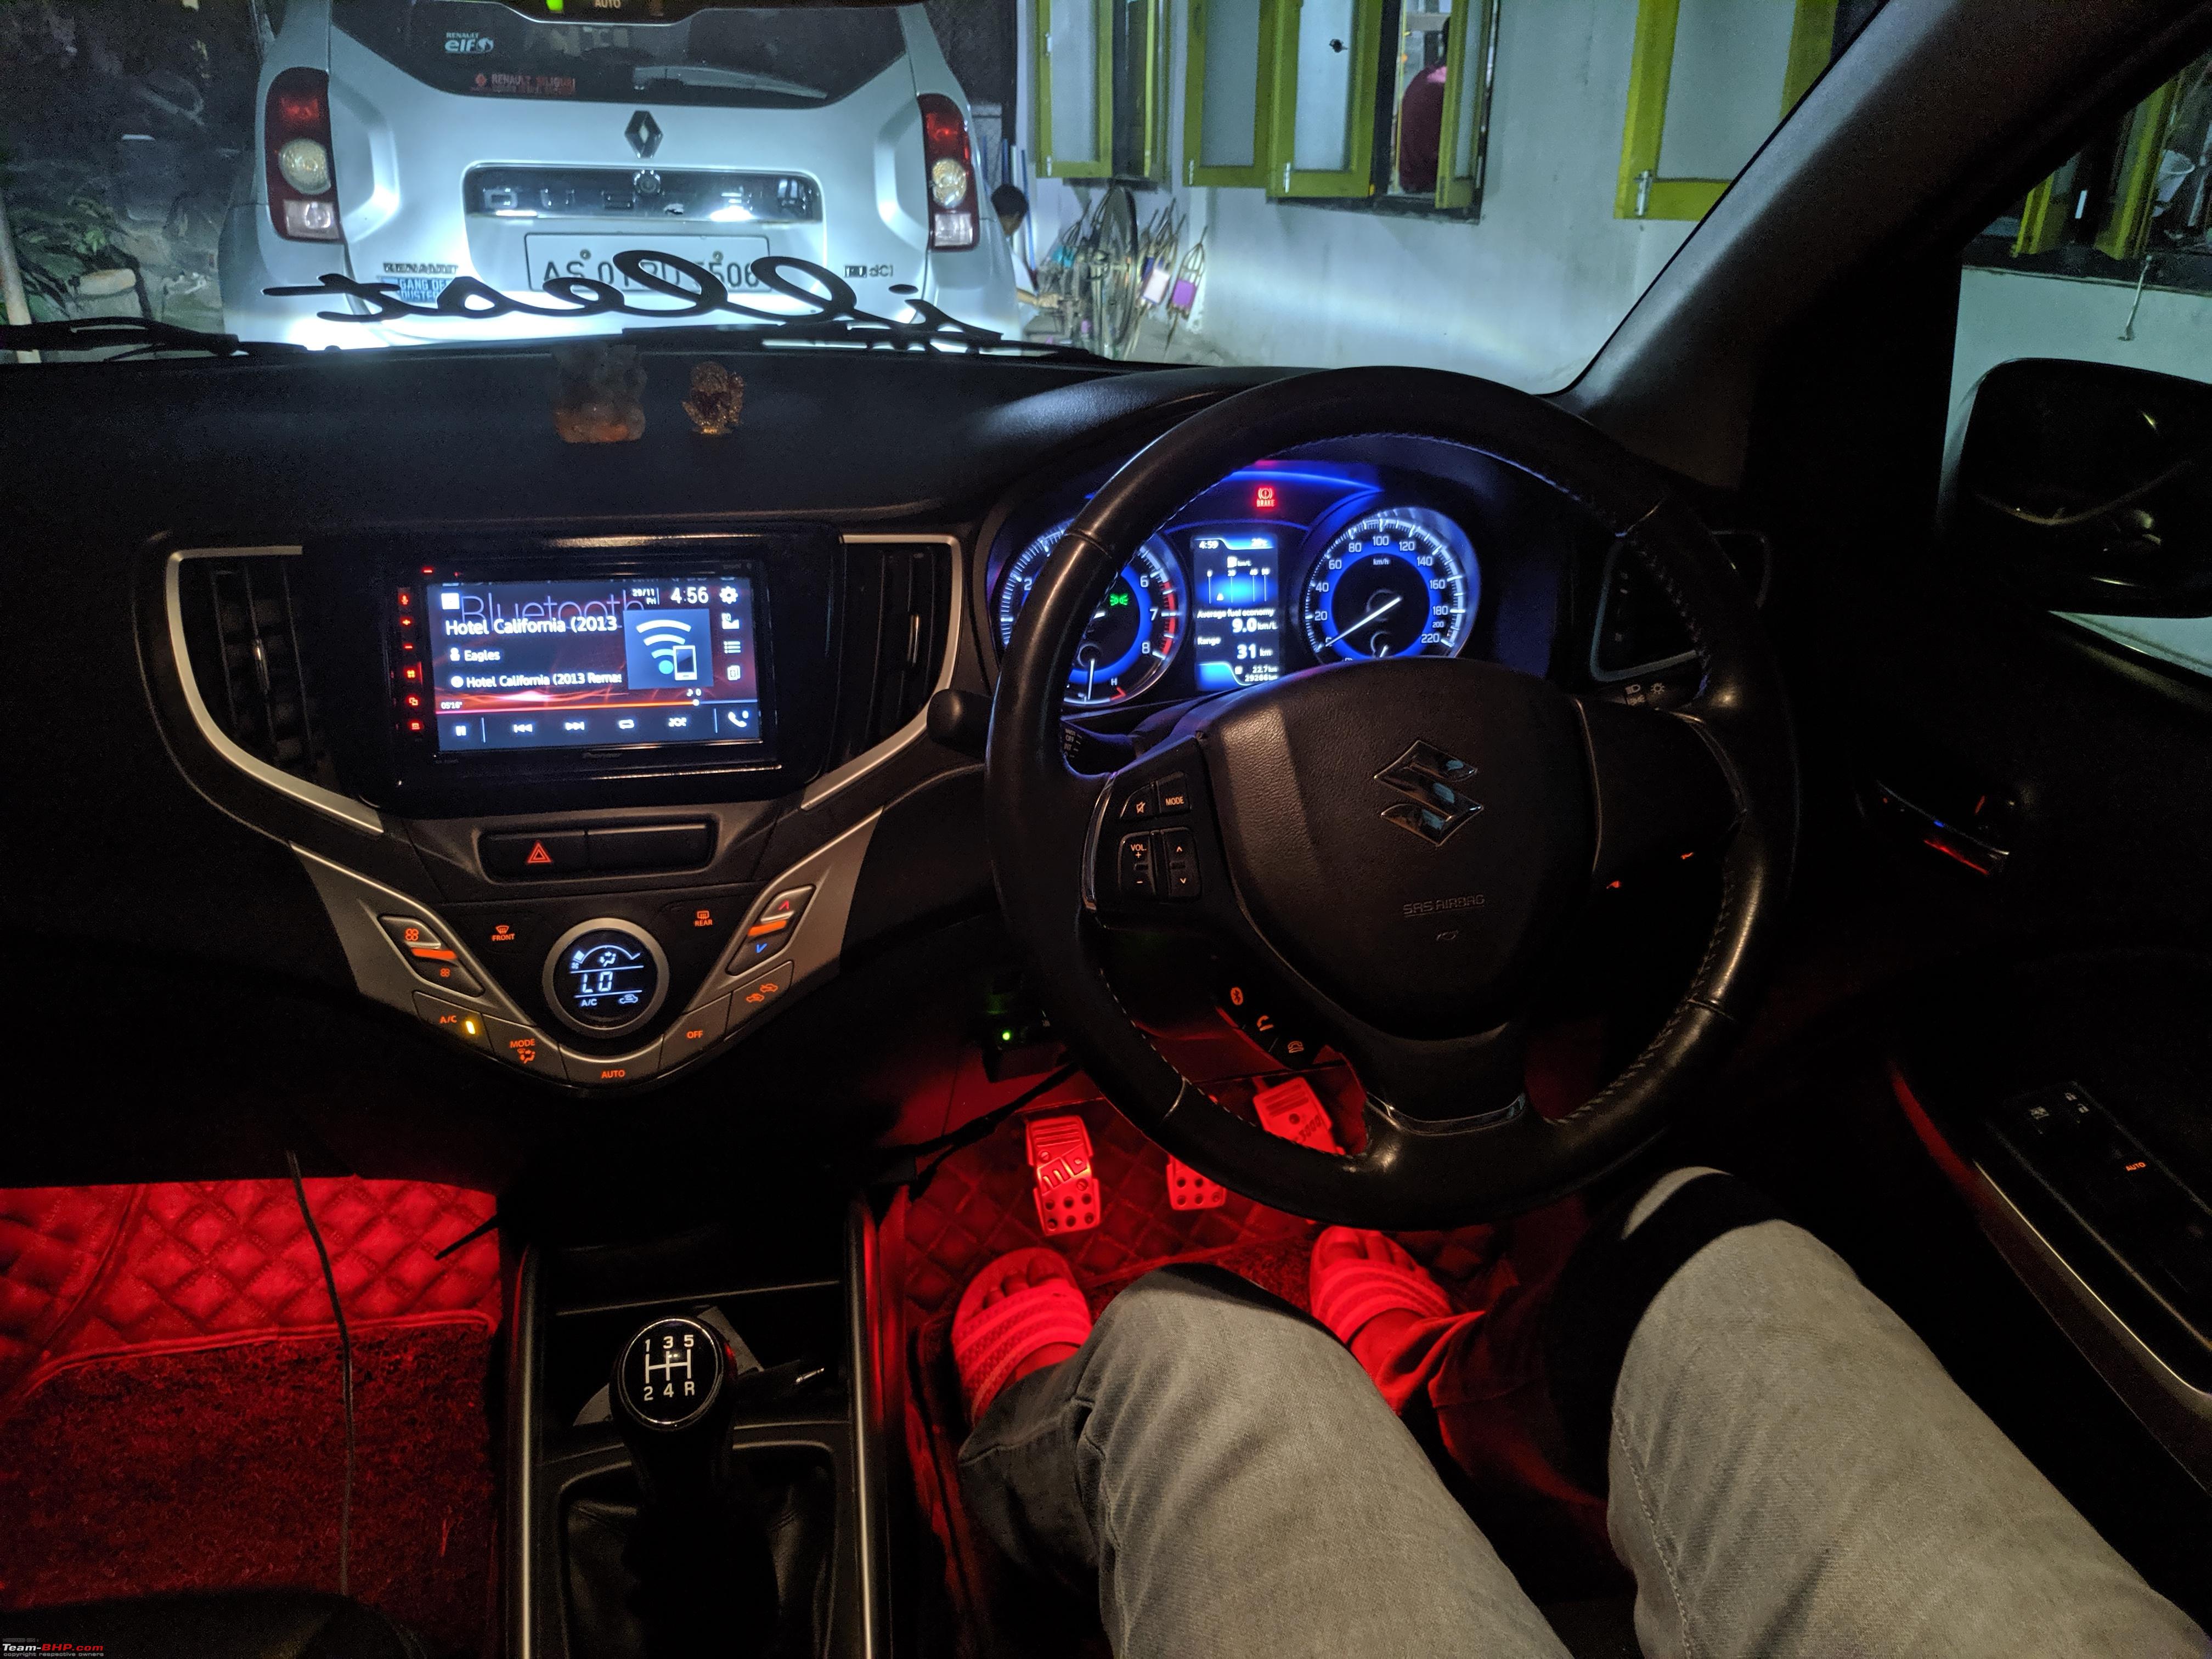 The components was powered by the headunit itself. Hearing the system for the 1st time, I was awestruck by the sound quality, it was miles ahead of the stock speakers. Although the rear speakers were still the same stock ones, they also sounded a bit better, mainly because of the upgraded headunit. After fiddling through the many settings of the headunit, I finally got just the right setting for me. The vocals were not overshadowed by the subwoofer anymore. It was after a few days I felt that the staging was more front oriented. The rear stock speakers just couldn't match up. Also with some lower frequencies playing the rear door did vibrate a lot. I guessed damping sheets will be needed to address this problem. Along with damping I decided to upgrade the sound system one more step, the setup that came to my mind was to retain the active subwoofer, get another component set (which will go in the rear), power them via a 4Ch amplifier and bulk up the doors with damping sheets. Thoroughly satisfied with DD audio, I went for another set of DD RL CS6.5 for rears, 2 pair of speakers to be powered by a Kenwood 4CH PS704 EX amplifier and supported by American Bass 4 Gauge wiring kit. DD Redline midbass:  Kenwood 4CH PS704 EX Amplifier: 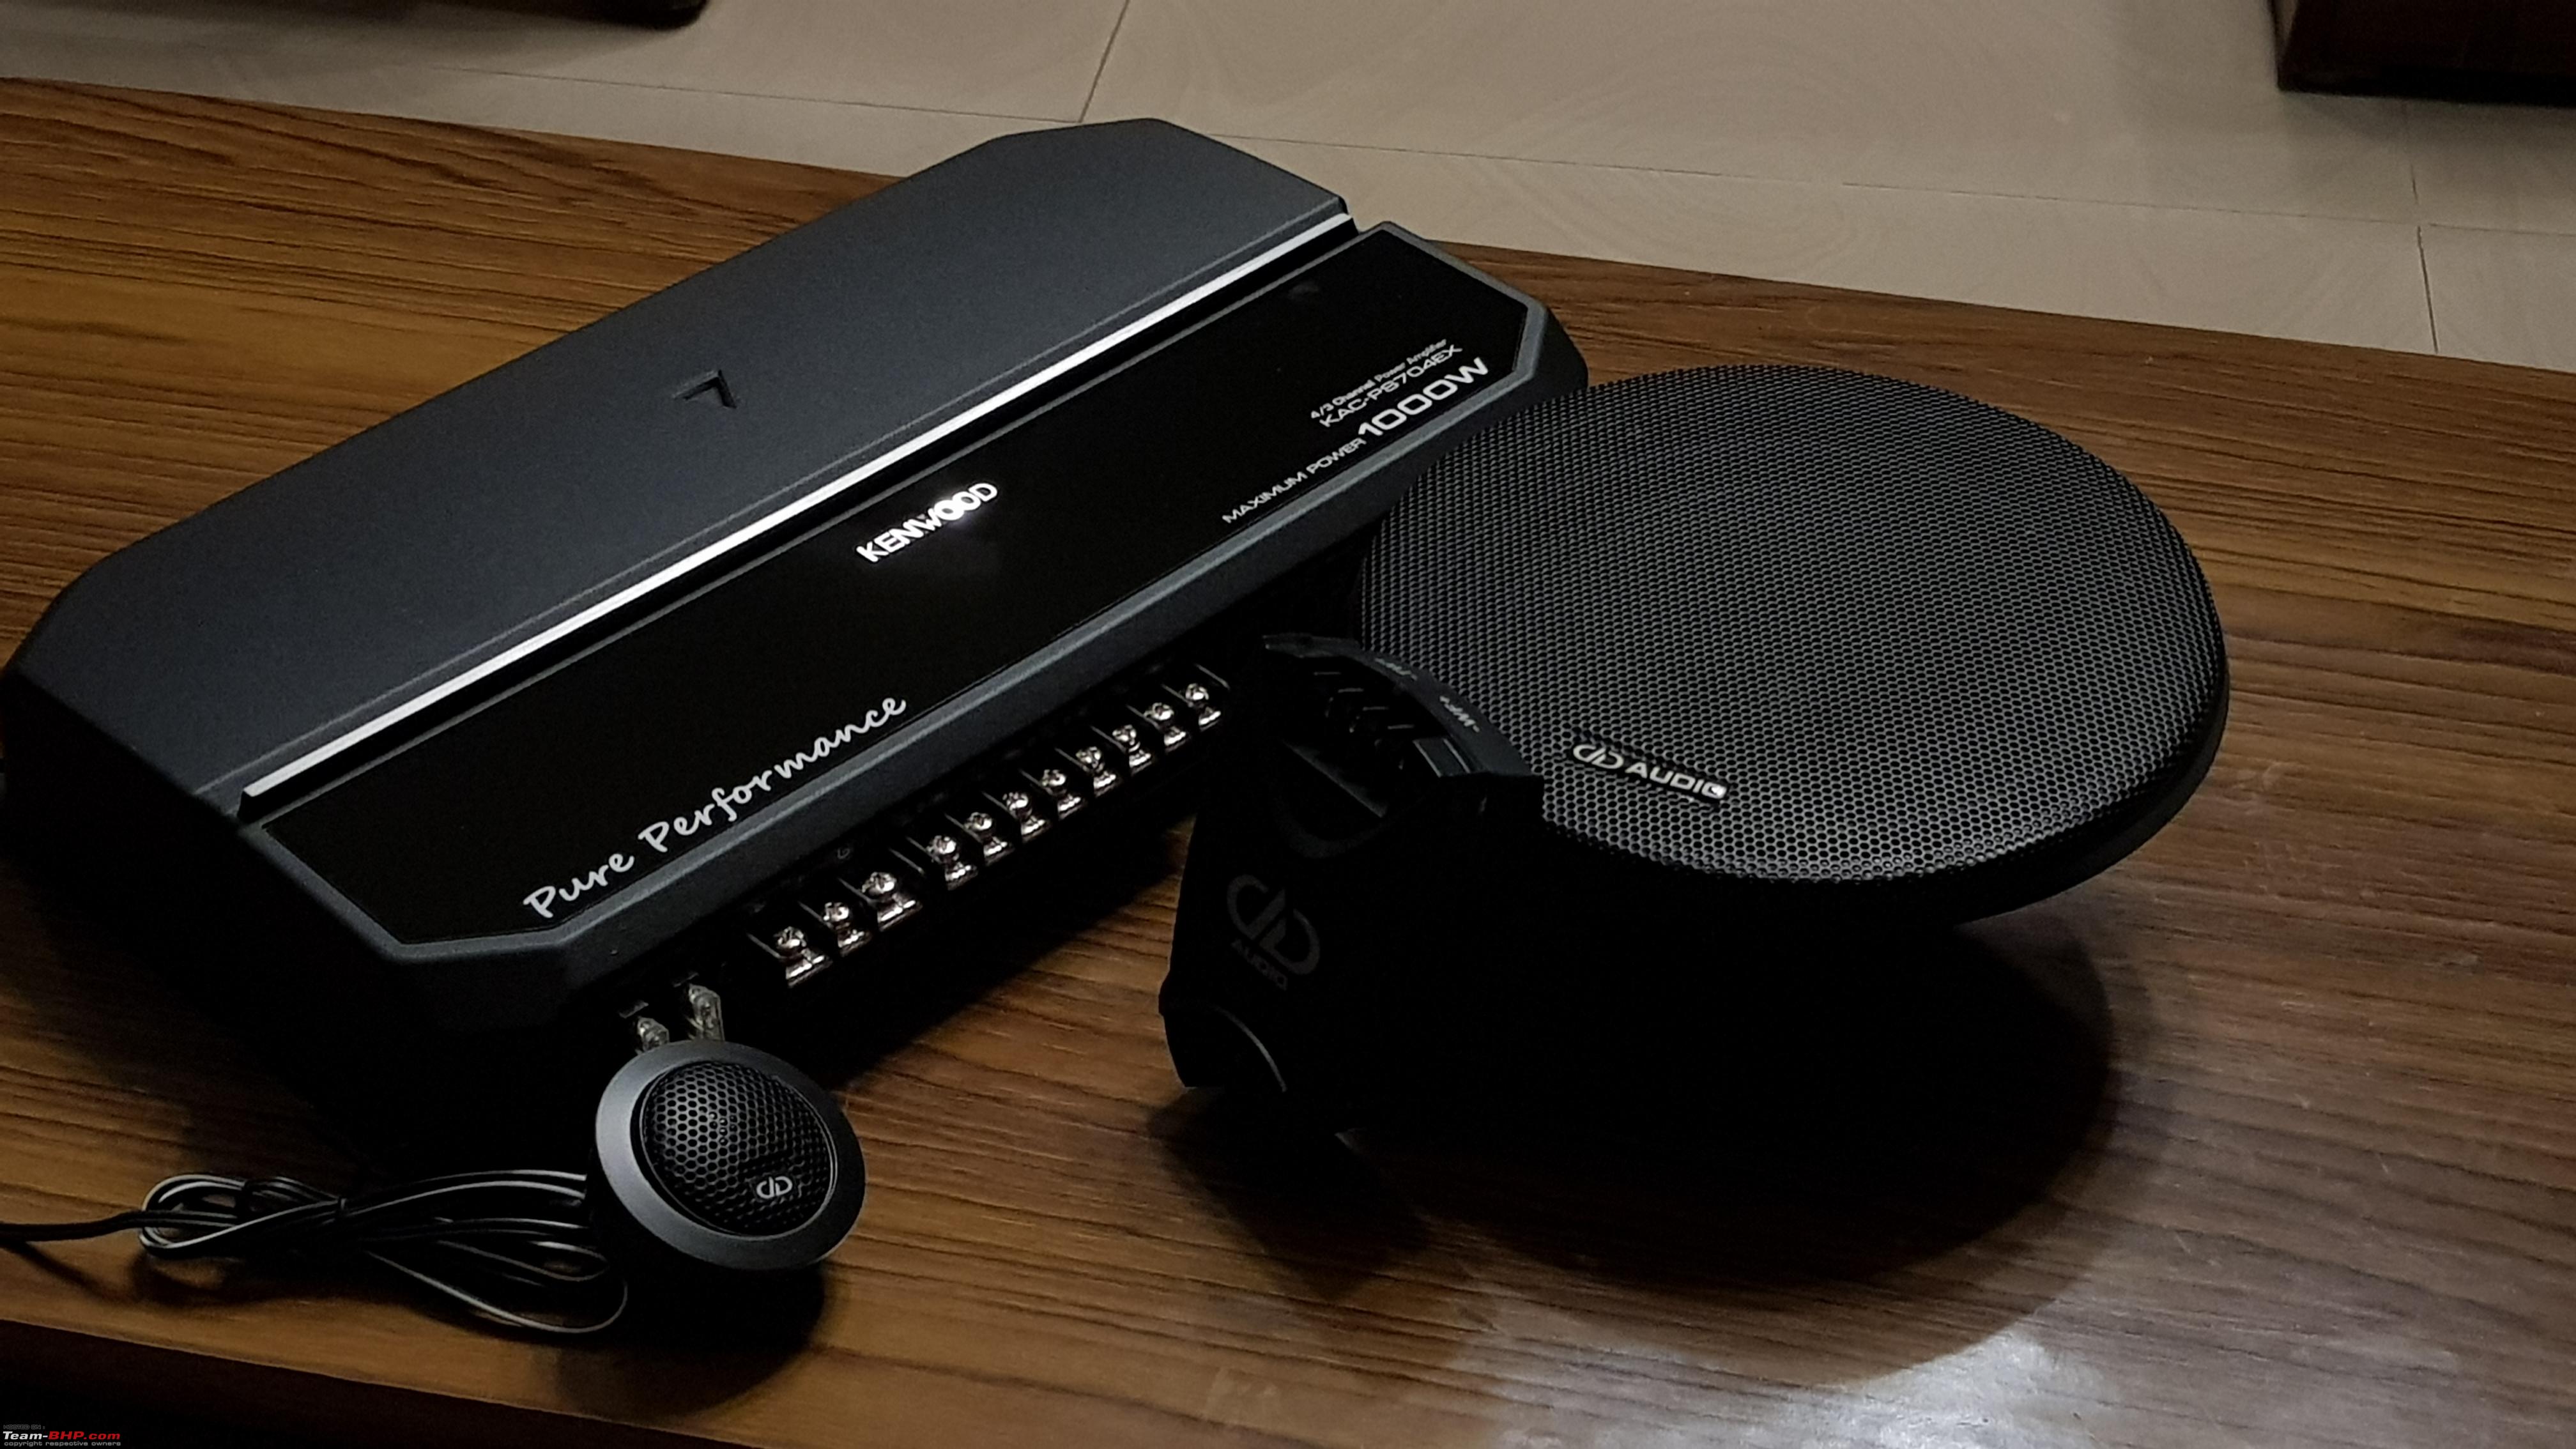 4 gauge American Bass wiring kit: 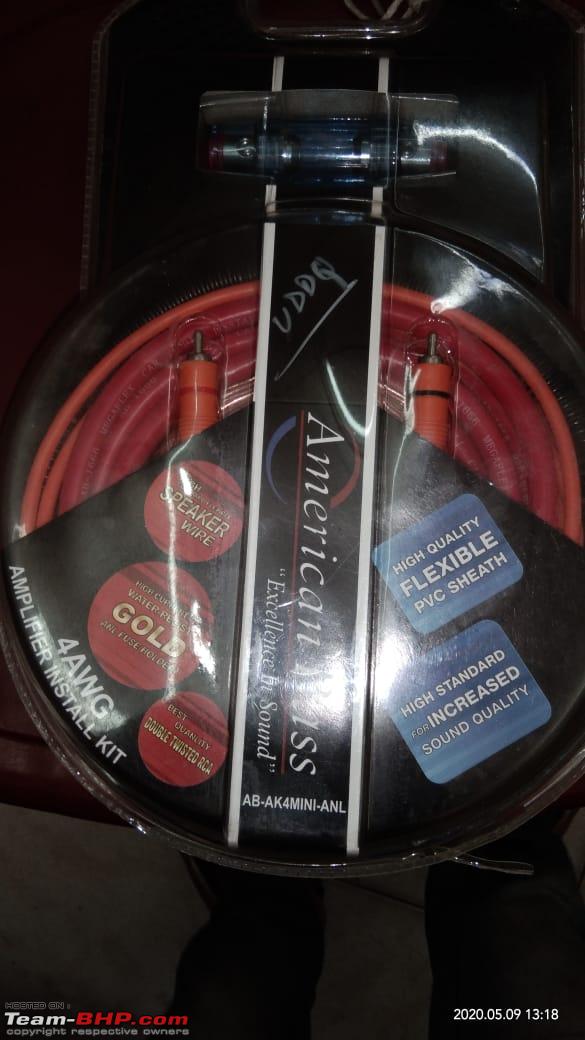 But soon after came the lockdown because of Covid-19. All the shipments went out the table. The audio shipment got tossed at some cargo helplessly, and I could do nothing, but wait. However, just shy of the lockdown, a surprise parcel came all the way from China courtesy of Aliexpress. I had come accross a brand named Mewant which made OEM fit steering wraps with a variety of materials to choose from, genuine leather, alcantara, etc to name a few. I placed the order 2-3 months ago and almost forgot about it. The seller was polite, helpful and gave me their precious time despite Covid-19 limitations. They customized my steering wrap as per my choice, which was, smooth PU leather at top and bottom along with a red marker (inspired from Mercedes cars) and perforated PU leather at the sides. The quality was stellar, and couldn't wait till the end of the lockdown to get it fixed. An impatient mind waiting for audio parts, and neither getting to rejoice the therapy of driving cars, it was frustrating. Seeing the Mewant cover everyday, I contacted them inquiring about the difficulty level. They replied stating it is essentially a DIY and anybody with an accurate and precise hands could do it. The kit comes with all the necessary tools to fit the wrap. I gave my mom some confidence and showed some tutorials to do the task. Although I was nervous, she seemed confident that she could do it. Well, it was one of the best decisions ever as she stitched it to perfection. Never the steering of Baleno felt this good, the grip was chunky and the material was top notch. I would highly recommend this mod to all car enthusiasts. Mewant customized steering wrap:  Steering wrap: 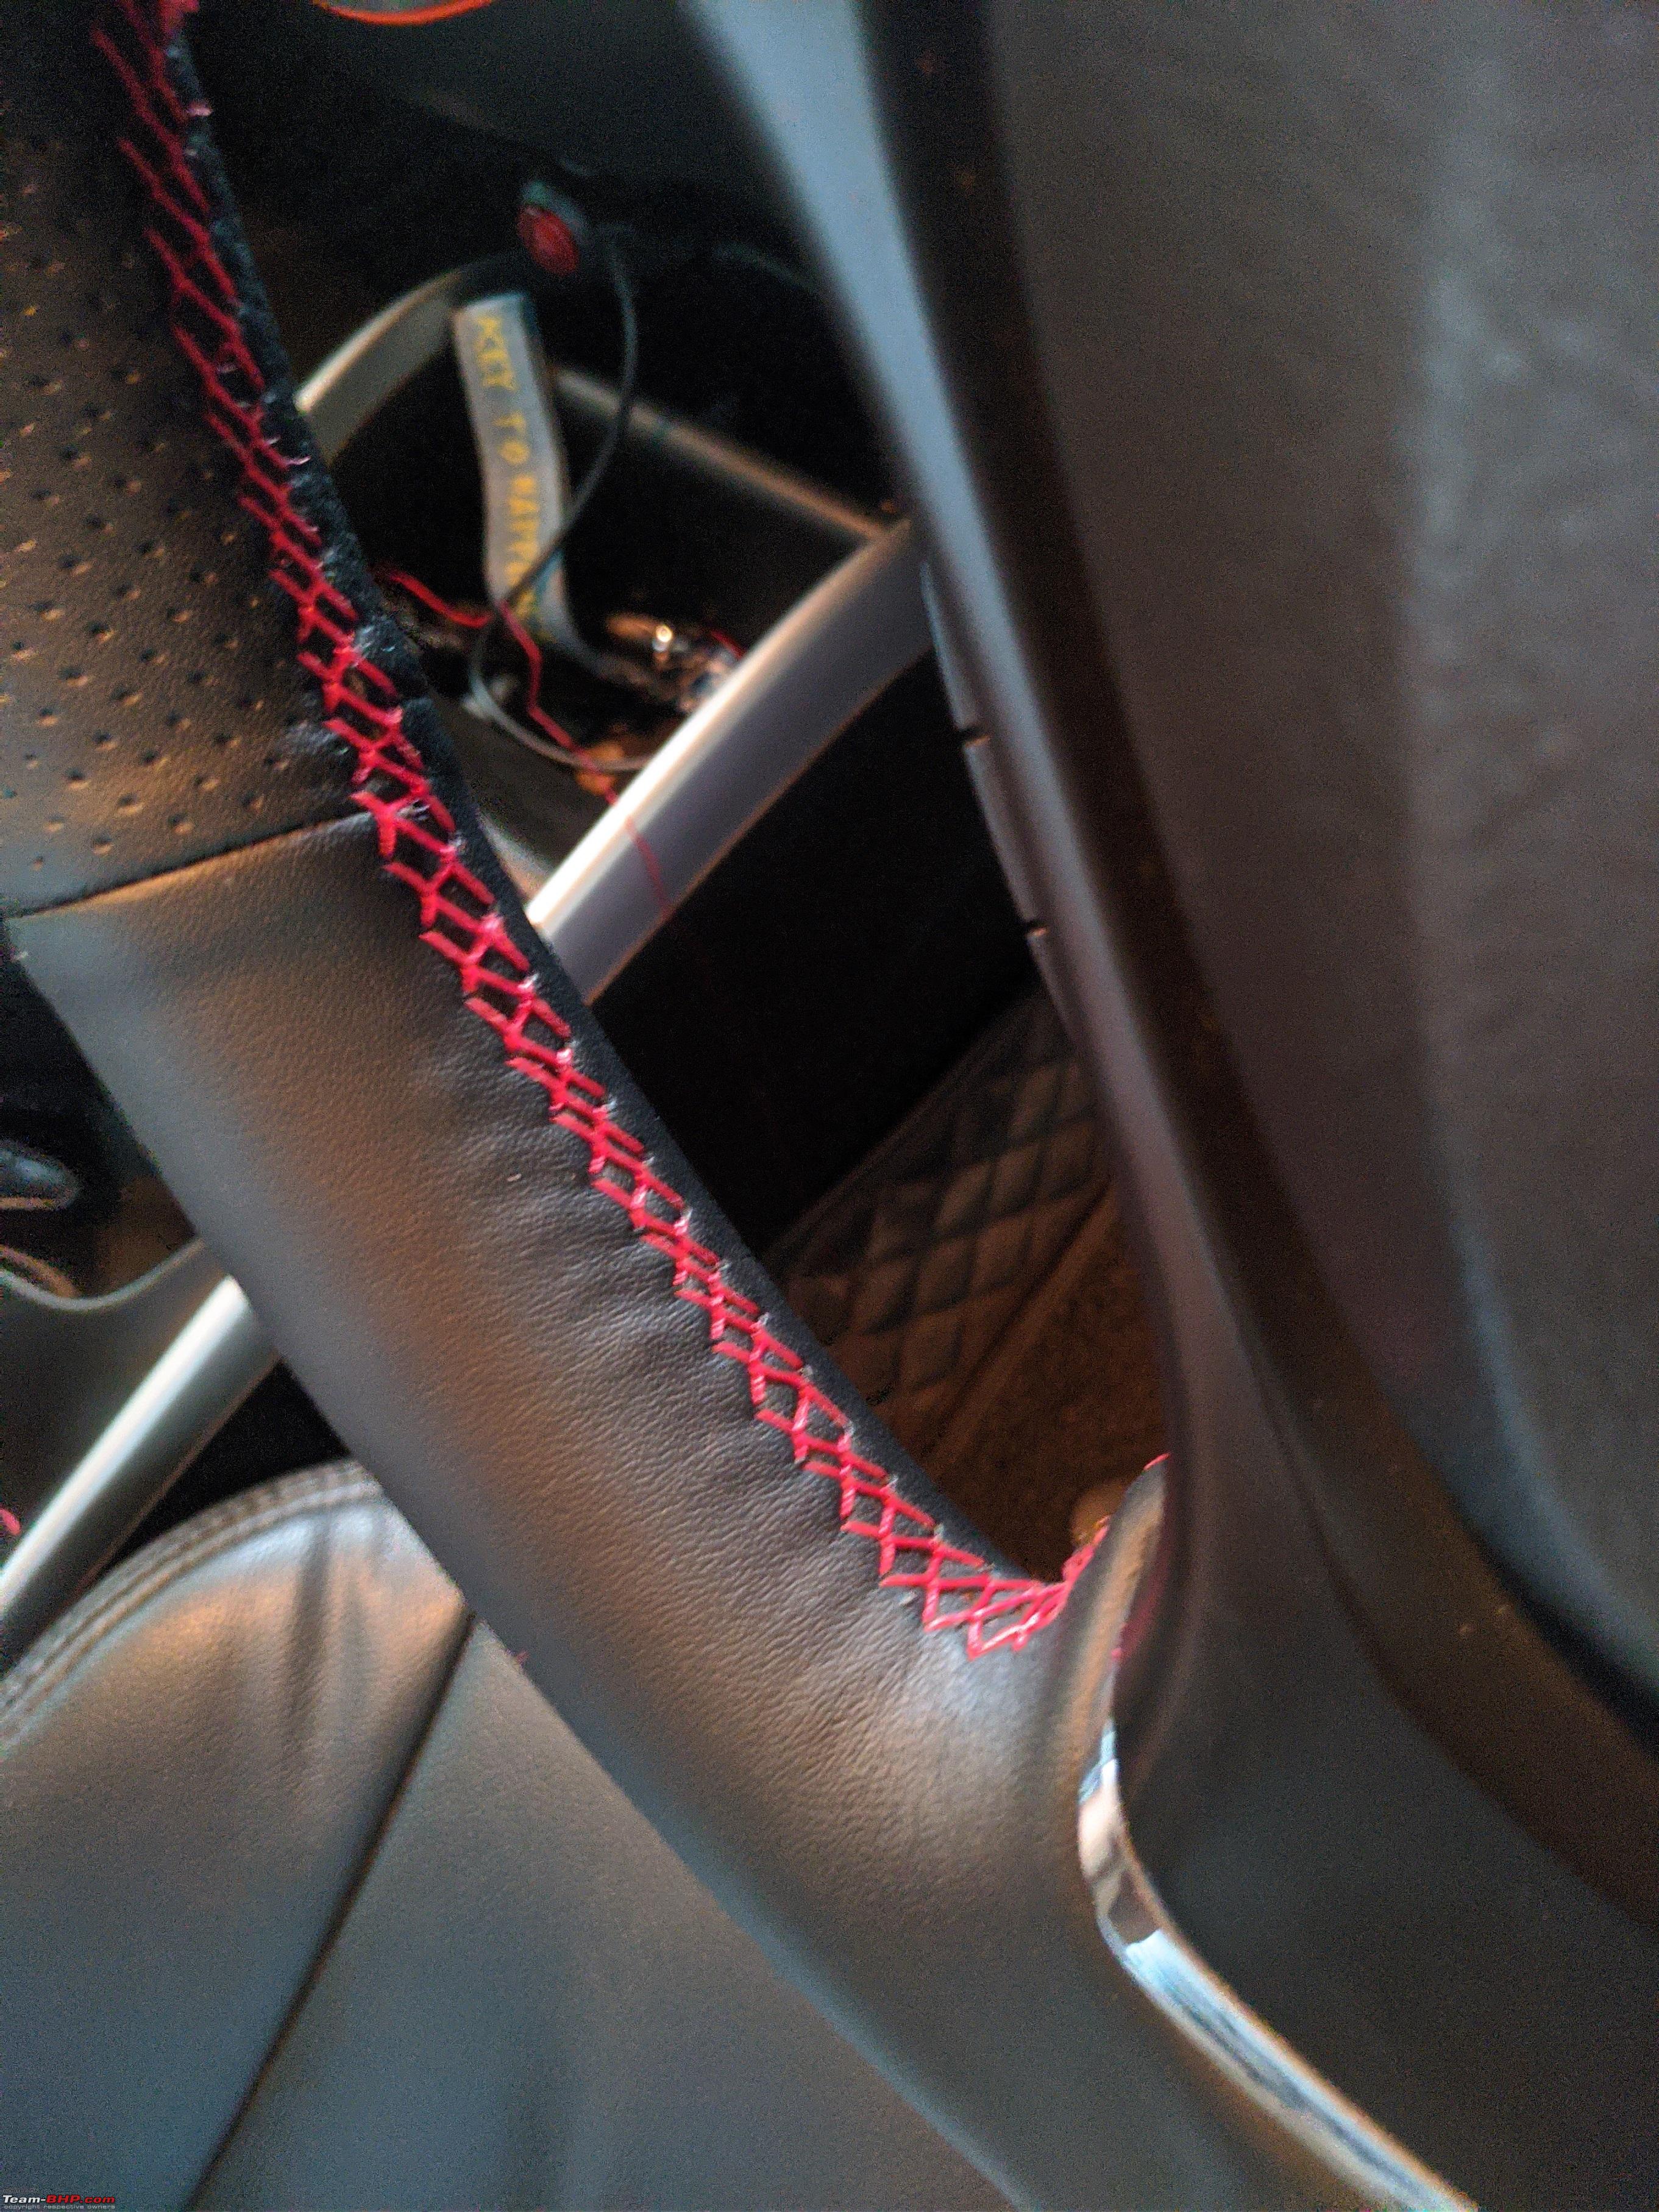   Eventually lockdown came to an end, logistics services began functioning, and one fine afternoon, the audio parts arrived. Wasting no time, I immediately went the next morning to get the work done. In order to accommodate tweeters, a portion of the rear doorpad had to be cut. I was skeptical of how clean the job would be, but it all went well. The components were placed, amplifier installed, wiring laid out, and time came to audition the setup. To my surprise, all I could hear was a whistling noise, it increased proportionally with the amount of throttle given. It was night by then and I went home dejected. Upon discussing with my friends and a few experts, I came to know that this issue is called as the alternator whine. Basically the amplifier catches the signals of the alternator and transmits it to the speakers. As advised, I suggested the installer to route the RCA and the power lines separately. Upon hours of fiddling, the sound vanished. After being comfortable with all the amplifier settings, I finally got the audio quality I was looking for. It was crystal clear, however I still felt some rattle on low frequencies. Immediately I decided to go for damping. I heard that the installation of damping is as important as the quality of damping sheets itself. Happiness:  Work in progress: 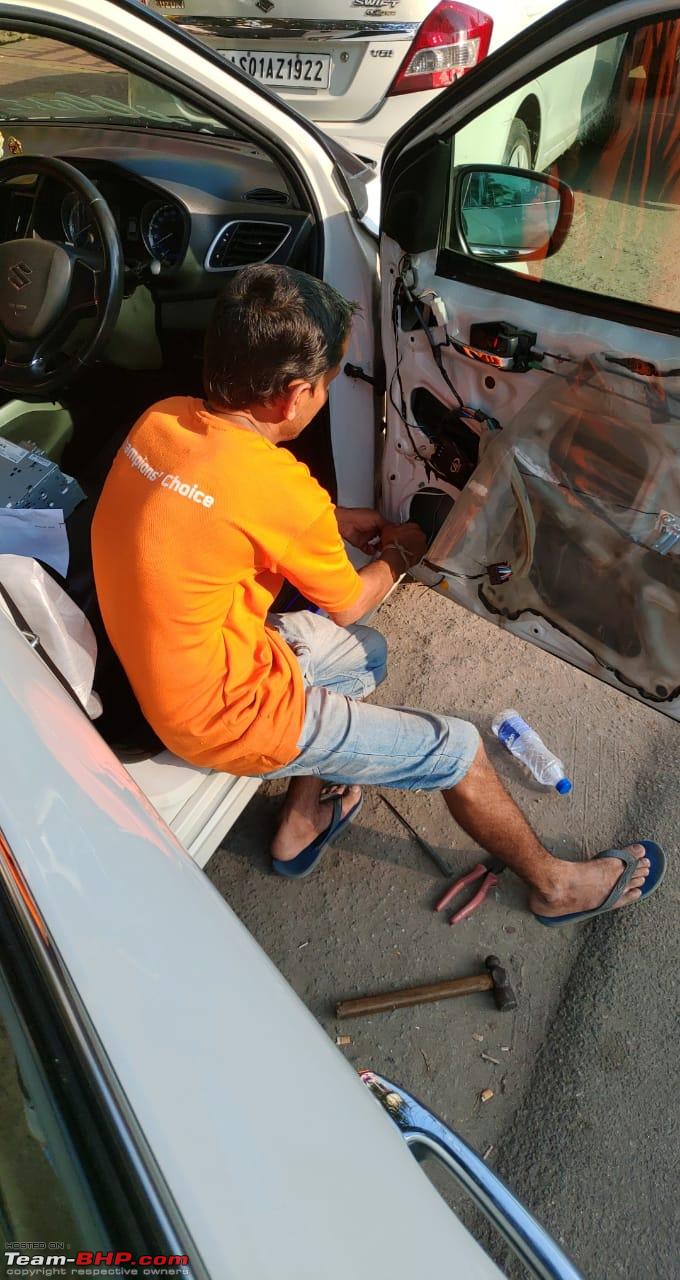 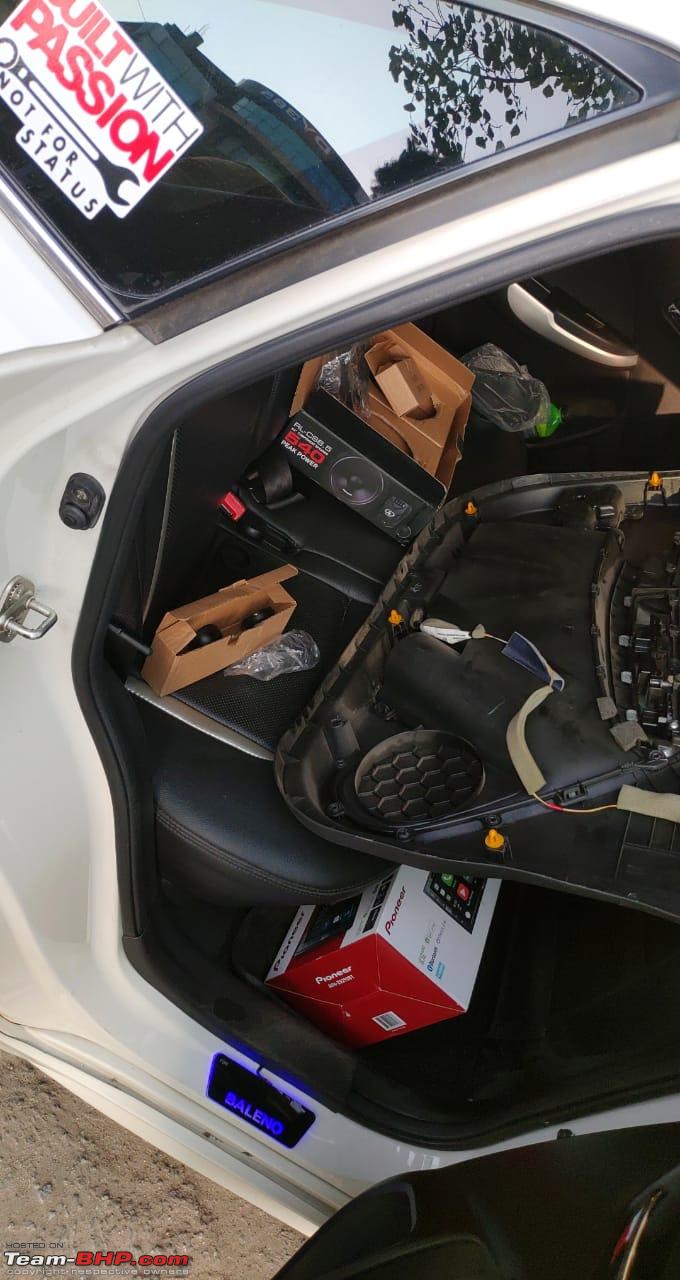 Door cutting: 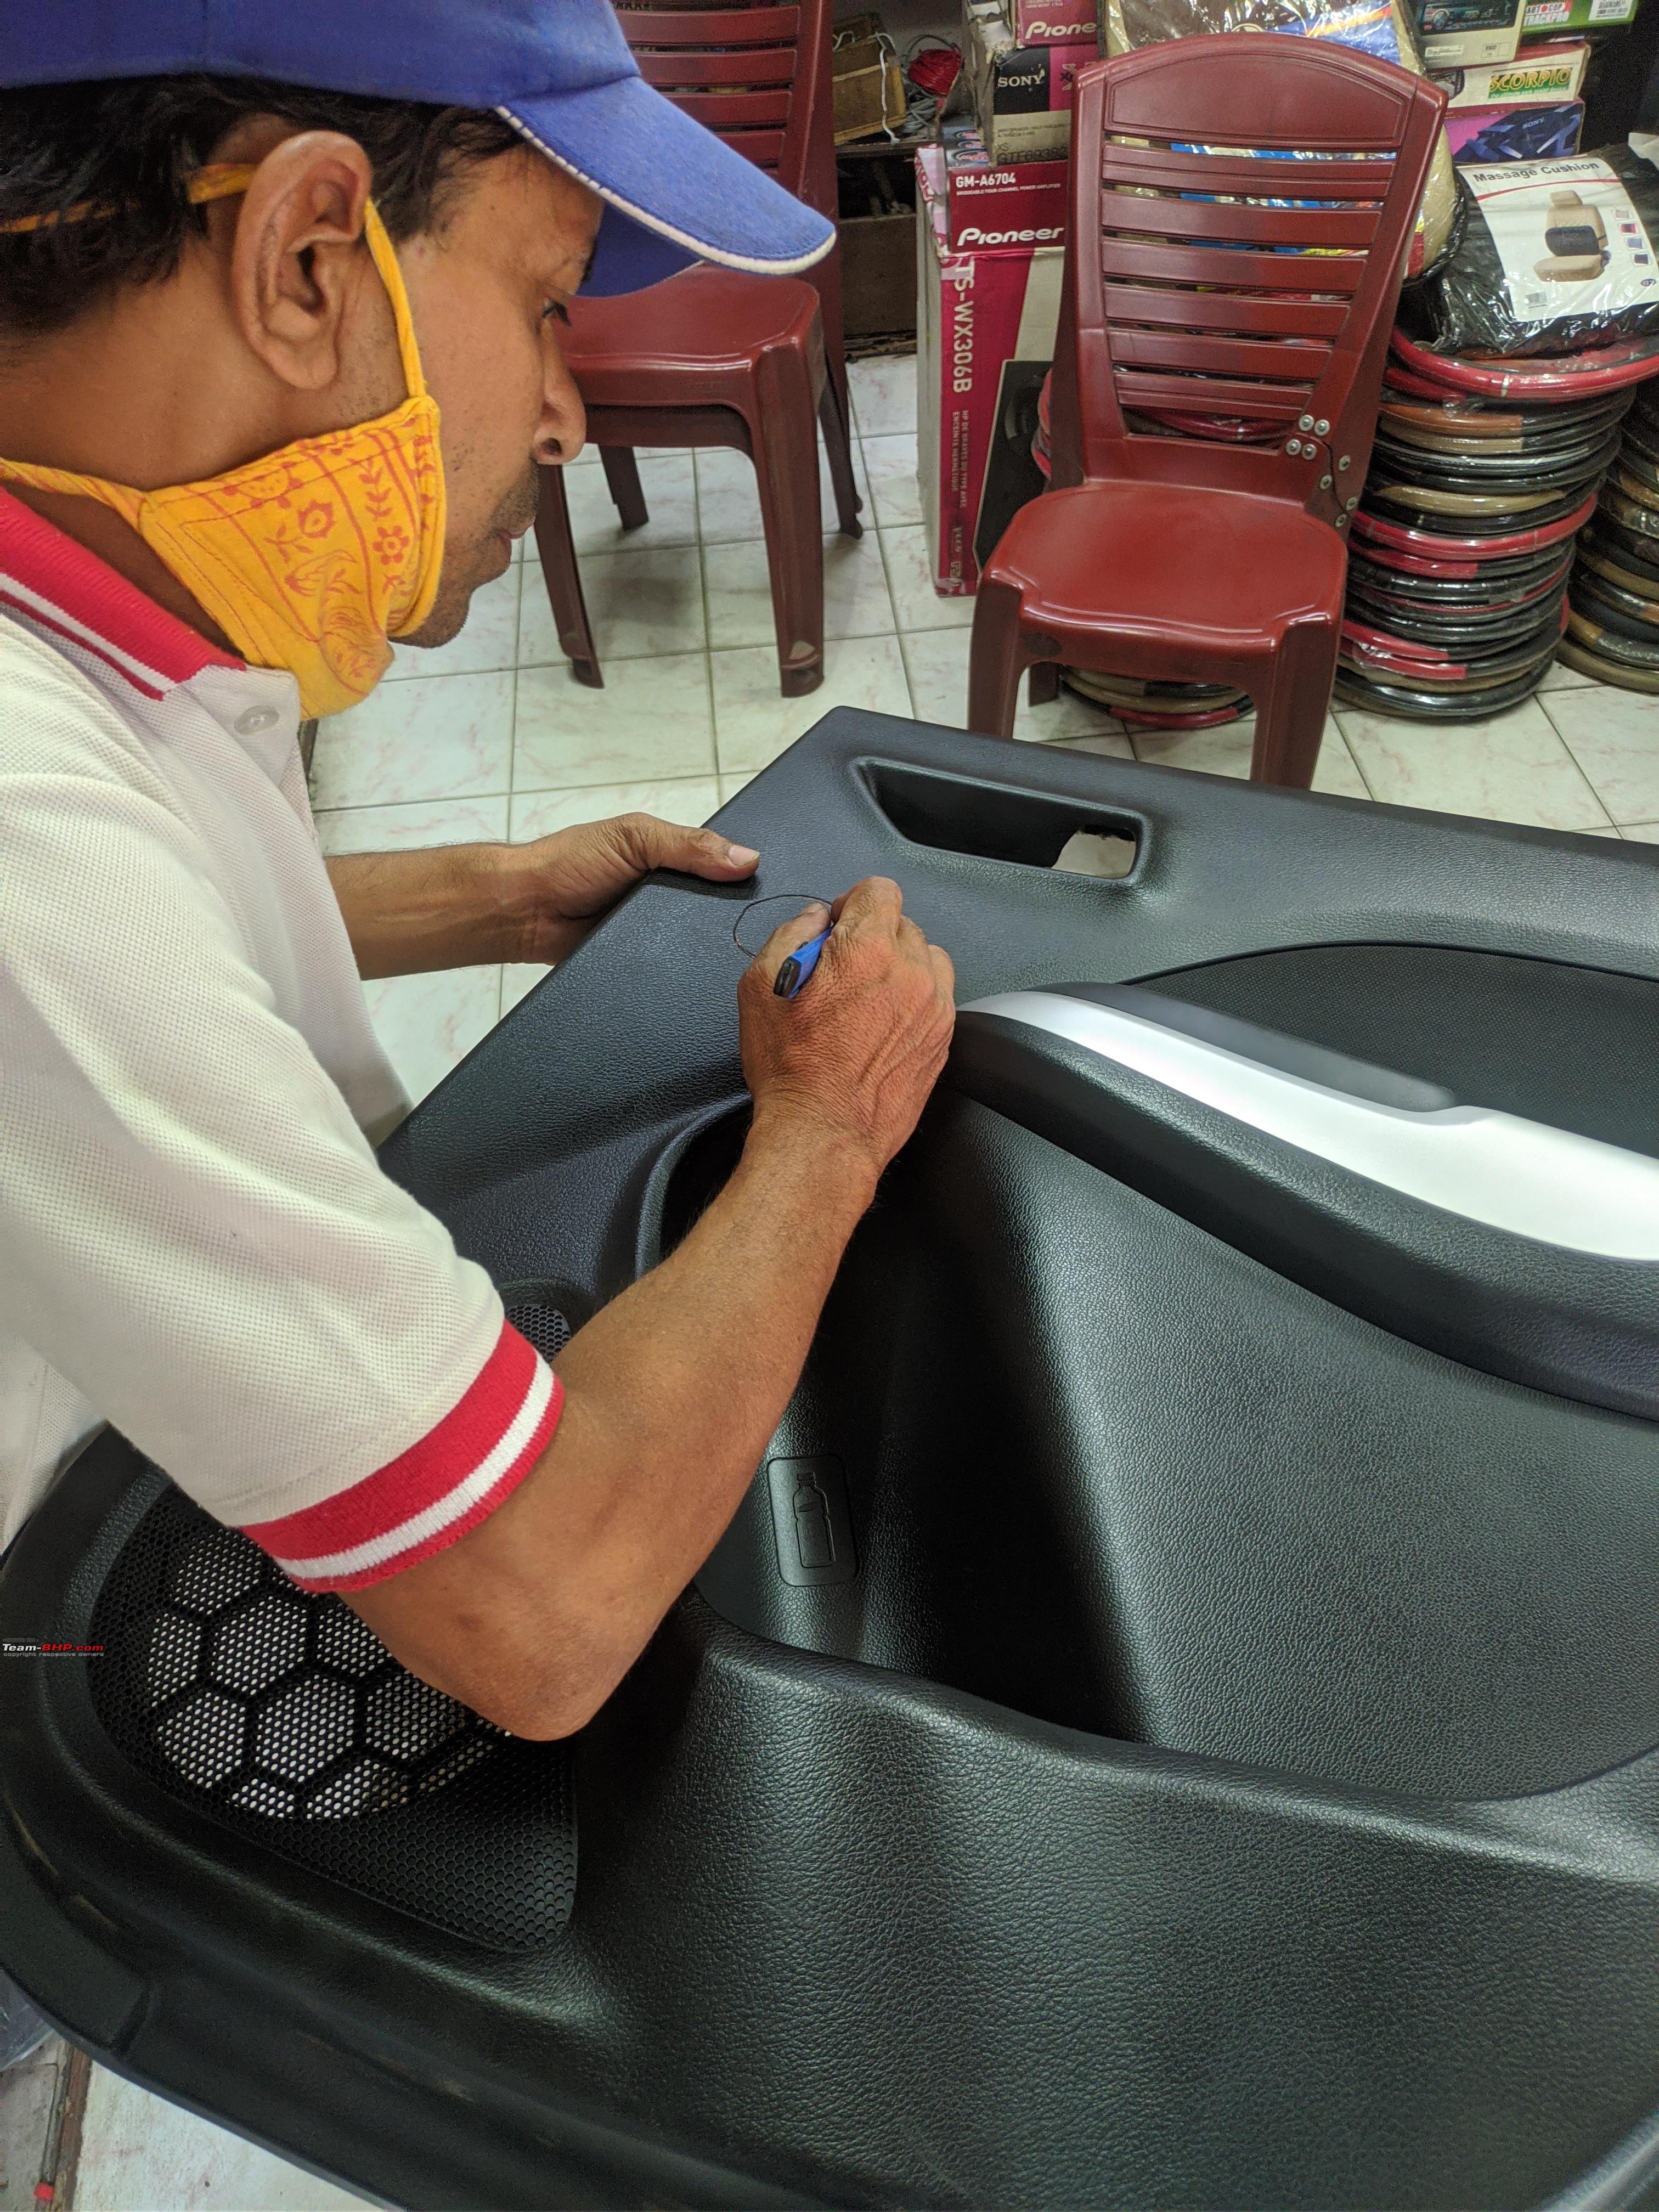 Rear Tweeter fitment:  A local shop in my city had a good damping sheet installer, but they didn't have top of the line damping material. I had to make do, and went with Dr Artex Lite series damping sheets. 2 sheets for each door was fitted. The doors instantly felt heavy, and the thud had improved (relatively speaking). After the job was complete, I realized the vibrations were completely negated. However I have to contradict the level of difference highlighted in the Youtube videos praising damping sheets. Although they did kill the midbass vibrations, but with regards to NVH level, door rattles, there was not much improvements. For what it served me, I felt 1/4th of it's price would have been justifiable. However summing up, my audio quality was up-to my expectations and I was having a blast every time I took a drive. Damping Installation: 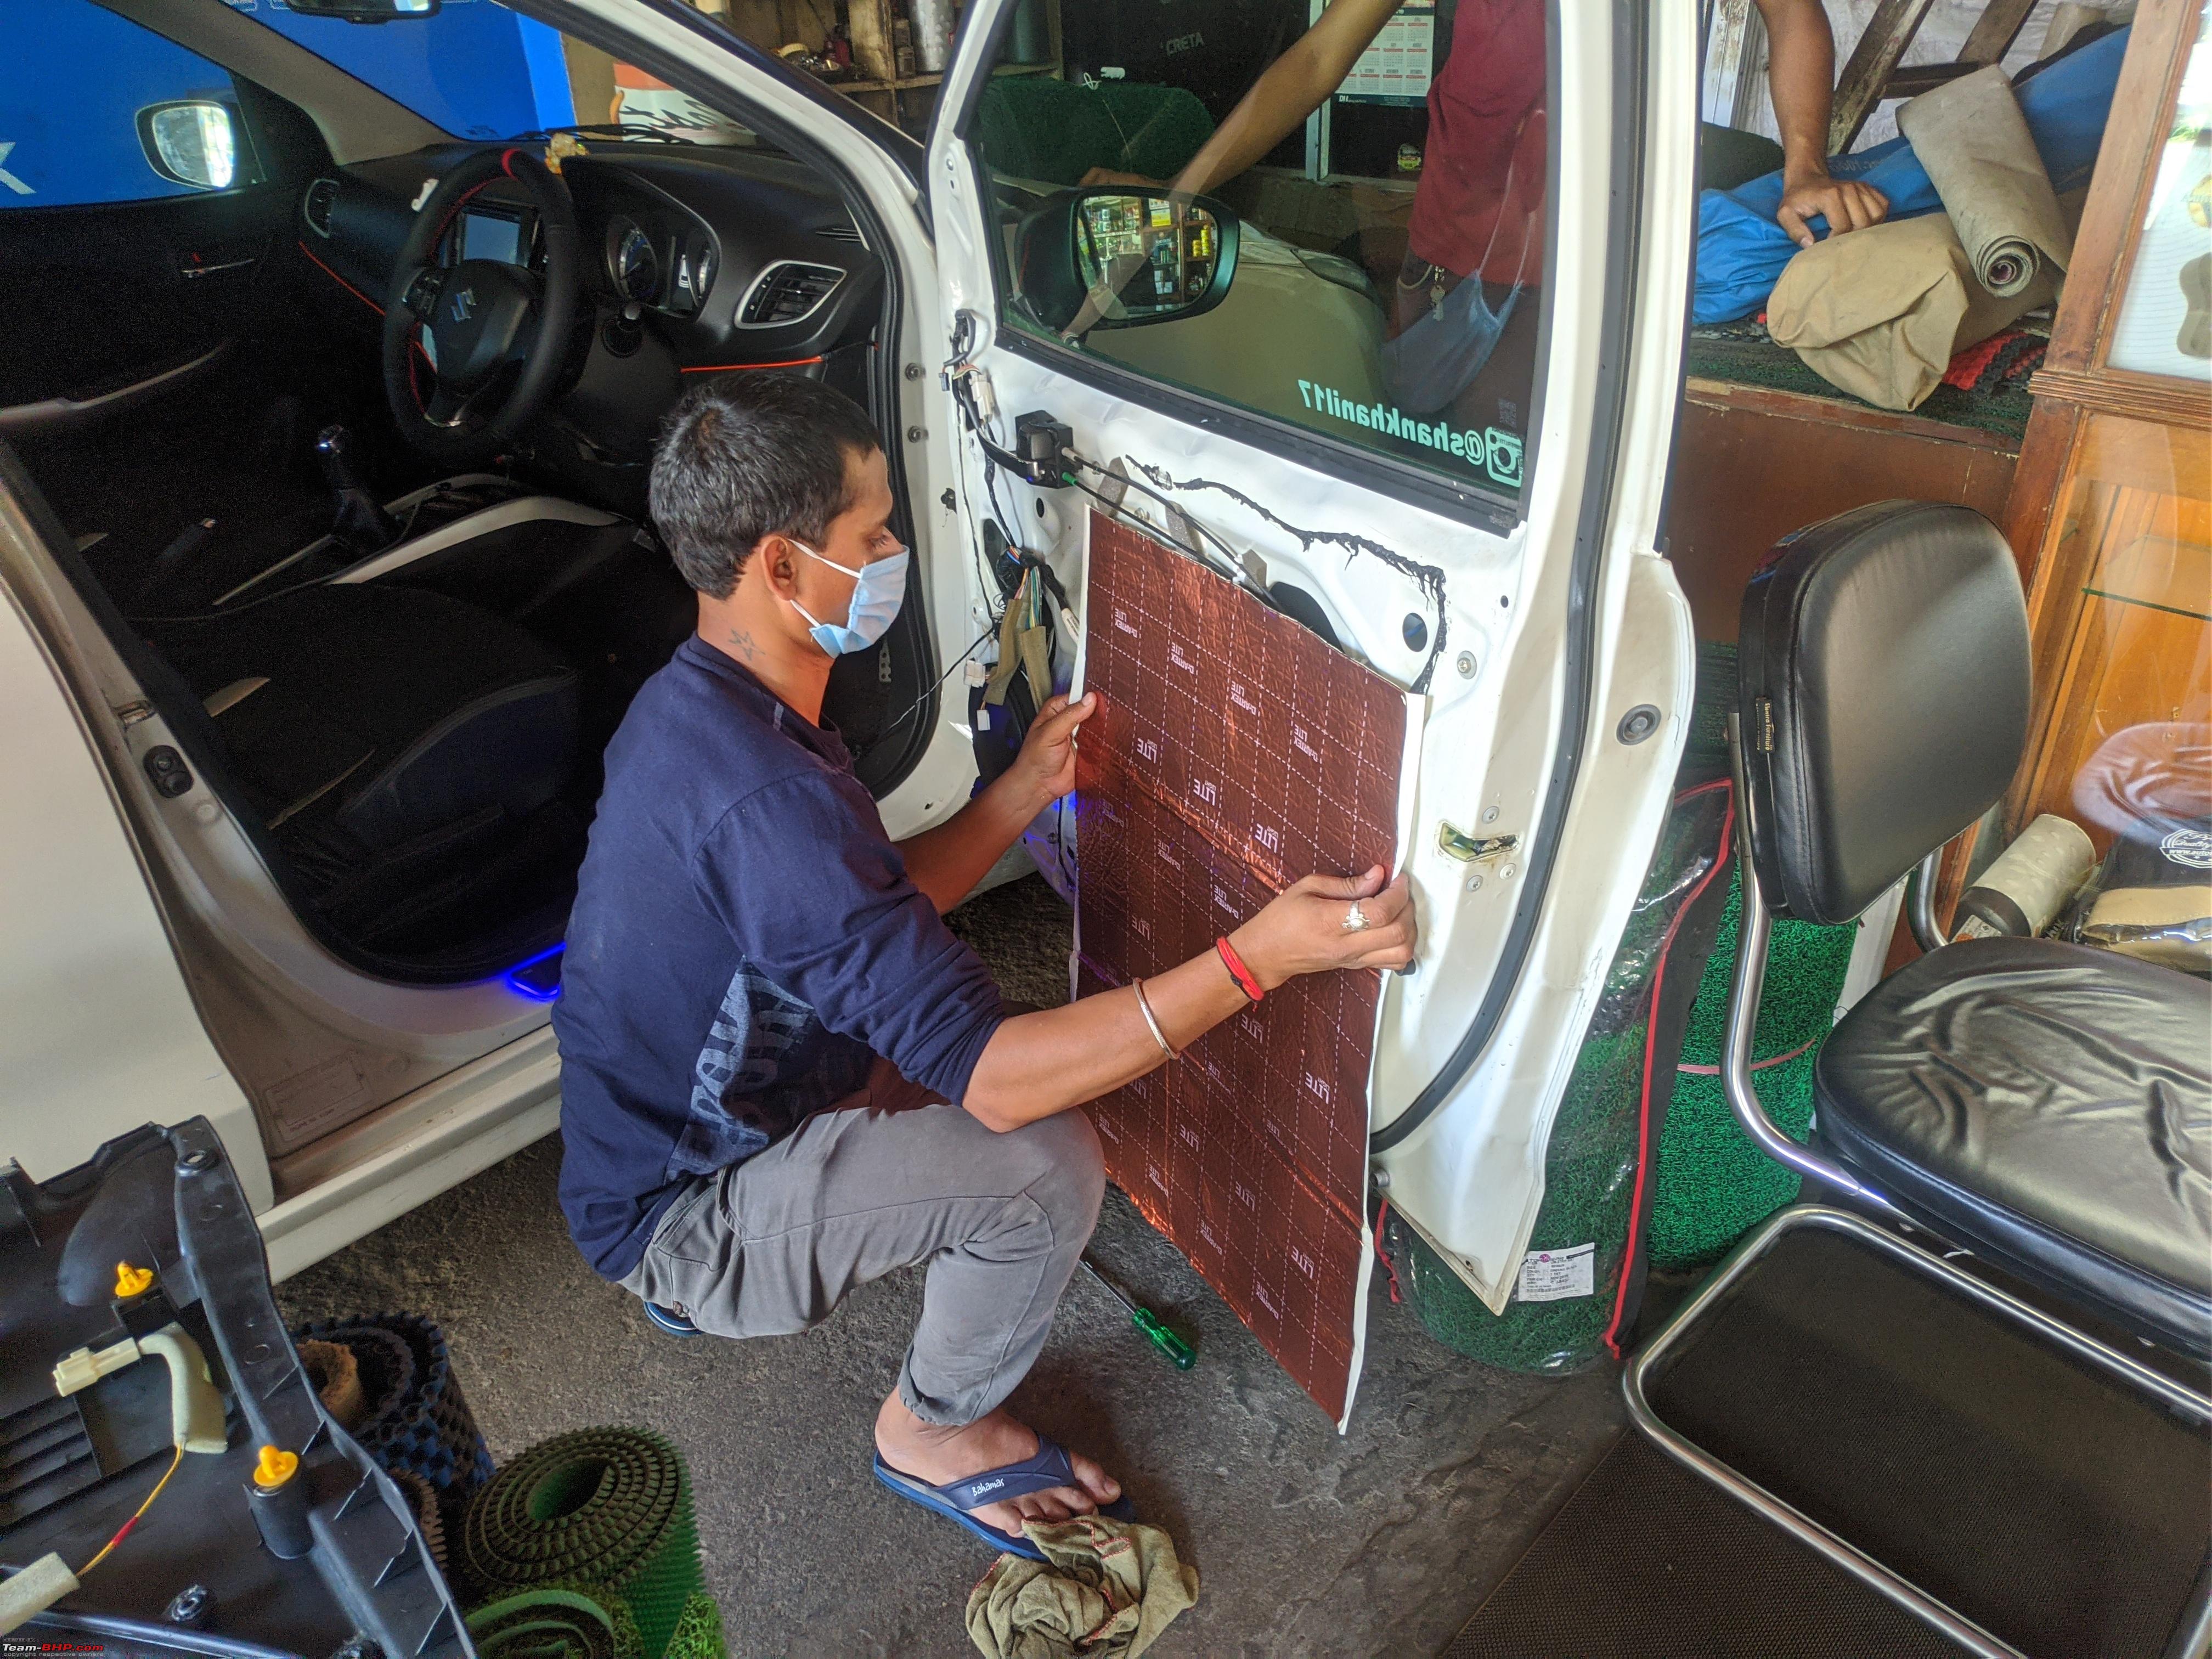 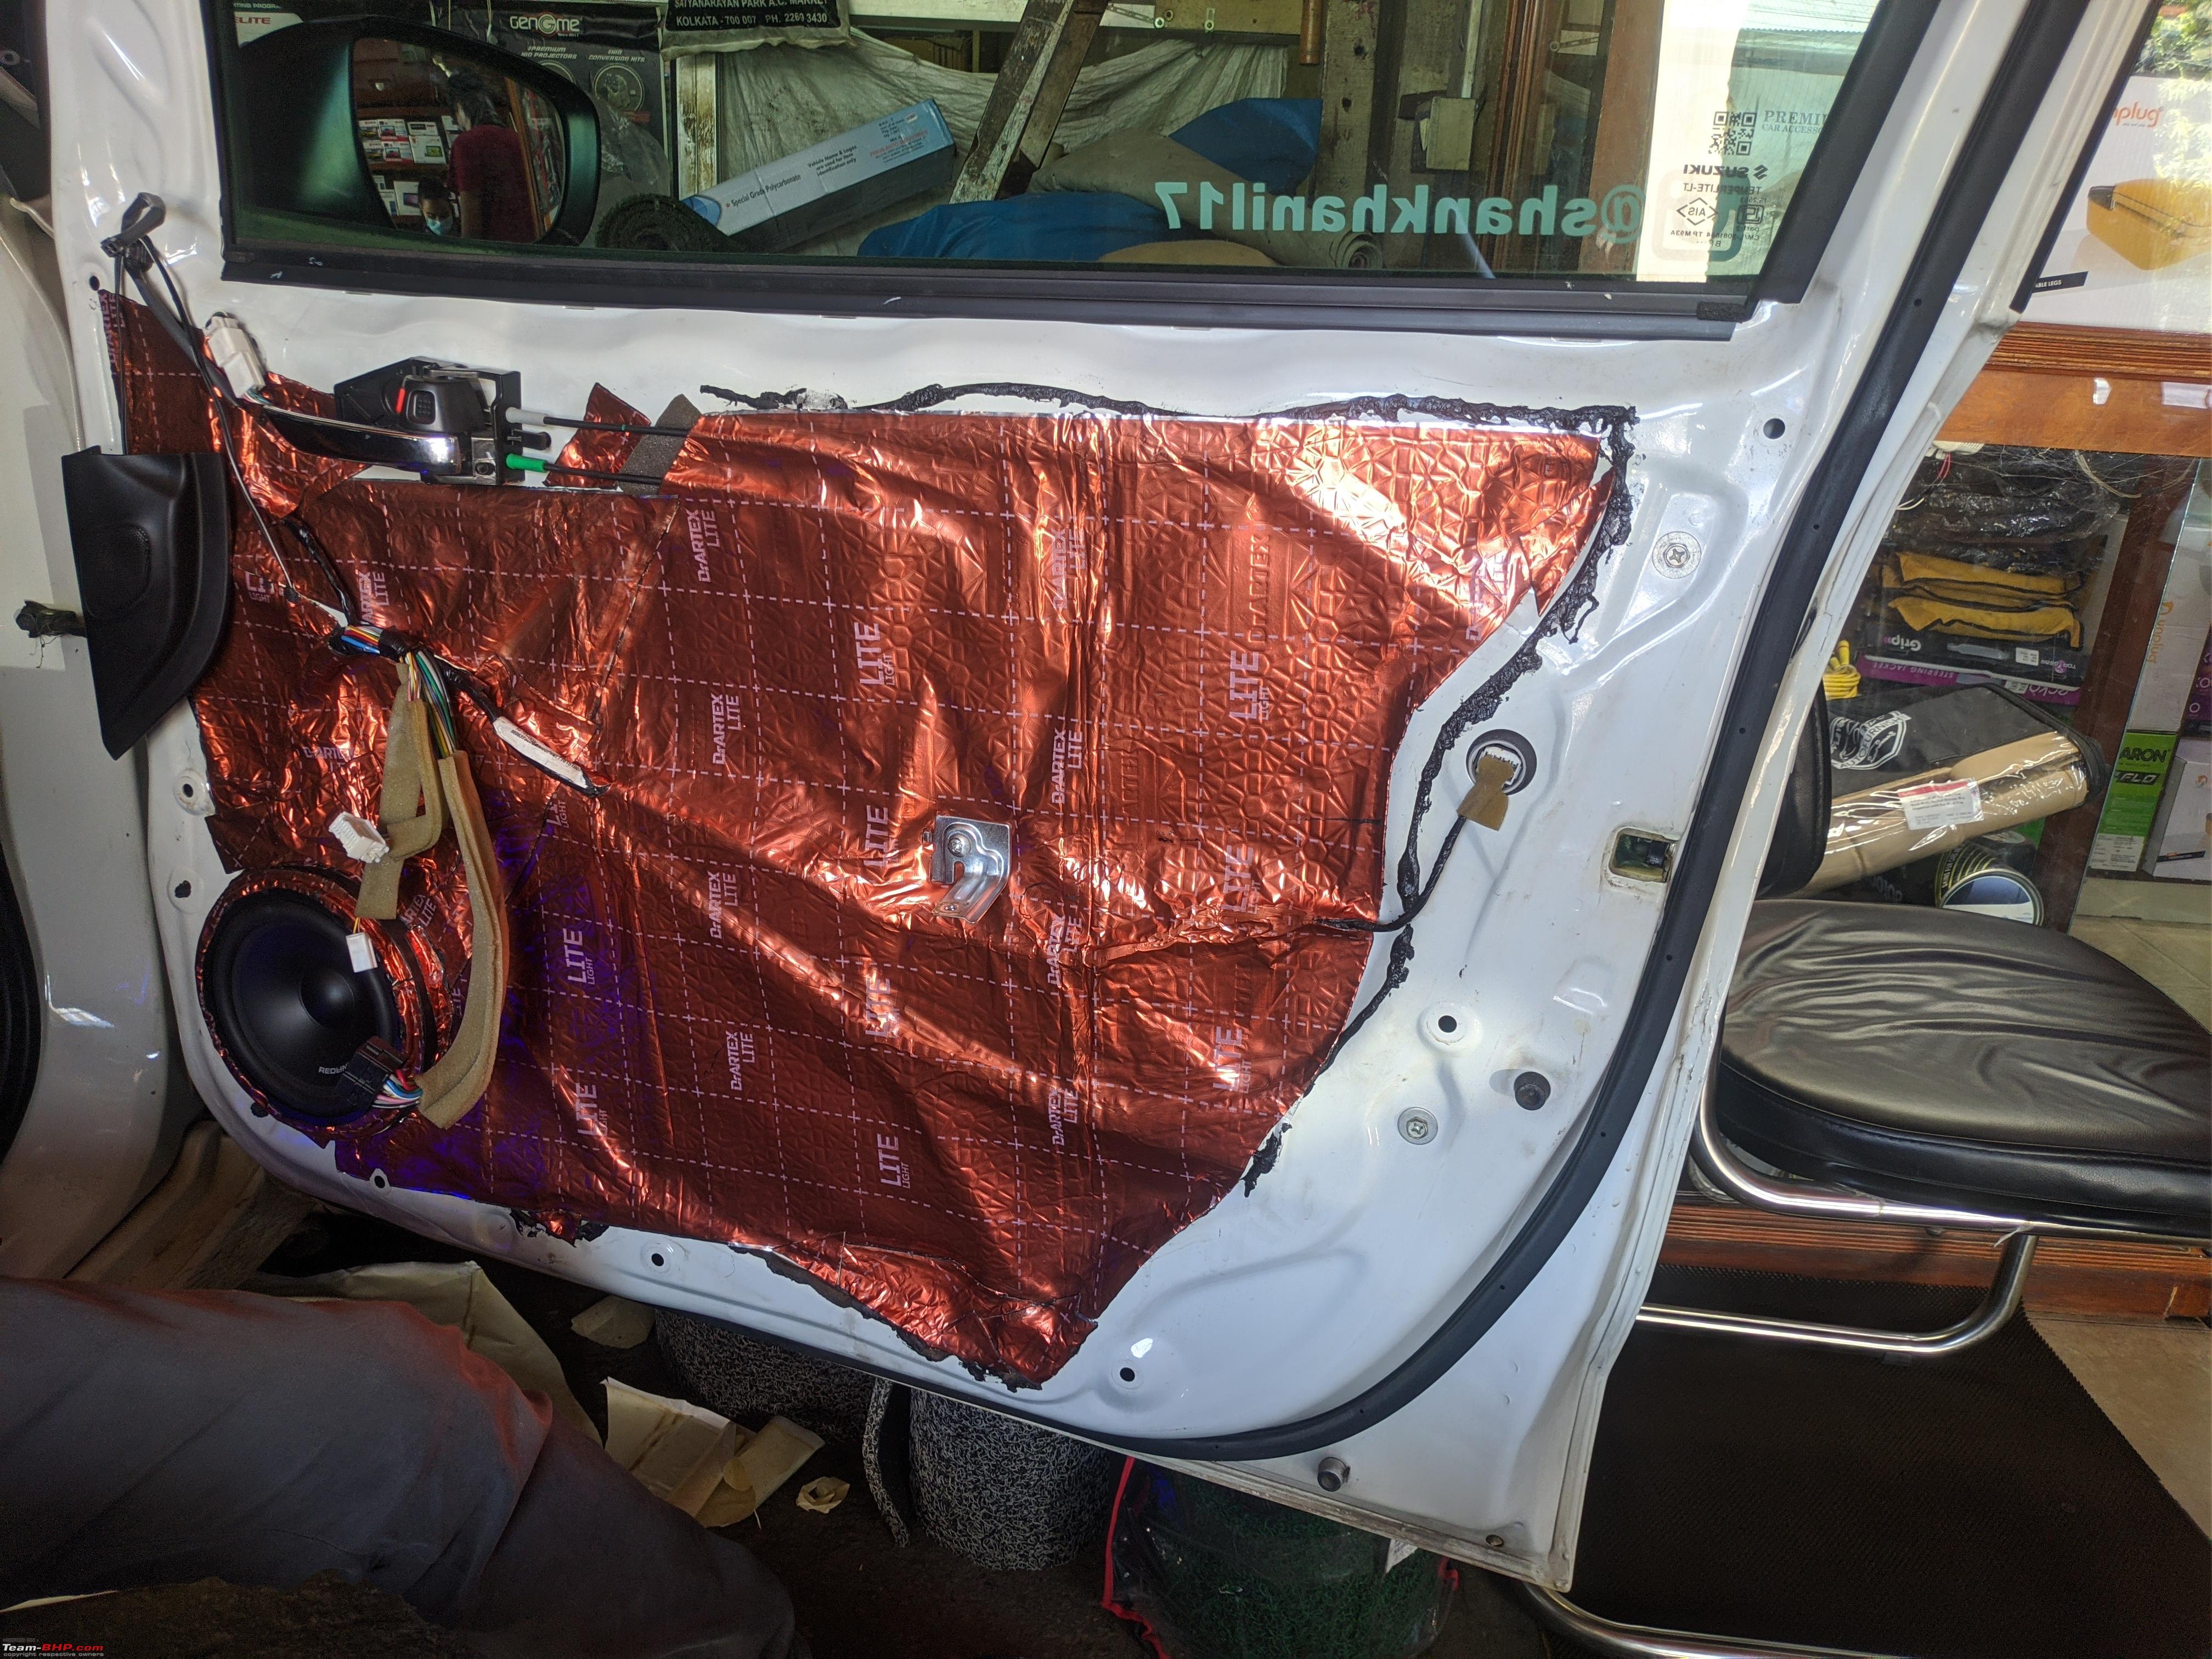  Last edited by chiranjitp : 15th June 2021 at 17:36. |
|
| (30)
Thanks
|
| The following 30 BHPians Thank chiranjitp for this useful post: | adwaith, Akshay6988, Arnav Vaghela, BhaskarG, Big Smoke, DevOnWheels, digitalnirvana, glovins2004, GTO, gunin, hmansari, InControl, keroo1099, motorpsycho, Nitish B Shetty, ramnaresh_2000, Researcher, Rshreyansh, SnS_12, swiftnfurious, Tanveer02, theexperthand, TheLxGuy69, Thermodynamics, The_Outsider!, vigsom, viren83, vredesbyrd, wheelguy, yajaman99 |
|
12th June 2021, 02:48
| #5 |
| BHPian Join Date: Dec 2017 Location: Guwahati
Posts: 559
Thanked: 4,711 Times
| re: Modification Diaries | Maruti Baleno Zeta | Remap, lowering springs, exhaust, audio upgrade & more Phase 6 In between during the days of partial unlock, I drove the car as much as possible. Enjoyed all the mods to its core. Also ordered miscellaneous items like EL wire ambient light. It was mentioned to be red colour, but in real it was closer to orange. Nevertheless, it did its job for a month or two, after which I ordered another blue variant. Then soon after, I heard about a led based ambient lighting system controllable via Bluetooth. I immediately ordered it and ditched the blue one. The quality was superior and the lighting was perfect. The interior did seem smarter. LED ambient light upgrade: 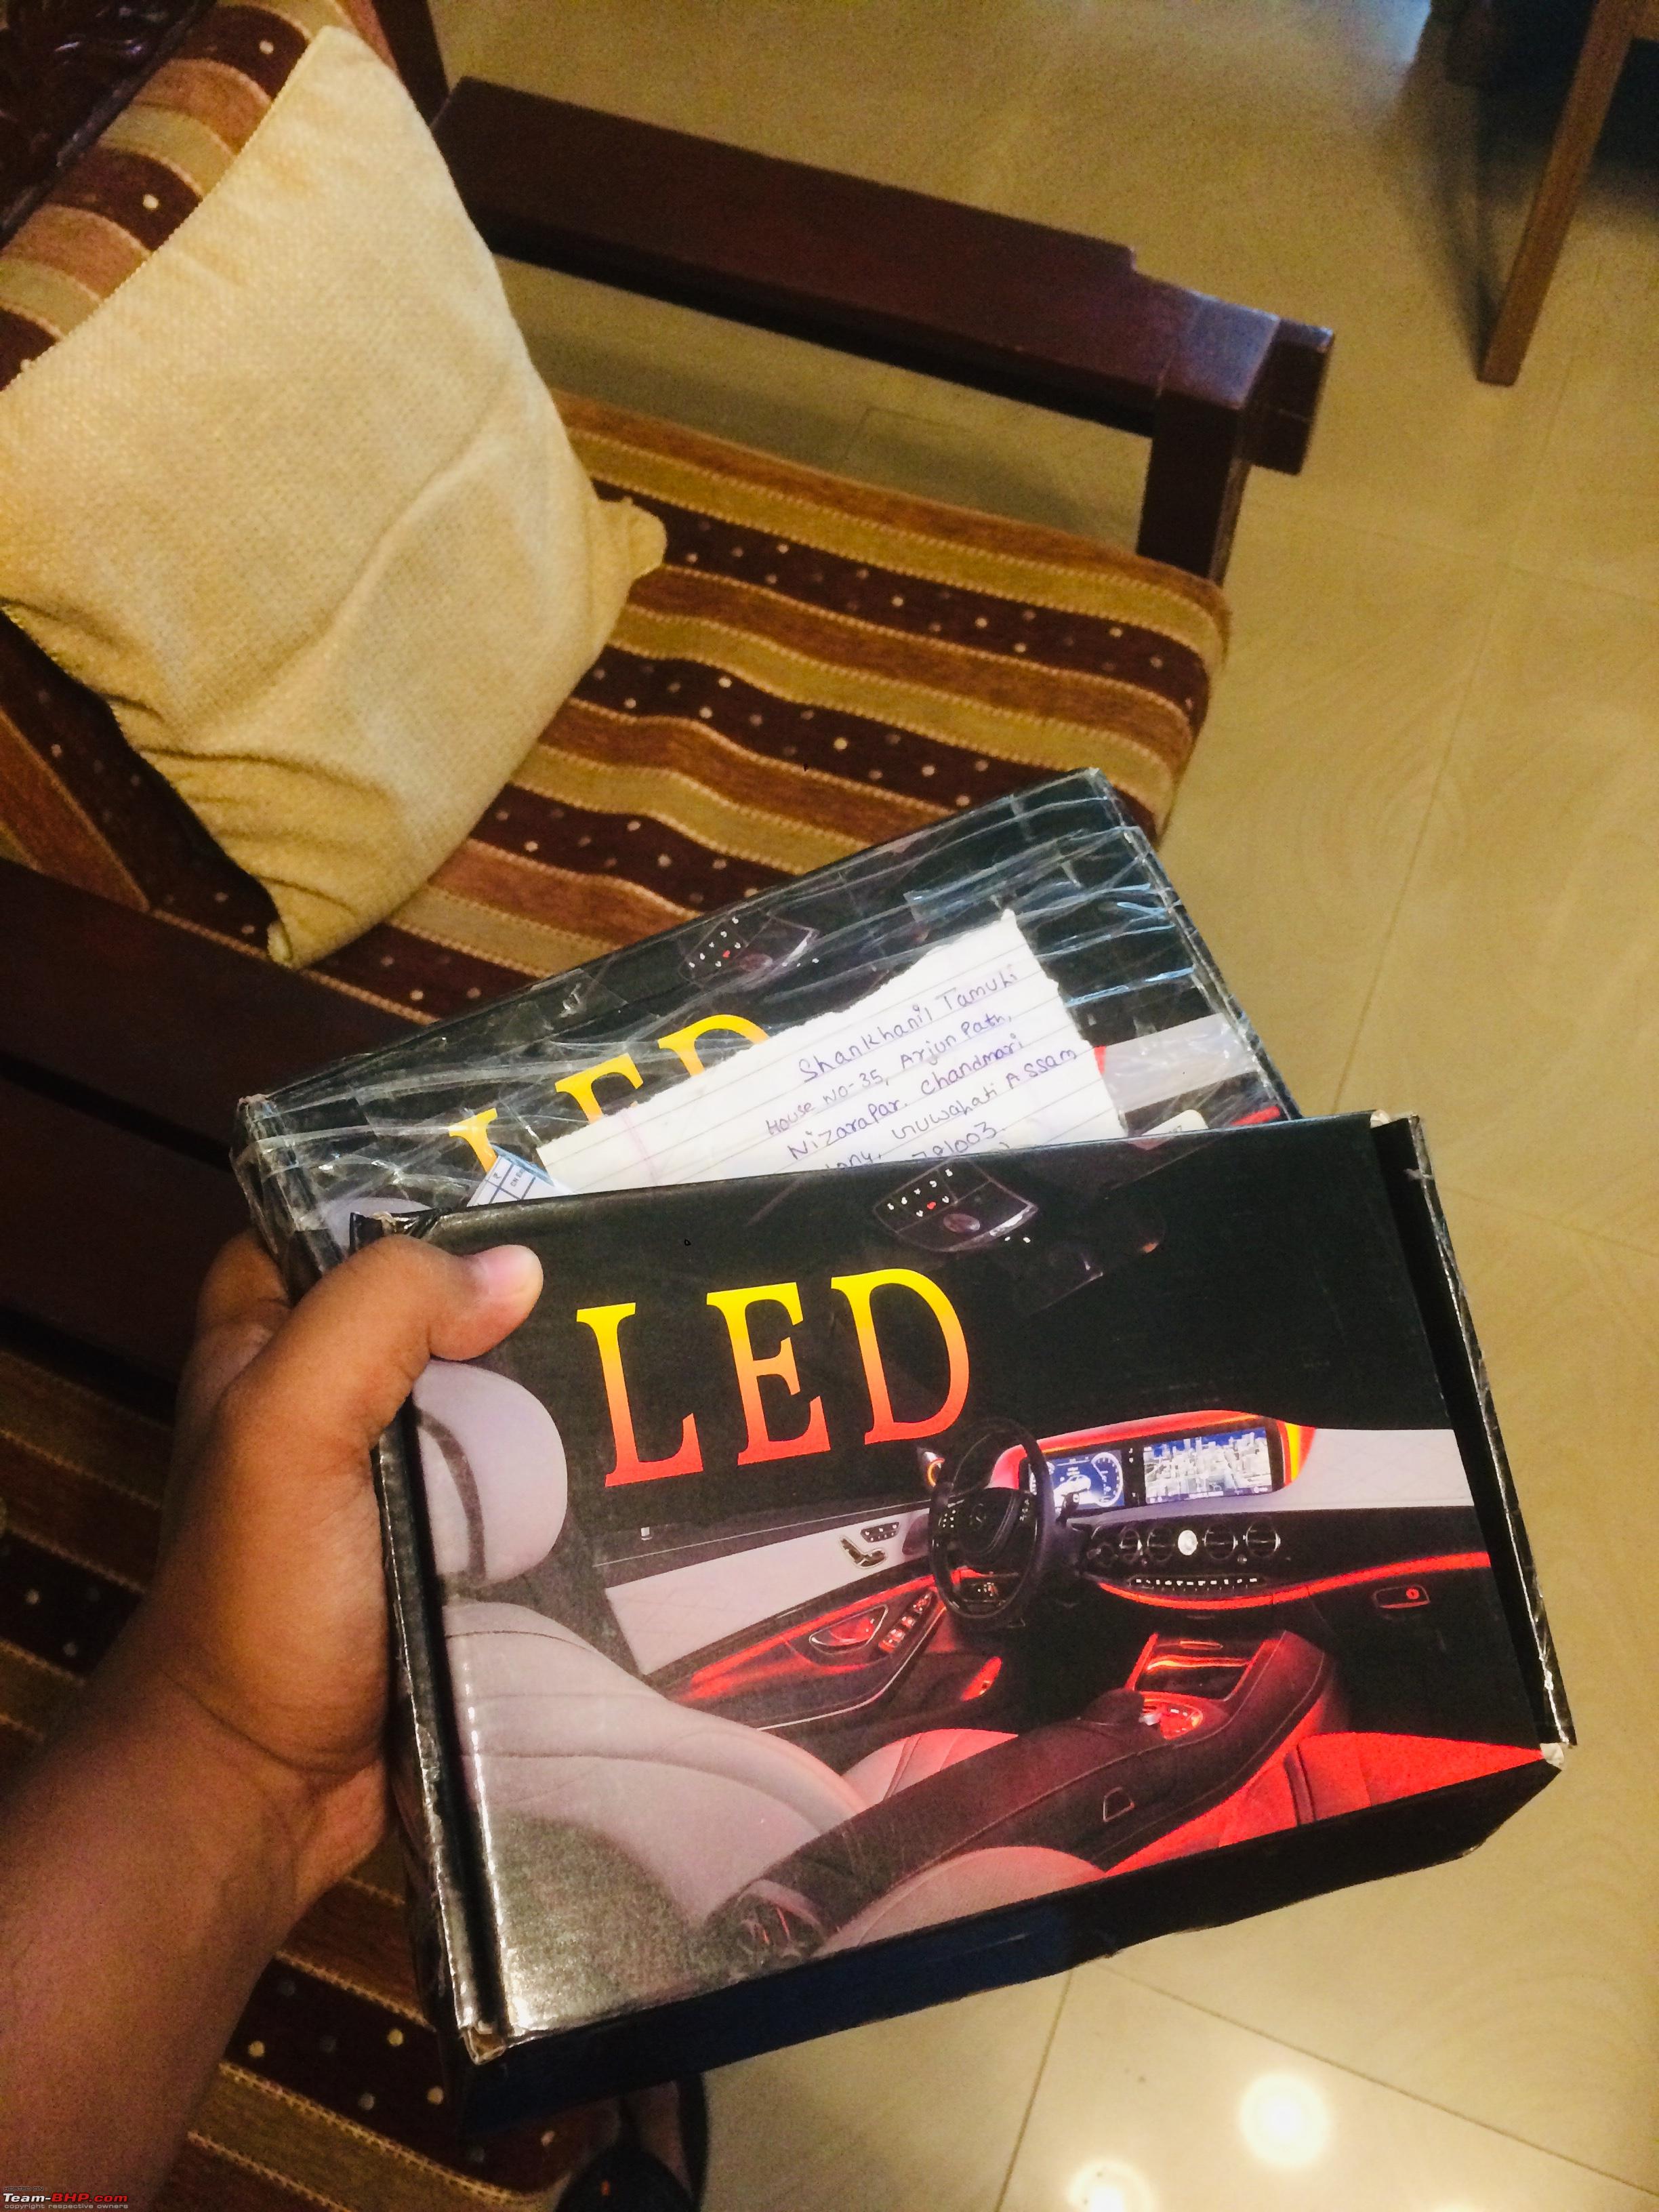 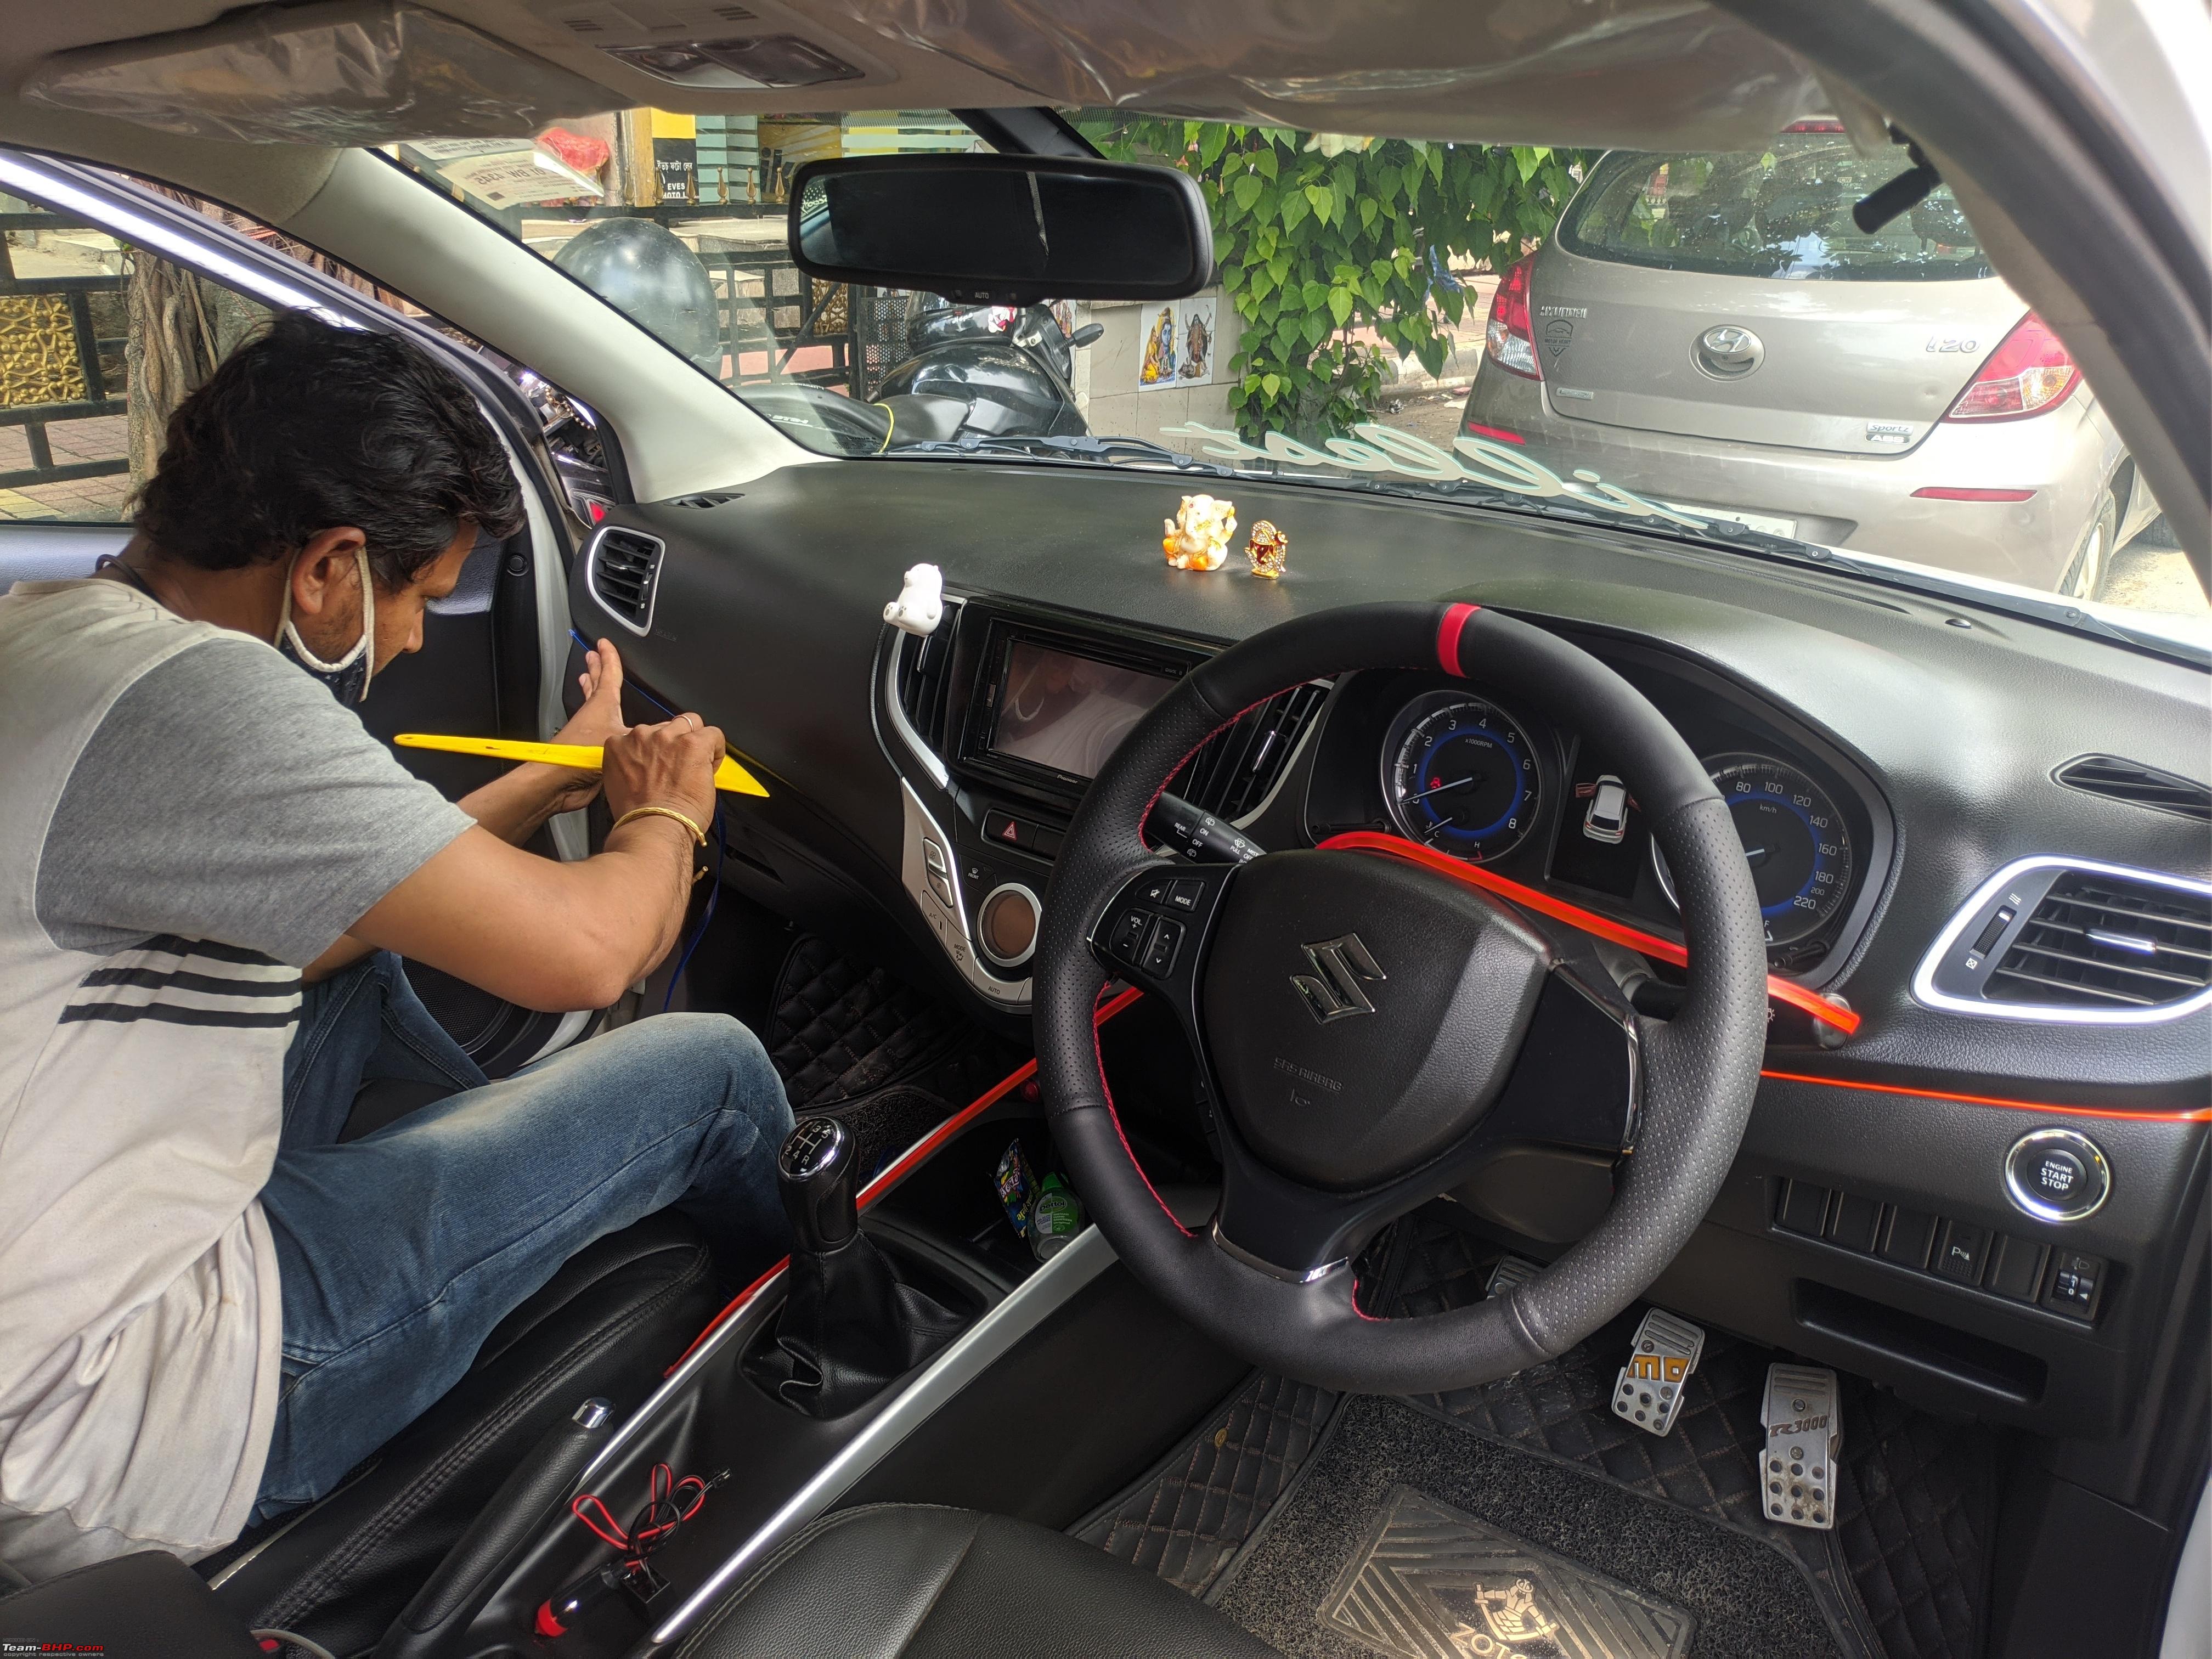 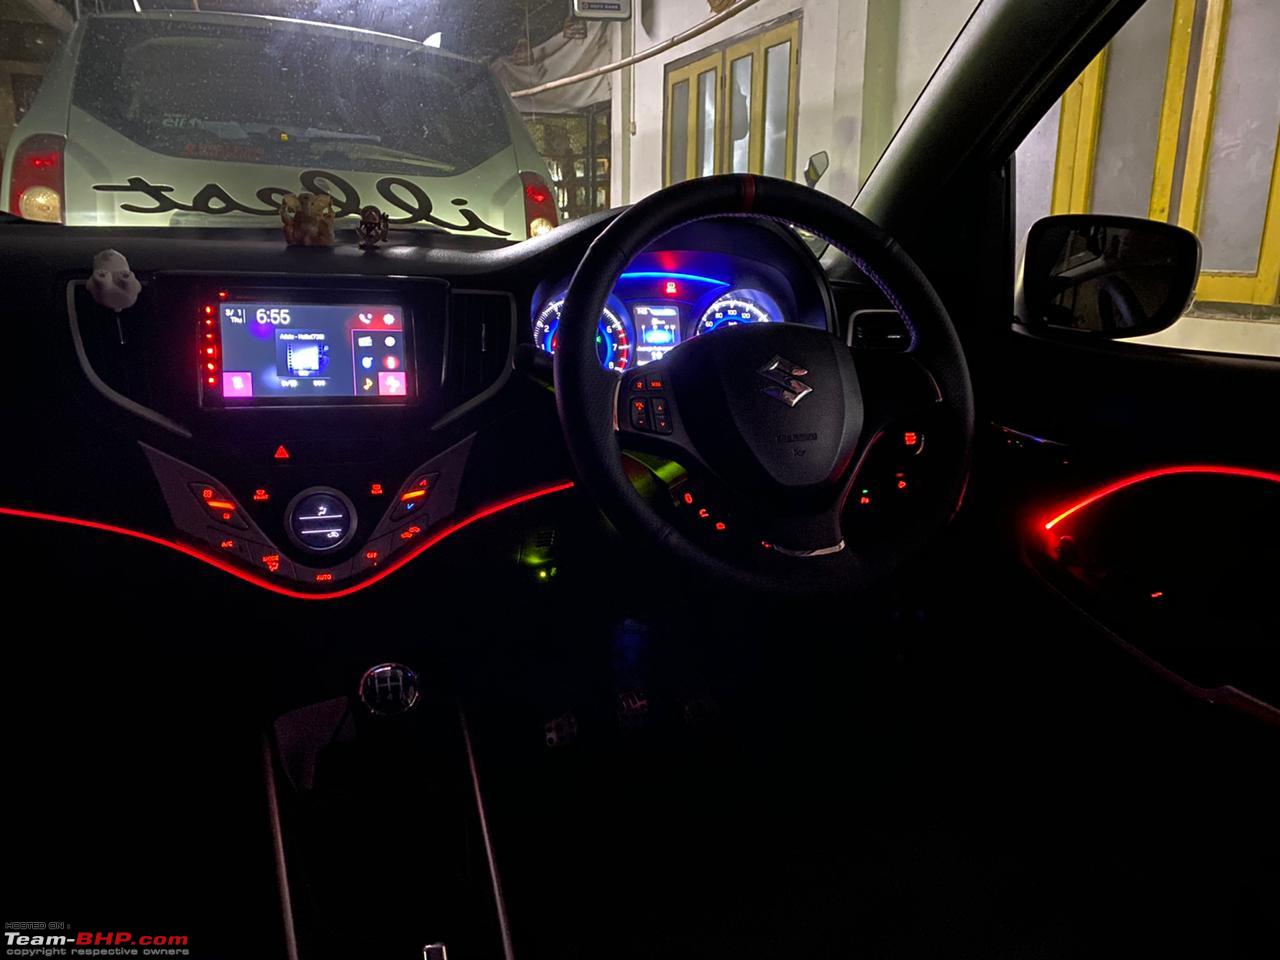 One fine day municipality decided to break our road for upgrading the drainage system, which meant we couldn't take our vehicles out. The predicament lasted almost a month. I suddenly thought why not make the most out of it. I always wanted to remap my Baleno. Being a NA engine I was aware of the little power gain but what I wanted was incorporation of pops and bangs. A friend of mine recommended Redbandracing from Kerala. I talked with Abhijit, who gave me the confidence of shipping the ECU over to Kerala. Although he said it might take few attempts to get the pops and bangs right. They had done up a Swift K12 (latest gen) which too has the same engine like the Baleno, and the owner gave a positive response. I immediately shipped away the ECU and Baleno went into hibernation mode. Stock ECU location: 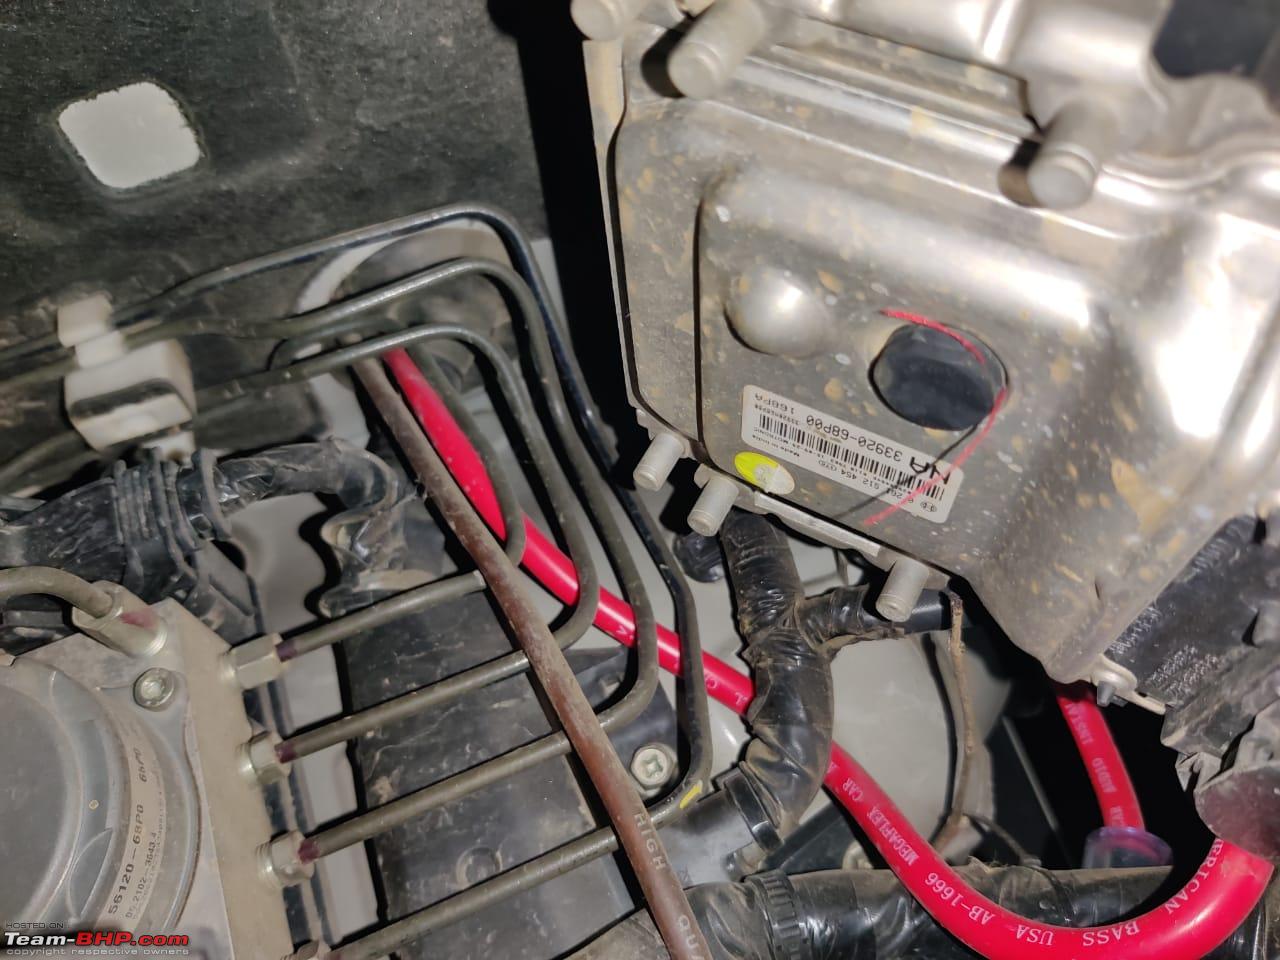 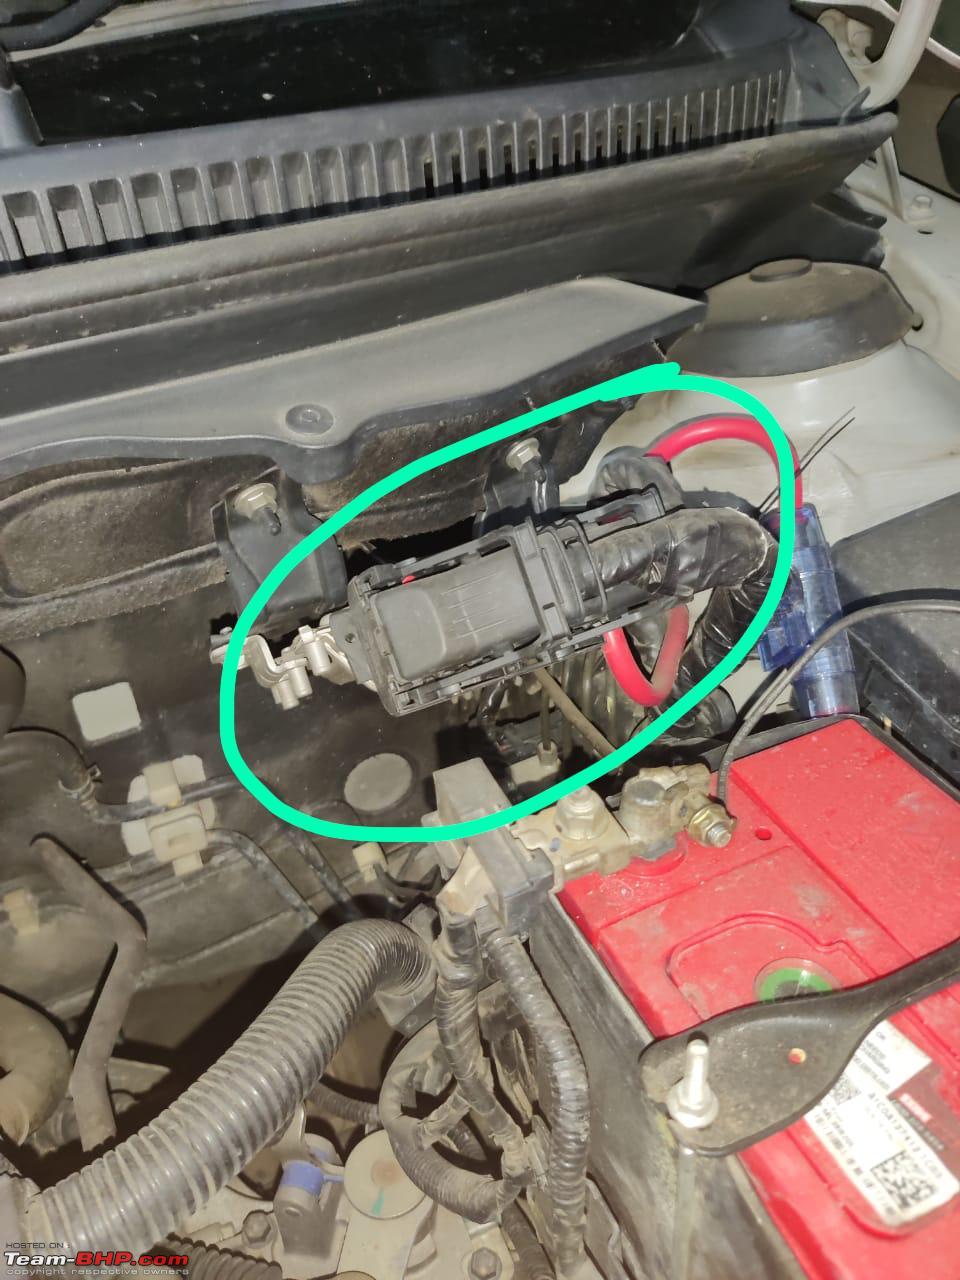 ECU removed: 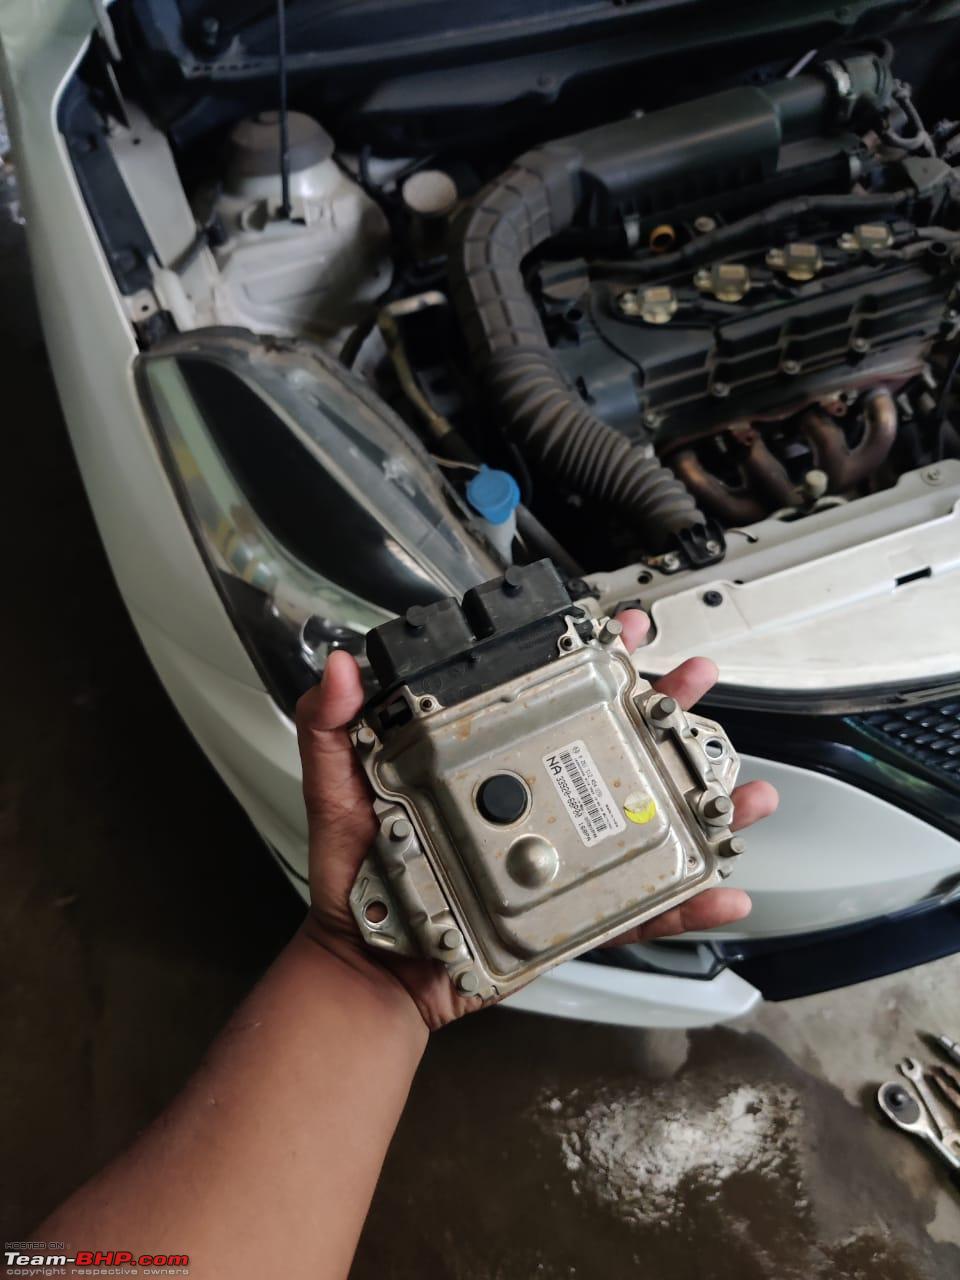 Off to Kerela:  Abhijit also told me that a decat exhaust system is mandatory for pops and bangs. Following which I ordered a 4:2:1 header from Silencer House, Delhi. The waiting begun, and I could do nothing but wait hopelessly. After a week or two, both the ECU and header arrived. The mechanic came to my home to fit the header and fix back the ECU. Fingers closed, I started and she roared to life. My god, it was damn loud. After letting it idle for a while, I stomped the throttle and to my disappointment there were no pops and bangs. I took it out for a drive and the power gain could be felt immediately. Initially, the low end seemed to increase quite a bit and the car behaved briskly to throttle inputs. However, it couldn't suffice my temptation for pops and bangs. I talked with Abhijit and he replied I have to send the ECU back. And did I forgot to mention, the car sounded absolutely terrible (too loud as well). With the decat, the car basically had just one acoustic device being the remus endcan. I happened to learn that full system exhausts require a resonator to give the perfect sound. ECU flashing in progress: 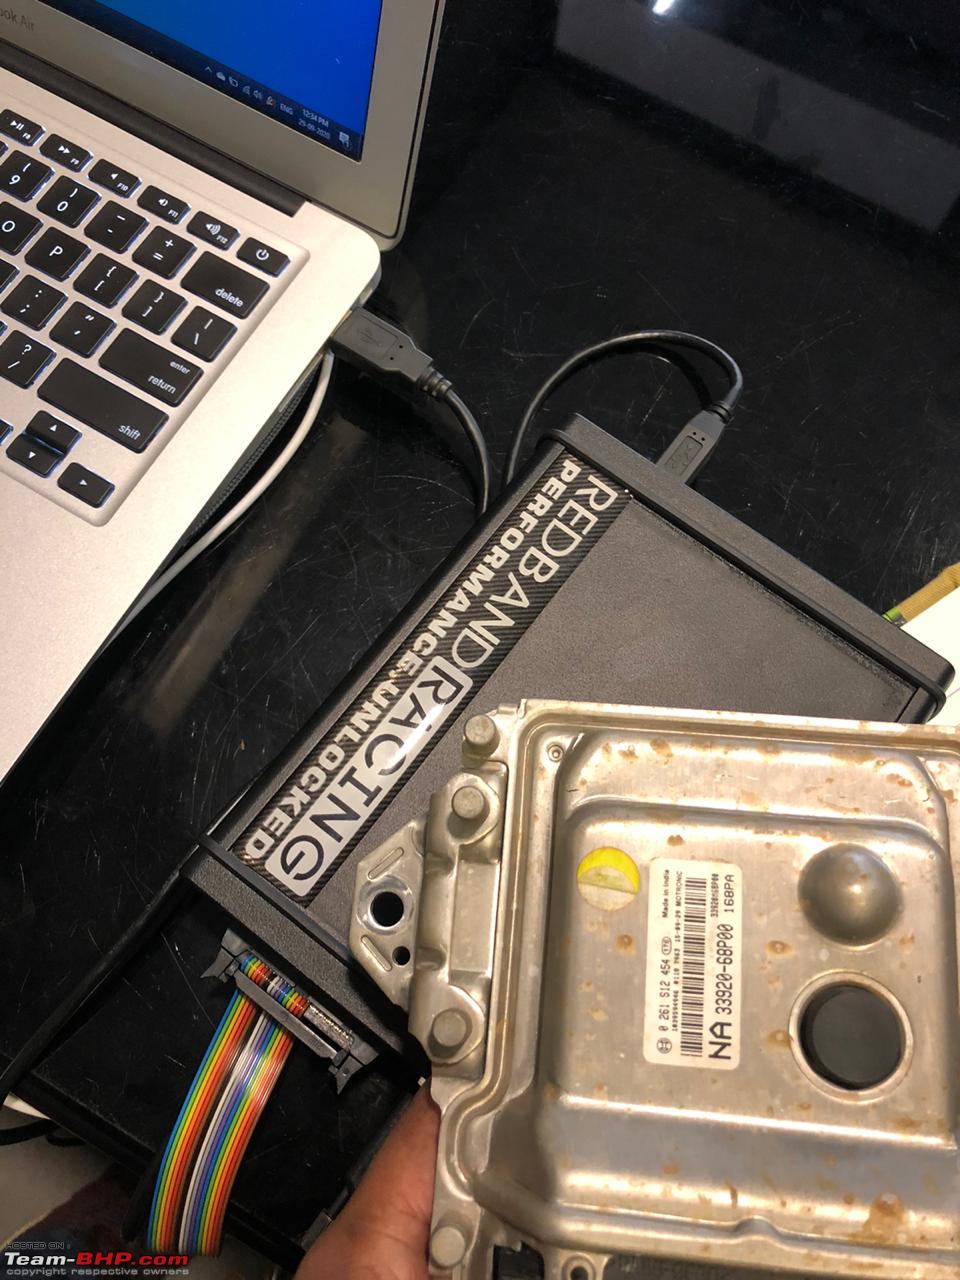 The custom header:  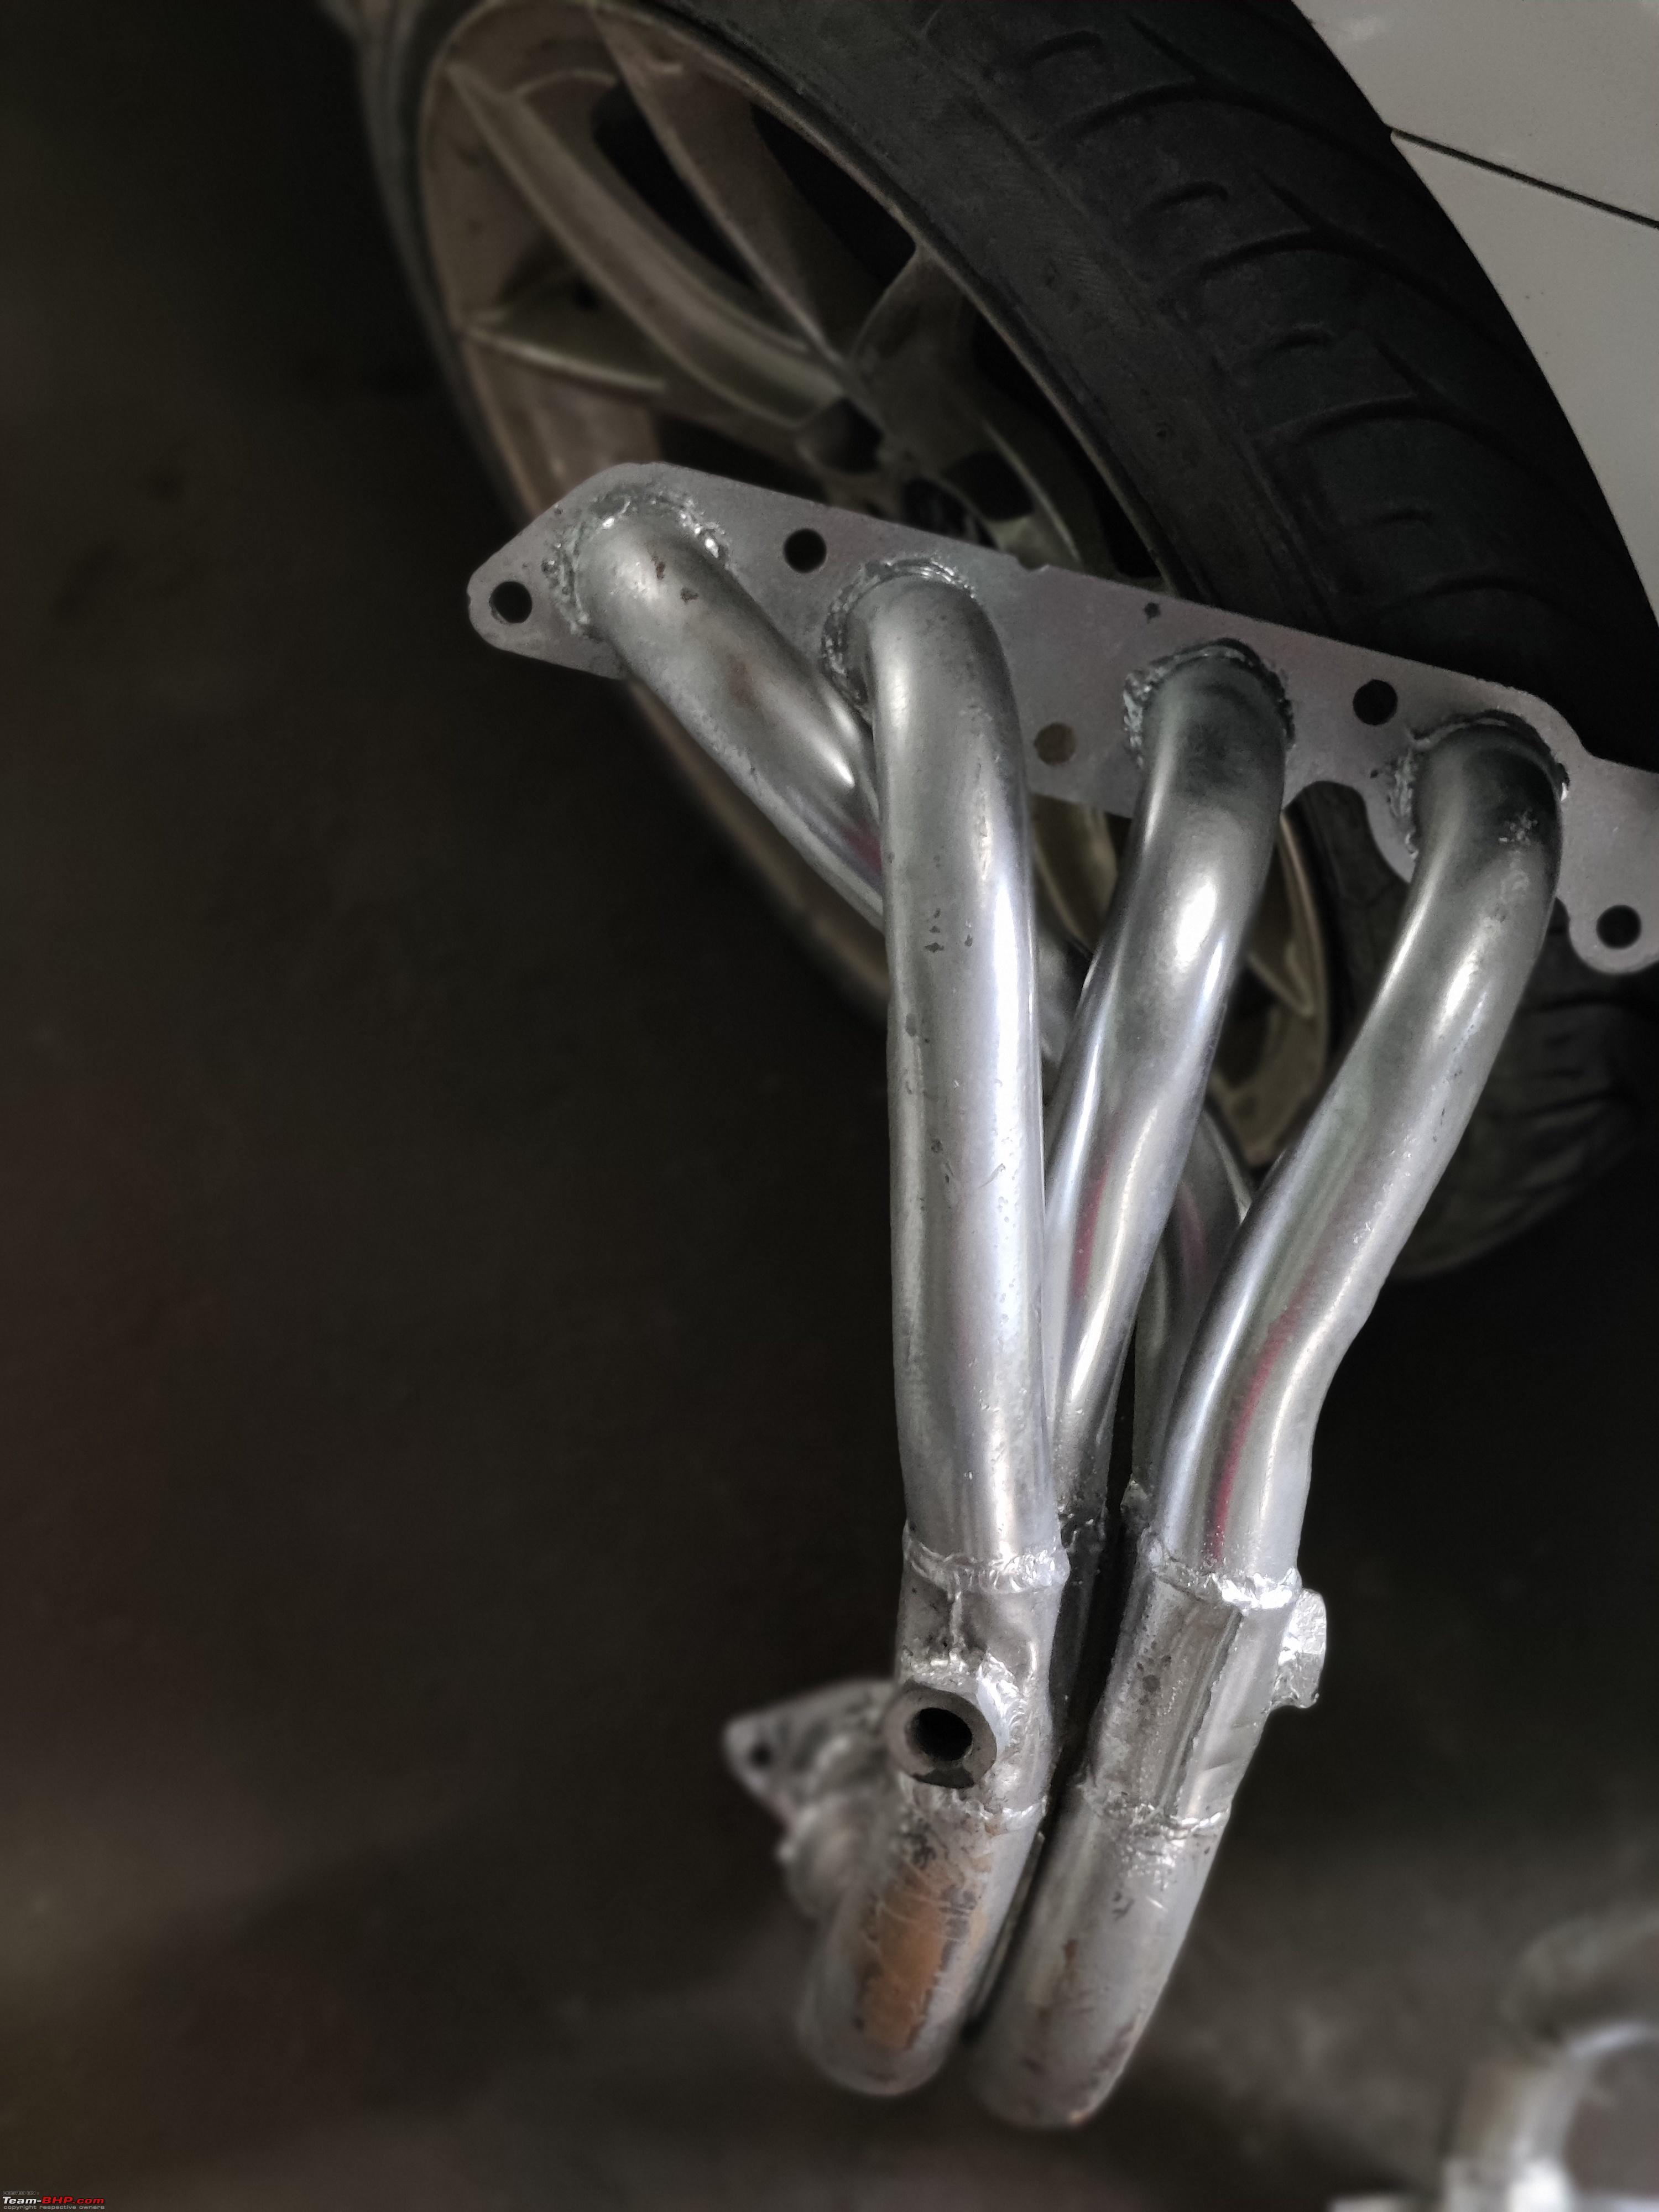 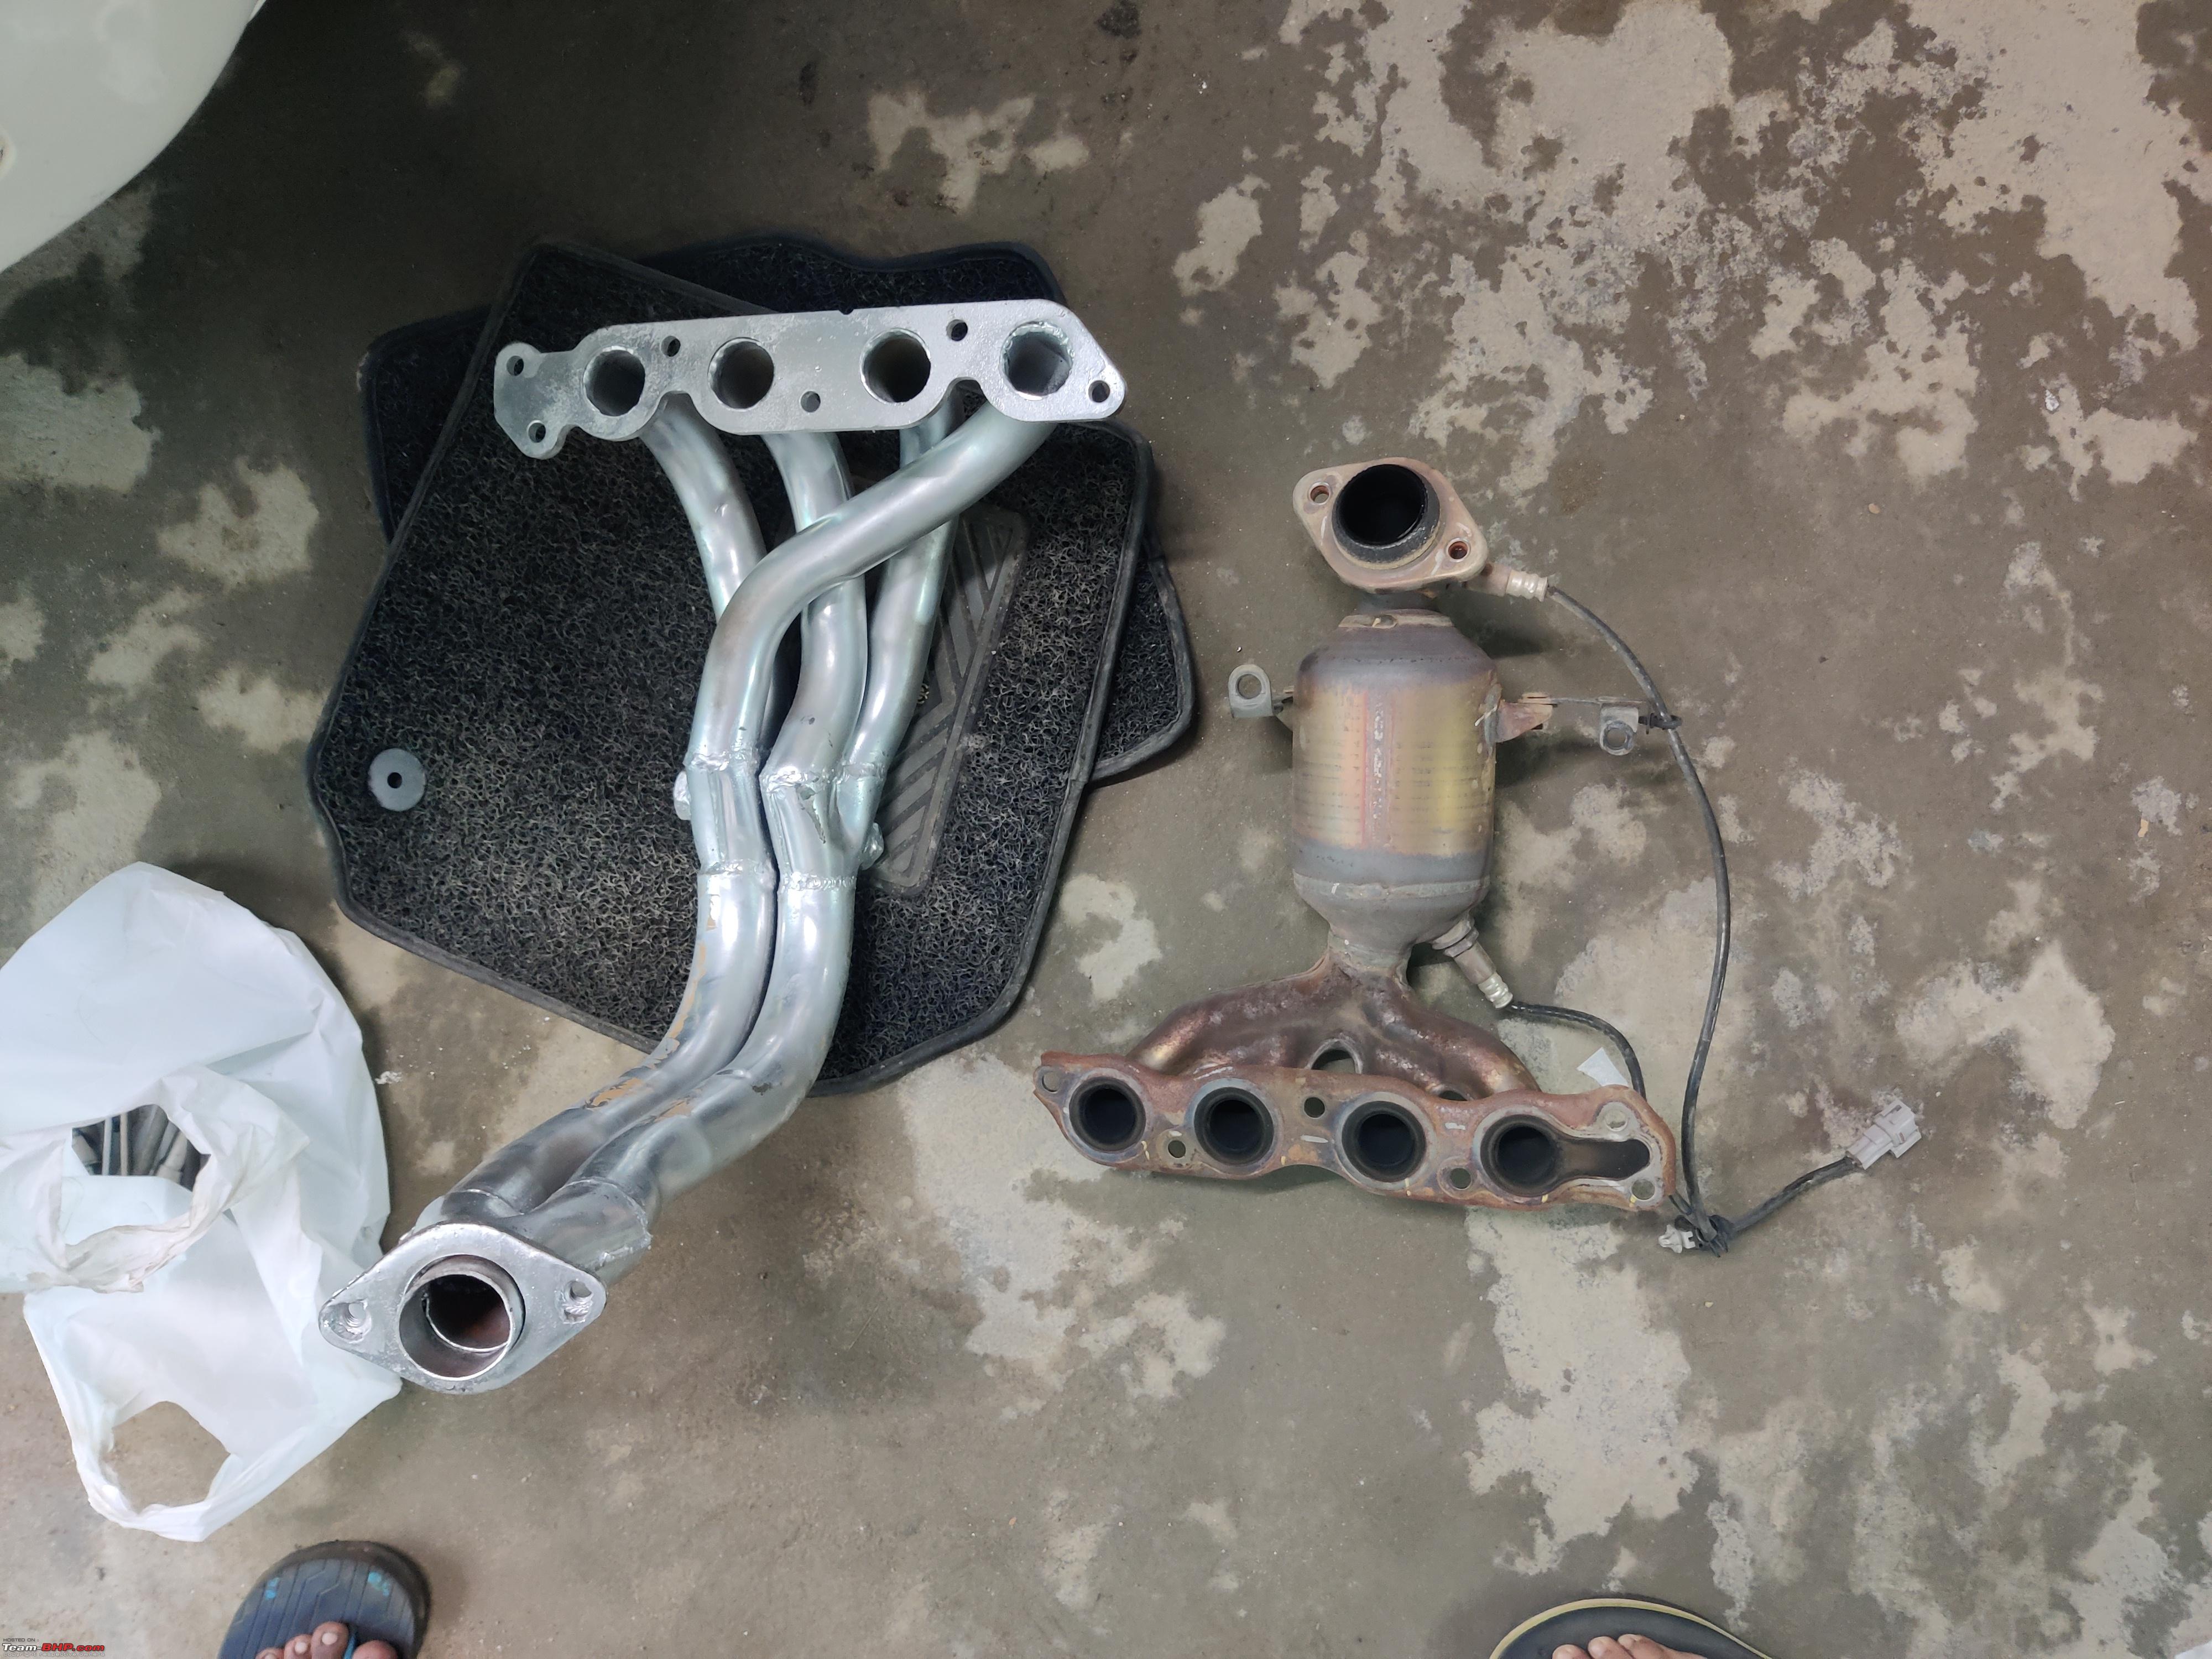 Custom header installed: 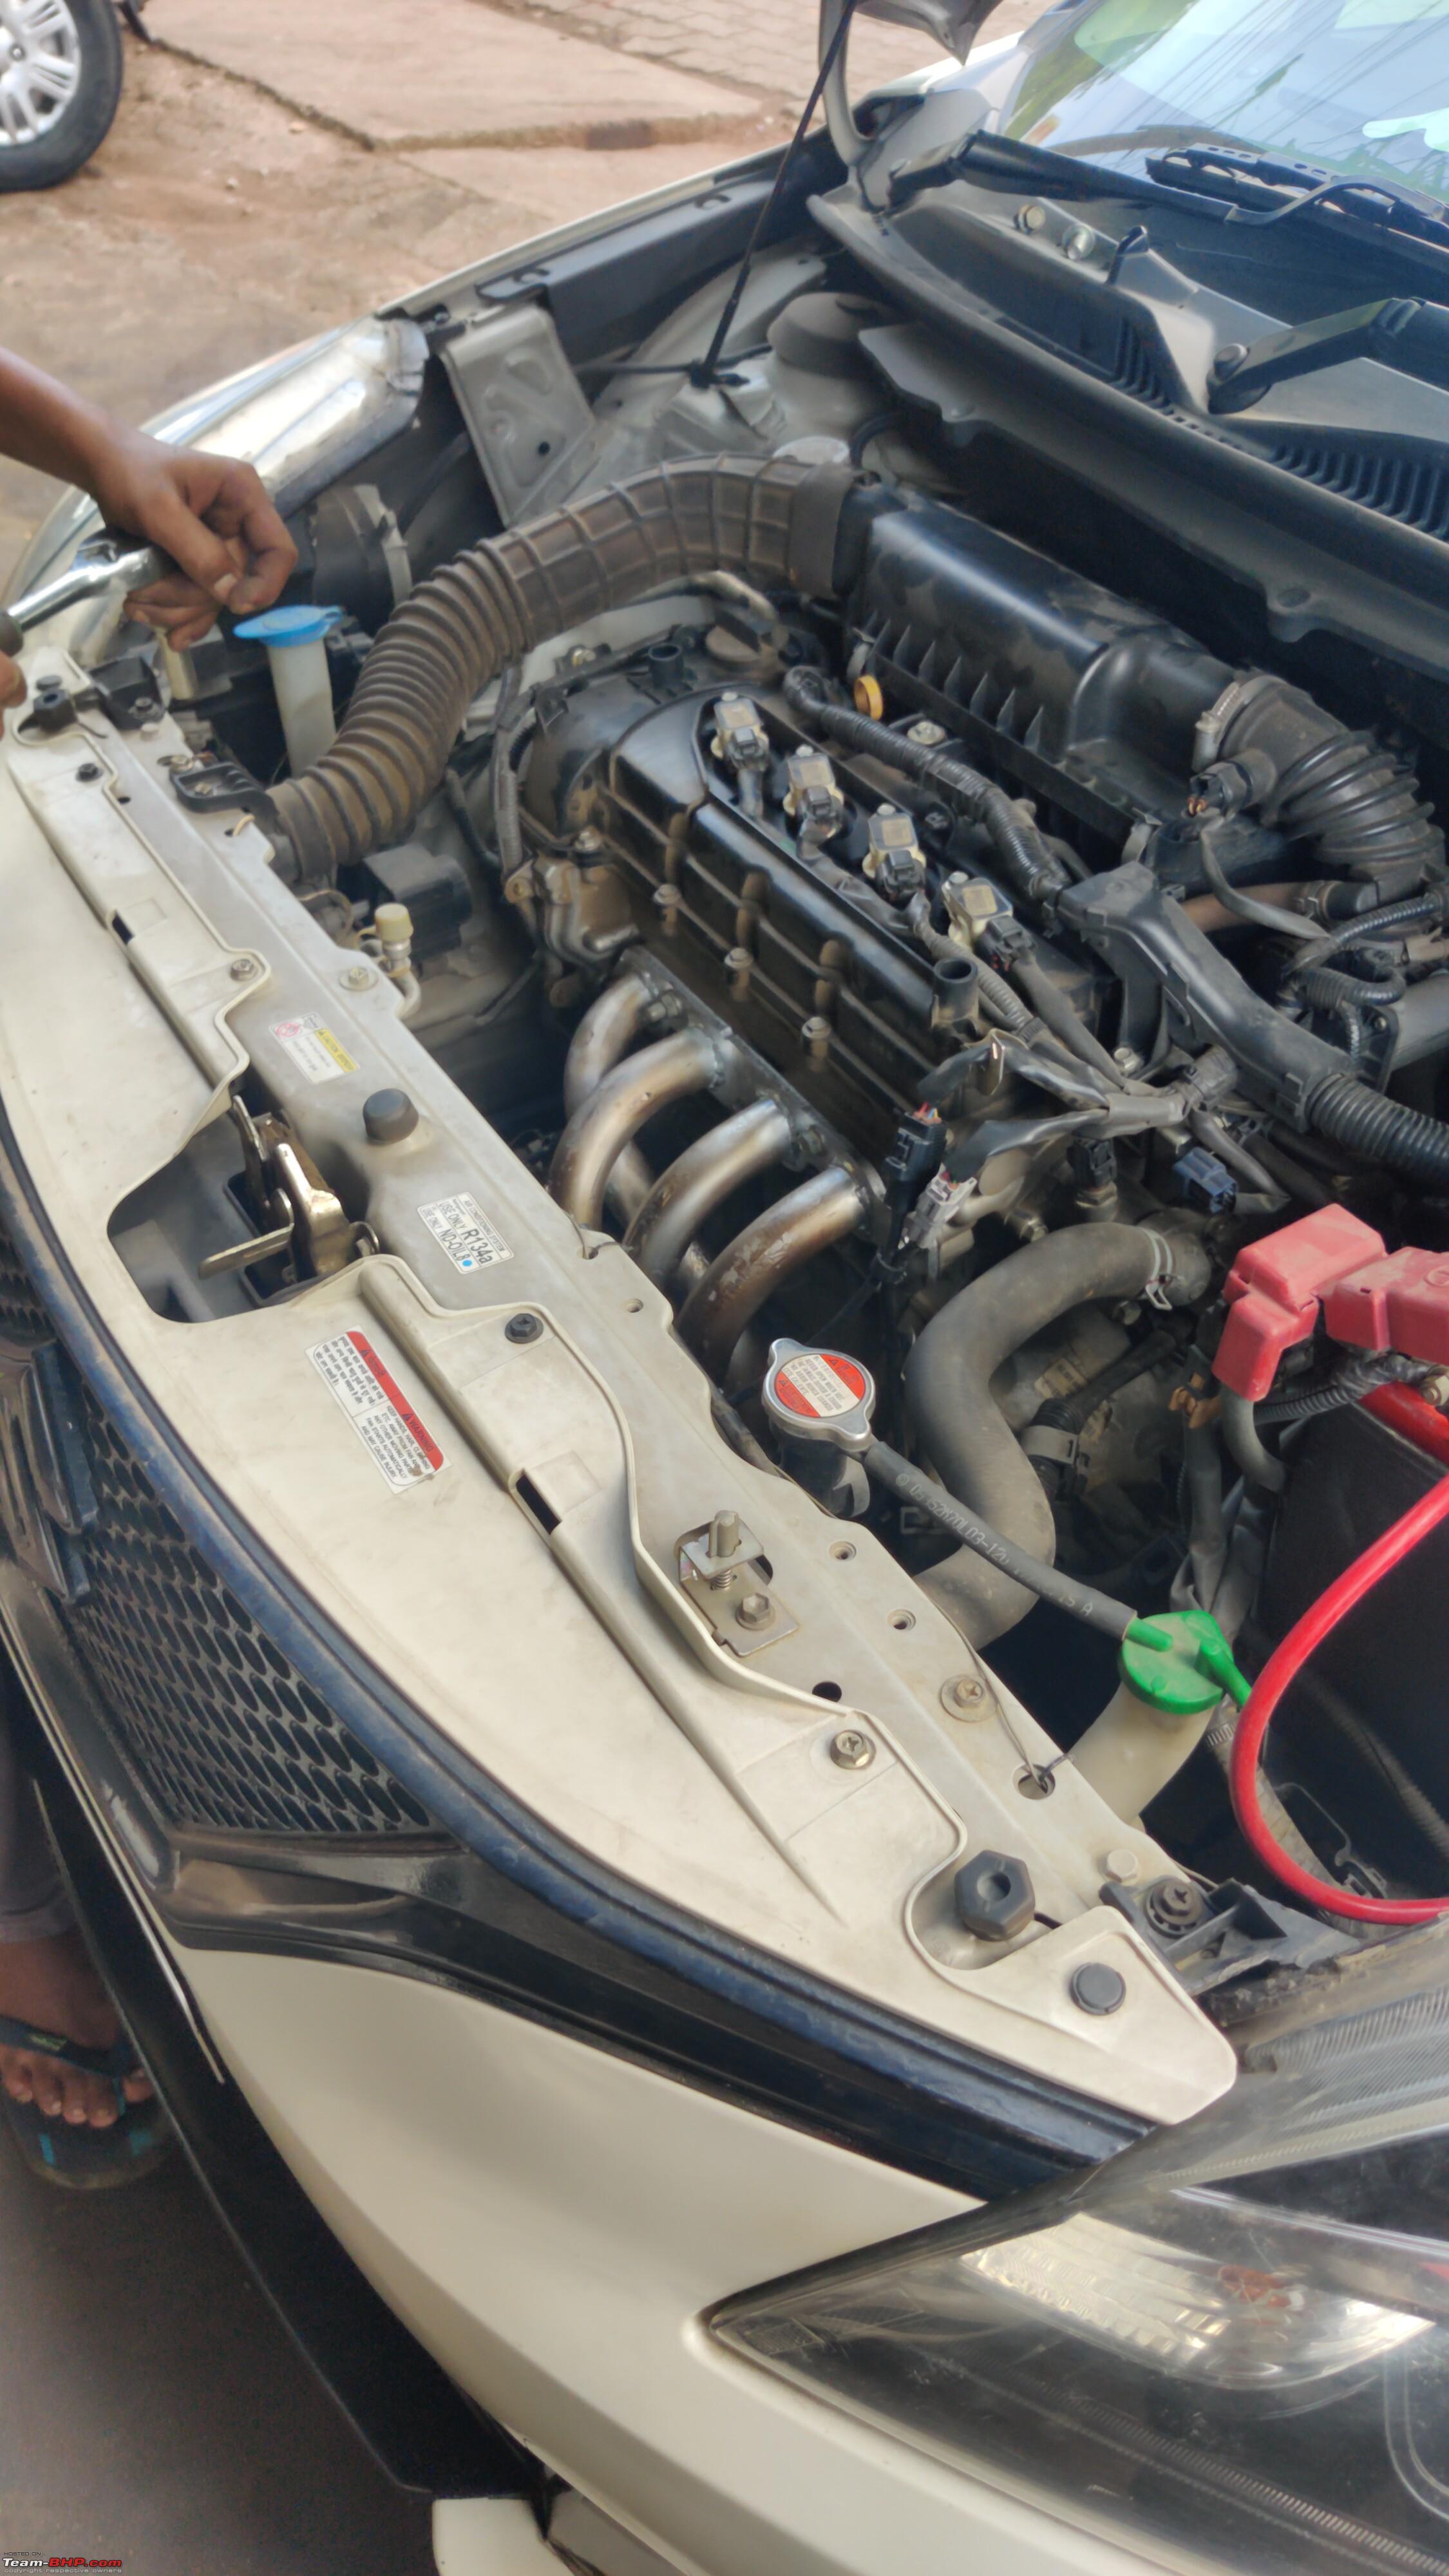  I shipped the ECU back to RBR and contacted Silencer House for suggestions to improve the exhaust note. Upon discussing, I finalized for upsized 2" piping, a bass oriented custom resonator and a Borla spitfire inspired custom endcan. Meanwhile RBR team sent a VCDS cable to take readings from my car. Two mornings I spent ripping the highways in 3rd gear for data logging. The data was logged via VCDS software, initially tutored to me via Dreamweaver remote access facility. I even enabled VCDS tweaks of VAG cars owned by my friends, which lent me a tuner feel  . After the data was logged, a revised map was prepared, loaded into my ECU and shipped back to me. Also the new exhaust system arrived, the Remus endcan was removed, and the new setup was put. The ECU was fixed back and I took the drive and I couldn't help but rejoice. The car felt energetic and did the fireworks above 3000 rpm. Post which many of my friends took a drive and all were impressed by the urgency the car had. I kept clocking kilometers with a wide grin on my face. . After the data was logged, a revised map was prepared, loaded into my ECU and shipped back to me. Also the new exhaust system arrived, the Remus endcan was removed, and the new setup was put. The ECU was fixed back and I took the drive and I couldn't help but rejoice. The car felt energetic and did the fireworks above 3000 rpm. Post which many of my friends took a drive and all were impressed by the urgency the car had. I kept clocking kilometers with a wide grin on my face.Borla inspired end can: 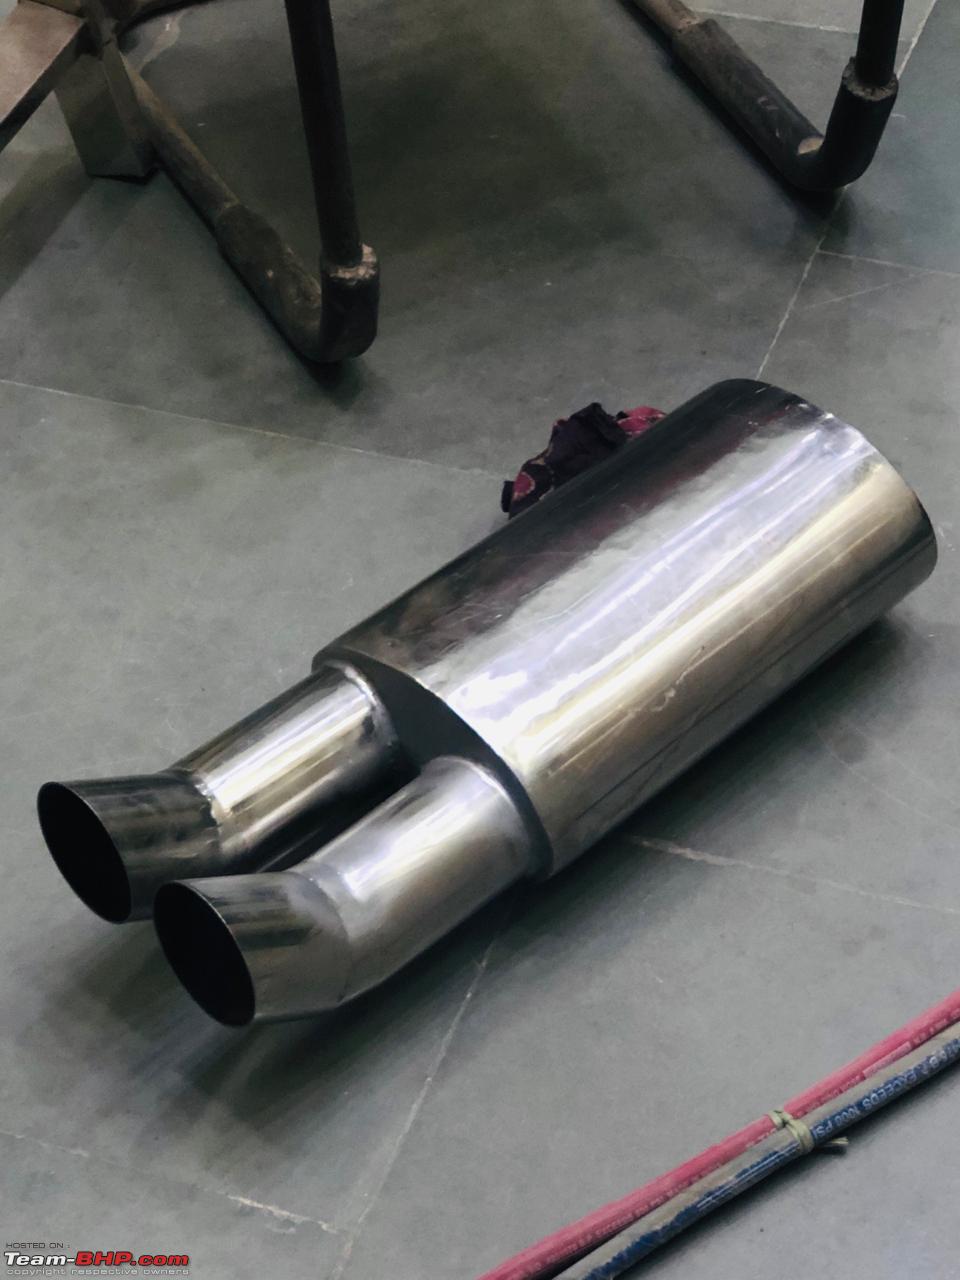  2" pipe, custom resonator, custom spitfire inspire endcan:  Catback portion arrived:  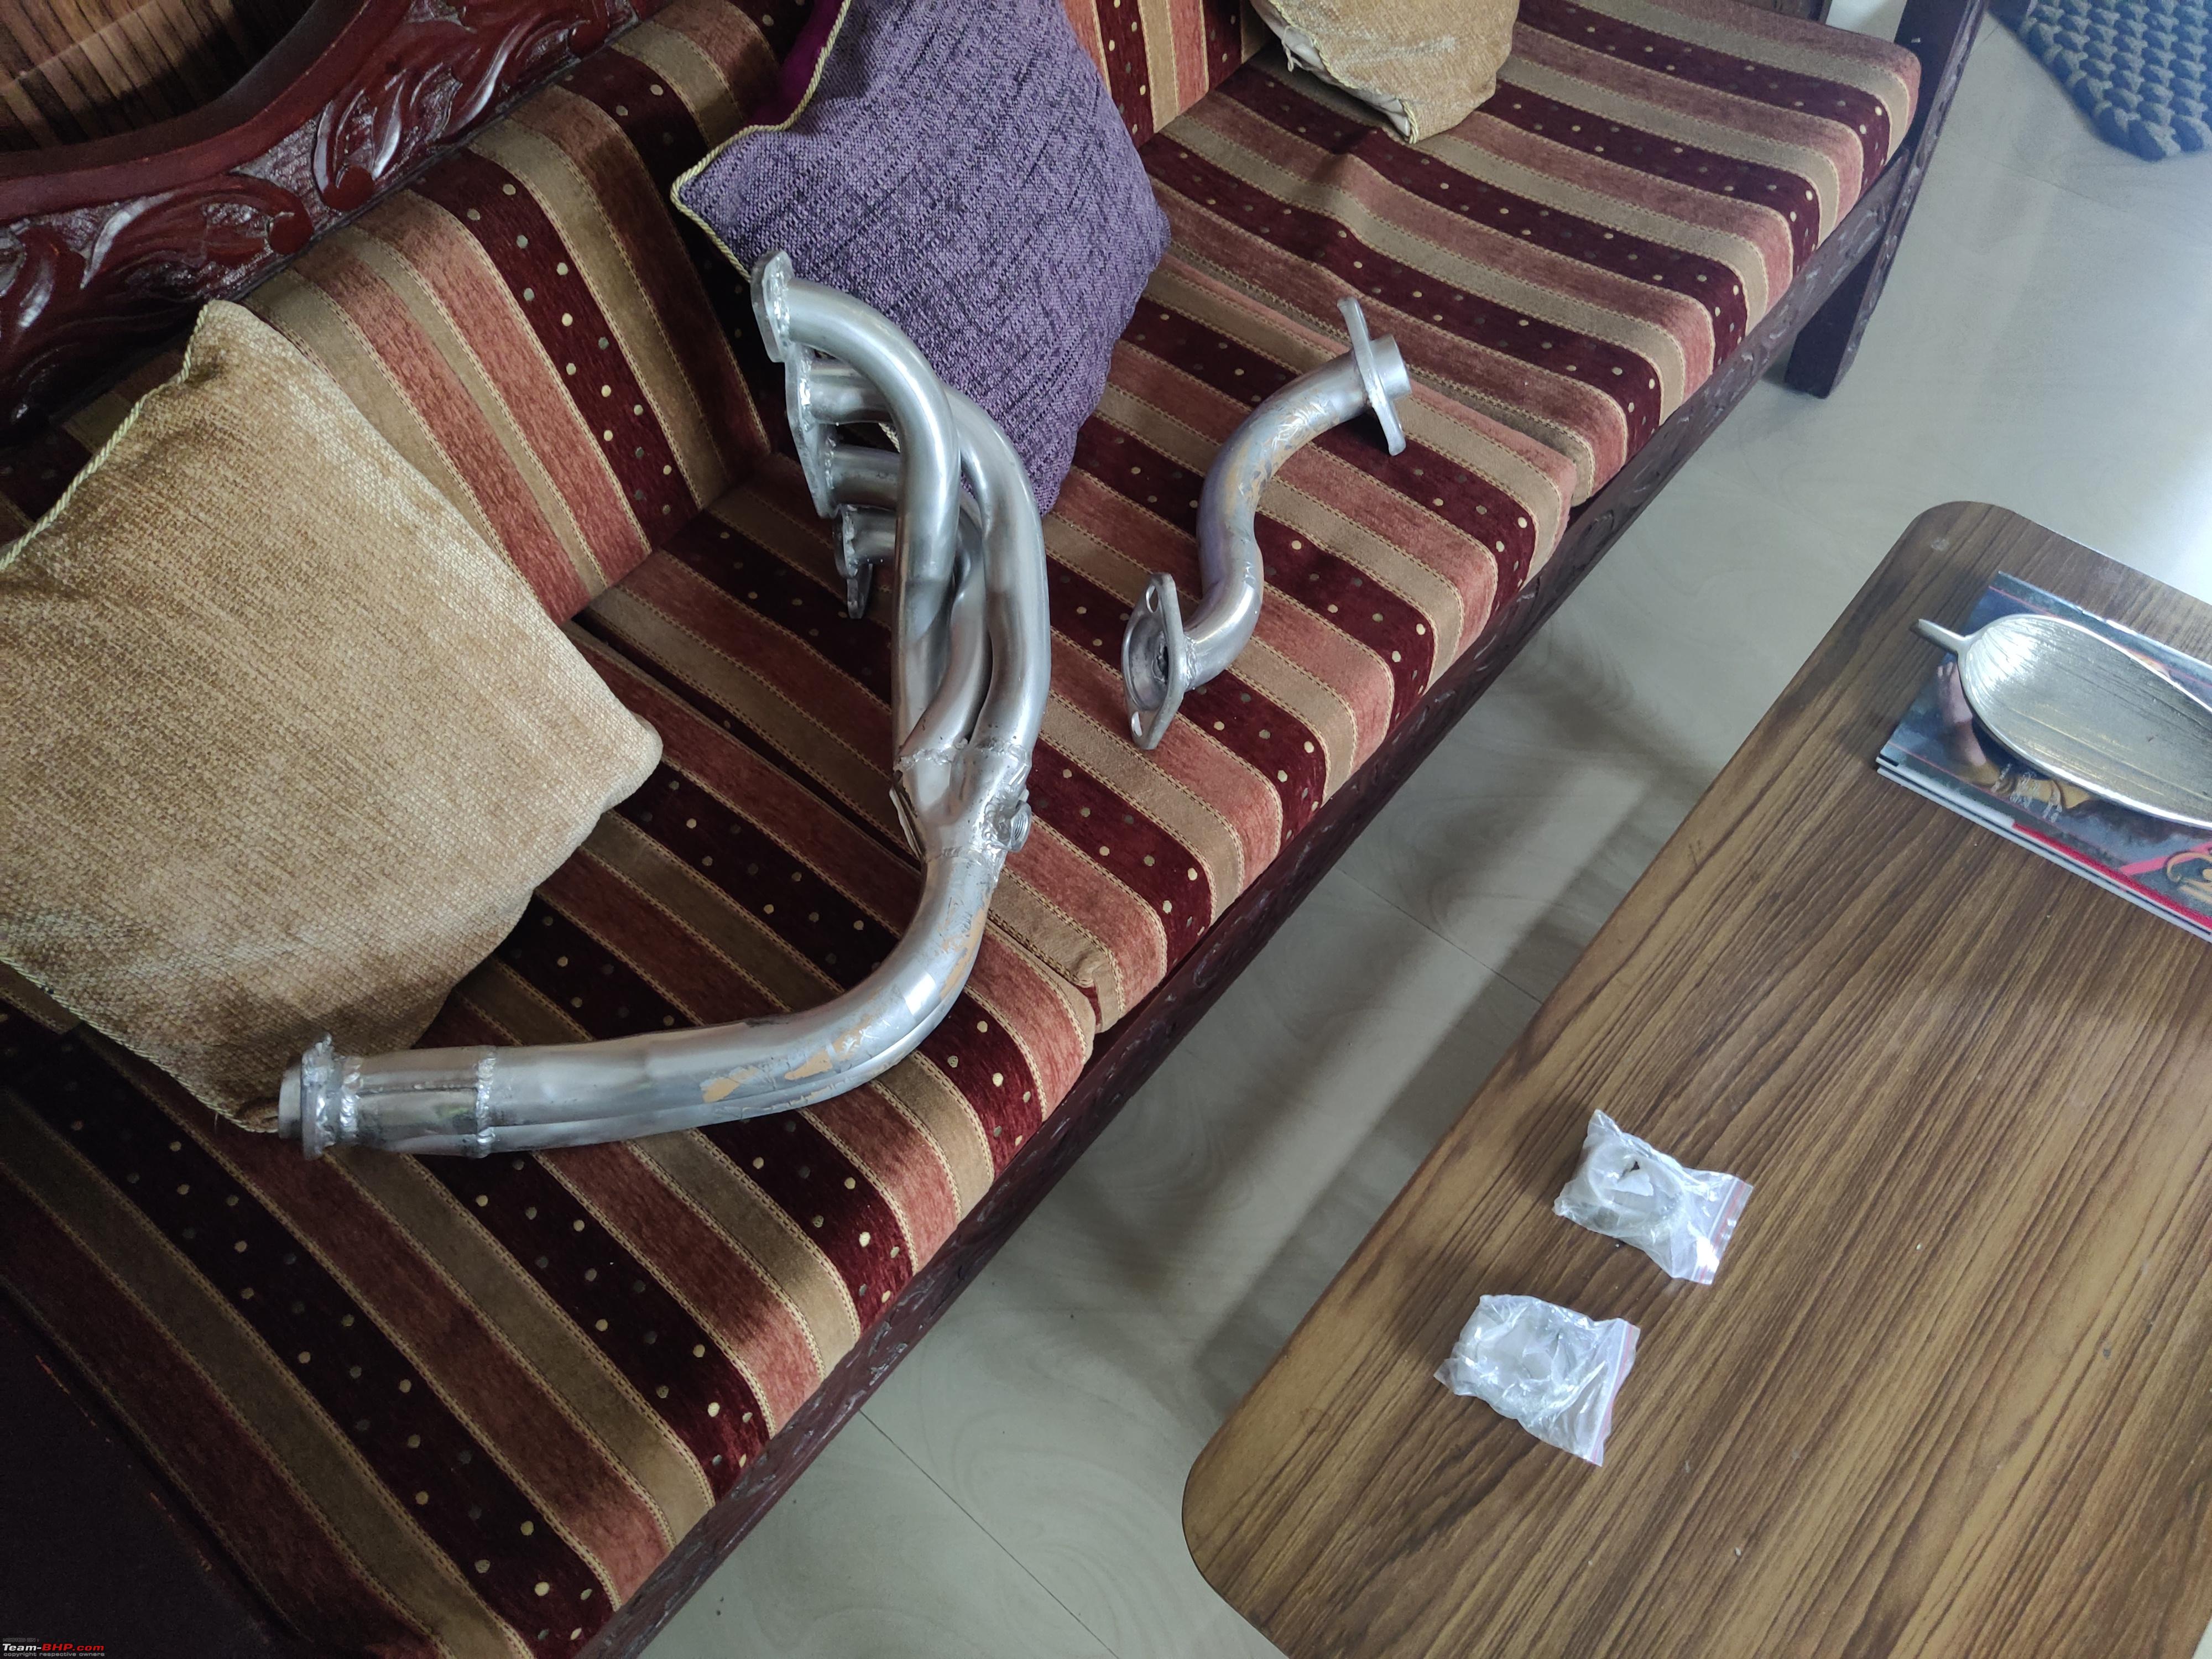 Installation in progress:  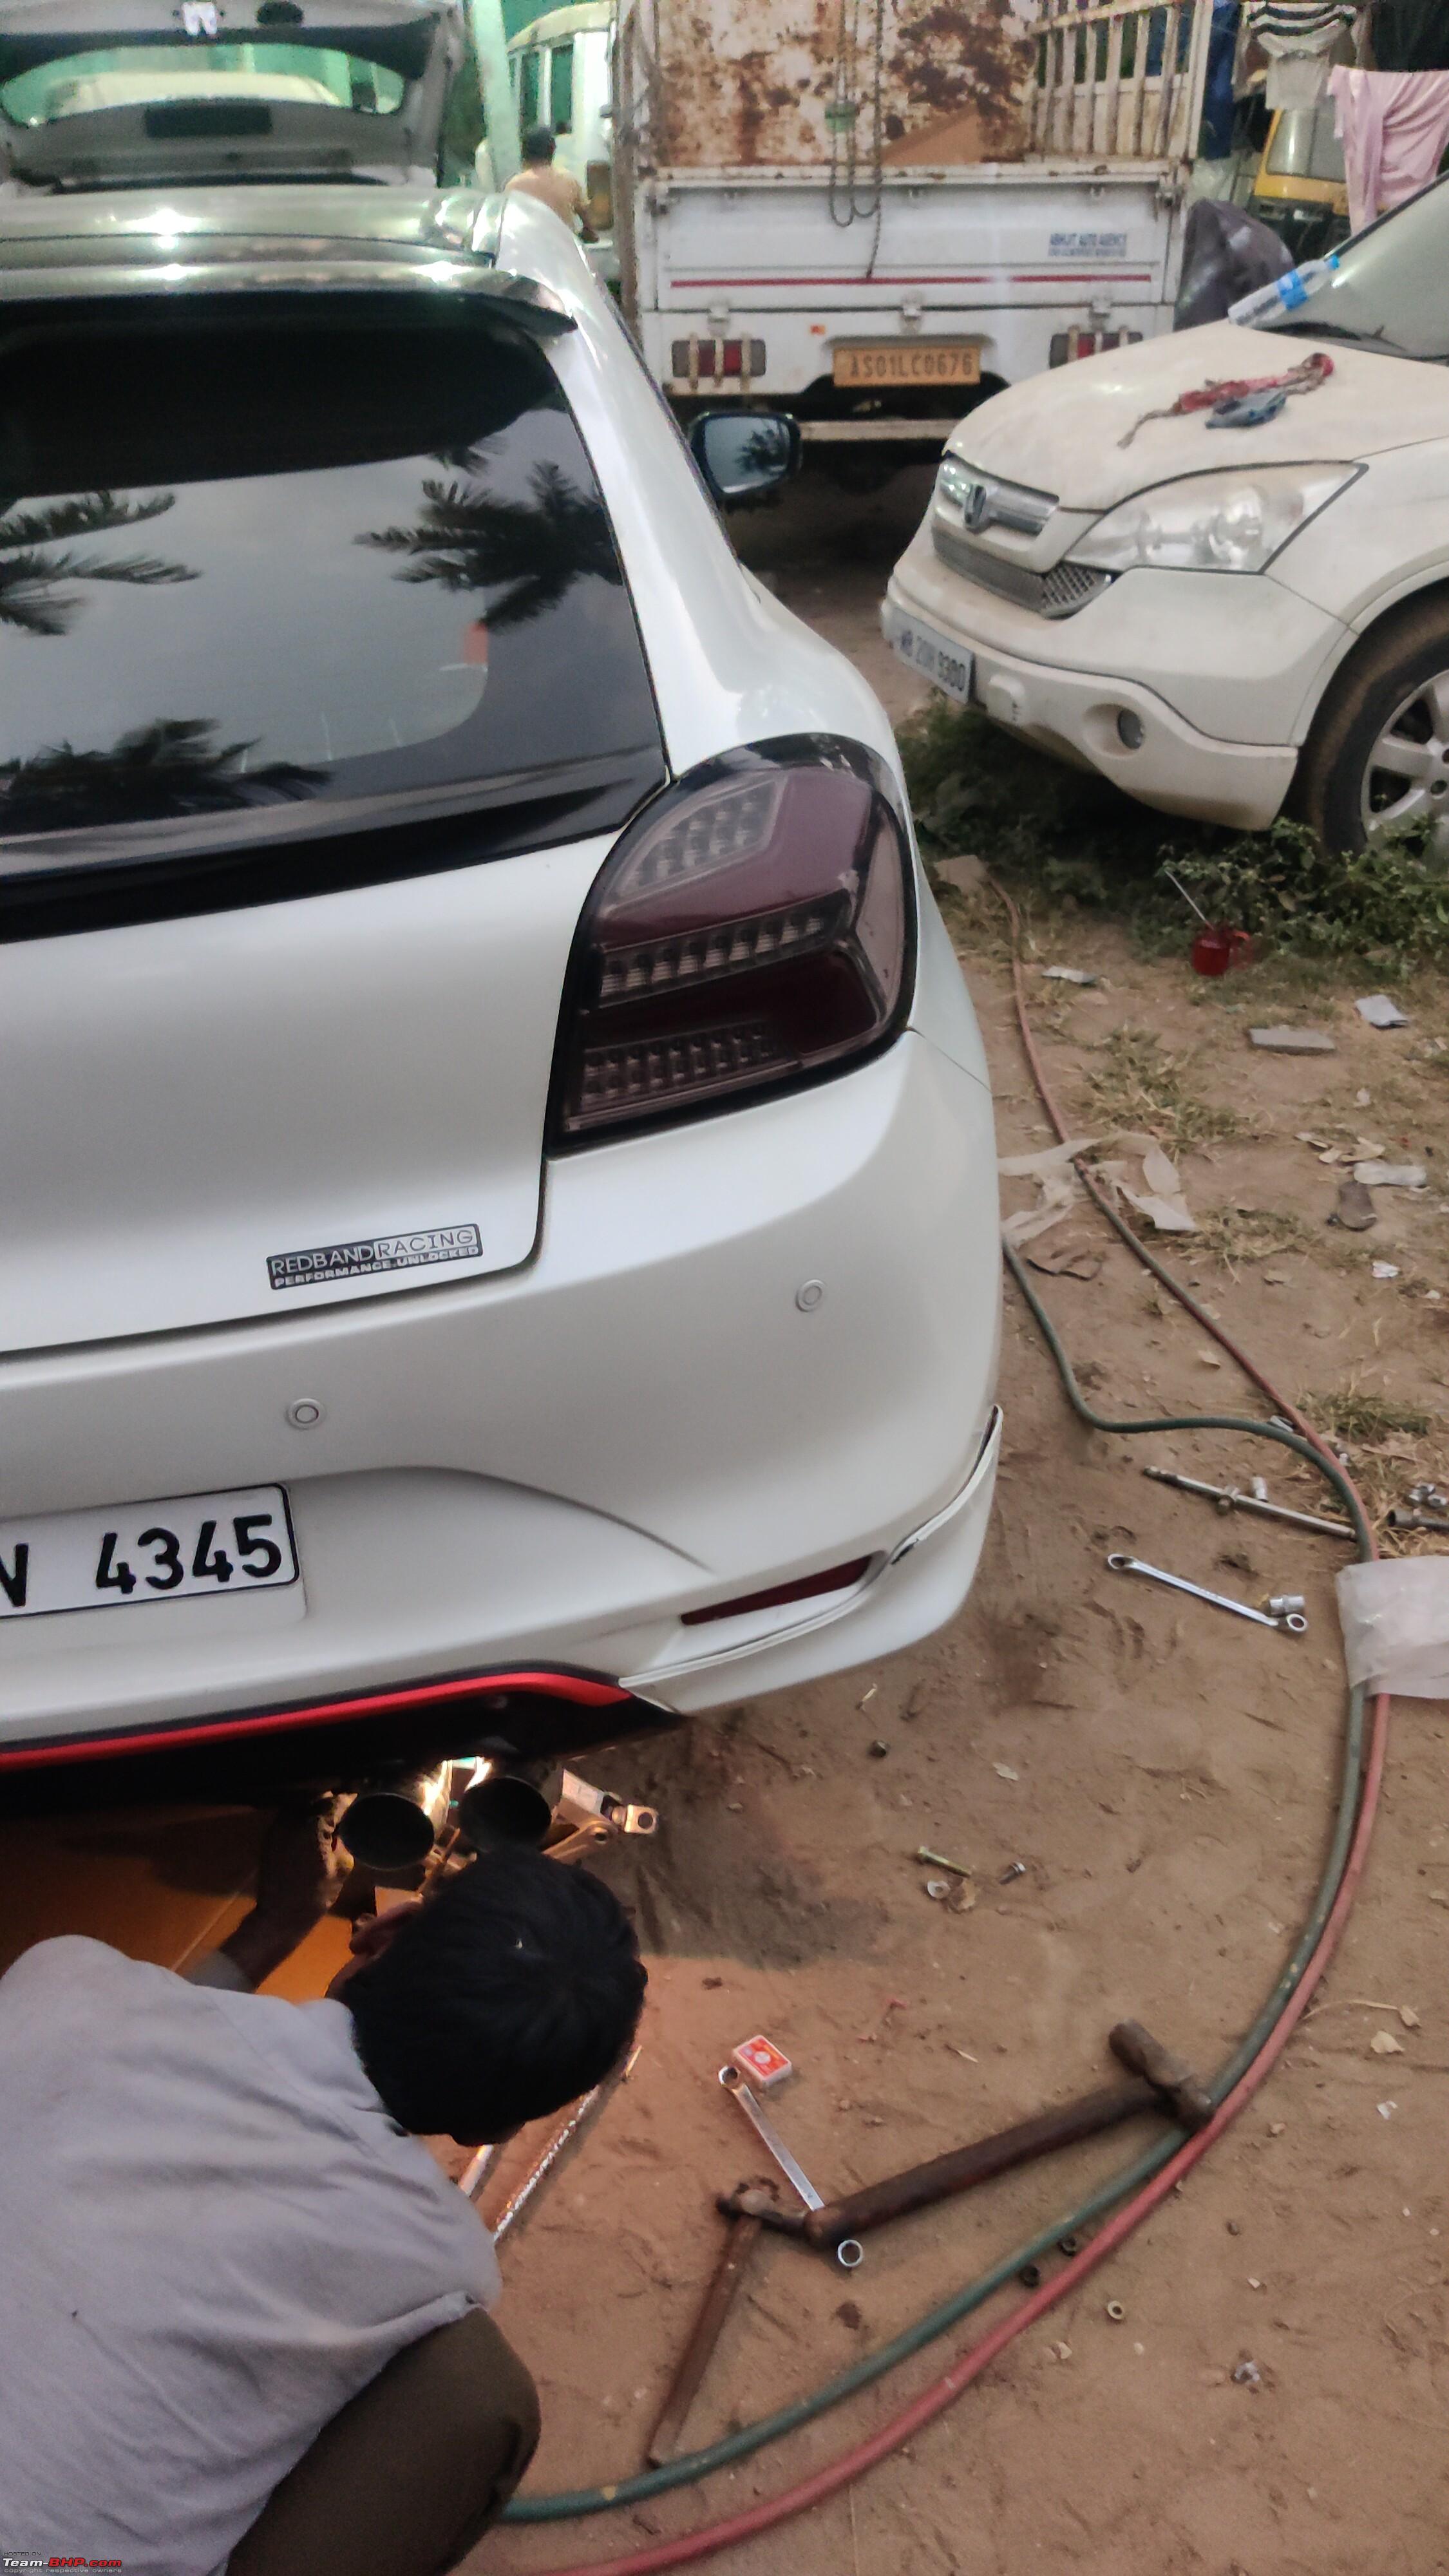  In between swapped my wheels with my friend's PIW 9J rims on 225/45/R17 Nangkang Rubber:  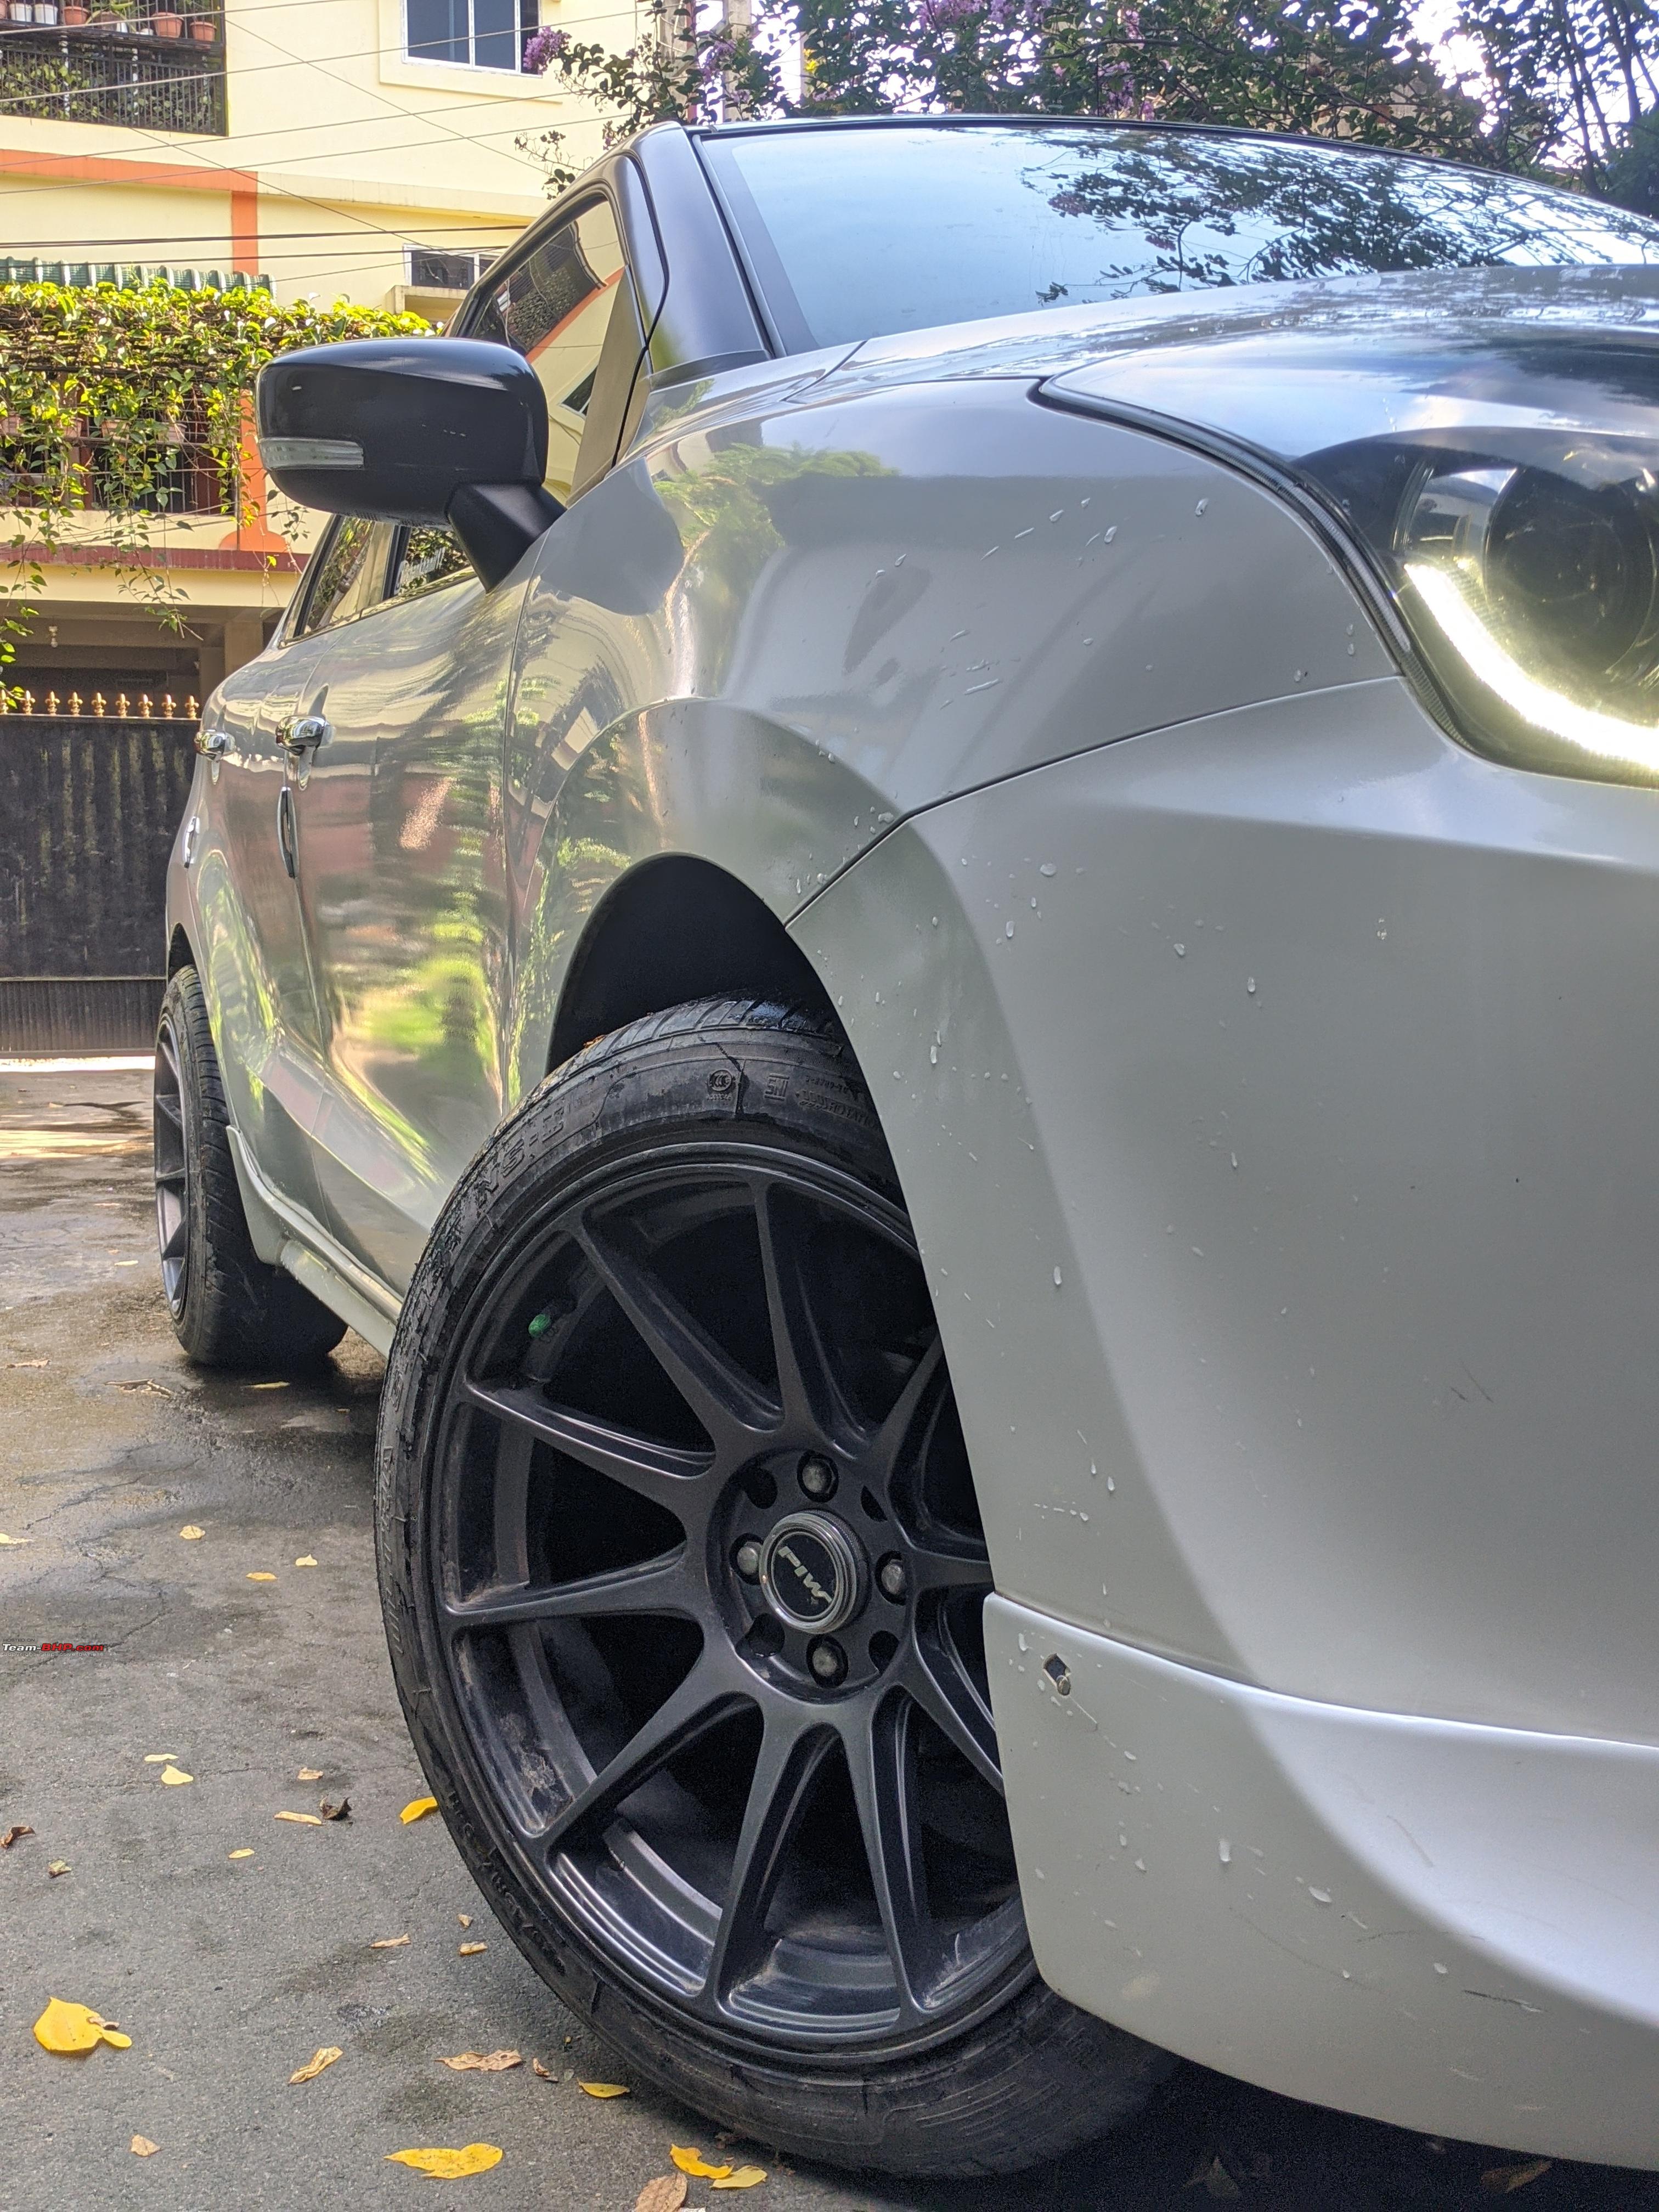 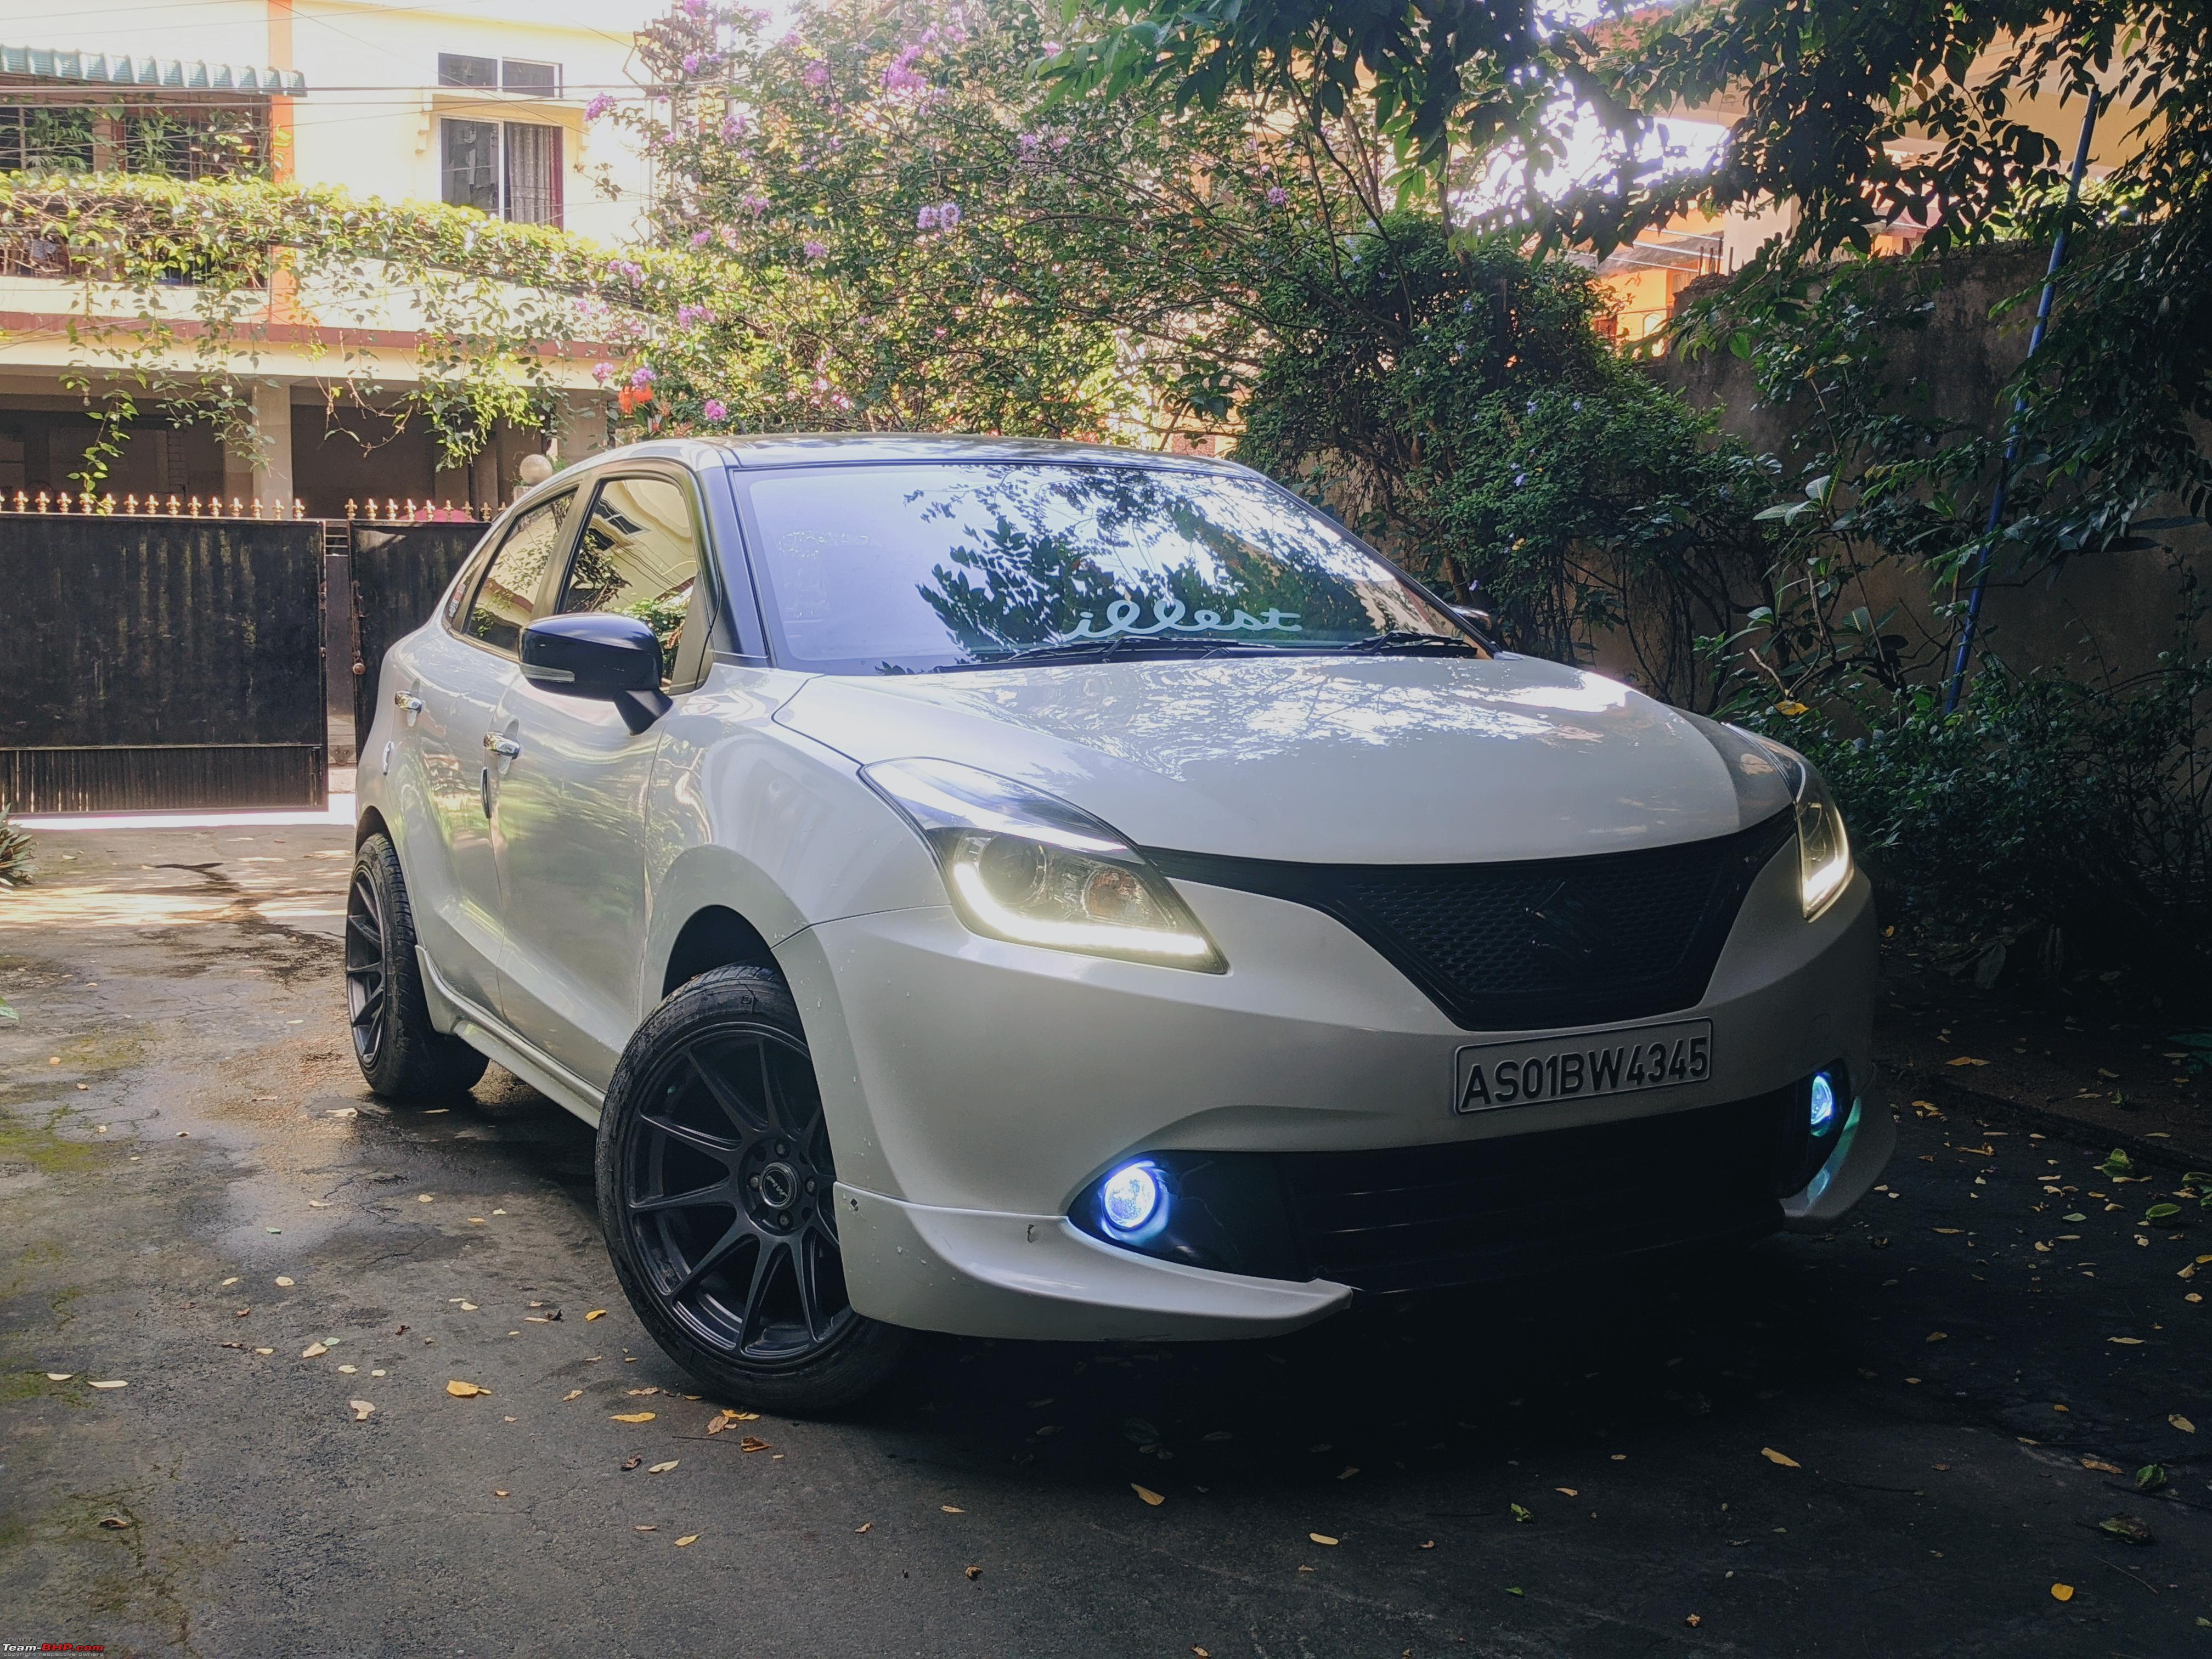 Speedex number plate upgrade: 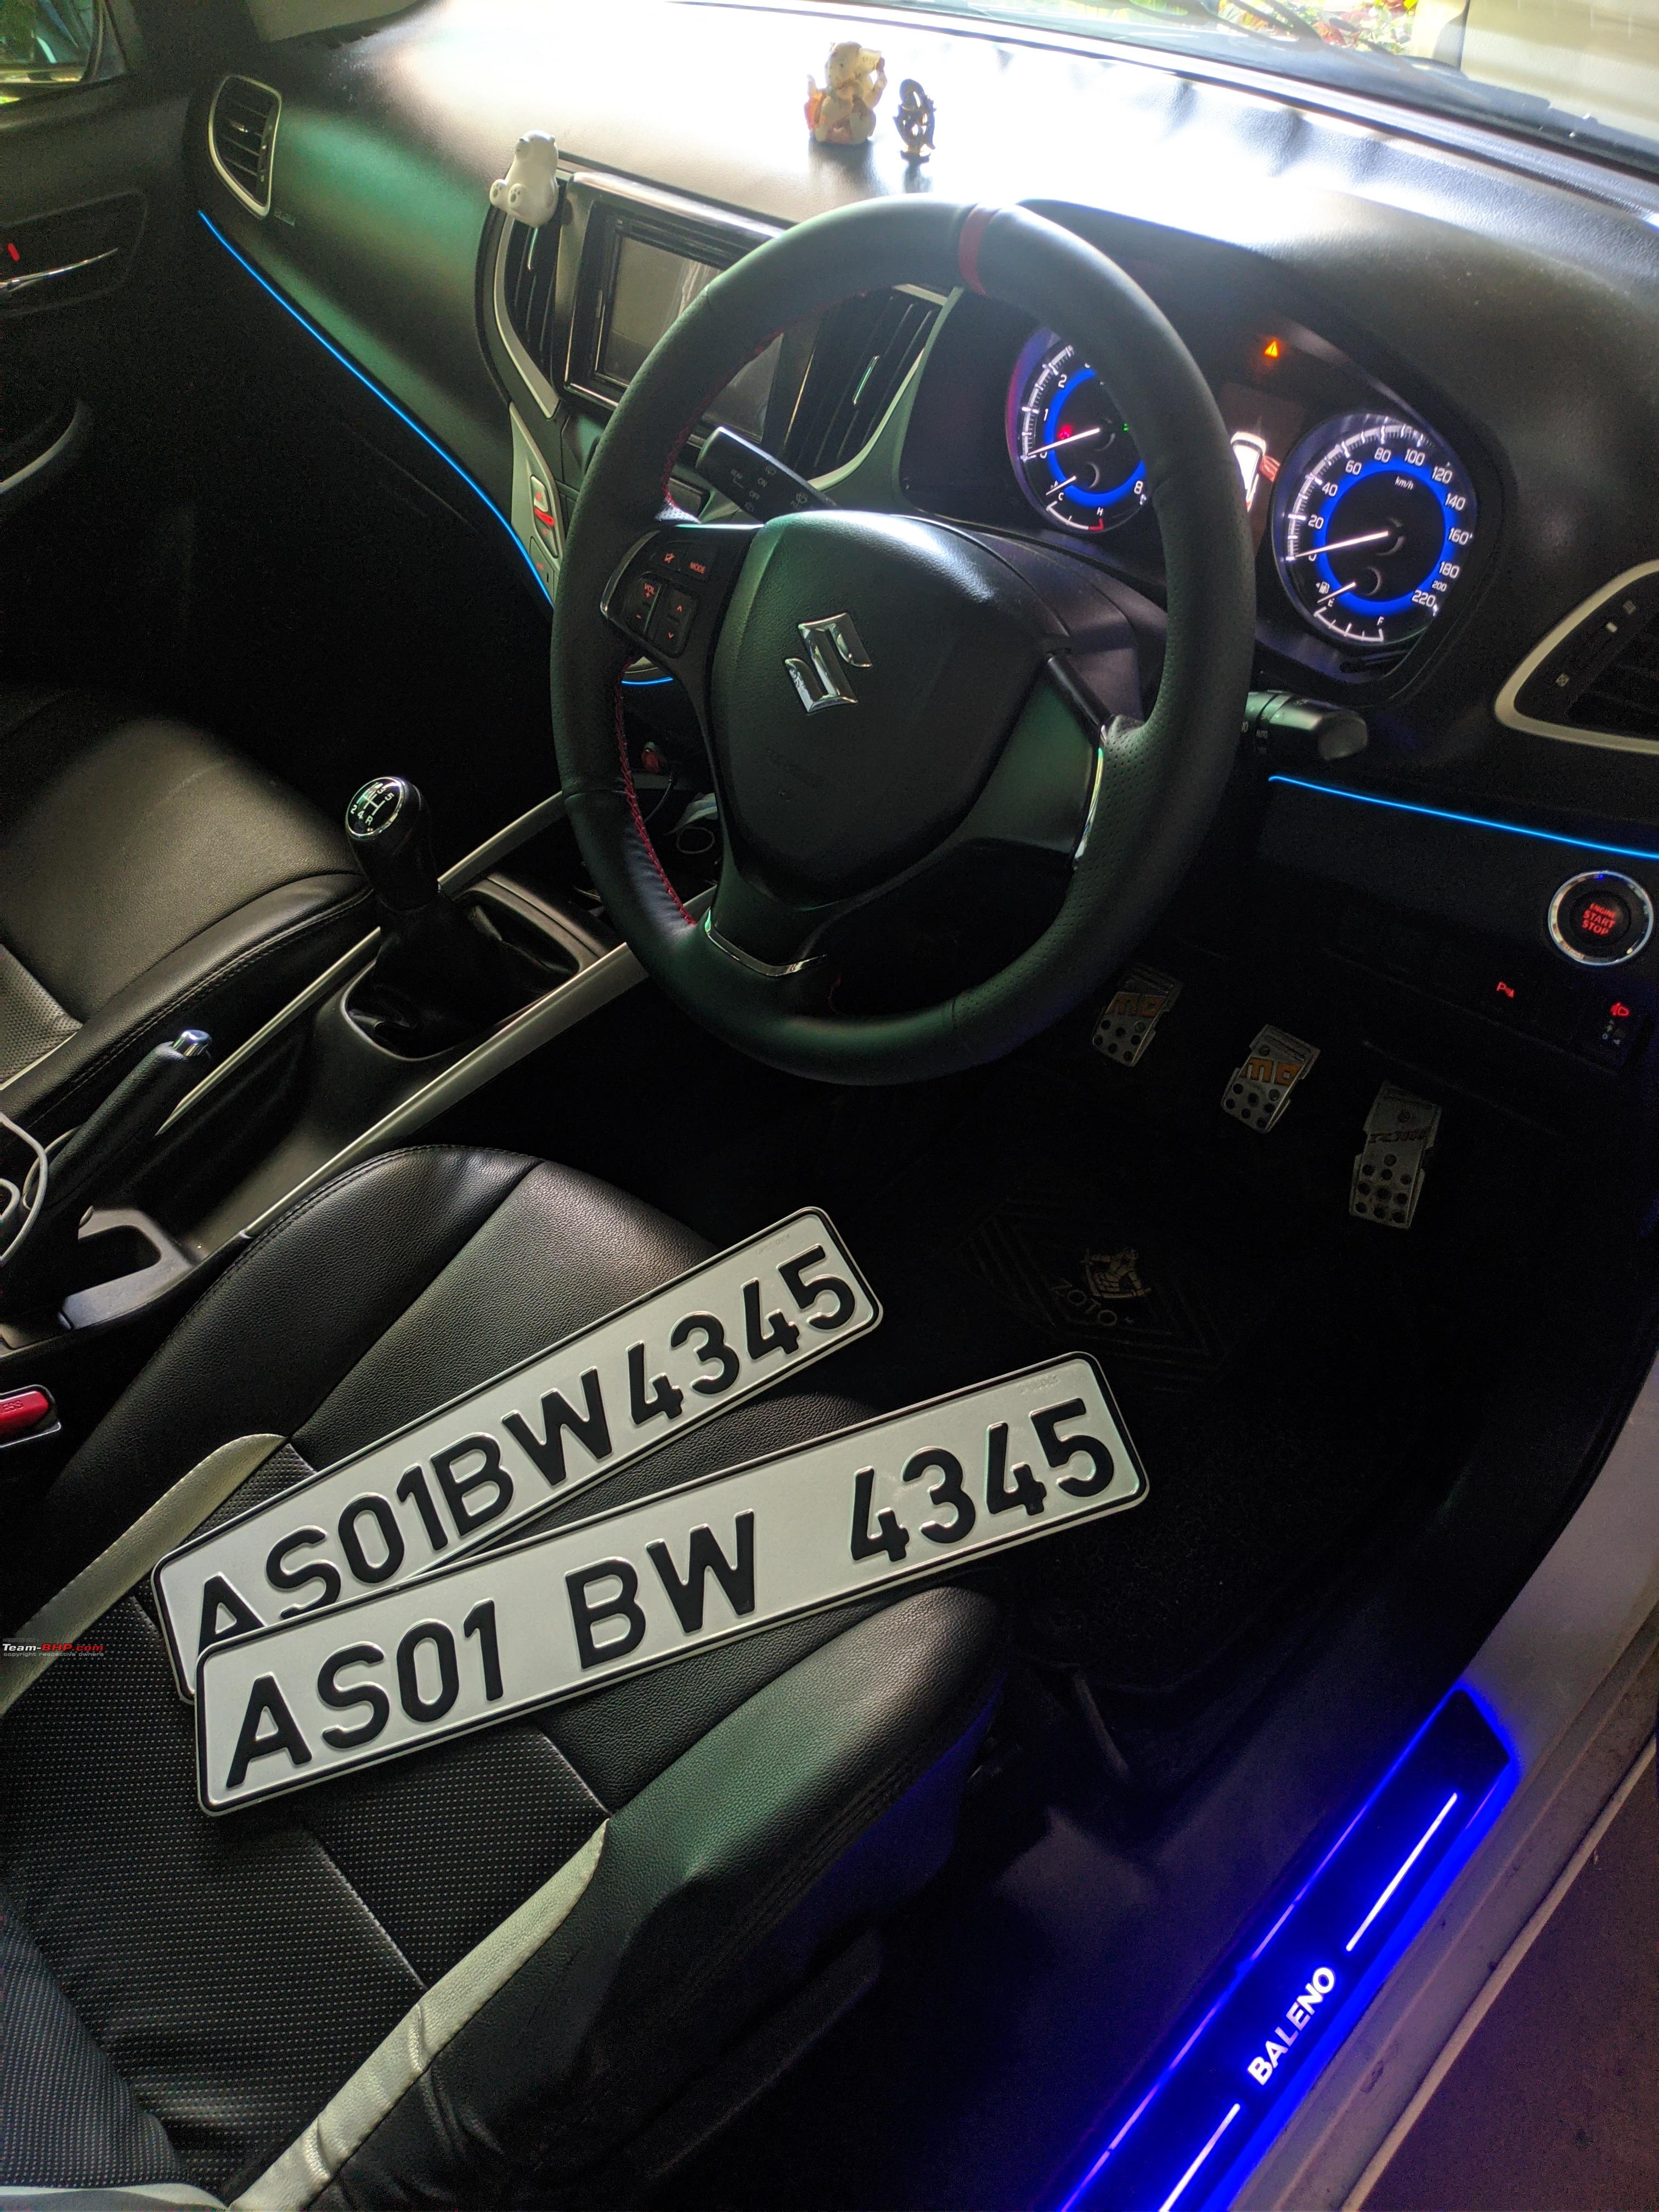 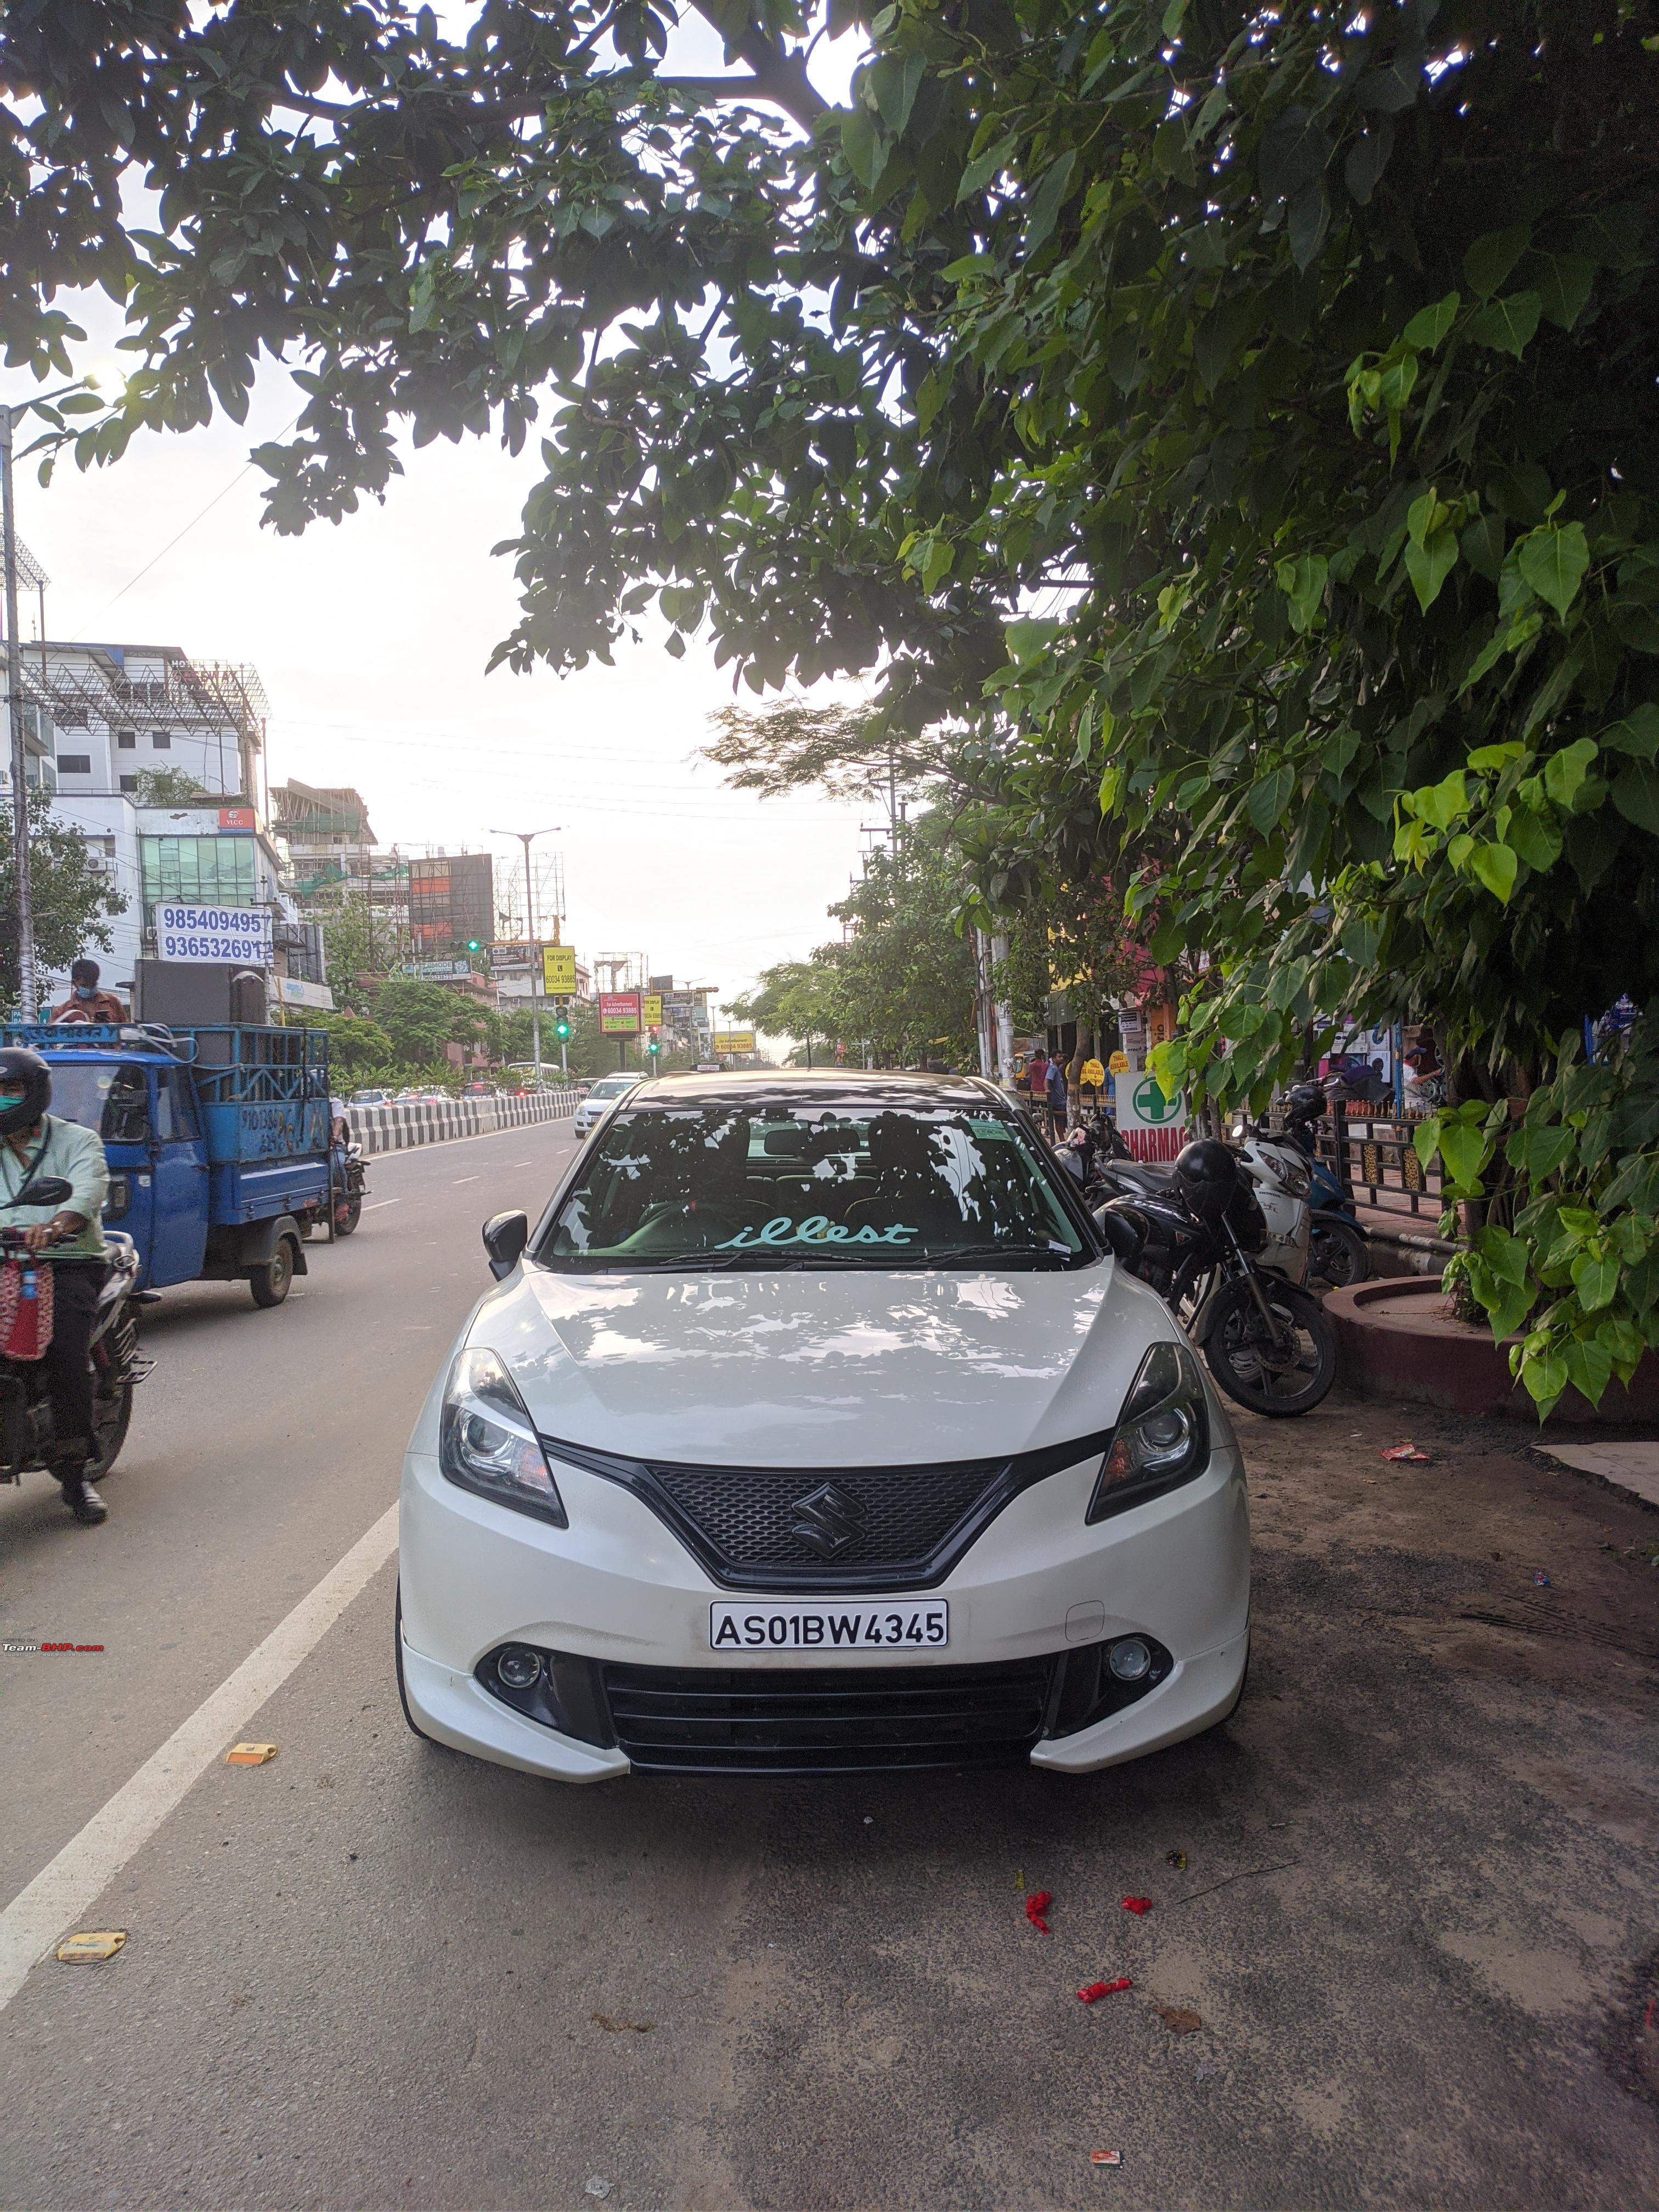 Tweeter pod with DD sticker. to let people know what's inside:  Last edited by chiranjitp : 15th June 2021 at 17:42. |
|
| (27)
Thanks
|
| The following 27 BHPians Thank chiranjitp for this useful post: | BhaskarG, Big Smoke, DevOnWheels, digitalnirvana, GTO, gunin, hmansari, keroo1099, Leoshashi, mazealot, motorpsycho, ramnaresh_2000, Researcher, rj22, Rshreyansh, Shabz47, SlowRider, SnS_12, somspaple, swiftnfurious, Tanveer02, theexperthand, TheLxGuy69, The_Outsider!, Viju, vredesbyrd, wheelguy |
|
12th June 2021, 03:16
| #6 |
| BHPian Join Date: Dec 2017 Location: Guwahati
Posts: 559
Thanked: 4,711 Times
| re: Modification Diaries | Maruti Baleno Zeta | Remap, lowering springs, exhaust, audio upgrade & more Phase 7 Whenever I saw another white baleno, I always felt mine to be towards the yellow hue. Due to negligence, though not completely my fault because of the fact I have hardly spent 3 months home past years due to college. The average Indian driver, who uses old undergarments to wash the car, this was kind of expected. With me gaining more knowledge in cars, and more so in the bodywork field. I realized my car has a ton of swirl marks, the paint was rough, like a sand paper, yes it was that bad. I've seen Instagram posts of cars being detailed in a fancy booth with celestial lights, which is far away from the detailing scene of Guwahati. And then Detailing Devils came, a quality detailing franchise on the car maintenance scene. My friend recently got his Hyundai Elantra detailed there, so I too went there for a demo. Sadeque Ahmed, the owner of Detailing Devils NE, offered me a quick demo in the bonnet. A square portion was paint corrected, detailed, basically given their best. And boy o boy, it was the moment I realized I had to get the ceramic done. There was a huge difference in gloss, smoothness and swirl marks. Soon after a week or two, I took an appointment, and Baleno was in for the 1 year protection package. It took 2 days for me to get the car back, and I spent most of my time during the day, seeing it re-energize. Upon delivery day, the car felt showroom fresh, the gloss was on another level, swirl marks have reduced by 80%, and the paint felt smooth. The ceramic characteristics of hydrophobicity were there as well. Overall, I was highly satisfied with the devil's treatment package. Before Ceramic:  Demo on a small patch:   Was so impatient, went early to check on her:  Final outcome:   College started yet again amidst corona, all final year students were called. Luckily I got to do a photoshoot with Race Concept's Turbo Fiesta. I took a drive as well and was impressed with the power, the musical orchestra and the suspension. Which bought me to the new desire of improving the handling of my Baleno. I never focused on handling until I took the Fiesta test drive. It was razor sharp and I have no words to put my experience. So as every starter guy, I planned to put lowering springs. It was a mixed spectrum regarding lowering springs, as they have equal amount of haters as well as supporters. To my cause, I got bowled for lowering springs as they deliver the stance and better handling at a fraction of the cost of coil-overs. A new brand named MTS Technik emerged into Indian market imported via Stancewerkz, Autopsyche, Delhi. My friend has used it in his Baleno 1.6 and said it was more comfortable than other springs in the market. Having heard similar opinions, I finalized upon it. There I came across Vikram from Delta5 Performance, who also happens to be an alumni of my college. Talking about cars, I gained confidence to lower my car despite the not so favorable conditions of Assam roads. Vikram is a dealer of MTS Technik as well, and offered me a good deal. I bought the lowering springs and a new set of Brembo ceramic series brake pads. Vacation started and soon the parts arrived home. I went to the garage the same day to get all the stuff fitted. As soon as the tyres were fitted back, the improvement in stance was noticeable. It looked so much better with the lower stance. Immediately took the car for a test drive, and the difference was immediately felt. The steering felt sharp, with 4 people there was minimal to zero fender touching and the body roll was significantly reduced. I will almost go the extent of saying that the car felt like a go-kart. Not a surprise the ride did become stiff, a lot stiff when compared to stock, but for me it was a compromise I was happy with, for the stance and handling it offered. Thereafter I have clocked close to 1,000 kms and I must say I'm happy with the springs upgrade. When the shipment arrived:  The packaging: 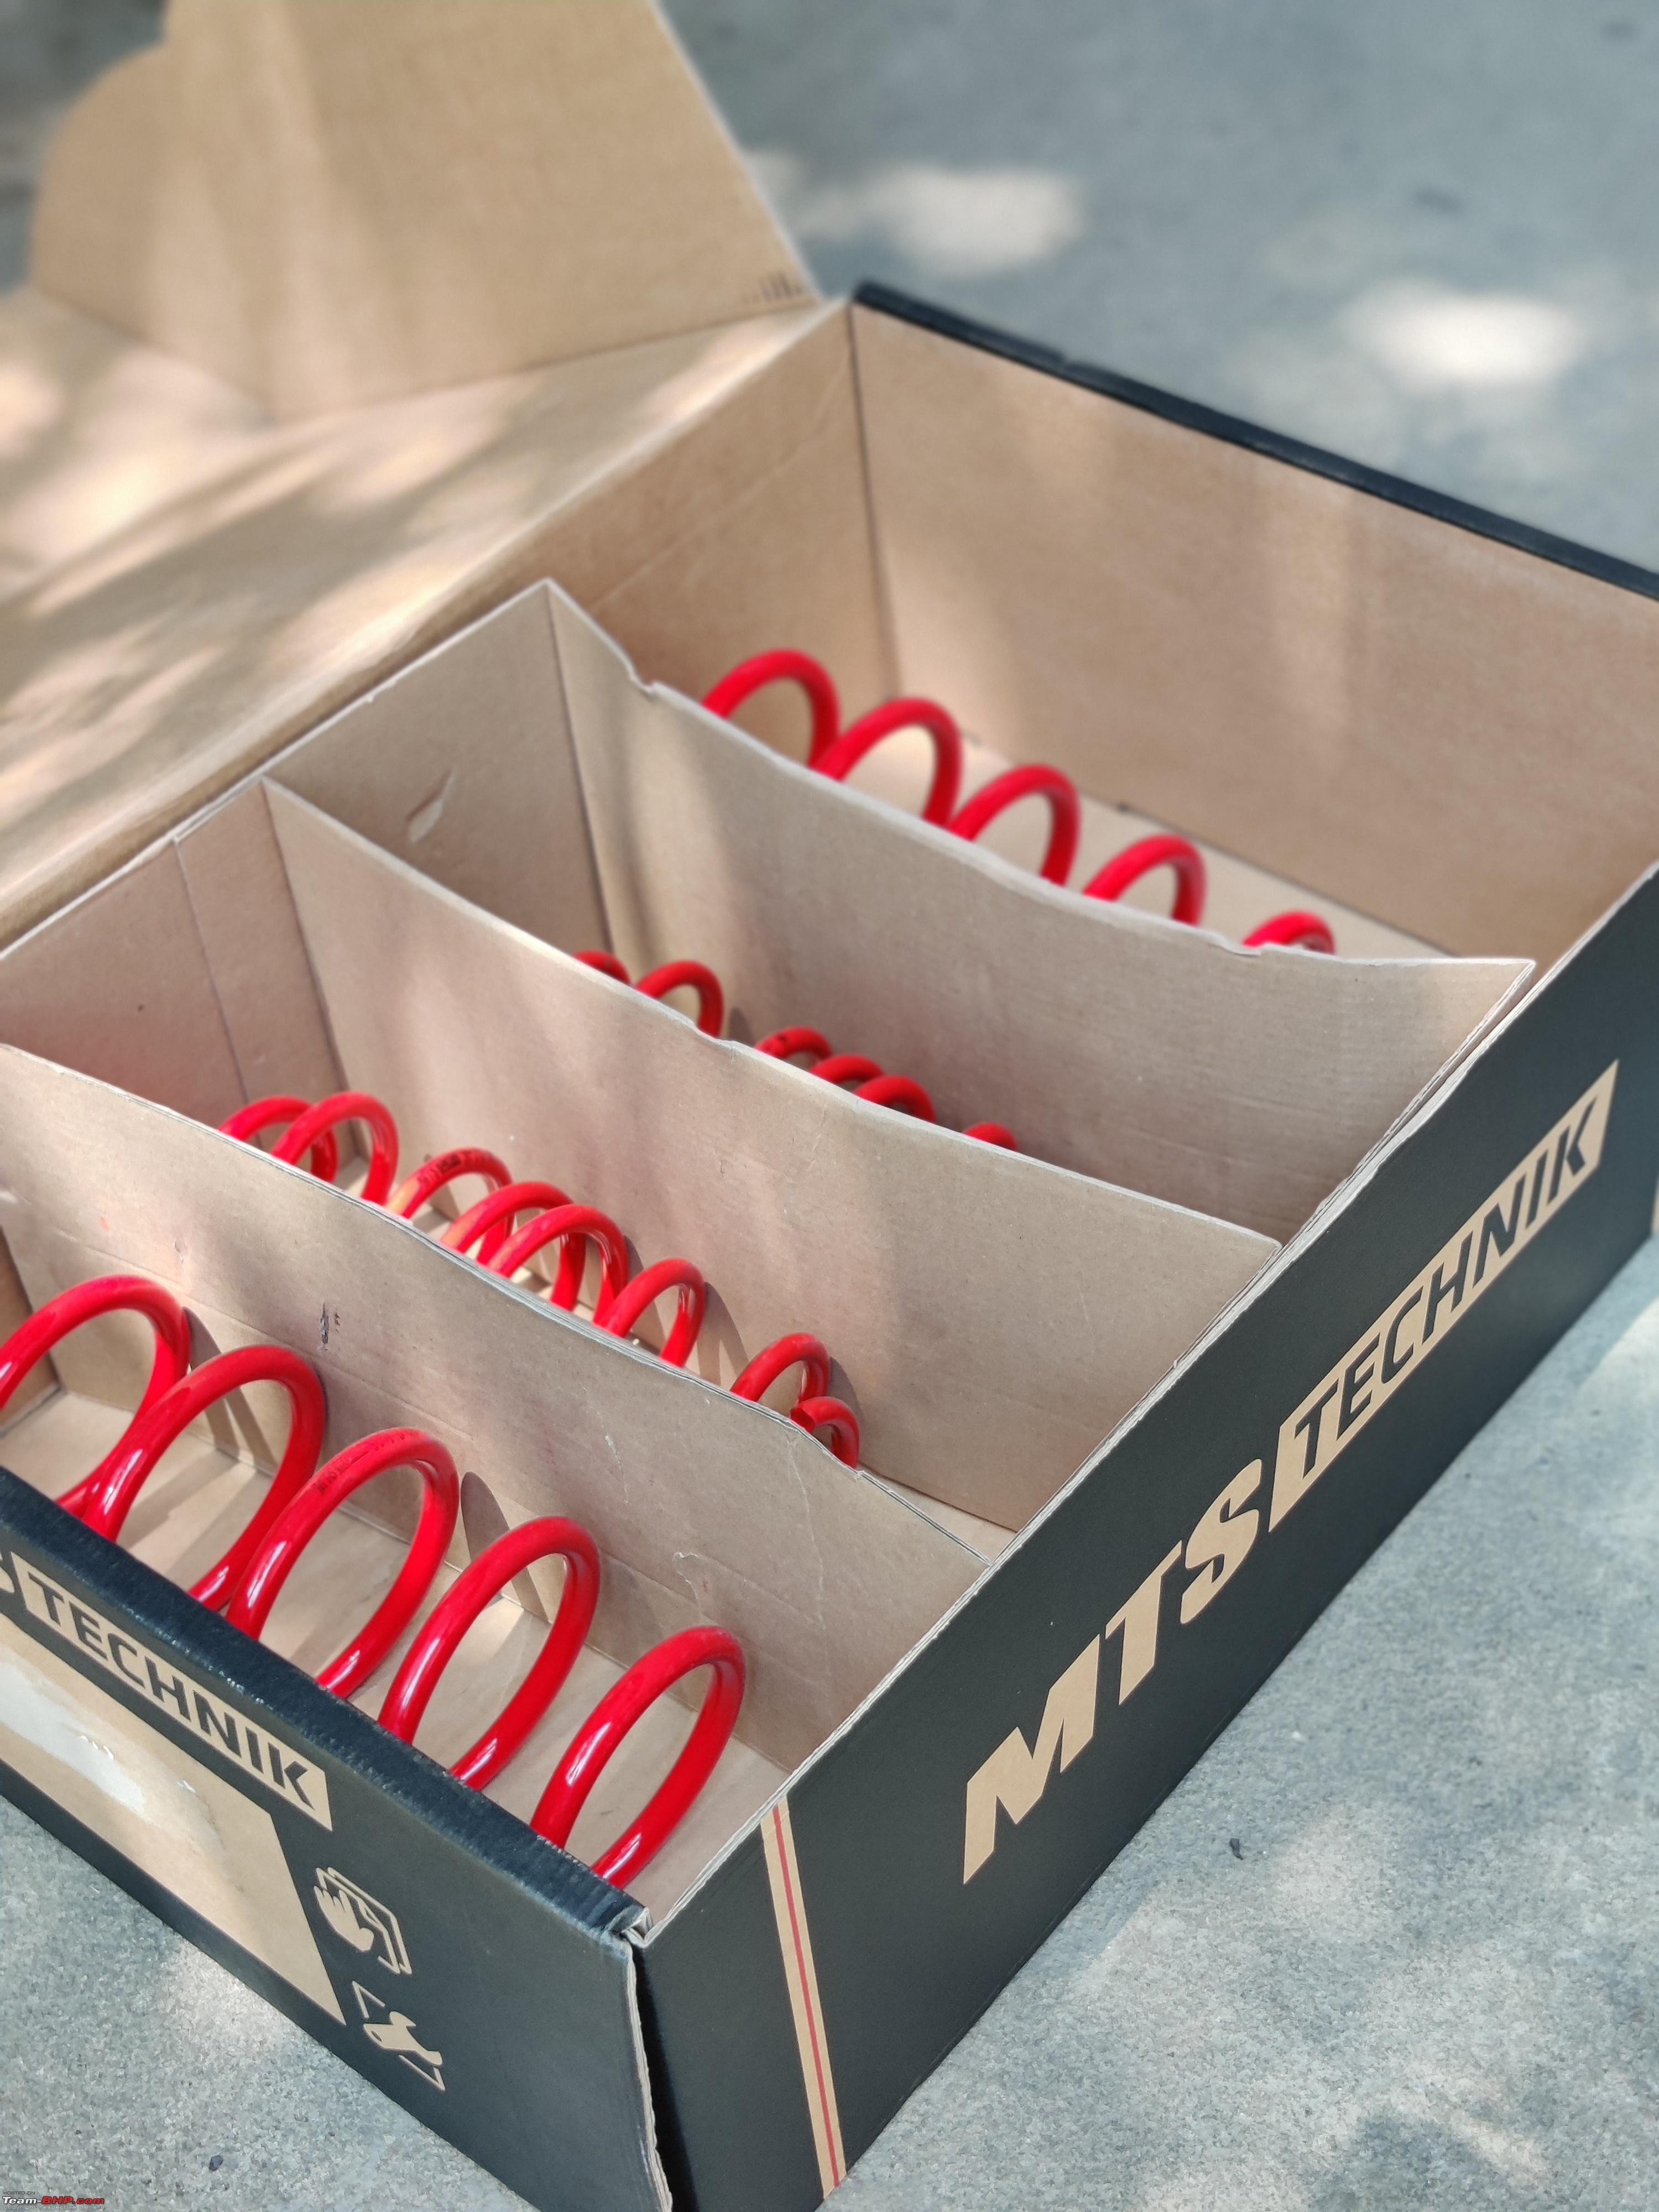 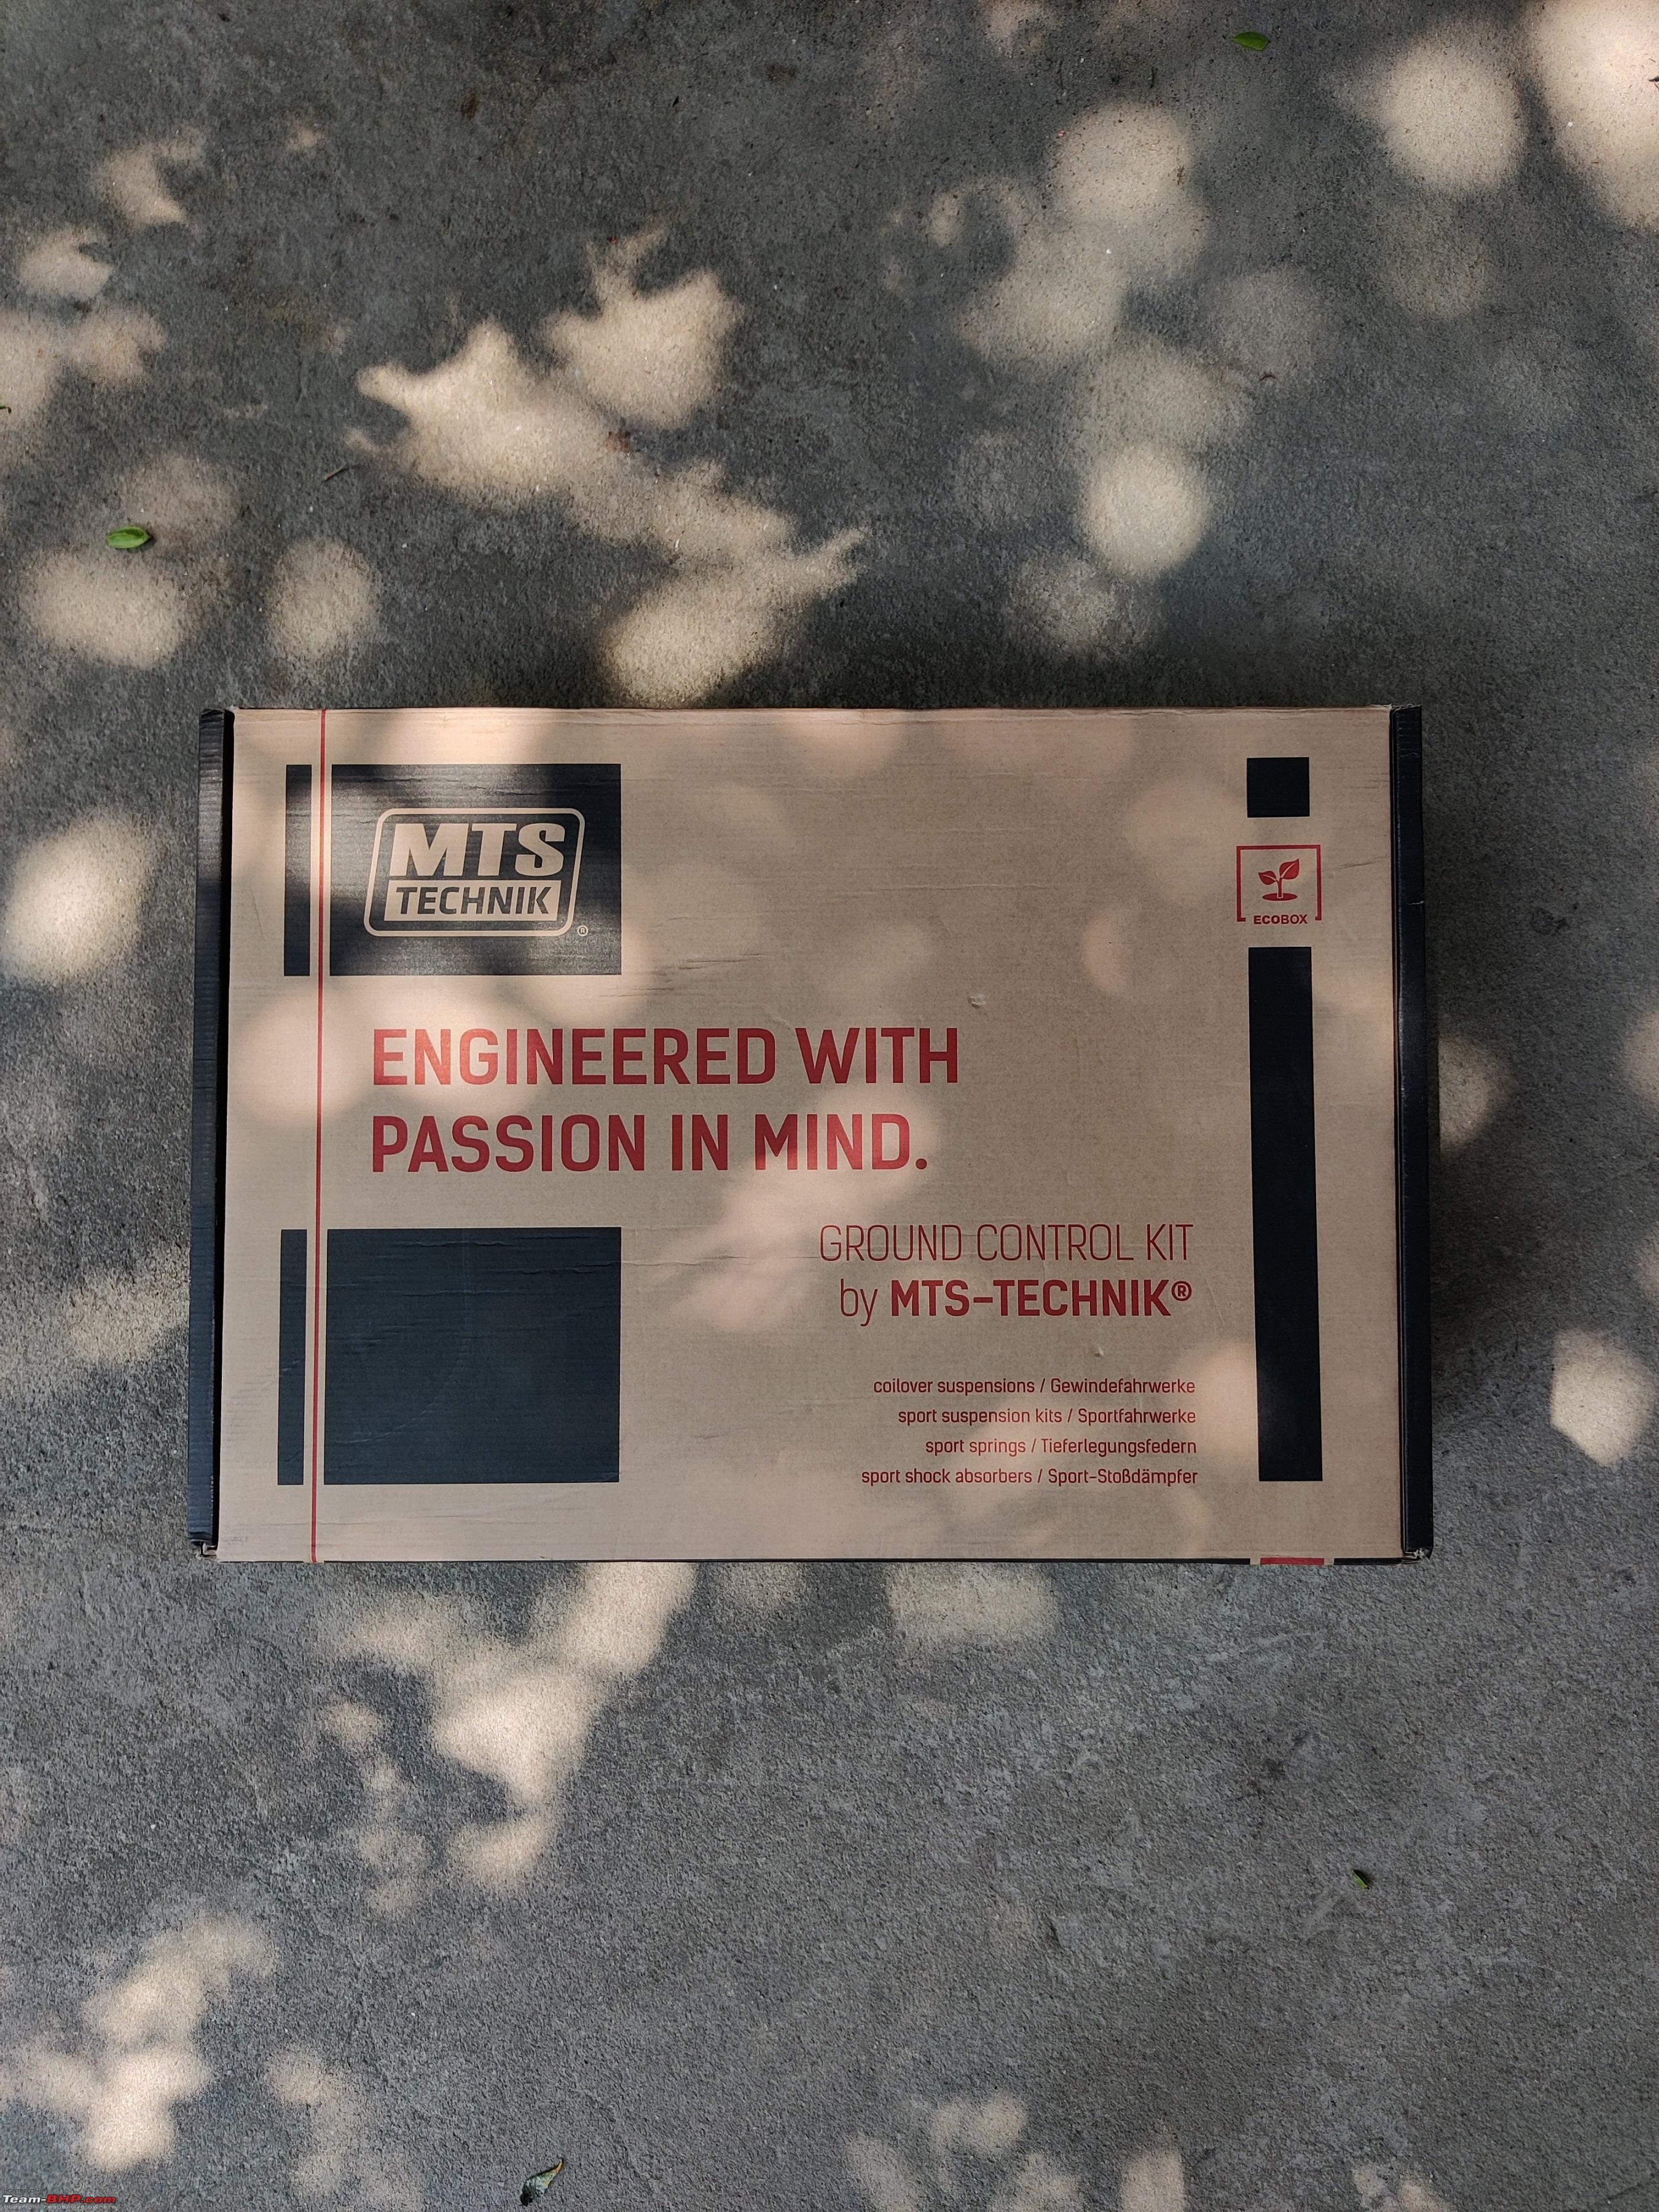  Springs closeup:  Comparison with stock springs: 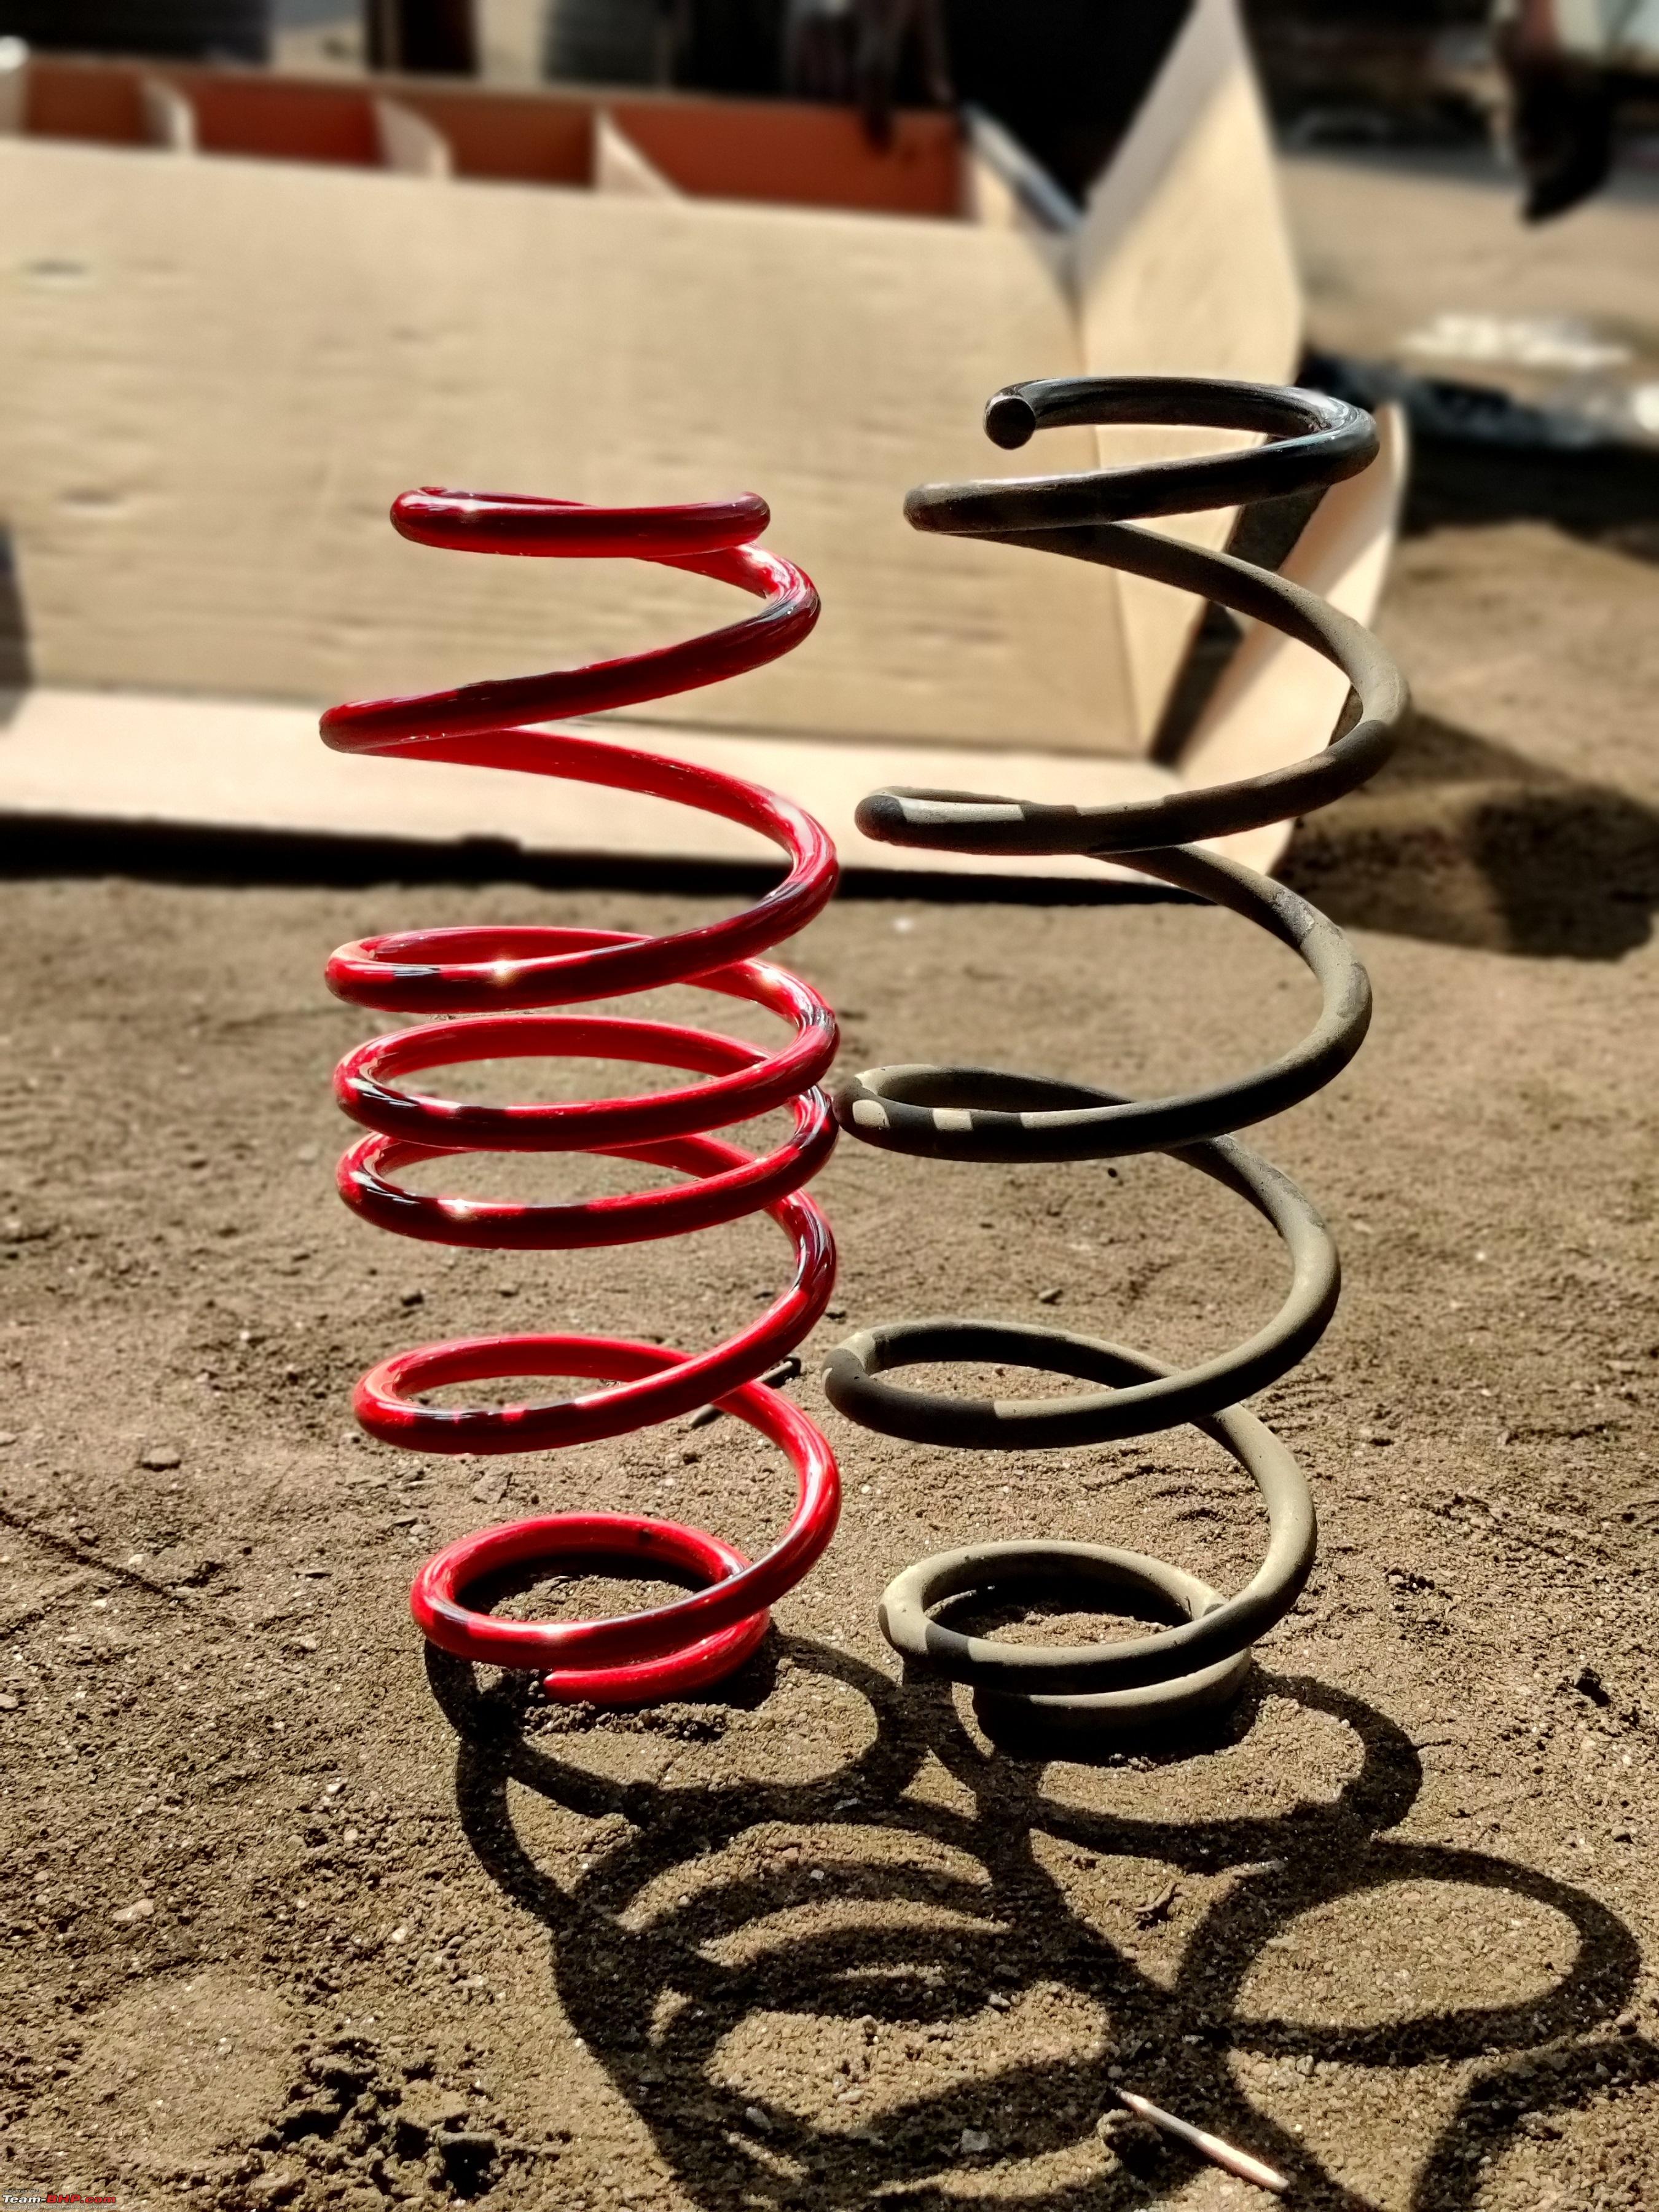 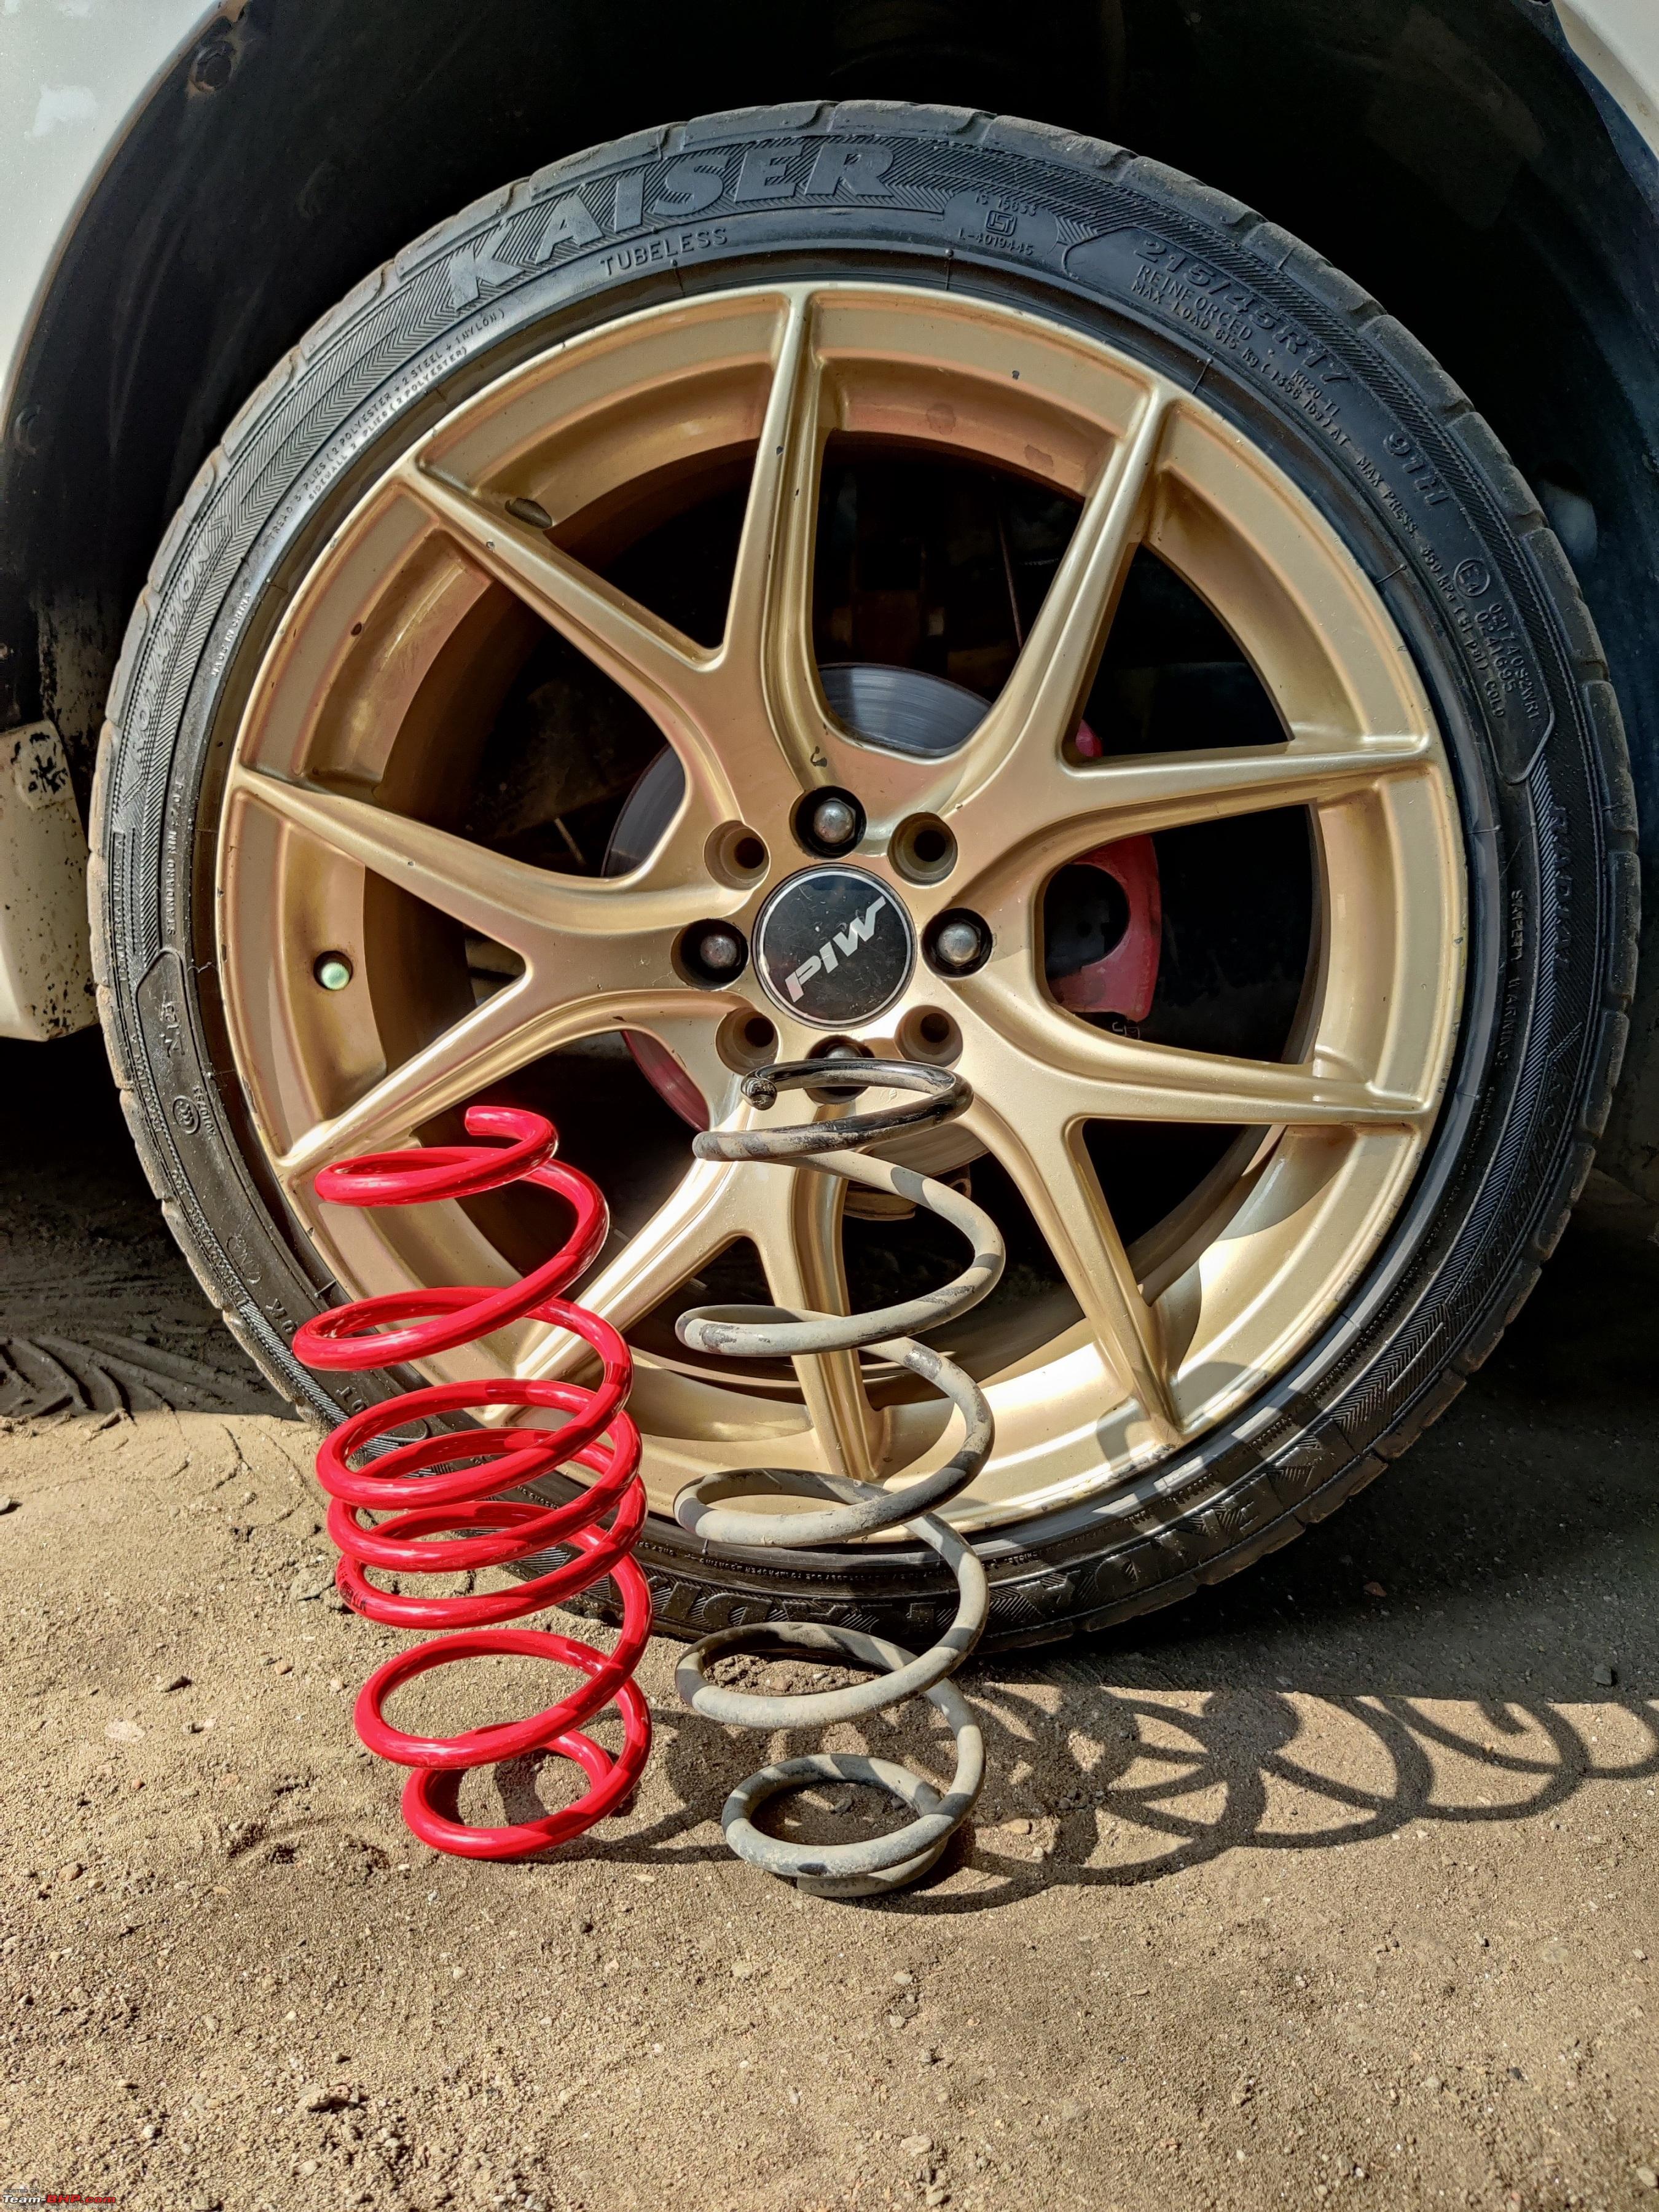 Rear springs fitted: 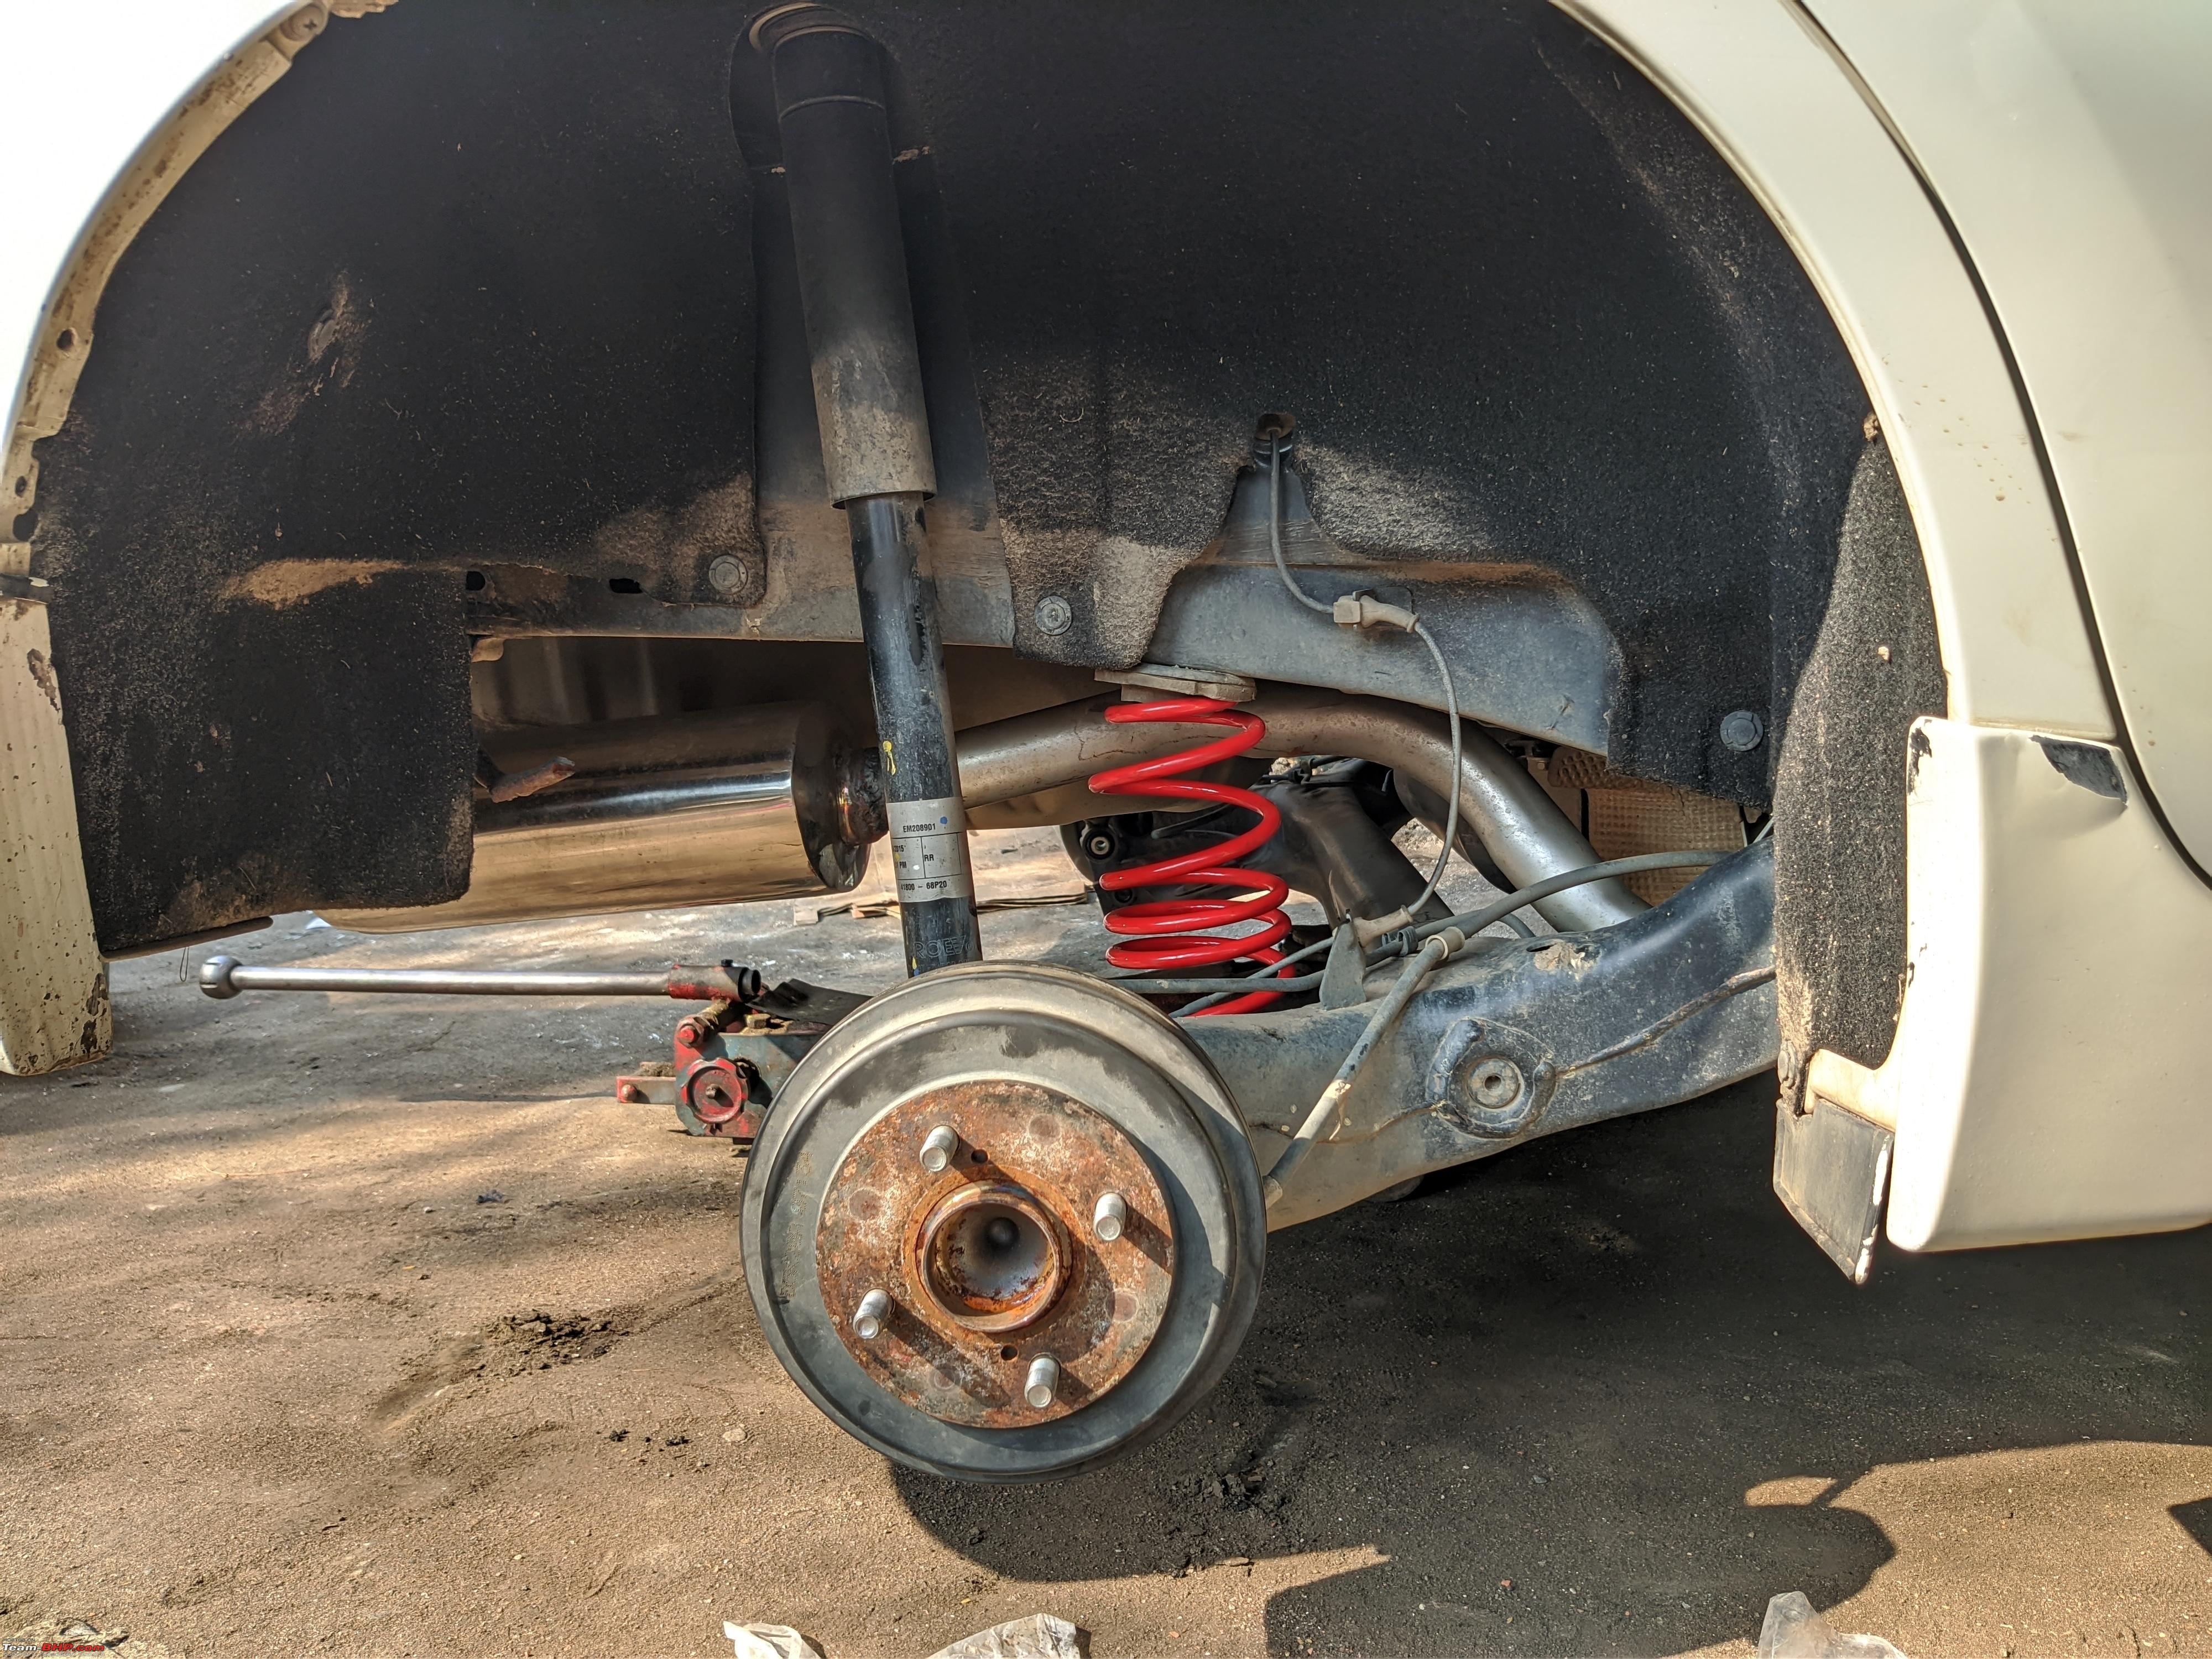  Alignment in progress: 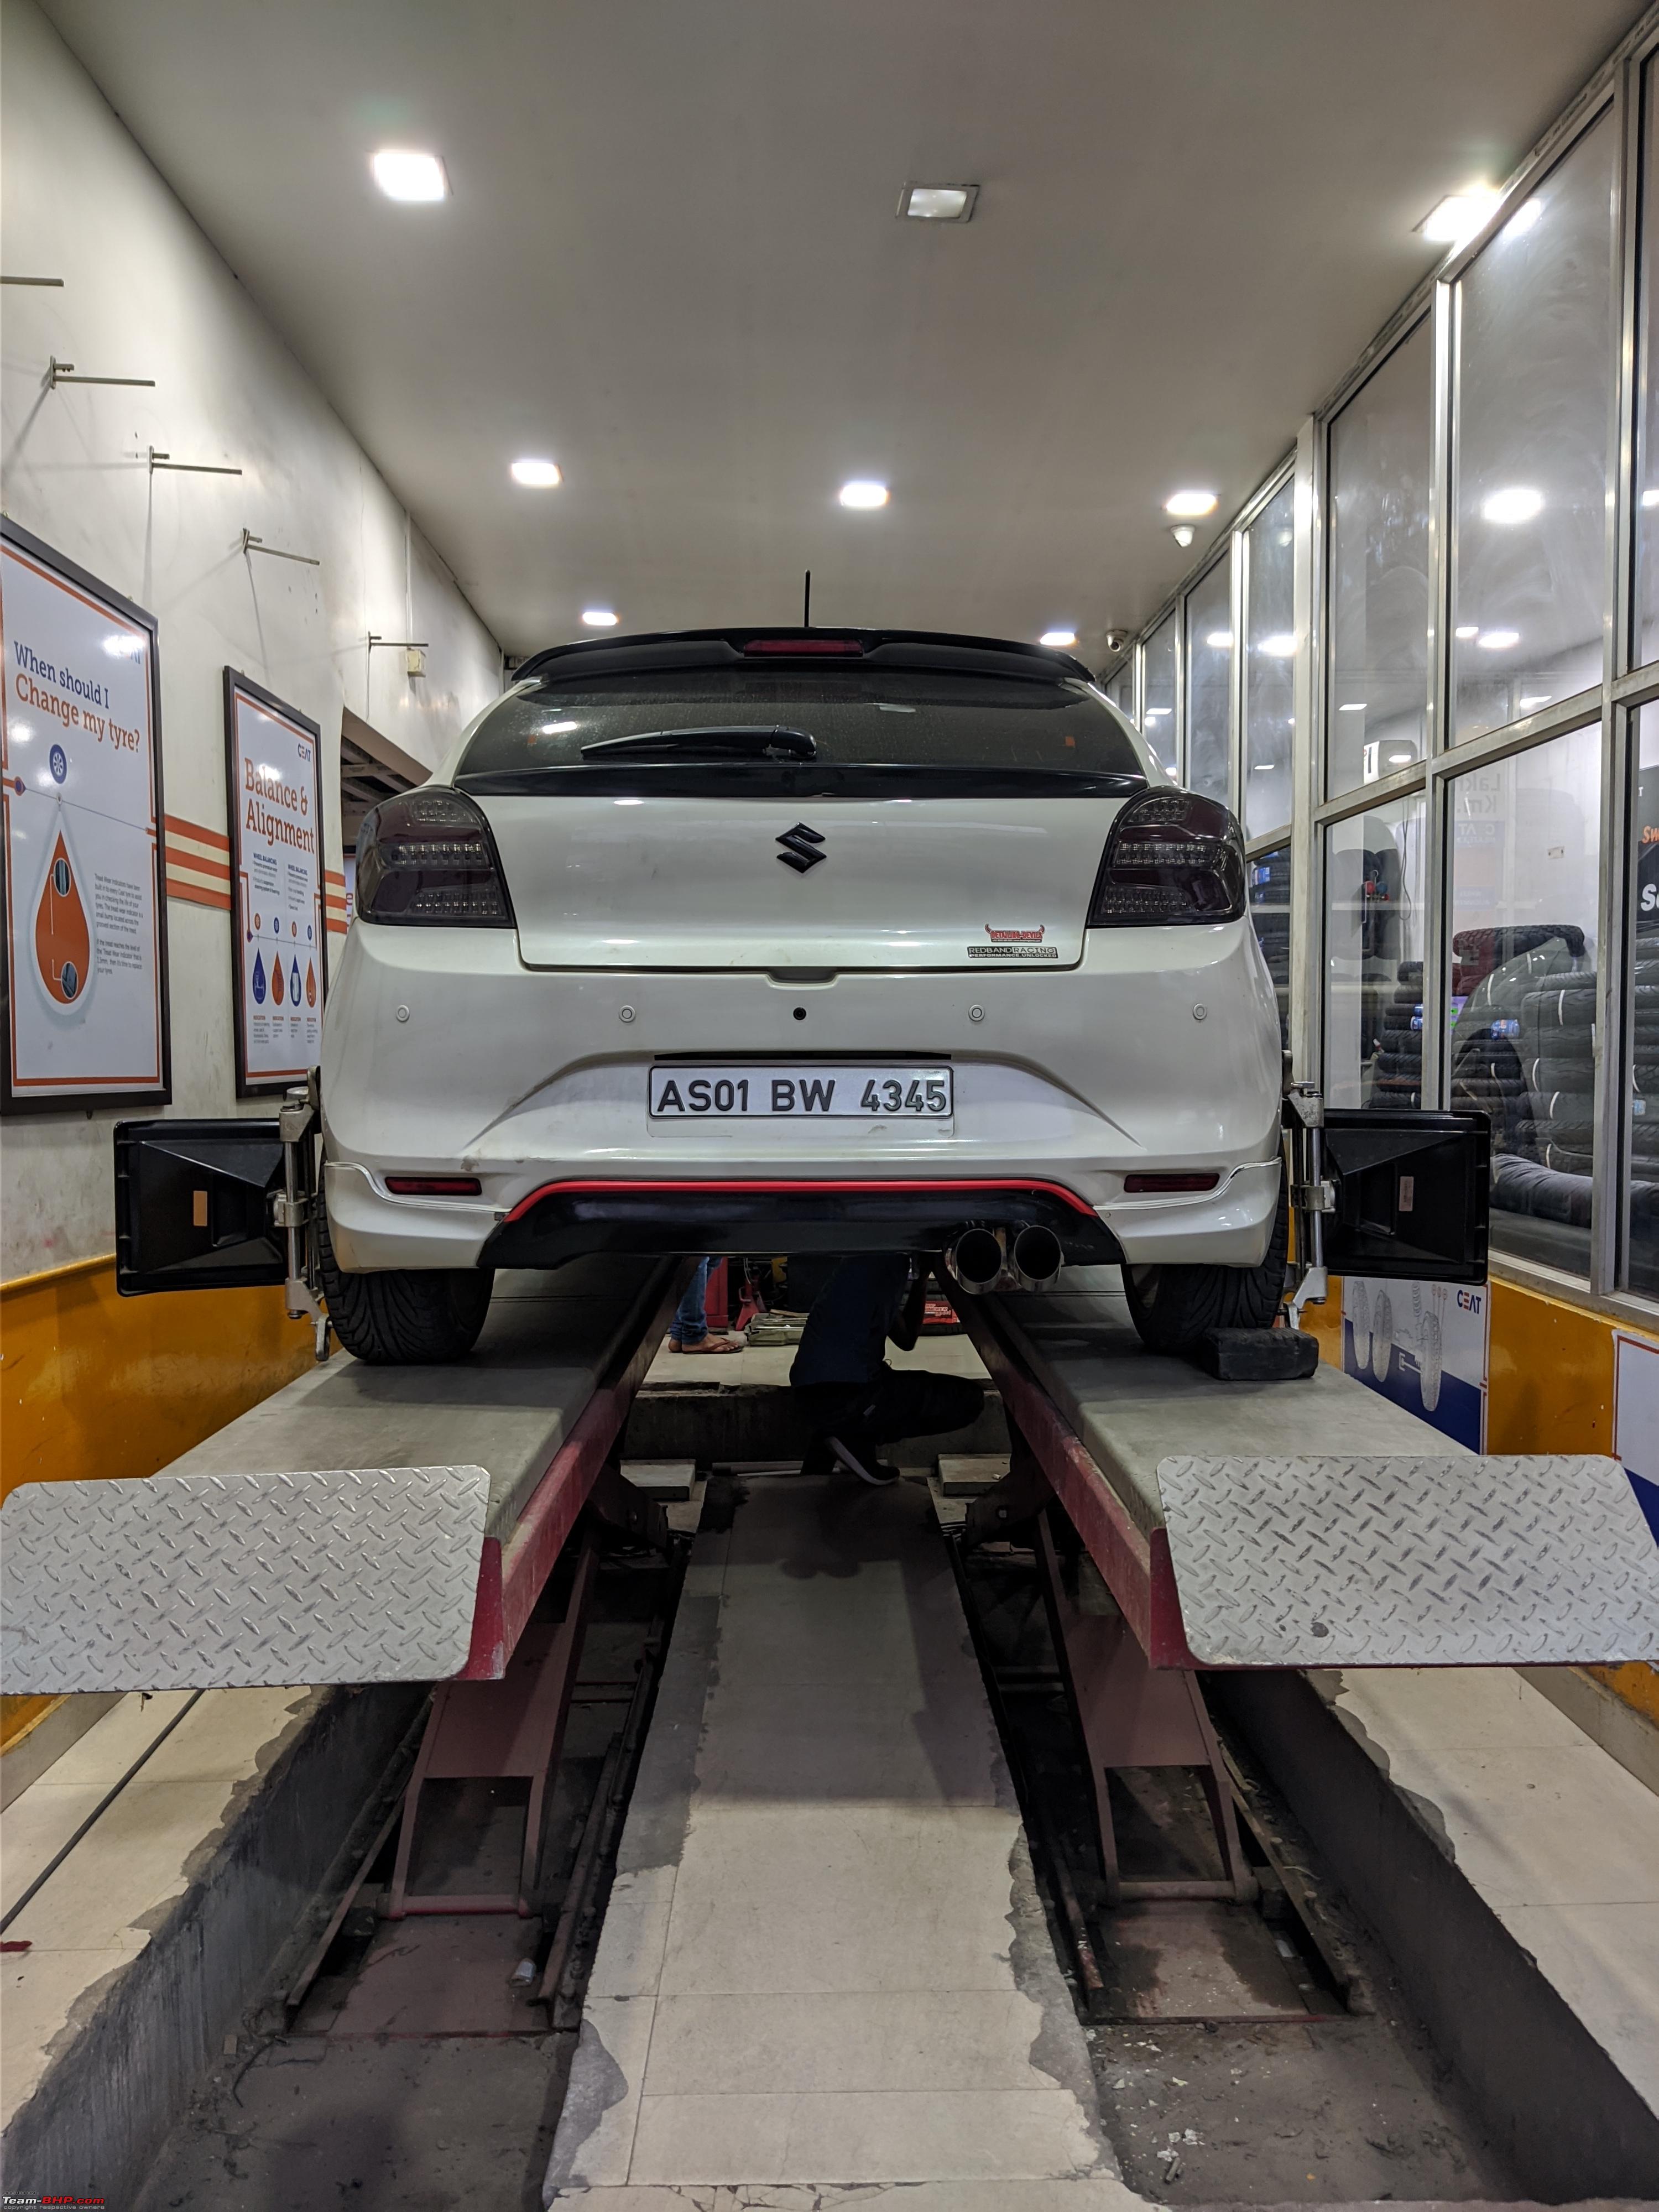 Final alignment report: 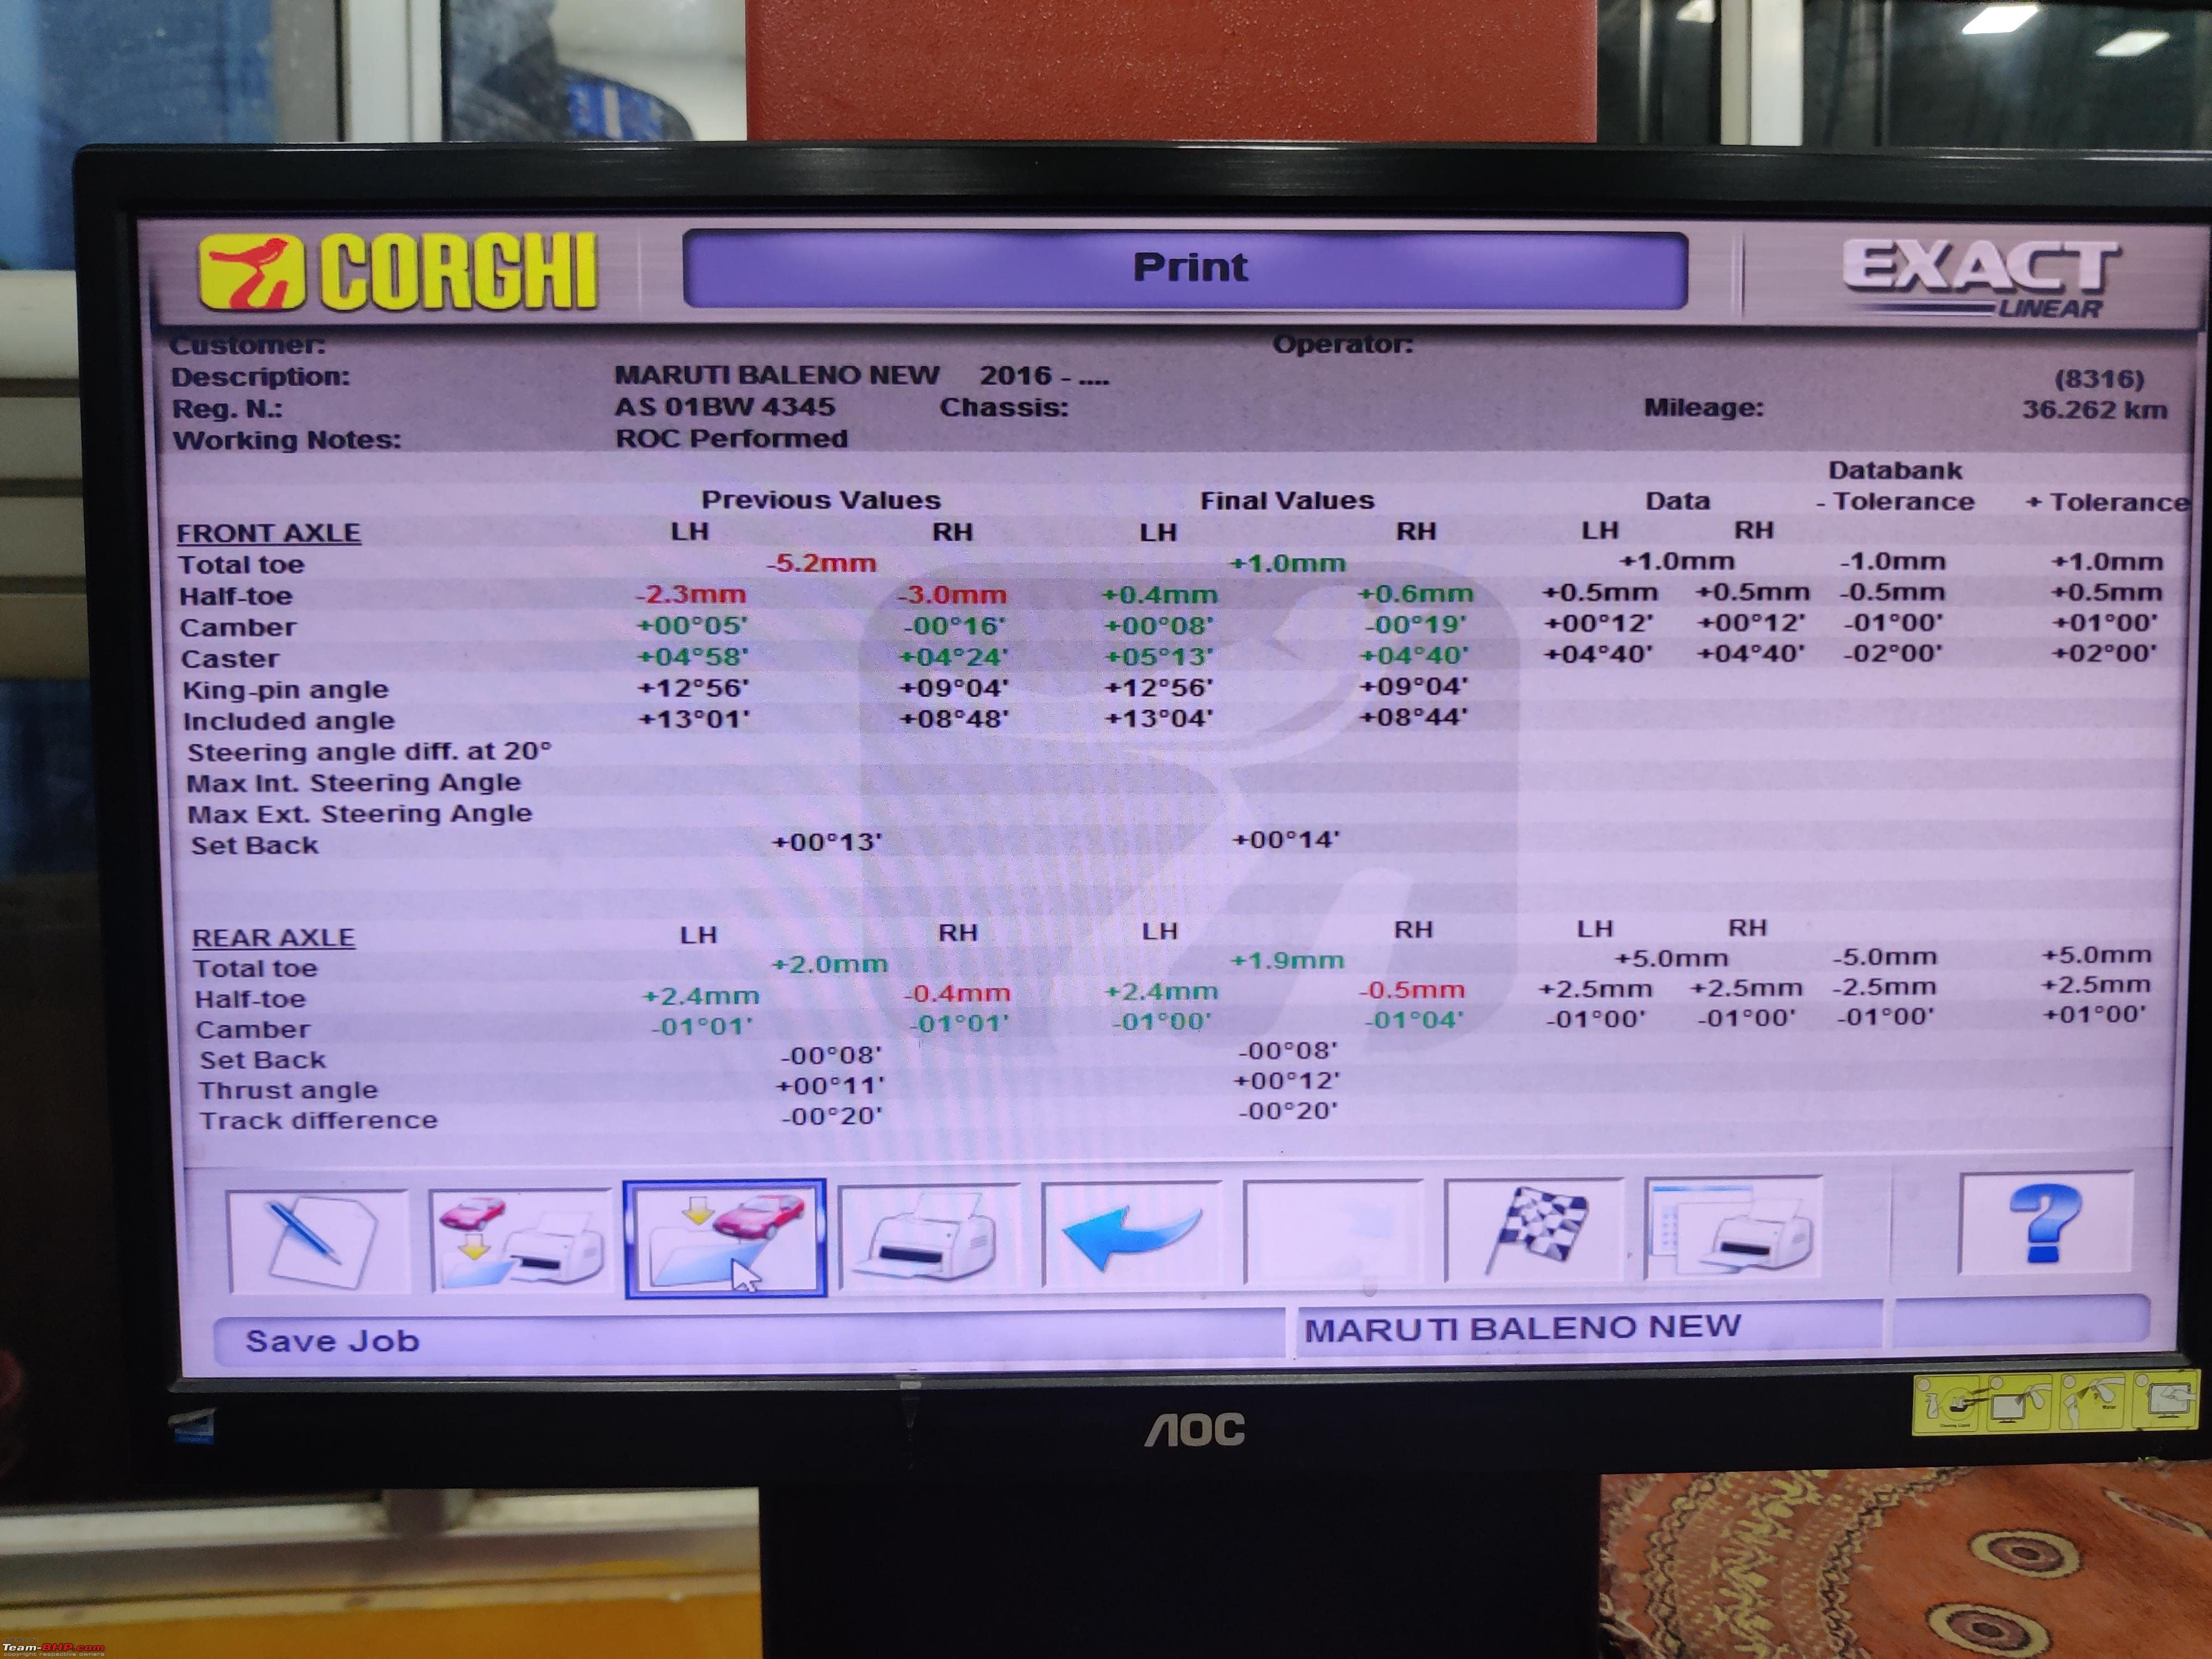 Before vs After comparison: 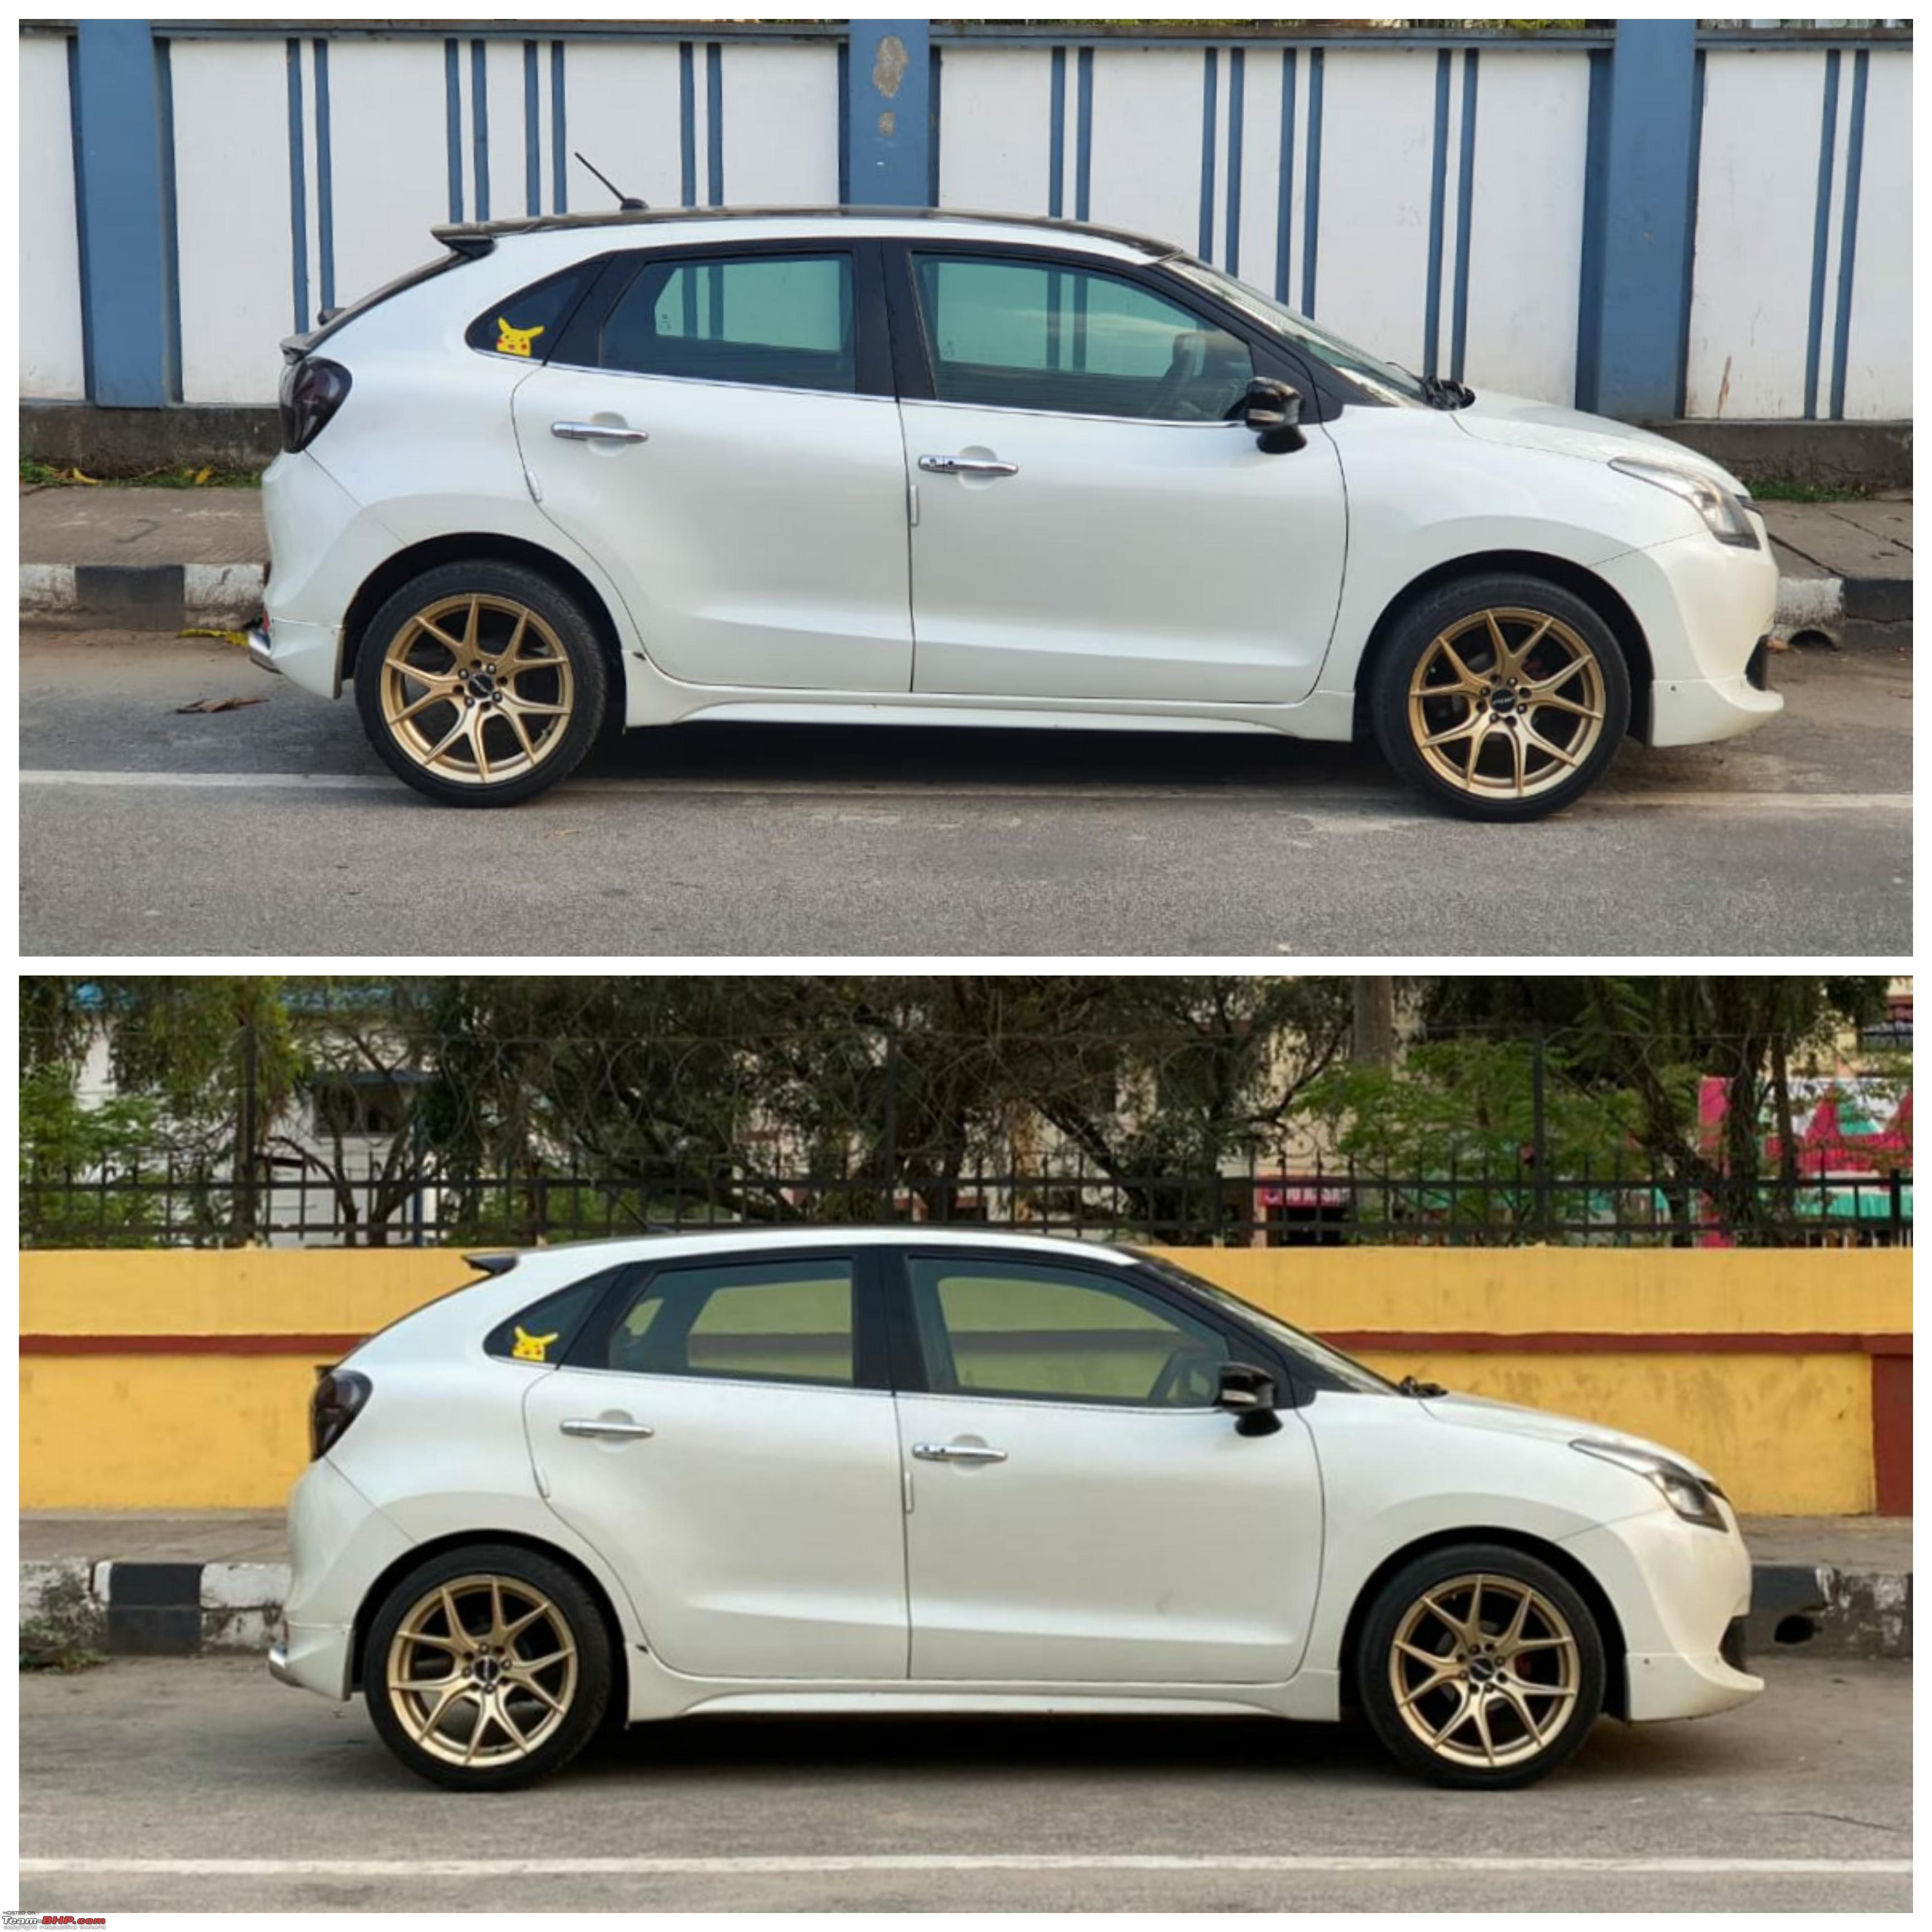 Comparison with a stock Baleno: 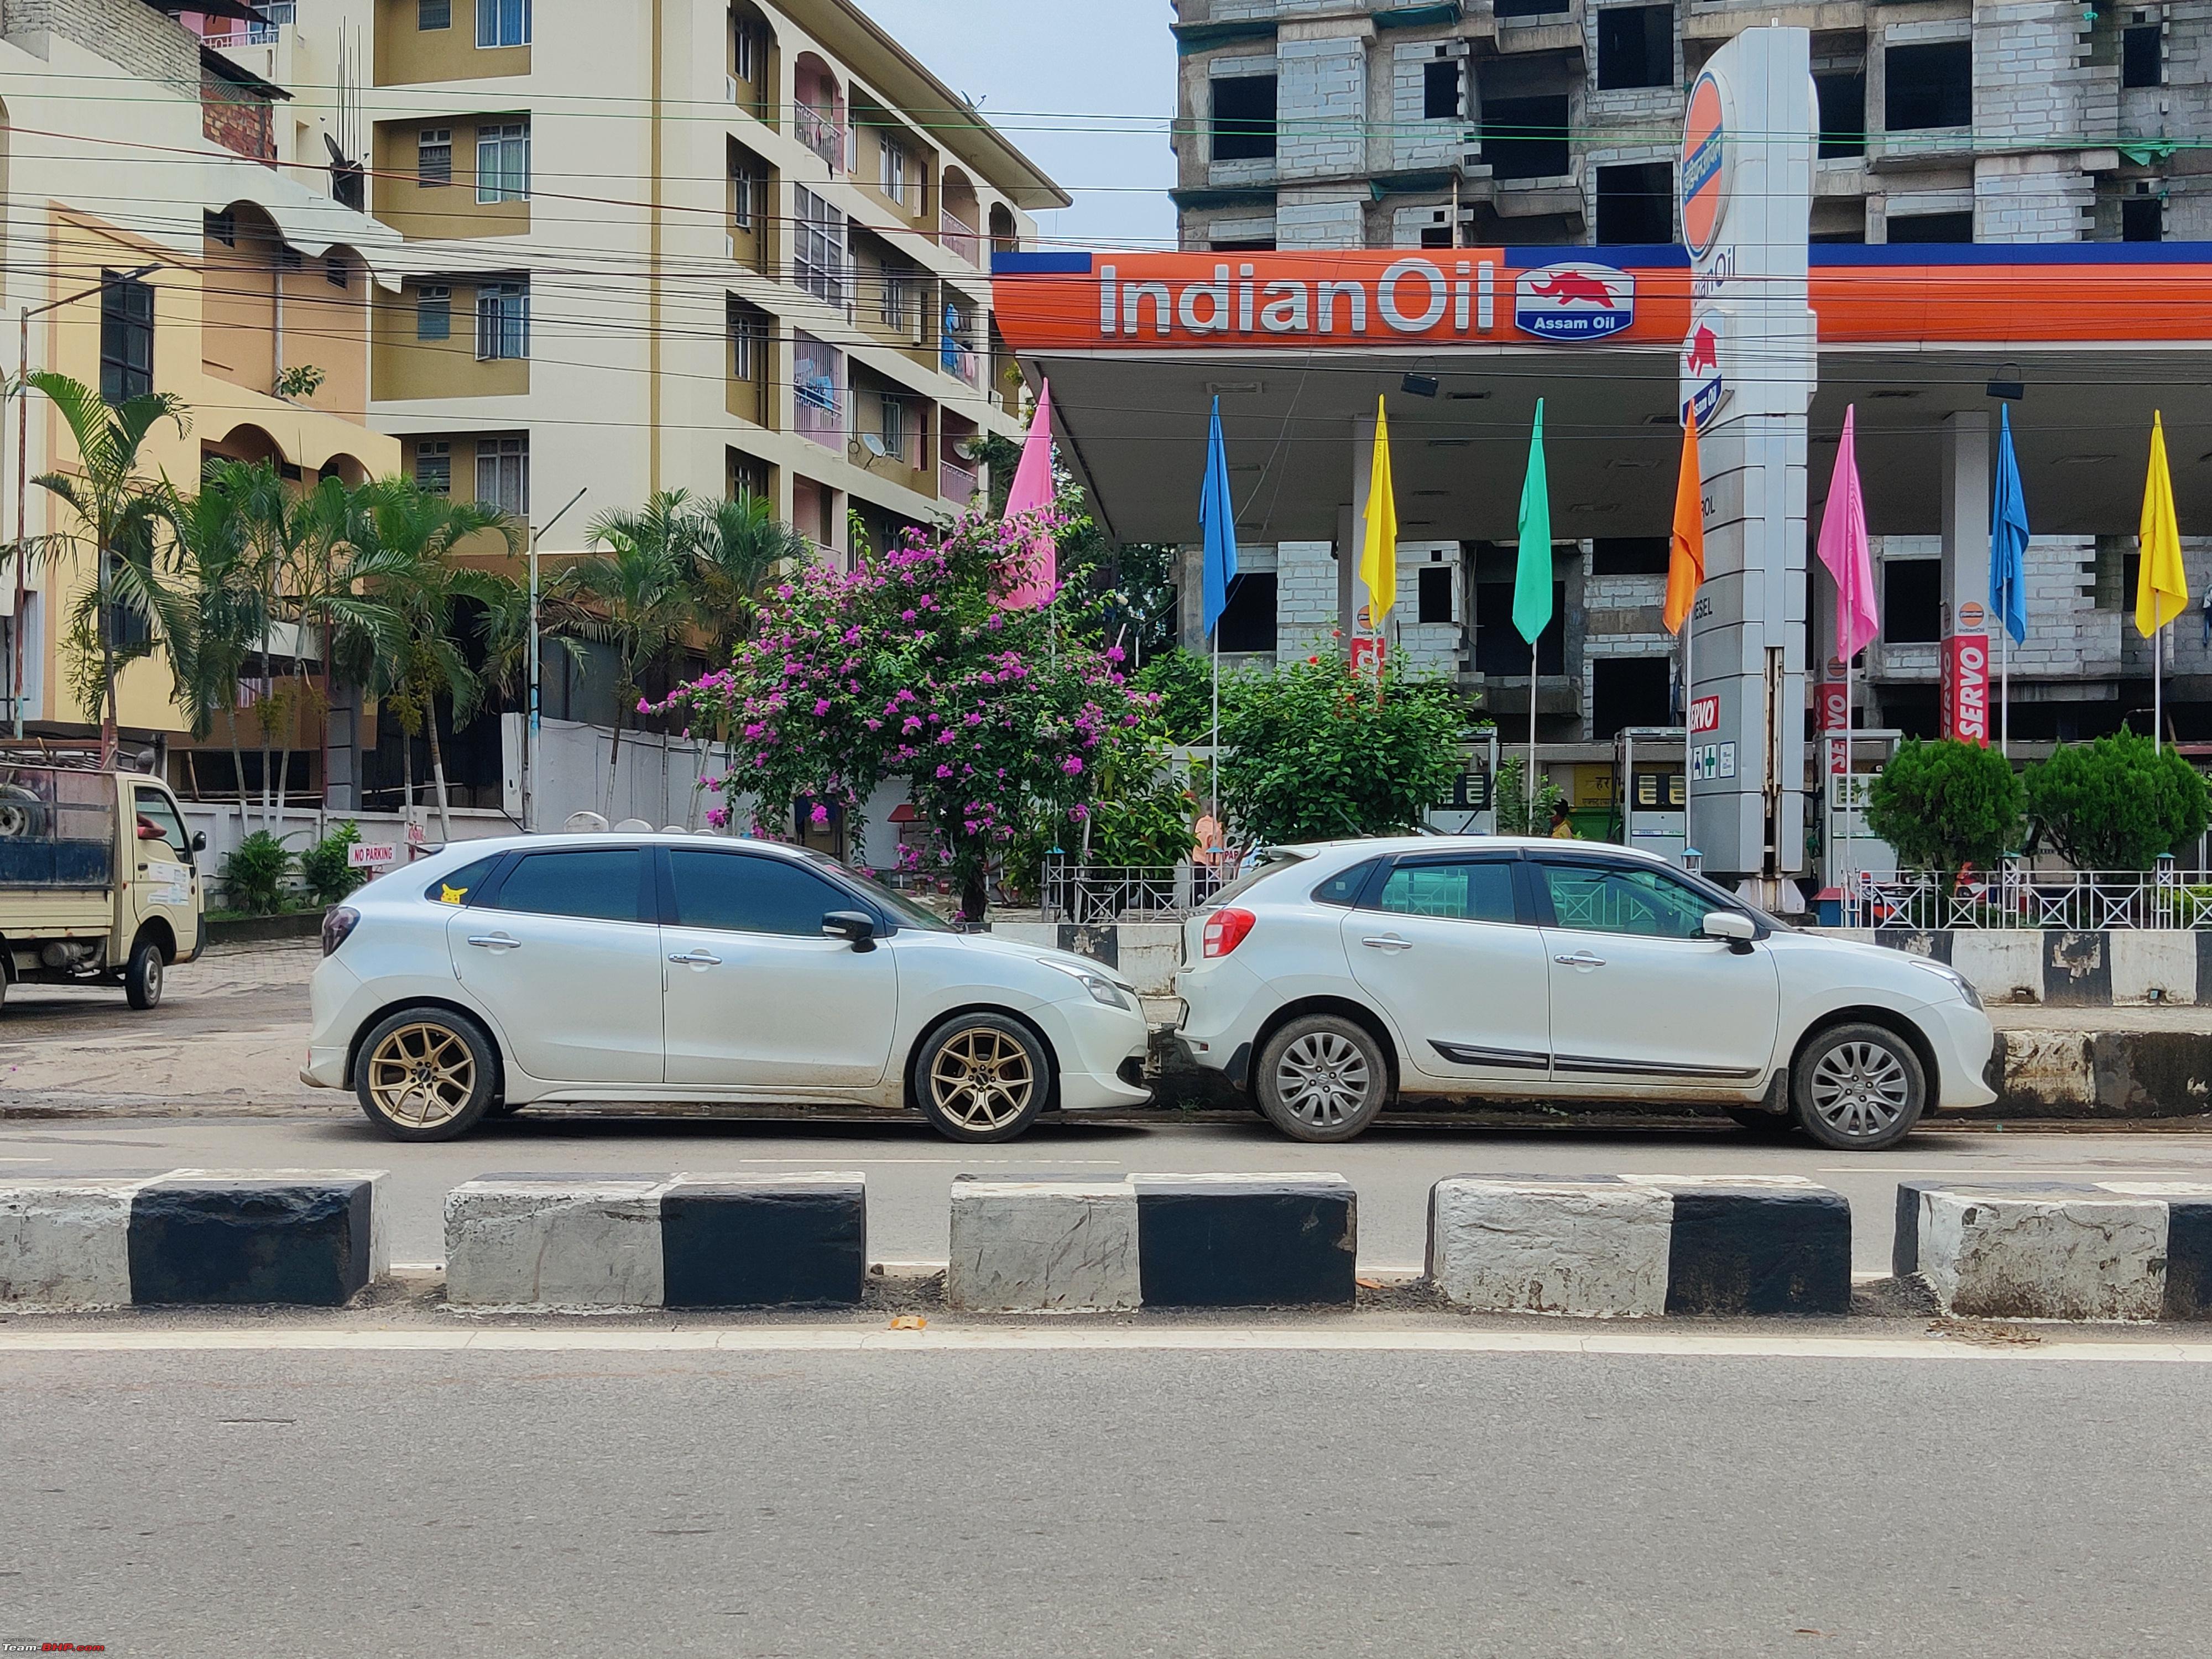 Low rider: 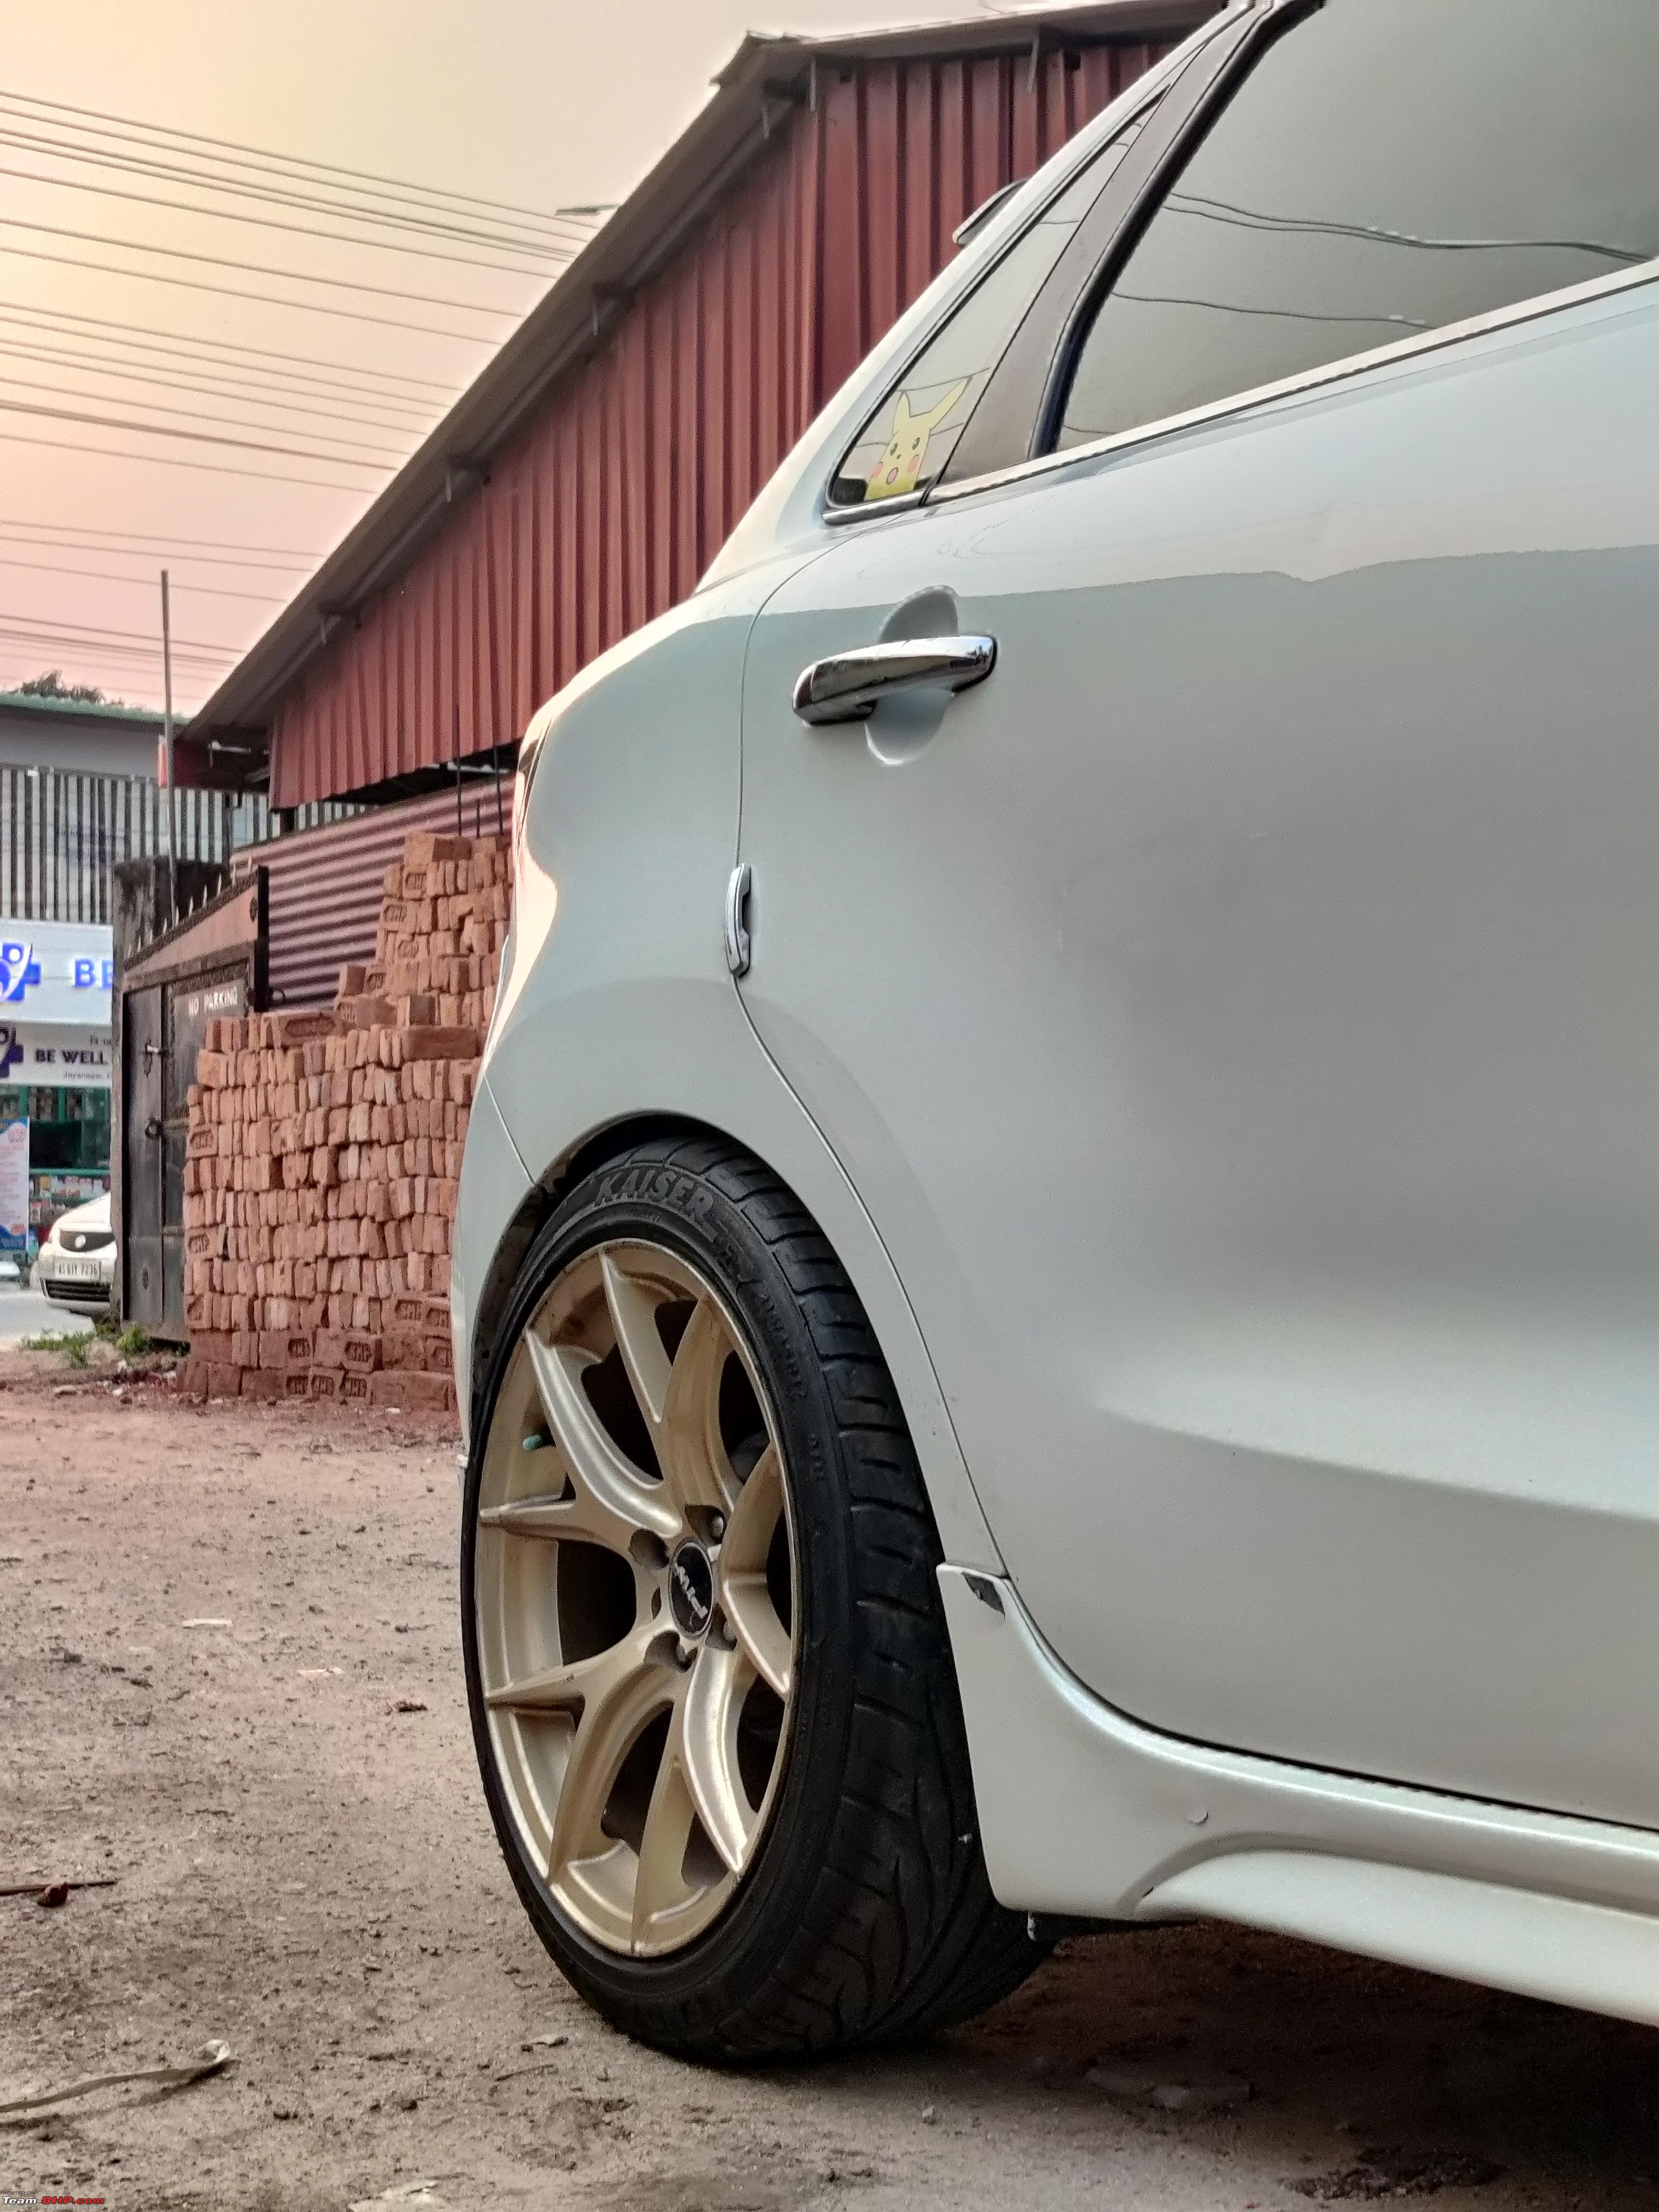 Last edited by chiranjitp : 15th June 2021 at 17:47. |
|
| (43)
Thanks
|
| The following 43 BHPians Thank chiranjitp for this useful post: | adwaith, Aish_4761, Akshay6988, BhaskarG, Big Smoke, brohanv, DevOnWheels, digitalnirvana, Gaboonviper04, GTO, gunin, hdman, Herschey, hmansari, InControl, Jhinchak, jithin23, keroo1099, Leoshashi, LONG_TOURER, motorpsycho, Nitish B Shetty, ramnaresh_2000, redohabitat, Researcher, Rshreyansh, SH1N1G4MI, Shabz47, Shome, Siva Prakash, SnS_12, somspaple, swiftnfurious, Taha Mir, Tanveer02, theexperthand, TheLxGuy69, The_Outsider!, VijayAnand1, Viju, Vik0728, vredesbyrd, wheelguy |
|
13th June 2021, 02:08
| #7 |
| BHPian Join Date: Dec 2017 Location: Guwahati
Posts: 559
Thanked: 4,711 Times
| re: Modification Diaries | Maruti Baleno Zeta | Remap, lowering springs, exhaust, audio upgrade & more Overall verdict: Personal Favorite Mod/ Verdict:
A tip to people who are new to the scene of modification: See, when it comes to modifications, an end user is spoilt with choice from something as simple as a roof wrap to something as complex as an engine swap. However, one thing that I've learnt is that there are some types of modifications that simply aren't a straight forward affair. They are more of a trail and error kind and they require patience to find and bring out the perfect work that you always had in your mind. The perfect example of this is my stint with the remap. It is only after multiple times of sending and receiving the ECU with the tuner was I able to find the perfect tune. So my advise would be that if it isn't panning out at first, it will with a bit of patience and fiddling around. Here's a video on the Baleno by Youtuber AJ Baruah: Some random photos of the Baleno (in no particular order): 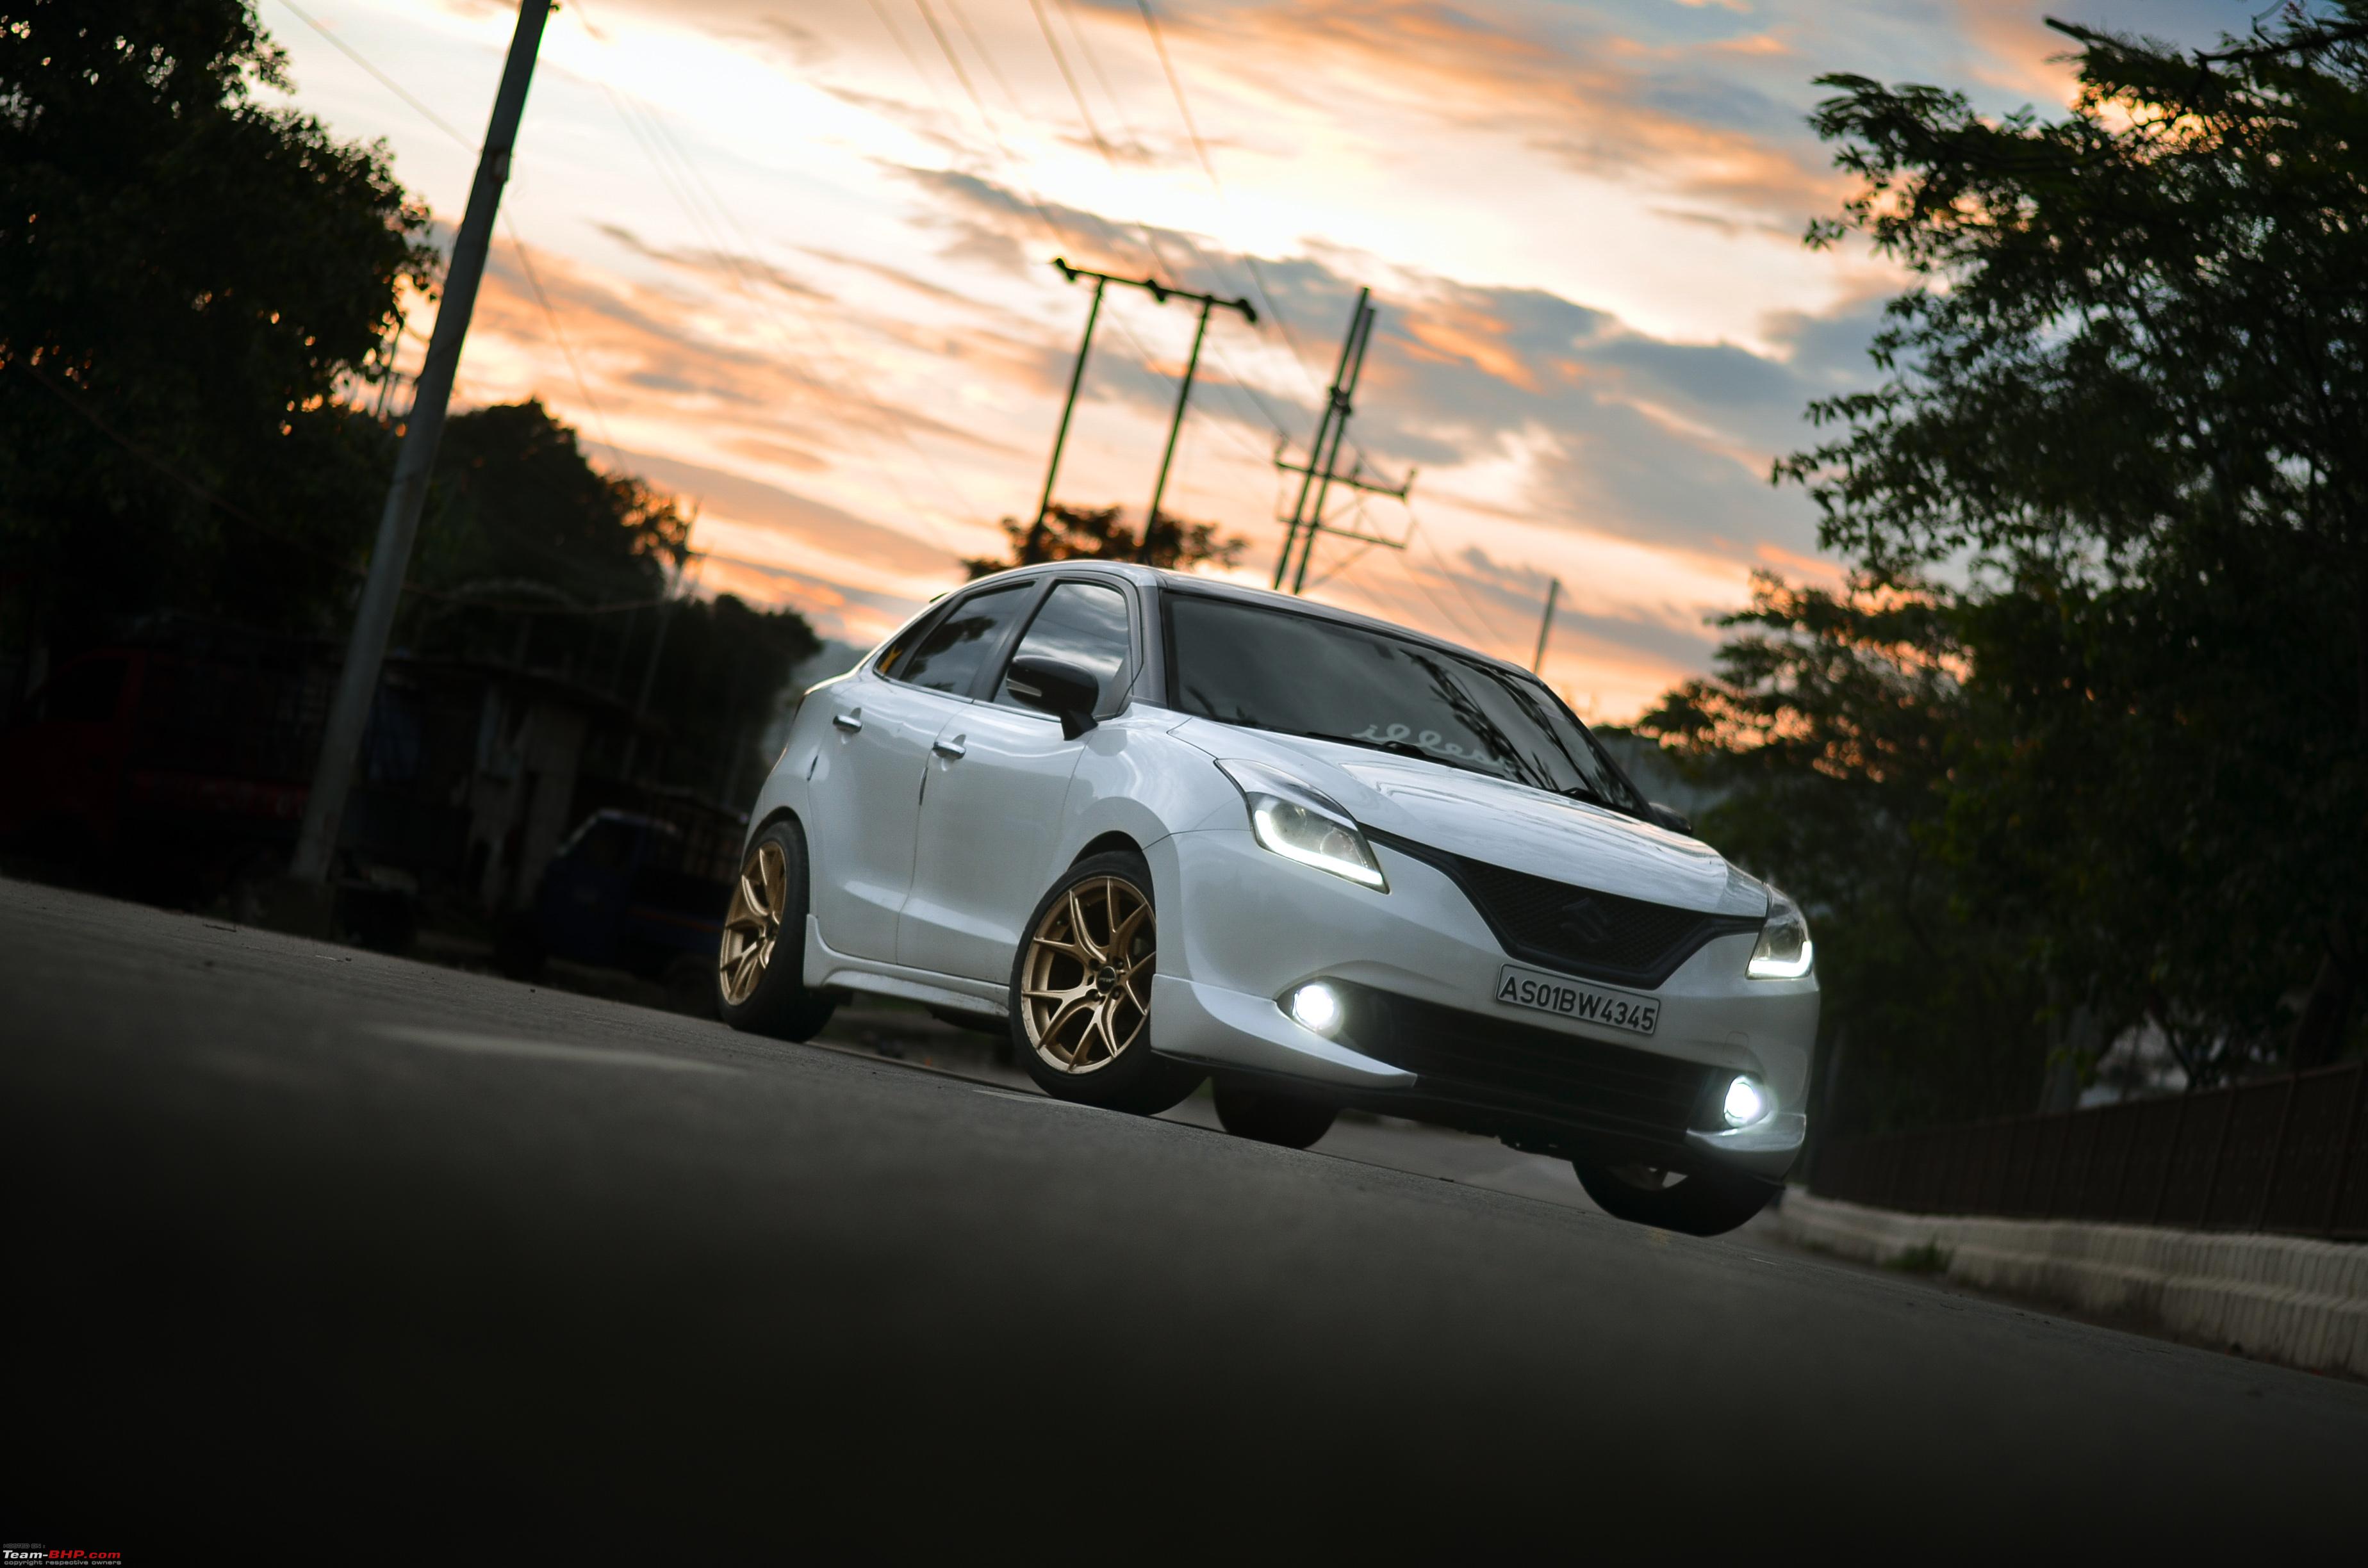  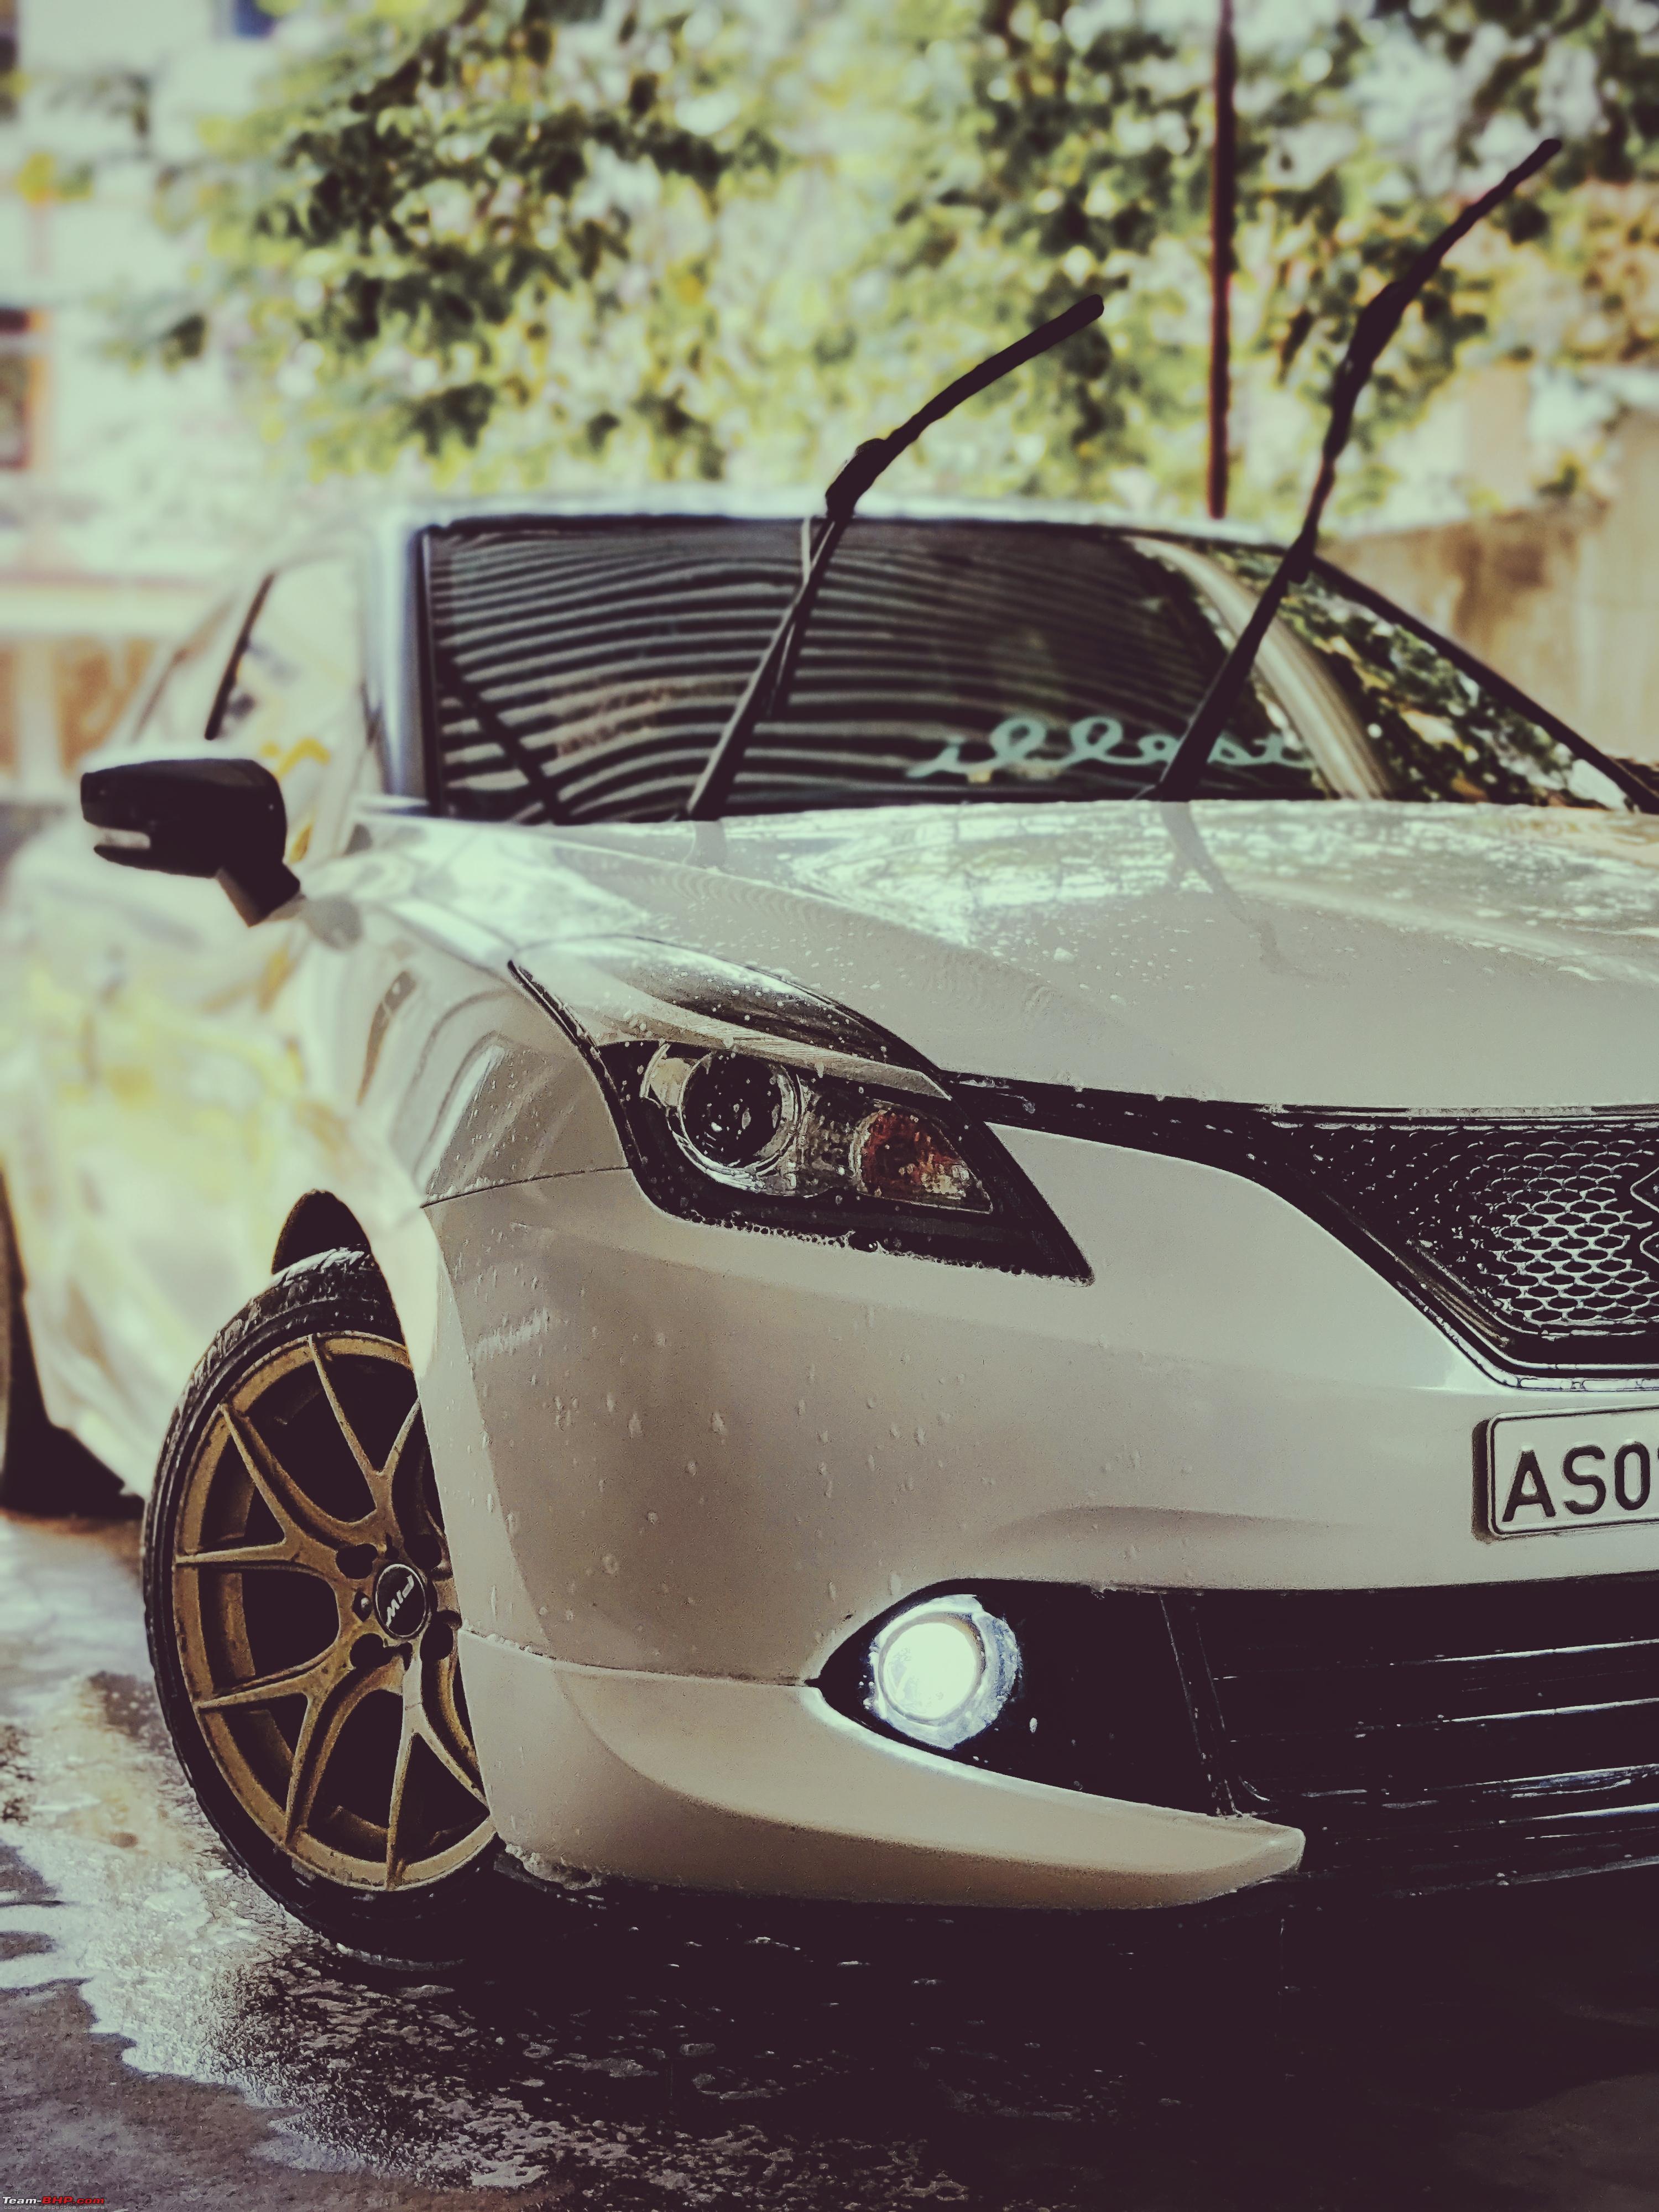 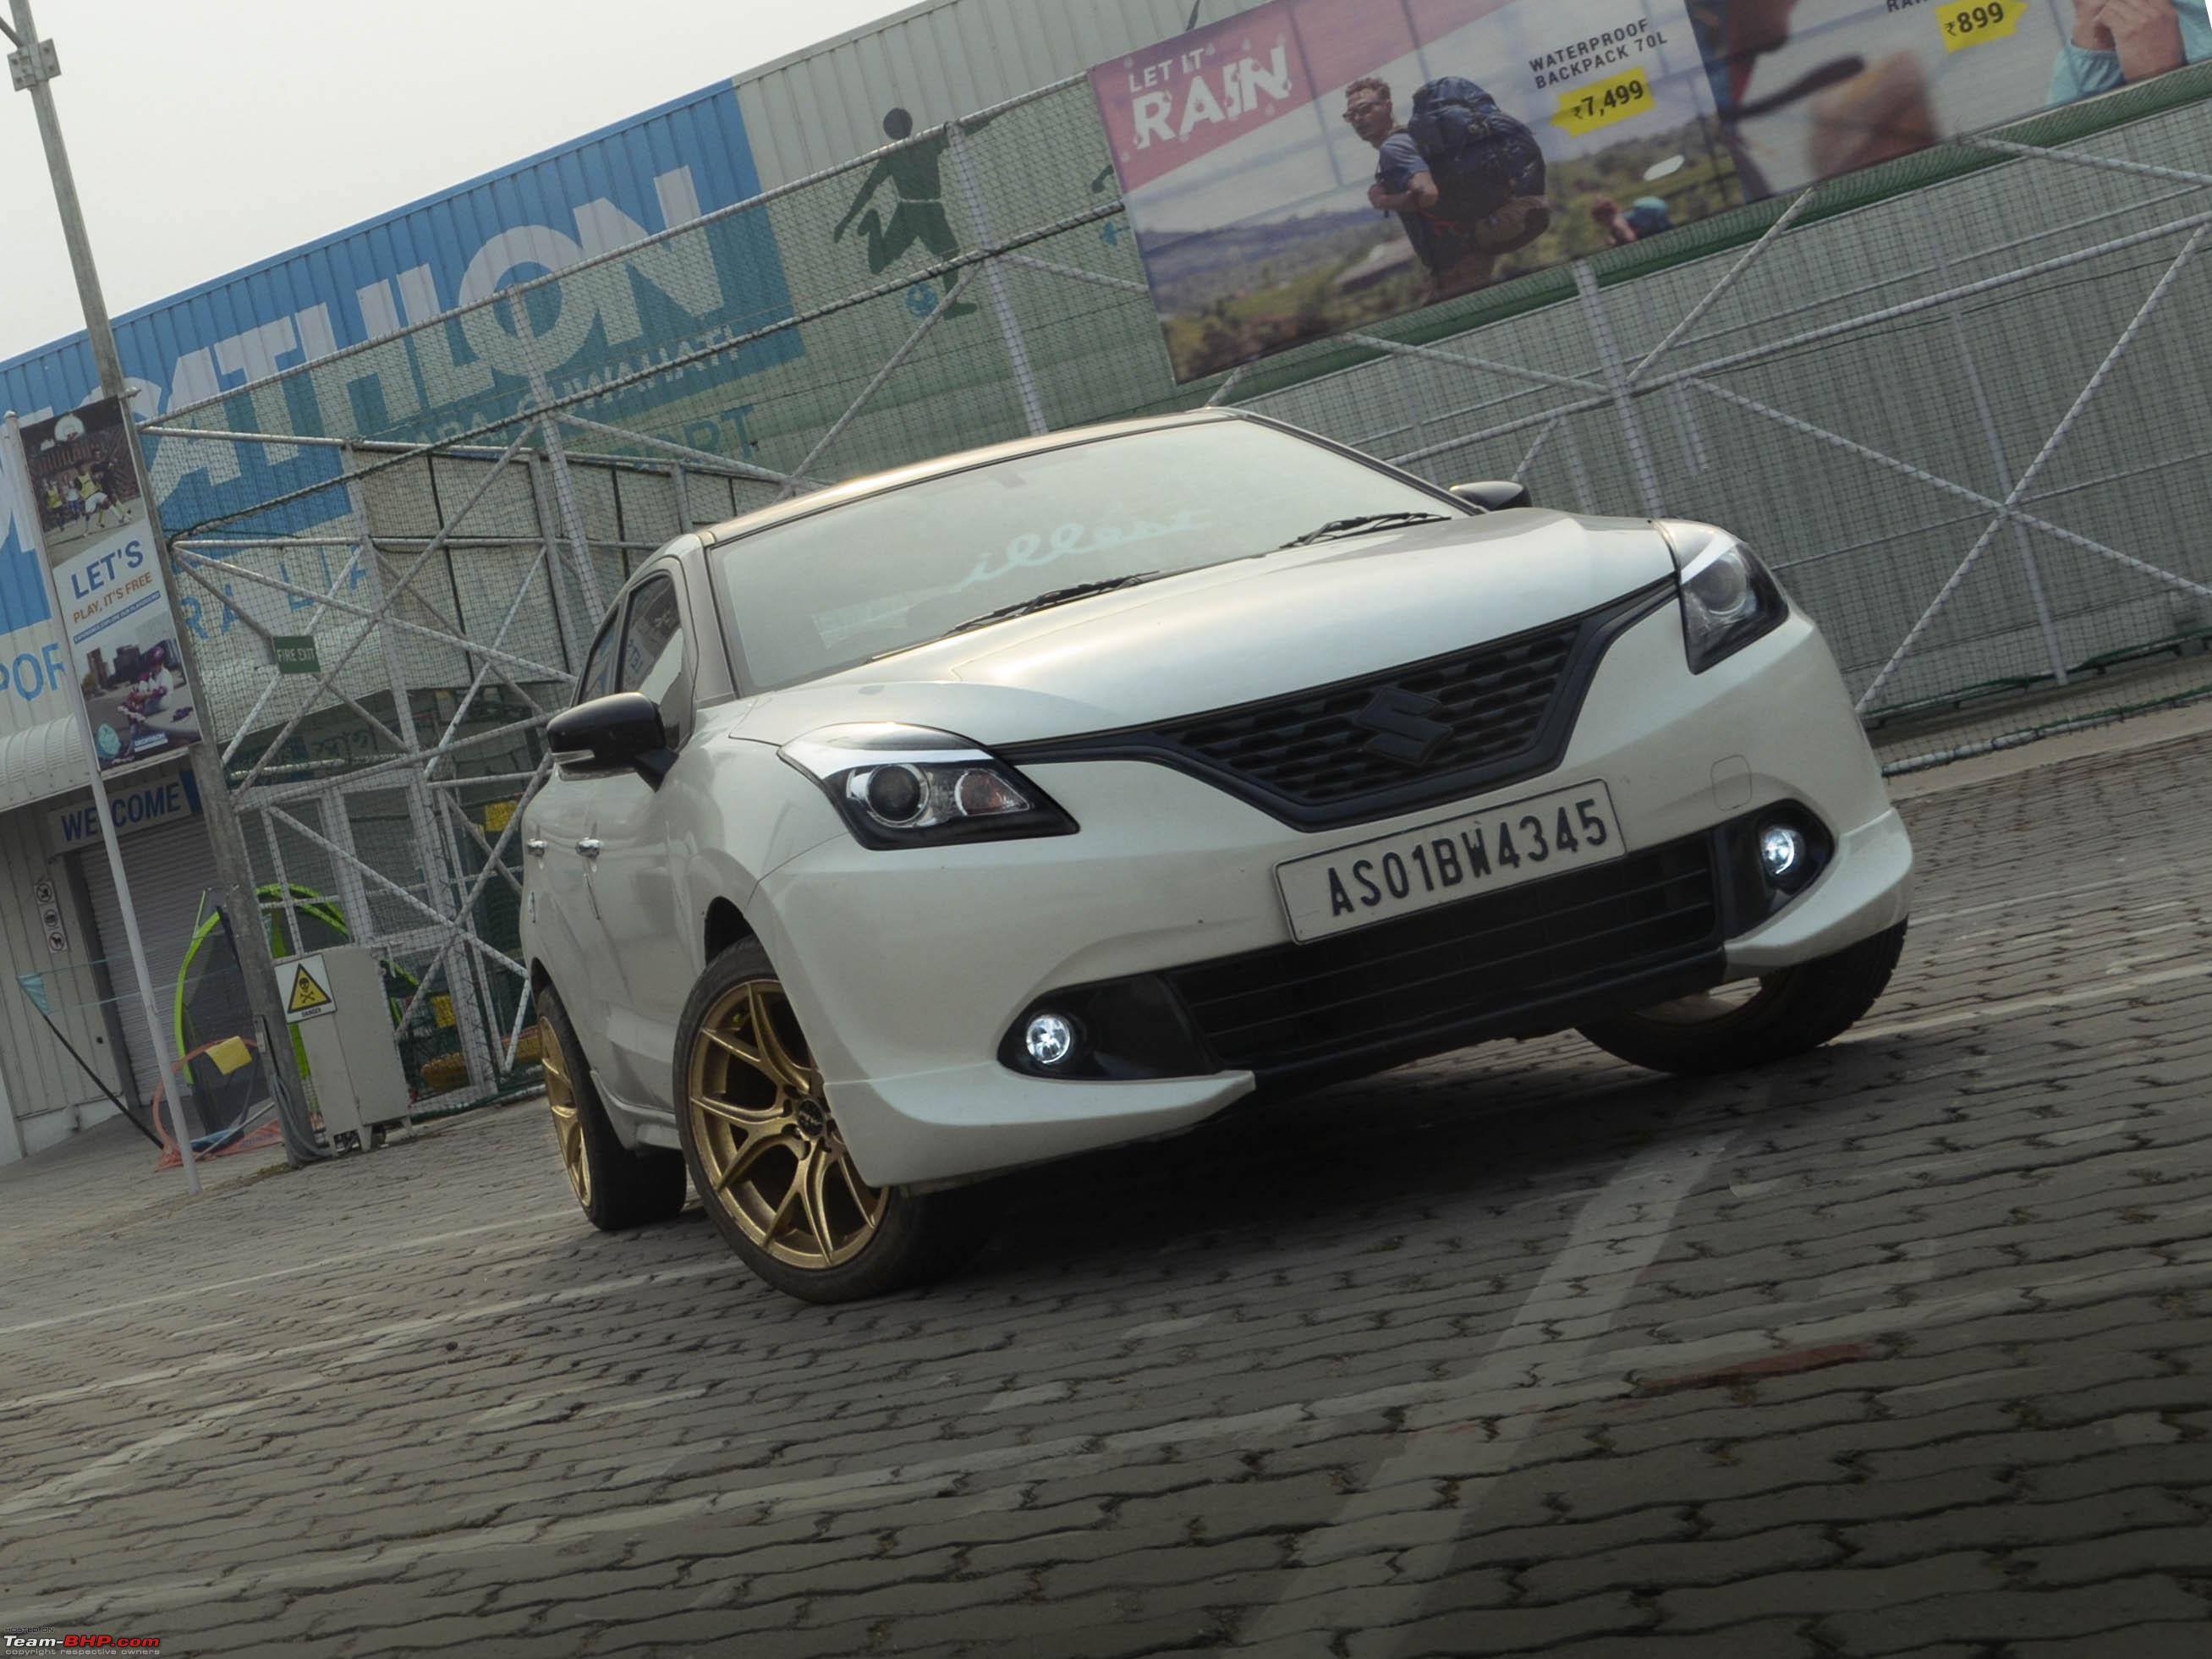 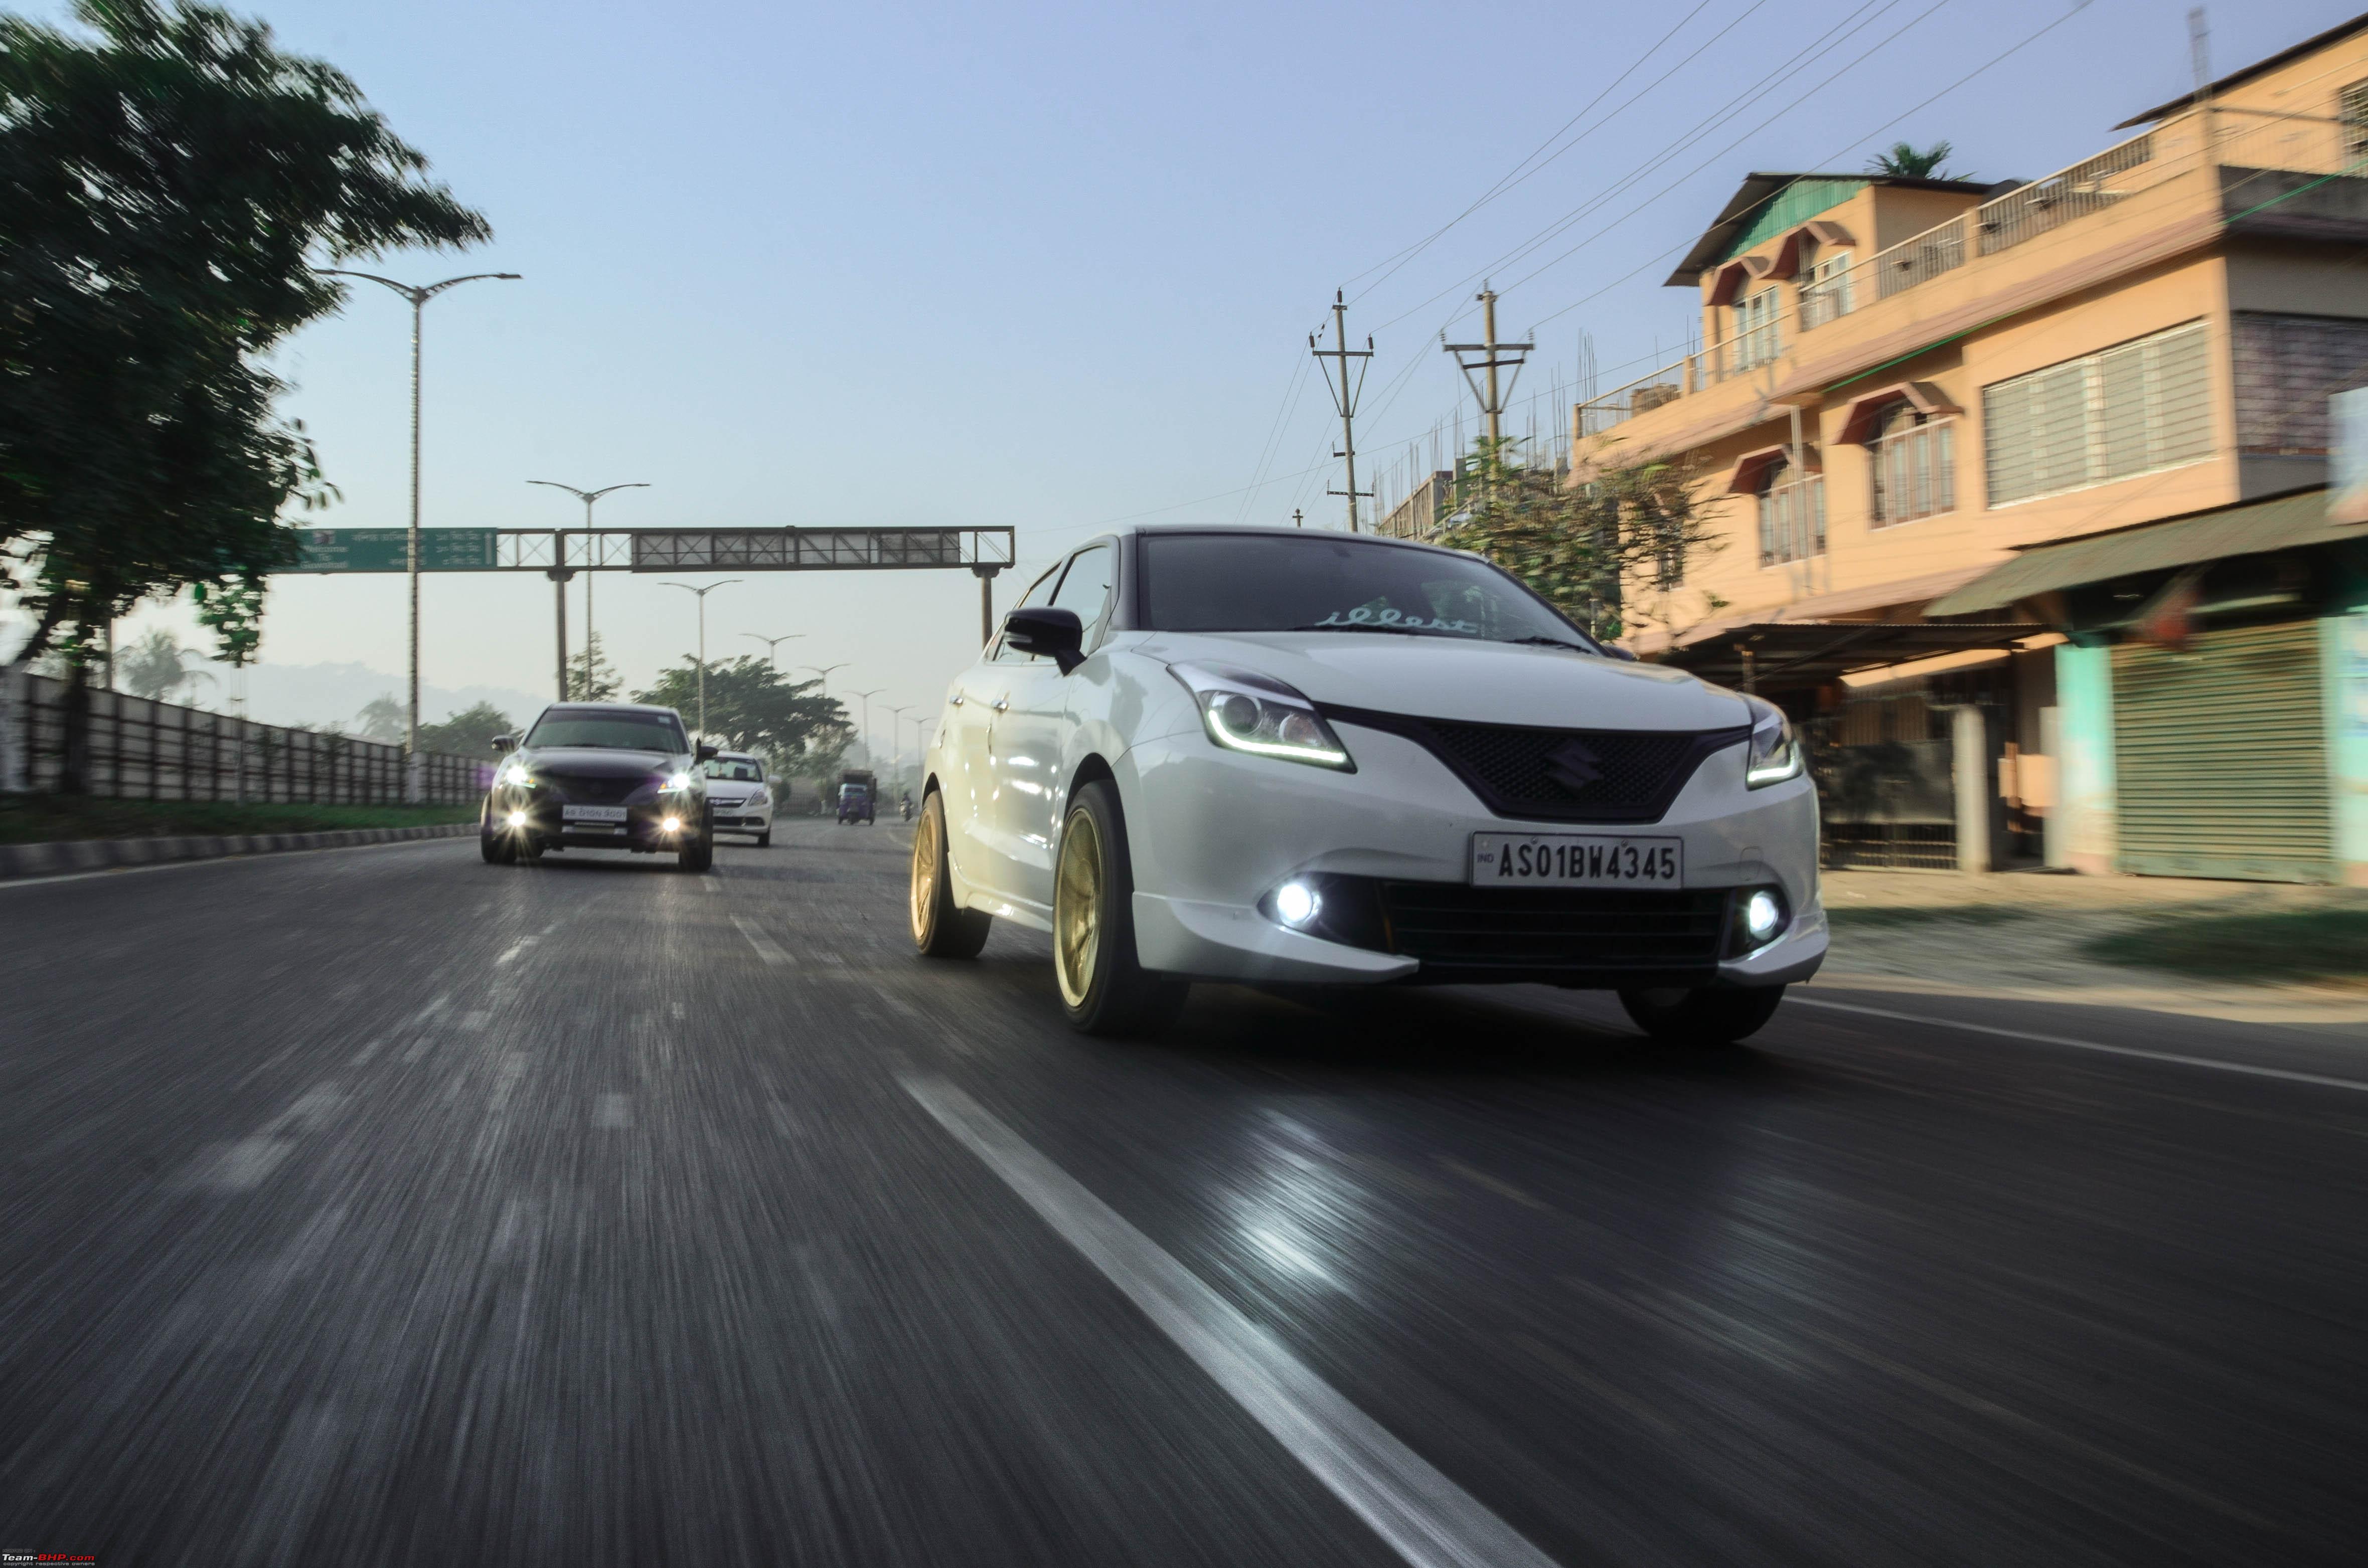 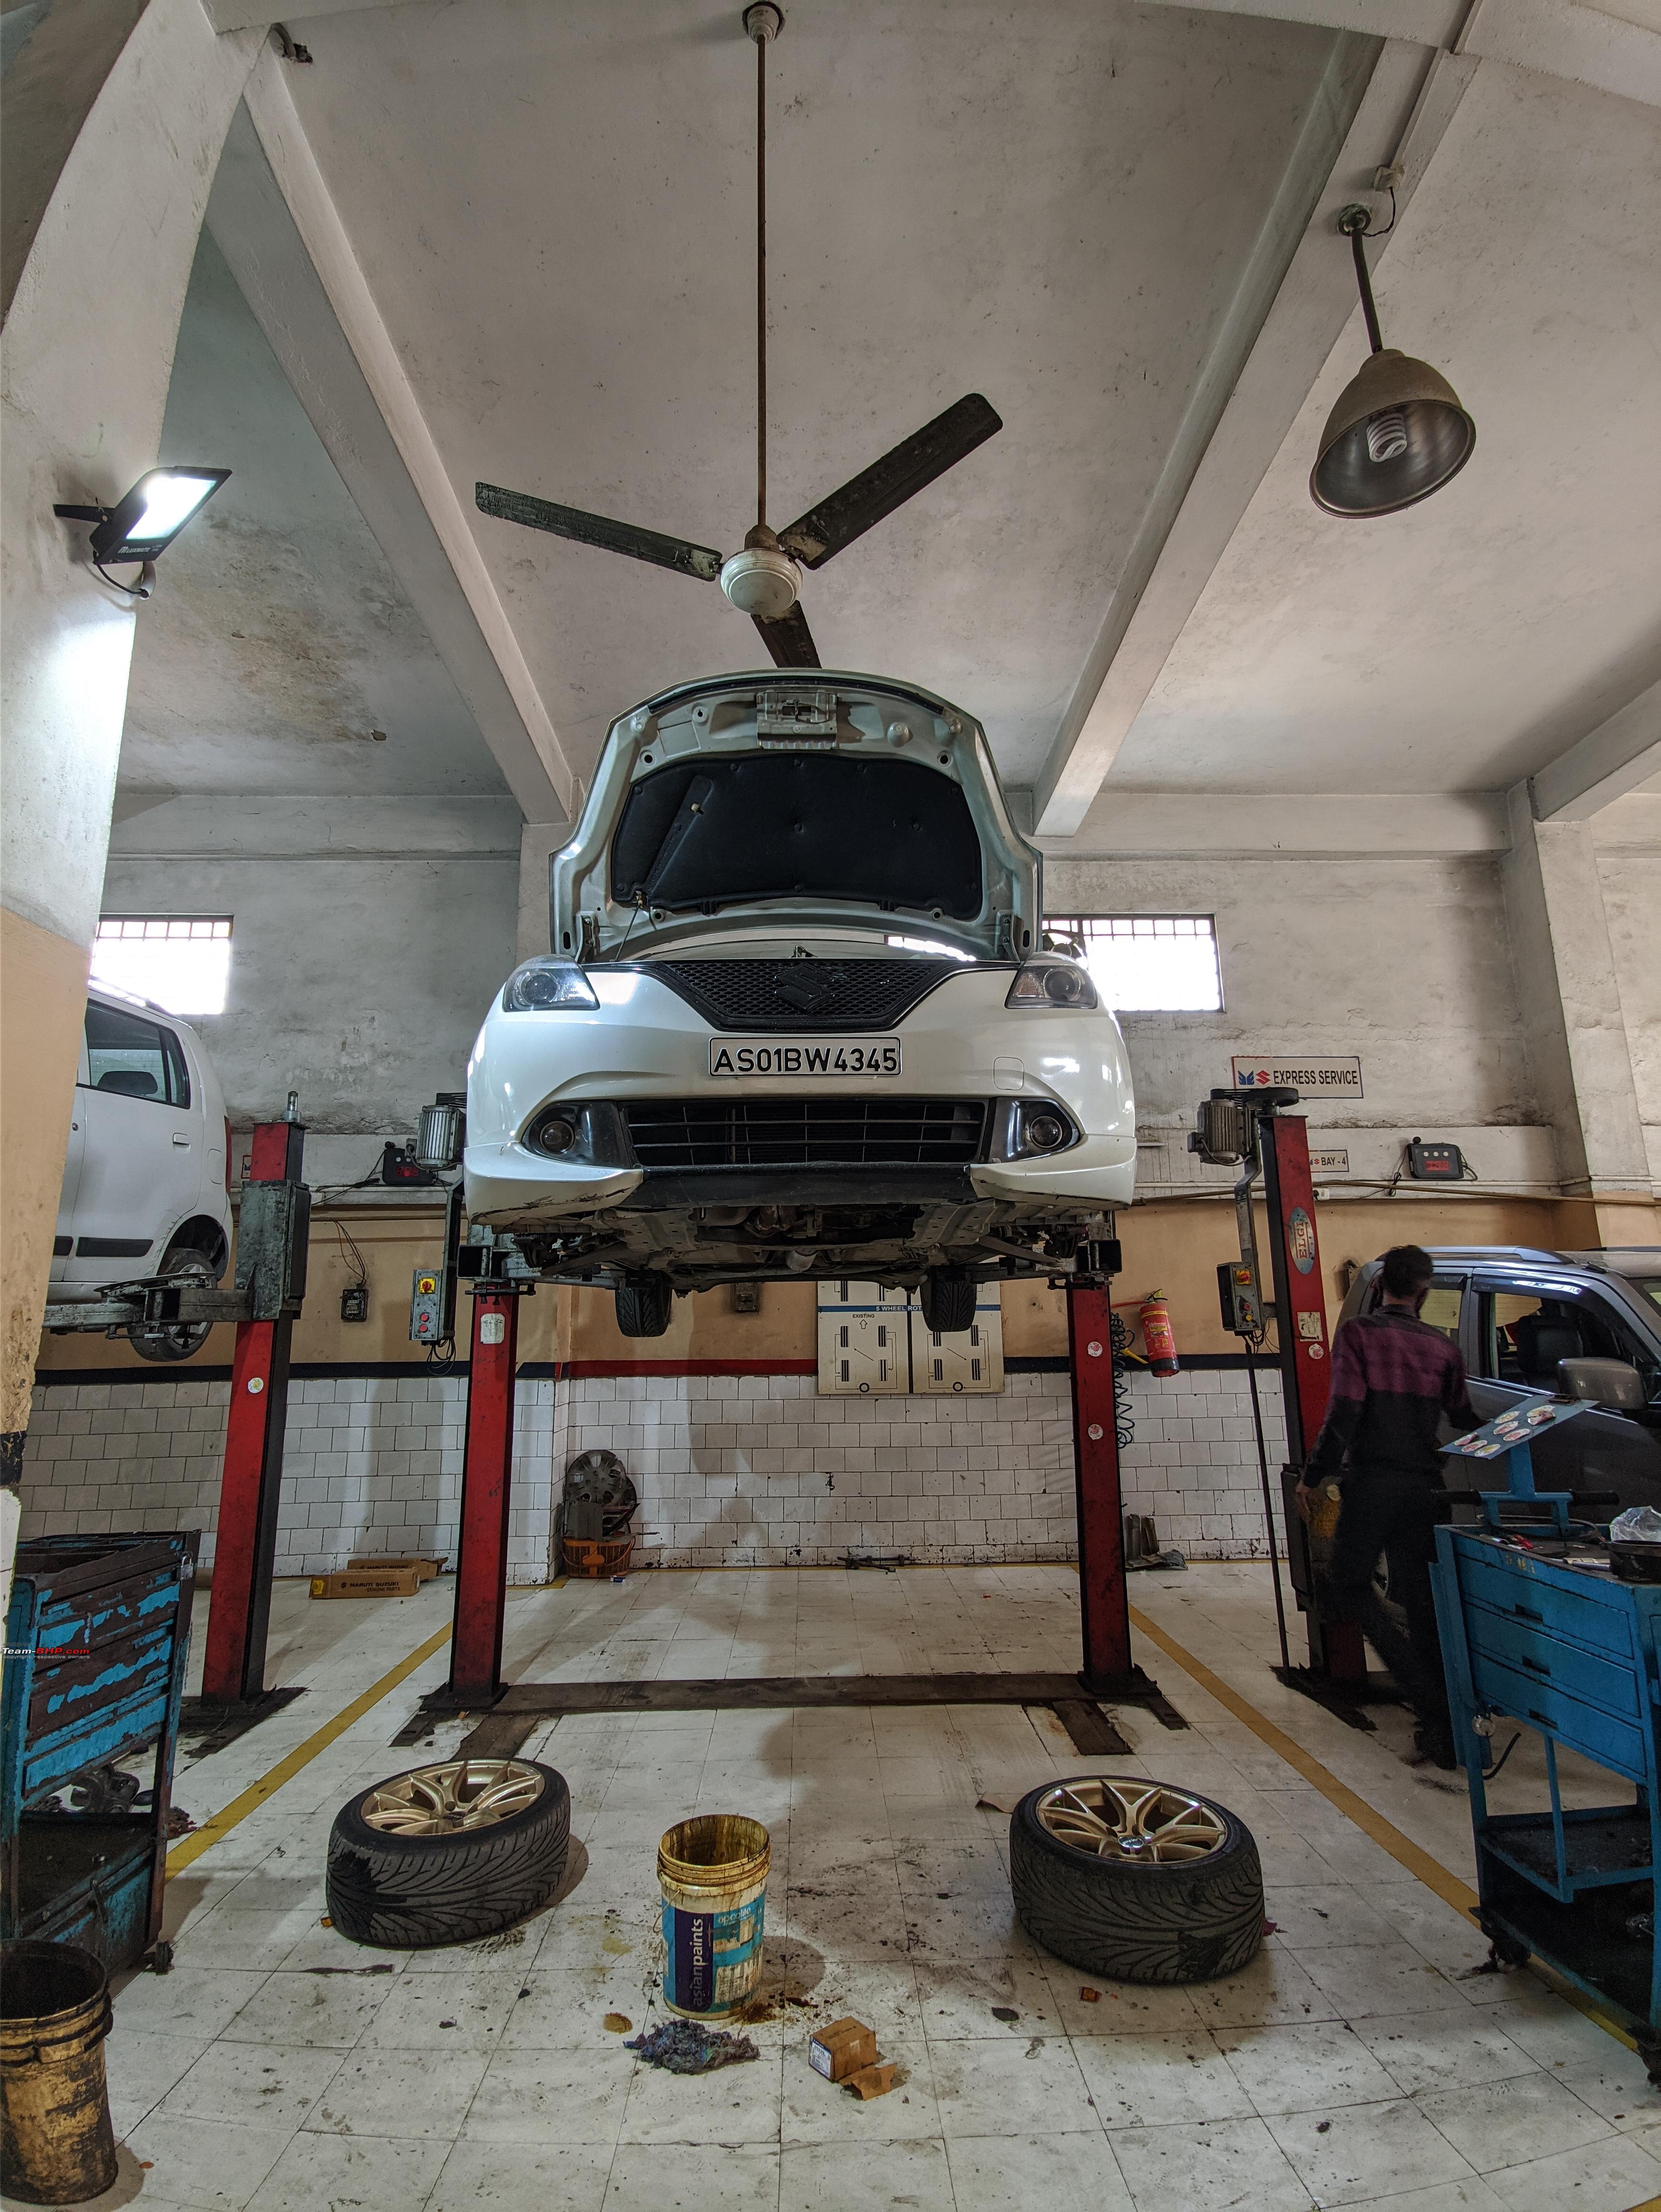 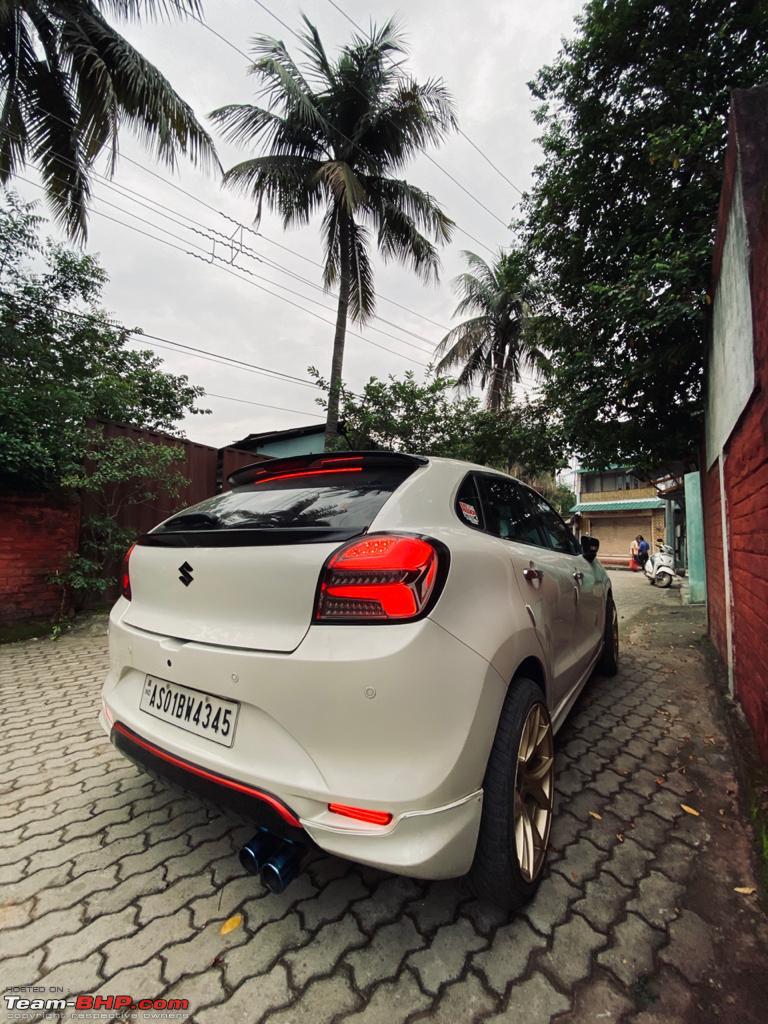  Last edited by chiranjitp : 15th June 2021 at 23:13. |
|
| (46)
Thanks
|
| The following 46 BHPians Thank chiranjitp for this useful post: | abhijith, adwaith, Aish_4761, Arnav Vaghela, aswin93, autotranny, BhaskarG, Crow, DevOnWheels, digitalnirvana, Dr.Naren, Gaboonviper04, GTO, gunin, hmansari, icar, JD_404, keroo1099, LONG_TOURER, M.Sadhwani, matchvan, mazealot, na_agrawal, OrangeCar, PM - B, Prakritij, redohabitat, Researcher, rj22, satrikon_454, Shabz47, shobhit.shri, Shreyans_Jain, Siva Prakash, SnS_12, somspaple, supertinu, swiftnfurious, Tanveer02, Teesh@BHP, theexperthand, thewhiteknight, The_Outsider!, Viju, vredesbyrd, wheelguy |
|
14th June 2021, 03:16
| #8 |
| BHPian Join Date: Dec 2017 Location: Guwahati
Posts: 559
Thanked: 4,711 Times
| re: Modification Diaries | Maruti Baleno Zeta | Remap, lowering springs, exhaust, audio upgrade & more PART 2 In this post I will be giving my own personal view on this BALENO. The views in this post would be my own personal perspective and I will also be putting out some contrasting differences between a regular day to day Baleno and this customized BALENO as I have myself driven this one for hundreds of kilometers over the span of many months.
My Swift with the Baleno:  Last edited by chiranjitp : 15th June 2021 at 18:04. |
|
| (70)
Thanks
|
| The following 70 BHPians Thank chiranjitp for this useful post: | aaychat, adwaith, Aish_4761, Akshay6988, amvj, arnav17, ashvek3141, aswin93, BhaskarG, catchjyoti, Desmosedici, dhruvritzed, digitalnirvana, Dr.Naren, eyedocgb, Fiestaboy, Gaboonviper04, GTO, gulerianeeraj, gunin, HappyWheels, Herschey, hmansari, InControl, JD_404, jkaushik, keroo1099, Leoshashi, LONG_TOURER, maddyg, manubg92, matchvan, Moroder, MoTo_meister, nerd1200, Pkumarblore, PratyushJaya, psispace, pu5han, puneetakhouri, ramnaresh_2000, redohabitat, Researcher, rj22, RJ2285, RohaNN_kWh, Sahilrai166, scorpio2107, Shabz47, Shanky_1002, shobhit.shri, SlowRider, SnS_12, spd_tkt, supertinu, swiftnfurious, Tanveer02, Tgo, The Rationalist, TheLxGuy69, thewhiteknight, The_Outsider!, TusharK, vigsom, Viju, Vik0728, viren83, vpbops, vredesbyrd, wheelguy |
|
16th June 2021, 05:32
| #9 |
| Team-BHP Support  | re: Modification Diaries | Maruti Baleno Zeta | Remap, lowering springs, exhaust, audio upgrade & more Thread moved out from the Assembly Line. Thanks for sharing! |
|
| (4)
Thanks
|
| The following 4 BHPians Thank Aditya for this useful post: | chiranjitp, digitalnirvana, GTO, Researcher |
|
16th June 2021, 06:57
| #10 |
| Team-BHP Support | re: Modification Diaries | Maruti Baleno Zeta | Remap, lowering springs, exhaust, audio upgrade & more Damn, that is a good looking Baleno! Love the golden rims & aesthetic enhancements. Congrats to you guys on a nicely done up car. The Baleno is going to our homepage today  . . |
|
| (21)
Thanks
|
| The following 21 BHPians Thank GTO for this useful post: | aarnav_b, abhijith, Akshay6988, chiranjitp, digitalnirvana, Dr.Naren, fulcrum29, Gaboonviper04, hmansari, LONG_TOURER, mazealot, Nitish B Shetty, PaddleShifter, Researcher, RJ2285, SH1N1G4MI, SnS_12, The Rationalist, VijayAnand1, Viju, vishy76 |
|
16th June 2021, 09:04
| #11 |
| BHPian Join Date: Jan 2017 Location: -
Posts: 863
Thanked: 2,557 Times
| Re: Modification Diaries | Maruti Baleno Zeta | Remap, lowering springs, exhaust, audio upgrade & mo Nice choice of wheels. It seems you have spent all your pocket money on modifications. Mind sharing how much have you invested till now?  |
|
| (8)
Thanks
|
| The following 8 BHPians Thank batish for this useful post: | amvj, chiranjitp, COMMUTER, digitalnirvana, hmansari, mazealot, Nitish B Shetty, Researcher |
| |
|
16th June 2021, 09:55
| #12 |
| BHPian Join Date: Jun 2019 Location: Guwahati
Posts: 85
Thanked: 244 Times
| Re: Modification Diaries | Maruti Baleno Zeta | Remap, lowering springs, exhaust, audio upgrade & mo Awesome mods Shankhanil and thanks Chiranjit for giving us the details. I often see the baleno on my commutes and it always catches my eye and i look for "what new this time"  Will love to personally check it out some day. |
|
| (2)
Thanks
|
| The following 2 BHPians Thank jkaushik for this useful post: | chiranjitp, hmansari |
|
16th June 2021, 10:32
| #13 |
| Senior - BHPian Join Date: Oct 2007 Location: Seattle/Pune
Posts: 1,409
Thanked: 6,056 Times
| Re: Modification Diaries | Maruti Baleno Zeta | Remap, lowering springs, exhaust, audio upgrade & mo Beautifully done. Love how lowering springs completely transform how a car looks. Has to be my favorite mod here. Any further mods planned for the performance side? Visually the car is complete! Love this car. |
|
| (1)
Thanks
|
| The following BHPian Thanks amol4184 for this useful post: | chiranjitp |
|
16th June 2021, 10:41
| #14 |
| Senior - BHPian Join Date: Oct 2020 Location: Magic land
Posts: 1,057
Thanked: 4,432 Times
| Re: Modification Diaries | Maruti Baleno Zeta | Remap, lowering springs, exhaust, audio upgrade & mo That is indeed a detailed write up on all the modifications. That car looks nice !Sorry if I missed it anywhere, but how much did the whole project cost ? This thread will be helpful for Baleno owners unfamiliar with modifications and looking to work on their cars. |
|
| (2)
Thanks
|
| The following 2 BHPians Thank TrackDay for this useful post: | amvj, chiranjitp |
|
16th June 2021, 11:52
| #15 |
| BHPian Join Date: May 2020 Location: Hyderabad
Posts: 34
Thanked: 93 Times
| Re: Modification Diaries | Maruti Baleno Zeta | Remap, lowering springs, exhaust, audio upgrade & mo Thanks for documenting it and putting it out over here Shankhanil and Chiranjit. Would love to see this in person when I am back in there. Have been following all these in bits and pieces through your status updates.  |
|
| (1)
Thanks
|
| The following BHPian Thanks icem@n for this useful post: | chiranjitp |
|