For those who are interested, here are the steps that I followed to upgrade my headlights to 100/130W (also supports 90/100W ).
Materials required:
- Roots relay kit - Rs.700~Rs.800 : This is a complete unit which comes with the Roots relay, two fuse, one male holder and a female holder equidistant from the relay and one female holder on a longer length. (standard package; Bosch Relay unit are also good). The kit was actually brought for 90/100W, but noticed the marking on the unit mentioning 100/130W support. Guess they retail at the same price.
- Extra wiring: ~Rs.10 per meter. Any branded wire of size 1 for the holders and size 2 for the earthing. Branded wires have the company name printed on it. Ensure to buy the wires of similar color to that found in the relay kit (usually blue, green and black). This will make the identification easy. Earthing is black.
- Bulbs are Philips 90/100 - Rs 130 a piece. 100/130 cost slightly more than this. Not sure now.
- Sleeves to organize the wires (not sure if I am calling them right; refer to the picture to know what I am talking about). Rs.20 or so for a 10m piece. Not sure of the price though! And quarter inch was the size I got.
- Insulation tape, wire cutters and lots of patience
Procedure:
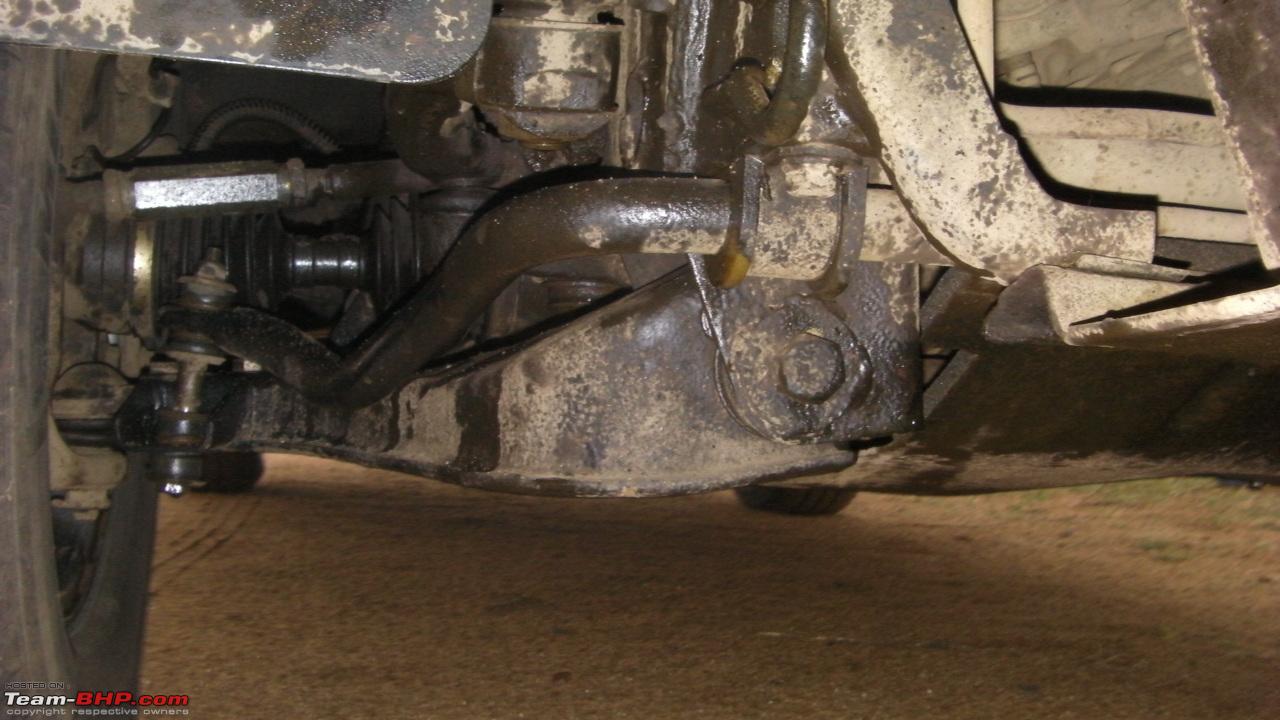
First, set the relay unit was fixed near to the firewall, as seen in the picture below. What you see is a spot where there is an existing bolt (not sure what OEM part is fixed there) on which the relay's will sit.
The wiring was passed along with some OEM wiring, below the battery. I held them in place with those plastic strips(the one that shopping complex like Big Bazaar use to seal your bags).
Lay the wires with the holders at the nearest headlight lamp and then check how much more length needs to be added to the reach the headlight unit at the further end. Once the length is arrived at, cut the relay kit wiring for the holder and use the size 1 wires to extend. Ensure to use the same color wires when extending. Once done, place them all within the sleeve.
Now, for the main part.
01: The kit will have one male holder and two female holders. The female holders are the ones which are plugged into the bulbs. The male holder is used to connect to the OEM female holder so as to capture the control signals (that is switching on, high & low beam and flashing).
02: Besides the cup cover of the head light, you will find a set of 3 wires which lead to a rubber cover. This is placed just behind the parking lamps and might required some searching.
03: Pull this rubber cover out. You will notice that this is a self locking rubber piece. Lets call this location BC1 (as in BackCover1!)
04: Remove the cup behind the head light to expose the lamp well. This is the area inside the cup, from where you replace the headlight bulb.
05: In the kit, there will be a male and female holder of the same length. Take them both and cut the wires at a comfortable length. Do not cut the earth wire (black) that is there on the female holder (reason given in next step). This is done so that we can pass the wire thru BC1 and pull it out through the lamp well. You will notice that the OEM wire, that passes thru that rubber cap that you just pulled out, also traveses the same path. Some bit of finger twisting will be required to get all 5 wires thru!!!
06: Wires are, 2 for the female holder (which gets connected to the bulb) and 3 for the male holder (which gets connected to the OEM female holder). The reason for only 2 wires for female holder is that the earth wire will have to be connected to a metal part on the vehicle. This wire can be pulled in the reverse order (meaning from the lamp well out thru BC1) and then extended to a secure earthing point in the engine bay.
07: Once the 5 wires are in the lamp well, connect the wires to their respective holders. The one to the male and female holder - the colored wires help here. Be very careful not to mess them.
08: Plug the OEM female to the kits male and the kits female into the bulb. Make sure to change the bulb to 90/100 (or the kits rating, incase u go for 100/130)
09: As mentioned earlier, pass the earth wire of the female holder back thru the well and BC1. This needs to be extended so that you can connect it to a good earthing point.
10: Connect the RED wire to the positive terminal of the battery. The provided terminal ring, with the kit, is too small to be fixed properly, so I had cut a small portion to made it into a arc so that it can be placed as a clamp between the nuts and tightened.
11: Switch on the head light to make sure they are working. First check point here.
12: Place the OEM female - kit Male combo tucked at a nice cozy corner. You should be able to comfortable close the back cup. The earthing wire and the sleeve is visible in the second photo.
13: Put back the rubber cover to its orginal location. You will notice that due to the now new wires only one part fo the circumference is not properly covered. but then, just push the rubber inside well enough and they seal themselves. Below photo is with the OEM wiring and extra wires below it.
14: Pass the second set of wire, which is just the female connector, with two wires going to the relay and one earth, to the other head light side. I passed this through the space between the radiator the front guard.
15: As before, remove the rubber cover of the parking lamp, pass the cut wires, pull them out through the H/L well, connect the holders wires and just connect it to the bulb (after it has been changed to higher watt).
16: Do note that the OEM female holder will be left dummy here; you will connect the relay kits female holder to the bulb.
17: Connect the earthing.
18: Test if working.
19: Replace the rubber cover of the parking lamp. Should sit properly as shown in the photo above.
20: Fix the cover cup back.
21: Test the head lights.
All done.
This way, you do not cut any of the OEM wiring. All wiring is parallel and directly to battery. Make sure to use proper size extra wires and branded ones so that you do not end up with over heating issues. The kit has inbuilt fuse to prevent overload.
Only guarantee for this is my use of the above setup over 22,000kms of driving, which included water splashes. The bulbs are still the original set (after 1.5 years) and have had no electrical issues nor any fogging of the headlights.
Disclaimer: I am not responsible if you do the above; do at own risk. Bodily injury might happen if you are not used to any sort of exercise. Not sure what else will happen - but not responsible for that also.


 28th November 2010, 15:42


 (5)
Thanks
(5)
Thanks