| DIY : Consumer-grade USB power bank
My son made another USB (universal serial bus) power bank by himself at home but this time it looks factory-made consumer-grade and it has a capacity of approximately 12000 mah (milli ampere hour).
The total cost came to less than ₹ 120. It was made using reclaimed 18650 cells and the basic concept is exactly the same as a previous experimental project of his (link below). https://www.team-bhp.com/forum/diy-d...powerbank.html (DIY : USB Powerbank)
So instead of being repetitive, I will let the pictures below do most of the talking.
This is a DIY power bank kit that we found in a local shop here in Kolkata for a mere ₹ 50 including the covering case and the PCB (printed circuit board). The PCB has 3 regular USB output ports with a total maximum current rating of 2 amperes, a micro USB charging input port, a small inbuilt white LED (light emitting diode) light for usage as a flashlight, 4 tiny green LEDs to show the state of charge (SoC) and a tiny push button switch (more on that later).
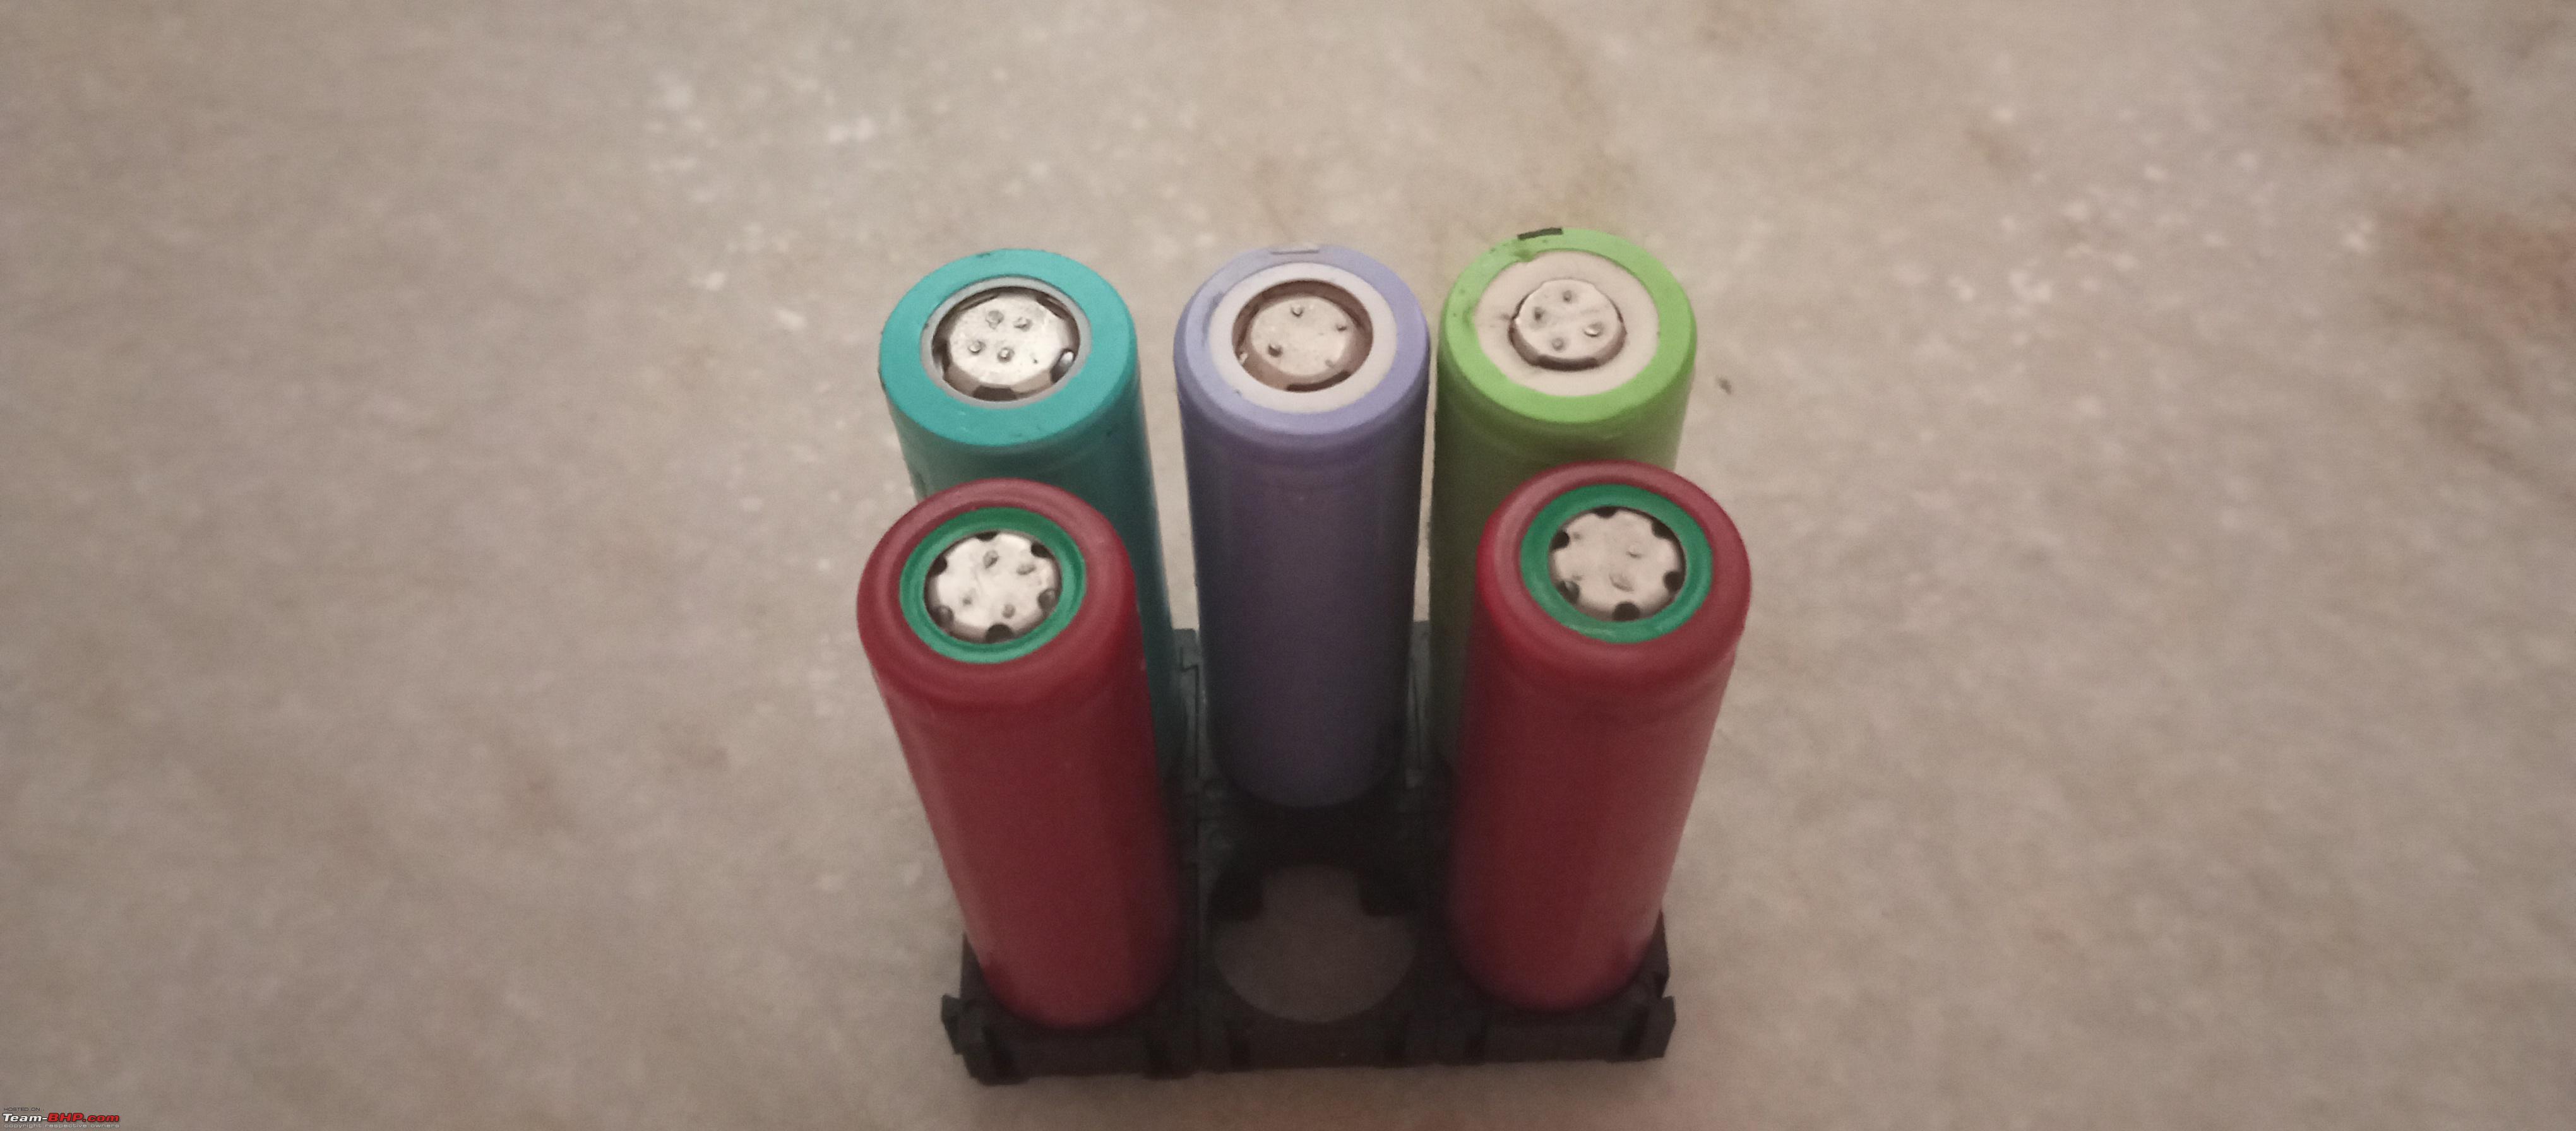
First, 5 numbers of 18650 model cells (image below) with the highest capacities were chosen from our stock left over from the earlier DIY projects.
Then the cells were prepared for spot welding by polishing their terminals with some sand paper. Adhesive insulation paper mats were attached on and around the positive terminals of the cells as you can see in the image below. Next, the cells were wrapped with Kapton tape for insulation since there was not going to be any space left for the 18650 cell spacers. The cells were aligned properly for spot welding the nickel strips onto them. The image below shows the spot welding in progress. After the spot welding was completed, the nickel strips of the battery pack were soldered onto the respective terminals of the PCB. Shown below is the final picture taken before assembling the power bank case. 
And here is the finished product below.  The recommended maximum charging current for this power bank is 2 amperes at 5 volts. The push button switch has quite a few functions. Short press it once and it shows the state of charge. Short press it twice in quick succession and it turns on the flashlight. Long press it once or short press it twice in quick succession and the flashlight turns off. Long press it once and the flashlight starts blinking. Long press it once or short press it twice in quick succession and the blinking flashlight turns off. Disclaimer : If you want to replicate this then please do so solely at your own risk. All the spot welding and recharging/refurbishing of the 18650 model cells were done sustainably using solar power only.
I hope that you all enjoyed this. Wishing you all happy and safe drives ahead 
Last edited by Chhanda Das : 21st April 2024 at 16:43.
| 

 13th April 2024, 14:56

 (23)
Thanks
(23)
Thanks