Im trying to put up a visual demo.
Please keep this in mind that not all car shot can be processed in this manner.
Lighting/shape of the car/colour of the car will eventually determine your processing procedure.
However, this process will cover most of the outdoor shooting situation.
Work in layers. Thats the key of exploiting Photoshop.
Please remember that more you add layers, more you make the final file size heavy.
Use layers judiciously. Fine colour correction is possible with 16bit mode.
If your primary objective is posting on the net then its not really that important.
RAW FILES HAVE BETTER LATITUDE TO HANDLE FINE COLOUR CORRECTION.
There is no real short cut for Photoshop. You need to work through to get the desired result.
Sample car here is from MAG. Note: that this is an extremely rough example.
Shot with CANON EOS 1Ds Mark II with 70-200mm 2.8 EF/IS lens. Focal length used 200mm. ISO 50. Shutter speed 4 seconds. Aperture f29. Remote release RS-80N3 was used to avoid any sort of vibration. Manfrotto 058 tripod with 029 head.
Processing software:
CANON DIGITAL PROFESSIONAL
Photoshop CS2
Hardware:
APPLE POWERPC G5 QUAD with 30 inches studio display.
Processed file from CANON DIGITAL PROFESSIONAL was 95mb. 16bit RGB.
Two different TIFF files were generated from the base RAW file.
Photoshop conversion CMYK, 16bit was 126.8mb. Scratch (disk) size was 566mb.
First processed TIFF from CANON DIGITAL PROFESSIONAL with normal tone/colours and sharpness. This is your base file in Photoshop.
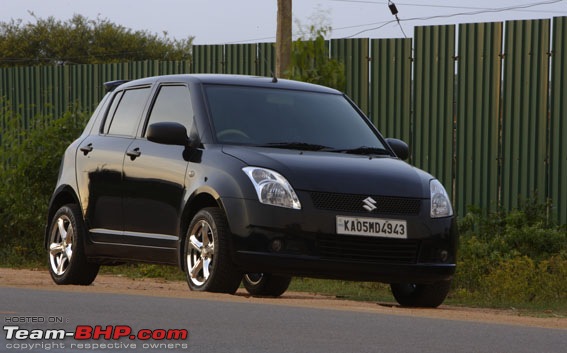
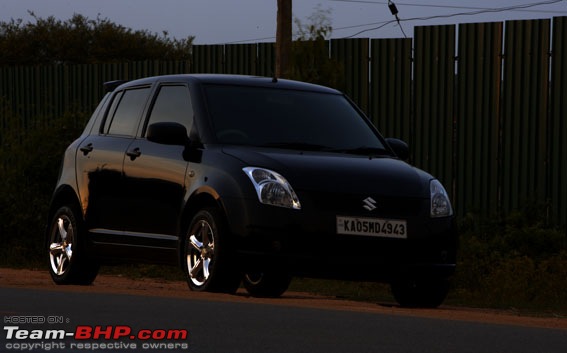
Second processed TIFF from CANON DIGITAL PROFESSIONAL.
Processed on linear mode for higher contrast tonal range. Note those sunset colour lines on the body panel. Note those headlamps tonal depth. Note alloys fluid chrome gloss. Rest, are gone dark. Open this file and copy. Paste it as layer one.
Draw a path (with pen tool) for the car.
THIS STEP IS A MUST. YOU CANNOT HAVE PRECISE SELECTION WITH ANY OTHER TOOL.

Select path and copy just the car from base layer. Paste. This will be your layer three. So, its sitting above layer two. Pull it down and bring it above base layer. Name it as TONE 1. You need to work on the overall tone for the car. Apple-m or control-m for curve tool. Up or down will depend on your choice. Here it was down to get more depth on the existing base layer car.
Select path again to copy the car from layer one. Paste it above layer TONE 1 as TONE 2. Switch off TONE 2 buy clicking the eye icon sitting next to it. Click on TONE 1 and add a mask box. Mask box is a gray box with white circle sitting below your layer palate. Select brush and its size. Watch the colour palate on toolbox. It should be black and white. Black should be sitting on top. Select opacity from brush control panel box. Keep it at 20% (hit 2 on keyboard). Start brushing off those too dark areas from TONE 1. Now youll see a well exposed with right tonal range on the entire car.

Select TONE 2. Bring back the eye icon and click on the layer. Add a mask box. Start brushing off those too dark areas.
HERE YOU NEED TO APPLY YOUR OWN ESTHETICS AND JUDGEMENT.
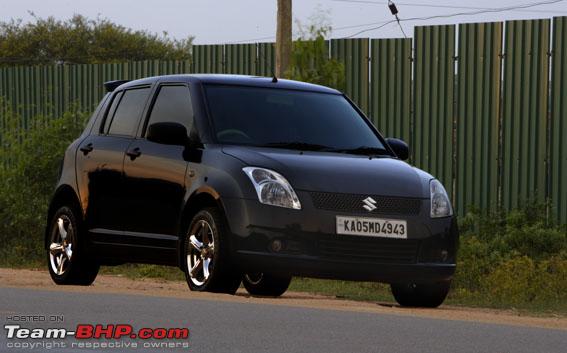
Select path again and go to layer two. Once selected, hit delete key. Now you have an image without a car in it. Drag it down and place it above base layer. Select opacity from layer box top. Select opacity according to your preference.

Merge or flatten layers. You can now play a little with curve tool and exposure tool. AS I DID.
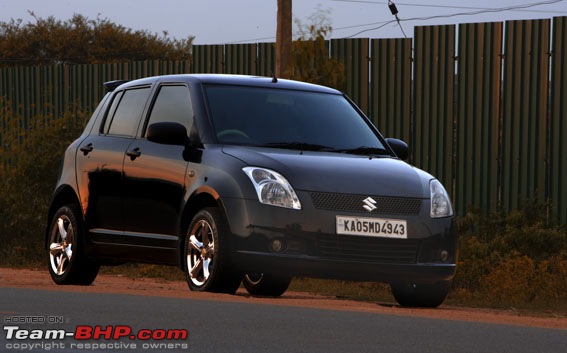 SO, THERE YOU GO. REMEMBER EVERY SINGLE AUTOMOBILE/BIKE ADD GOES THROUGH THIS KIND OF TRAUMA. ONLY DEGREE VARIES
.


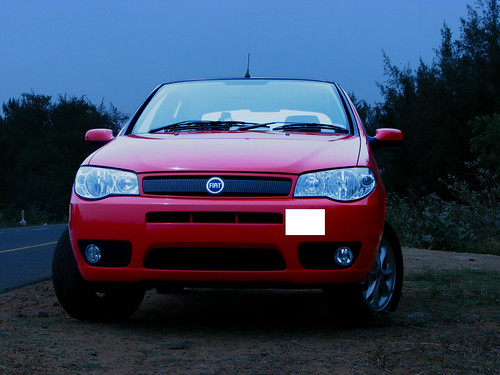
 ..... was thinking of experimenting with this from long time
