Team-BHP > Technical Stuff > DIY - Do it yourself
Register New Topics New Posts Top Thanked Team-BHP FAQ


Reply
  Search this Thread
9,151 views
Old 12th January 2024, 01:27   #1
BHPian
 
shandilyapiyush's Avatar
 
Join Date: Apr 2023
Location: Bangalore
Posts: 42
Thanked: 288 Times
DIY: Coolant Flush & Change on a Maruti Ertiga

Hey! I was not sure as to when the car's coolant was completely drained and refilled. The car always went to a dealer owned workshop for servicing and in my last 2 service bills I was only charged for what seemed to be just a coolant top up. The change interval as per the user manual is 20,000km/2 years. Since I had time to spare I decided do a complete flush and fill in new coolant.

Huge thanks to dbhpian vigsom and bhpian Ashtoncastelino for extending their advice and help. This was my first major DIY and all went well thanks to both of their inputs.

Car - 2013 Ertiga (petrol)

Tools and parts used-

A 12mm ring spanner
A pair of pliers
Flathead screwdriver

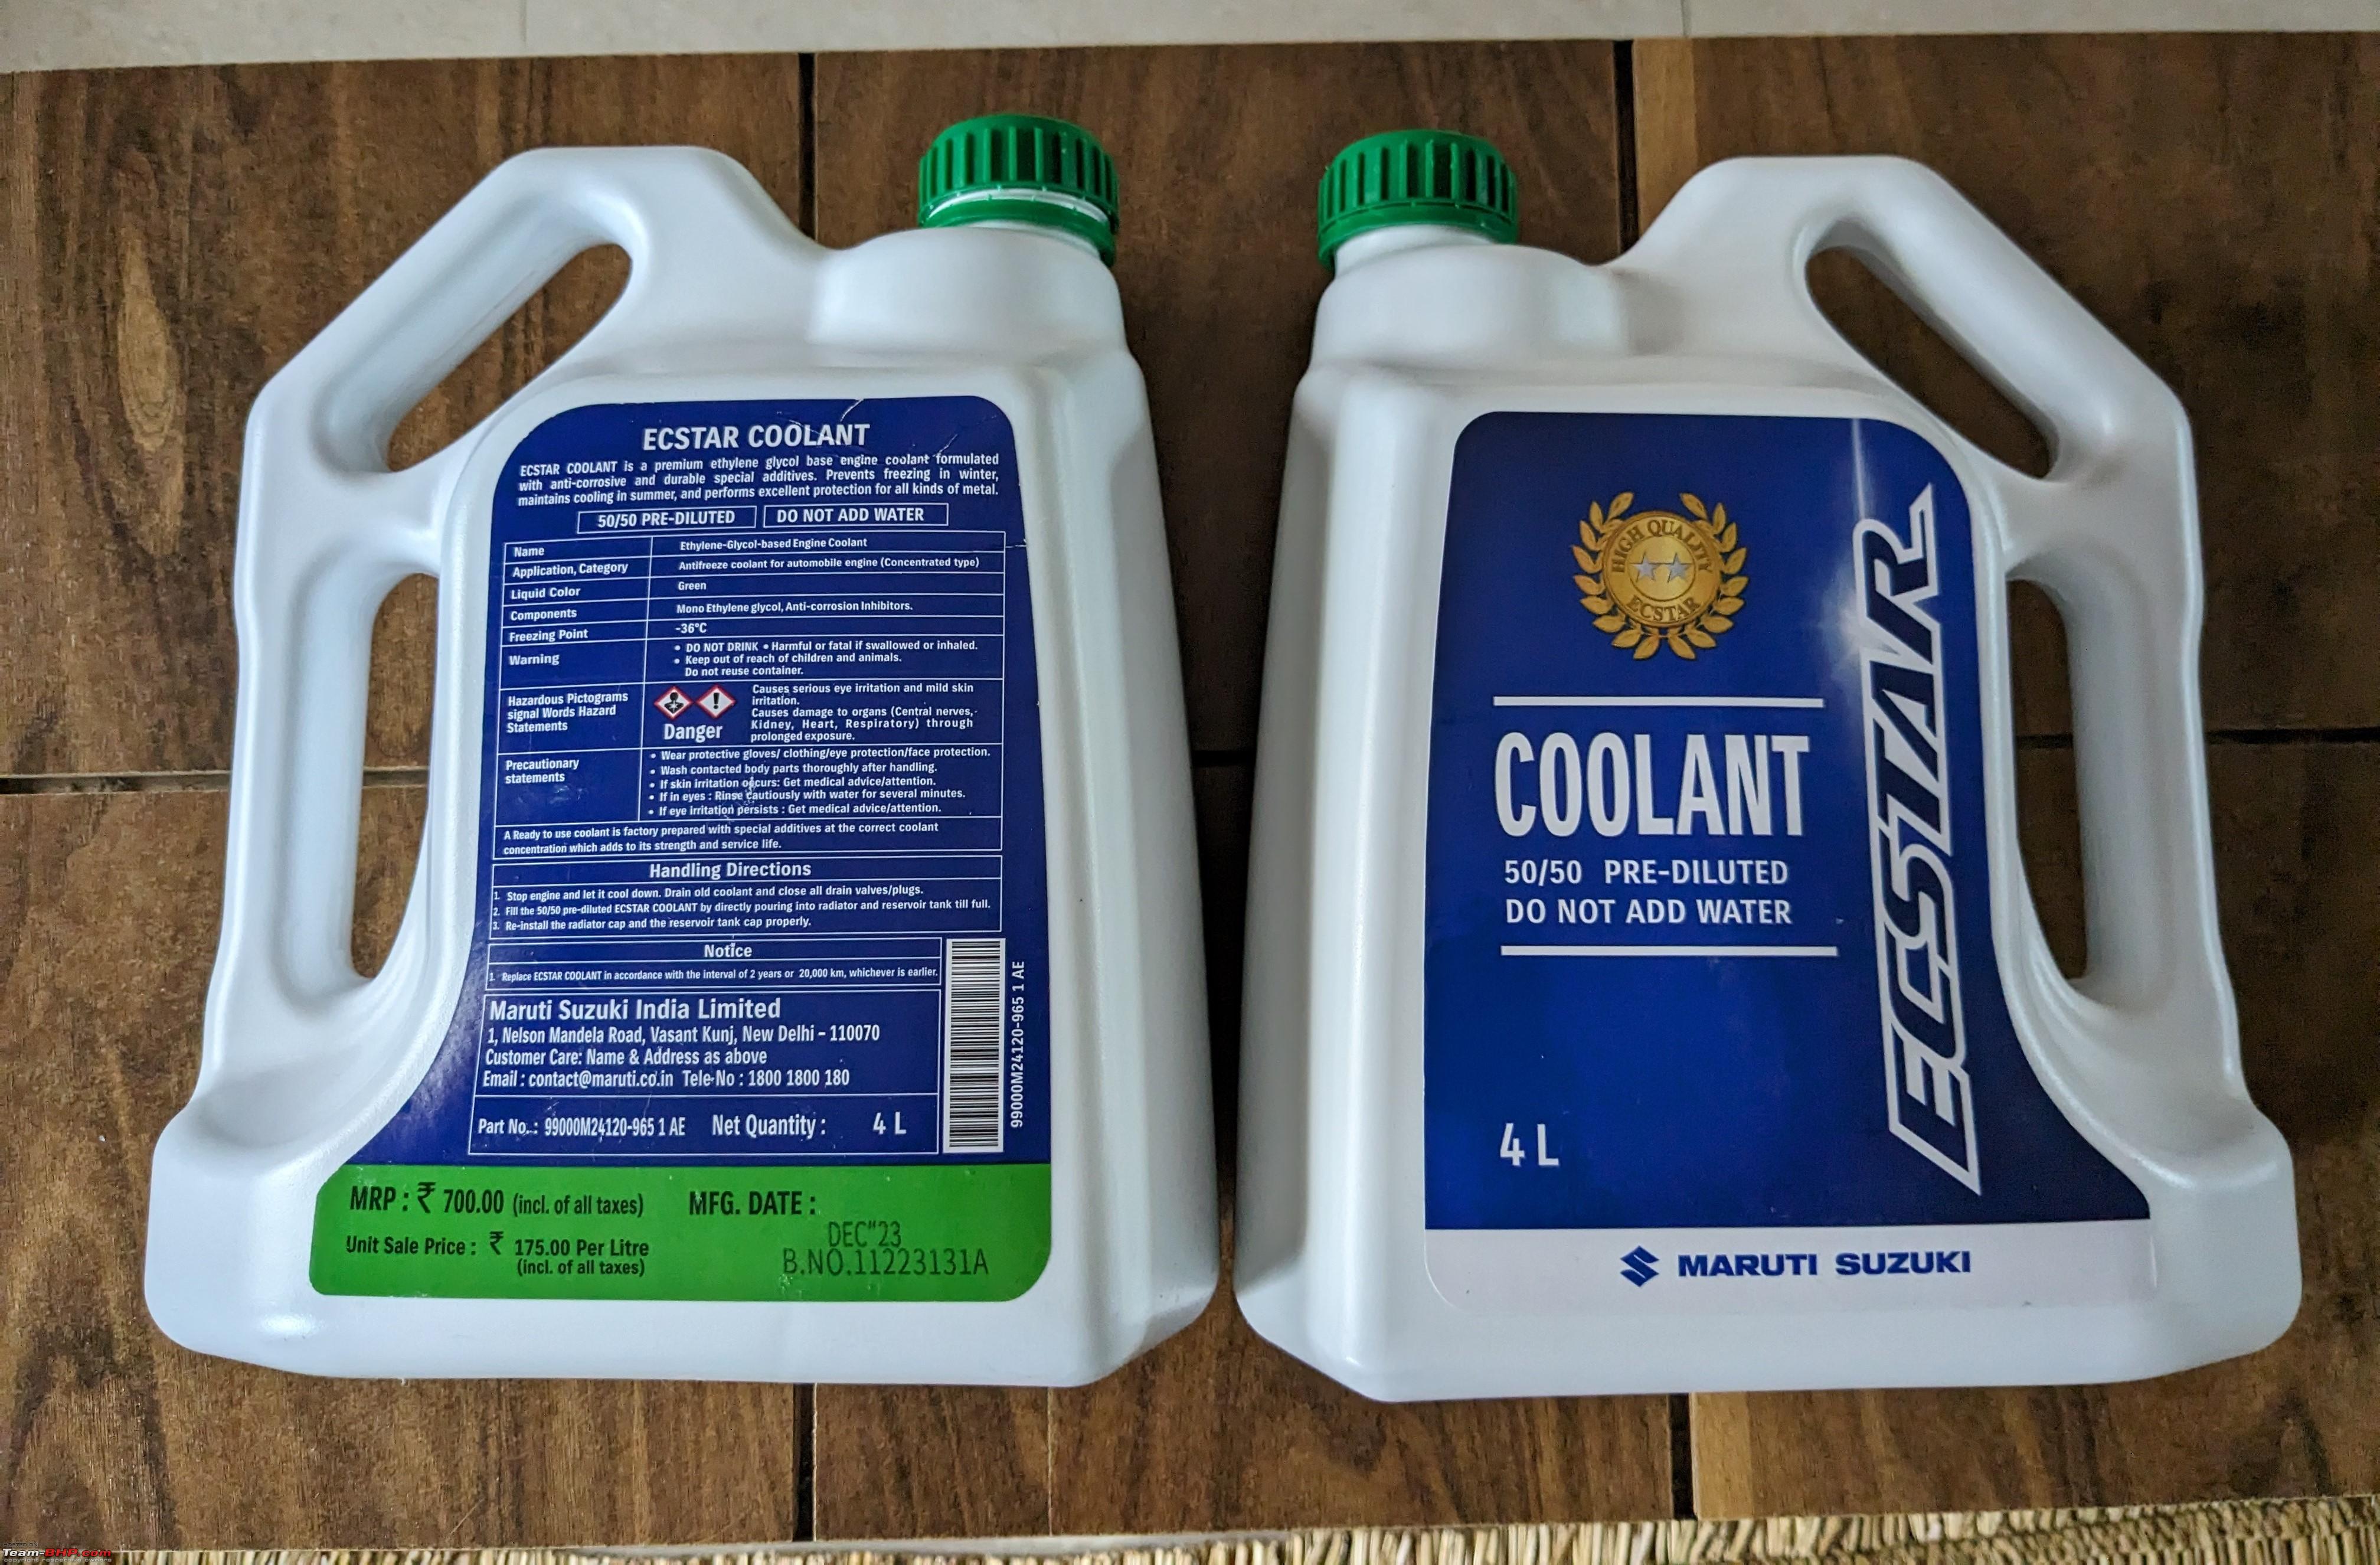
Coolant (premix) - Part number: 99000M24120-965

DIY: Coolant Flush & Change on a Maruti Ertiga-pxl_20240111_105029150.mp.jpg

Thermostat valve - Part number: 1760M83F00

DIY: Coolant Flush & Change on a Maruti Ertiga-pxl_20240111_104849831.jpg

Thermostat valve housing/elbow - Part number - 17561M68K00

DIY: Coolant Flush & Change on a Maruti Ertiga-pxl_20240111_104812867.jpg

15-20L of distilled water

Step 1

The radiator drain plug was located and undone to remove existing coolant from the radiator. This plug is located on the bottom left of the radiator. Opening the radiator cap aids in faster flow of the existing coolant from the radiator. Collected this coolant in a small tub to ensure proper disposal. Wait for a while until the radiator is empty and the coolant stops dripping out.

DIY: Coolant Flush & Change on a Maruti Ertiga-pxl_20240111_084308712.jpg

DIY: Coolant Flush & Change on a Maruti Ertiga-pxl_20240111_084518773.jpg


Step 2

Undo the upper radiator hose. I used a pair of pliers to undo the hose clamp on the thermostat housing and then proceeded to remove the hose. The hose was super tight hence I used a flathead screw driver through the end and slowly tried to pry out open making sure I'd not damage the hose and that worked.

DIY: Coolant Flush & Change on a Maruti Ertiga-pxl_20240111_085611186.mp.jpg

Step 3

Removal of the thermostat housing and thermostat. The thermostat housing has 2 12mm bolts, one at the top and one on the bottom. Using a ring spanner undo both these bolts and remove the thermostat housing. Next, proceed to remove the thermostat valve. Do remember how it was installed to able to put it back the correct way.

DIY: Coolant Flush & Change on a Maruti Ertiga-pxl_20240111_085638314.jpg

DIY: Coolant Flush & Change on a Maruti Ertiga-pxl_20240111_085911927.jpg

DIY: Coolant Flush & Change on a Maruti Ertiga-pxl_20240111_090014095.jpg

Step 4

Rinse the radiator with clean water to remove whatever coolant is left behind. I did so by using a pipe and introducing water from the radiator cap with the drain plug open until the water coming out was clean and colorless. Once colorless water begins to flow out, stop the water flow and wait for the water to completely drip out. Close the radiator drain plug.

DIY: Coolant Flush & Change on a Maruti Ertiga-pxl_20240111_090409389.mp.jpg

DIY: Coolant Flush & Change on a Maruti Ertiga-pxl_20240111_090437689.jpg

Step 5

Reinstall the thermostat housing without the thermostat valve and reconnect the hose that was removed.

DIY: Coolant Flush & Change on a Maruti Ertiga-pxl_20240111_091516064.mp.jpg

Step 6

Recheck to make sure the radiator drain plug is screwed back, the thermostat housing is bolted back correctly and the hose is connected properly.
Now, fill the radiator with distilled water up to to the brim.

DIY: Coolant Flush & Change on a Maruti Ertiga-pxl_20240111_092228173.jpg

Squeeze the hoses to remove air and top up the radiator again with distilled water.
Start the engine without AC and run for 2-3min only. Do so with the radiator cap open and keep topping up the radiator with distilled water. After 2-3min stop the engine and open the radiator drain plug to remove all the distilled water. Once water stops dripping, close the drain plug and repeat the above procedure until the water coming out of your drain plug is clear with no traces of coolant, close the drain plug now and do not fill with distilled water again.

It took me 5 cycles until the water that came out was colorless.

DIY: Coolant Flush & Change on a Maruti Ertiga-pxl_20240111_104348362.jpg

Samples from 1st flush to 5th flush left to right.

Step 7

Remove the coolant reservoir tank by pulling it out upwards and empty the coolant. Thoroughly clean the reservoir tank and rinse once with distilled water. Install the coolant reservoir tank back.

DIY: Coolant Flush & Change on a Maruti Ertiga-pxl_20240111_1117564552.jpg

Step 8

Undo the radiator top hose and remove the thermostat housing.

Step 9

Reinstall the thermostat, I chose to replace my thermostat as it was 10 years old. Whilst reinstalling make sure to install the thermostat exactly how it was before. There is a small nipple like thing and that should be facing your hood.

DIY: Coolant Flush & Change on a Maruti Ertiga-pxl_20240111_112401914.jpg

DIY: Coolant Flush & Change on a Maruti Ertiga-pxl_20240111_112144112.jpg

New vs old thermostat valve

Step 10

Reinstall the thermostat housing and connect the upper radiator hose back and make sure to clamp it correctly.

DIY: Coolant Flush & Change on a Maruti Ertiga-pxl_20240111_112717188.jpg

DIY: Coolant Flush & Change on a Maruti Ertiga-pxl_20240111_120434523.night.jpg

Step 11

Refilling the coolant.
I chose to use a premix as it'd make the job simpler and the ratio would be perfect. If you are using the coolant concentrate please mix the coolant and distilled water in the correct ratio in a bucket or so before filling, I think this way the mixture would be more accurate. A small change in the ratio is not something to worry about anyway.
Fill the reservoir tank with coolant up to the "MAX" level.
Fill your radiator with coolant up to the brim, now press on the hoses to remove any air trapped and refill to the brim if necessary.

Step 12

Close the radiator cap and start your engine. Let the car idle for about 30 min or so. Wait for the fan to kick in once or twice. Check for any leaks. Turn off the engine.

Open the radiator cap the following morning and top up if necessary, same with the reservoir tank too.

= = = = = = = = = = = = = = = = = = = = = = = = = = = = = = = = = = = =

Everything turned out okay and I was satisfied with how things went. A complete flush was probably not necessary but I did so anyway for peace of mind. The drained coolant and the subsequent flushes did not show any debris or signs of corrosion which made me feel relieved.
Please collect the used coolant and dispose it off in the proper manner.

Thanks for reading along,
Piyush.

Last edited by shandilyapiyush : 12th January 2024 at 01:37.
shandilyapiyush is offline   (35) Thanks
Old 12th January 2024, 08:44   #2
Distinguished - BHPian
 
vigsom's Avatar
 
Join Date: Feb 2006
Location: NSEW
Posts: 3,830
Thanked: 26,691 Times
Re: DIY- Coolant flush & change on an Ertiga

Many congratulations on your first major DIY, Piyush. Honestly, I didn't expect you to finish the project in one shot and in just a few hours, but boy, you got the parts, and completed the job so quick! Kudos to you!! The samples that you've displayed look more like health drinks than flush liquid. Your system, thermostat and the thermostat elbow all look quite good for a car that's done 90k kms. Key here was to remove all the old coolant resting in the system (including the block) and it seems to have been well done. Am sure this mini project has helped you break a barrier, and realise your hidden abilities.

Last edited by vigsom : 12th January 2024 at 08:46.
vigsom is offline   (5) Thanks
Old 12th January 2024, 10:36   #3
BHPian
 
Ashtoncastelino's Avatar
 
Join Date: Aug 2021
Location: Manipal
Posts: 258
Thanked: 2,109 Times
Re: DIY: Coolant Flush & Change on a Maruti Ertiga

Well detailed DIY Piyush, I'm glad you took your time and did the procedure which is the key in DIY's. Your cooling system was already clean because it needed just close to 4 rounds of flushing till the water drained was clear. Good preventive maintainance and glad you went and got the Pre-mixed coolant rather than the concentrate.

Also on another note, I'd recommend changing the radiator cap as well for obvious reasons. The thermostat valve and the radiator cap play a good role in the cooling system apart from the coolant.

Regards
Ashton Castelino
Ashtoncastelino is offline   (2) Thanks
Old 12th January 2024, 16:11   #4
BANNED
 
Join Date: Aug 2008
Location: Coimbatore
Posts: 217
Thanked: 162 Times
Re: DIY: Coolant Flush & Change on a Maruti Ertiga

Hi,
It was a very detailed log on Coolant flush and replacement.

One question is Honda / Toyota recommends 1 Lakh kms interval i believe for the coolant replacement. Is Maruti giving just 20000 kms Coolant life? Also whether this will be performed in service centers as you performed in detail is big questions mark.

Cooling system is one of the most important system and lot of parts/critical actions involved and if anything goes wrong or missed, it will be a disaster. Why to touch this system every 20000kms.

Last edited by dmaheshkumar : 12th January 2024 at 16:16.
dmaheshkumar is offline  
Old 12th January 2024, 16:36   #5
Senior - BHPian
 
svsantosh's Avatar
 
Join Date: Mar 2008
Location: Dubai
Posts: 4,108
Thanked: 7,041 Times
Re: DIY: Coolant Flush & Change on a Maruti Ertiga

Brilliant effort and results Piyush, very well documented also. Just check for leaks around the thermostat housing joint for the 1st 200-300 Kms, you should be OK after that.

Quote:
Originally Posted by shandilyapiyush View Post
The drained coolant and the subsequent flushes did not show any debris or signs of corrosion which made me feel
relieved.
Glad to hear that, Ideally a flush will help clear the surfaces for the rust/debris starts to kick in. You car is 90,000Kms, so a flush would help at 100,000Kms cycle. Do a flush and then you will see minor debris come off the surfaces.

Quote:
Please collect the used coolant and dispose it off in the proper manner.
Yes, very important - Even a spoonful of Ethylene glycol can kill a Dog. So one has to be socially responsible towards animals (your own, neighbours, or a stray). I do not about other animals, but for some scienfific reason, Dogs and coolant are a very quick ending.
svsantosh is offline   (2) Thanks
Old 12th January 2024, 16:56   #6
BHPian
 
Ashtoncastelino's Avatar
 
Join Date: Aug 2021
Location: Manipal
Posts: 258
Thanked: 2,109 Times
Re: DIY: Coolant Flush & Change on a Maruti Ertiga

Quote:
Originally Posted by dmaheshkumar View Post
Hi,
Also whether this will be performed in service centers as you performed in detail is big questions mark.
Simple answer- NO, They will not go to this extent, they will just drain the radiator, remove the hoses and pour running water into the radiator and assemble it all back and fill coolant concentrate without giving much attention to the ratio of Distilled water and concentrate.

Quote:
Originally Posted by dmaheshkumar View Post
One question is Honda / Toyota recommends 1 Lakh kms interval i believe for the coolant replacement.
Toyota and Honda use Long Life Coolant which can easily last 5 years if not more. You can refer to this thread (Types of Coolants and debunking myths associated with grades & colours)


Regards
Ashton Castelino

Last edited by Ashtoncastelino : 12th January 2024 at 16:59.
Ashtoncastelino is offline  
Old 12th January 2024, 18:17   #7
BHPian
 
shandilyapiyush's Avatar
 
Join Date: Apr 2023
Location: Bangalore
Posts: 42
Thanked: 288 Times
Re: DIY: Coolant Flush & Change on a Maruti Ertiga

Quote:
Originally Posted by vigsom View Post
Many congratulations on your first major DIY, Piyush. Honestly, I didn't expect you to finish the project in one shot and in just a few hours, but boy, you got the parts, and completed the job so quick! Kudos to you!! The samples that you've displayed look more like health drinks than flush liquid. Your system, thermostat and the thermostat elbow all look quite good for a car that's done 90k kms. Key here was to remove all the old coolant resting in the system (including the block) and it seems to have been well done.
Thank you sir!
To be honest I was not very sure if the end result would be satisfactory or if I'd arrive at the end result at all but it all went well

Quote:
Am sure this mini project has helped you break a barrier, and realise your hidden abilities.


Hopefully I can start working on the car a little more henceforth.


Quote:
Originally Posted by Ashtoncastelino View Post
Well detailed DIY Piyush, I'm glad you took your time and did the procedure which is the key in DIY's. Your cooling system was already clean because it needed just close to 4 rounds of flushing till the water drained was clear. Good preventive maintainance and glad you went and got the Pre-mixed coolant rather than the concentrate.
Thanks Ashton! Pre-mixed coolant was so much easier to use and I didn't want to worry about the dilution ratios nor the quality of distilled water to leave it in the engine cooling system until the next change. Sourcing the premix took a couple of days though.

Quote:
Also on another note, I'd recommend changing the radiator cap as well for obvious reasons. The thermostat valve and the radiator cap play a good role in the cooling system apart from the coolant.

Regards
Ashton Castelino
Although my radiator cap seems okay, I will change it soon.

Quote:
Originally Posted by dmaheshkumar View Post
Hi,
It was a very detailed log on Coolant flush and replacement.

One question is Honda / Toyota recommends 1 Lakh kms interval i believe for the coolant replacement. Is Maruti giving just 20000 kms Coolant life? Also whether this will be performed in service centers as you performed in detail is big questions mark.

Cooling system is one of the most important system and lot of parts/critical actions involved and if anything goes wrong or missed, it will be a disaster. Why to touch this system every 20000kms.
As Ashton mentioned, I'm very sure no ASC would want to do this process in such a thorough way mainly because of how long it takes.

Coming to the change interval, I'm not sure about the coolant type and replacement interval that is being followed by Maruti's latest cars. My user manual recommends a change every 2 years/20,000km and I will be sticking to this. If you observe the premix can, even there it is clearly mentioned to change the coolant at the 2 year mark.
One could switch to Toyota's long life coolant like how a few other bhpians have.

Quote:
Originally Posted by svsantosh View Post
Brilliant effort and results Piyush, very well documented also. Just check for leaks around the thermostat housing joint for the 1st 200-300 Kms, you should be OK after that.
Thank you! I will keep an eye out for any leaks.

Quote:
Originally Posted by svsantosh View Post
Glad to hear that, Ideally a flush will help clear the surfaces for the rust/debris starts to kick in. You car is 90,000Kms, so a flush would help at 100,000Kms cycle. Do a flush and then you will see minor debris come off the surfaces.
Do you recommend another complete flush at the 1,00,000km mark then?


Quote:
Originally Posted by svsantosh View Post
Yes, very important - Even a spoonful of Ethylene glycol can kill a Dog. So one has to be socially responsible towards animals (your own, neighbours, or a stray). I do not about other animals, but for some scienfific reason, Dogs and coolant are a very quick ending.
Thank you for bringing this up.
One of my cats wanted to drink from the flushed out fluid glasses too. Maybe animals have a liking for it. I've watched a few YouTube videos where they just drain out the coolant without any pan/tub to collect it. Pains me to know how harmful it'd to any poor animal. I only hope everybody practice corect disposal of used fluids and other wastes.


Piyush.

Last edited by shandilyapiyush : 12th January 2024 at 18:29.
shandilyapiyush is offline   (2) Thanks
Old 13th January 2024, 00:16   #8
BHPian
 
krishnakumar's Avatar
 
Join Date: Oct 2019
Location: KL01 - KA01
Posts: 657
Thanked: 2,973 Times
Re: DIY: Coolant Flush & Change on a Maruti Ertiga

Excellent DIY!

Quote:
Originally Posted by shandilyapiyush View Post
Please collect the used coolant and dispose it off in the proper manner.
Quote:
Originally Posted by svsantosh View Post
So one has to be socially responsible towards animals (your own, neighbours, or a stray). I do not about other animals, but for some scienfific reason, Dogs and coolant are a very quick ending.
What is the best way to dispose off coolant in India?
krishnakumar is offline   (2) Thanks
Old 13th January 2024, 00:27   #9
BHPian
 
shandilyapiyush's Avatar
 
Join Date: Apr 2023
Location: Bangalore
Posts: 42
Thanked: 288 Times
Re: DIY: Coolant Flush & Change on a Maruti Ertiga

Quote:
Originally Posted by krishnakumar View Post
Excellent DIY!

What is the best way to dispose off coolant in India?
Thank you!

I have transferred the used coolant into a few older jugs and have kept them with me. Will be heading to my nearest MASS tomorrow to check if they are willing to accept this used coolant and I'm pretty sure that they should be disposing it off properly as they handle large quantities of used coolant on a daily basis. I also hope that the authorities are keeping a good check on service centers with respect to their disposal methods of fluids and other wastes generated.

Will update here when I dispose the used/drained out coolant.


Piyush.
shandilyapiyush is offline   (3) Thanks
Old 21st January 2024, 02:43   #10
Senior - BHPian
 
Mortis's Avatar
 
Join Date: Mar 2011
Location: Mumbai
Posts: 1,352
Thanked: 1,433 Times
Re: DIY: Coolant Flush & Change on a Maruti Ertiga

Quote:
Originally Posted by dmaheshkumar View Post
Hi,
It was a very detailed log on Coolant flush and replacement.

One question is Honda / Toyota recommends 1 Lakh kms interval i believe for the coolant replacement. Is Maruti giving just 20000 kms Coolant life? Also whether this will be performed in service centers as you performed in detail is big questions mark.

Cooling system is one of the most important system and lot of parts/critical actions involved and if anything goes wrong or missed, it will be a disaster. Why to touch this system every 20000kms.
Yeah it's damn low for a modern car. Im actually also switching to long life coolant this time around for my Dzire. Now that it's out of warranty I'm getting it serviced from the FNG so I'm taking the opportunity to sort out some shortcomings.
Ive already got the main service done and just the Radiator flush (with an additive) is left. Waiting for some cans of distilled water that I ordered and are late. After this I'll be sticking to a 4 year interval for coolant.
One other thing I realised was that during servicing when they ask if you want synthetic or semi synth oil, they are both different grades !! 0w20 and 5w30. 0w20 is the recommended grade for this generation of the K series. While not a major issue due to the hot climate, the car certainly seems to rev a bit easier than it used to.
Mortis is offline   (3) Thanks
Old 24th January 2024, 08:12   #11
BHPian
 
Join Date: Apr 2023
Location: Bangalore
Posts: 98
Thanked: 163 Times
Re: DIY: Coolant Flush & Change on a Maruti Ertiga

Quote:
Originally Posted by Mortis View Post
Yeah it's damn low for a modern car. Im actually also switching to long life coolant this time around for my Dzire. Now that it's out of warranty I'm getting it serviced from the FNG so I'm taking the opportunity to sort out some shortcomings.
Ive already got the main service done and just the Radiator flush (with an additive) is left. Waiting for some cans of distilled water that I ordered and are late. After this I'll be sticking to a 4 year interval for coolant.
One other thing I realised was that during servicing when they ask if you want synthetic or semi synth oil, they are both different grades !! 0w20 and 5w30. 0w20 is the recommended grade for this generation of the K series. While not a major issue due to the hot climate, the car certainly seems to rev a bit easier than it used to.
The whole synthetic vs semi/mineral oil is a tactic used by most authorised maruti service centres. In my area, the synthetic one is 5w30 while the car might be having 0w20 or 0w16. They say that the recommended grade is mineral. As far as I can understand, such low viscosity oils like 0w20 cannot be formulated with a mineral base. So the original one is a synthetic oil. They just push for the 5w30 to inflate the bills but it is not good for the car.
harikrishnansp is offline  
Old 27th January 2024, 20:04   #12
Senior - BHPian
 
Mortis's Avatar
 
Join Date: Mar 2011
Location: Mumbai
Posts: 1,352
Thanked: 1,433 Times
Re: DIY: Coolant Flush & Change on a Maruti Ertiga

Quote:
Originally Posted by harikrishnansp View Post
The whole synthetic vs semi/mineral oil is a tactic used by most authorised maruti service centres. In my area, the synthetic one is 5w30 while the car might be having 0w20 or 0w16. They say that the recommended grade is mineral. As far as I can understand, such low viscosity oils like 0w20 cannot be formulated with a mineral base. So the original one is a synthetic oil. They just push for the 5w30 to inflate the bills but it is not good for the car.
It was the opposite in my case. The semi synth was "standard" and 5w30 for approx 1700 and the synthetic was 0w20 as recommended by the manual and for approx 2500.

My running is low so it didn't make sense for me to choose the "premium" option but then again I did not know that it's a different grade altogether ! The car is running a bit smoother on 0w20 even factoring the "fresh oil smoothness"
Mortis is offline   (1) Thanks
Reply

Most Viewed


Copyright ©2000 - 2024, Team-BHP.com
Proudly powered by E2E Networks