Installing Tweeters to Nexon XM(S)
When companies launch same car with multiple variants, you must have noticed that the car companies remove small but noticeable and features. But there are some features you can install on your own. One such feature is Tweeters. The car has the space for tweeter installation but not the necessary wires. I installed tweeters in my Nexon XM(S) and it enhanced the music experience in the car.
Heres how I did it.
If you are someone who understands better through video. You can check these videos on how I changed it.
Tata Original Harman Tweeter Installation In Nexon XMS (Part 1)
Tata Original Harman Tweeter Installation In Nexon XMS (Part 2)
Tools Required:
1. Pry tools
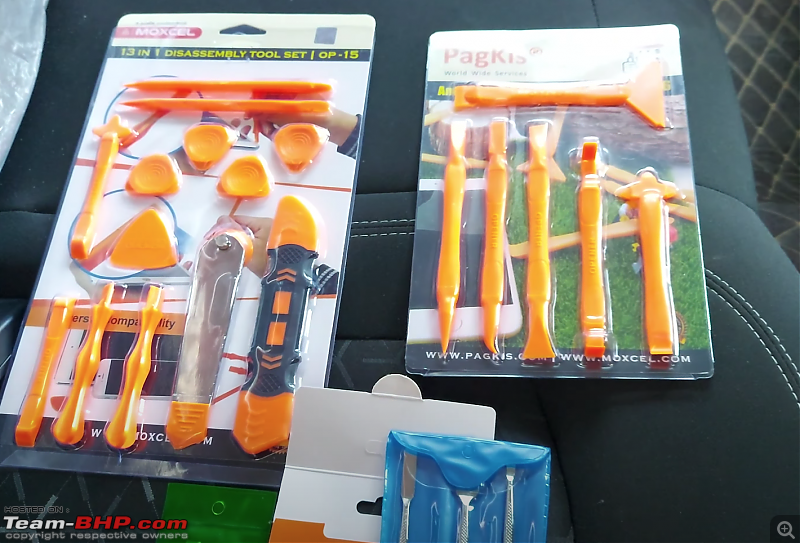
2. Screwdriver set
3. Ratchet set
4. JST (Japan Solderless Terminal) wires/Tweeter couplers
5. Tweeters (Of course!) (Part No. 542754809921)
Procedure
STEP 1: Open front door panel
Remove the ORVM regulator panel using the pry tool. Use the pry tool calmly with patience. Once you remove the panel, disconnect the connectors and put the panel aside.
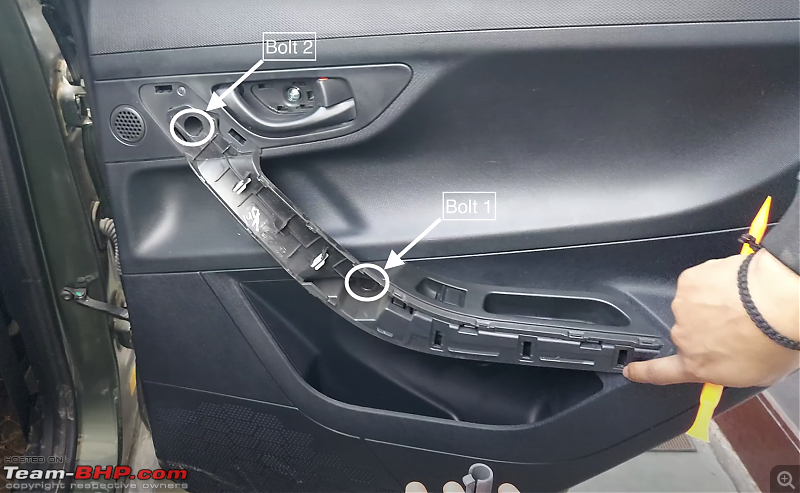
To open the door panel you need to unscrew two screws. Both the screws are covered and you will need to remove the cover using a pry tool to get access to it. Once you do, unscrew the screw and keep the separately.
Remove the power window panel using pry tool, disconnect the connectors and put the panel aside.
Now start removing the door panel from the bottom left corner towards the right side. Once all the locks of panels are disengaged, disconnect the door and lock wires.
Removing the panel in hurry might result in breaking the locks instead of disengaging them.
 STEP 2: Open back door panel
Remove the caps of the screws and unscrew them. Remove the gray panel using pry tool to uncover two hidden nuts. Using number 10 socket remove the nuts. Remove the power window panel and disconnect the connectors. Remove the panel on the bottom right of the window (You will need to pull it a little up to remove it easily).
Start removing the door panel from the bottom left side of the door towards the right. Disconnect the door and lock connectors and put the panel aside.
STEP 3: Wiring of tweeters
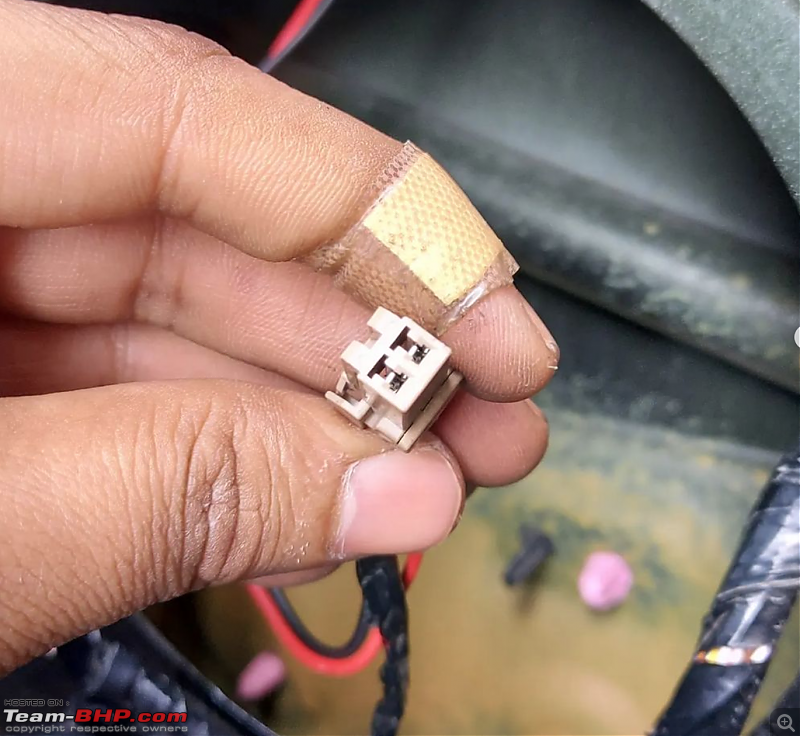
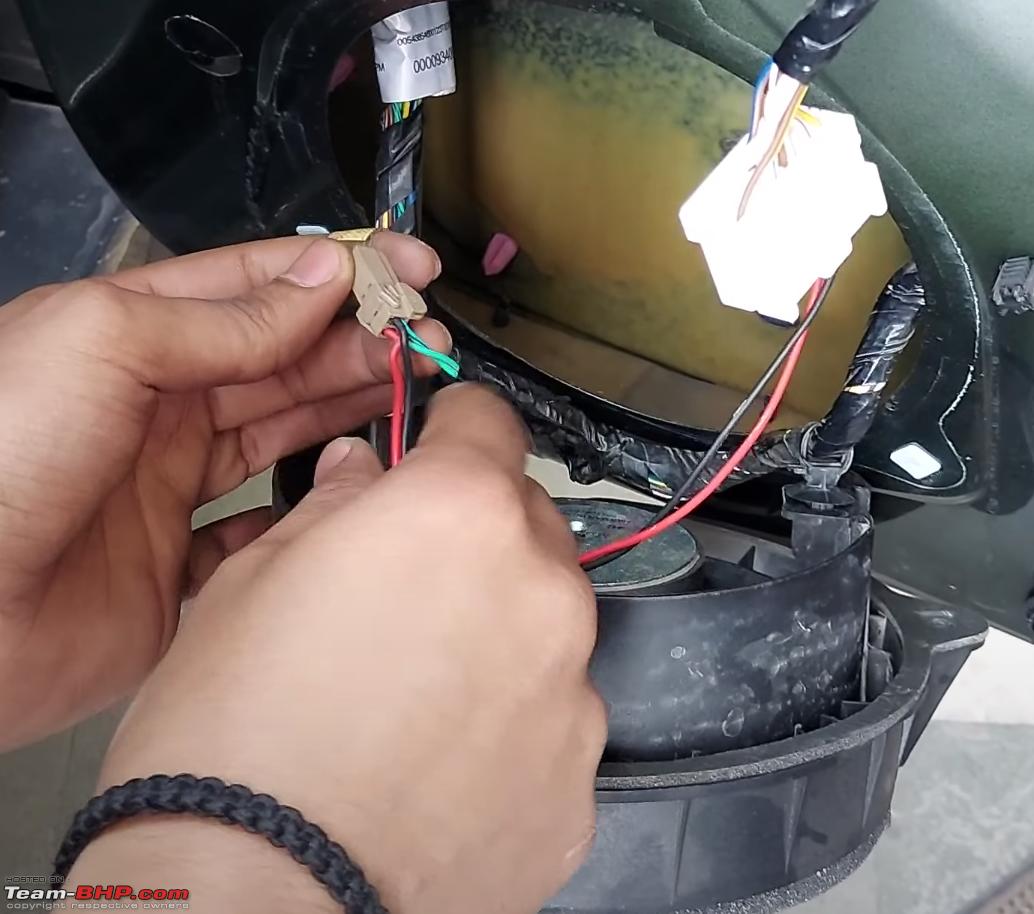
If you have couplers for the the tweeters then it is pretty easy. You just pop in the coupler in the socket and off you go! But if you are someone like me who couldnt find the couplers even after trying a lot. Then you have JST aka Japan Solderless Terminal for your rescue. These connectors are a must for installing electronic hardware in your car. This ensure that when you want to remove the said hardware you dont need to remove the whole wiring, you can just disconnect the connector and remove the hardware.
Original coupler for TATA Nexon
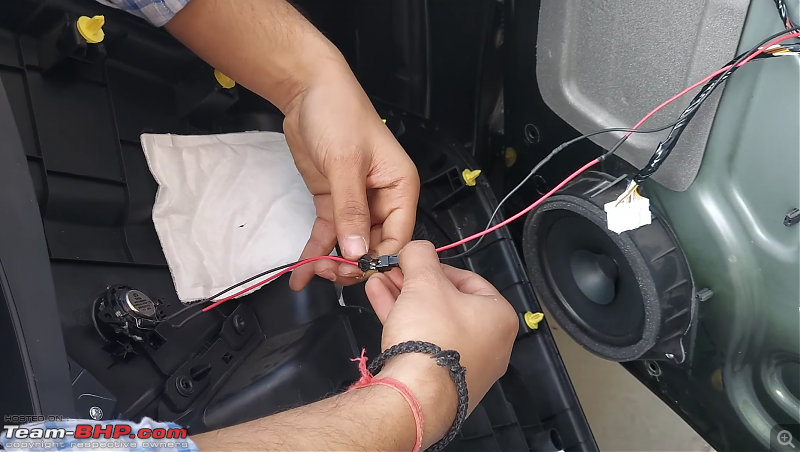
Strip the wires of one part of terminal and solder them to the tweeter. Repeat this for all the other tweeters. Solder and extend the wire of the other part of terminal.

Put the extent wire through the door. You will need to make a small hole to let the wire pass in the rubber gourmet. Connect the wire to the coupler of the speaker. To do this you will need to unscrew the screws of speakers, pull it out and then connect the wire. Use tap to secure the connection.
Note: To prevent the wiring touching each other, you can use heat shrink tube to cover both of the terminals.
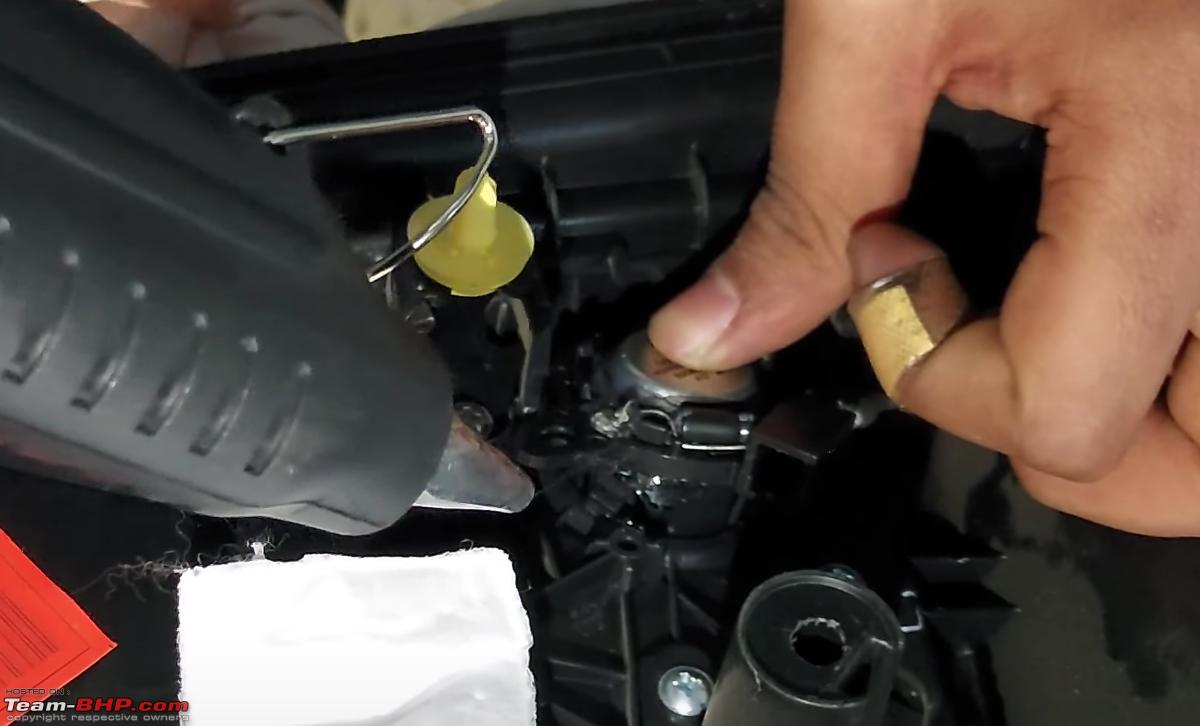
STEP 4: Installing tweeters on the panel
I couldnt find the original tweeters for Nexon so I used TATA Tiagos tweeter. They were not exact fit so you still need jugaad to install them. The tweeters are slightly bigger than the hole, so I heated the hole to expand it a little and put the tweeter on it. And then I used hot glue to make sure it stays at the place.
 STEP 5: Putting the front door panel back
Connect the JST terminals to each other. Connect the door and lock wires back to the handle. Put back the panel on the door and press firmly on the panel to engage each and every lock.
Connect the power window connectors and put the panel back on the door. Connect the ORVM regulator connectors and put the panel back on. Screw both the screws on the panel and cover them with their respective covers.
STEP 6: Putting the back door panel back
Connect the JST terminals to each other. Connect the door and lock wires back to the handle. Put the panel back on the door and press firmly on the panel to engage each and every lock. Screw the two nuts and put the grey panel back on.
Connect the power window connectors, put the panel back on. Screw in the two screws and cover them with their respect caps. Put back the panel on the bottom right of the window.
REPEAT THE PROCESS ON THE OTHER SIDE
With this, your tweeters are good to go.


 20th February 2022, 15:29

 (20)
Thanks
(20)
Thanks


 .
.
