Introduction
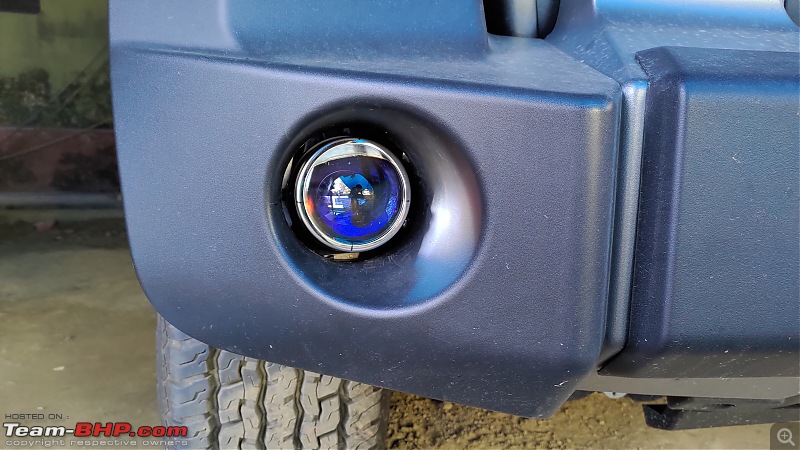
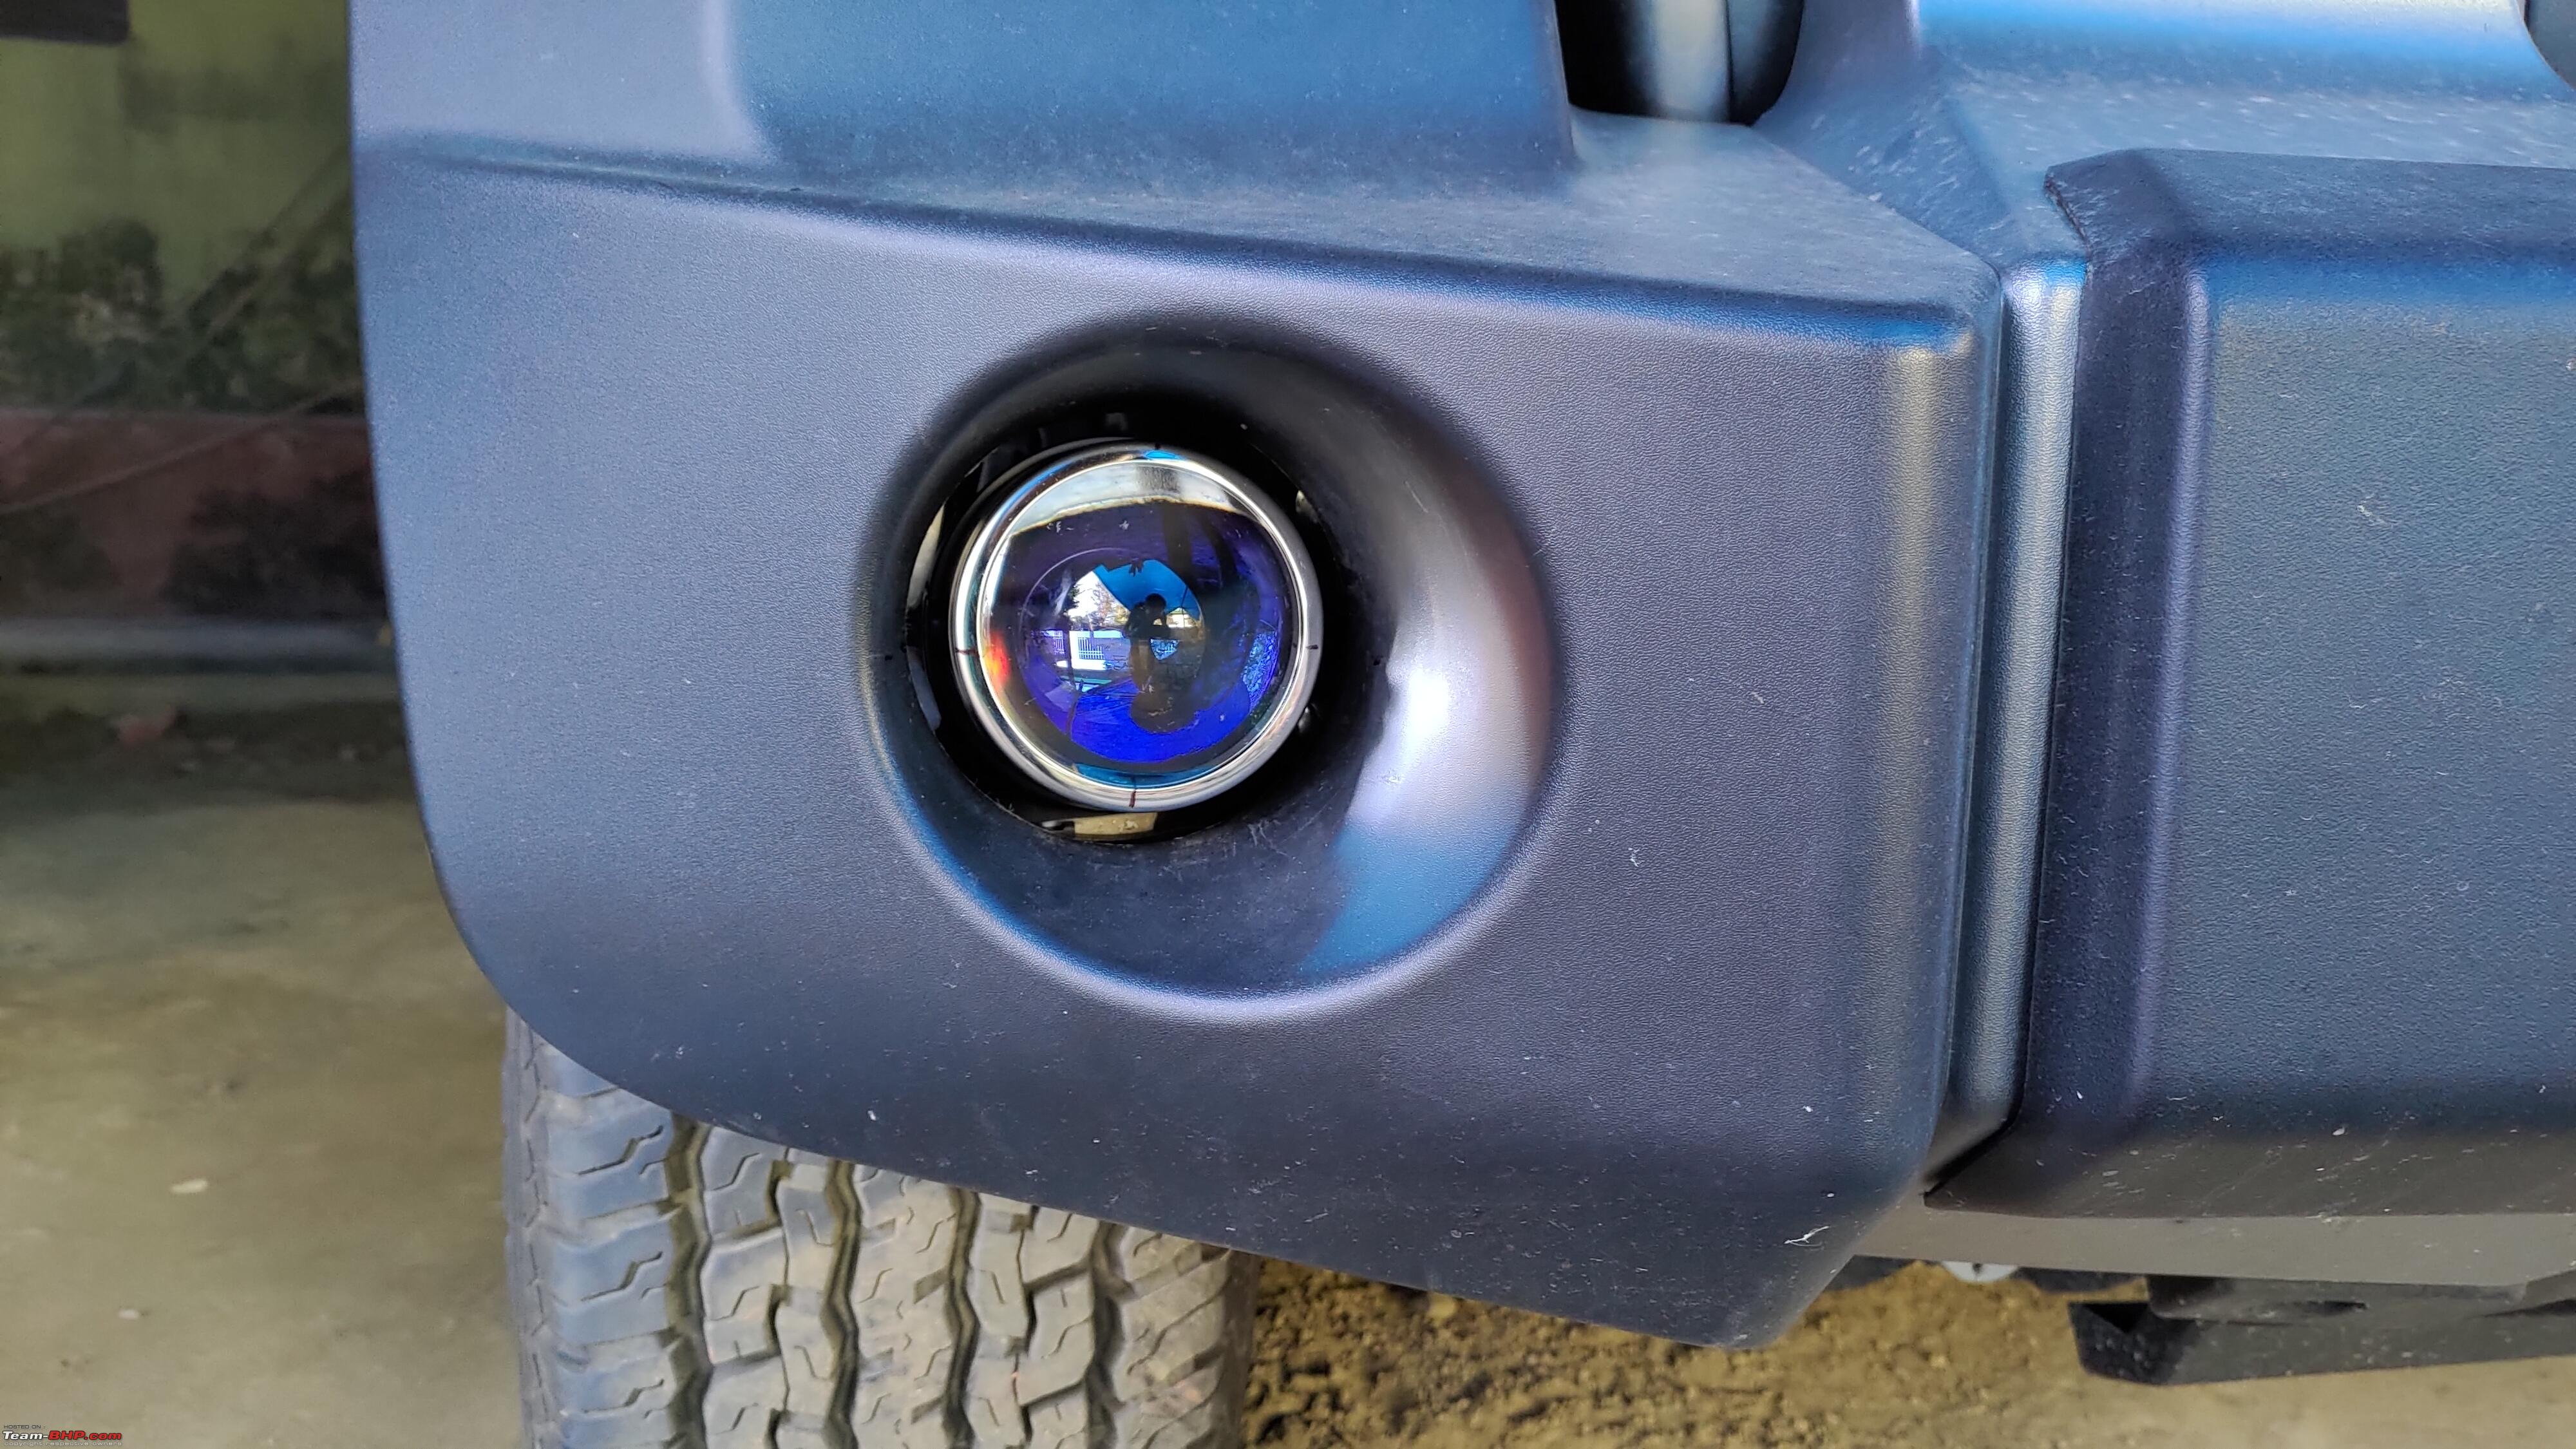
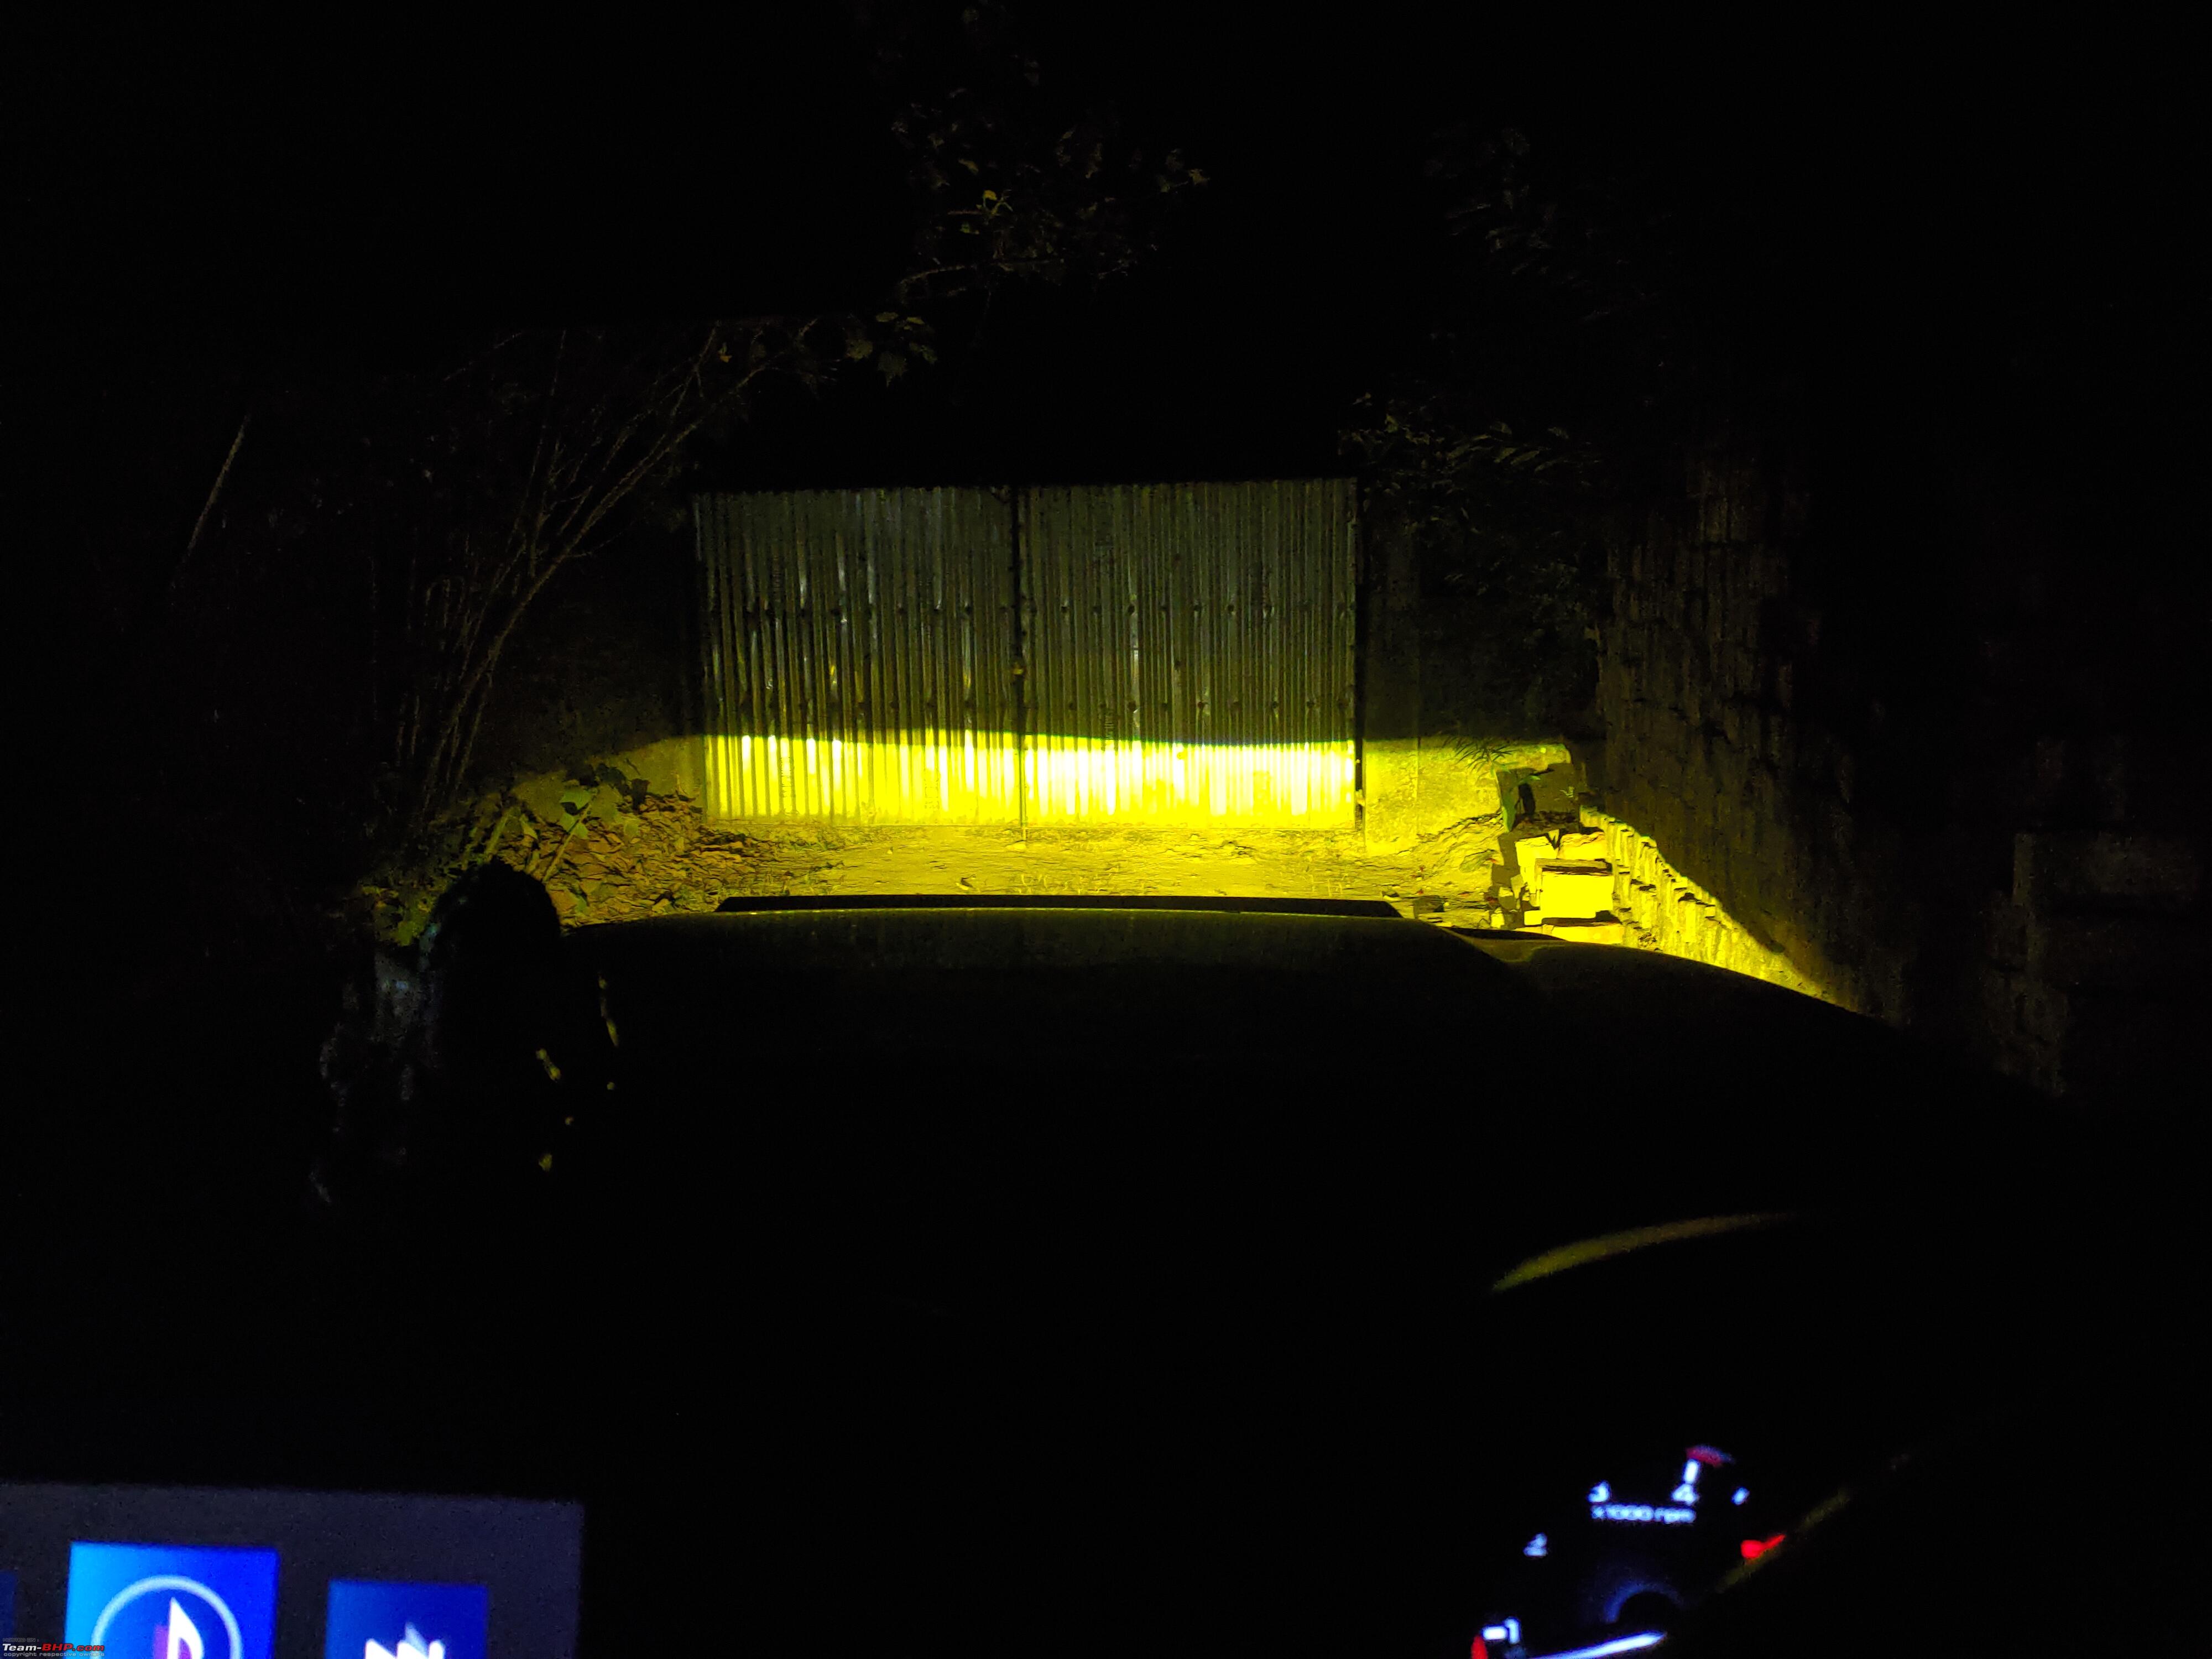
I happen to own a 2nd Gen Mahindra Thar and coming from the Halogen Projector low beam setup of Ford Ecosport, The Halogen Reflector headlights of the Thar felt inadequate. Another quirk to be noticed is, with Fog lights ON along with the Headlights in Low beam at level 1, there is a dark area between the illumination of the Fog lights and the Headlights low beam.
I got a taste of the Thar's Headlights plus fog lights illumination power during my first Night drive and also after my 500 km road trip.
This made me consider upgrading the setup whichever way possible with stock wiring.
I did check out the other Thar Ownership review threads here in our forum and the official Thar review thread as well.
Information gathered was, Thar has H16 19 watts Fog lights. Fellow BHPian
MithunSathianat has made a thread about DIY 3" Bi-Xenon fog lights installation on the 2nd gen Thar. Although his Custom Stainless Steel mounting plate was a worry for me cause I won't be able to get that fabricated back here. Still I decided to give it a try.
His thread was immensely helpful in guiding my DIY installation process albeit with some modifications.
Link to his DIY Thread is
here. (DIY: FE Retrofit projector foglamps on my Mahindra Thar (2nd-gen)) The Hunt for the Projectors
Initially I was considering 3" Bi-Xenon Projectors from iPhcar but I was worried about the wiring. As
MithunSathianat initially used the stock wiring on his setup but later, he got himself a relay harness. I decided to look out for other options which would be feasible with the stock wiring.
Came across Bi-LED Projector fog lights from iPhcar which according to most sellers are rated at 35W Low beam, 40W high beam, Which is quite weird cause the switching of low beam to high beam just involves a solenoid to flip a shroud behind the projector lens.
Another worry was the color temperature of the LED Projectors, cause with a color temperature of 5500-6000K, it would cause issues in foggy or rainy conditions (Which would be a big irony). And in Assam, I would not be happy with such a situation considering our weather conditions here.
However, I came across another model of the LED projector fog lamps ,from iPhcar again, which has 3 color temperature output (3000K, 4300K and 6000K).

And thankfully I found fellow Bhpian
Manuuj, who got these new LED projectors installed on his brand new Force Gurkha. Famously known as
Asterix.
I PM'd him through our forum and I got a prompt reply from him regarding the seller (Bindra Motors). The asking price was less compared to the others sellers I contacted earlier.
I thanked him and contacted the seller on WhatsApp.
The next morning, I made the payment, and the seller sent me a video of testing the Projectors and the packed parcel. I got the tracking information in the evening.
Very prompt service.
I did ask the seller about the installation process for the new Thar, to which he replied, We can use the stock mounts for the LED Projectors, will require some trimming.
I received the parcel after 6 days.
Trivia
Once I received the parcel, I was still curious about its power draw situation. Cause if it happens to be 40W, I would have to buy a relay harness as well. So, I decided to test its current draw with my multimeter. I used my 70mai 12V power bank for the required 12V and used the multimeter to check the current in Ampere. As per the multimeter, Voltage of the power bank was measured at 12.6 Volts and the current draw of a Single Projector was at 1.67 Amps, which equals to a approximate power draw of 21 Watts. Yes, for both low and high beams.

So, No more requirement of relay harness.
Installation
Why DIY?
I love the satisfaction of DIY installation on my car. Since I already did DIY replacement of my Thar's AC vents, DIY fog lights installation was next on my mod list.
Yes, requirement of a custom mounting plate was a worry but as per the sellers advise, I was keeping my fingers crossed for the Projectors to work with the stock mounts.
Let's get started
In order to access the fog lights, we need to remove the wheel well plastic lining aka splash guard. The guard is held in place by 6 scrivets. They have a phillips head pattern.
Thankfully, the Thar has good enough space to get to all the 6 scrivets with a phillips head screwdriver (Although with a 1/4" Rachet) with the wheel kept straight albeit with some dirty arms.

Once all the scrivets are removed, The plastic panel comes out and we have full access to the fog light connector and mounting screws.
The Thar has a different type of mounting situation. It is held in place with 3 screws (Phillips head) at three different points and two support/orientation pins.
 The Stock fog light held with 3 phillips head screw (Marked in Green). Note the red arrows indicating the stock fog lights leveling screw and a hole to access that from below the bumper without removing the plastic panel. We will need a long phillips head screw driver for this
I disconnect the fog light coupler and unscrew the 3 screws. The fog light is easy enough to remove.
Now, In order to separate the Fog light from the mounting kit, we need to remove the leveling screw and pop the fog light housing out from the two retaining points on the side of the mounting kit.

Now, As per the seller, I can use the stock mounts, so, I started with the trimming process. I used a wire cutter to cut small pieces of the mounts to fit the projectors. After trimming few chunks on the mount, I could fit the heat sink of the projector.
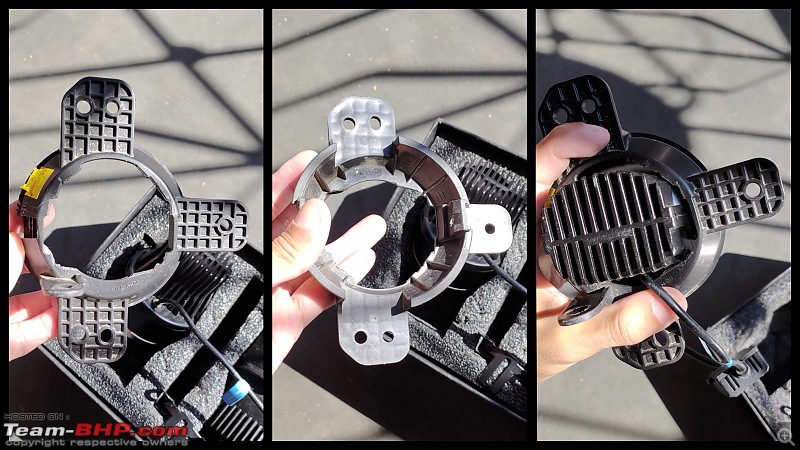
But then I realised, Even if I do some substantial amount of trimming, the Projectors won't fit in the stock mount.

Unless I go crazy with the trimming, thereby either breaking the stock mount or weakening it substantially. I also wanted to retain the stock fog light setup just in case I need to revert back to stock.
Now, the only option left, was to make custom mounting plate for my projectors similar to
MithunSaithanat's setup like
this.
I contacted a steel fabrication shop for help but they seemed confused, and also fine tuning the mount for the exact dimensions was a big issue.
So, I decided to do some test mounting. Made a template of the mounting plate in paper and did some test fitting. Once, it was good, I decided to fabricate the mounting plate out of plastic.
I found a relatively sturdy and unused plastic panel in my home and decided to use it for the fabrication.
I laid down the paper template and marked the dimensions on the plastic panel and use a hecksaw to carve out the mounting plate. The inner circle was cut with the help of a chisel and micromotor drill

Wish I had a dremel tool for better and faster results.
Yes, a very makeshift fabrication process but I just wanted to mount the projectors once and check out the alignment. If everything is ok, I would refine this particular mounting plate or use a different material.
 My plastic mounting plate
The Saturday afternoon went by in this mounting plate fabrication process. Sunday would be the day, where I actually mount the projectors to the bumper.
The projectors has two clamps per unit which is held to projector body with a Hex allen screw and washer on either side.
 Picture given by the seller
  This picture is courtesy of BHPian Chiranjitp Any Better solution?
Yes, There is a better solution available which I plan to do in the future.
I came across these Fog light covers in Boodmo, which is normally present in place of the fog lights in AX variants. This has a diameter big enough to fit the 3" Projector Fog lights through and the overall dimensions with respect to the mounting screws would be perfect.
 Right side Fog light slot cover
  Left side Fog light slot cover
These are relatively cheap to procure and will be extremely helpful for the mount dimensions.


 27th December 2021, 11:54

 (16)
Thanks
(16)
Thanks