

 4th September 2021, 02:27
| #1 |
| BHPian Join Date: Jan 2008 Location: Bangalore
Posts: 346
Thanked: 927 Times
| |

|  (132)
Thanks (132)
Thanks
|


| |
|
6th September 2021, 07:28
| #2 |
| Team-BHP Support  | |

| (4)
Thanks
|
|
6th September 2021, 08:00
| #3 |
| BHPian Join Date: Aug 2021 Location: Manipal
Posts: 259
Thanked: 2,144 Times
| |
|
| (2)
Thanks
|

|
6th September 2021, 09:55
| #4 |
| BHPian Join Date: Jun 2021 Location: Tuticorin
Posts: 42
Thanked: 97 Times
| |
|
| (1)
Thanks
|
|
6th September 2021, 10:38
| #5 |
| BANNED Join Date: May 2021 Location: Chennai
Posts: 19
Thanked: 21 Times
| |
|
| (1)
Thanks
|

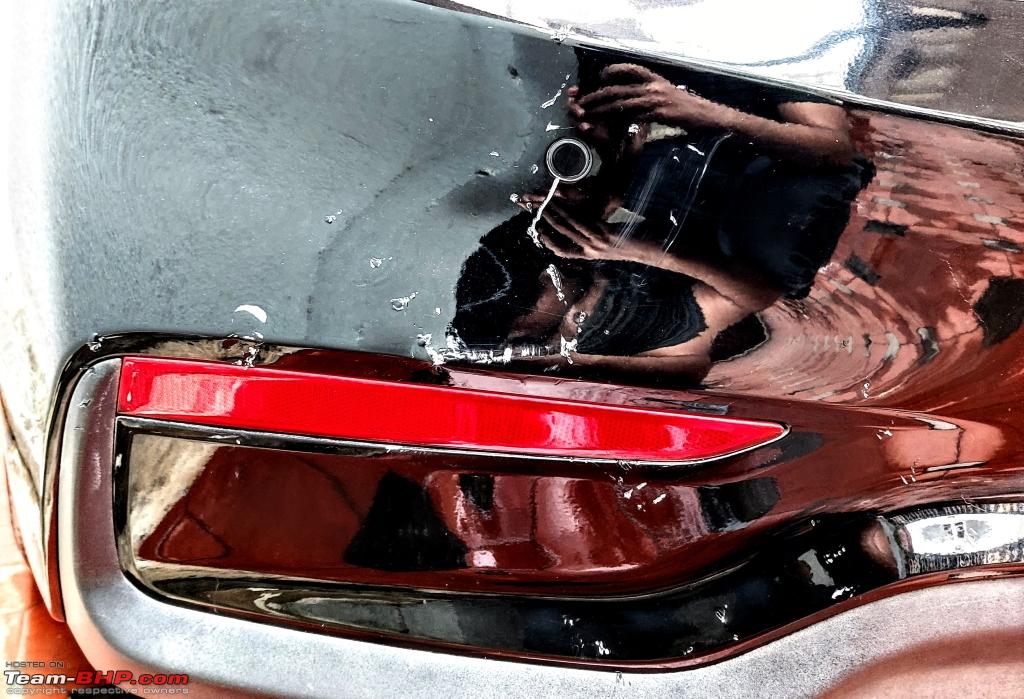
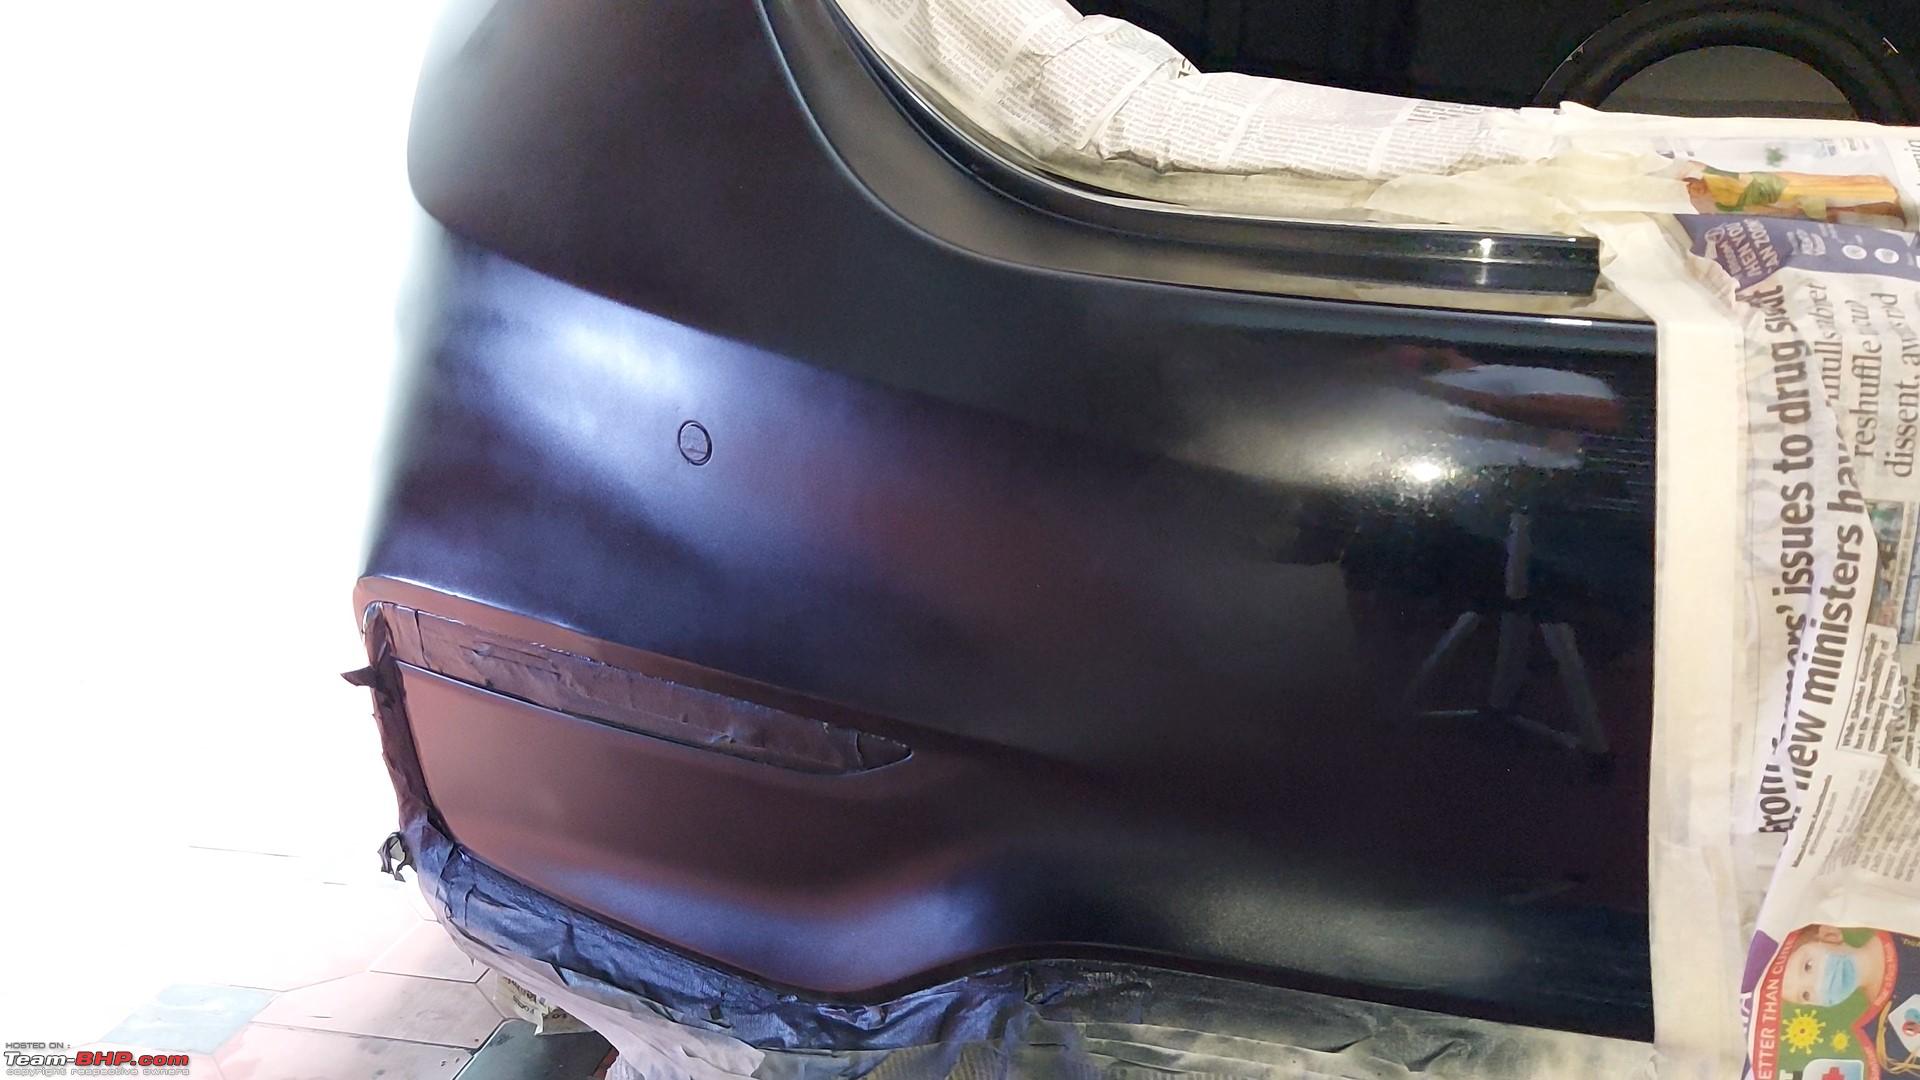
 you did an excellent job, more than the professional service people in Hyundai
  my friend had similar issue in his white verna and gave car to service center. They did very poor job and did overspray in all black inserts in the bumper
|
6th September 2021, 11:20
| #6 |
| Senior - BHPian Join Date: May 2009 Location: Chennai
Posts: 4,563
Thanked: 5,659 Times
| |
|
|
|
6th September 2021, 13:15
| #7 |
| BHPian | |
|
| (1)
Thanks
|
|
6th September 2021, 14:17
| #8 |
| BHPian Join Date: Jan 2008 Location: Bangalore
Posts: 346
Thanked: 927 Times
| |
|
| (6)
Thanks
|
|
7th September 2021, 11:02
| #9 |
| BHPian Join Date: Feb 2018 Location: Hyderabad
Posts: 260
Thanked: 311 Times
| |
|
| (1)
Thanks
|

|
7th September 2021, 11:55
| #10 |
| Senior - BHPian Join Date: Jul 2007 Location: Mysuru
Posts: 1,766
Thanked: 1,290 Times
| |
|
| (1)
Thanks
|
|
7th September 2021, 15:44
| #11 |
| BHPian Join Date: Jan 2008 Location: Bangalore
Posts: 346
Thanked: 927 Times
| |
|
| (4)
Thanks
|
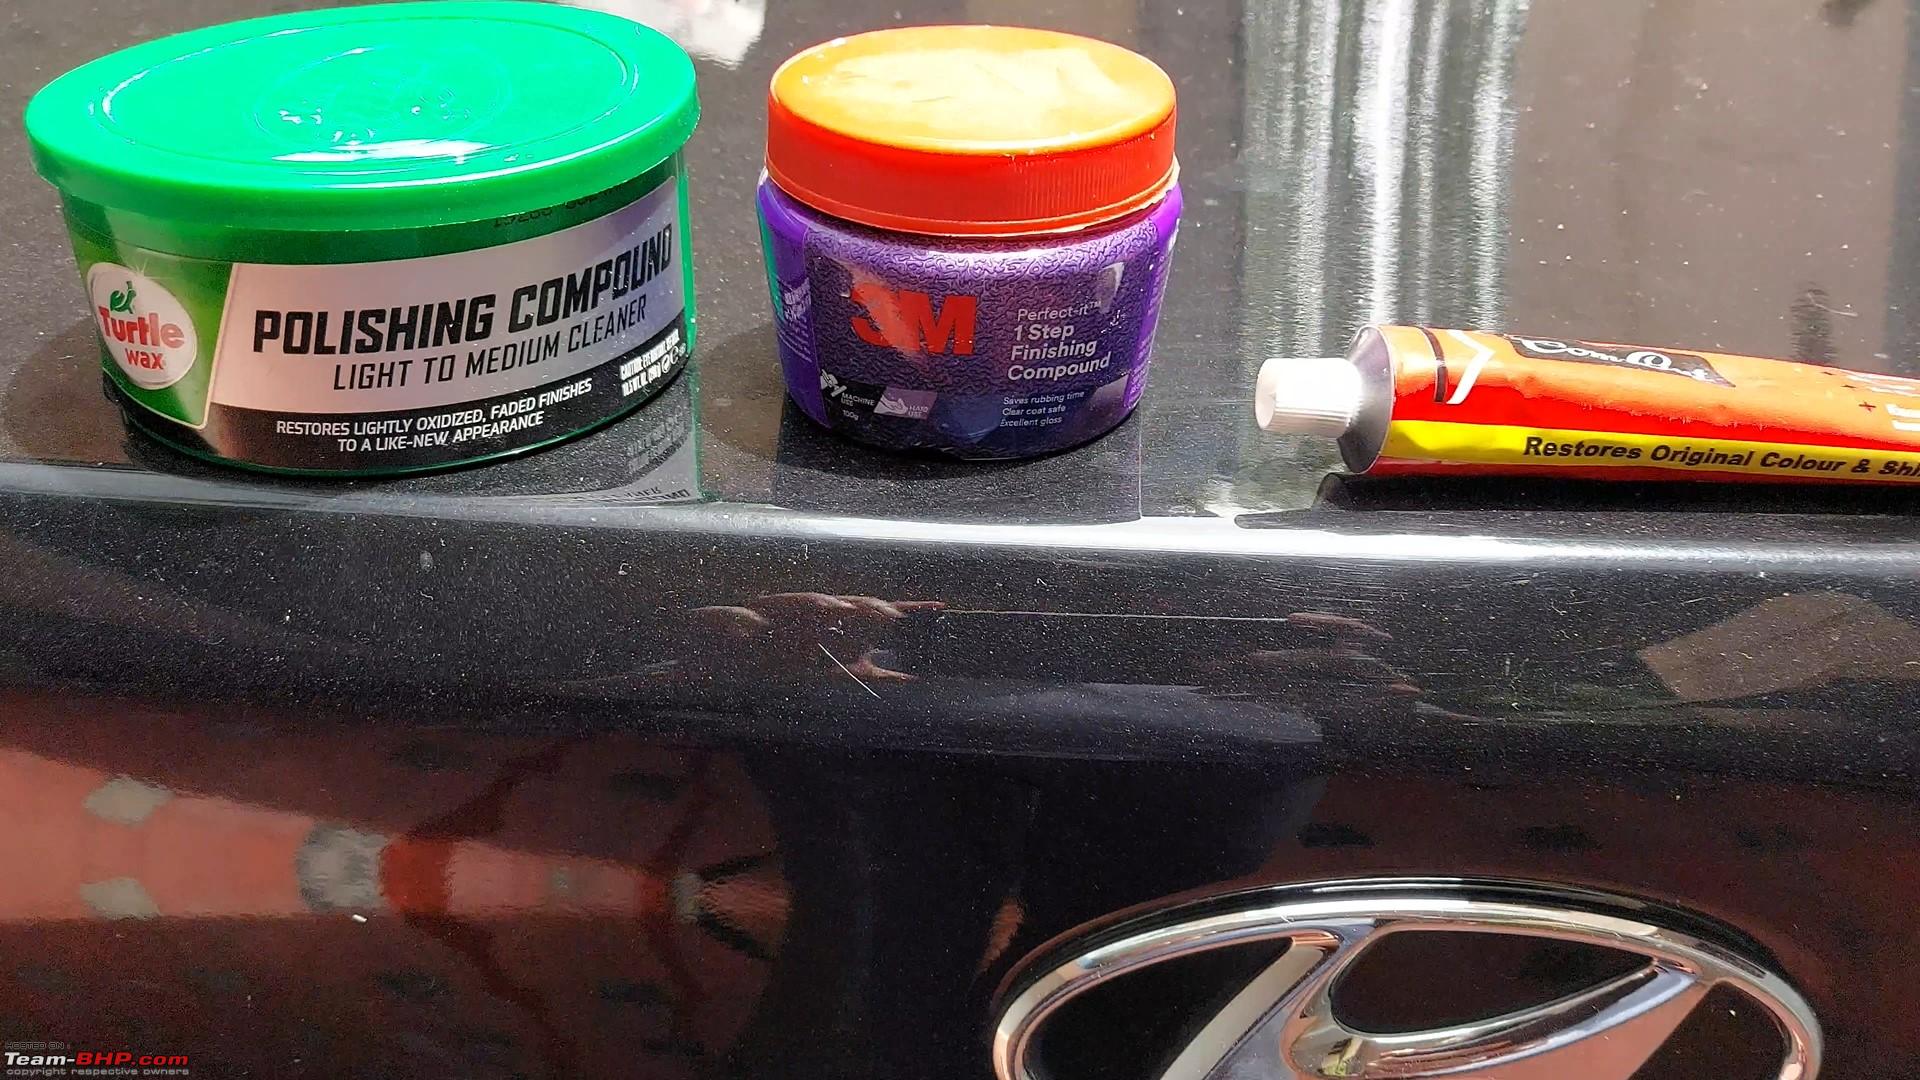
 ] hence I experimented with them and found TurtleWax to be better. You can definitely try with supplied compound - it's not bad.
 | |
|
8th September 2021, 18:20
| #12 |
| Senior - BHPian Join Date: Jul 2007 Location: Mysuru
Posts: 1,766
Thanked: 1,290 Times
| |
|
| (1)
Thanks
|
|
8th September 2021, 18:45
| #13 |
| BHPian Join Date: Jul 2019 Location: Kochi
Posts: 88
Thanked: 377 Times
| |
|
|
|
8th September 2021, 19:06
| #14 |
| BHPian Join Date: Jan 2008 Location: Bangalore
Posts: 346
Thanked: 927 Times
| |
|
| (4)
Thanks
|
|
18th October 2021, 15:52
| #15 |
| Senior - BHPian Join Date: Jul 2007 Location: Mysuru
Posts: 1,766
Thanked: 1,290 Times
| |
|
| (16)
Thanks
|


 |
Most Viewed