Team-BHP
(
https://www.team-bhp.com/forum/)
Dear Folks,
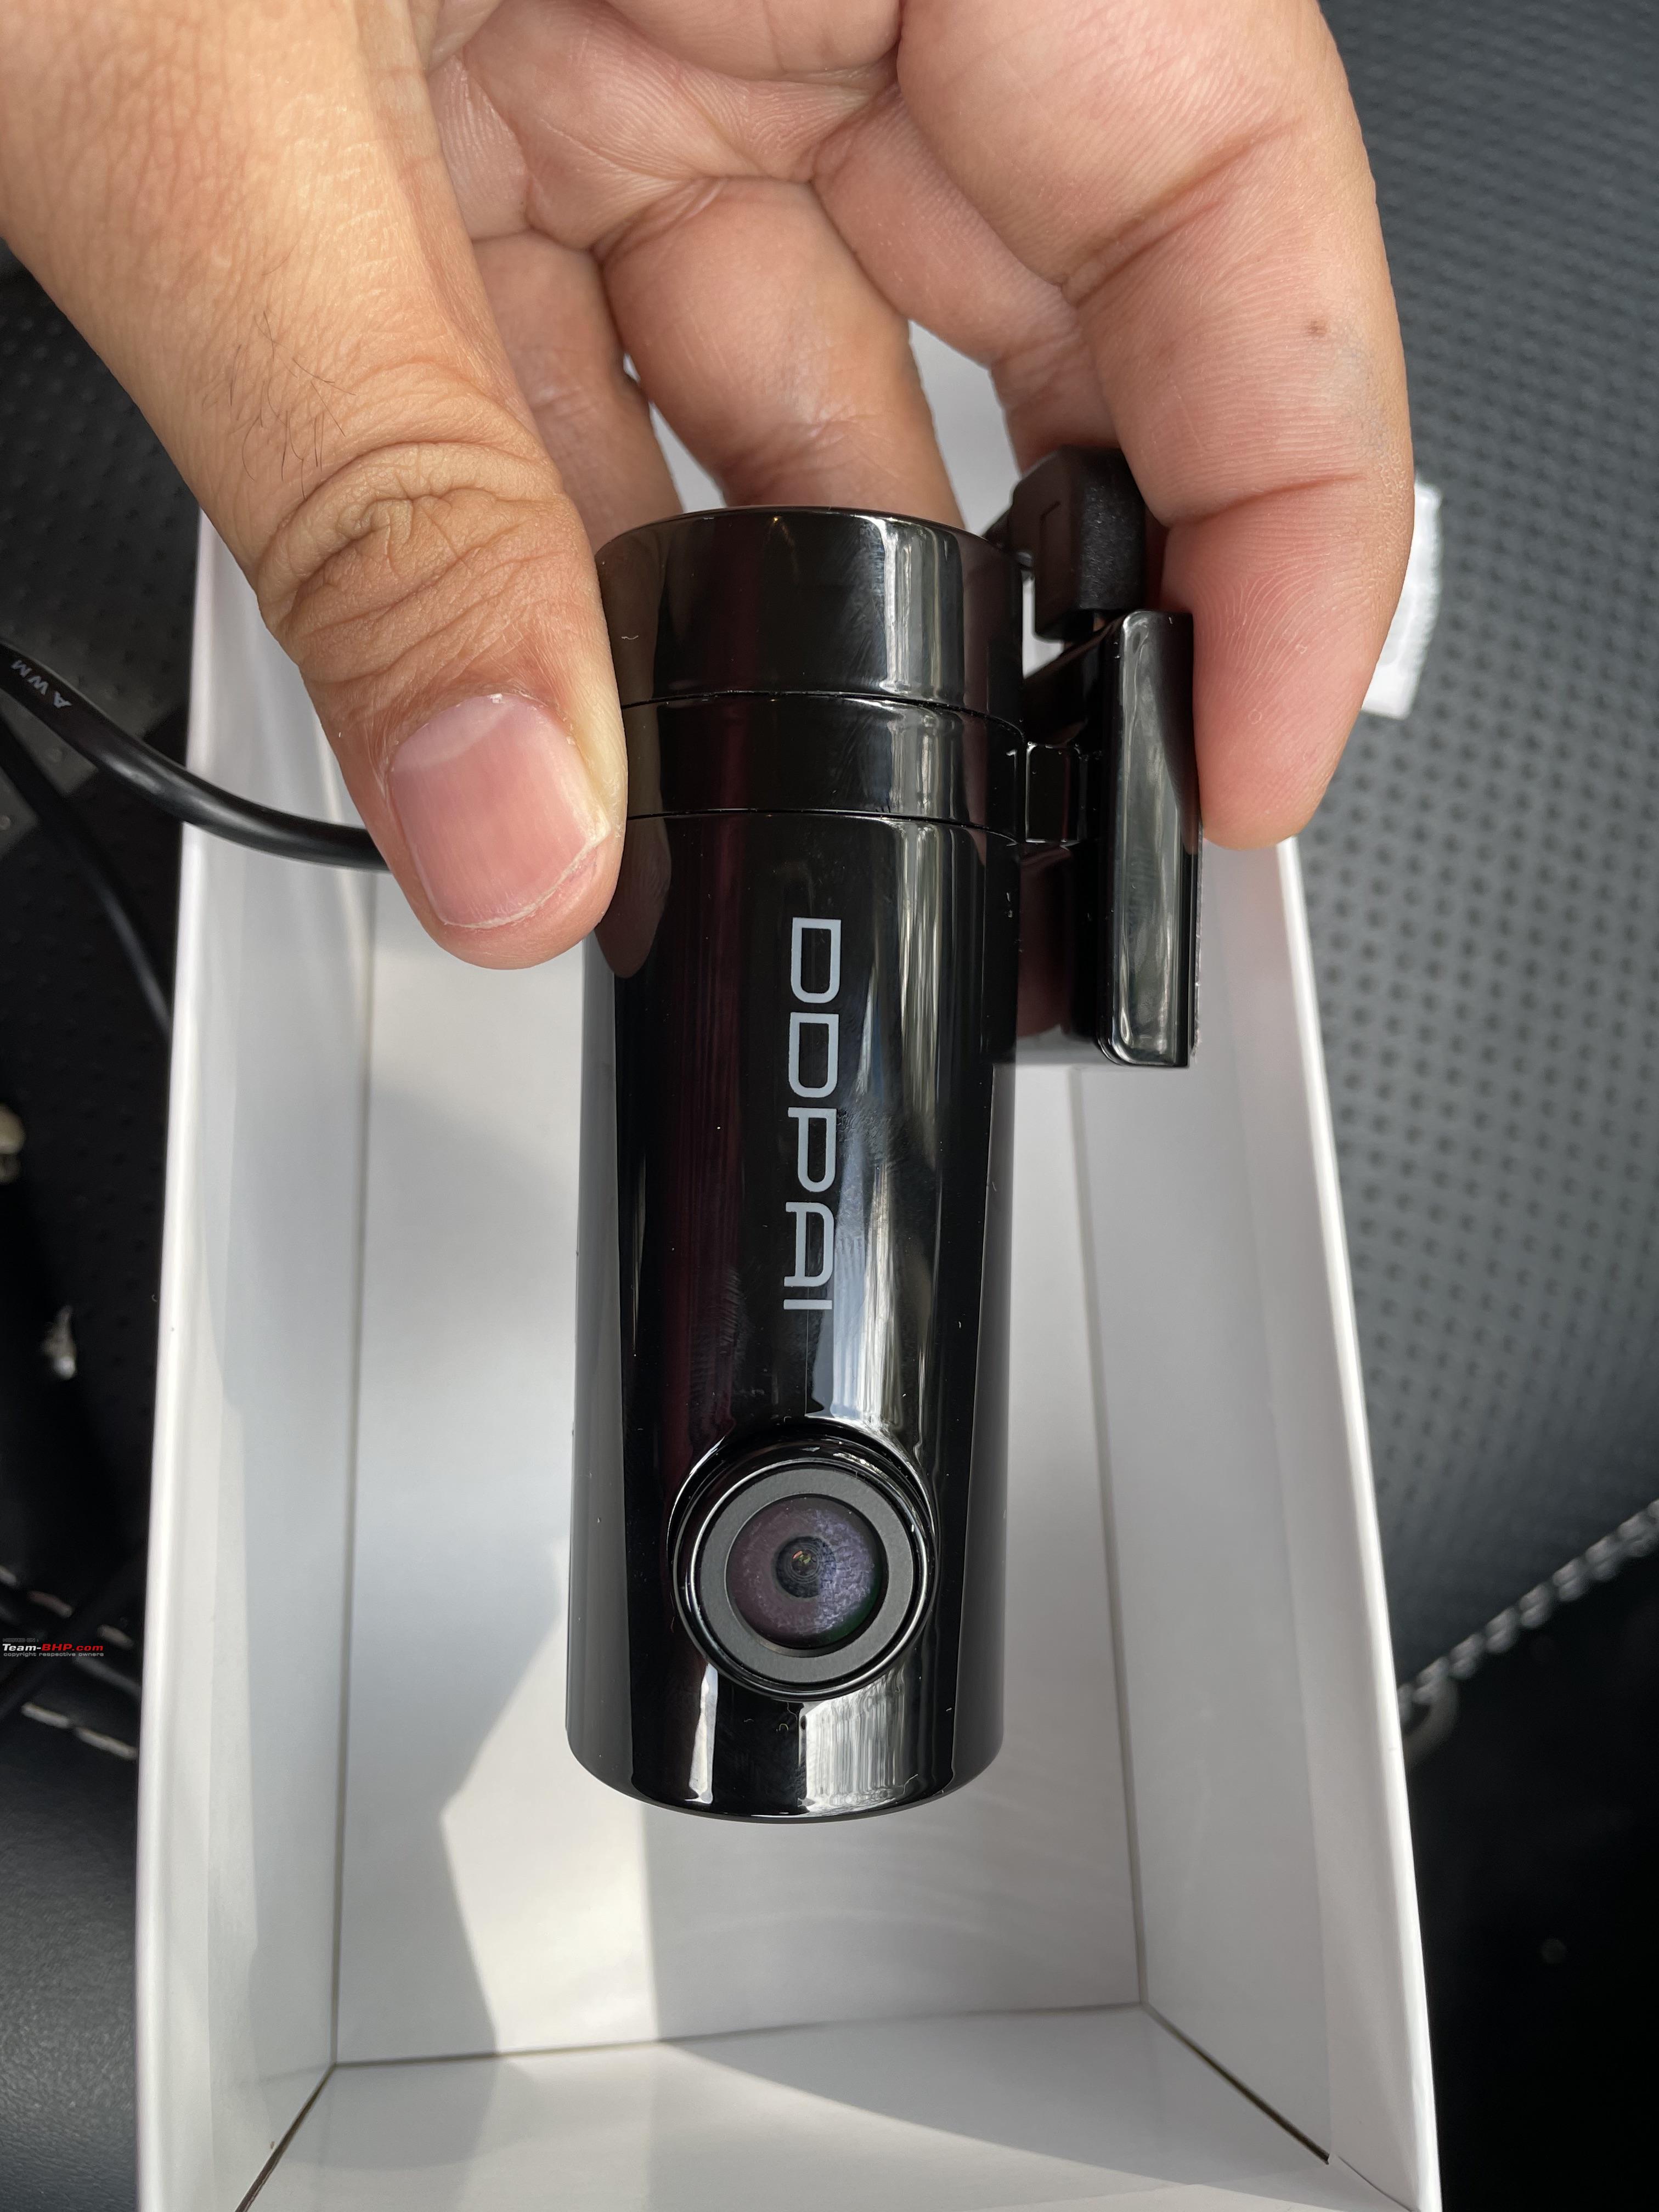
I recently installed a dash cam
(DDPAI Mini) in my two years old
Honda Jazz CVT Vx.
It is a simple DIY (now that I have done it lol:). A big thanks to this forum I gathered the courage to do the installation myself.
Why DDPAI mini?
Honestly because it was the cheapest and (so called) branded dash cam available on amazon. It's sleek, without a display so doesn't clutter the windscreen.
Whats in the box?
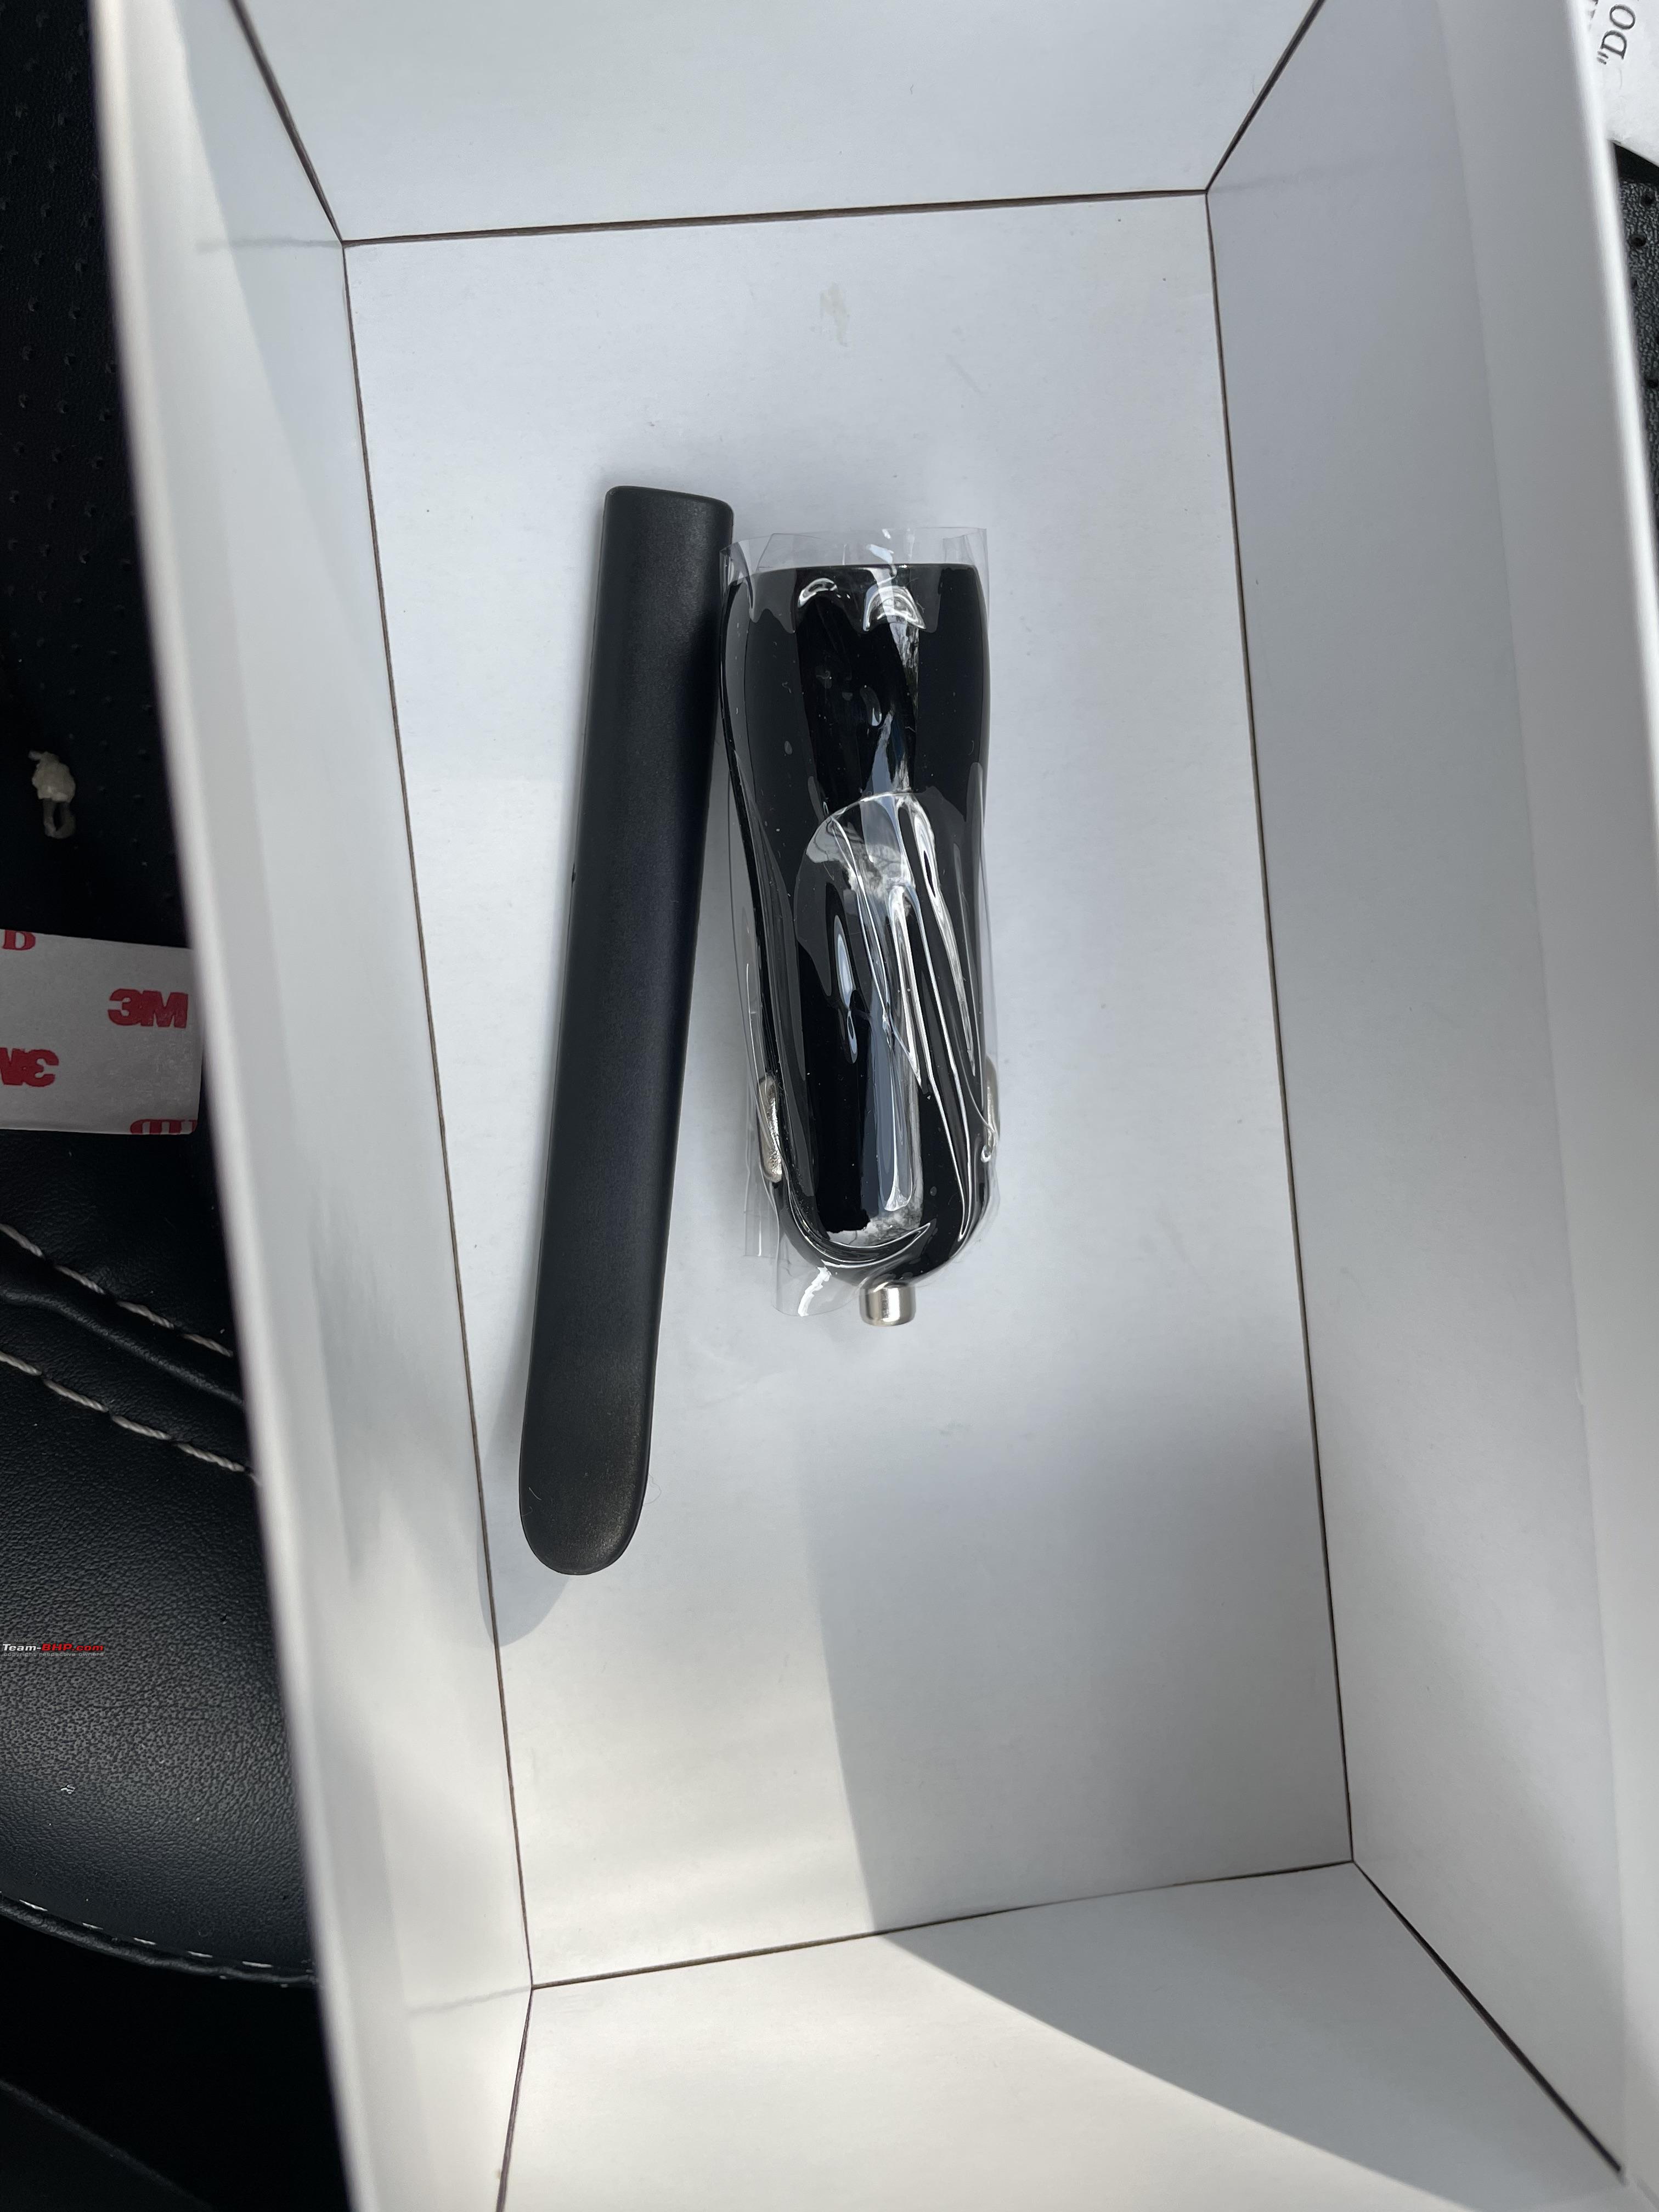
Dash cam, plier tool, usb cable, Dual USB charger, user manual
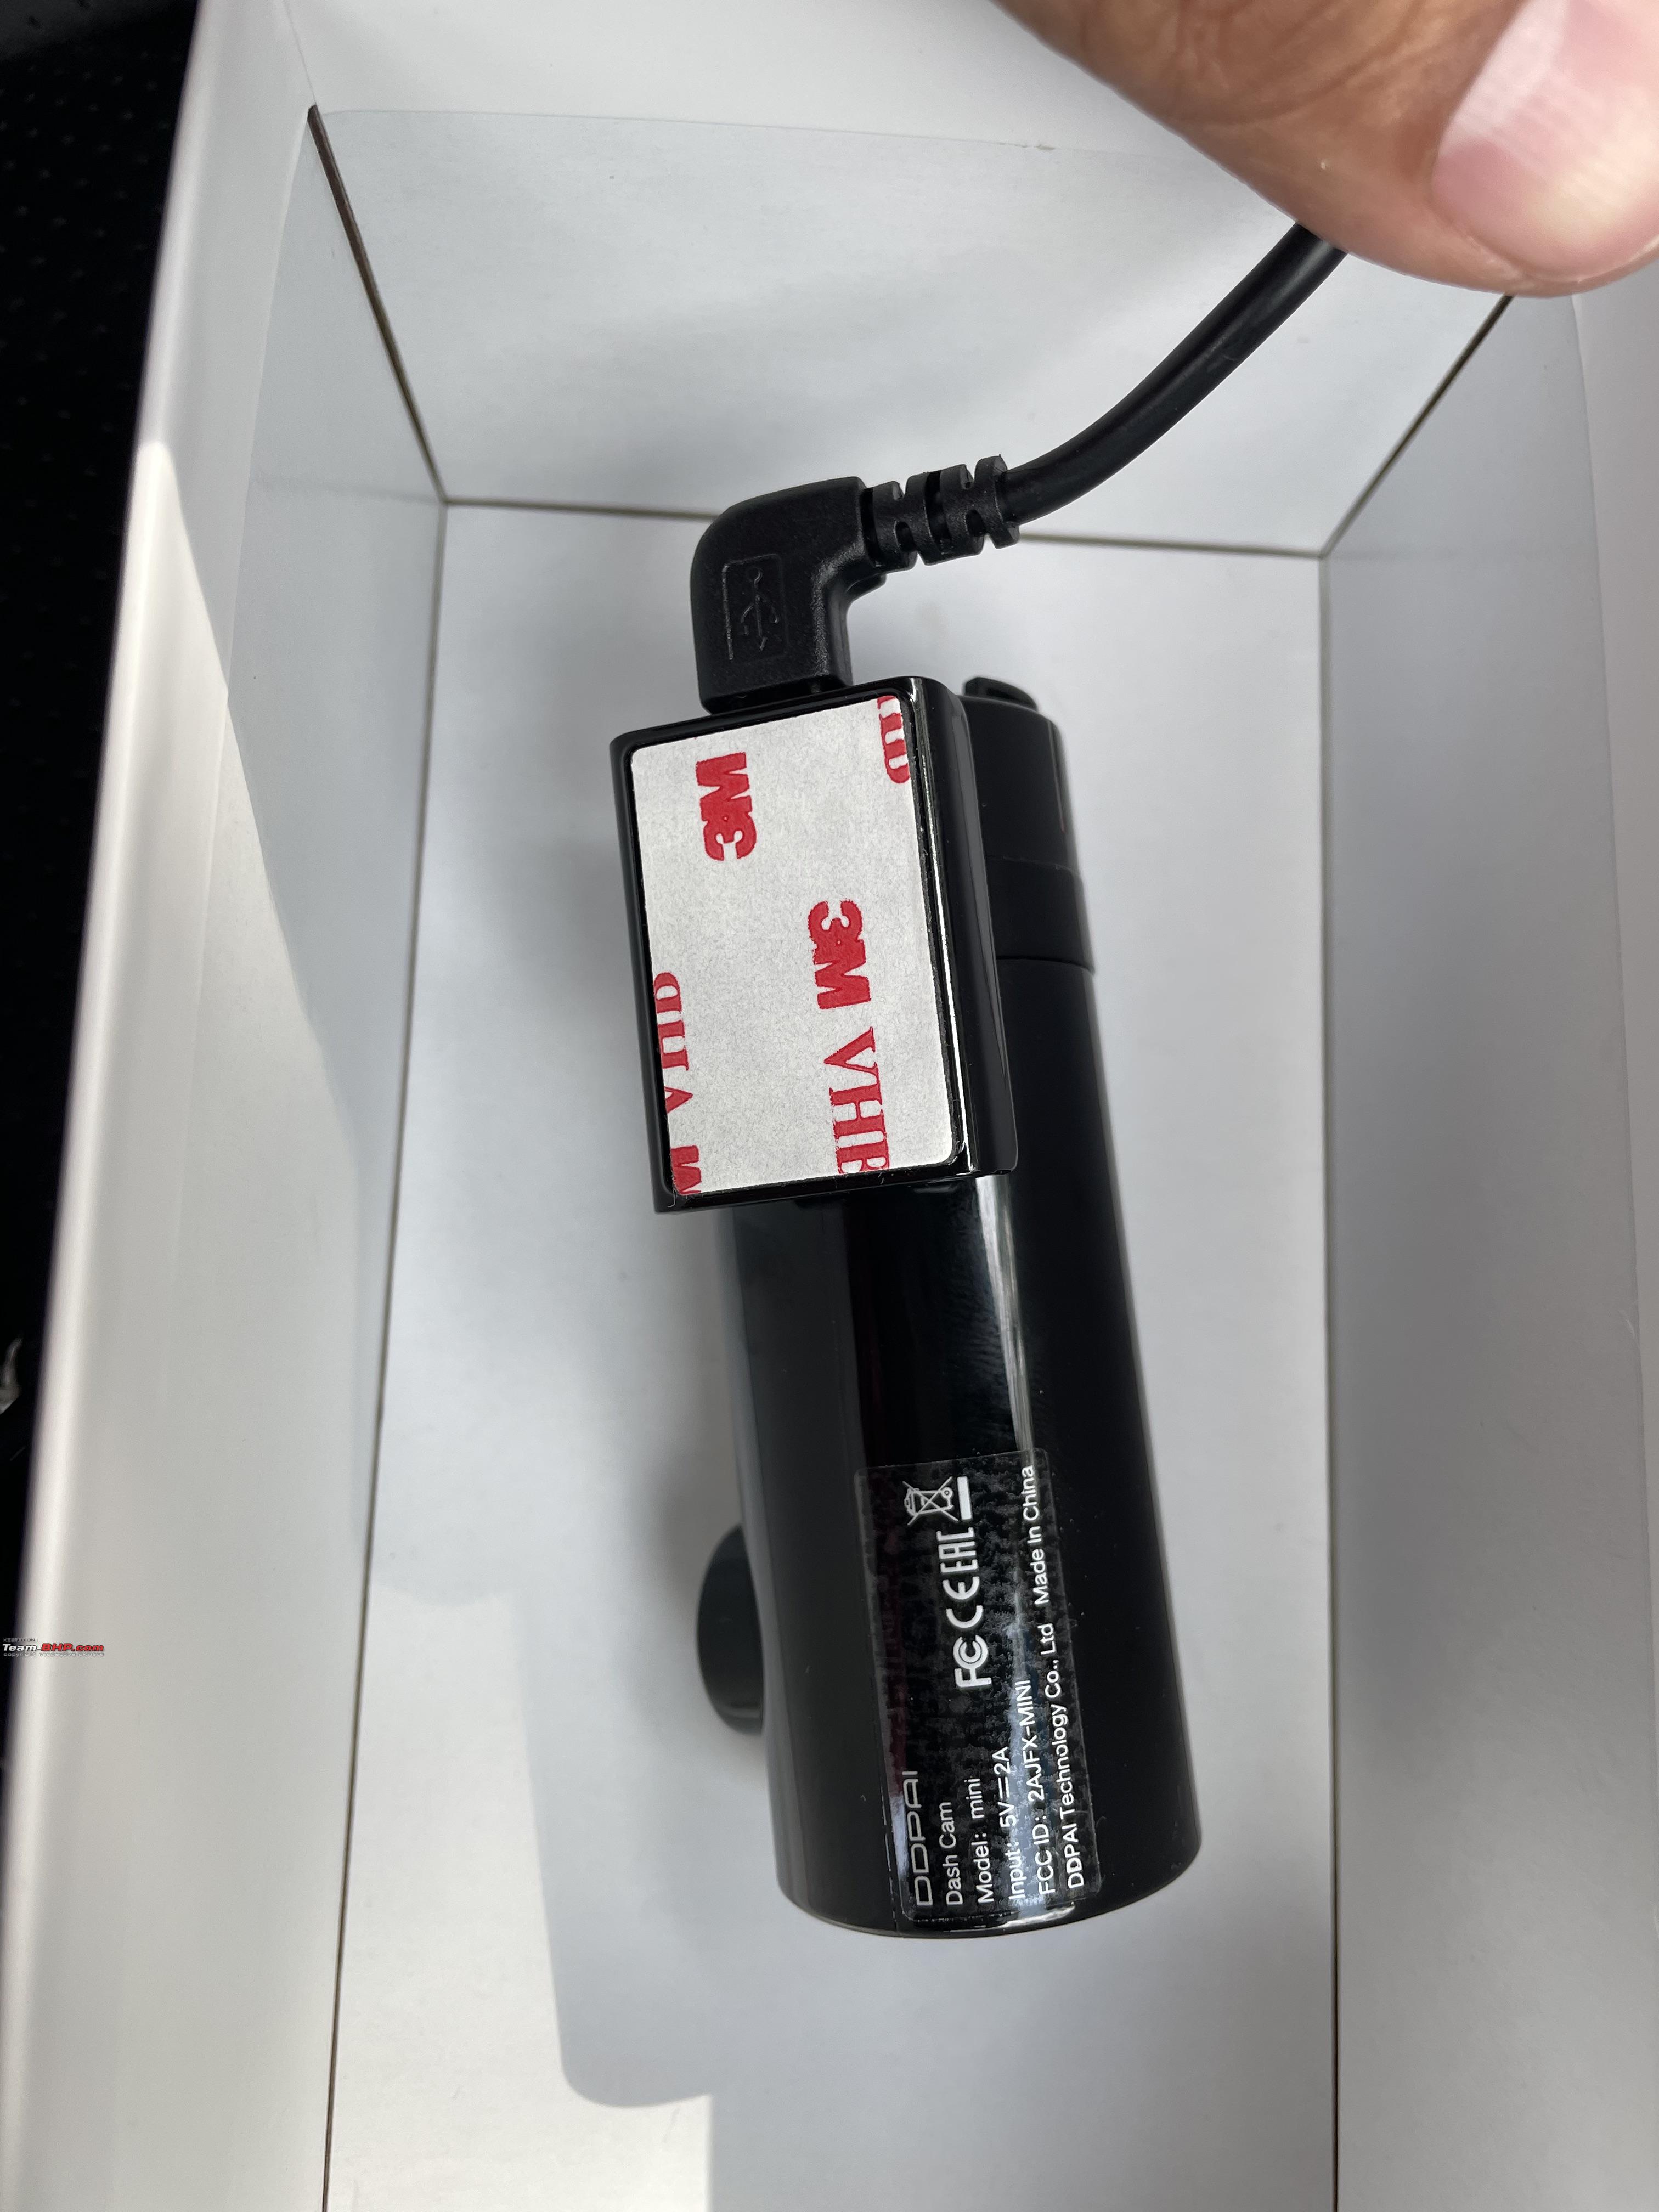
 Comes with 3M sticker
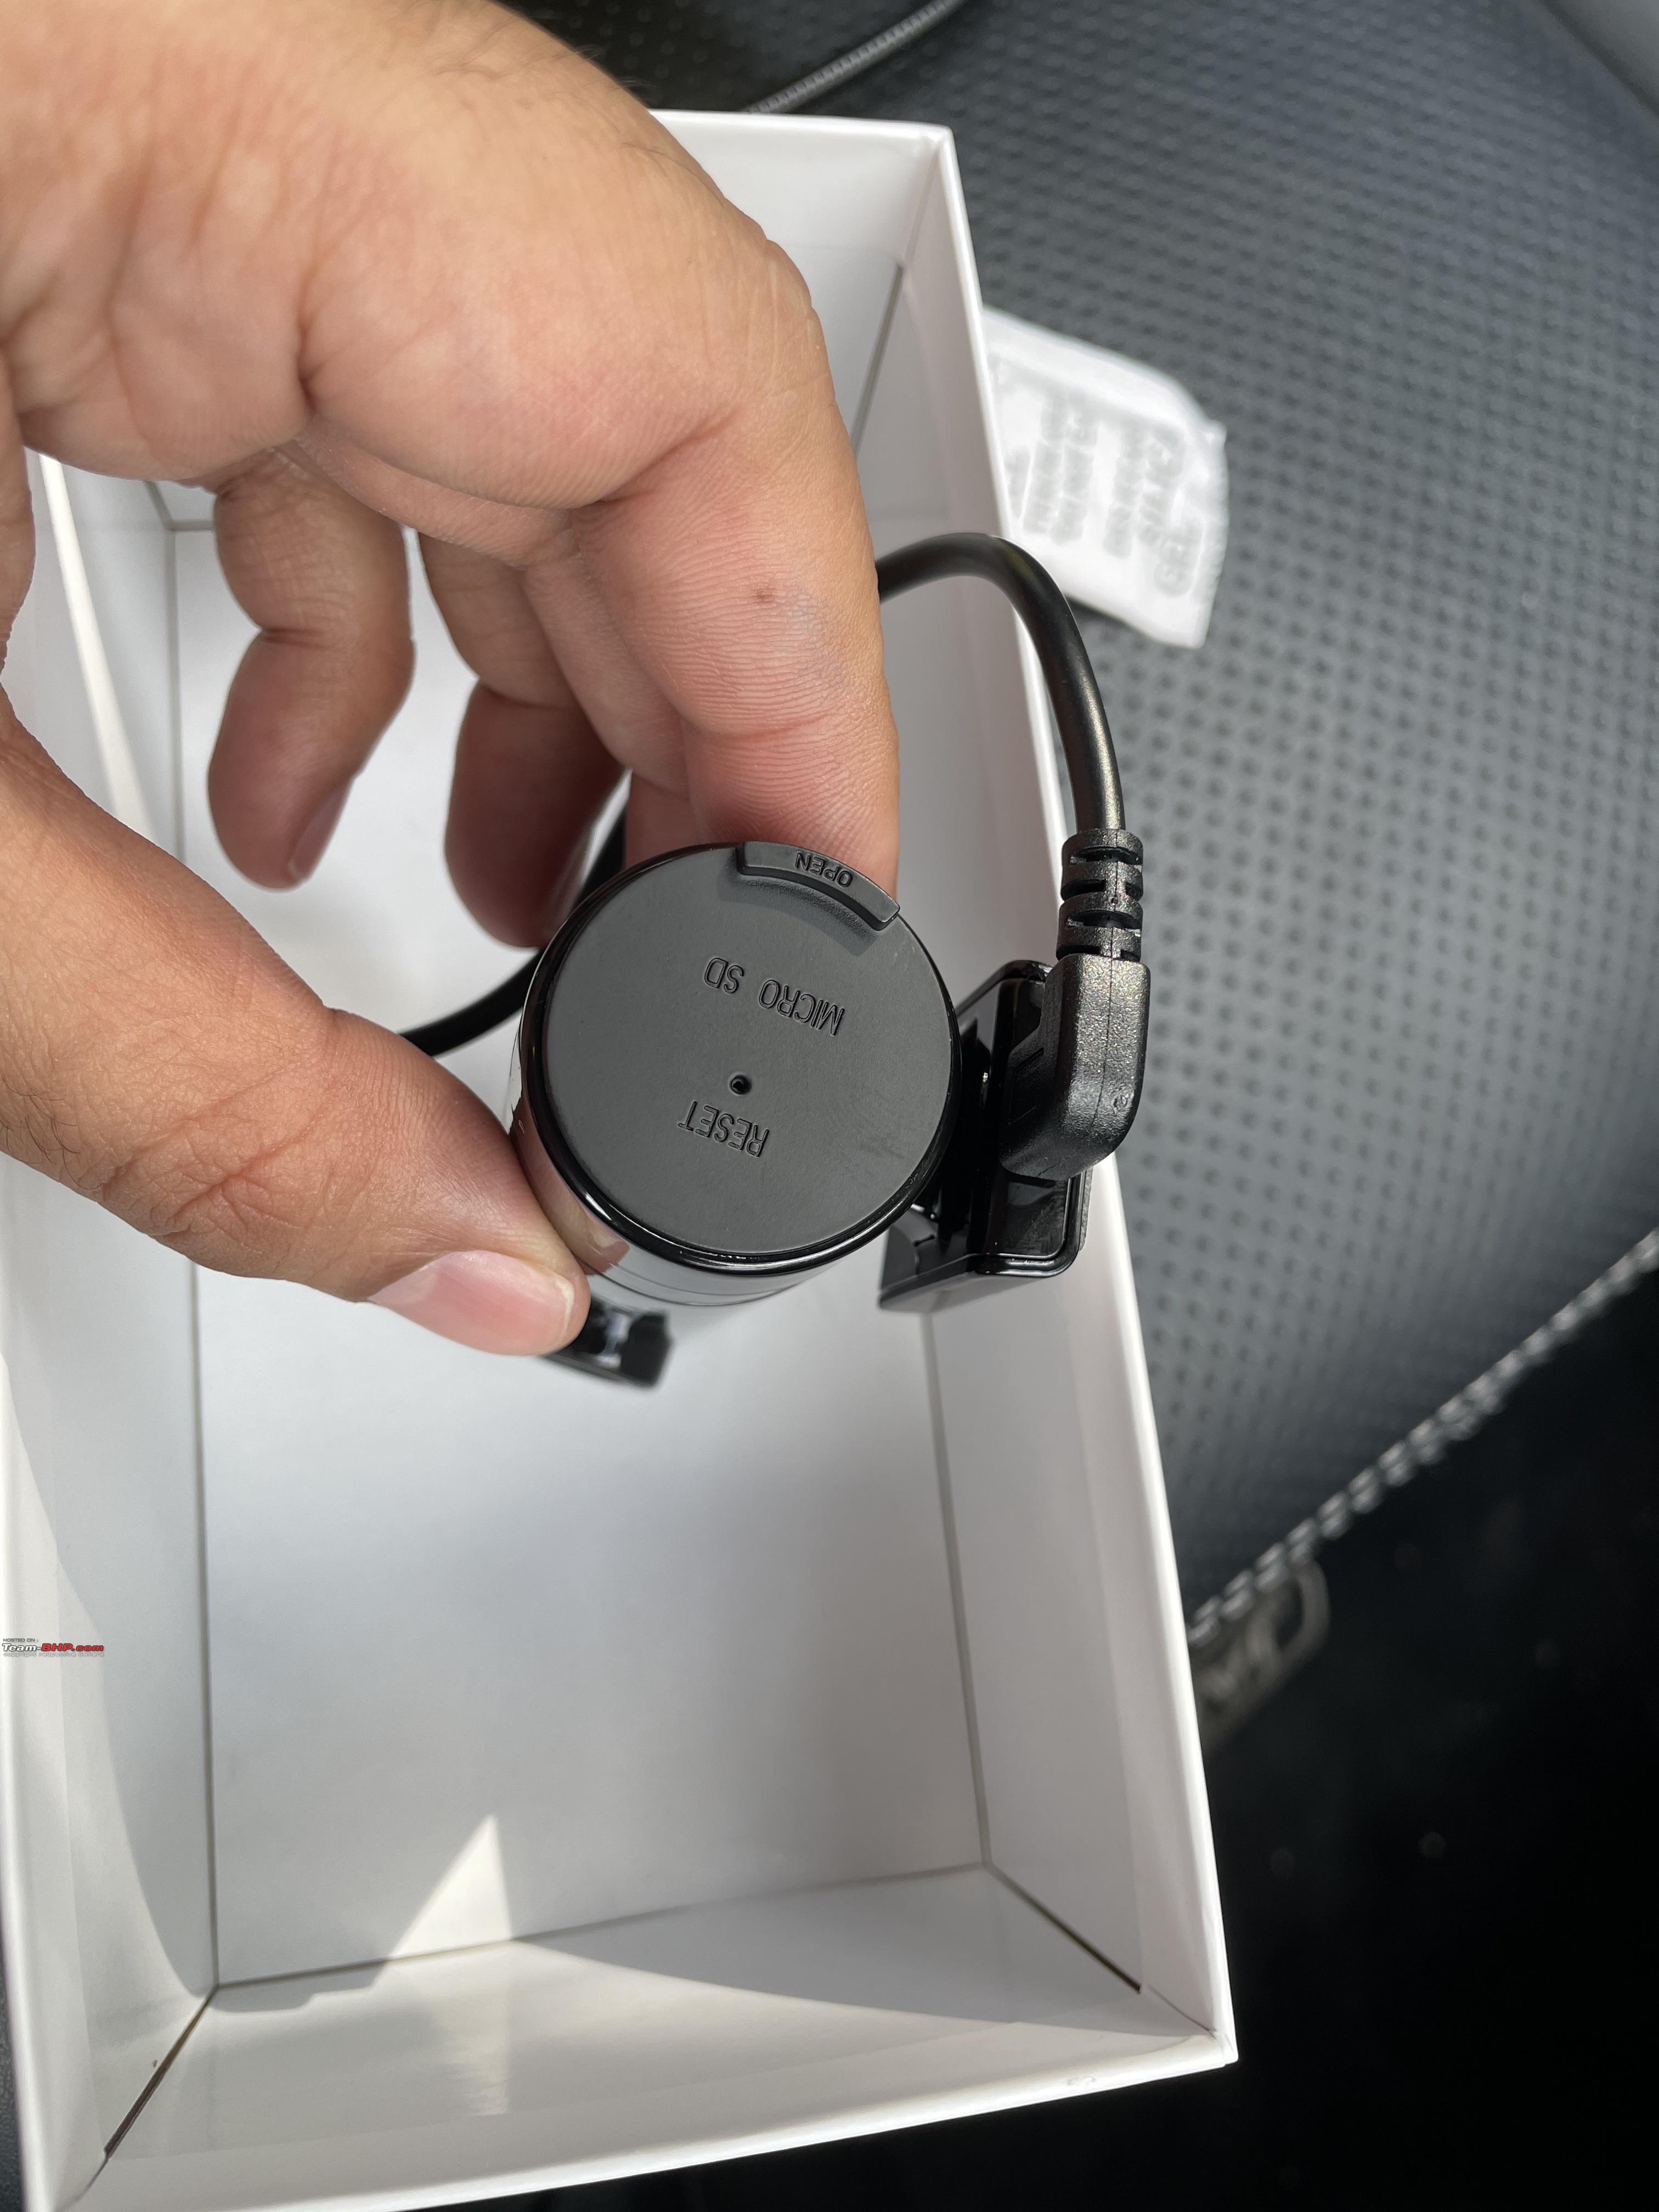
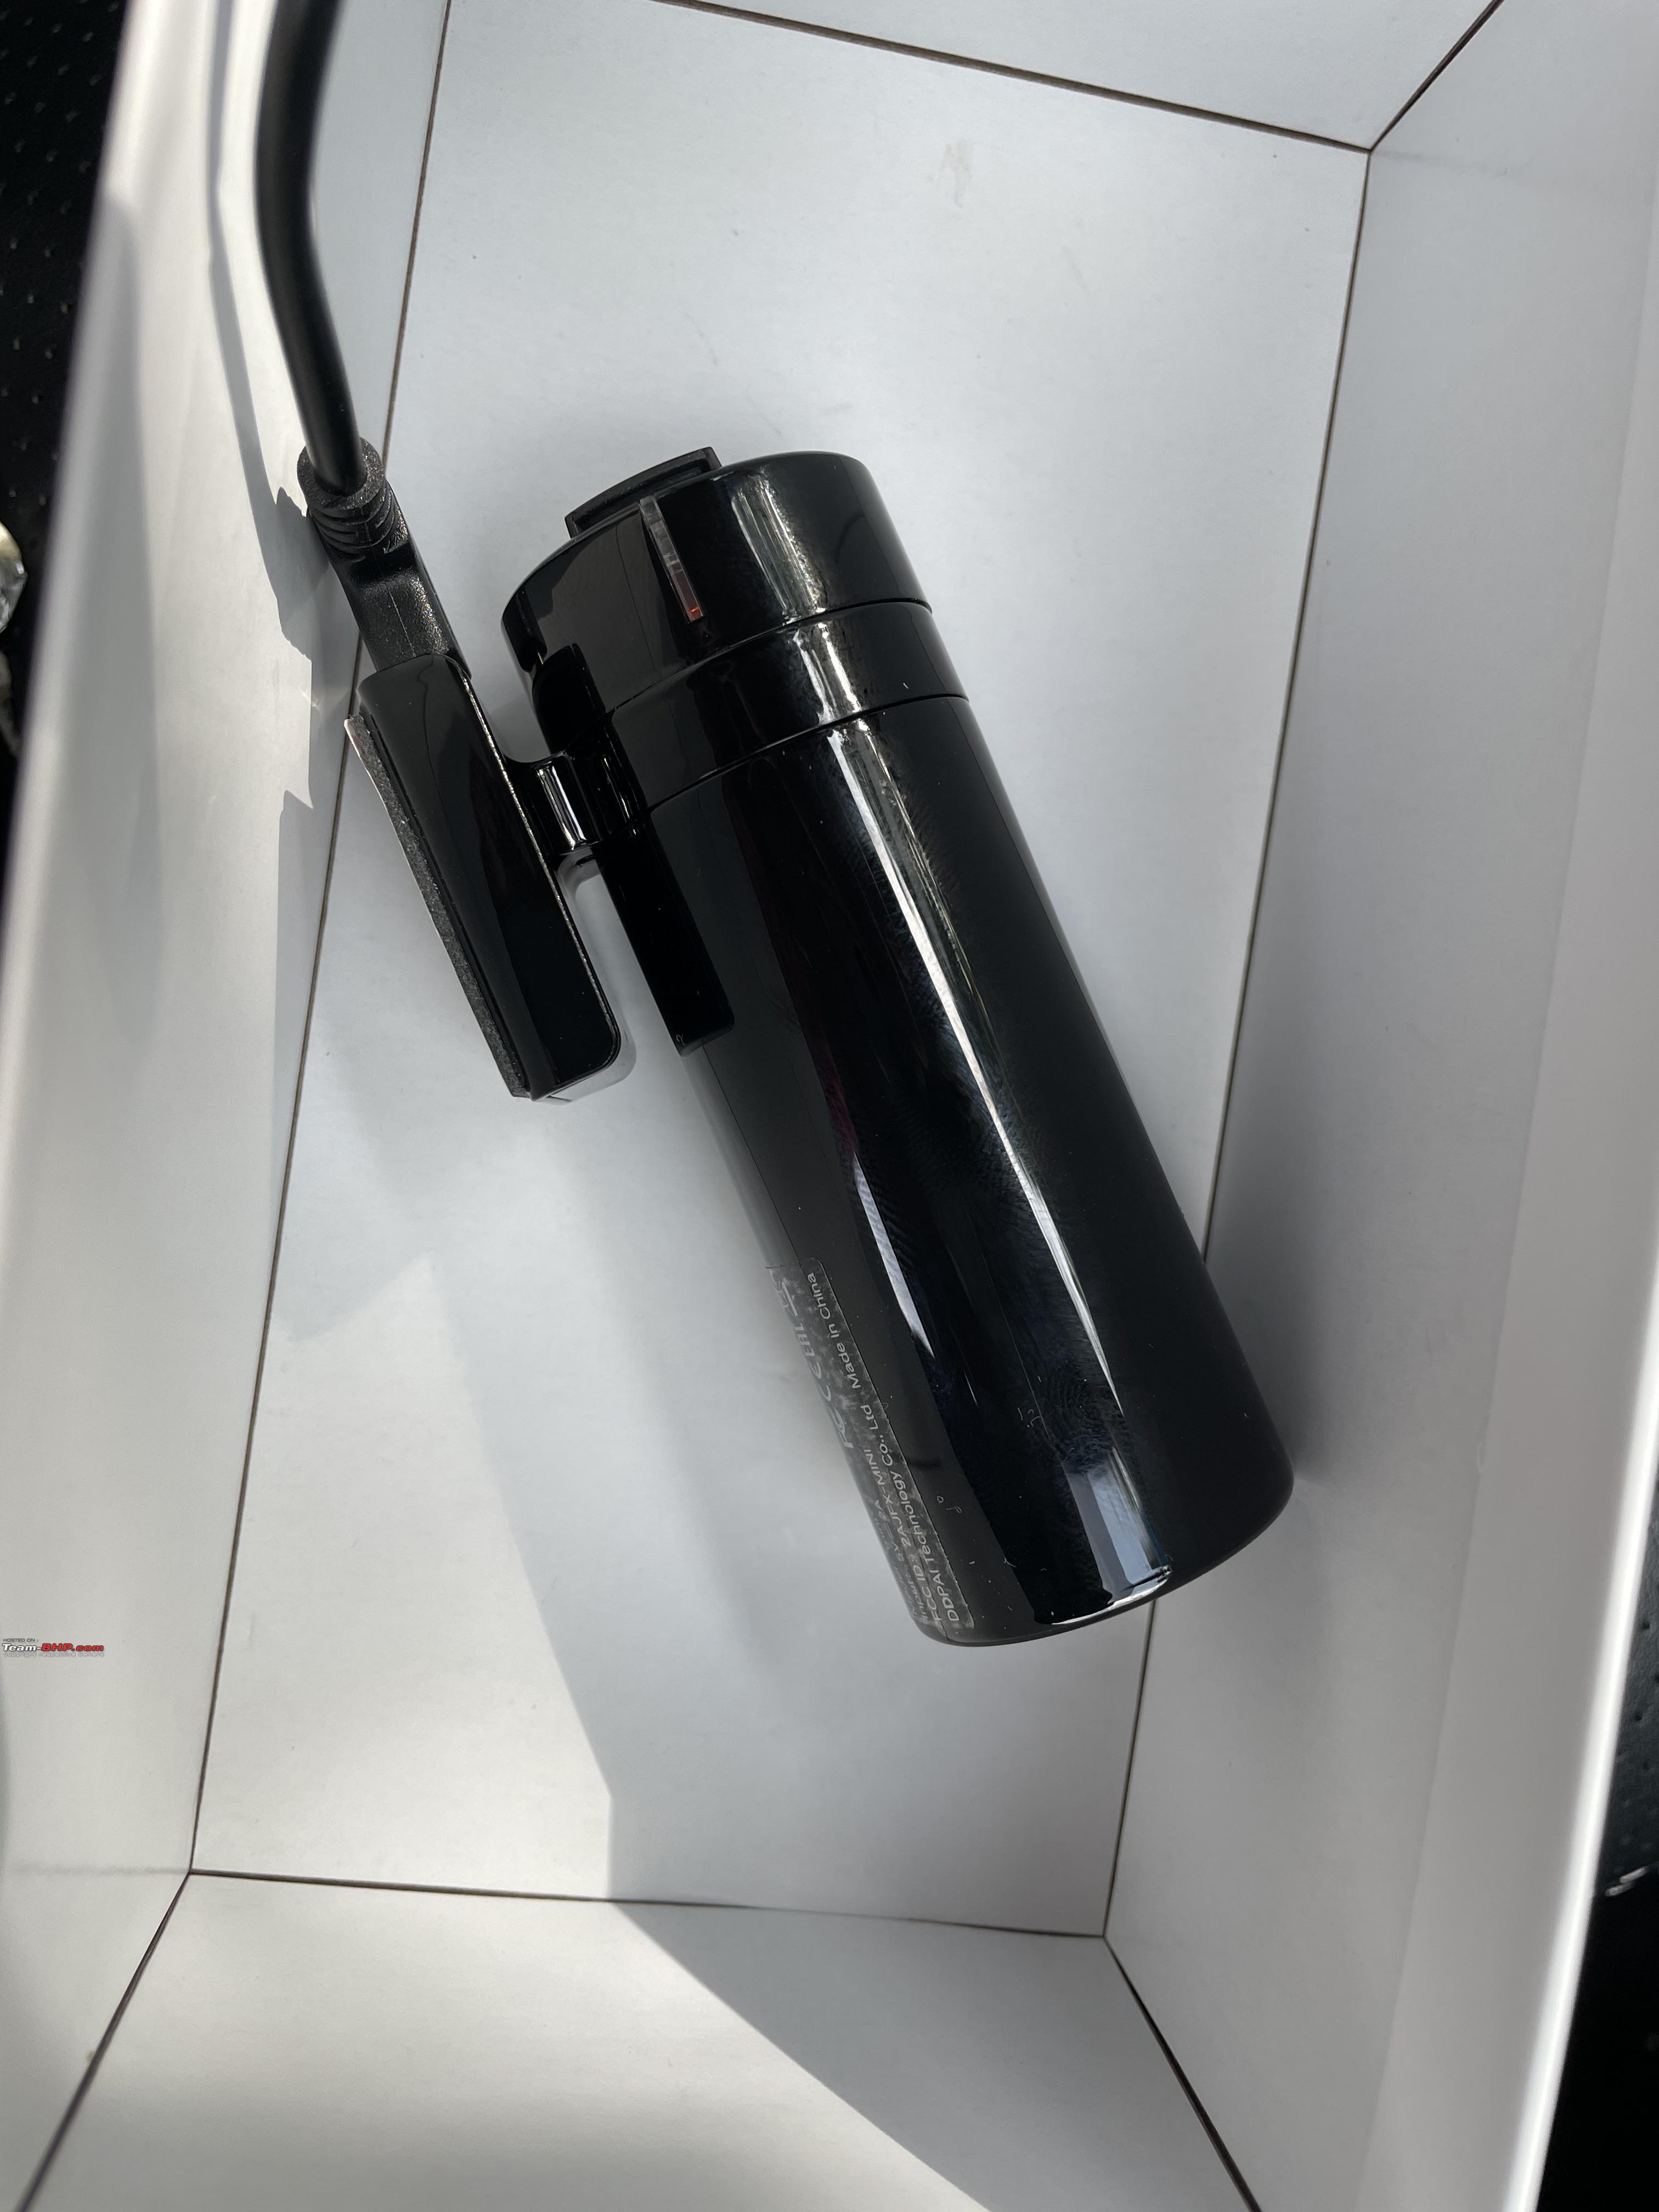
Right/ driver side consists of reset button and flap for the micro SD card
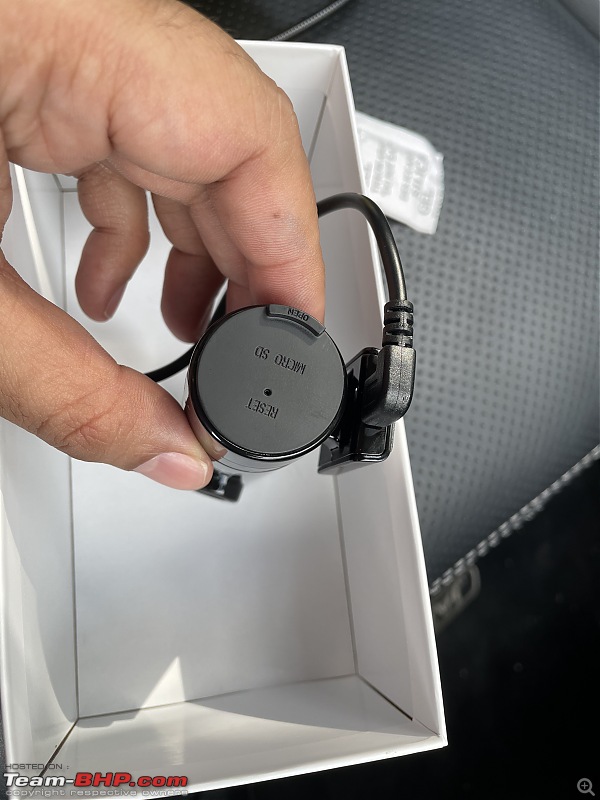
The flap cover hides the Micro SD card

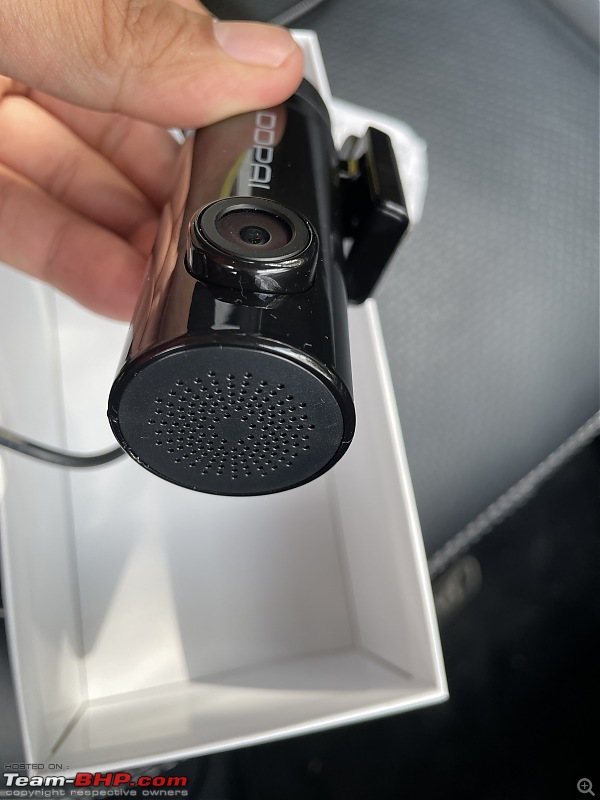
The left side consists of the speaker
The plier tool and dual usb charger

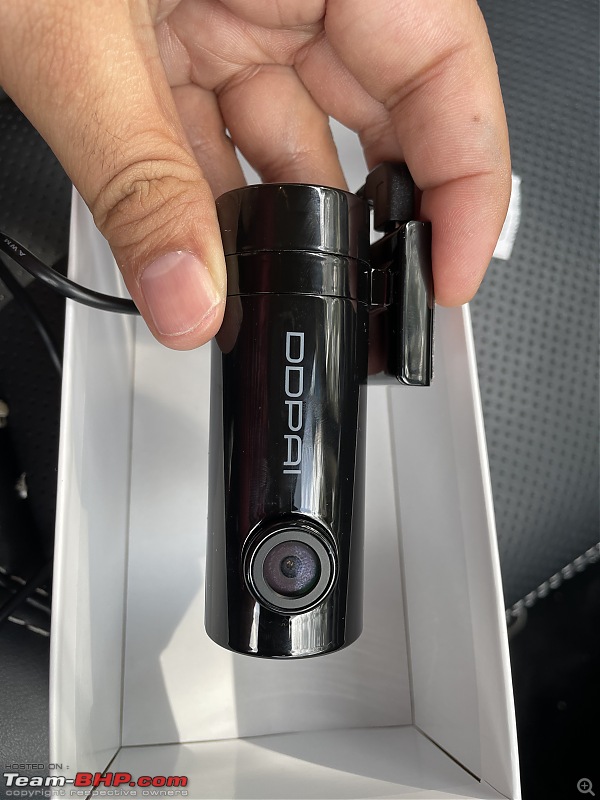
A small led on driver side indicates its powered on
 Connecting to the mobile
One needs to download the
DDPAI app from the App Store/ play store.
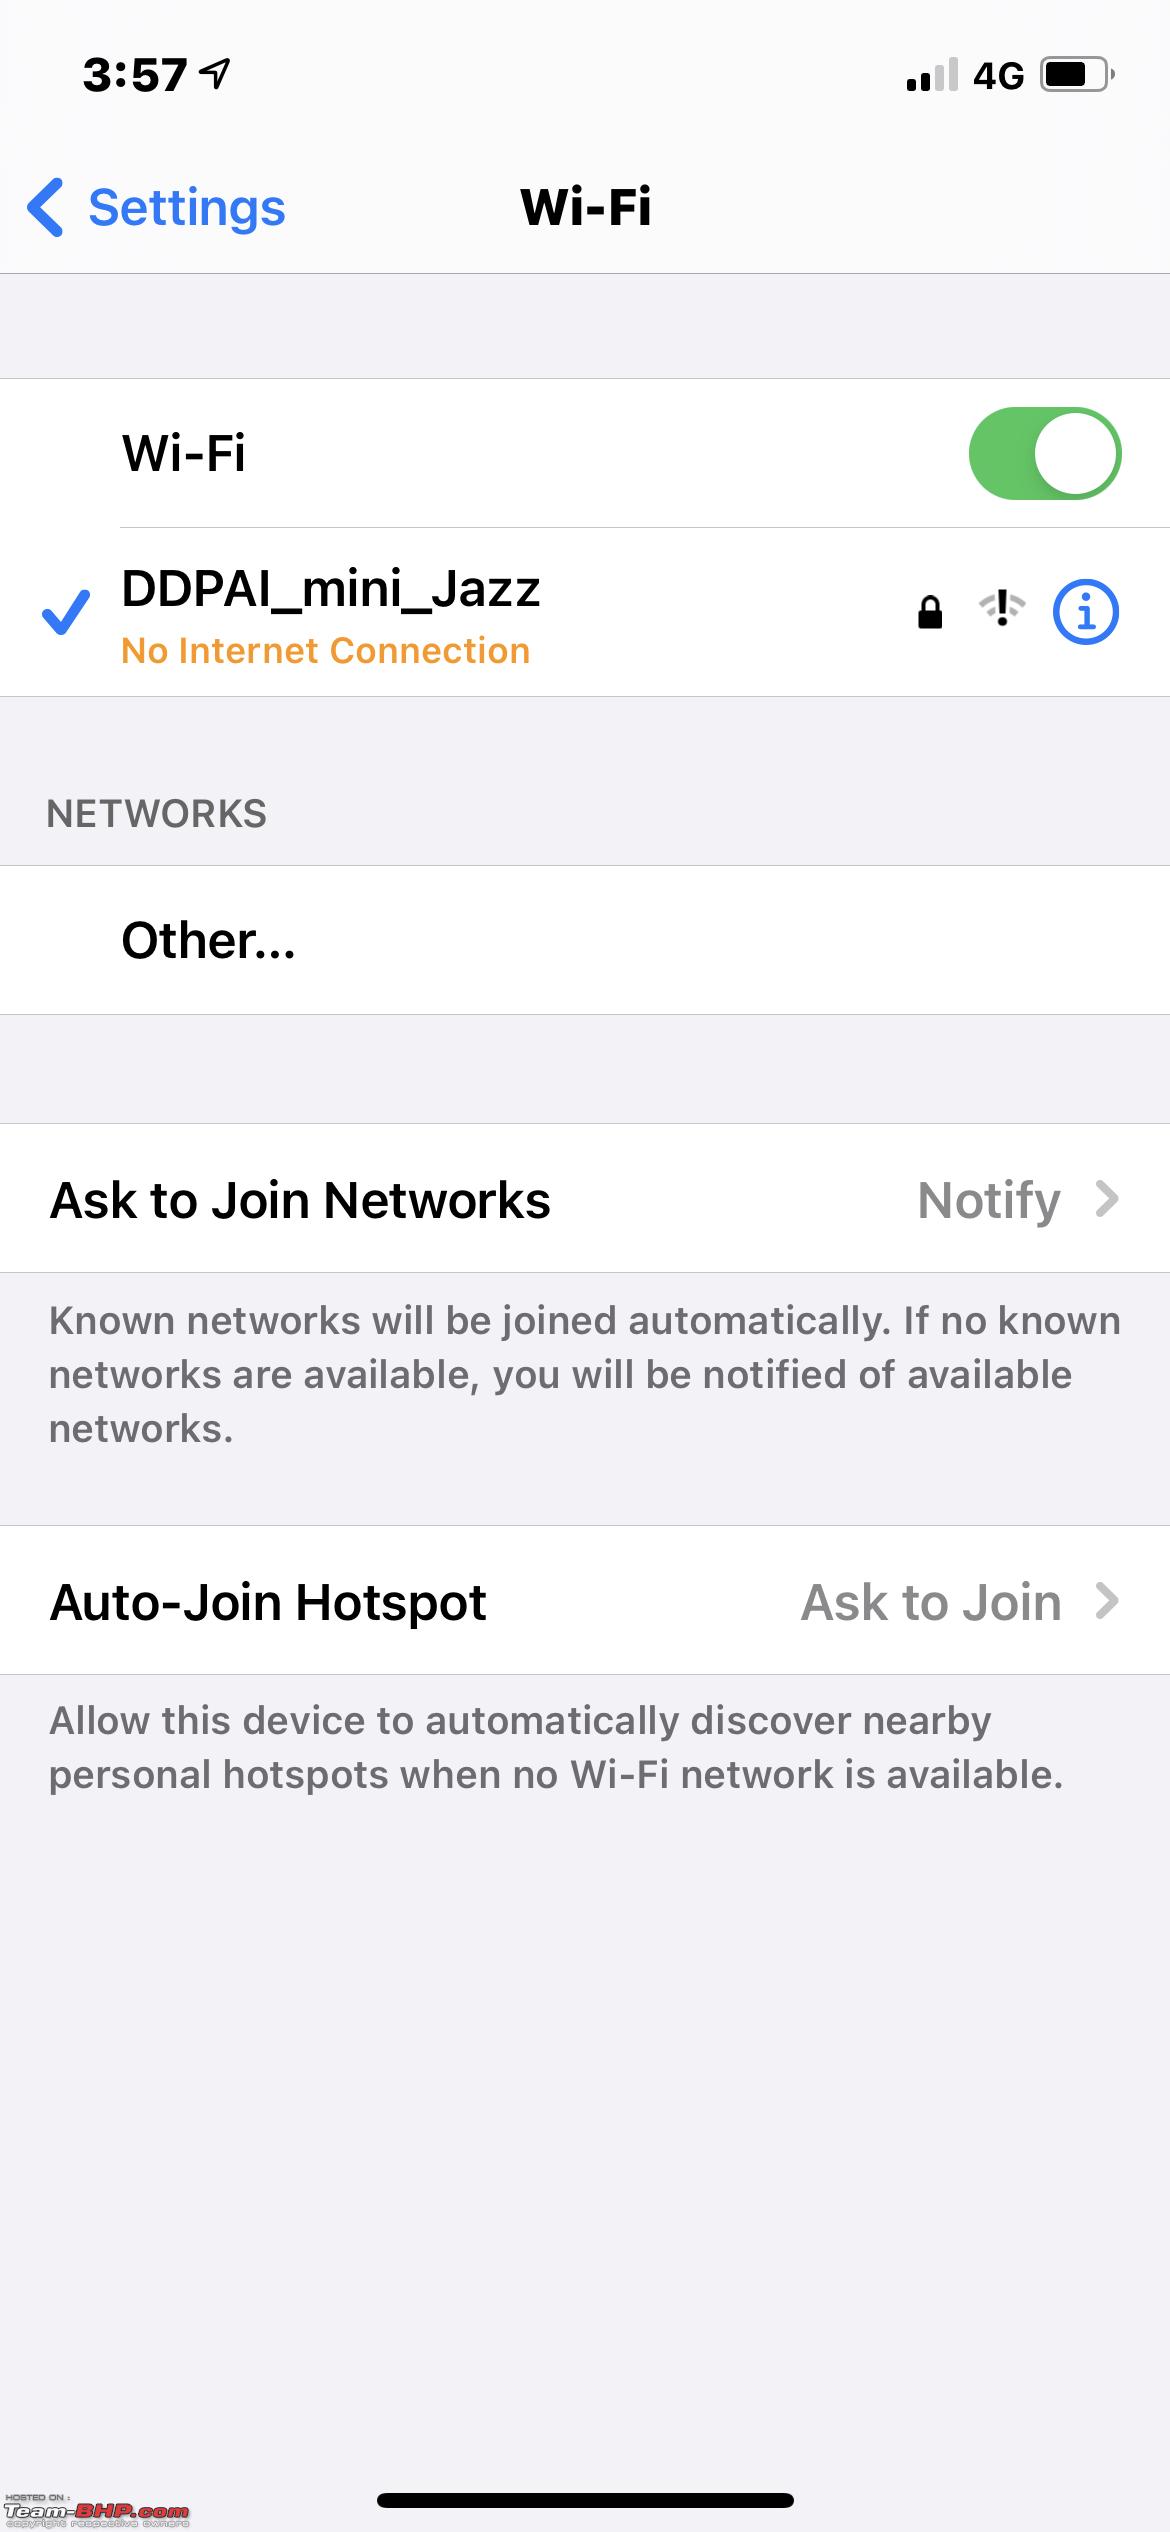
Power on the dash cam and connect your mobile to the Dashcam's wifi. (You may rename the wifi to your liking later.)
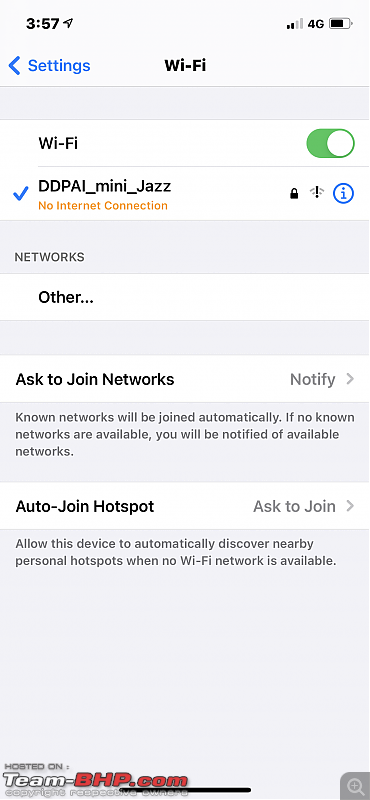
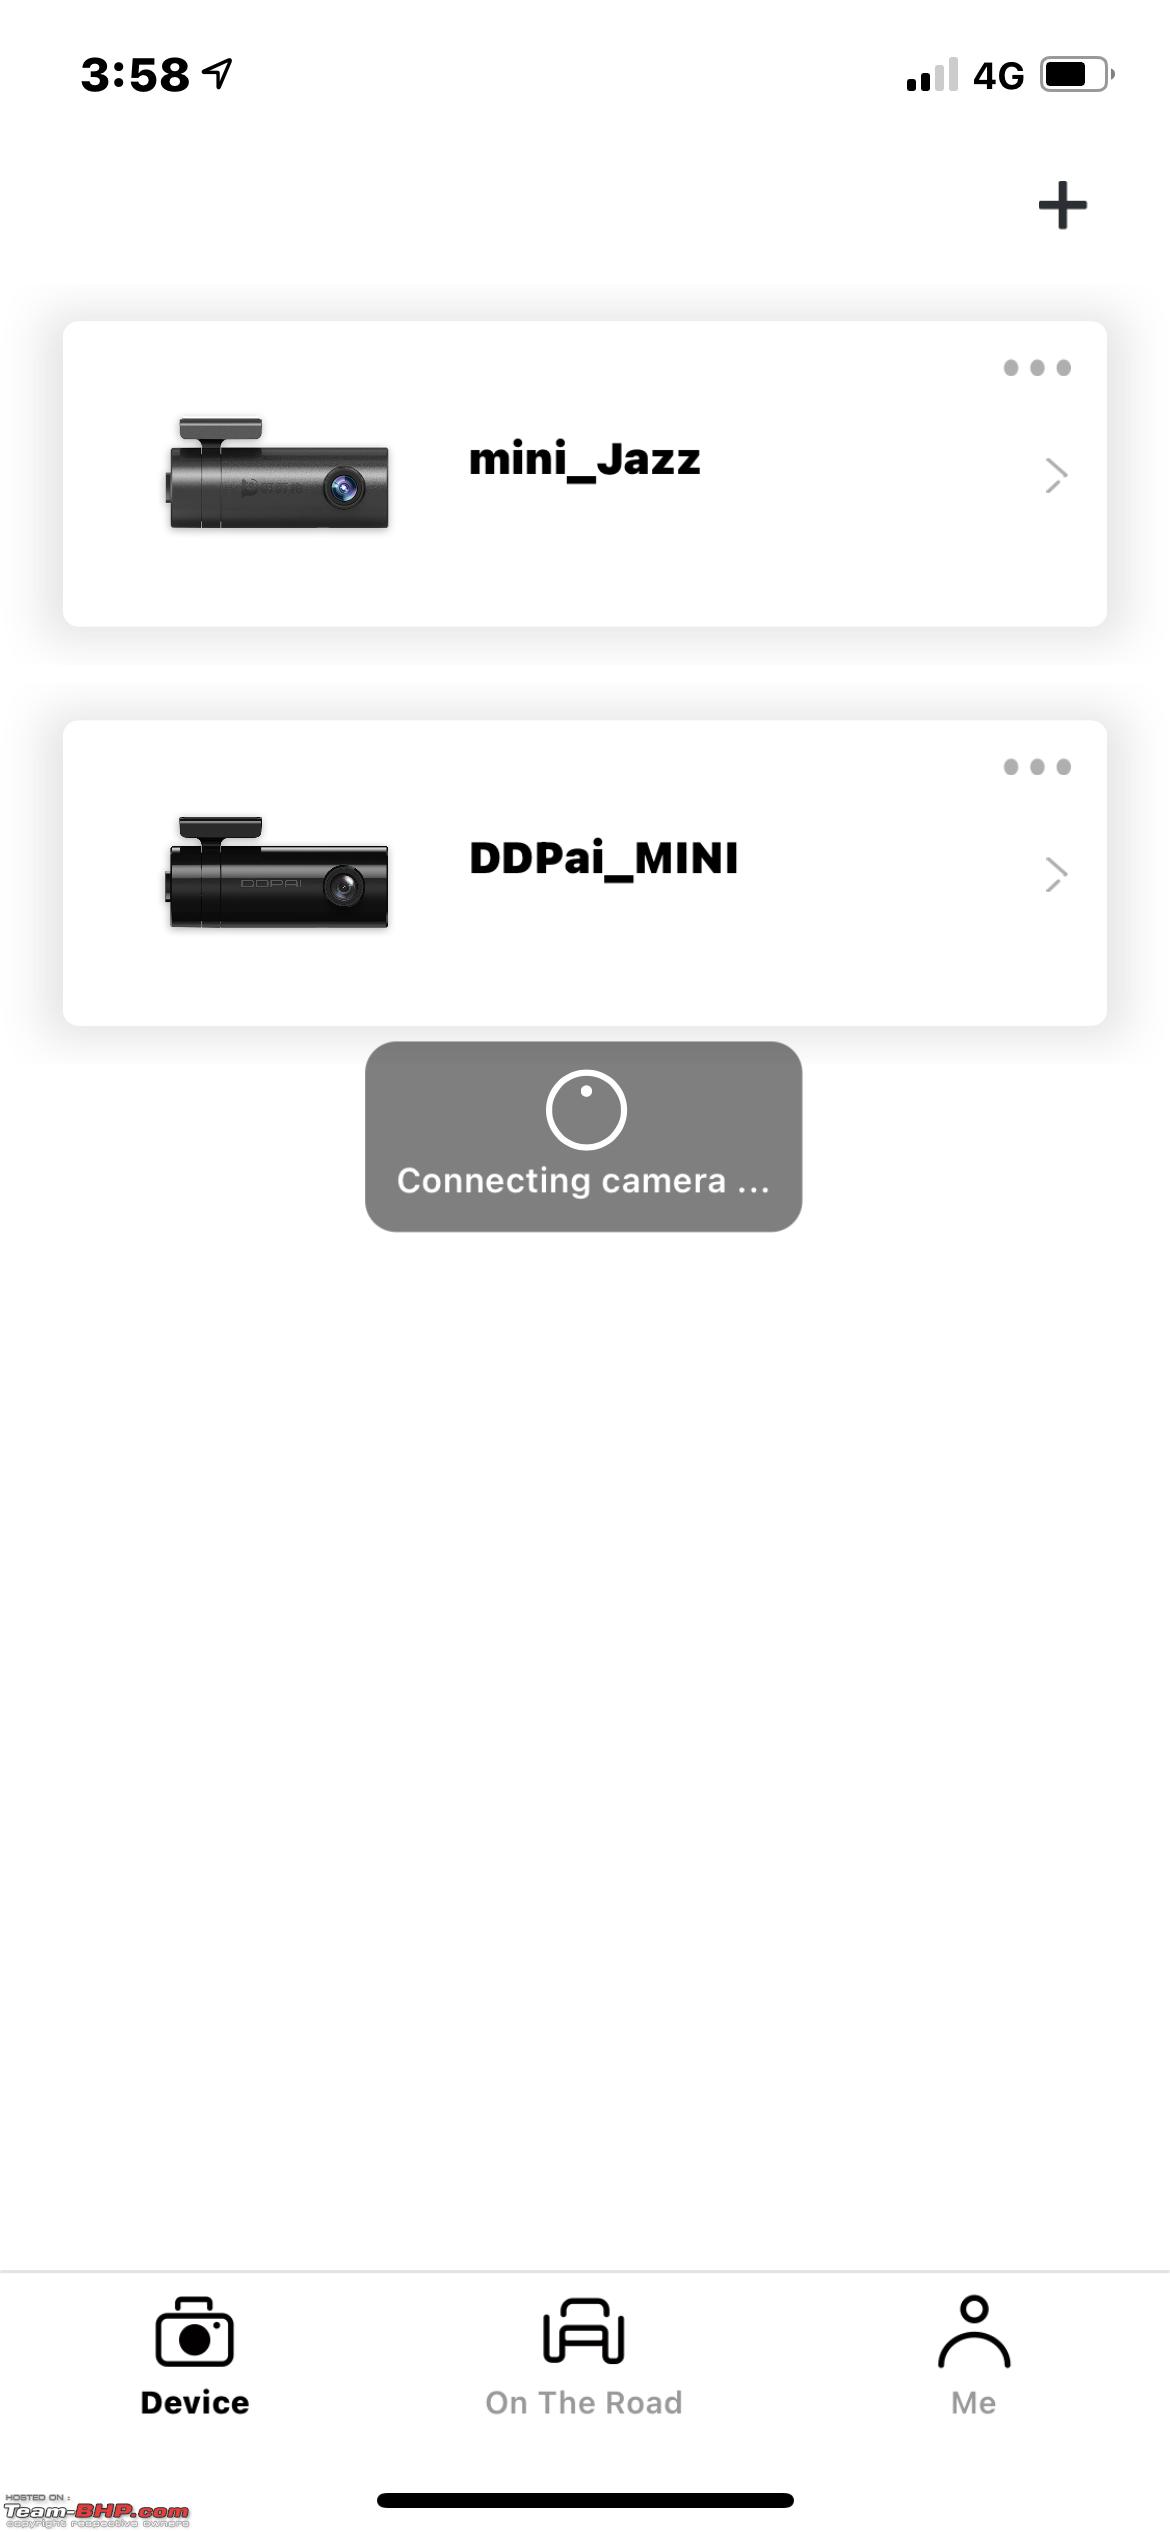
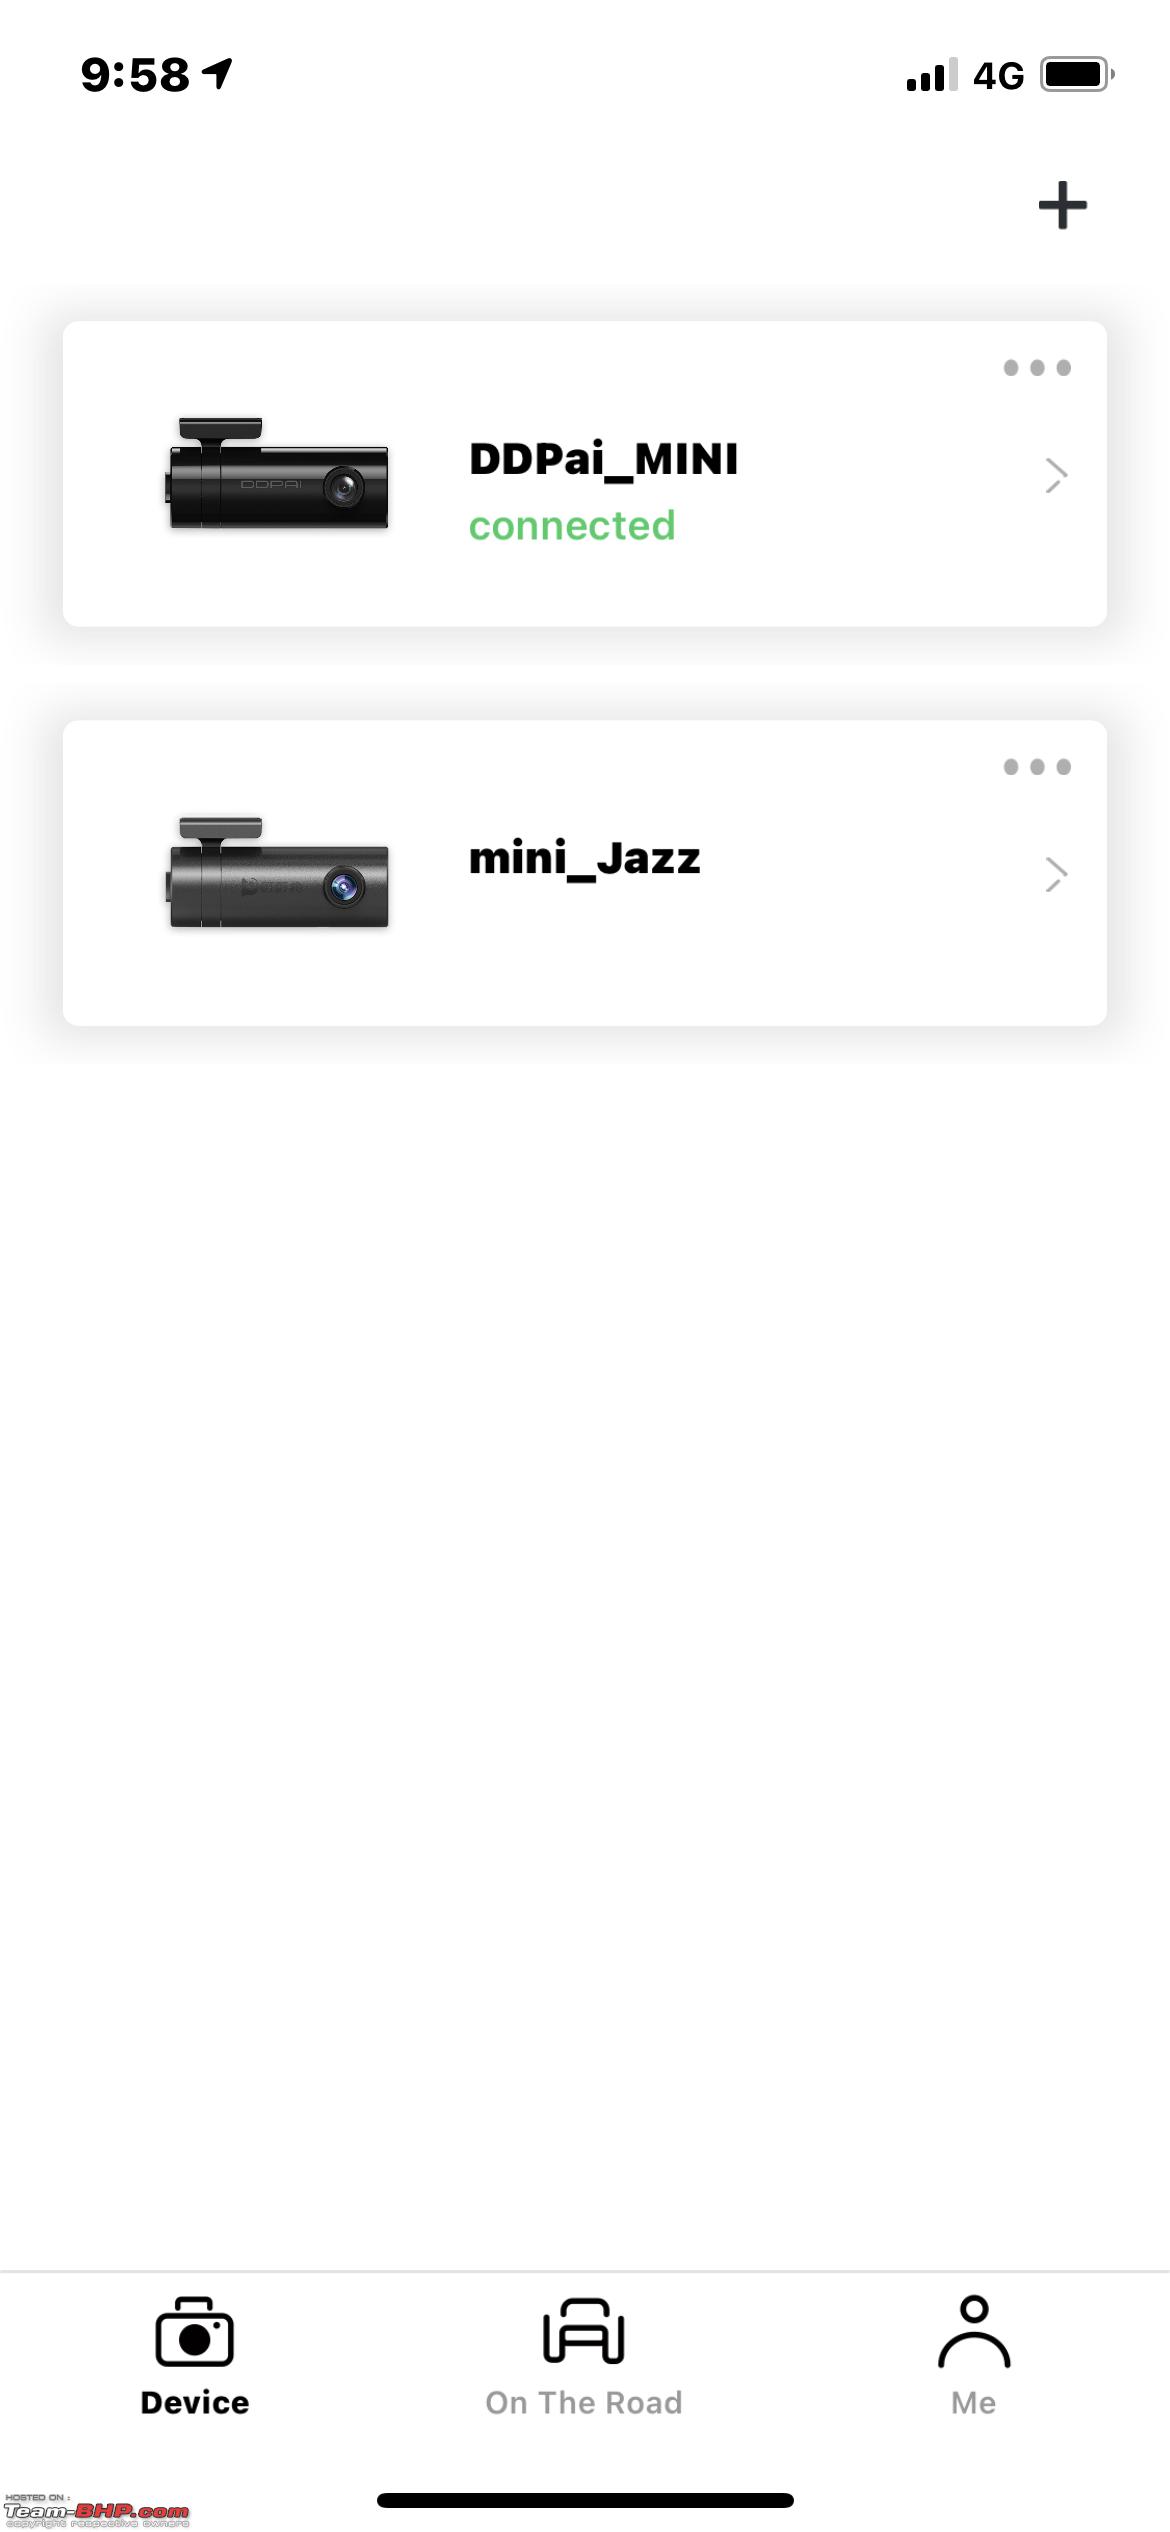
Once wifi is connected open up the DDPAI app, and select the camera (in case you have multiple dash cams)
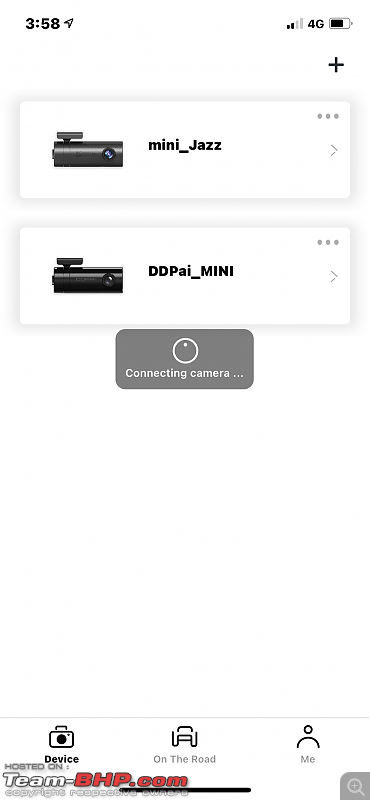

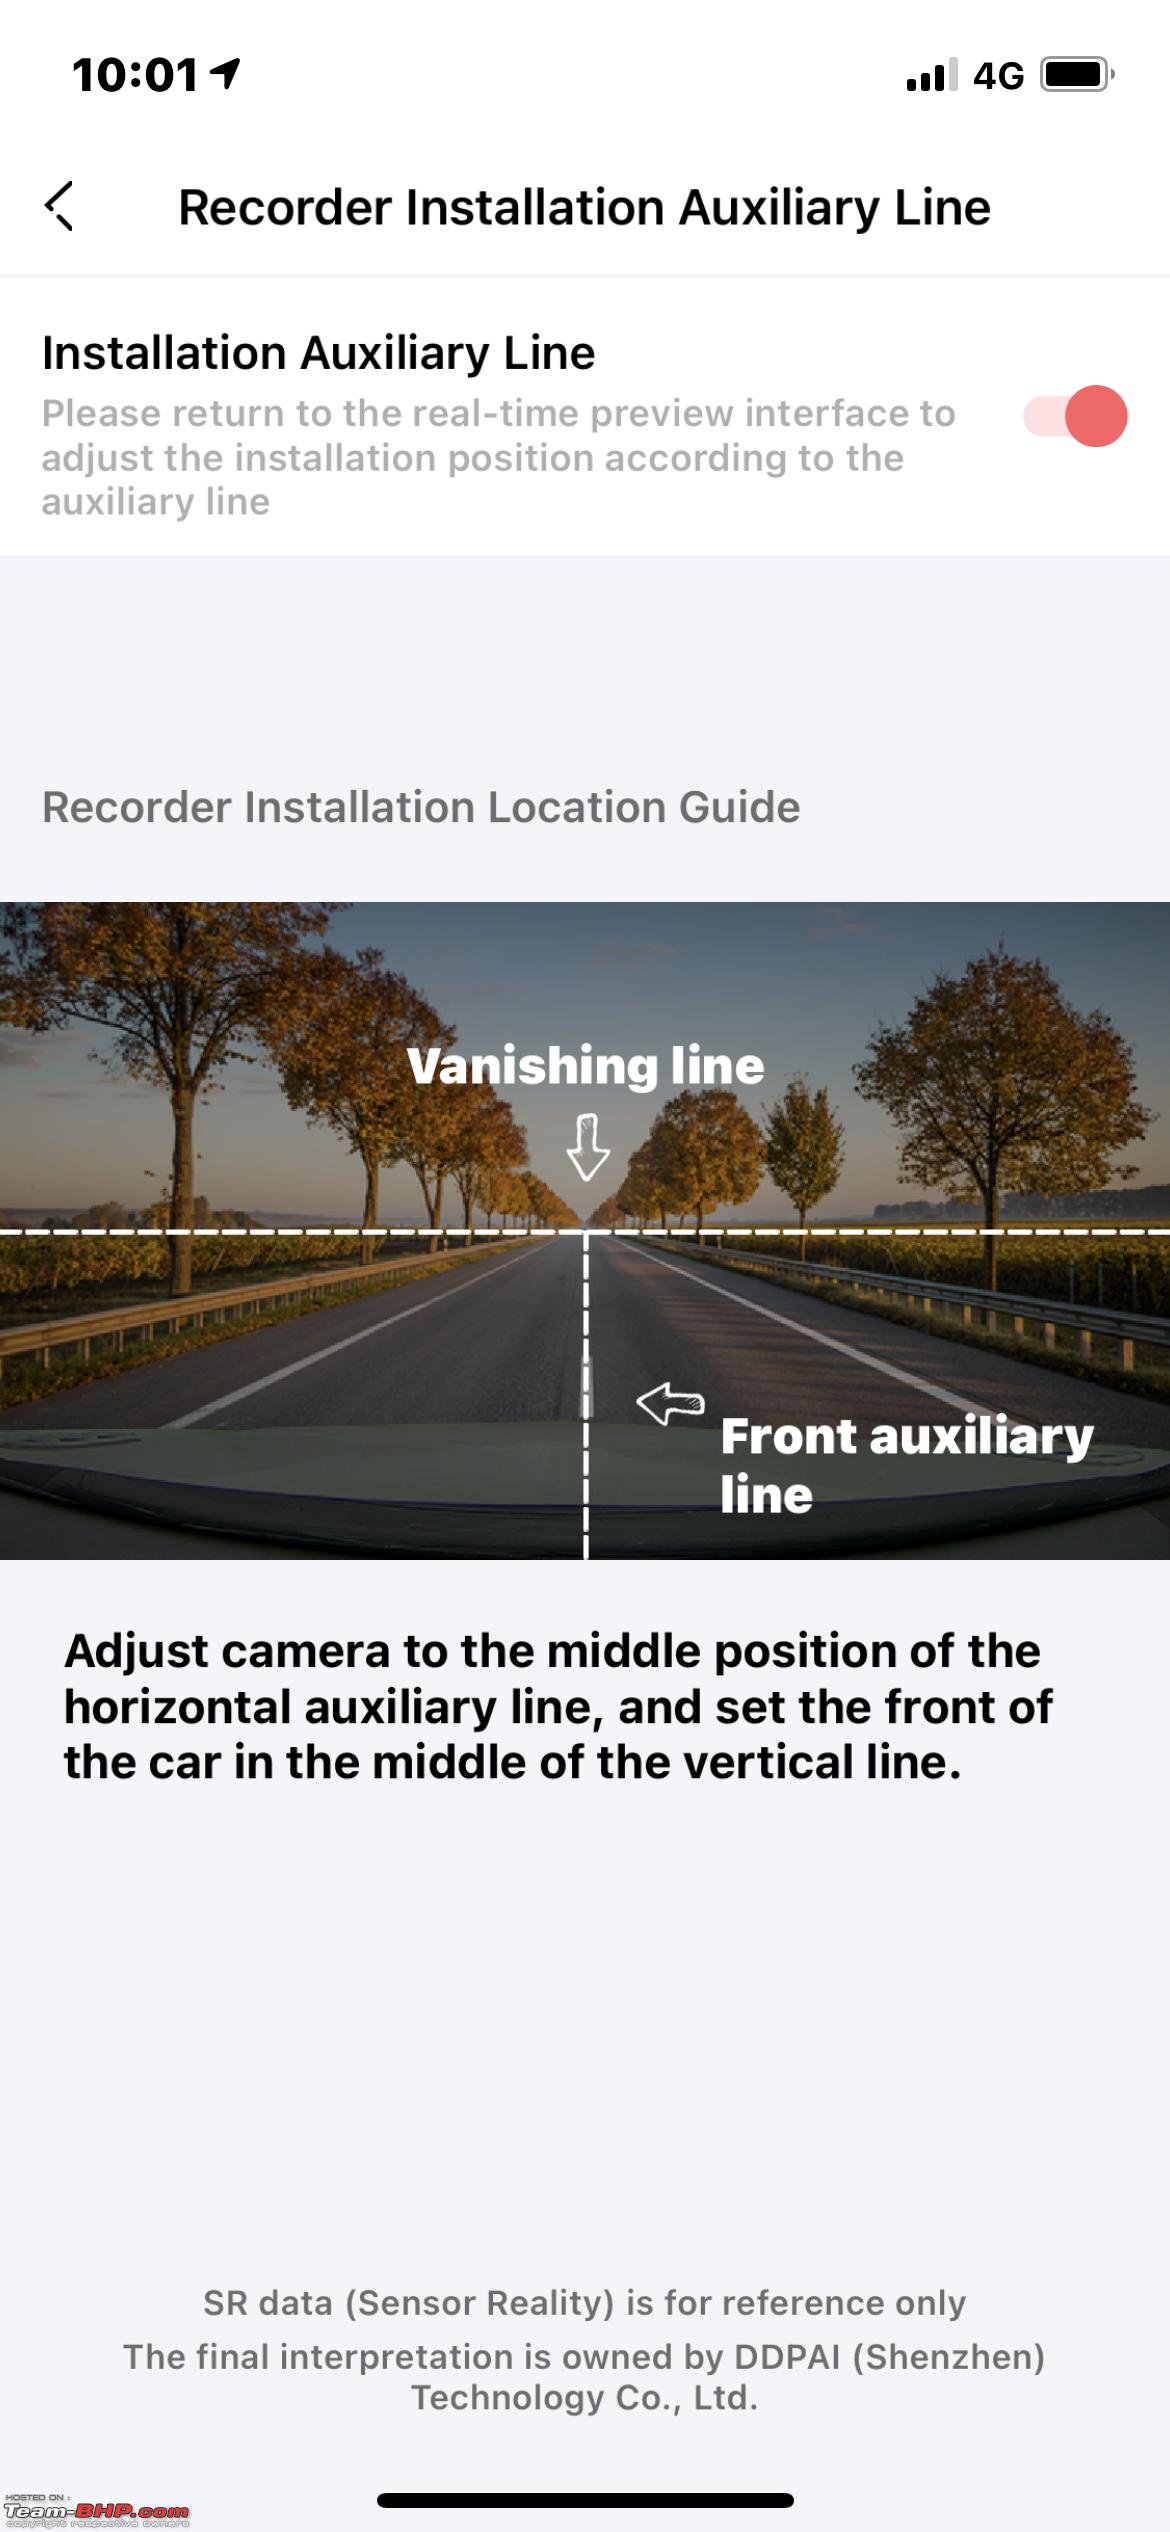
The app is pathetic and interface is slow. It may take upto a minute for it to show the live video. The interface has guidelines for easy installation and alignment of camera

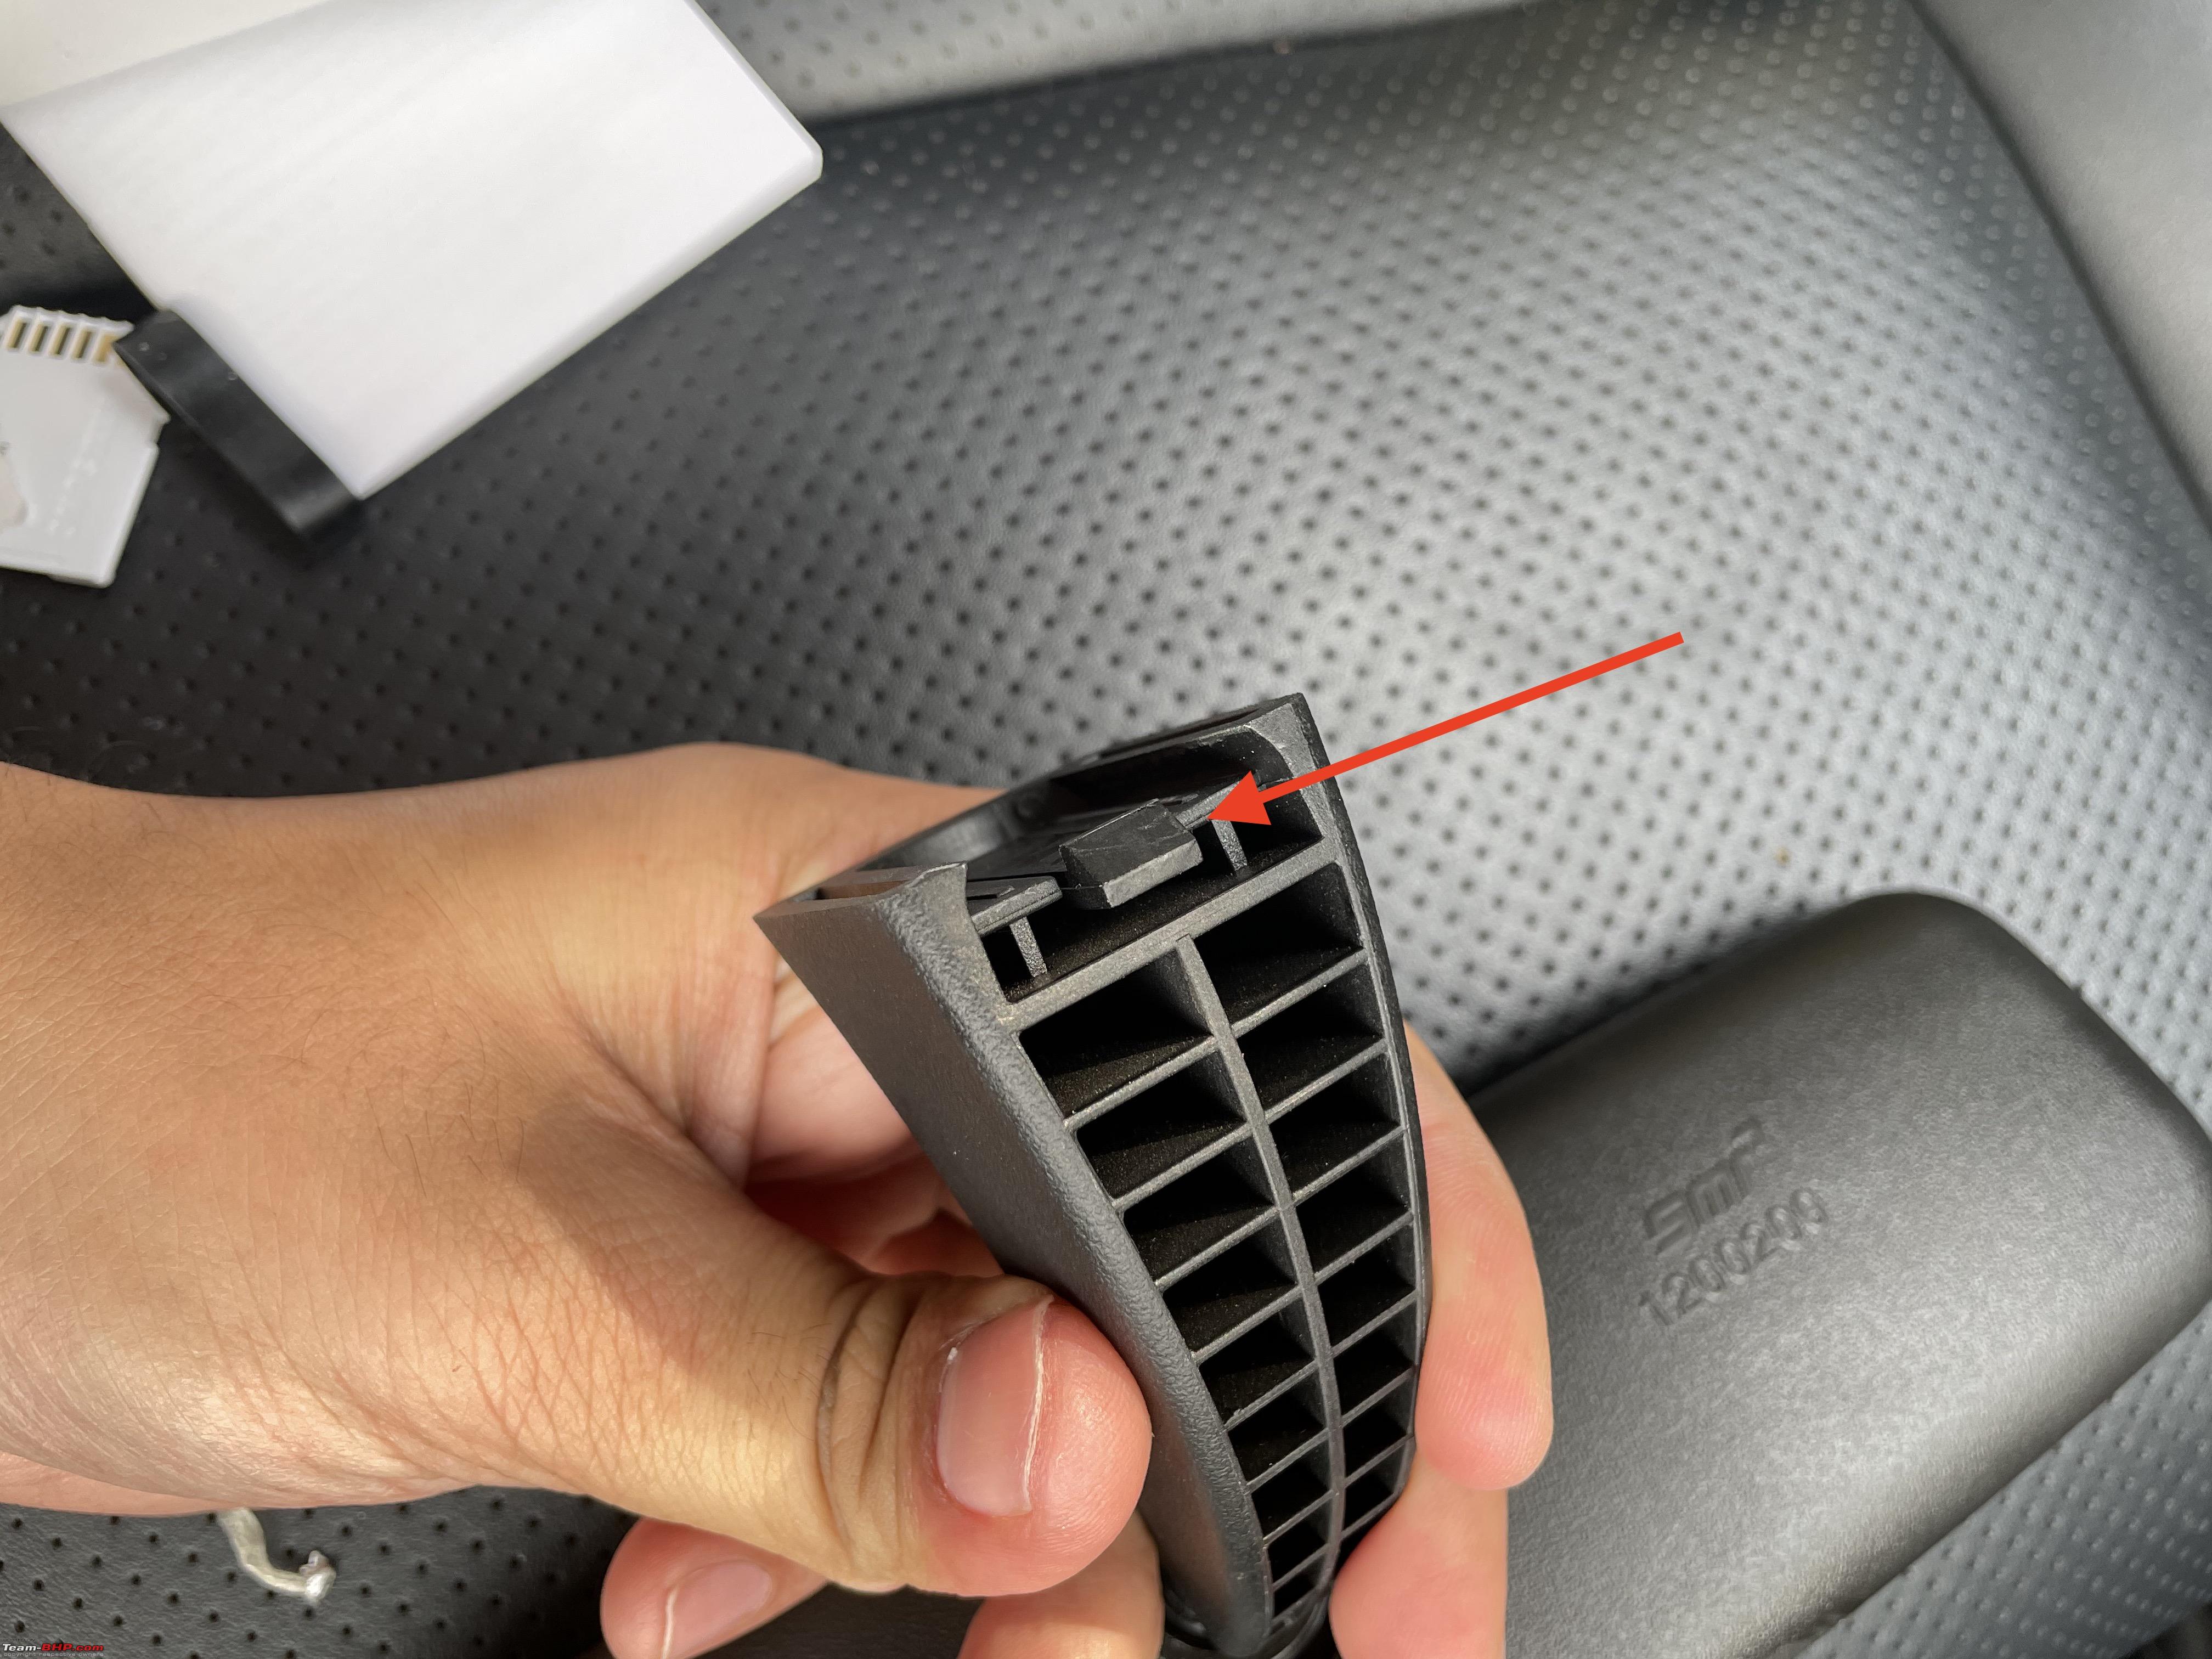
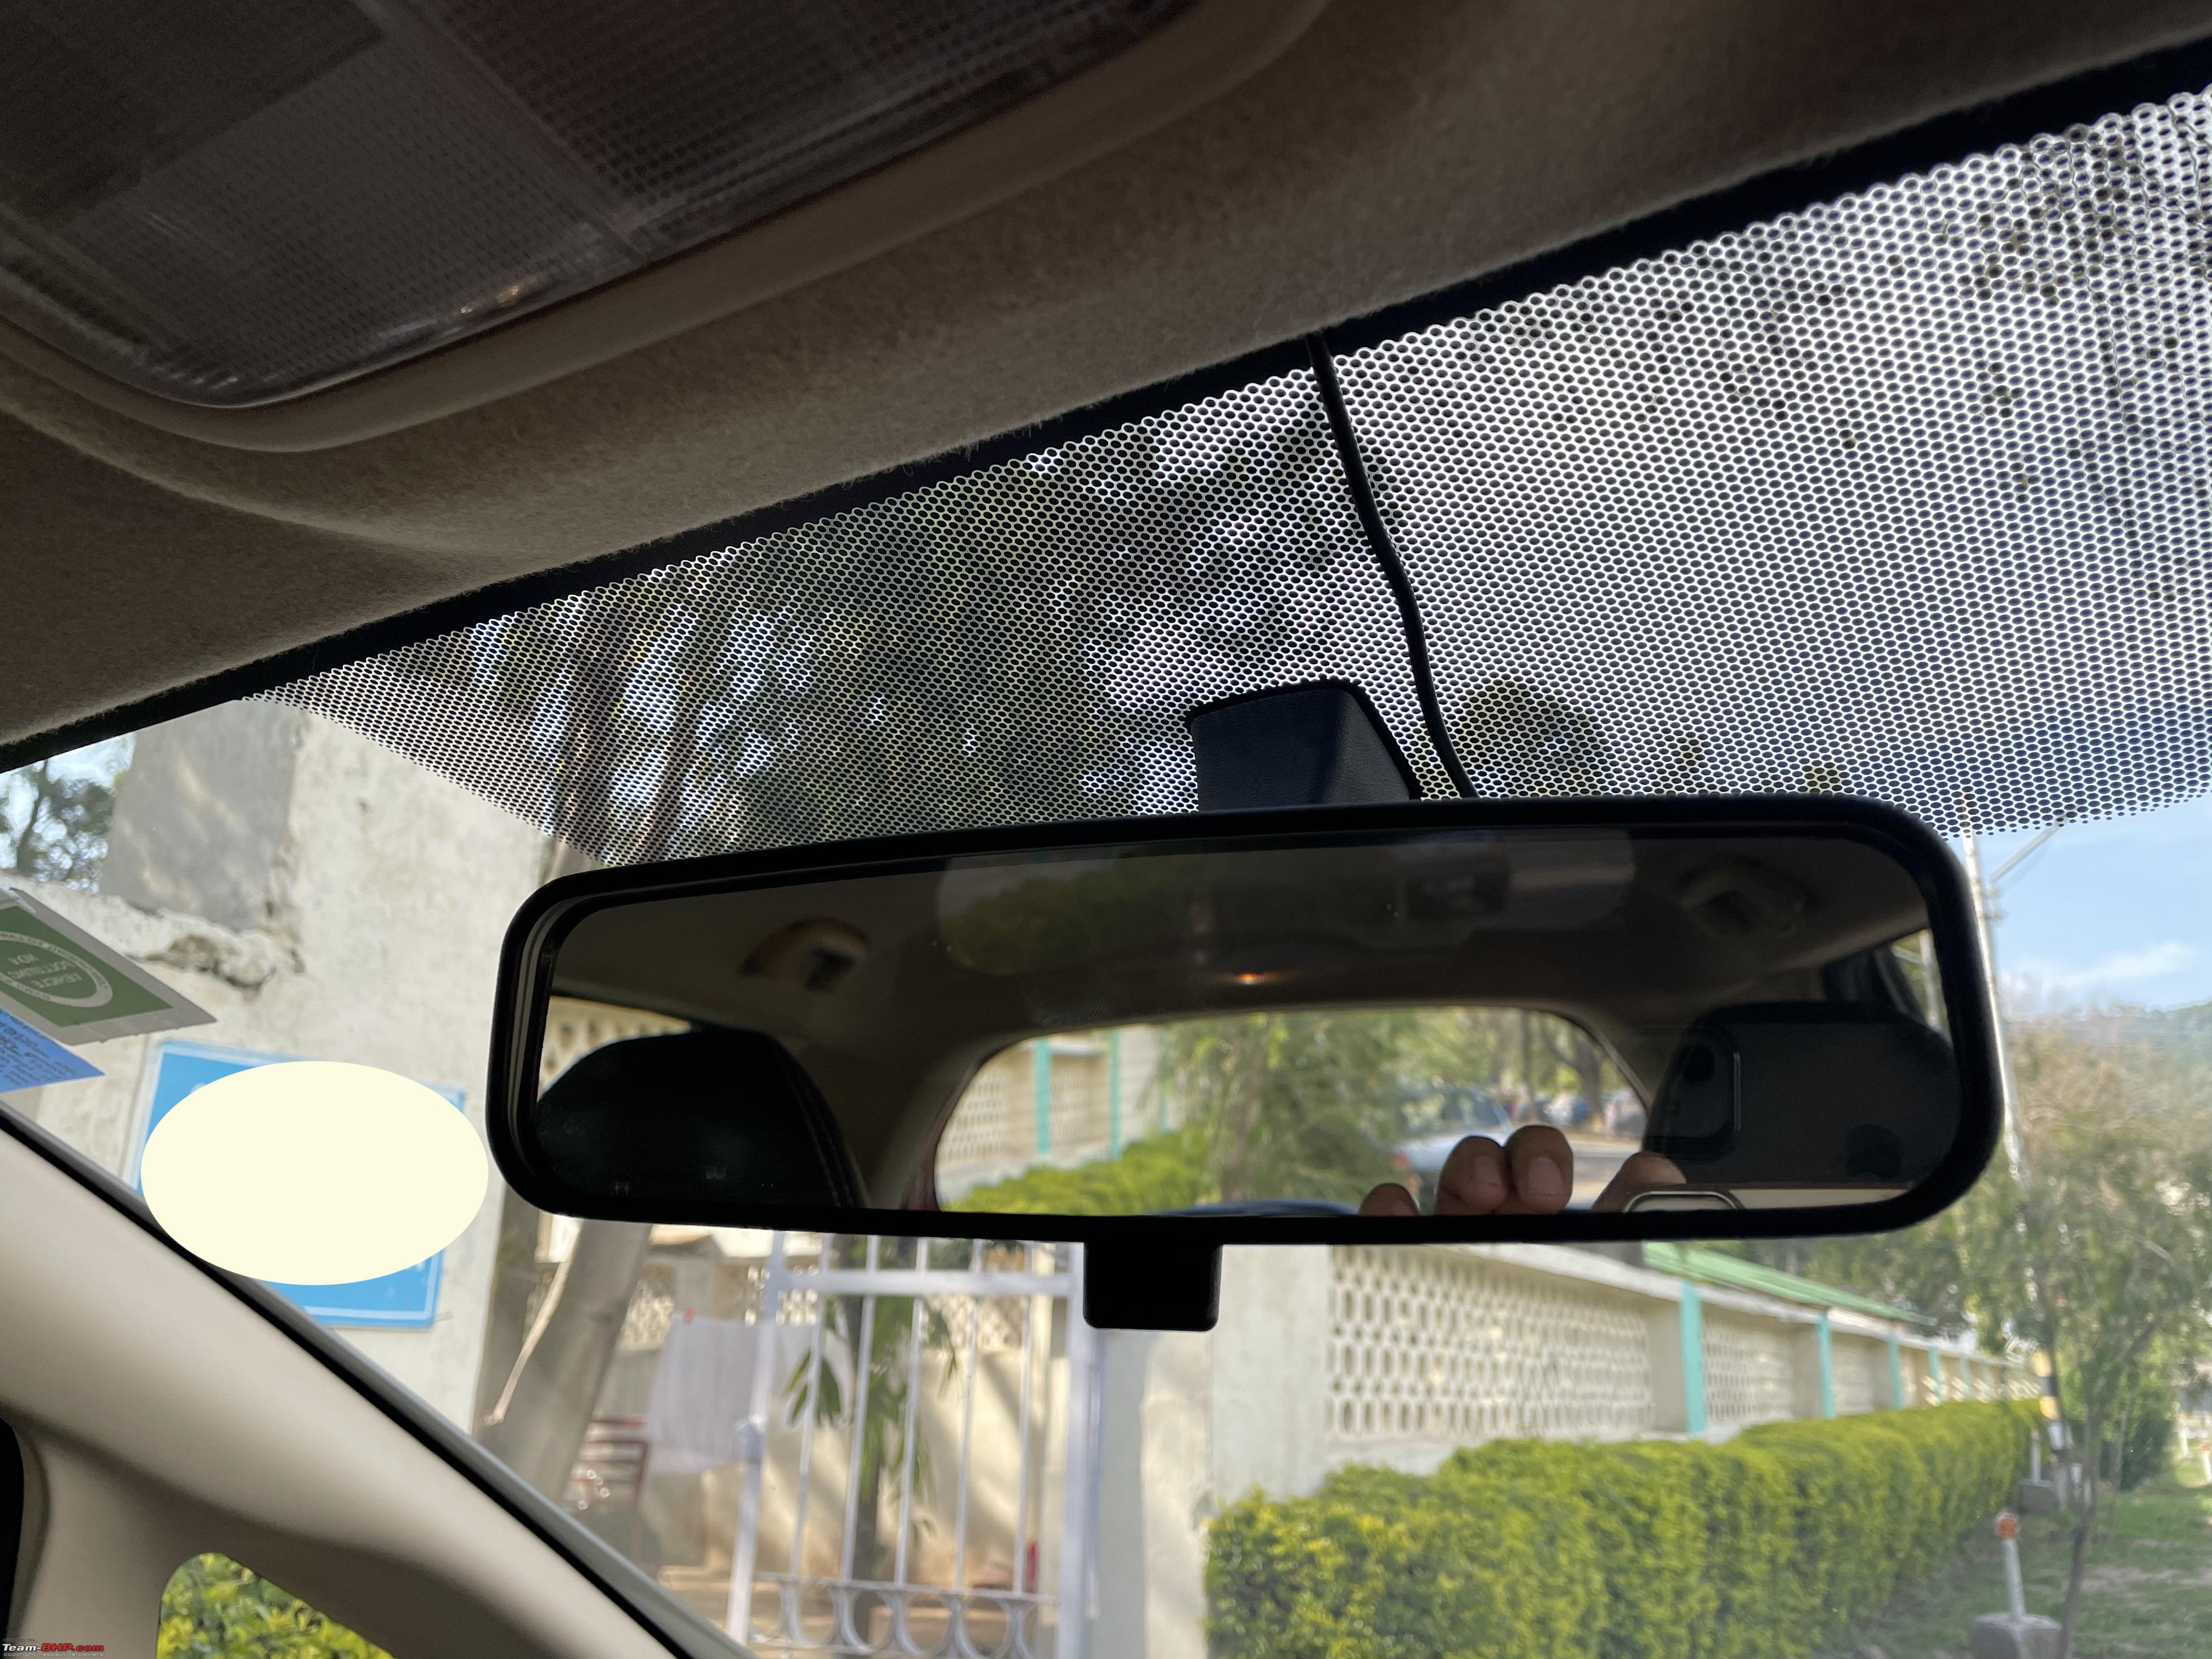
The next step is to remove the IRVM (This helps in placement of Dash cam right behind the mirror)

There is a clip on the IRVM bracket, which needs to be pressed and the whole thing slides out

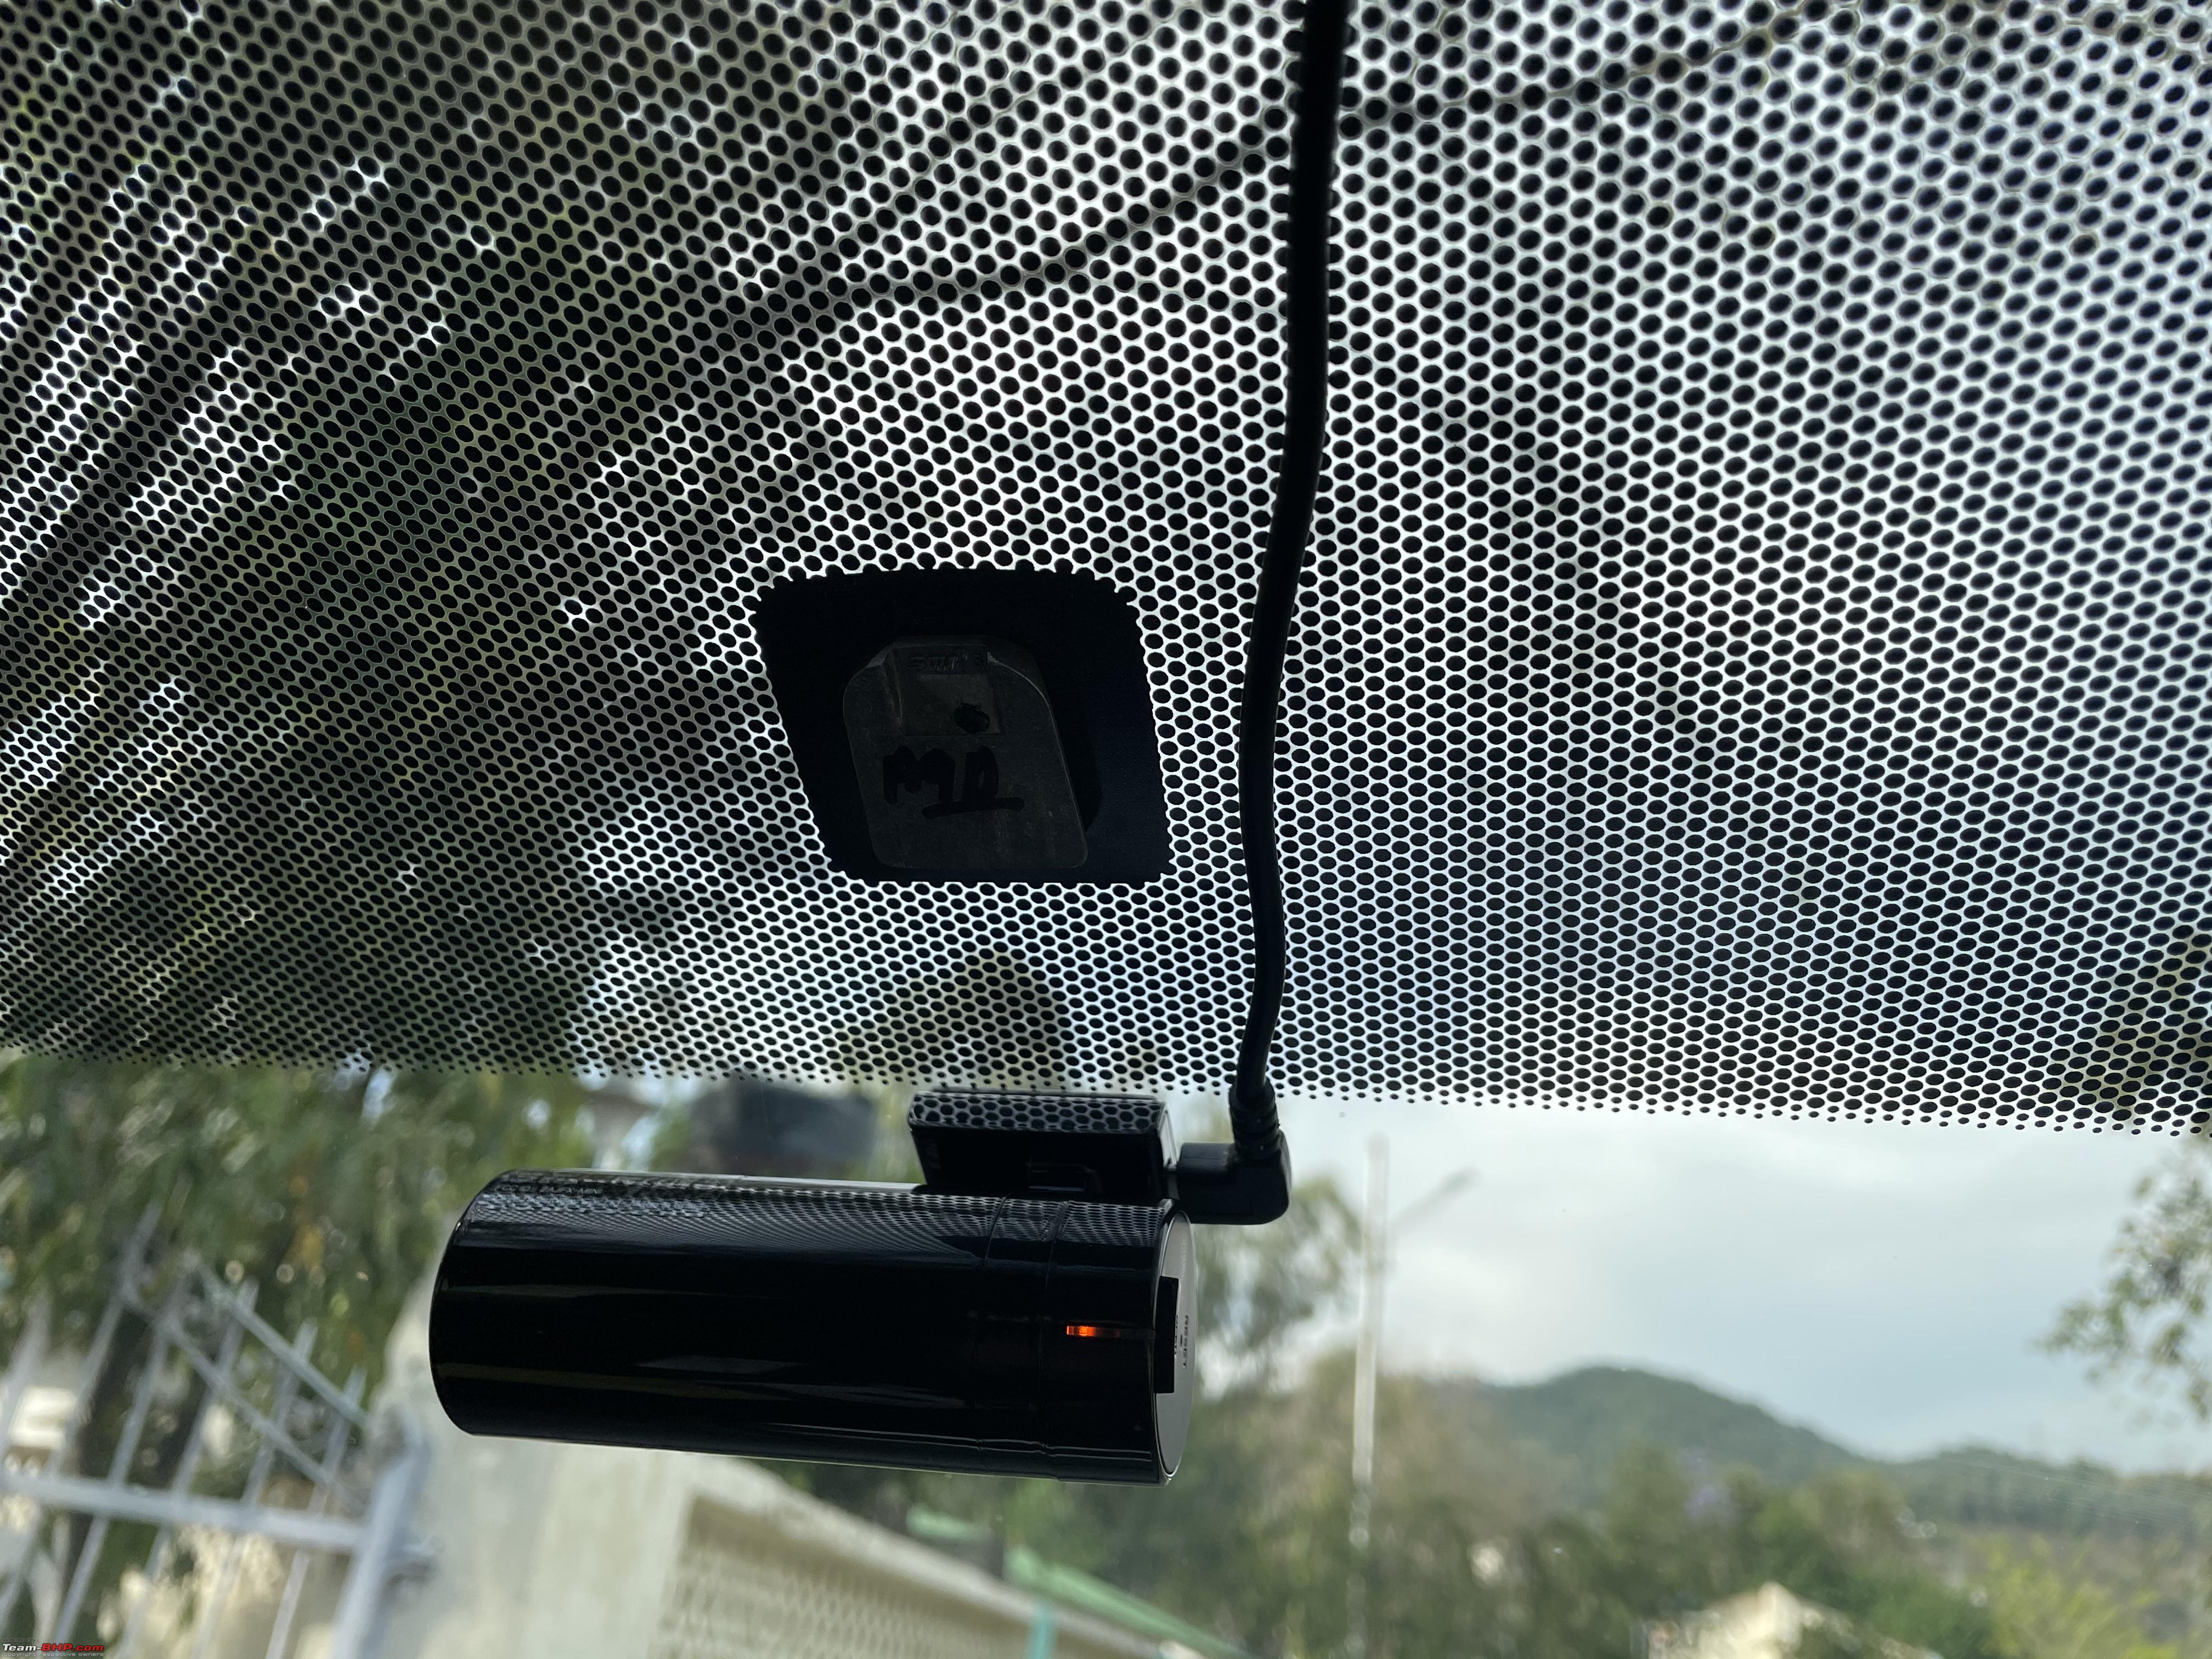
Attach the camera to the windshield. Keep the camera powered on and connected to the app for correct alignment.

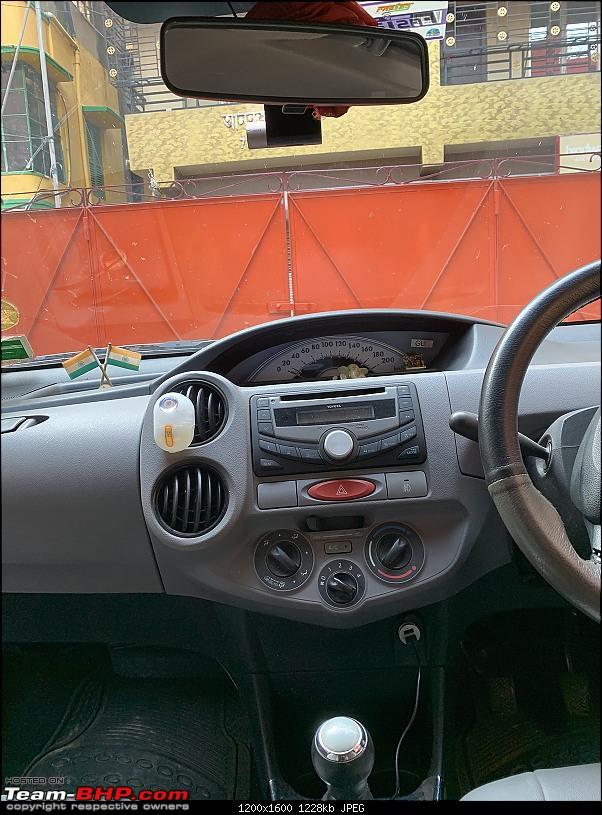
Next step is to route the cable to the power socket. Power port in Jazz is closer to driver side hence I routed it through the drive side
 PC: Autoportal.com
  PC: Team-bhp.com
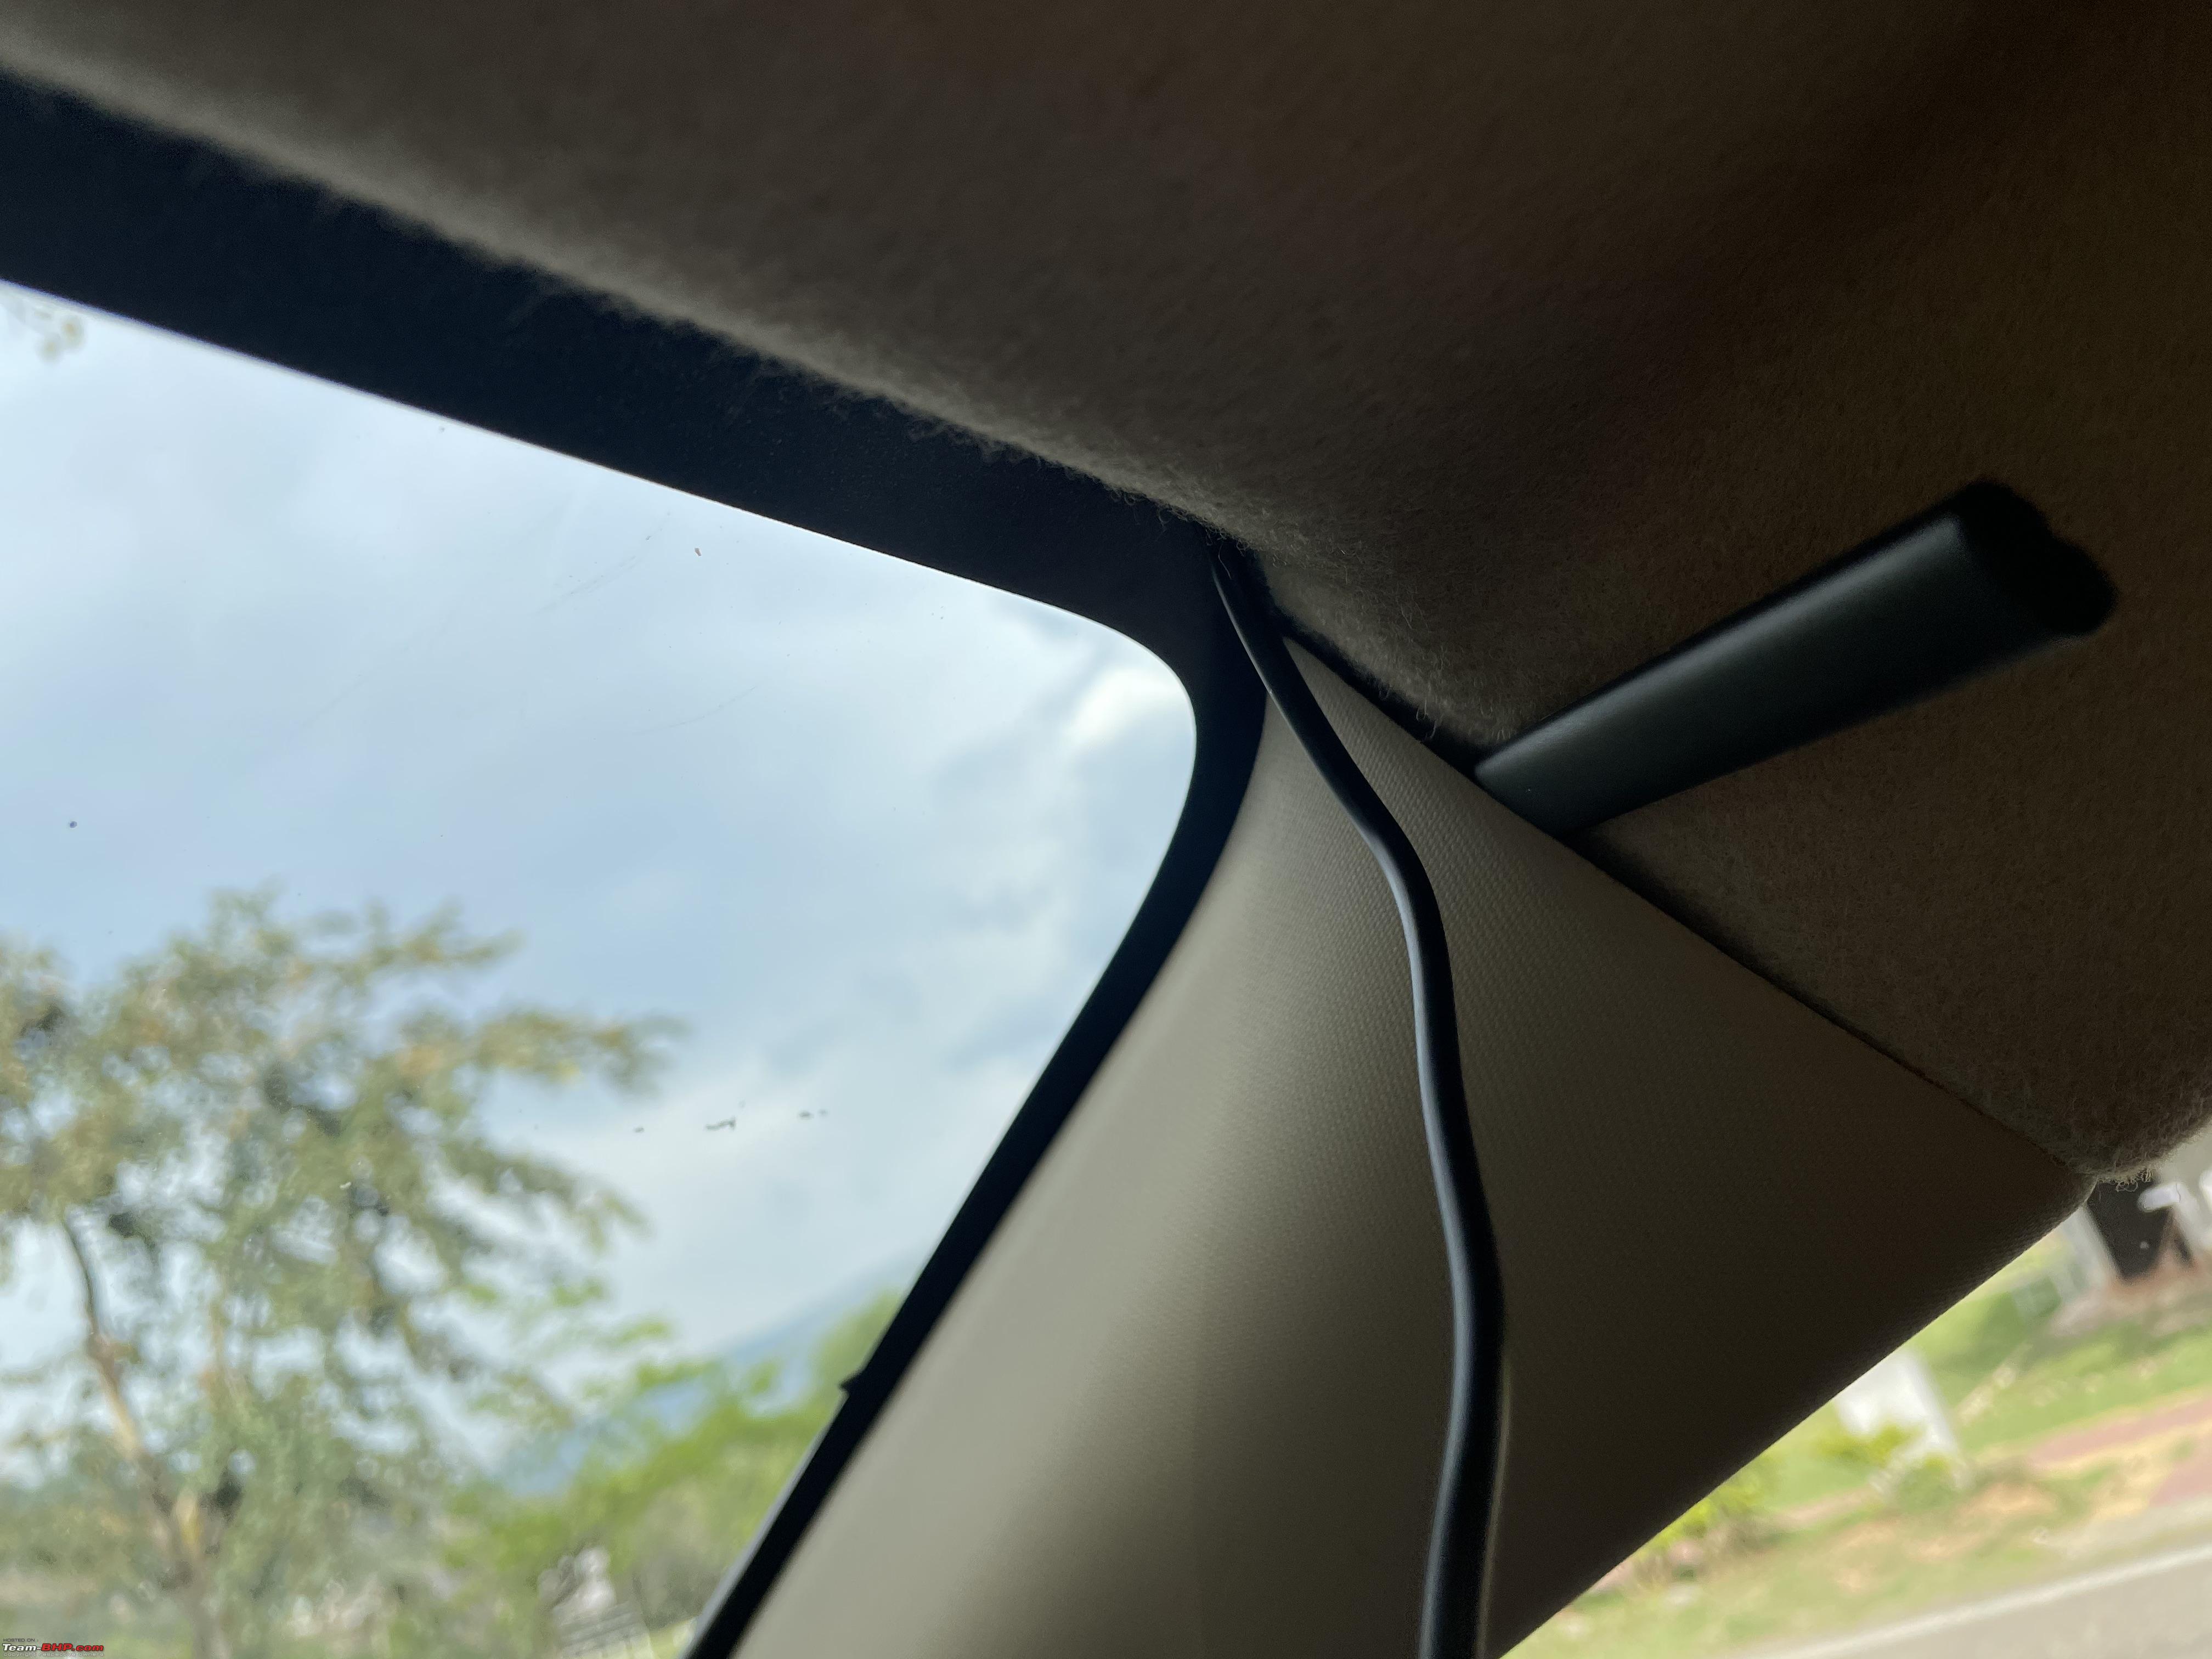
Pushing the wire into roof liner is straight forward and easy

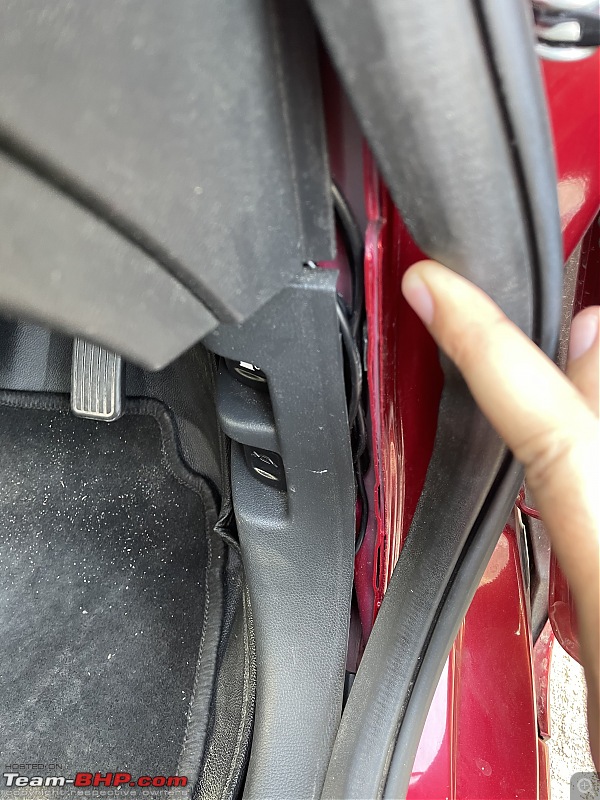
Pushing it under the A pillar is a bit of task


Now run it under the rubber beading


Cross over the foot well. This step is blind and one has to depend on his tactile receptors. Use zip ties to hold. I used two zip ties. Could not take pictures to do justice to the cable placement, as the area is inaccessible.

The extra length of wire can be tucked under the rubber beading.
Connected to the power source

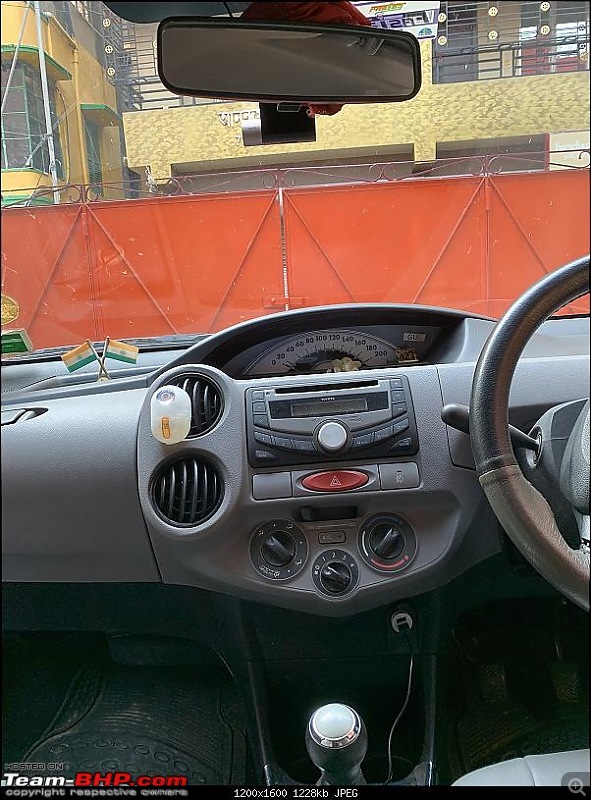
Place the IRVM back and this is the view from driver's side. Completely hidden behind the mirror

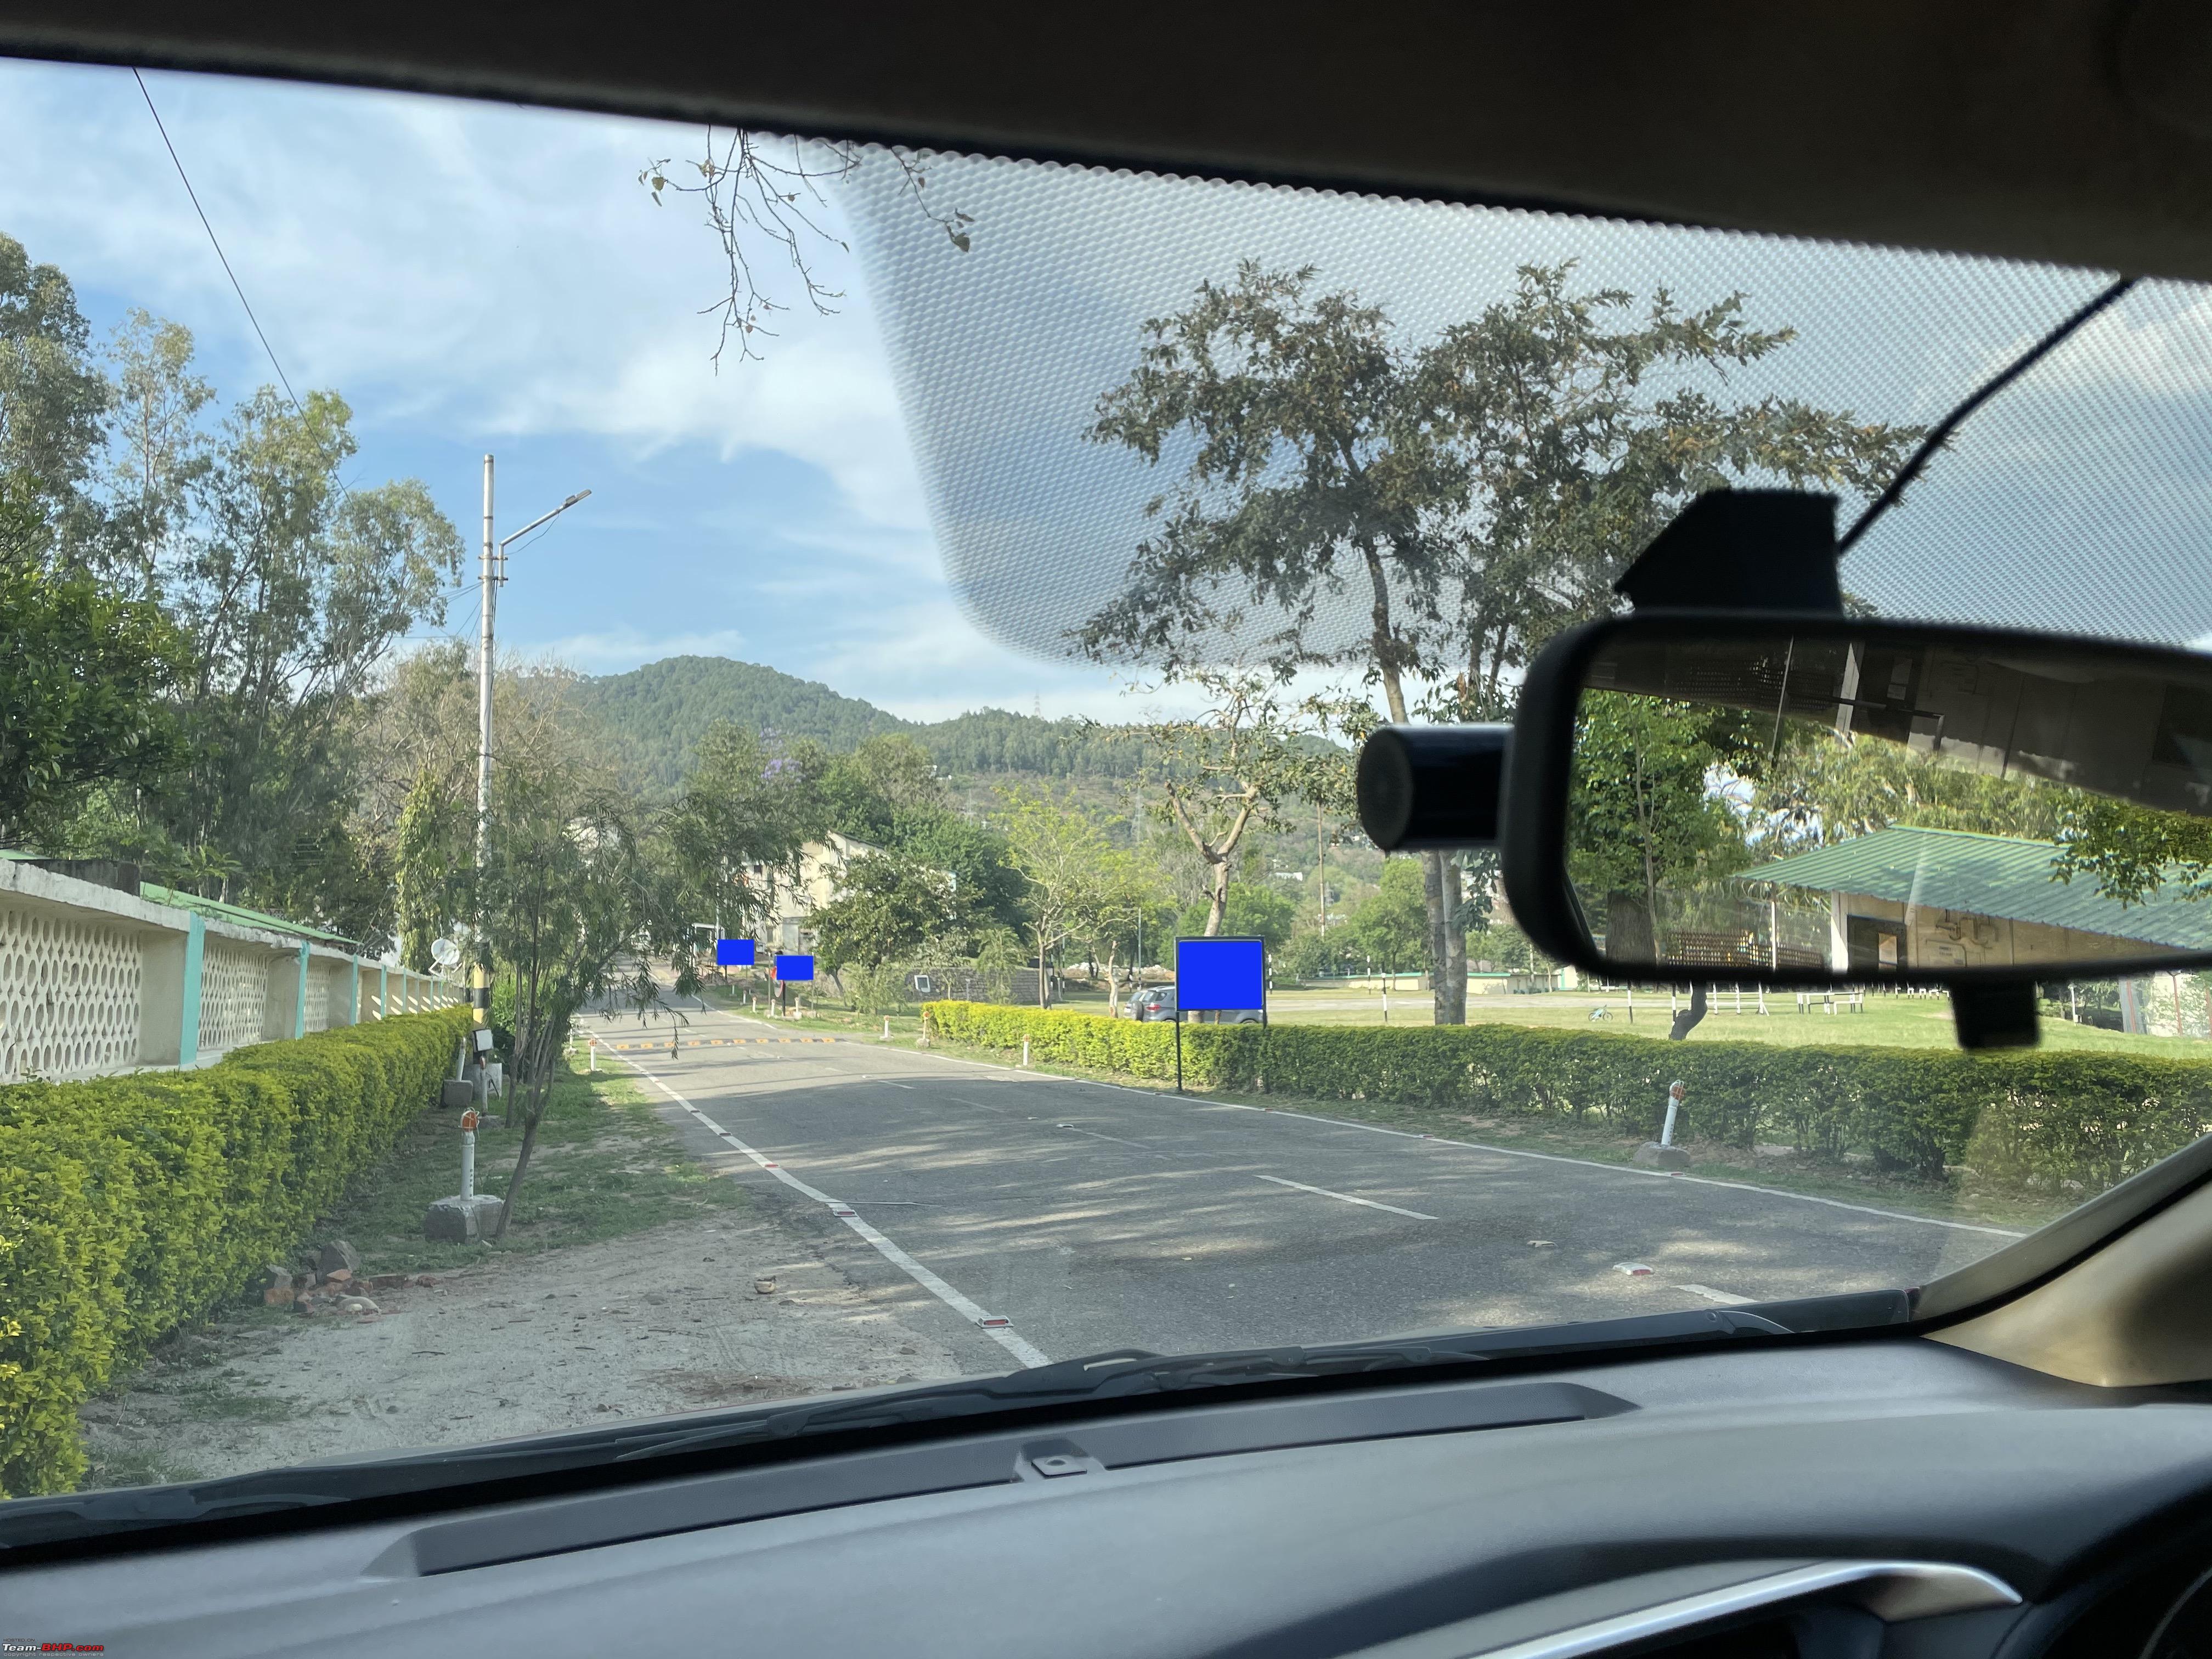
Slightly visible from passenger's side

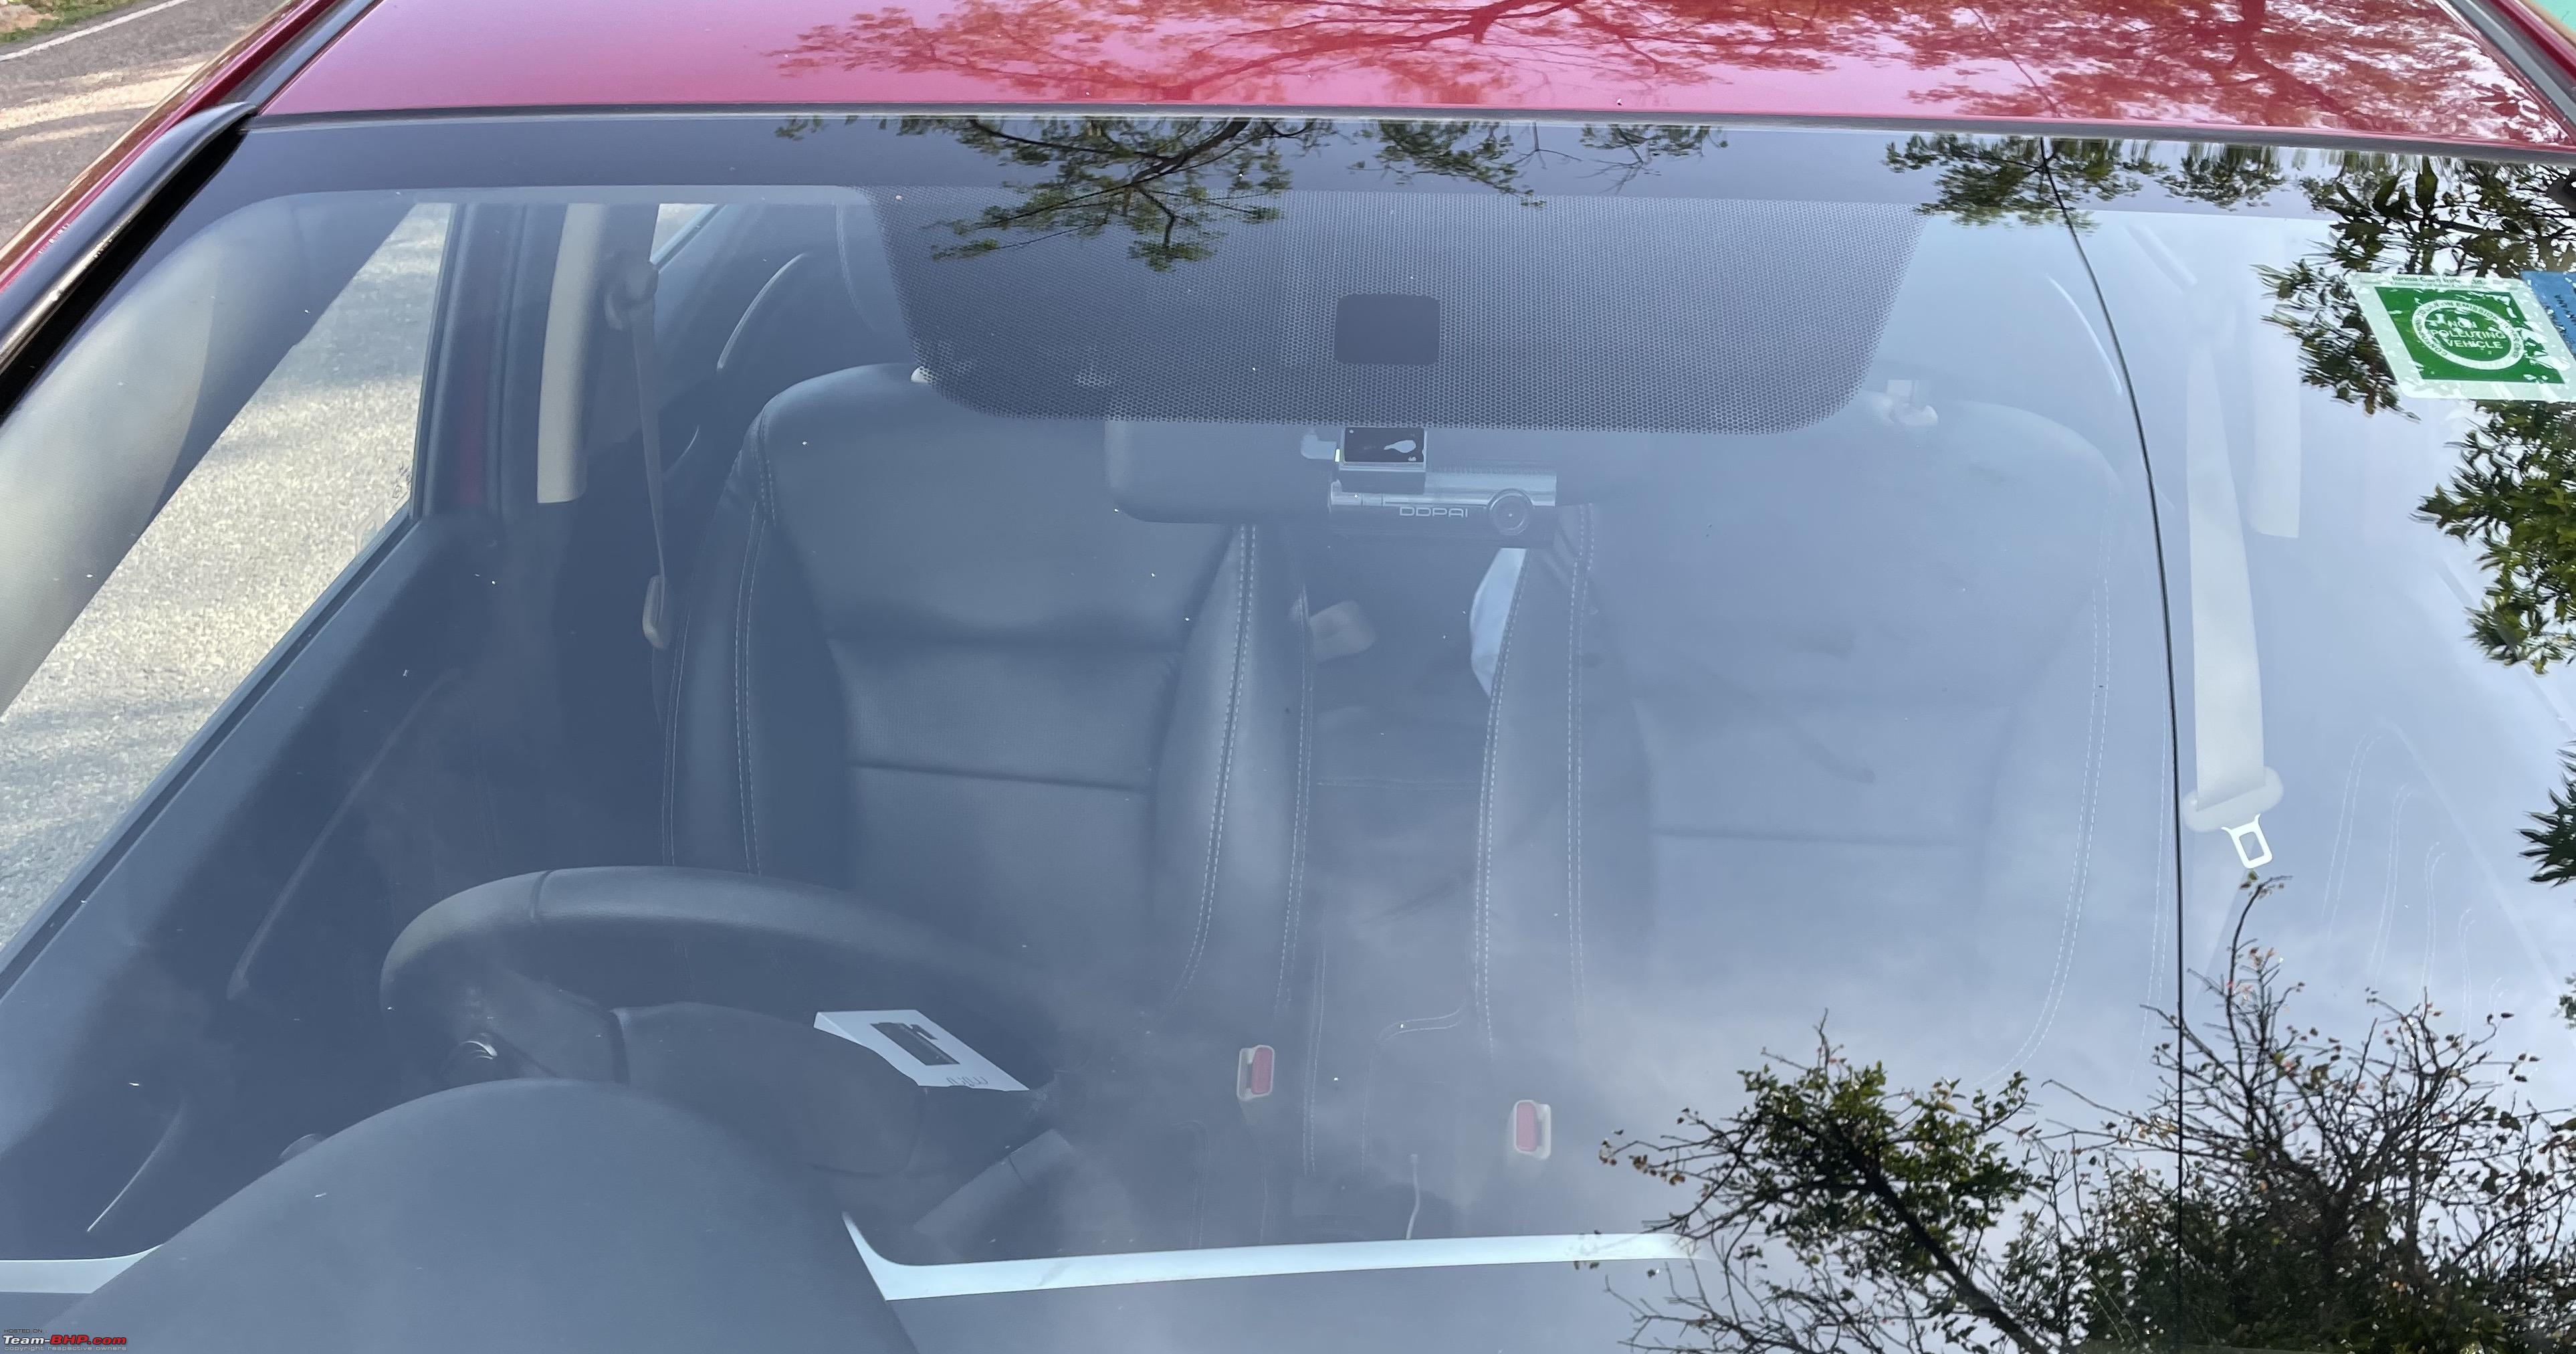
Barely visible from outside

And you are good to go.
I am not commenting on the dash cam quality etc as enough info is available else where and will dilute the purpose of this DIY
Cheers
Good jobclap:, very informative for members who want to install dashcam. I installed 70mai dashcam in my Compass. Unfortunately I did not receive any plier tool, so I had to improvise and use a credit card to tuck in the wire. Also in Compass there is a massive IRVM console behind the mirror and cannot install the dashcam right behind the IRVM.
The guiding lines for installation for DDPAI camera position is also very helpful, again which is not present in 70mai installation instructions. The 70mai app though is very good and fast. My only issue was whenever I access videos or photos from app, the dashcam stops recording. Anyhow a very useful tool, especially when you give your vehicle to service center or chauffeurs.
Nice! Thanks for posting this, you made it look rather simple. I have been looking to get a dash-cam for my 2011 Liva, and have more or less narrowed down to the DDPai Mola N3 (with GPS). The form factor is similar and would be well hidden behind the IRVM. To have a cleaner install, I am planning to get it hooked up to a fuse which only powers on when the car is on, instead of the 12V socket. I use a BT to FM transmitter jugaad for playing music (since the car has the Toyota HU which doesn't have BT or aux) and need it to be available at all times.
That's a cool job, looks very neat. I installed a 70mai Pro on my XUV300. The installation was easy but pulling the wire from the driver's side is not recommended. In case the wire slips between those fuses, it will come in contact with our legs or the A, B, C pedals. I rather pulled it from the passenger side and the hanging part of the wire was tightened into the glove box from behind. Doesn't interfere with the passengers legs too. I also did not remove the IRVM as it is an auto dimming type. I didn't want to mess around with it as I did not know the mechanics.
Great job! Thanks for the detailed information.
I am also looking at installing DDPAI mini (based on the same reason as you that it is the cheapest respectable brand's dashcam).
DDPAI sell hardwire kit also for 24hrs monitoring/power. With hardwire kit, I guess you can connect the camera from the fuse box (hence will not require a USB port/car charger). Not sure if the hardwire kits are brand-specific or are generic.
I have been used the same dashcam in my Nano for about a year now. The quality is acceptable. Just one word of caution! I have noticed that my ddpai does not fire up own its own if I stop tbe car and without removing the key start the car again. Though there is a sound notification "ding ding pai" it actually does not record anything. I have to unplug it and put the plug back in, make sure the orange light is up.
Additionally, on my drive to Goa and back, I noticed that once the unit heats up, the recording is a bit patchy. As in, it easily skips a few minutes of recording.
Same thing was noted on several pune-silvassa-pune non-stop drives.
One thing which I would have loved is, possibility to increase the recording time to around 5 mins, instead of 1 min for each video.
Quote:
Originally Posted by HP-BHP
(Post 5111185)
Great job! Thanks for the detailed information.
With hardwire kit, I guess you can connect the camera from the fuse box (hence will not require a USB port/car charger). Not sure if the hardwire kits are brand-specific or are generic.
|
I think the hardwire kits are used to directly connect to the battery for 24x7 monitoring. Connections to the fuse can be made without the kit as well, requires some splicing of the wires. (from what I've learnt and seen online)
Quote:
Originally Posted by HP-BHP
(Post 5111185)
DDPAI sell hardwire kit also for 24hrs monitoring/power. With hardwire kit, I guess you can connect the camera from the fuse box (hence will not require a USB port/car charger).
|
Quote:
Originally Posted by chaksjr
(Post 5111297)
I think the hardwire kits are used to directly connect to the battery for 24x7 monitoring. Connections to the fuse can be made without the kit as well, requires some splicing of the wires. (from what I've learnt and seen online)
|
If the hardwiring kit contains 3 wires (Red, Yellow and Black) then it can be used for functioning as parking mode when the engine is OFF. If the hardwiring kit contains 2 wires (Red and black), it is a plain one to just power the dashcam when the ignition is ON and vice-versa.
Just buy the correct type of fuse tap cable for the respective car and hardwire the dashcam. No need to splice any wires at all.
Quote:
Originally Posted by a4anurag
(Post 5111334)
If the hardwiring kit contains 3 wires (Red, Yellow and Black) then it can be used for functioning as parking mode when the engine is OFF. If the hardwiring kit contains 2 wires (Red and black), it is a plain one to just power the dashcam when the ignition is ON and vice-versa.
Just buy the correct type of fuse tap cable for the respective car and hardwire the dashcam. No need to splice any wires at all.
|
Yes correct, thank you. This is what I would want to do to keep my 12V socket free. Hopefully shall purchase and have it installed in the next few days. Will try and document the process.
Great job. However, I am not a fan of passing the wire through driver side unless it's hardwired to the fuse. By any remotest chance or an event, the wire might dangle near the driver's feet, and might cause hindrance to one’s driving ability. It’s better to route the wire through the passenger side even though the additional wire near the charging port might be an eye sore.
Quote:
Originally Posted by HP-BHP
(Post 5111185)
Not sure if the hardwire kits are brand-specific or are generic.
|
I have been using Viofo A129 Duo IR for 2 years. The hardwire kit comes with battery cutoff (can be set to cutoff at 4 different voltage) and it is brand specific as the connector at the dash cam are different.
Neat job.
I have installed dashcams in the same way in 4 different cars including a Jazz.
The only thing I will say is, as others said, please route the wire from the passenger side. I use zip-ties and tie it with other wires or any object just below the dashboard, so it do not hang or fiddle with the co-passengers leg.
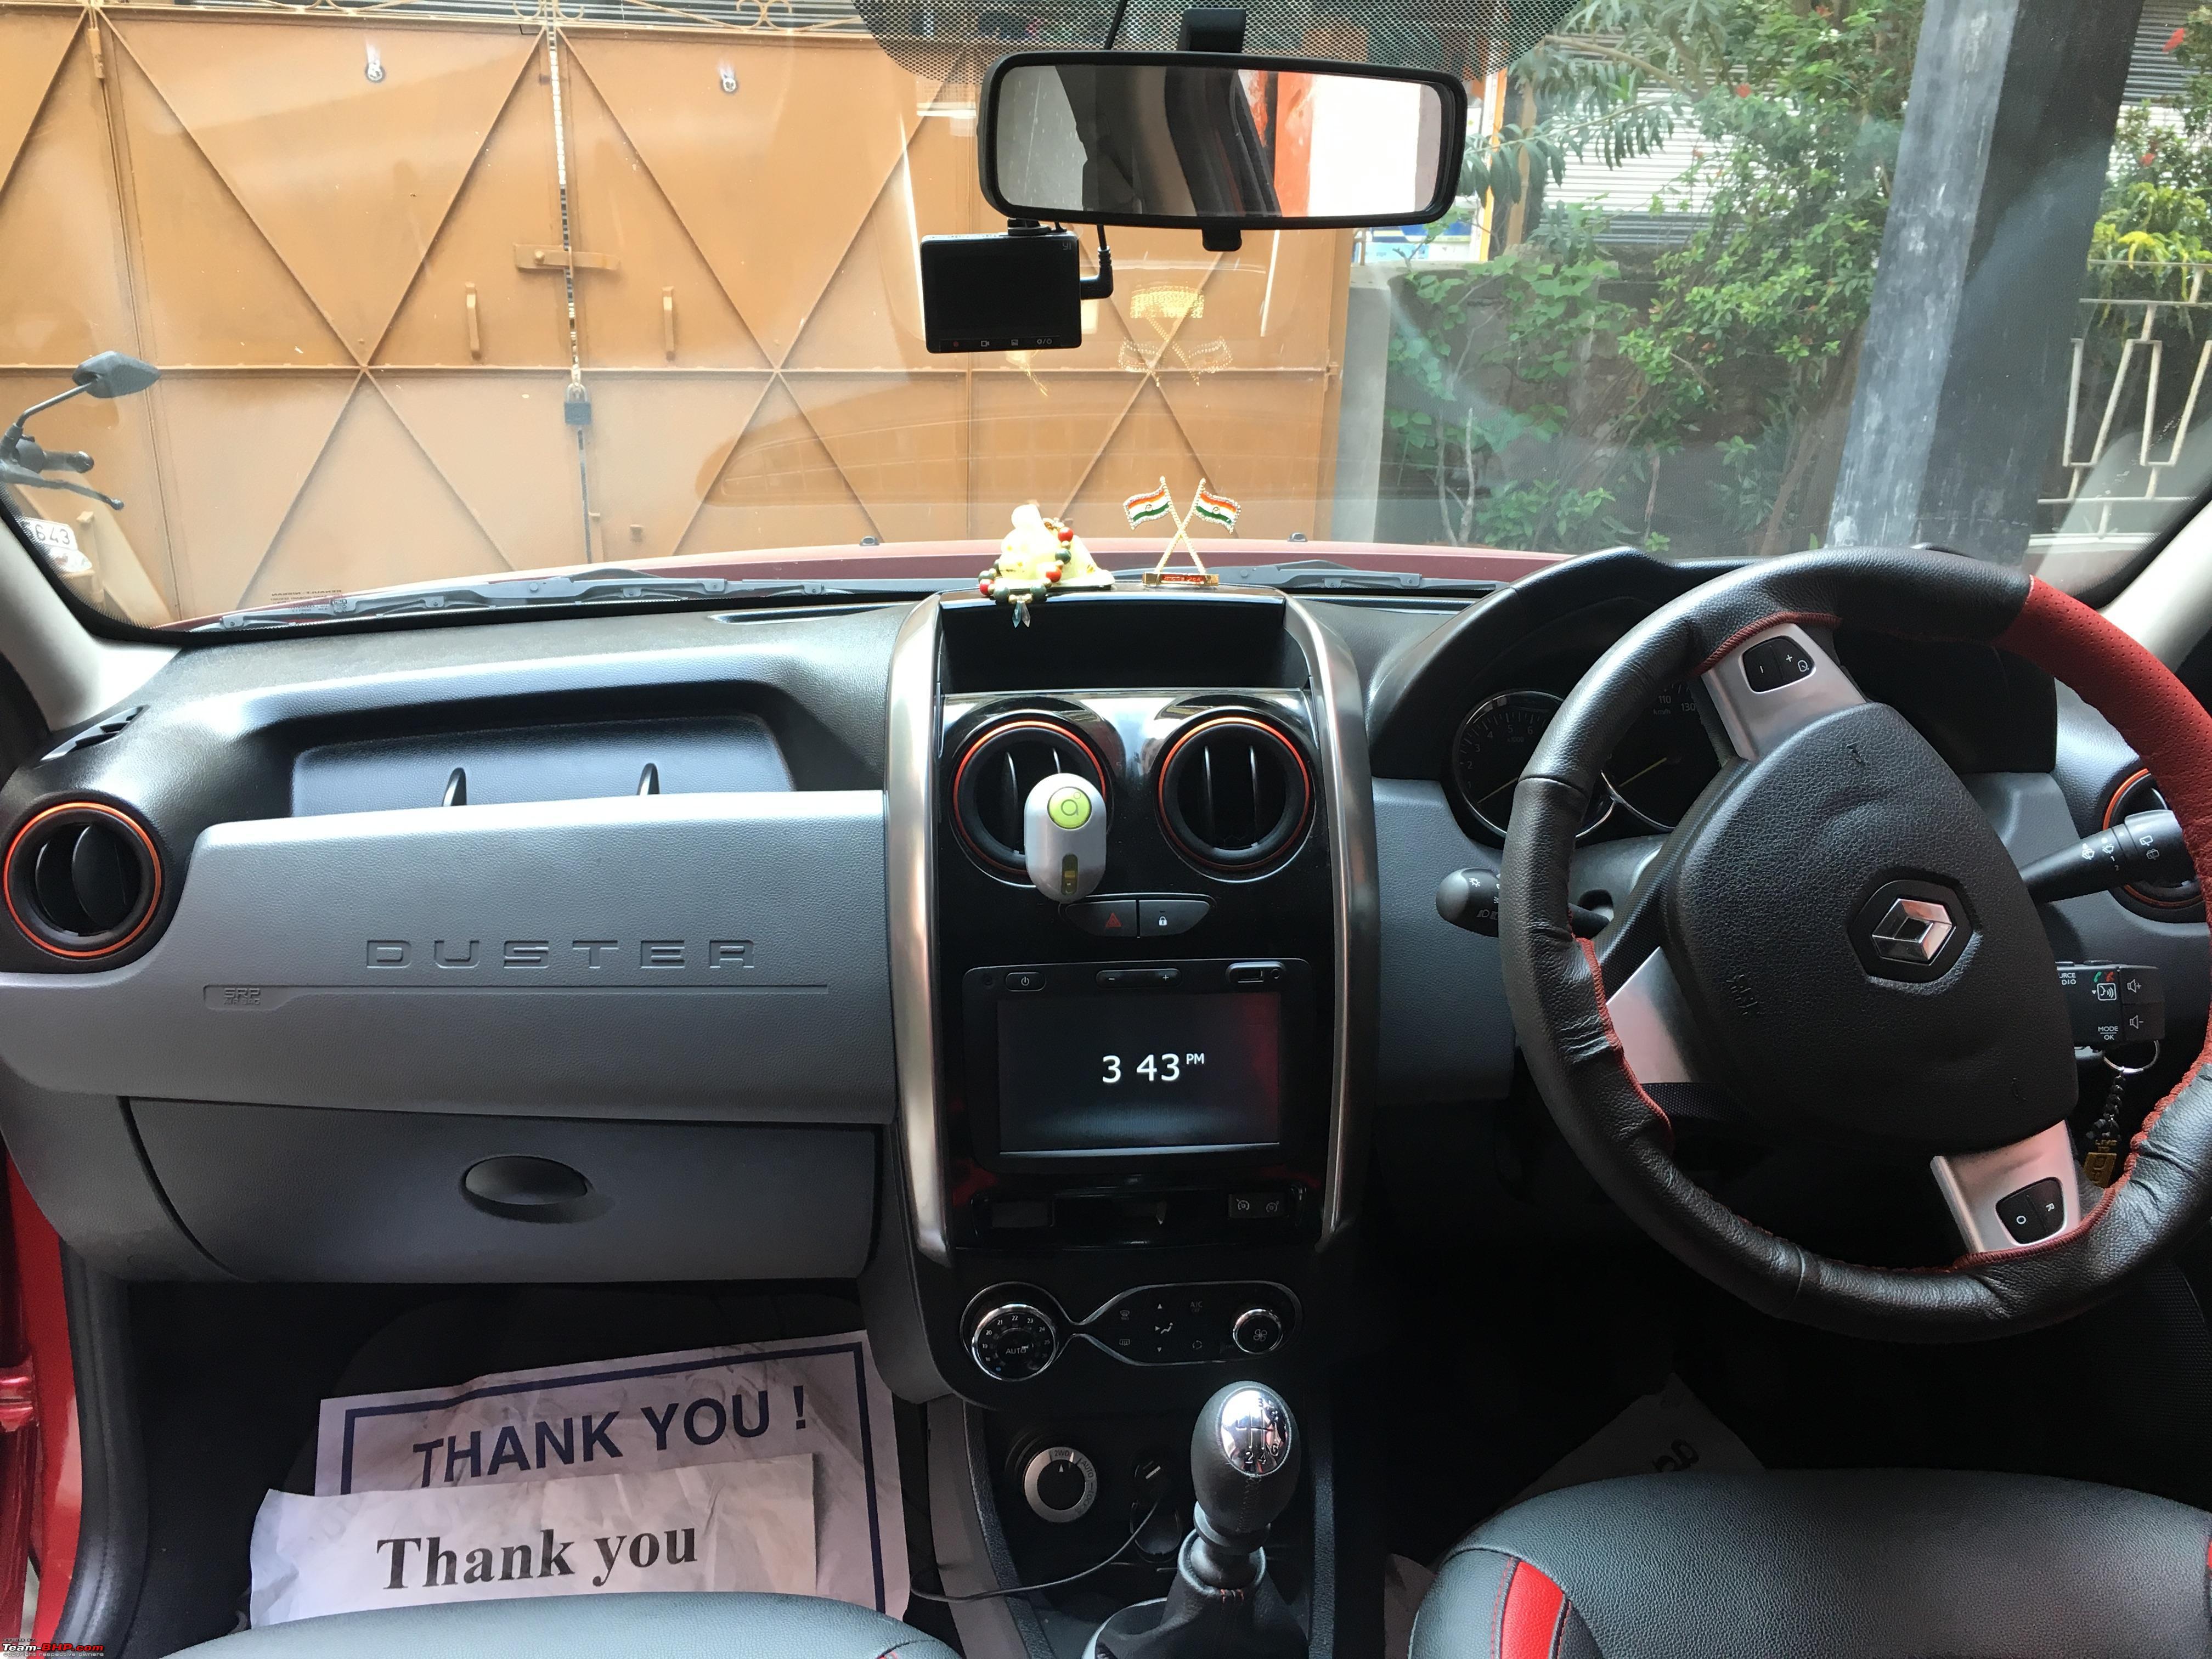
In my Duster.

In my Etios
Recently I bought the DDPAI Z40 dash cam, along with the hardwiring kit. The hardwiring kit comes with 3 wires (one black coloured with rounded terminal for grounding). And the kit contains 4 types of fuse connectors- suitable for various car makes.
(I didn't do it myself. Got it done through the seller's recommended store). Attaching the kit pouch photo.
I have a question about routing the wire through A/B-pillar (for duo dashcams). I am unsure about this, but isn't the curtain airbag mechanism located there? Won't the wire interfere with the deployment of the airbags? Thanks.
Quote:
Originally Posted by NG_EV
(Post 5111588)
I have a question about routing the wire through A/B-pillar (for duo dashcams). I am unsure about this, but isn't the curtain airbag mechanism located there? Won't the wire interfere with the deployment of the airbags? Thanks.
|
For cars with curtain airbags, it is best to route the wiring through the cars floor path than the roof.
Just follow the path that the rear windshield washer pipe follows. Should be enough and there will be enough place to secure the wire too.
| All times are GMT +5.5. The time now is 02:52. | |