Introduction
So I ended up cleaning the Air Filter on my Polo with Volkswagen Group’s
EA211 3 cylinder 1.0 TSI petrol engine. I believe the 1.0 TSI is an important engine for the Volkswagen Group in India, especially in the budget segment. Internationally, EA211 series engines are doing duty in a lot of vehicles like the Up! Golf, Polo, T-Roc, T-Cross, Touran etc. Coincidentally, I had the good fortune of servicing my friend’s 1.2L MPI Polo last year and I noticed that replacing the Air Filter on the 1.2MPI and 1.2 TSI sold previous was a ridiculously simple task which took less than 3 minutes! I’m not really sure what the engineers at Volkswagen were thinking, but
they’ve easily quadrupled the time and effort for servicing the air filter on this newer engine. The single reason for that, is that the entire Air Filter box needs to be removed from the Engine, since the Torx Bolts holding the Air Filter in the Air Filter box, are threaded from the bottom side.
All that being said, I'm really liking this new TSI engine, despite the smaller size and I'm sure there must be many enthusiasts who wanted a little inspiration to service and maintain their rides themselves, and so I thought of compiling this DIY. If you are someone who'd rather watch all this unfold in detail, then there's a bonus treat for you at the end.
The strategies I’d be using should also be quite
similar on the new 1.0 MPI, sold on the base Polo, and few other TSI engines belonging to this newer series, because the bottom line is that, the Filter is no longer accessibly without taking the Intake Box out. The methodology and flow of service operations I'll be following come from the Official Volkswagen Group repair manual for the 3 cylinder EA211 engine. The Polo with the 1.0 TSI engine Volkswagen in 2020, had the engine code
DSHA.
Tools and Parts Required
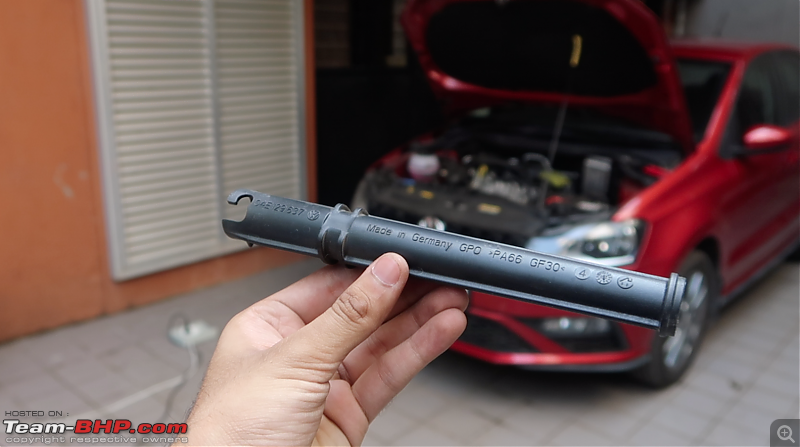
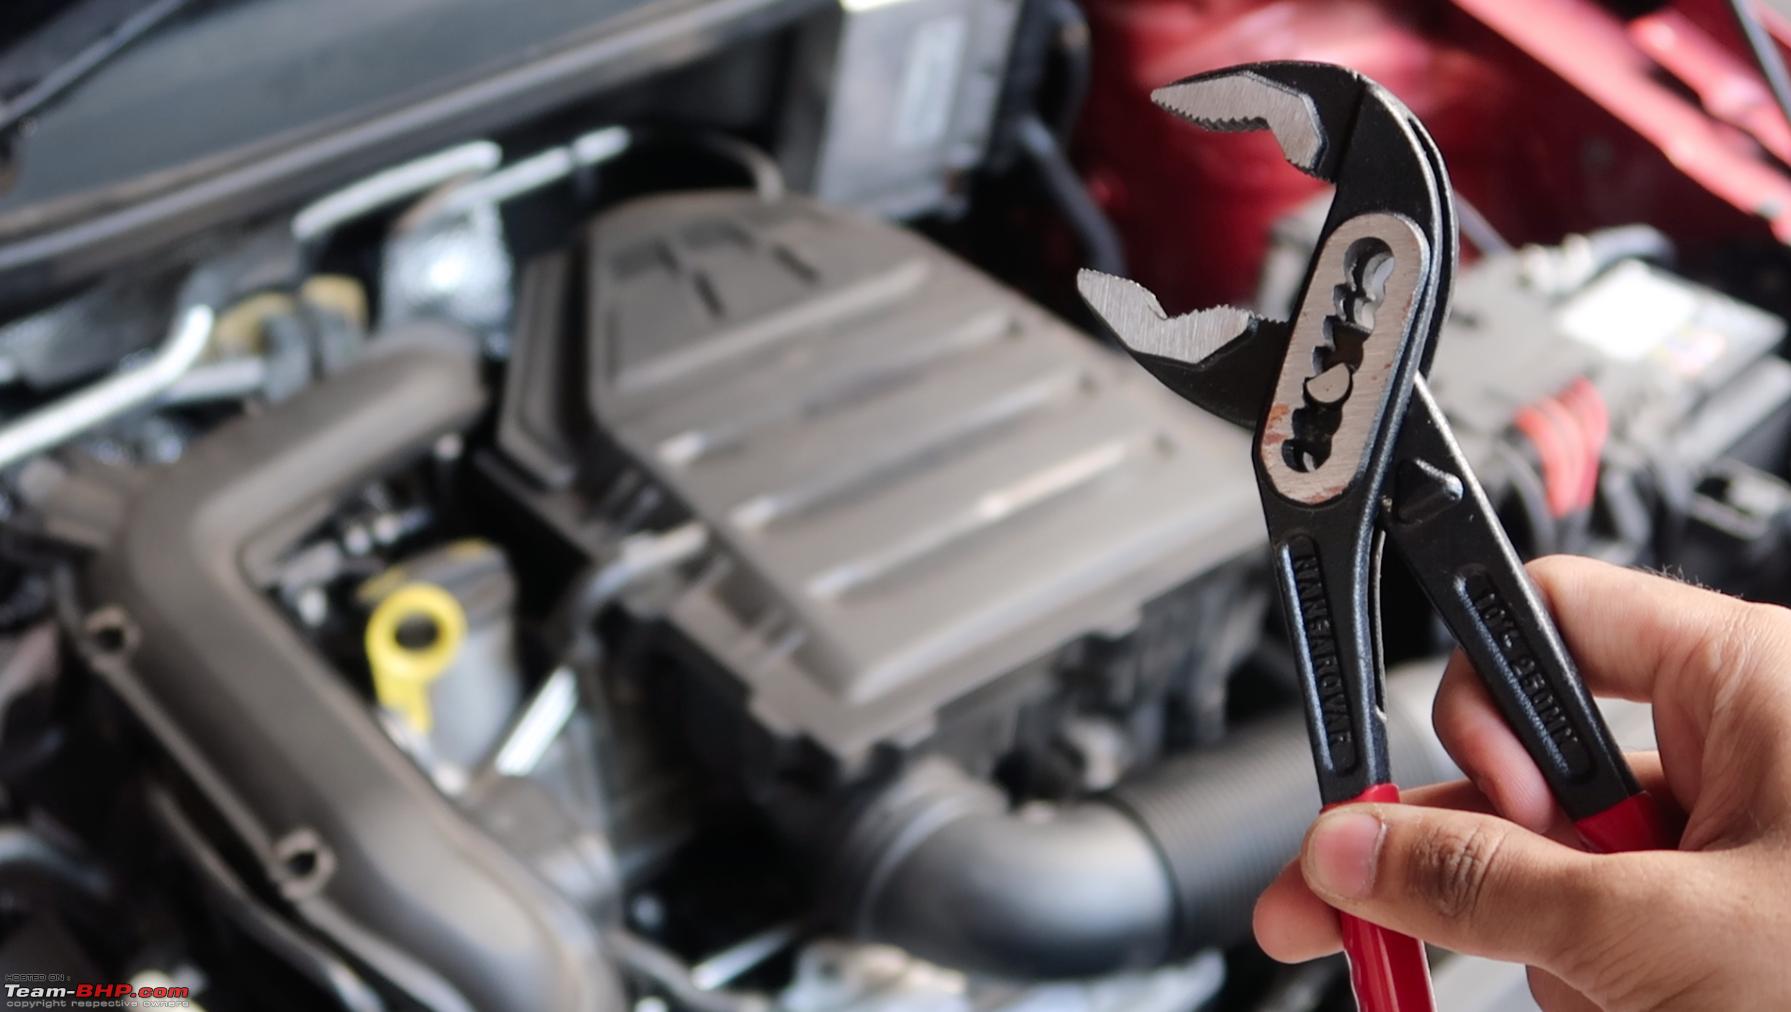
The Air Filter screws are all
T25 Torx Bits, while one of the Screw Mounting the Box to the Engine and Manifold is a
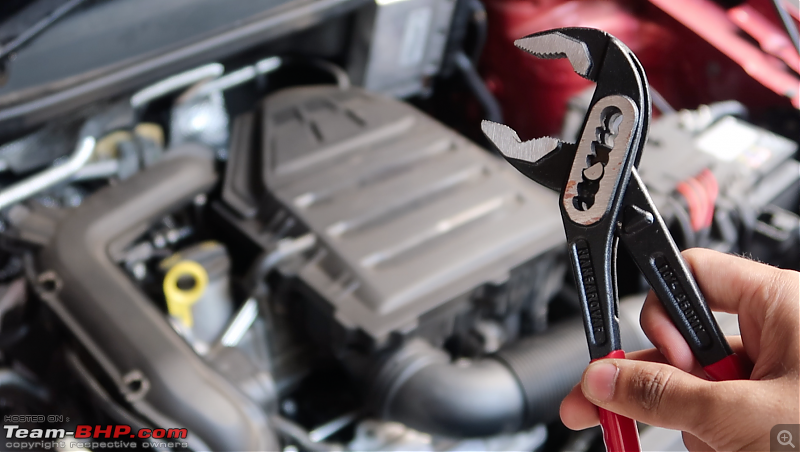
T30 Torx Bit. To remove the Air Filter Box from tight hose clamps, you will compulsorily need a sturdy
Water Pump Plier or a
Hose Plier.
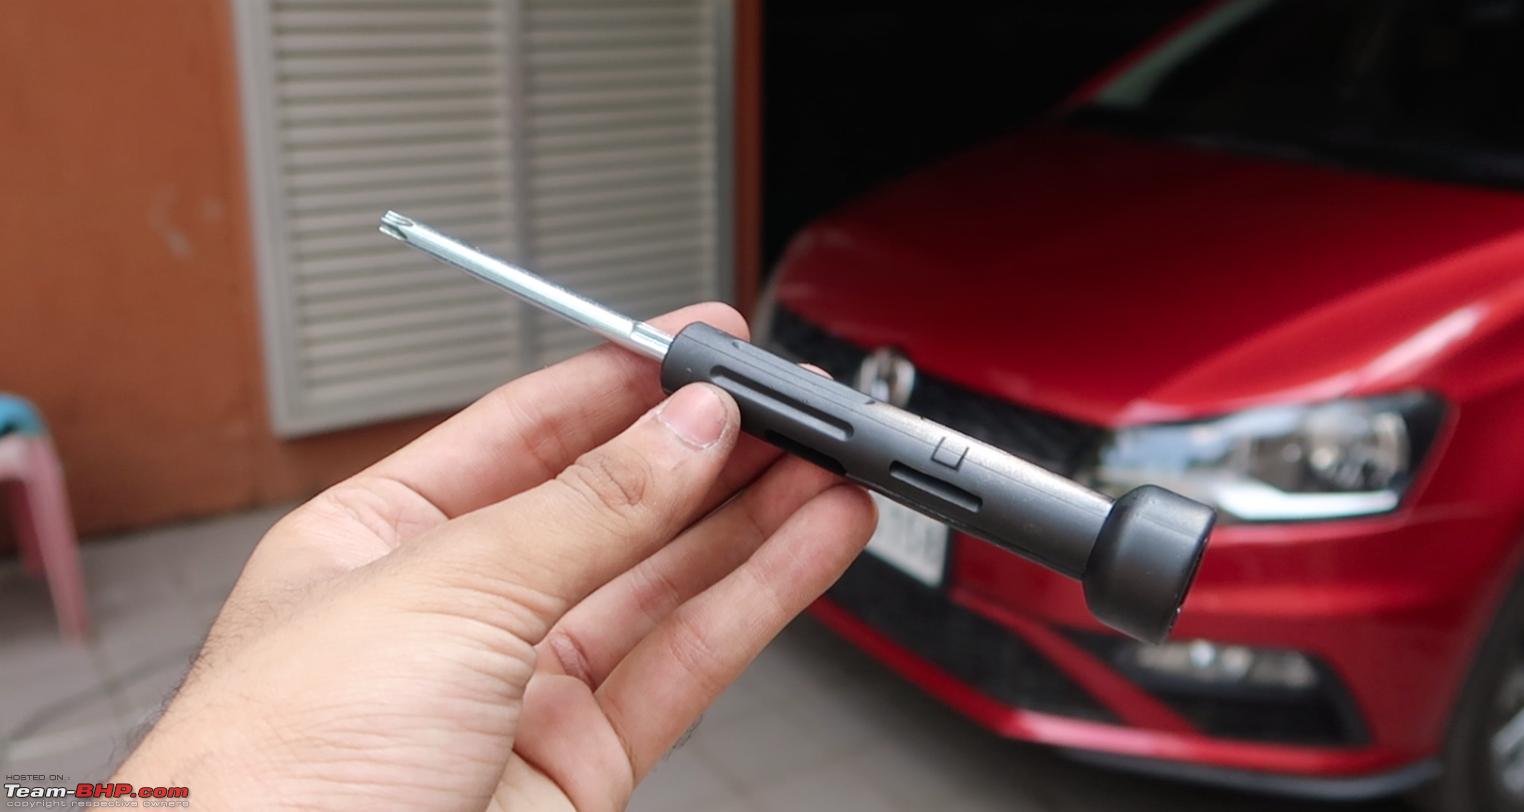
Now luckily, Volkswagen have included a Screw Driver handle and a bit in the Tyre Tool Kit at the back and it happens to include both a T25 and a T30 Torx Bit at the other end. Still, if you do not have any of these tools, here's a small list for suitable tools here.

- Water Pump Plier
- Torx T25 Screwdriver or Bit
- Torx T30 Screwdriver or Bit
- Cleaning Cloth - For cleaning dust, dirt and other purposes.
Part Number
If you are planning to replace the Air Filter, the
present part number offered from the factory is
04C 129 620A, but I'd take this part number with a pinch of salt since this is the Air Filter which has come in from the factory and Volkswagen could eventually switch to a more localised revision for this 1.0 TSI Engine.
Estimated Time
So I would rate the work to be fairly simple and it should take you about
15-20 mins if you’re experienced but I must say it could end up being 1.5 hours if certain things go wrong, like they did in my case (nothing new to me), as I sadly mess something up every single time.
Company Specified Service Intervals 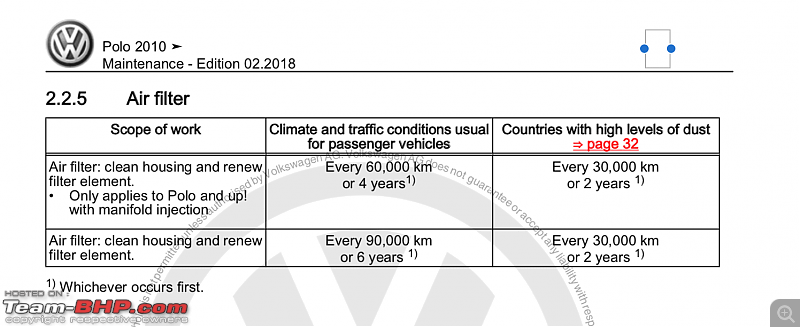
As per ERWIN, Volkswagen specifies a Filter Replacement interval of
2 Years or 30000kms, whichever is earlier. It is also worth noting that Volkswagen acknowledges India to be a
High Dust Country. Volkswagen India however seems to be following a
1 Year or 15000kms Service Interval, where they replace the Air Filter. However, considering how dusty some driving conditions can get, I believe the air filter on this tiny 3 cylinder engine could do with some periodic cleaning well before the Annual Service Mark. The reason I took this DIY up, was to see how dirty my filter could potentially get considering my limited driving pattern around town, with the occasional highway sprint.
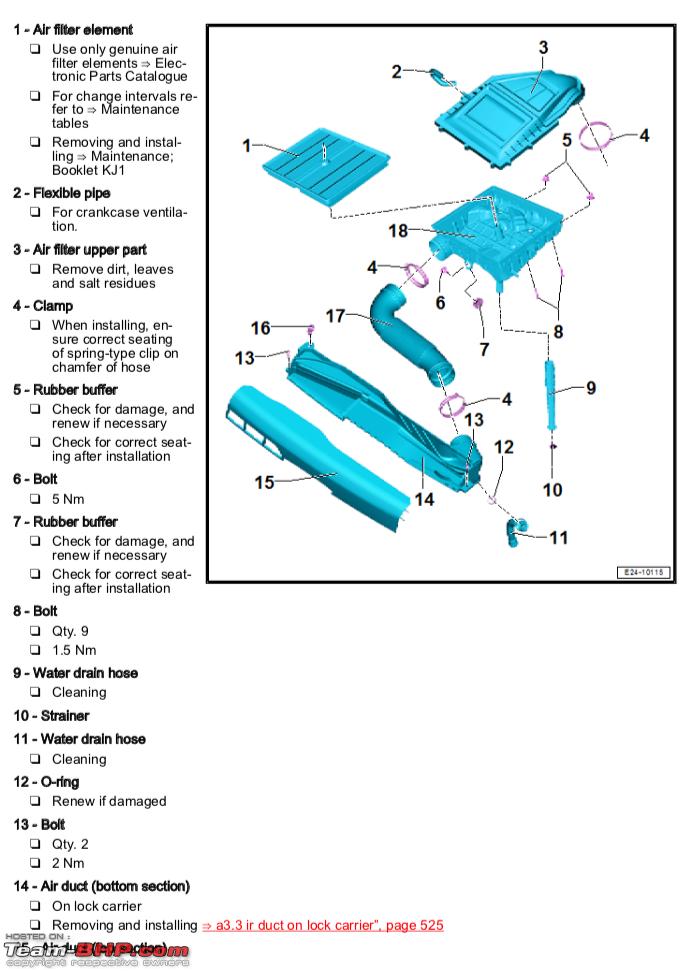
Sequence Of Operations (As Per The Service Manual)- Loosening the T30 bolt on the front of the Air Box
- Loosening and releasing the Clamped Front Intake Hose
- Loosening the Breather Hose on the left of the Air Box
- Unclipping the Vacuum Line on the right of the Air Box.
- Loosening and releasing the Rear Clamped Hose from the Air Box.
- Pulling the Air Filter Assembly upwards and Out of The Car.
- Unscrewing The Air Filter Cover
- Cleaning or Replacing the Air Filter
- Cleaning the Air Filter Box thoroughly
Reinstallation was supposed to
follow the exact reverse order, but for me, I had to mix up the order quite a bit to make sure everything fit in without a stretch.
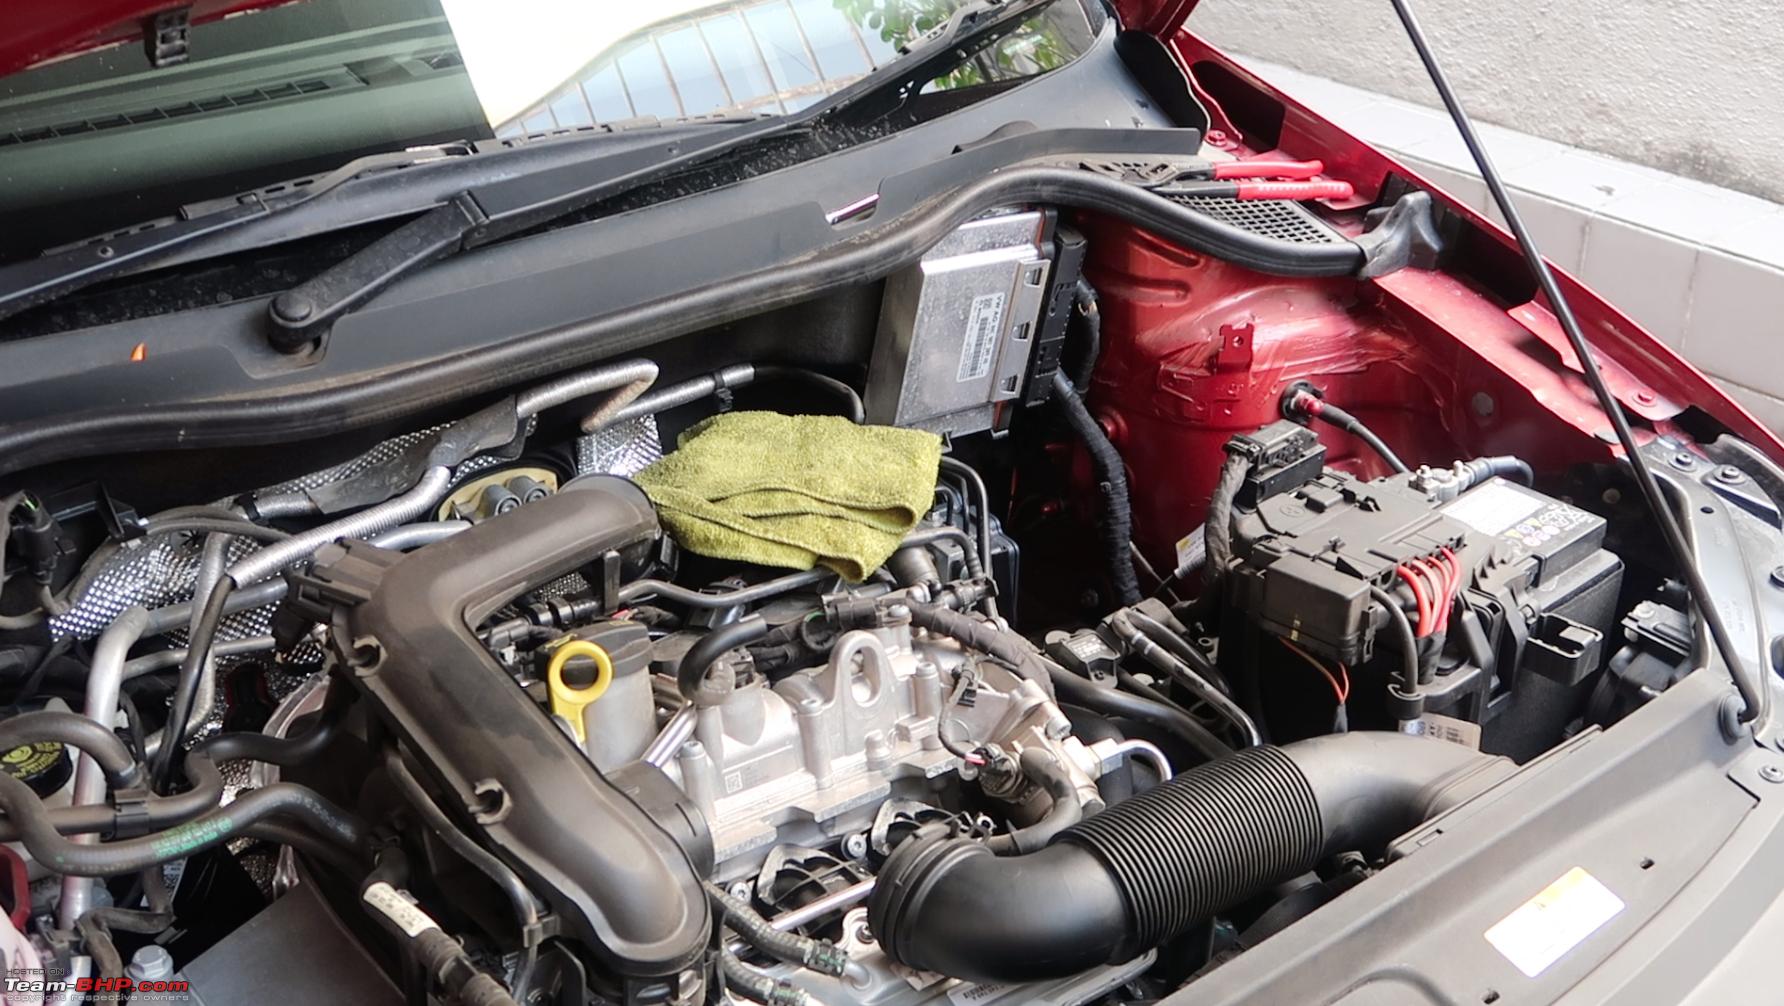
Getting Started 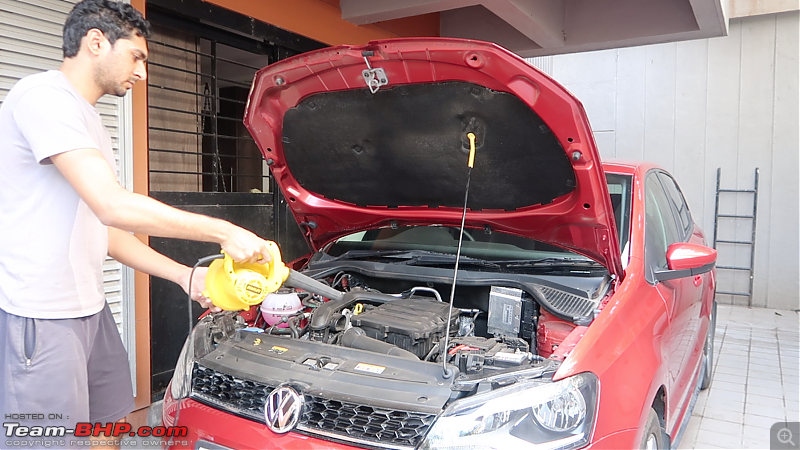
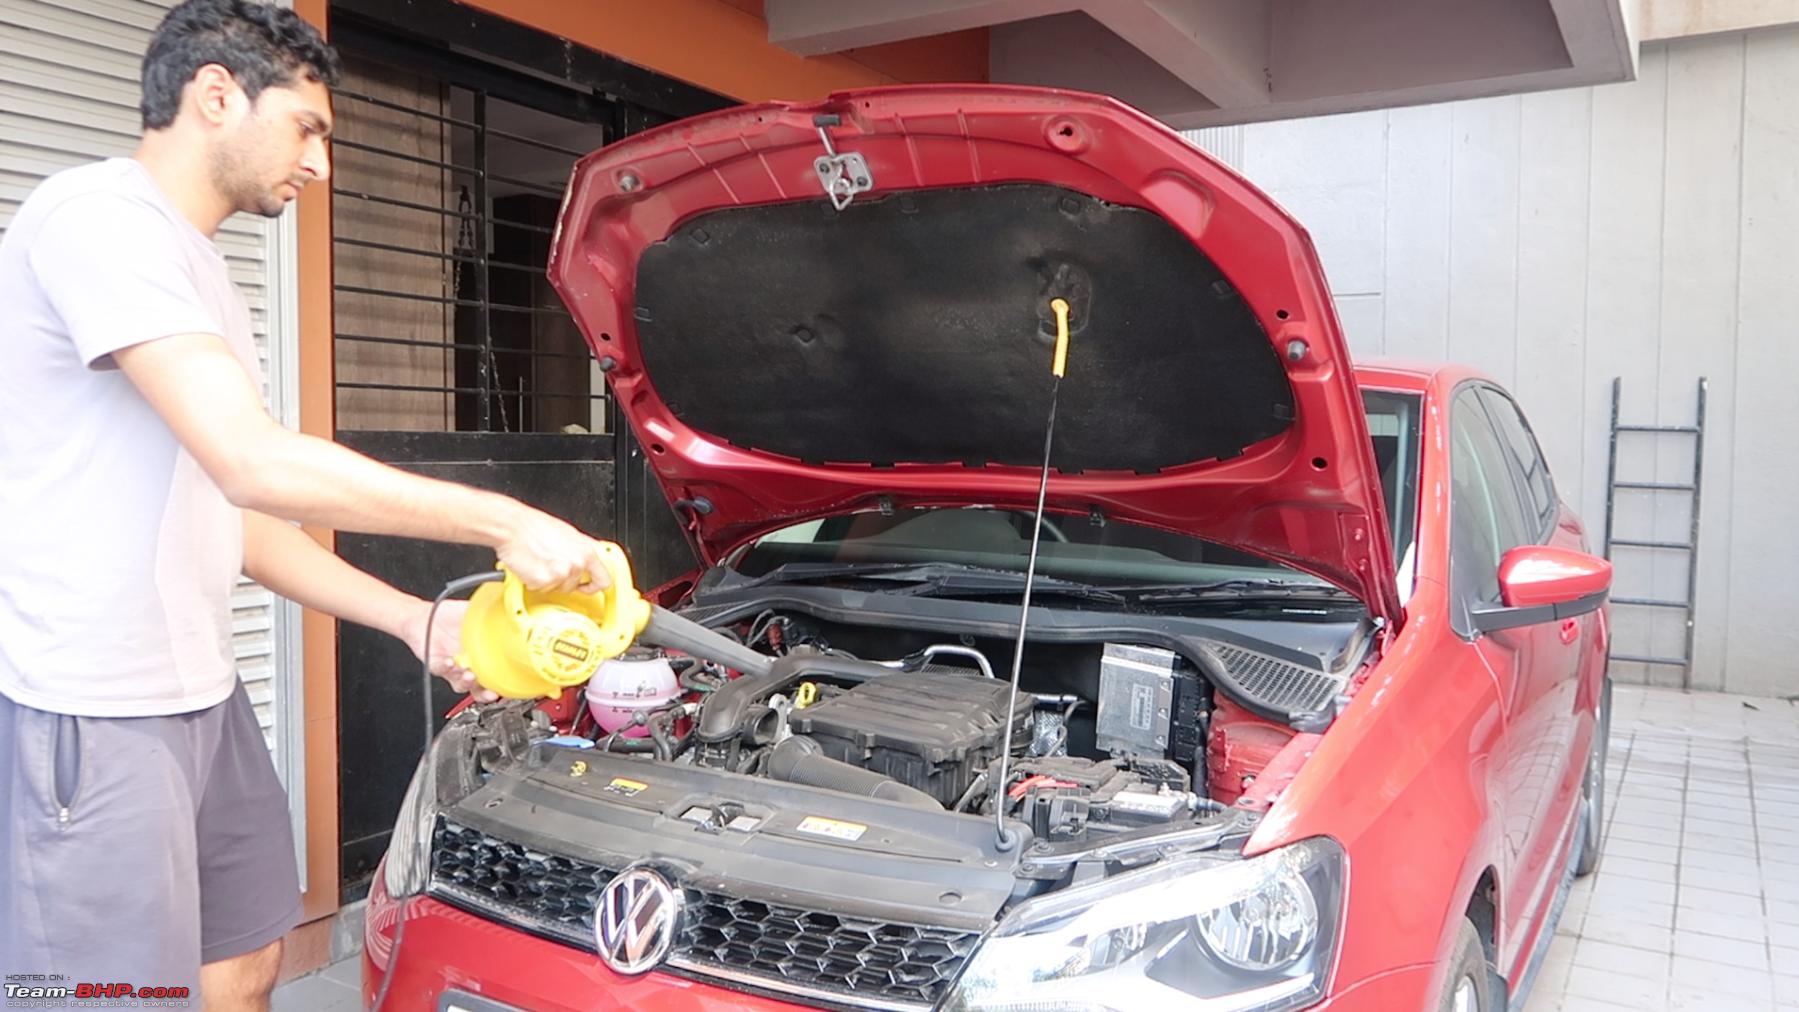
Before we get started, I’d like to blow and clean this dusty engine bay with my electric air blower and now’s a good chance to protect yourself with an
N95, if you aren’t already doing so, in these new Corona times. Now I ended up being a little lazy today, but it’s really helpful if you have a mask on. You’re protecting yourself from the million sneezes headed your way!
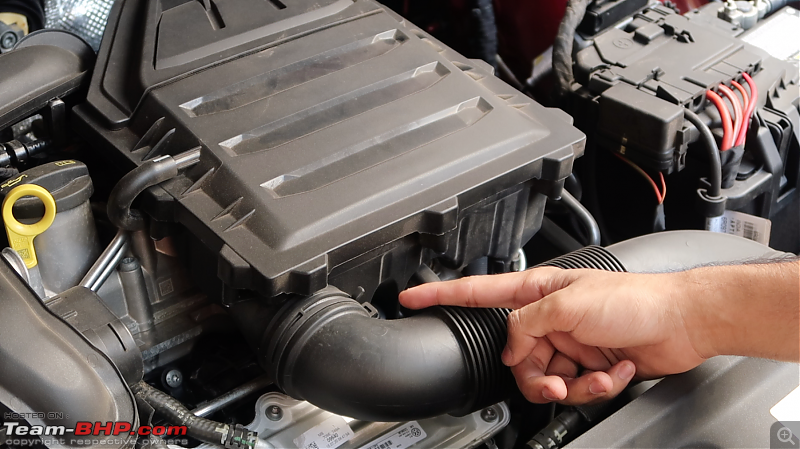
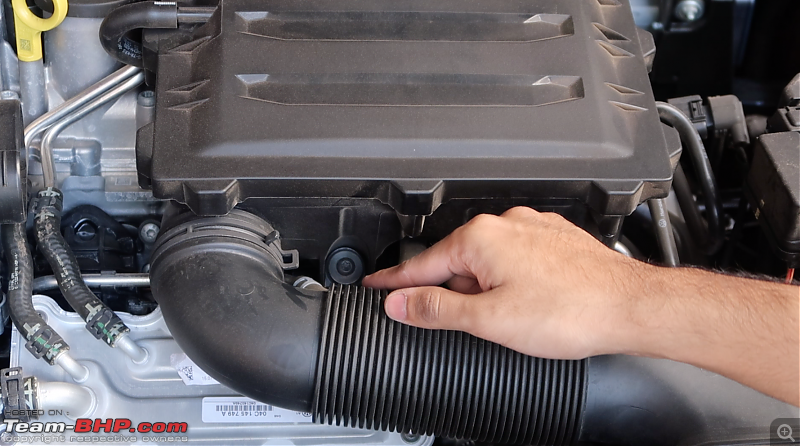
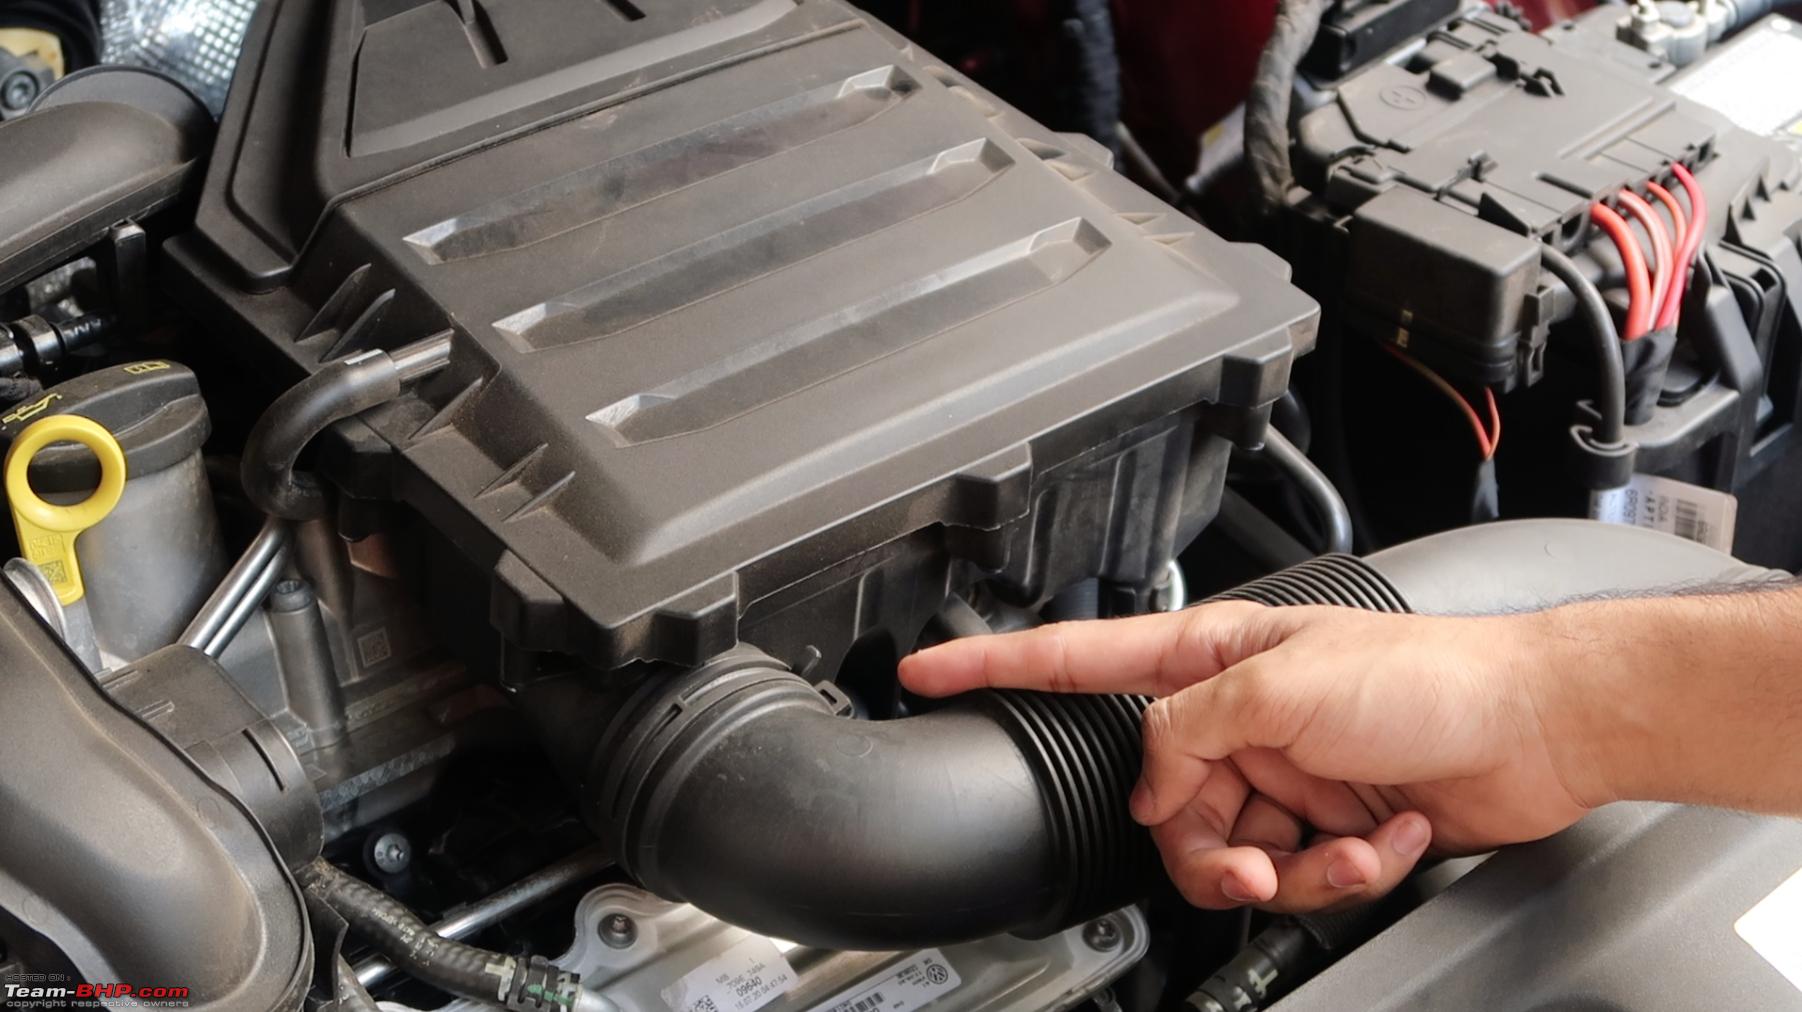
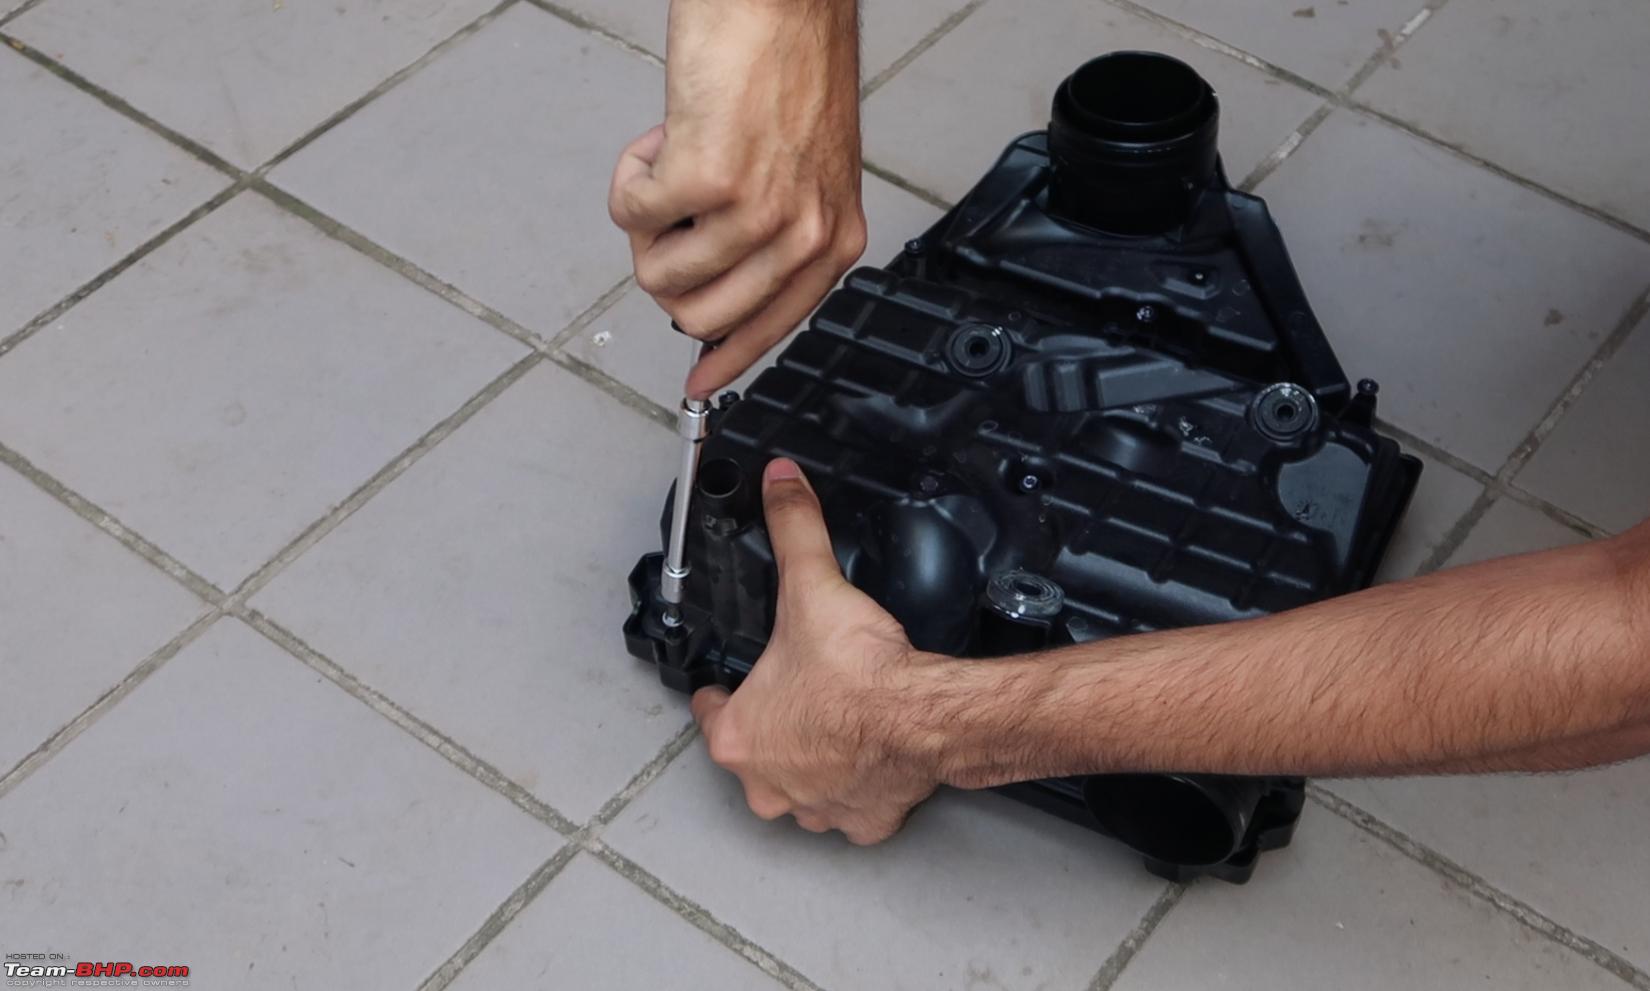
Now, we start by using the Water Pump Plier to
loosen the Intake Hose Clamp and free the Intake Hose from the Air Filter Box. The hose might be really tight, so try gently twisting and tugging at it in place. Once you sense play, pull it backwards in a straight line and it should be off in no time. Once the hose is off, make sure the clamp is correctly seated on the pipe. Improperly seating the Hose Clamp can cause plastic intake pipes to crack.


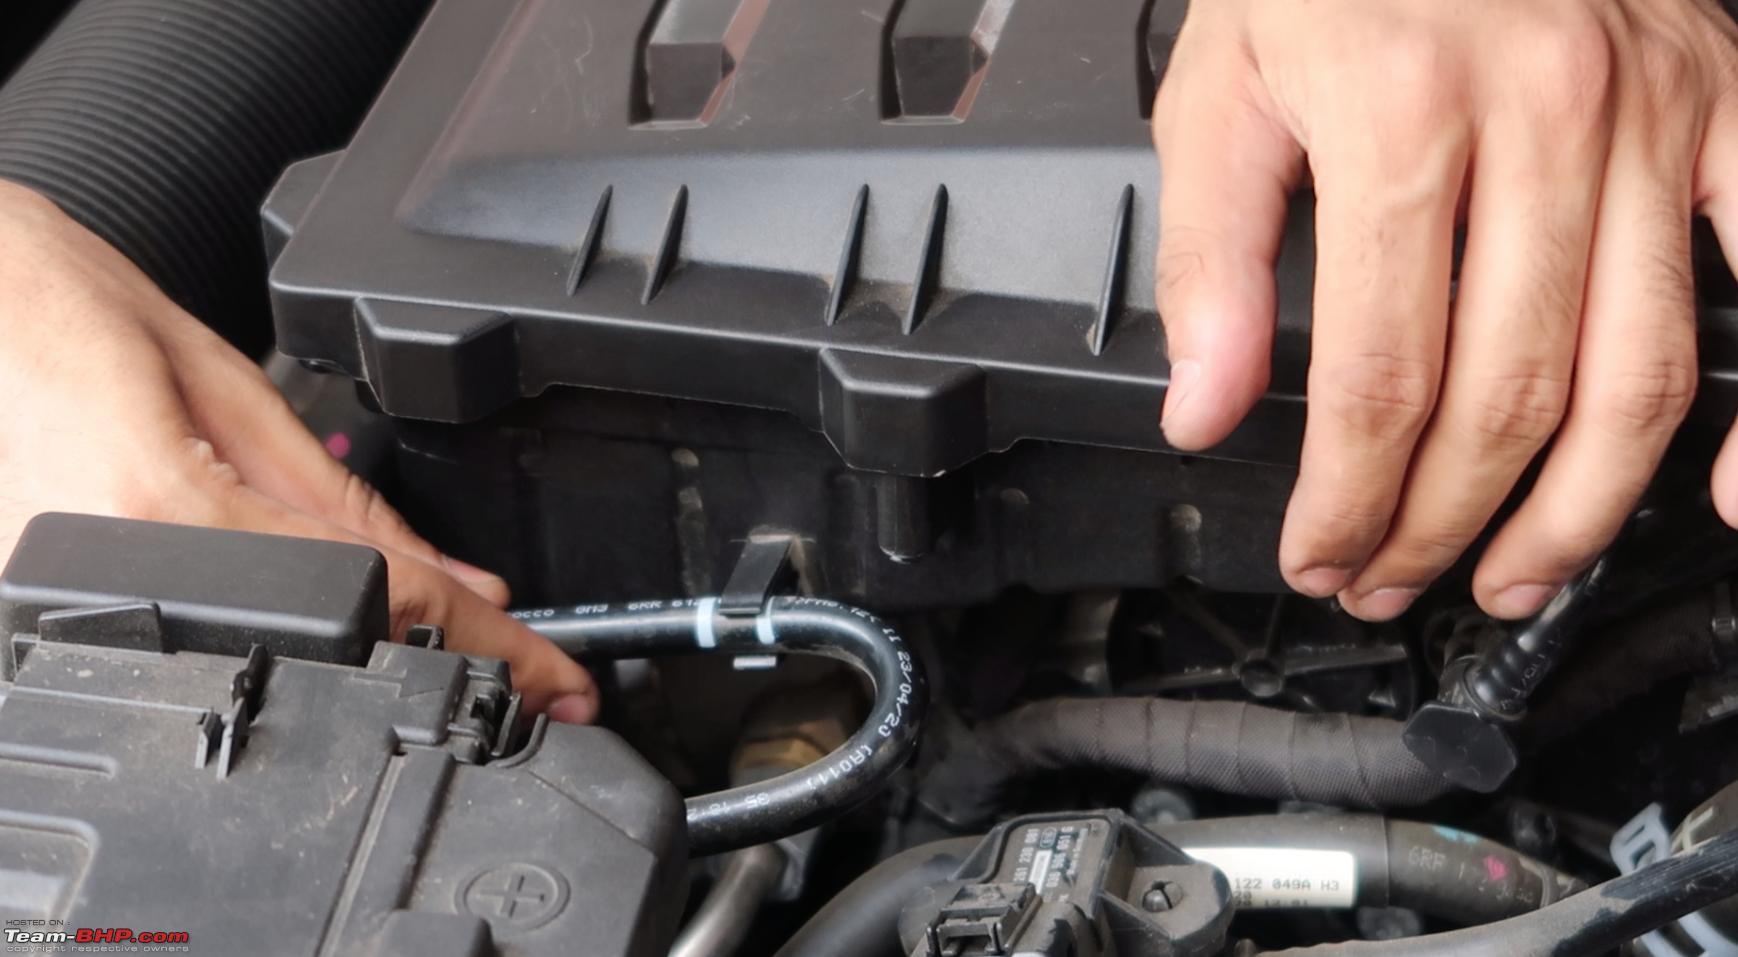
Next, proceed to
unscrew a T30 Screw right in front of the hose. As per the Service manual, it’s fine if you don’t take it out completely just as yet, as it should get lifted out of the way along with the entire air-box.
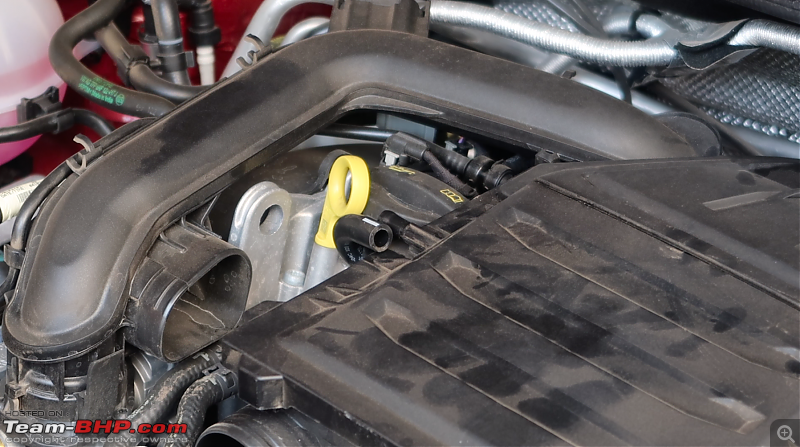
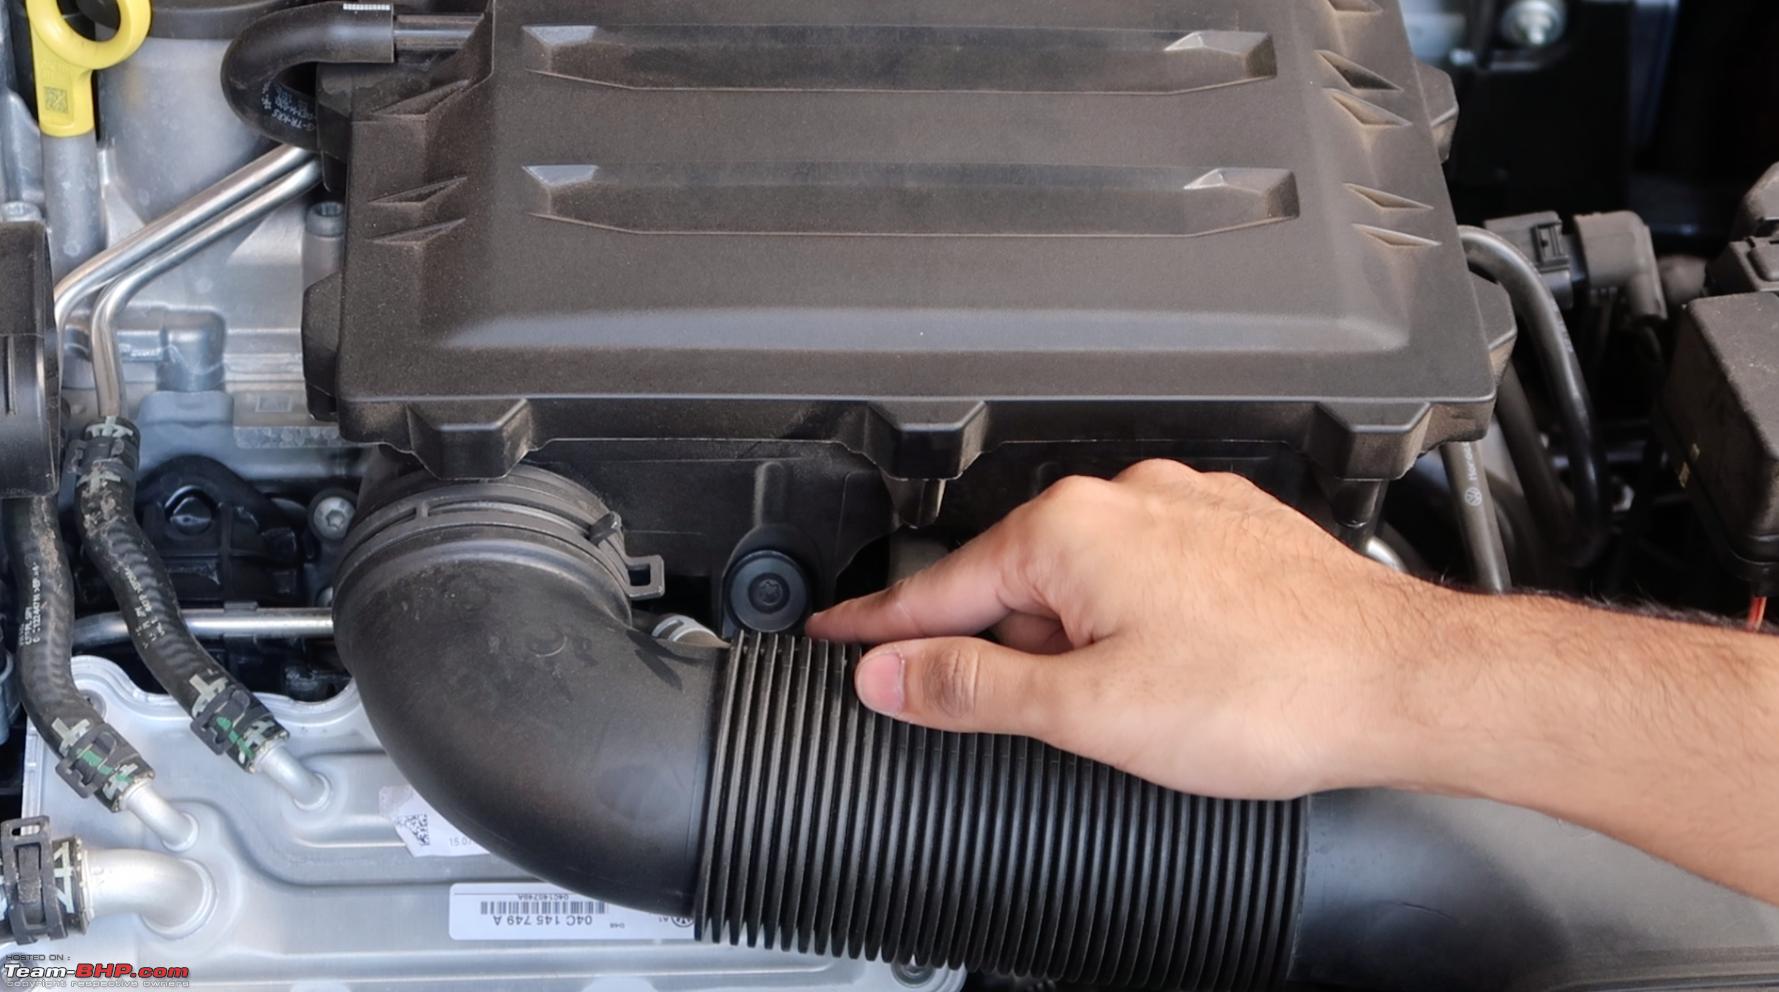
Now, we remove the small
Breather Hose which connects on the Top Left and in some cases, these hoses are really tight. This one was not impossibly tight, but make sure you don't break, bend or stretch it too much while pulling it off. If you have a really tight hose, I'd suggest using a Trim tool to guide the hose off, nice and easily.
Next there’s a
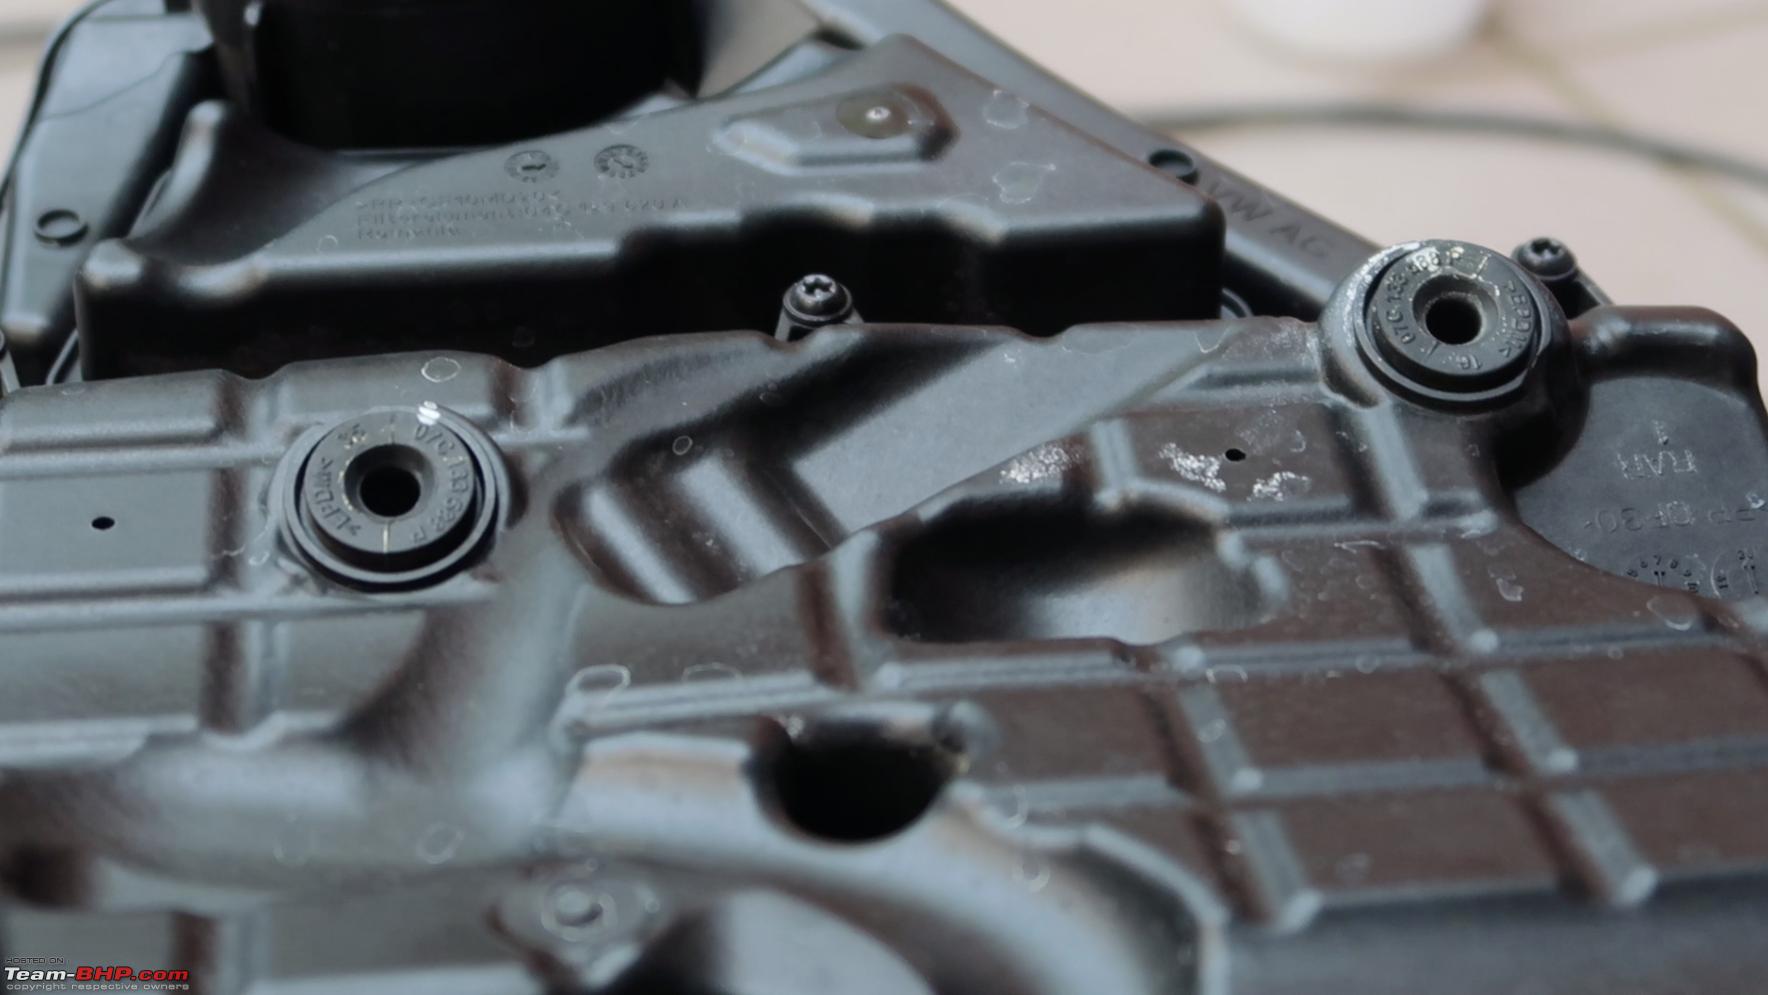
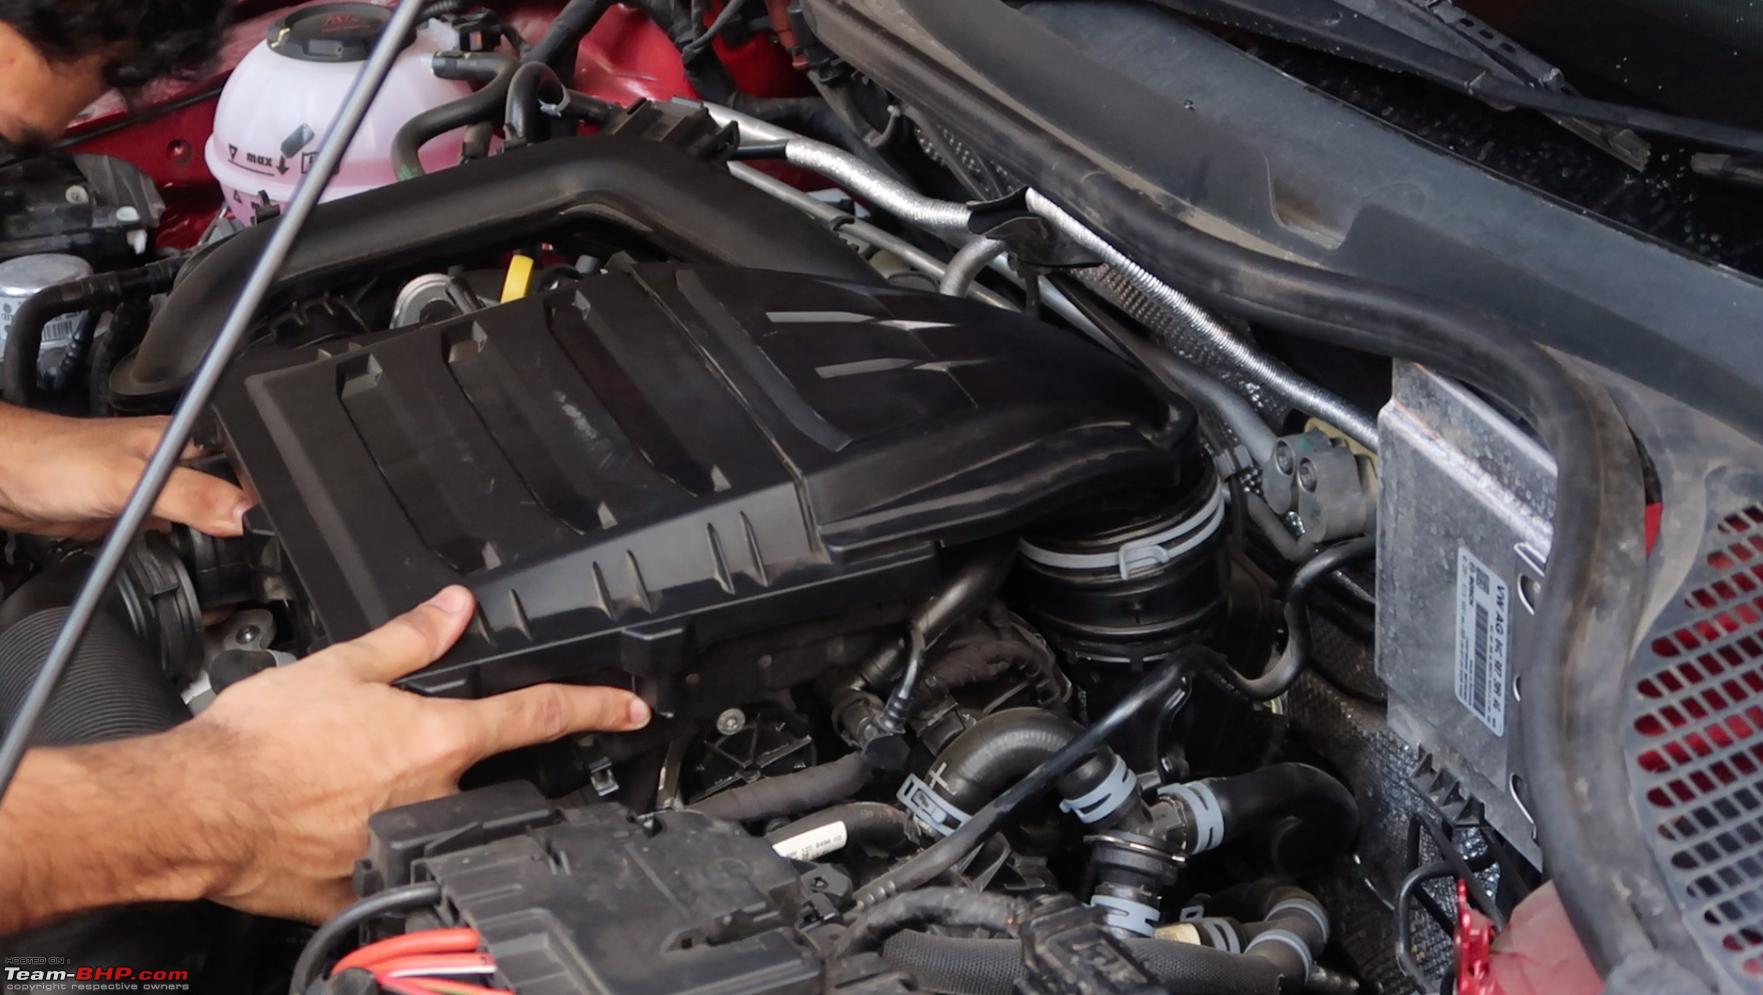
small vacuum line which needs to be unclipped on the right side of the Air Box. Next, we proceed to loosen the Hose Clamp connecting the Air Box at the rear and after this clamp is free, we can pull the entire Air Box upwards and out of the engine bay!
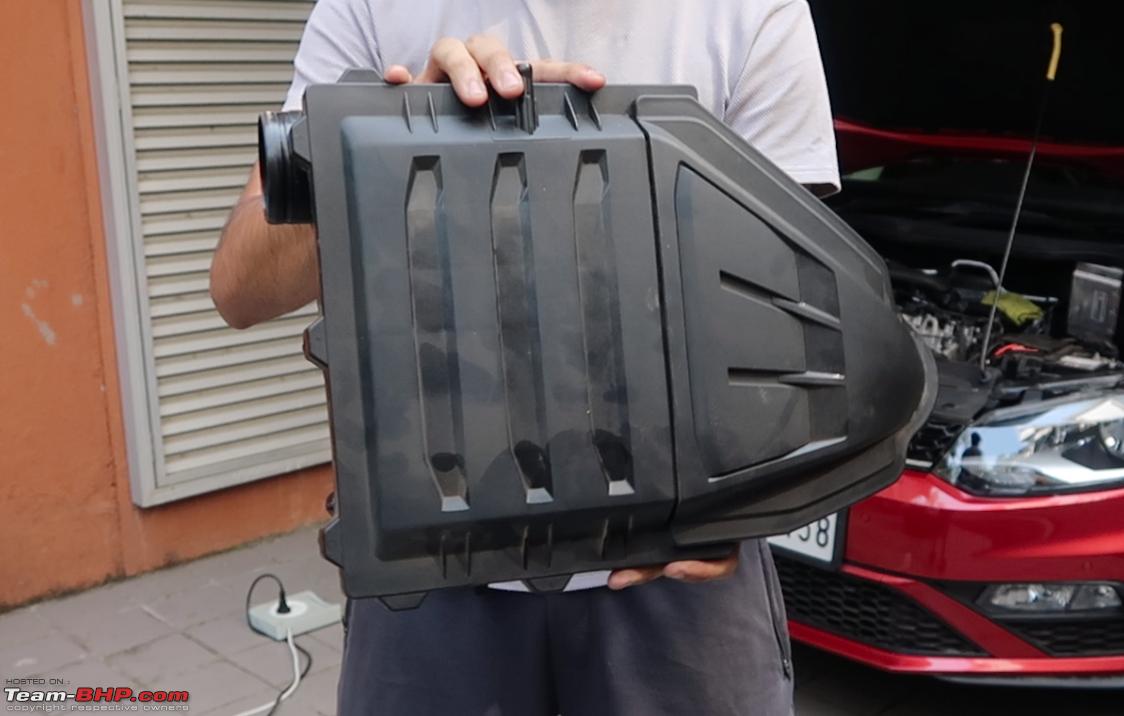
It could be helpful if you had someone to help you with the clamp as you could then focus on pulling the Air Box upwards and out from the Mounting Spots on the Engine Head. I could manage alone, but would have been glad to have a helping hand.

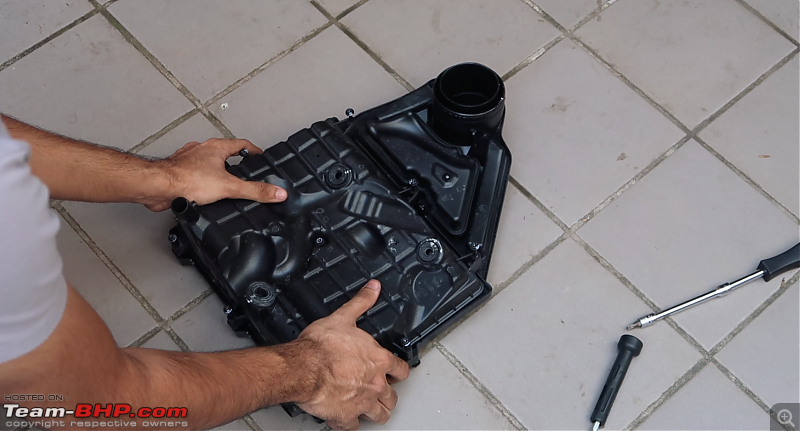
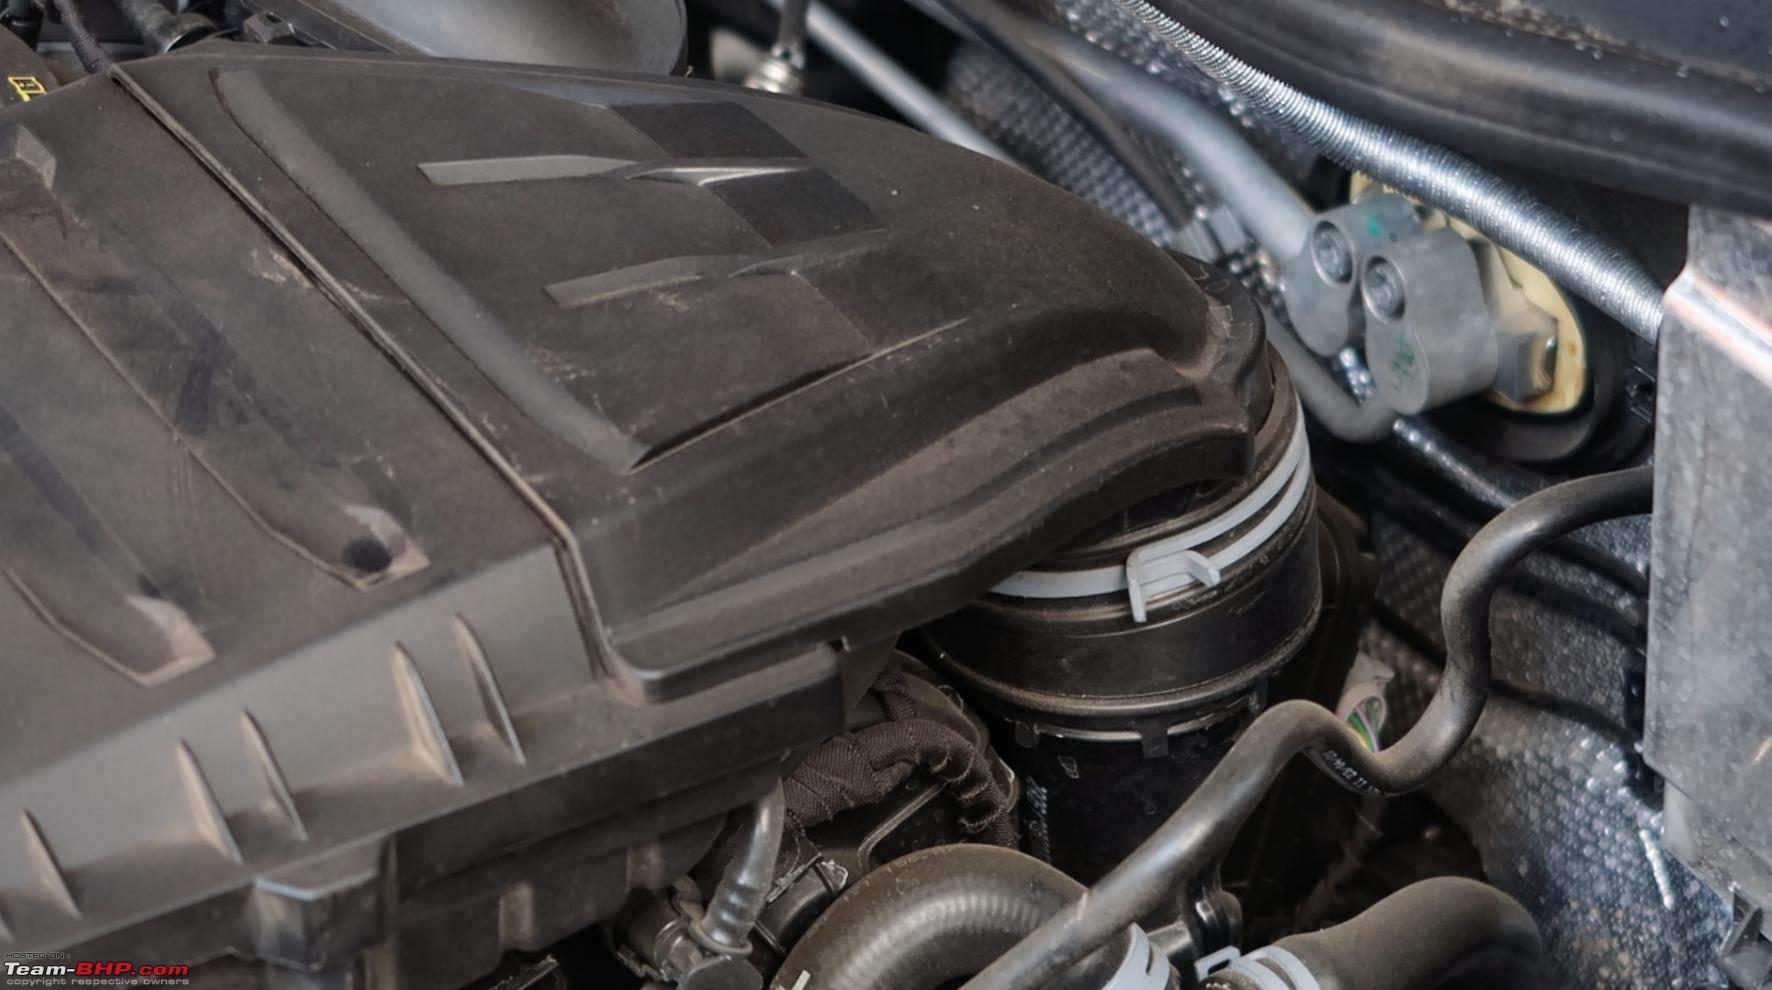
With the Air Box out of the way, it’s a good idea to place a small towel on the rear opening to prevent foreign objects from falling deep inside.

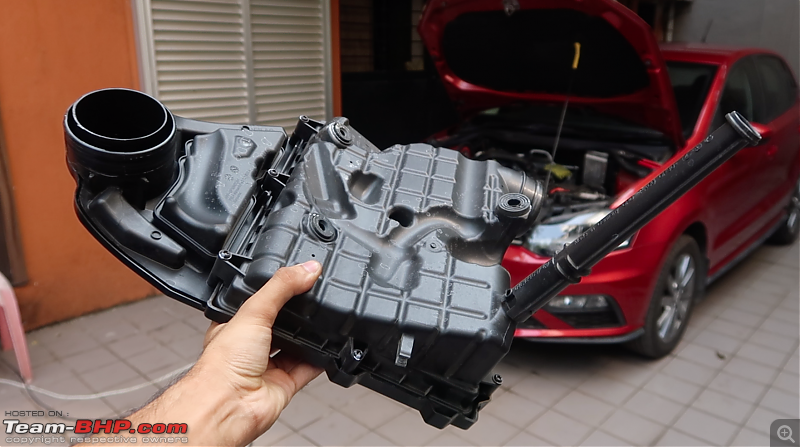
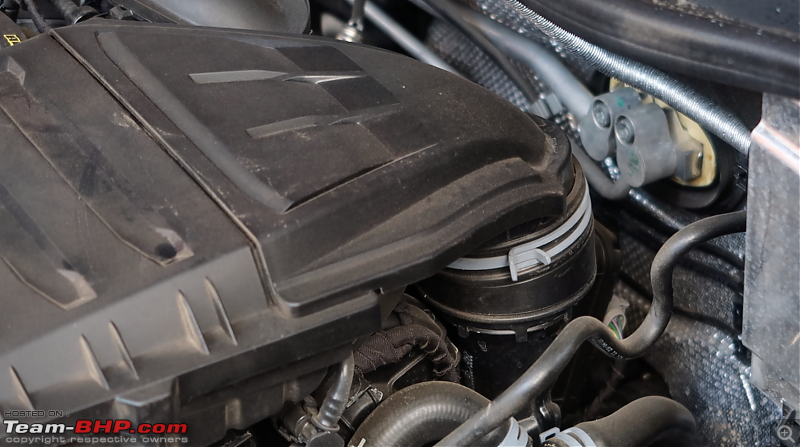
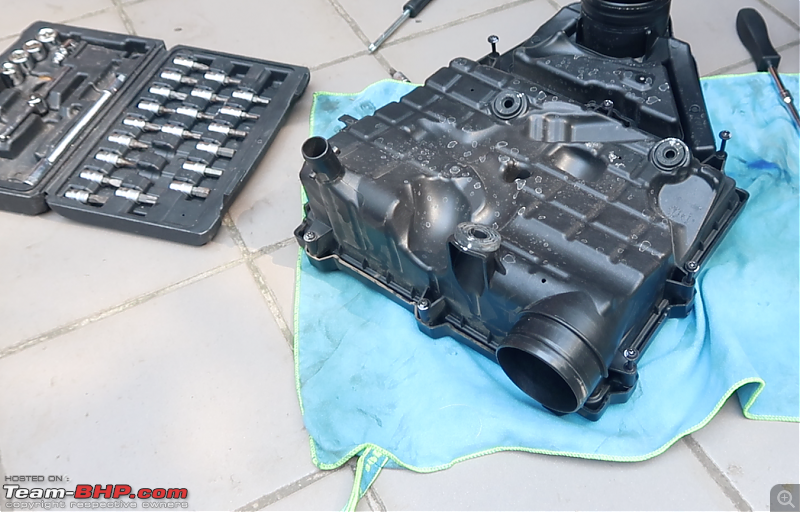
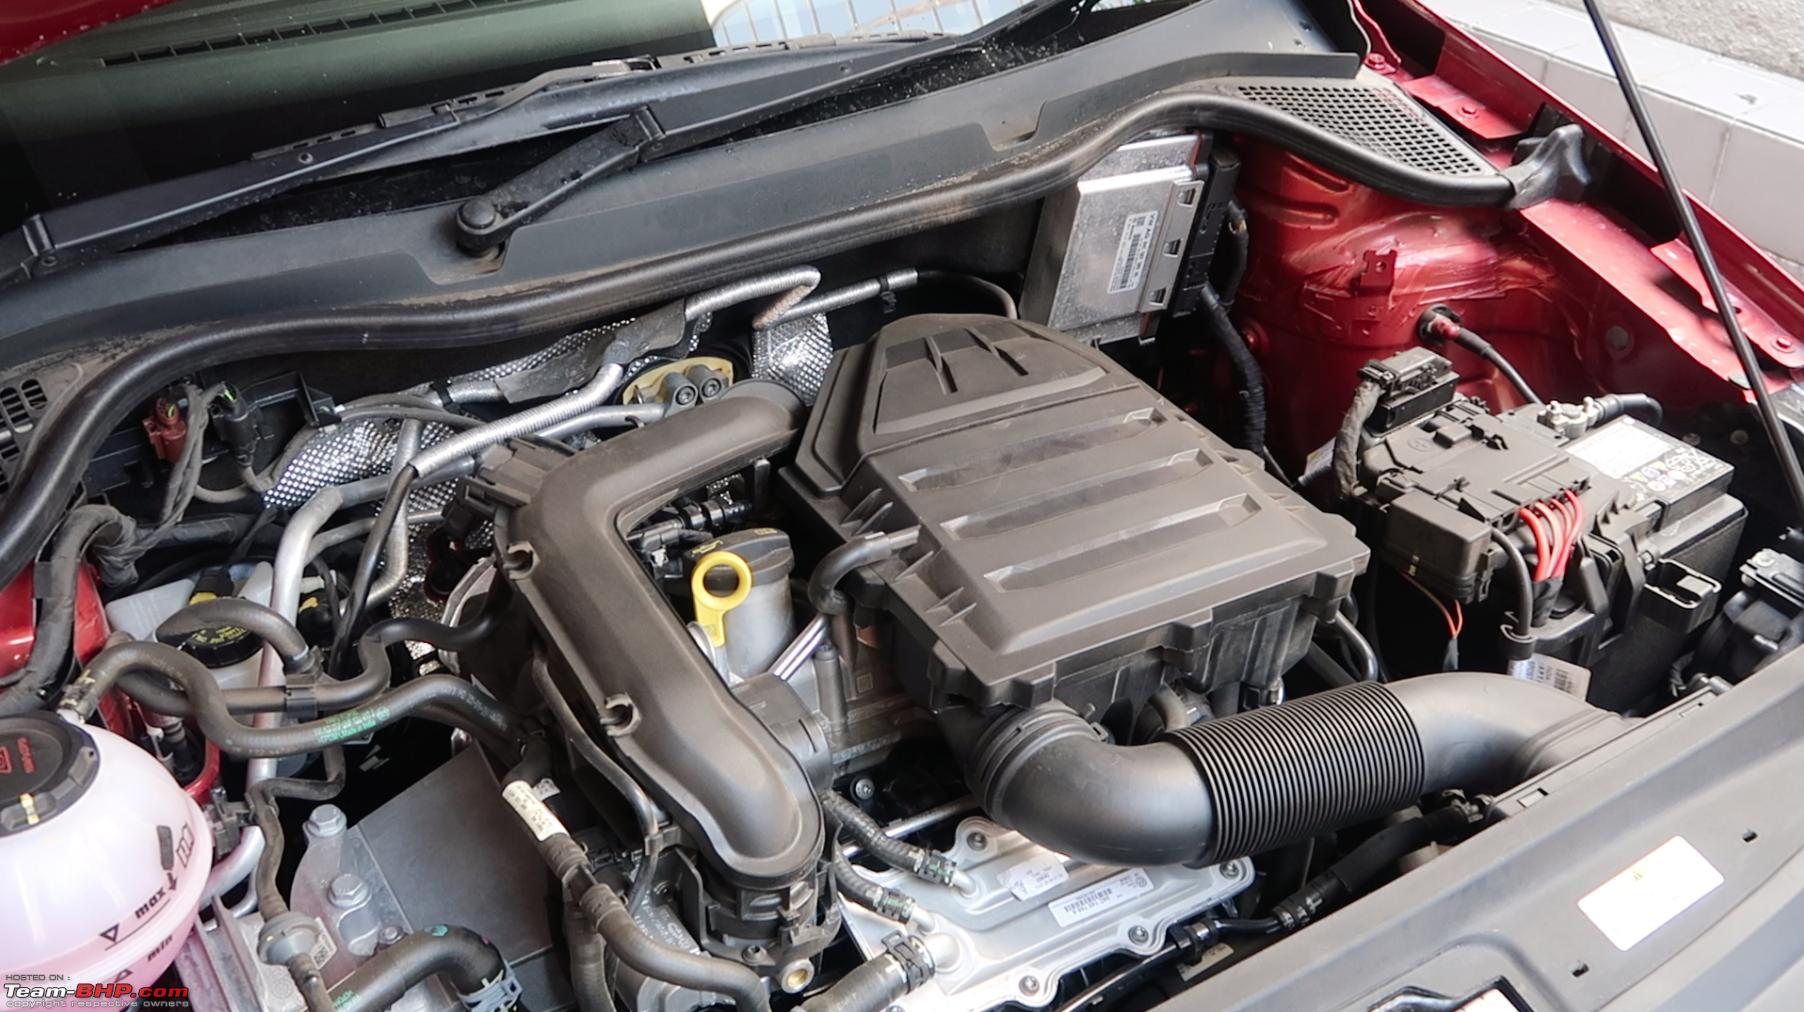
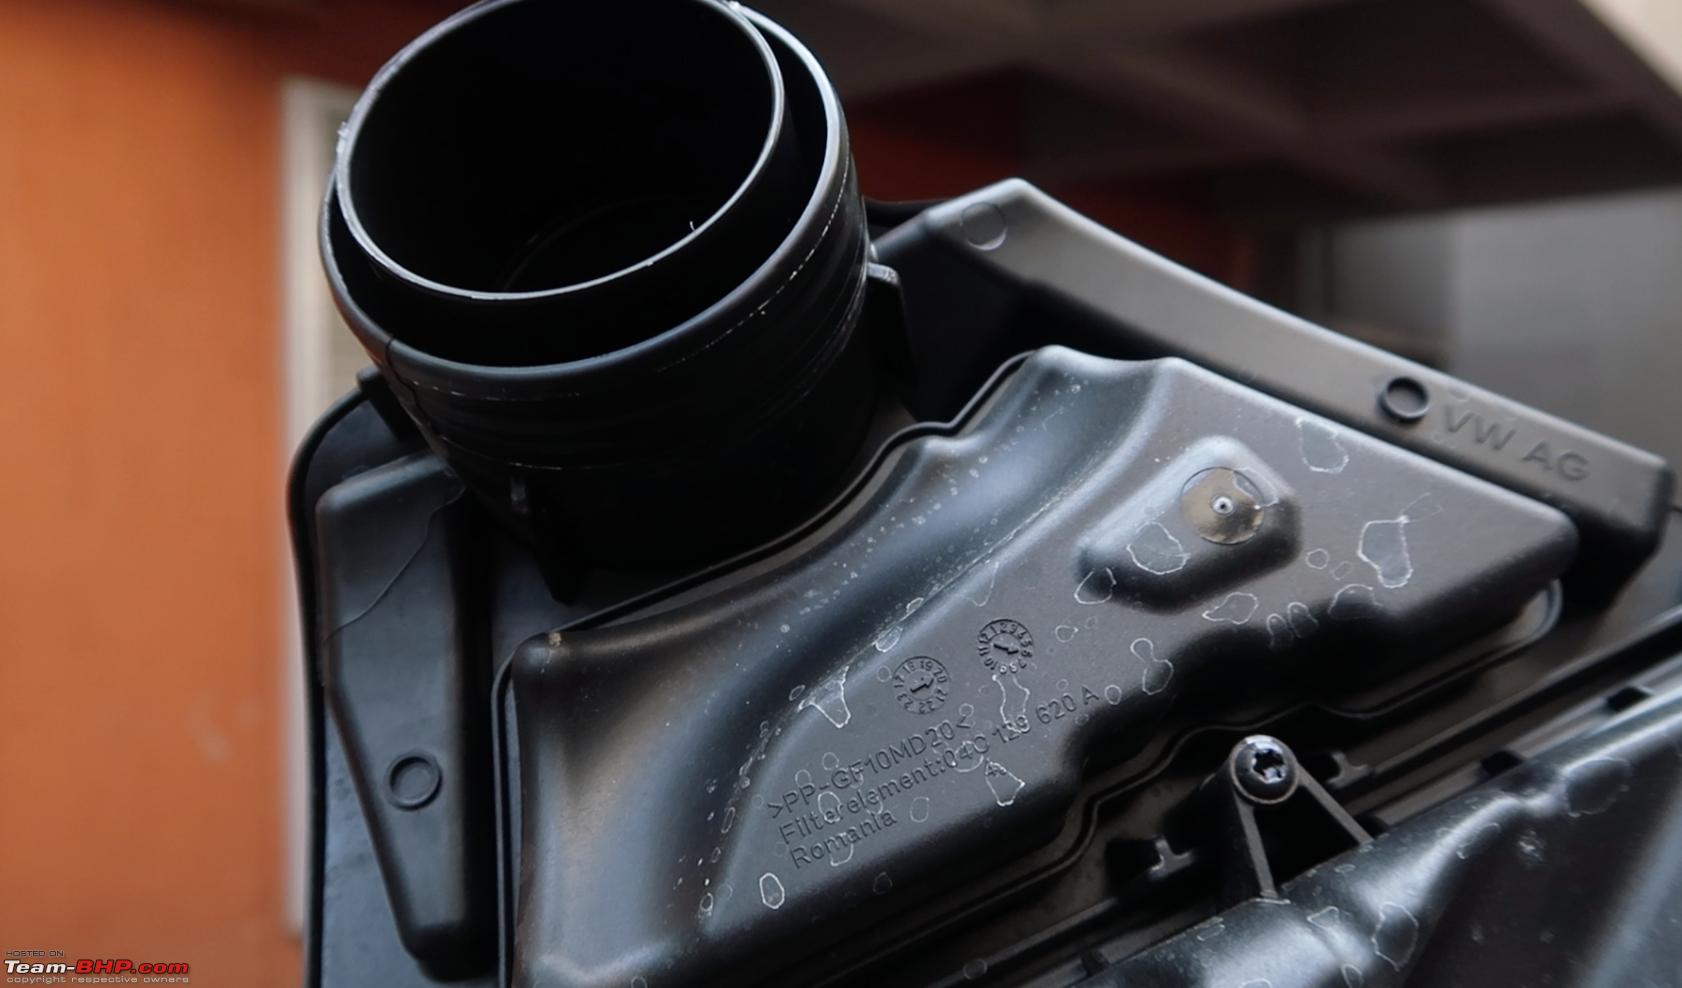
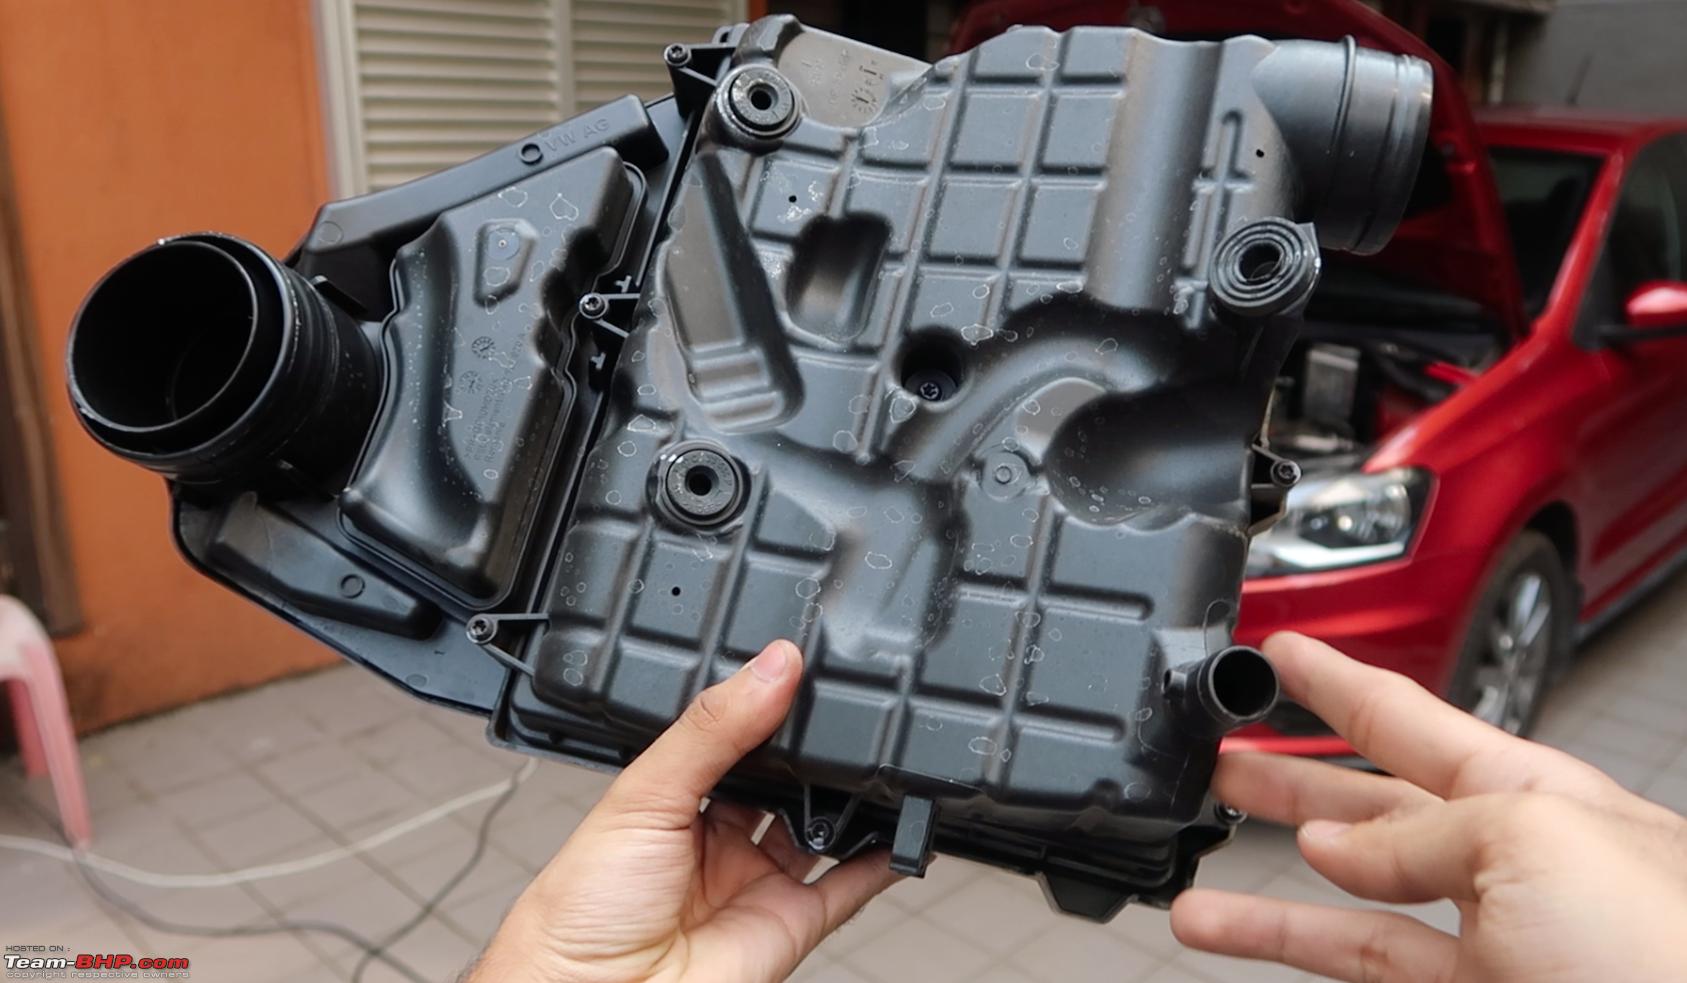
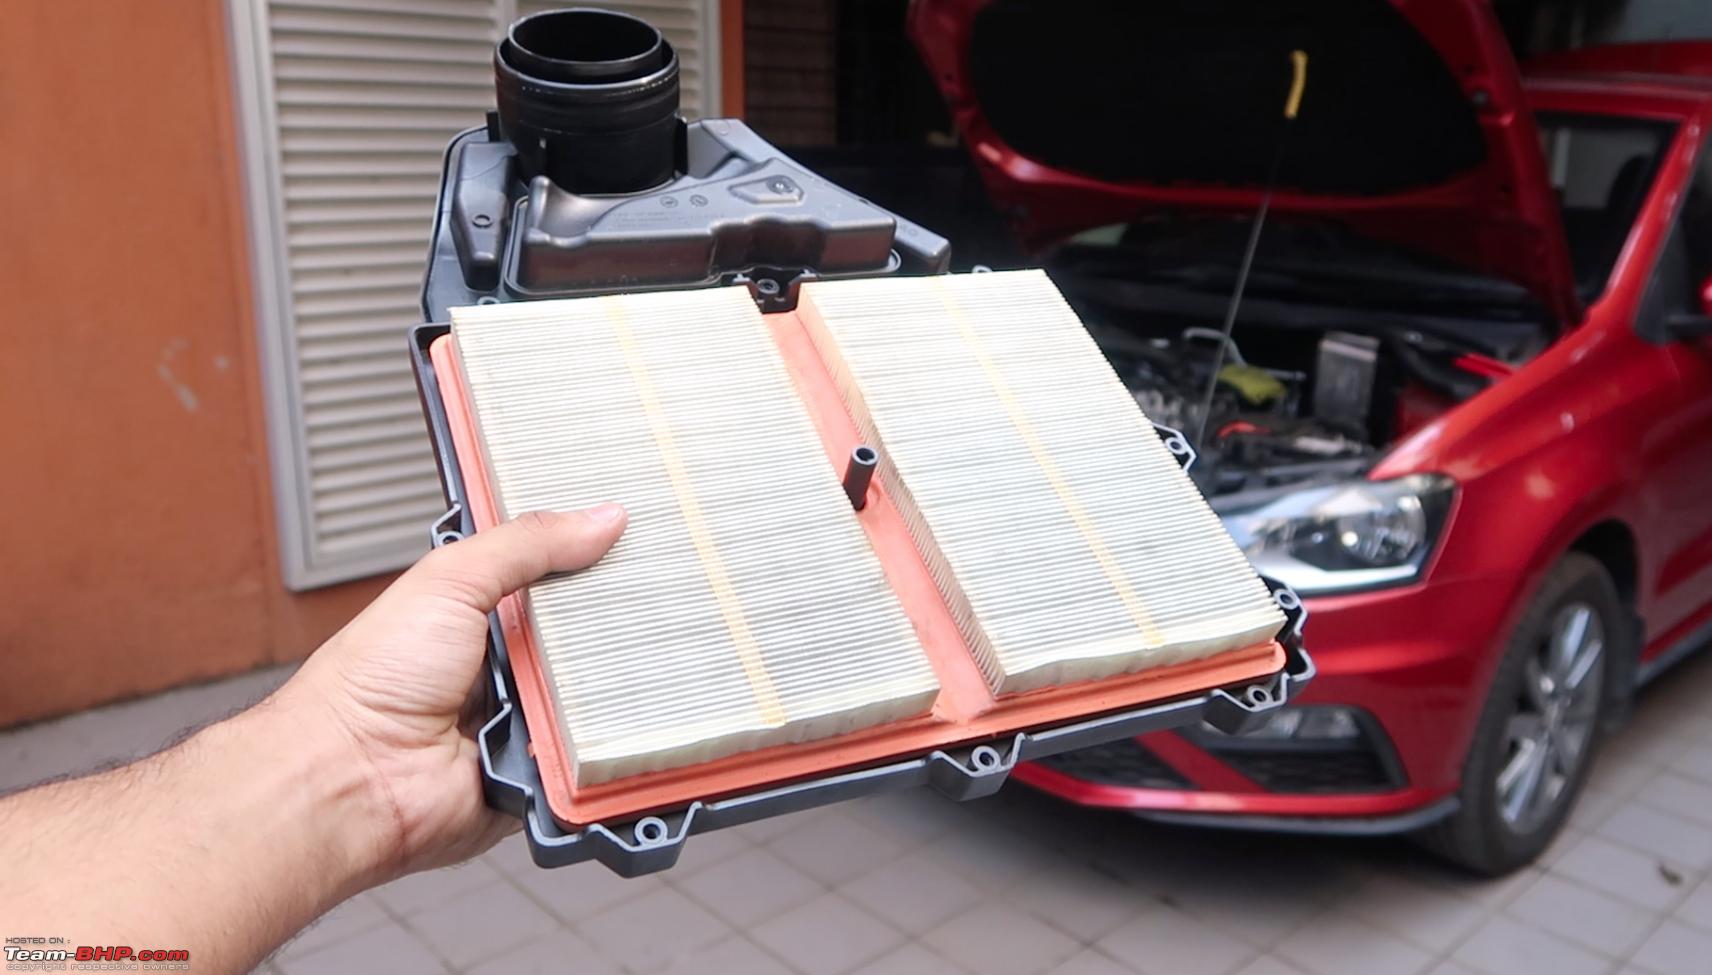
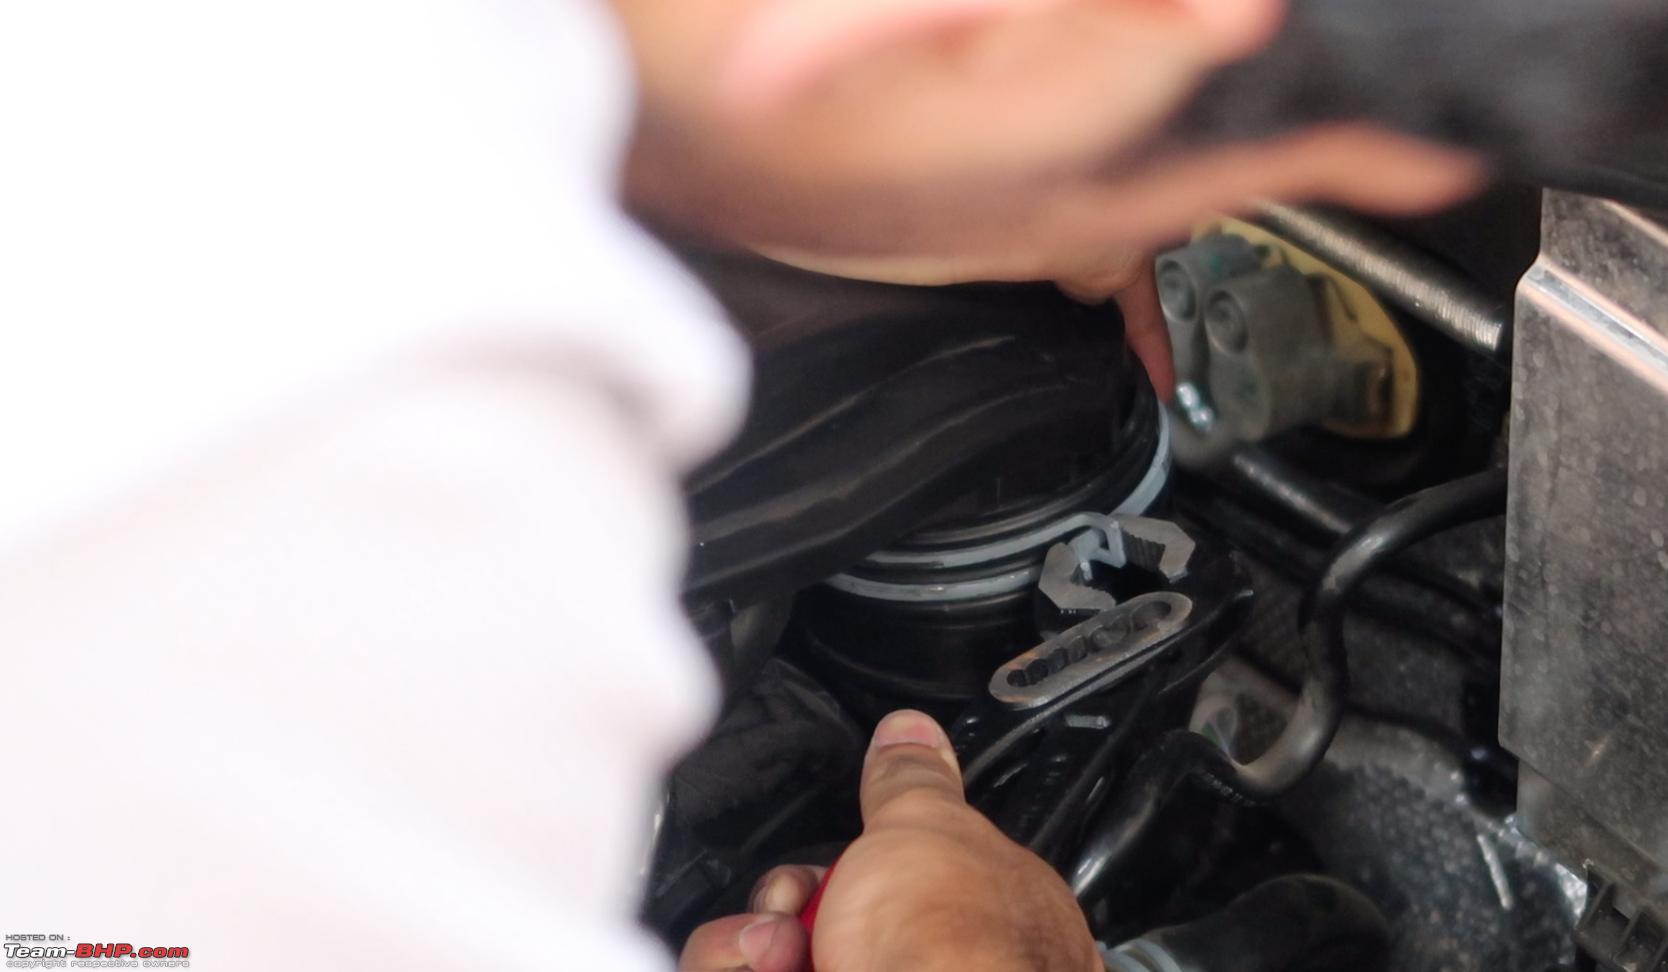
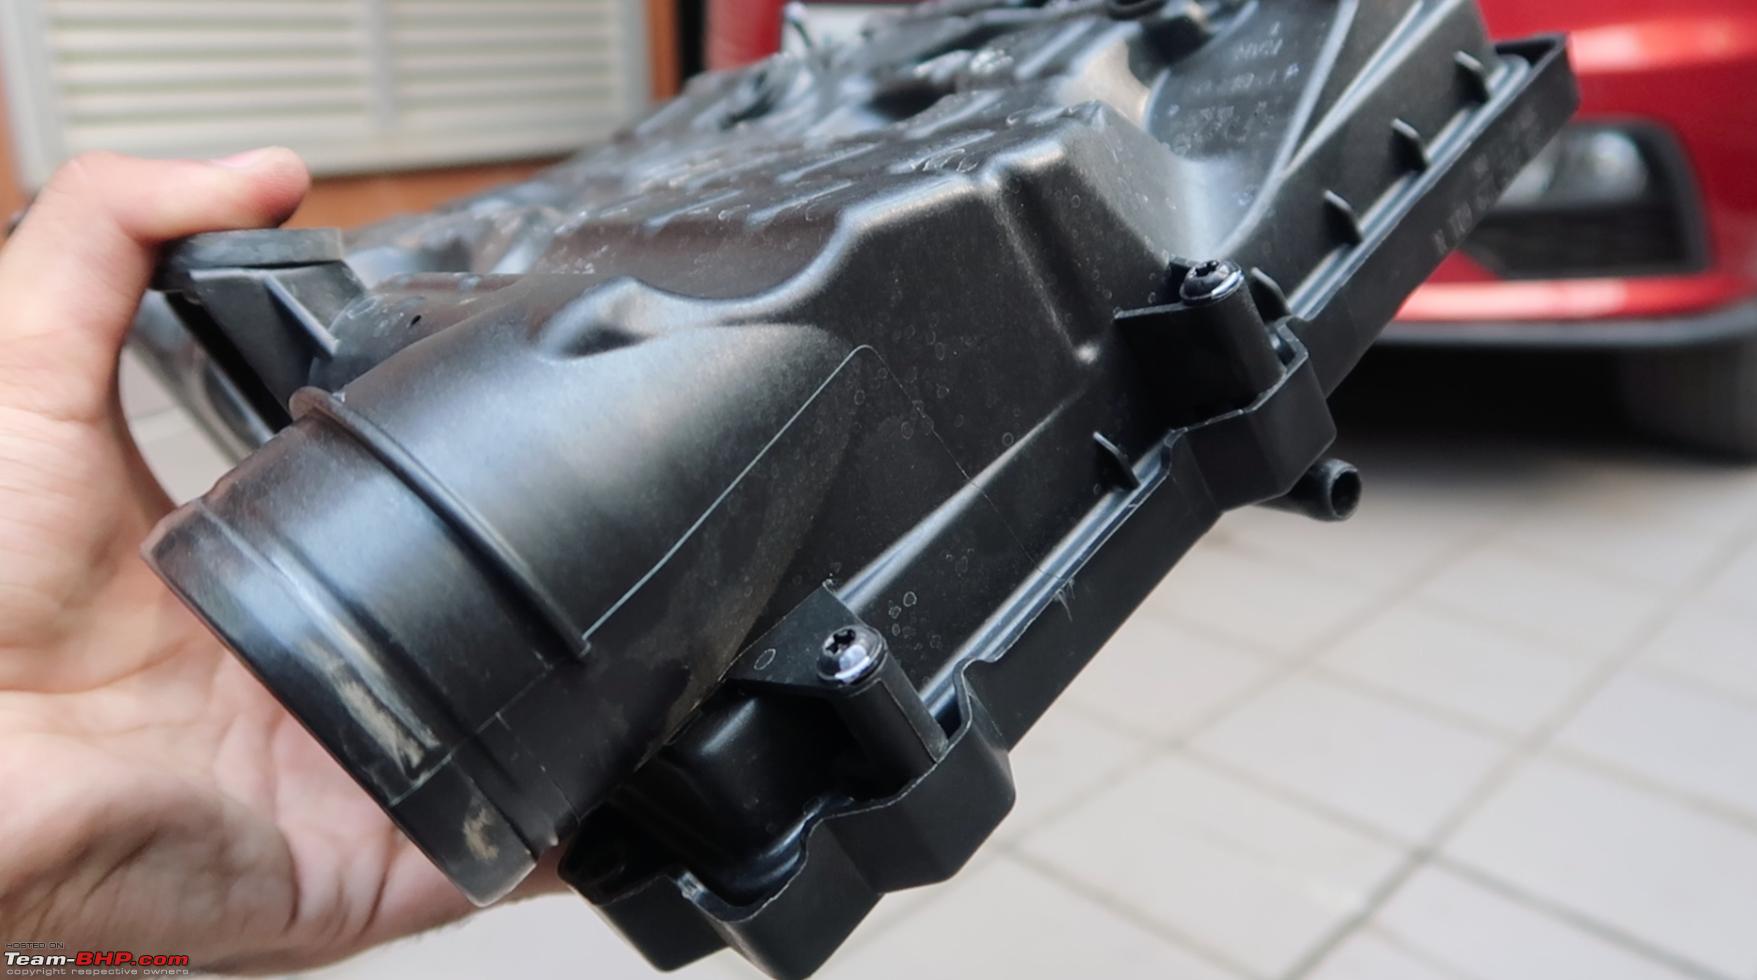
Let’s have a quick look at the Air Filter box, which is made in Romania, but before that let’s unscrew and speak about the
Water Drain Pipe, which locks and unlocks with a click. This Drain Pipe needs to be inspected and cleaned with compressed air to allow a reliable passage for any water picked up by the intake, to leave the Air Filter Housing.
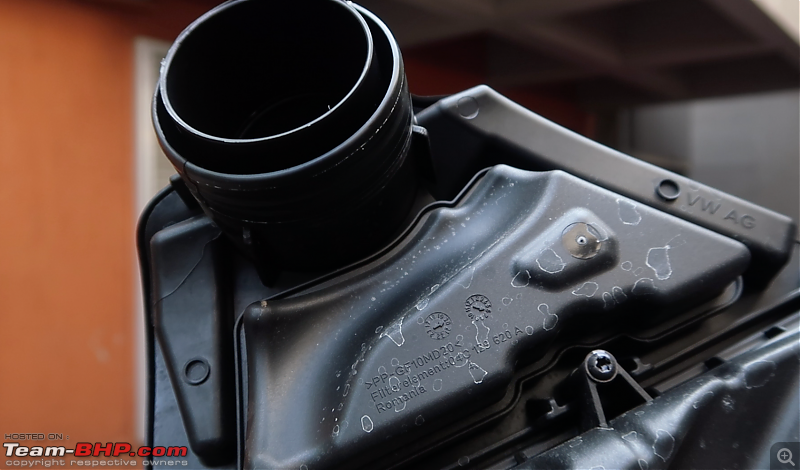
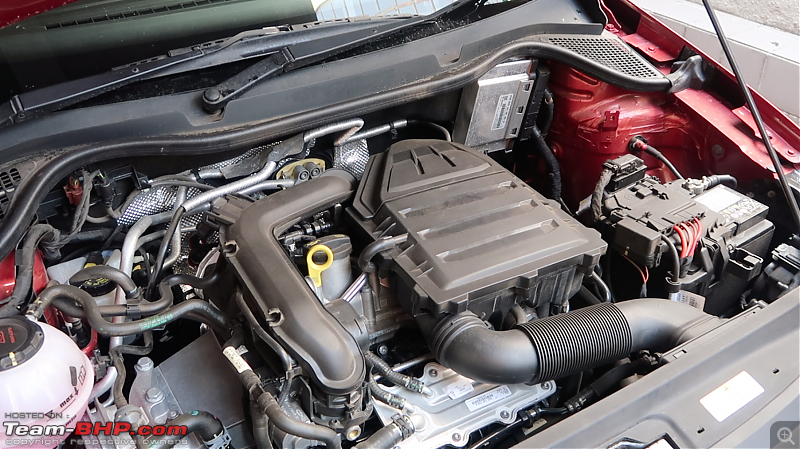
The Air Filter box is Made in
Romania, and to my surprise, lacks any TSI branding on Indian variants. I’m frankly not a fan of this design and I hate to reiterate, but I believe it is incredibly stupid having to remove an entire intake assembly, for merely cleaning an air filter. We aren't speaking about cleaning or replacing the spark plugs are we?

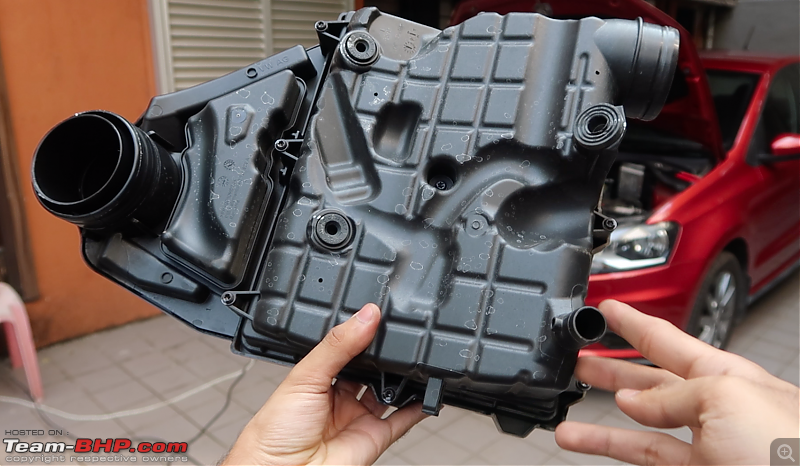
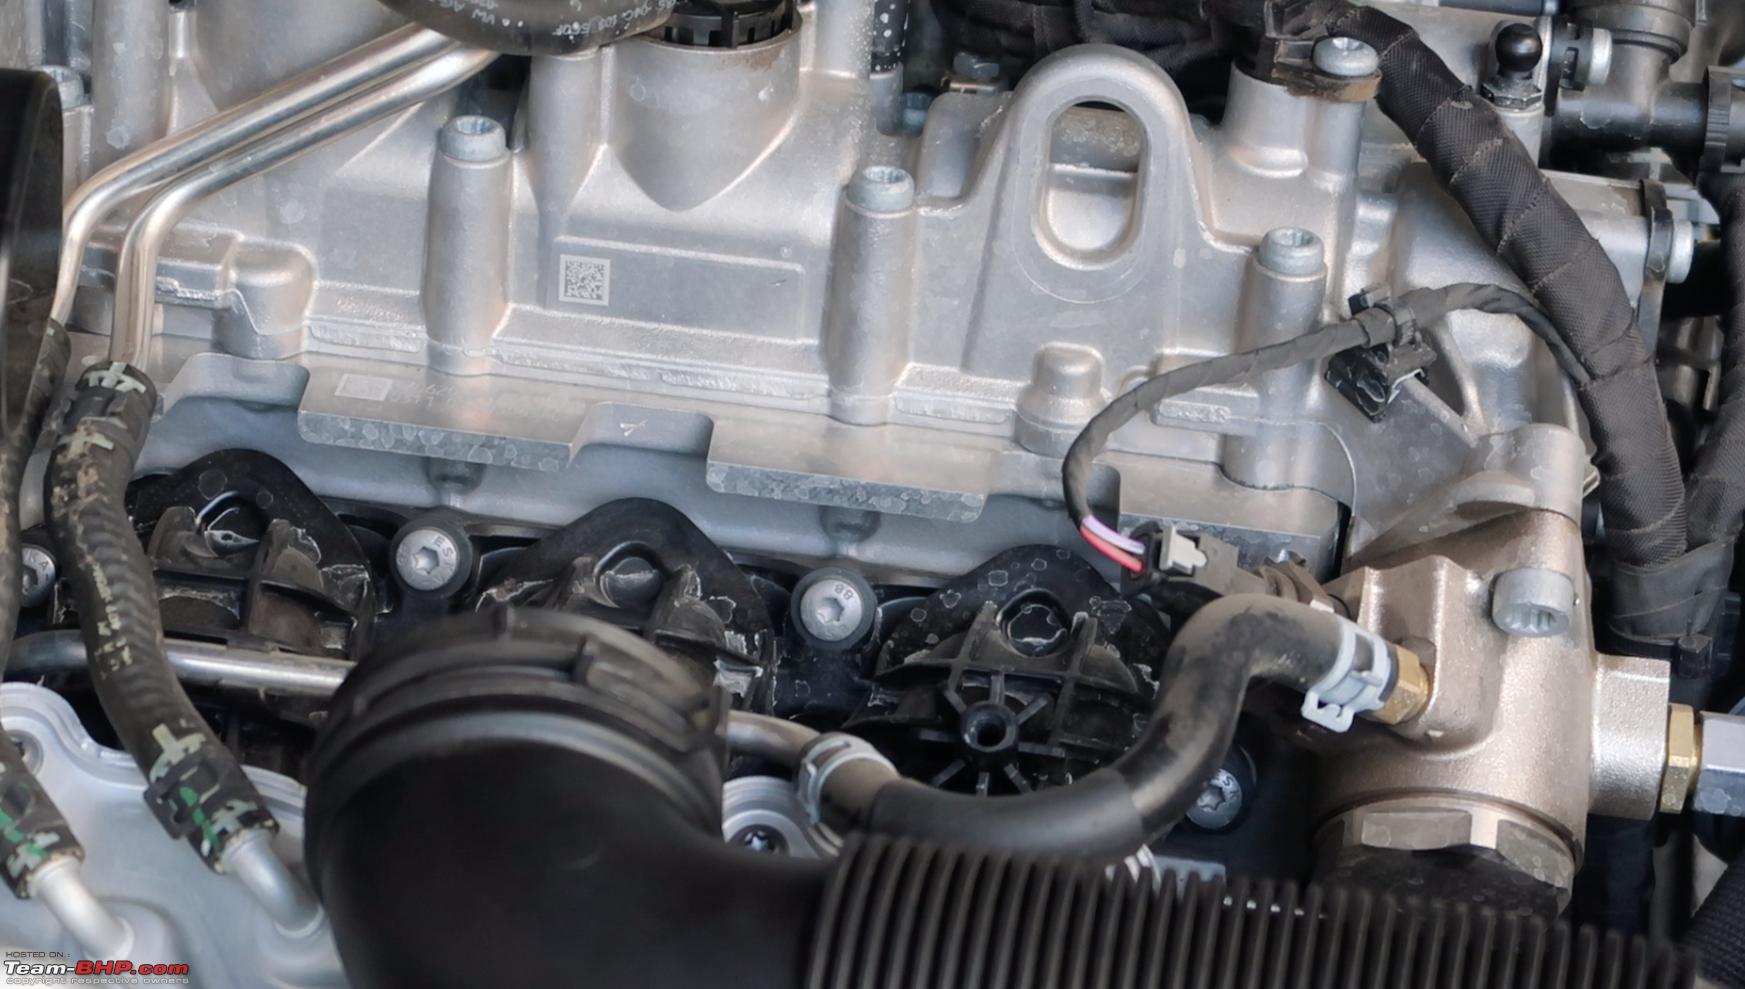
And from the looks of it, this could totally have been avoided if the screws were on the front side, like the outgoing Polos we have here. The rear of the Filter Box houses the
9 T25 Torx Screws, 8 of which are around the box, while the
9th one is recessed in the centre. What is ingenious though is that these screws do not fall out.
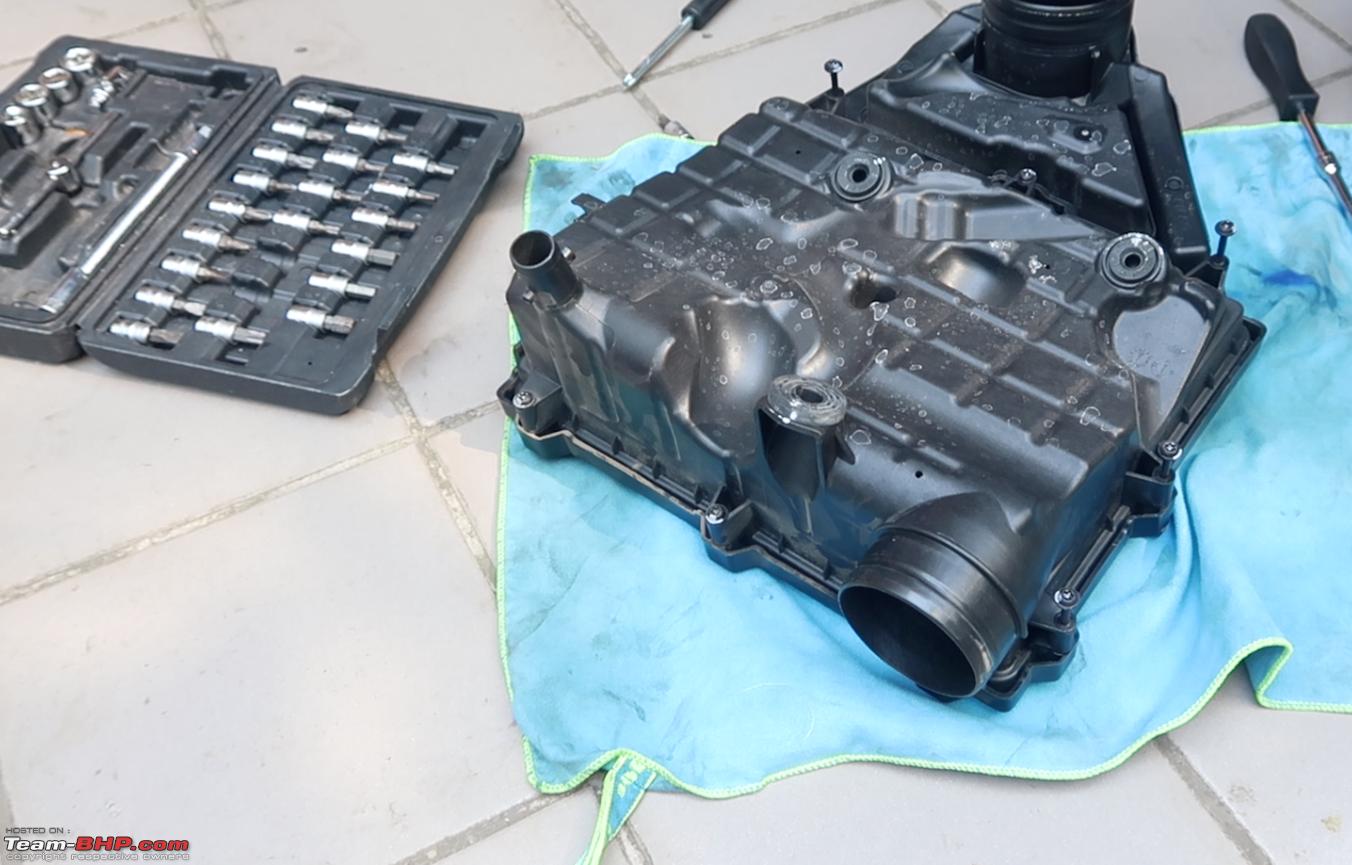
Before unscrewing the filter box, I’d suggest
placing a cloth on your working space because that would
prevent any deep scratches to the air filter cover, which isn't pretty to begin with. With all of the T25 screws loosened, you can take the cover off and there you have your Made in
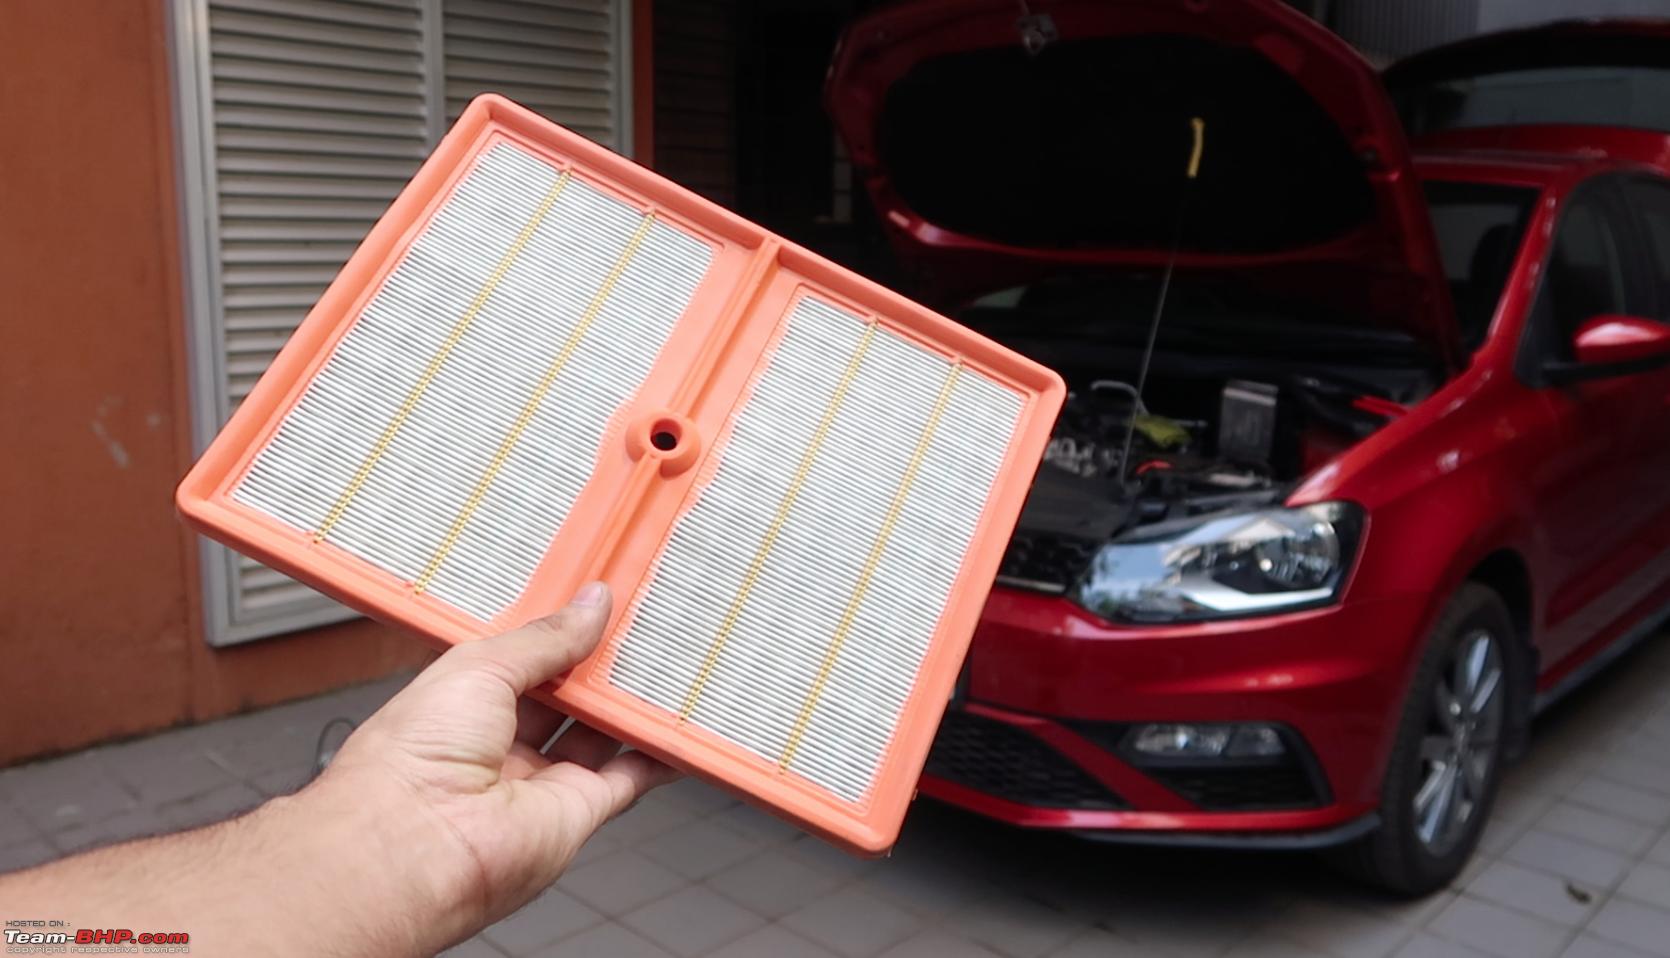
Italy, Genuine Engine Air Filter waiting for you.

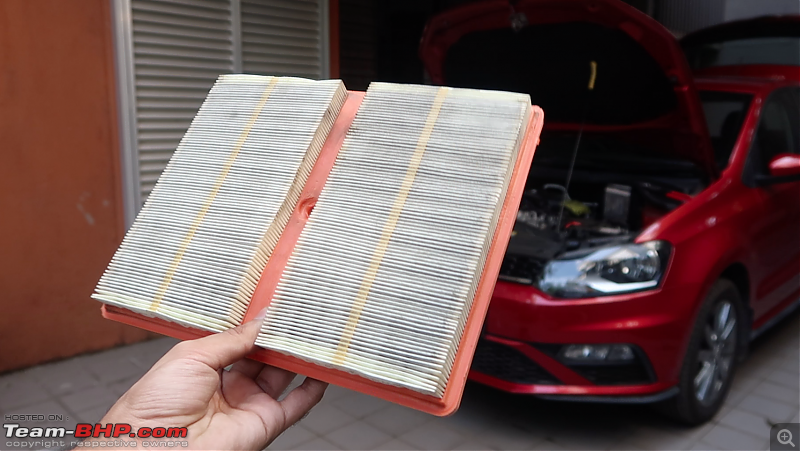
It's got a
hole in the middle, like a Polo. As per the Service Manual, the Air Filter is recommended to be
Replaced after 2 Years or 30000kms, whichever is earlier, but Volkswagen acknowledges that India is a high dust country, and so its a must to at least clean the filter after a Year or 15000kms. In fact, this duration would be even lesser if you drive through very dusty environments. This car, which is primarily city driven, is just about 3 months old and has been driven for only 1600kms, and this filter is fairly clean as you’d expect. All I’m going to do now is clean it with some air, but you could also just tap it clean against the floor. It was only slightly dusty, but you wouldn't be able to tell from the pictures. Now’s a good chance to
clean the entire Air Filter box thoroughly with a rag, before we proceed to seat the replaced or cleaned air filter back in the Air Box.

Put the lid back on, and start tightening the 8 T25 screws on the cover in a
criss-cross pattern, to avoid cross threading and to ensure that the air filter box is properly seated. Then, also tighten up the 9th T25 screw in the centre of the housing.
Torque Specs 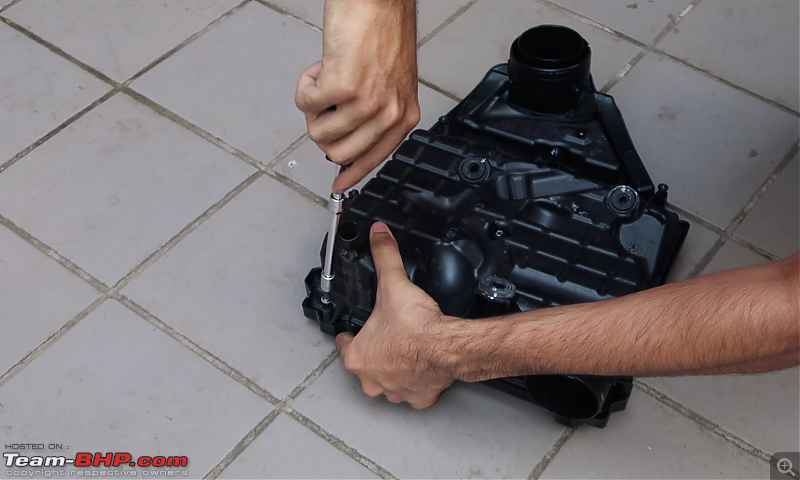
Now, the torque spec for the
T25 bolts is 1.5Nm and just for fun I had a look at the least count of my digital torque wrench and its 2Nm. Well It’s a plastic assembly, and I can safely say you’d be good by merely
hand tightening all of these T25 screws.


 18th January 2021, 15:49

 (19)
Thanks
(19)
Thanks


 .
.


