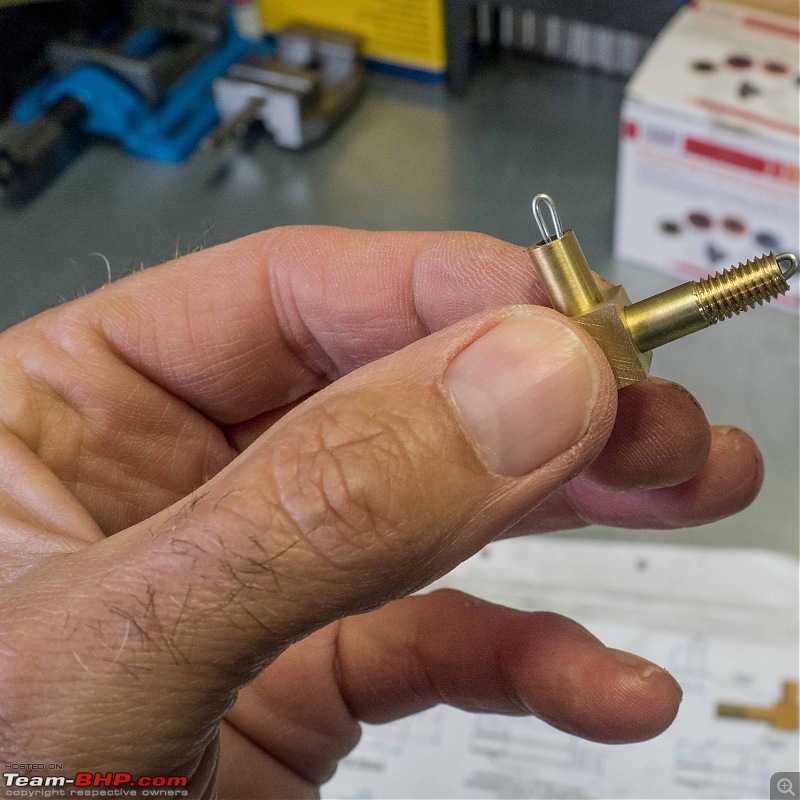
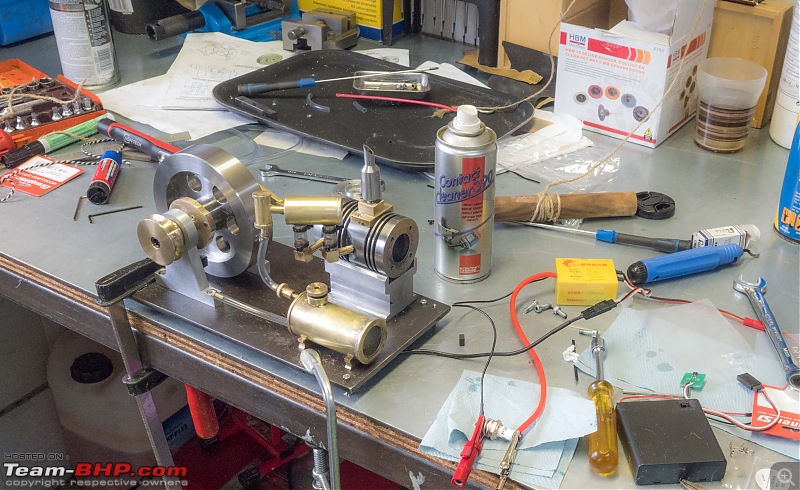
Some more fiddling with another Hall sensor and that broke too. No idea what is wrong. The only thing I can think of is that somehow the electronic ignition and the Hall sensors I am using are not compatible? A bit weird.
I have been getting some good suggestions from my friends on my Dutch Modelbuild forum. One suggested just replacing the hall sensor with a micro switch.
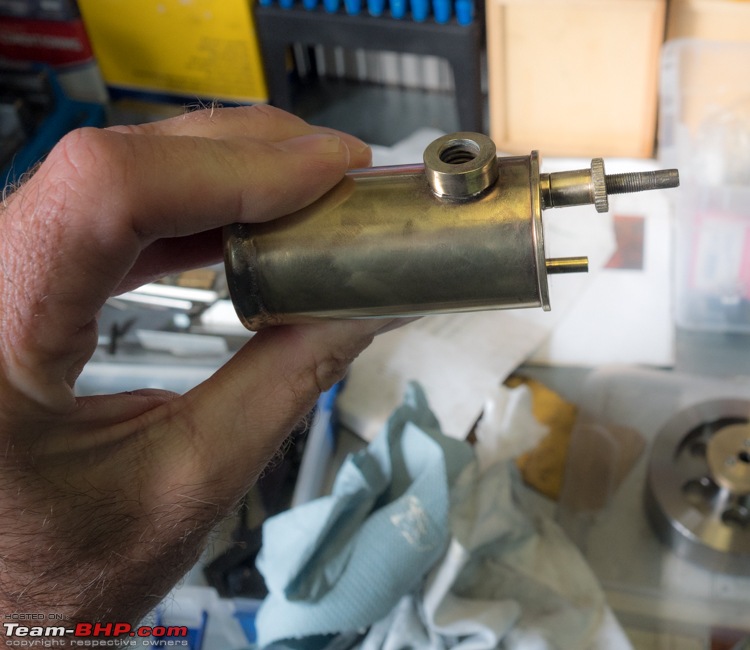
But first I wanted to produce the spark plug. As I mentioned earlier; the ready made spark plug protrudes less through the cilinder head as the DIY version. Which means two things; The compression ratio will be negatively impacted and also the actual spark is very high up in the cilinder head.
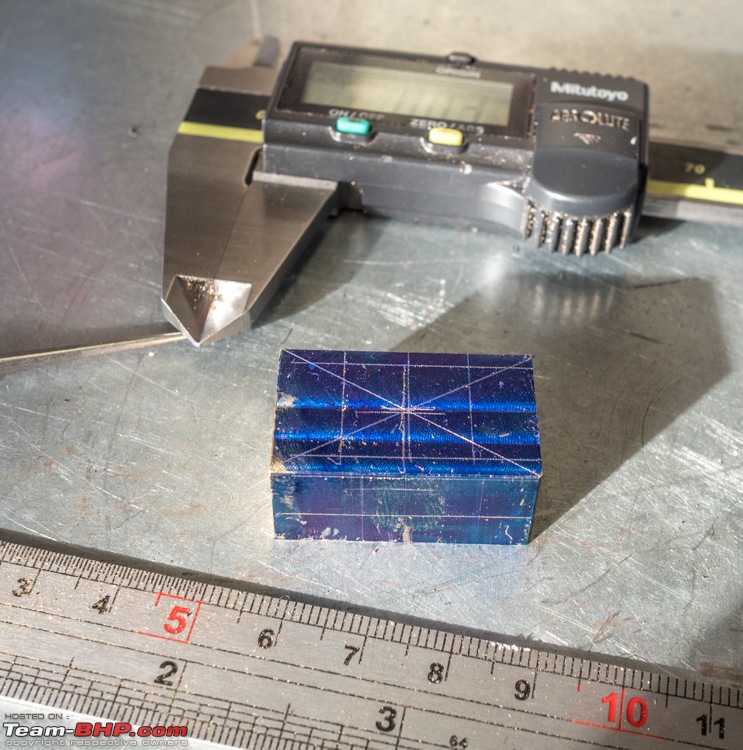
Producing the steel body for the spark plug was pretty straight forward

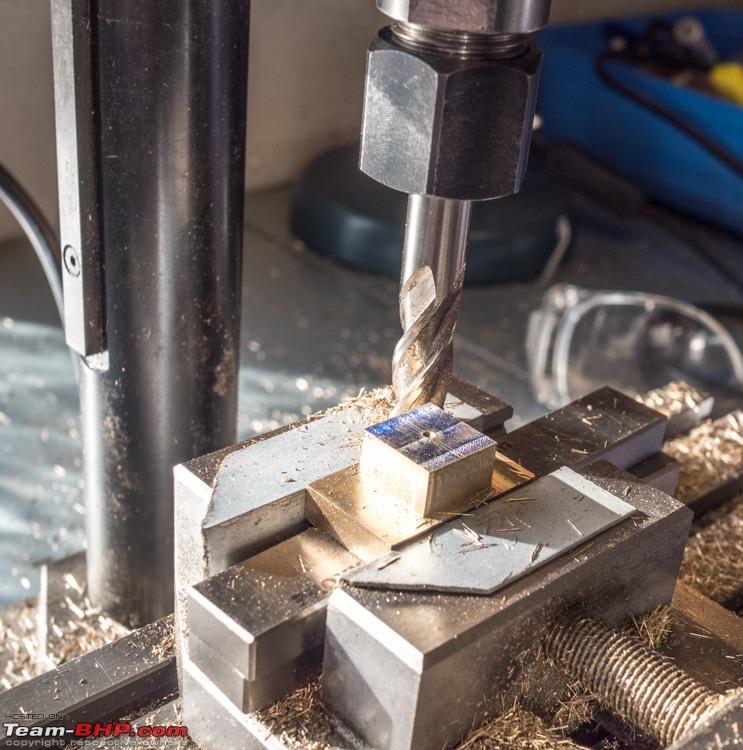
One of the two electrode is attached to the body, the other sits in the middle of the insulator. The former needed a tiny 1mm hole right on the edge of the 6mm hole for the insulator. (see drawing below). Drilling a 1mm hole is nerve-racking at the best of times. Getting it in a very specific position is even worse
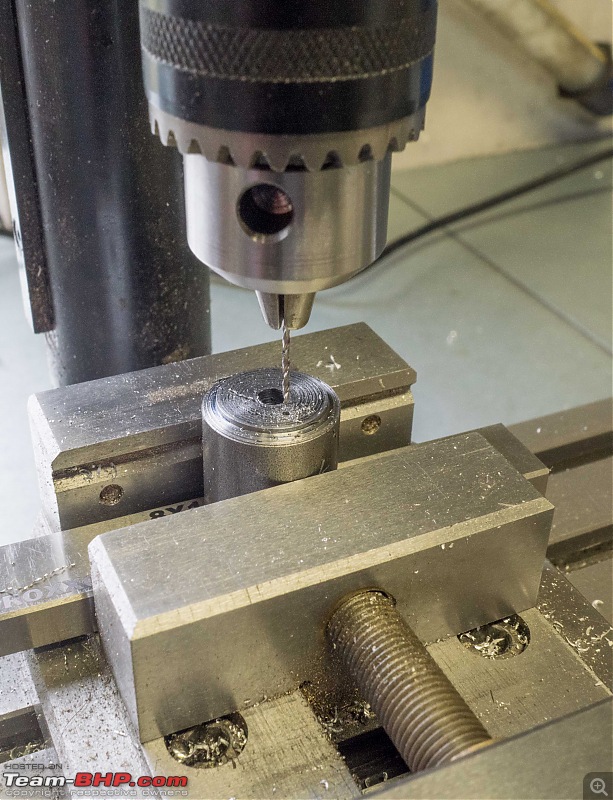
I wanted the 1mm hole for the electrode to slightly overlap with the 6mm for the insulator. That way the electrode would be nicely held in place.
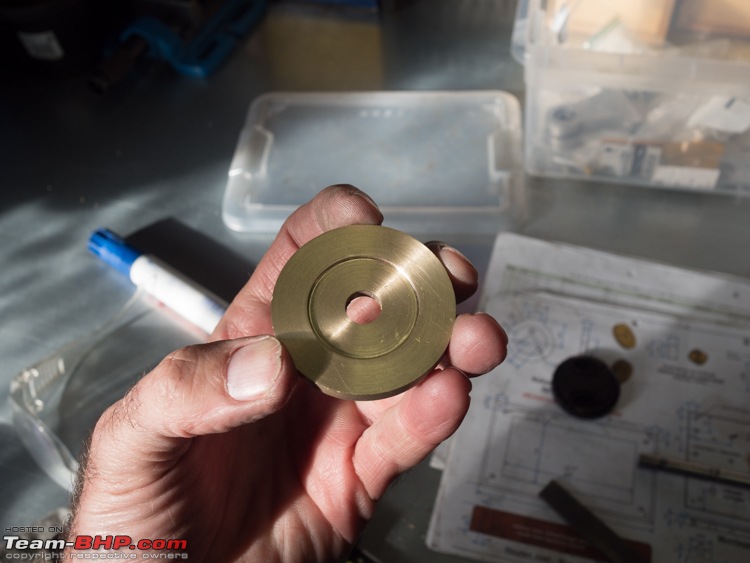
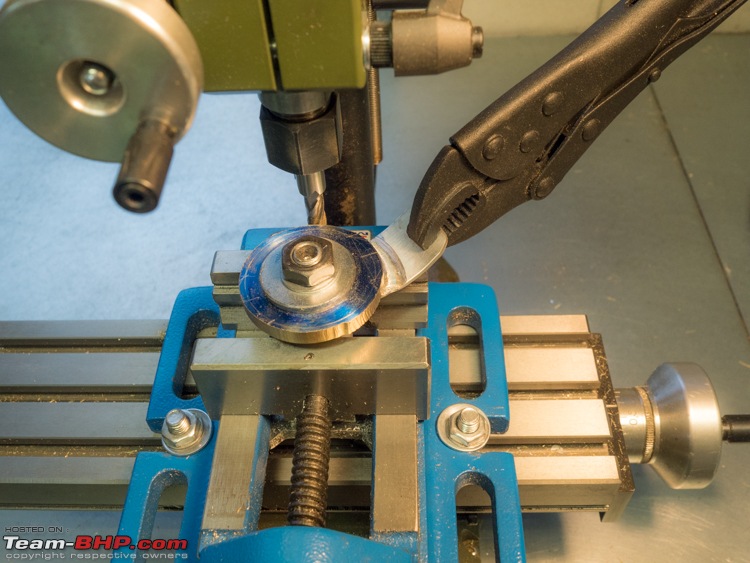
Used my mini-mill to make two flat sides on the body of the spark plug so a standard 14mm open wrench would fit nicely

Next, turning the teflon insulator. Never turned or milled teflon before. Very easy.
Cutting the thread went very easy.

Beginning to look like a real spark plug already!


Next I got a brass bolt, cut of the head, drilled a 1mm hole top to bottom and inserted another electrode. Soldered it together.

Voila!! I must have handled hundreds of spark plugs over the years. But this is my very first DIY self made one. Gapped it at 0,55mm

Here you see the ready made and the DIY spark plug together:

Next, to replace the Hall sensor with the microswitch.

Yes, yes, I know, looks a bit patchy and iffy. But this is just a try out version. I soldered on some wires so I could hook up a multimeter in parallel. That allows me to adjust the ignition timing, using a simple multimeter

Fairly straightforward. I loosen up the three grub screws on the fly wheel. I push the piston to it top bottom point using the micrometer. At that position I turn the flywheel till the cam (which is attached to the flywheel) closed the microswitch. tighten the grub screws and Bobís your uncle.
I also made a small adjustment to the little ball valve. Itís opening height was about 0,5mm to big.
Next filled up the carburator with Coleman fuel. This is what happens then:
I am ever so pleased!! Very proud of myself. It runs really well. I tried starting it by hand four more time. The fourth time after it had been sitting idle for over an hour. Starts up straight away. Which means that all the fittings, dimension, clearances etc are all pretty much on the mark!!
I will need to make a proper mount for the micro switch, tidy up the wiring, hide the electronics in the wooden base I made earlier. Just pretty her up a bit.
But still, I am very glad I got it to run. Not everybody has managed to do so. In fact there are not that many people that managed to get this little engine to run.
There are couple of very critical components. The piston and cilinder need to be made to near perfection. This piston does not have piston rings. So its clearance in the cilinder has to be around 0,02mm!! Which on my little Sieg lathe is a bit of stretch at the best of times. So I spend many, many hours honing the cilinder to get the piston to fit correctly. Also the piston rod seal needs to 100% concentric and again very small tolerances, or it will not run or seal properly.
Finally, what has been a problem for many model builders is the ball valve. It needs to close 100% or the engine wonít work. You loose compression and or the scavenging will not work either.
So a little bit more work to be done on Debbie. I will also be doing a proper little video on the whole building process.
Time to start thinking about the next project.
Actually, last night I bought a model V8 kit. Just a plastic kit, but at 1:3 scale and see through operation I thought it would be cool!

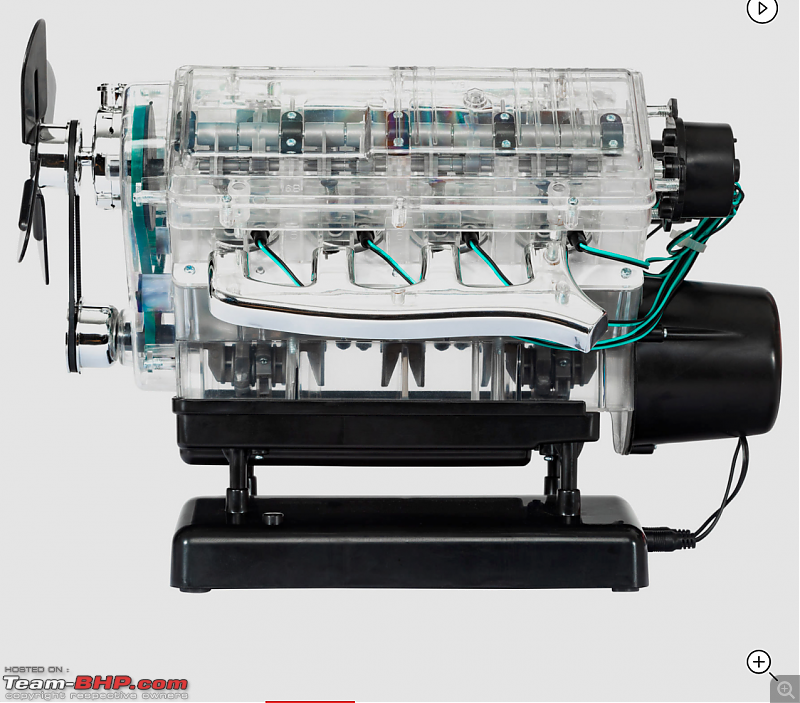 https://www.louis.nl/artikel/franzis...umber=10015027
No metal working required as far as I can see though.
Jeroen

 (1)
Thanks

 (4)
Thanks

 (5)
Thanks

 (4)
Thanks

 (4)
Thanks

 (2)
Thanks

 (6)
Thanks

 (3)
Thanks

 (6)
Thanks

 (2)
Thanks

 (4)
Thanks

 (2)
Thanks

 (9)
Thanks

 (1)
Thanks

 (2)
Thanks


