

 4th August 2019, 18:41
| #1 |
| Senior - BHPian | |

|  (43)
Thanks (43)
Thanks
|


| |
|
5th August 2019, 11:52
| #2 |
| Senior - BHPian | |
|
| (2)
Thanks
|
|
5th August 2019, 12:36
| #3 |
| BHPian Join Date: Jun 2019 Location: Kochi
Posts: 39
Thanked: 29 Times
| |
|
| (1)
Thanks
|

 ) I am planning to fit those in a nearby shop. The shop owner tells me he has some L shaped DRLs which will not cost more than 3k. He had promised me to send some pics, but has not done it yet. When I asked about the warranty, he told he will not cut any wires from the main supply and hence nothing will happen to the warranty. Do you think it will be OK?
|
5th August 2019, 13:39
| #4 |
| Senior - BHPian | |
|
| (5)
Thanks
|
|
5th August 2019, 14:32
| #5 |
| BANNED Join Date: Nov 2017 Location: Nawanshahr
Posts: 37
Thanked: 203 Times
| |
|
| (2)
Thanks
|
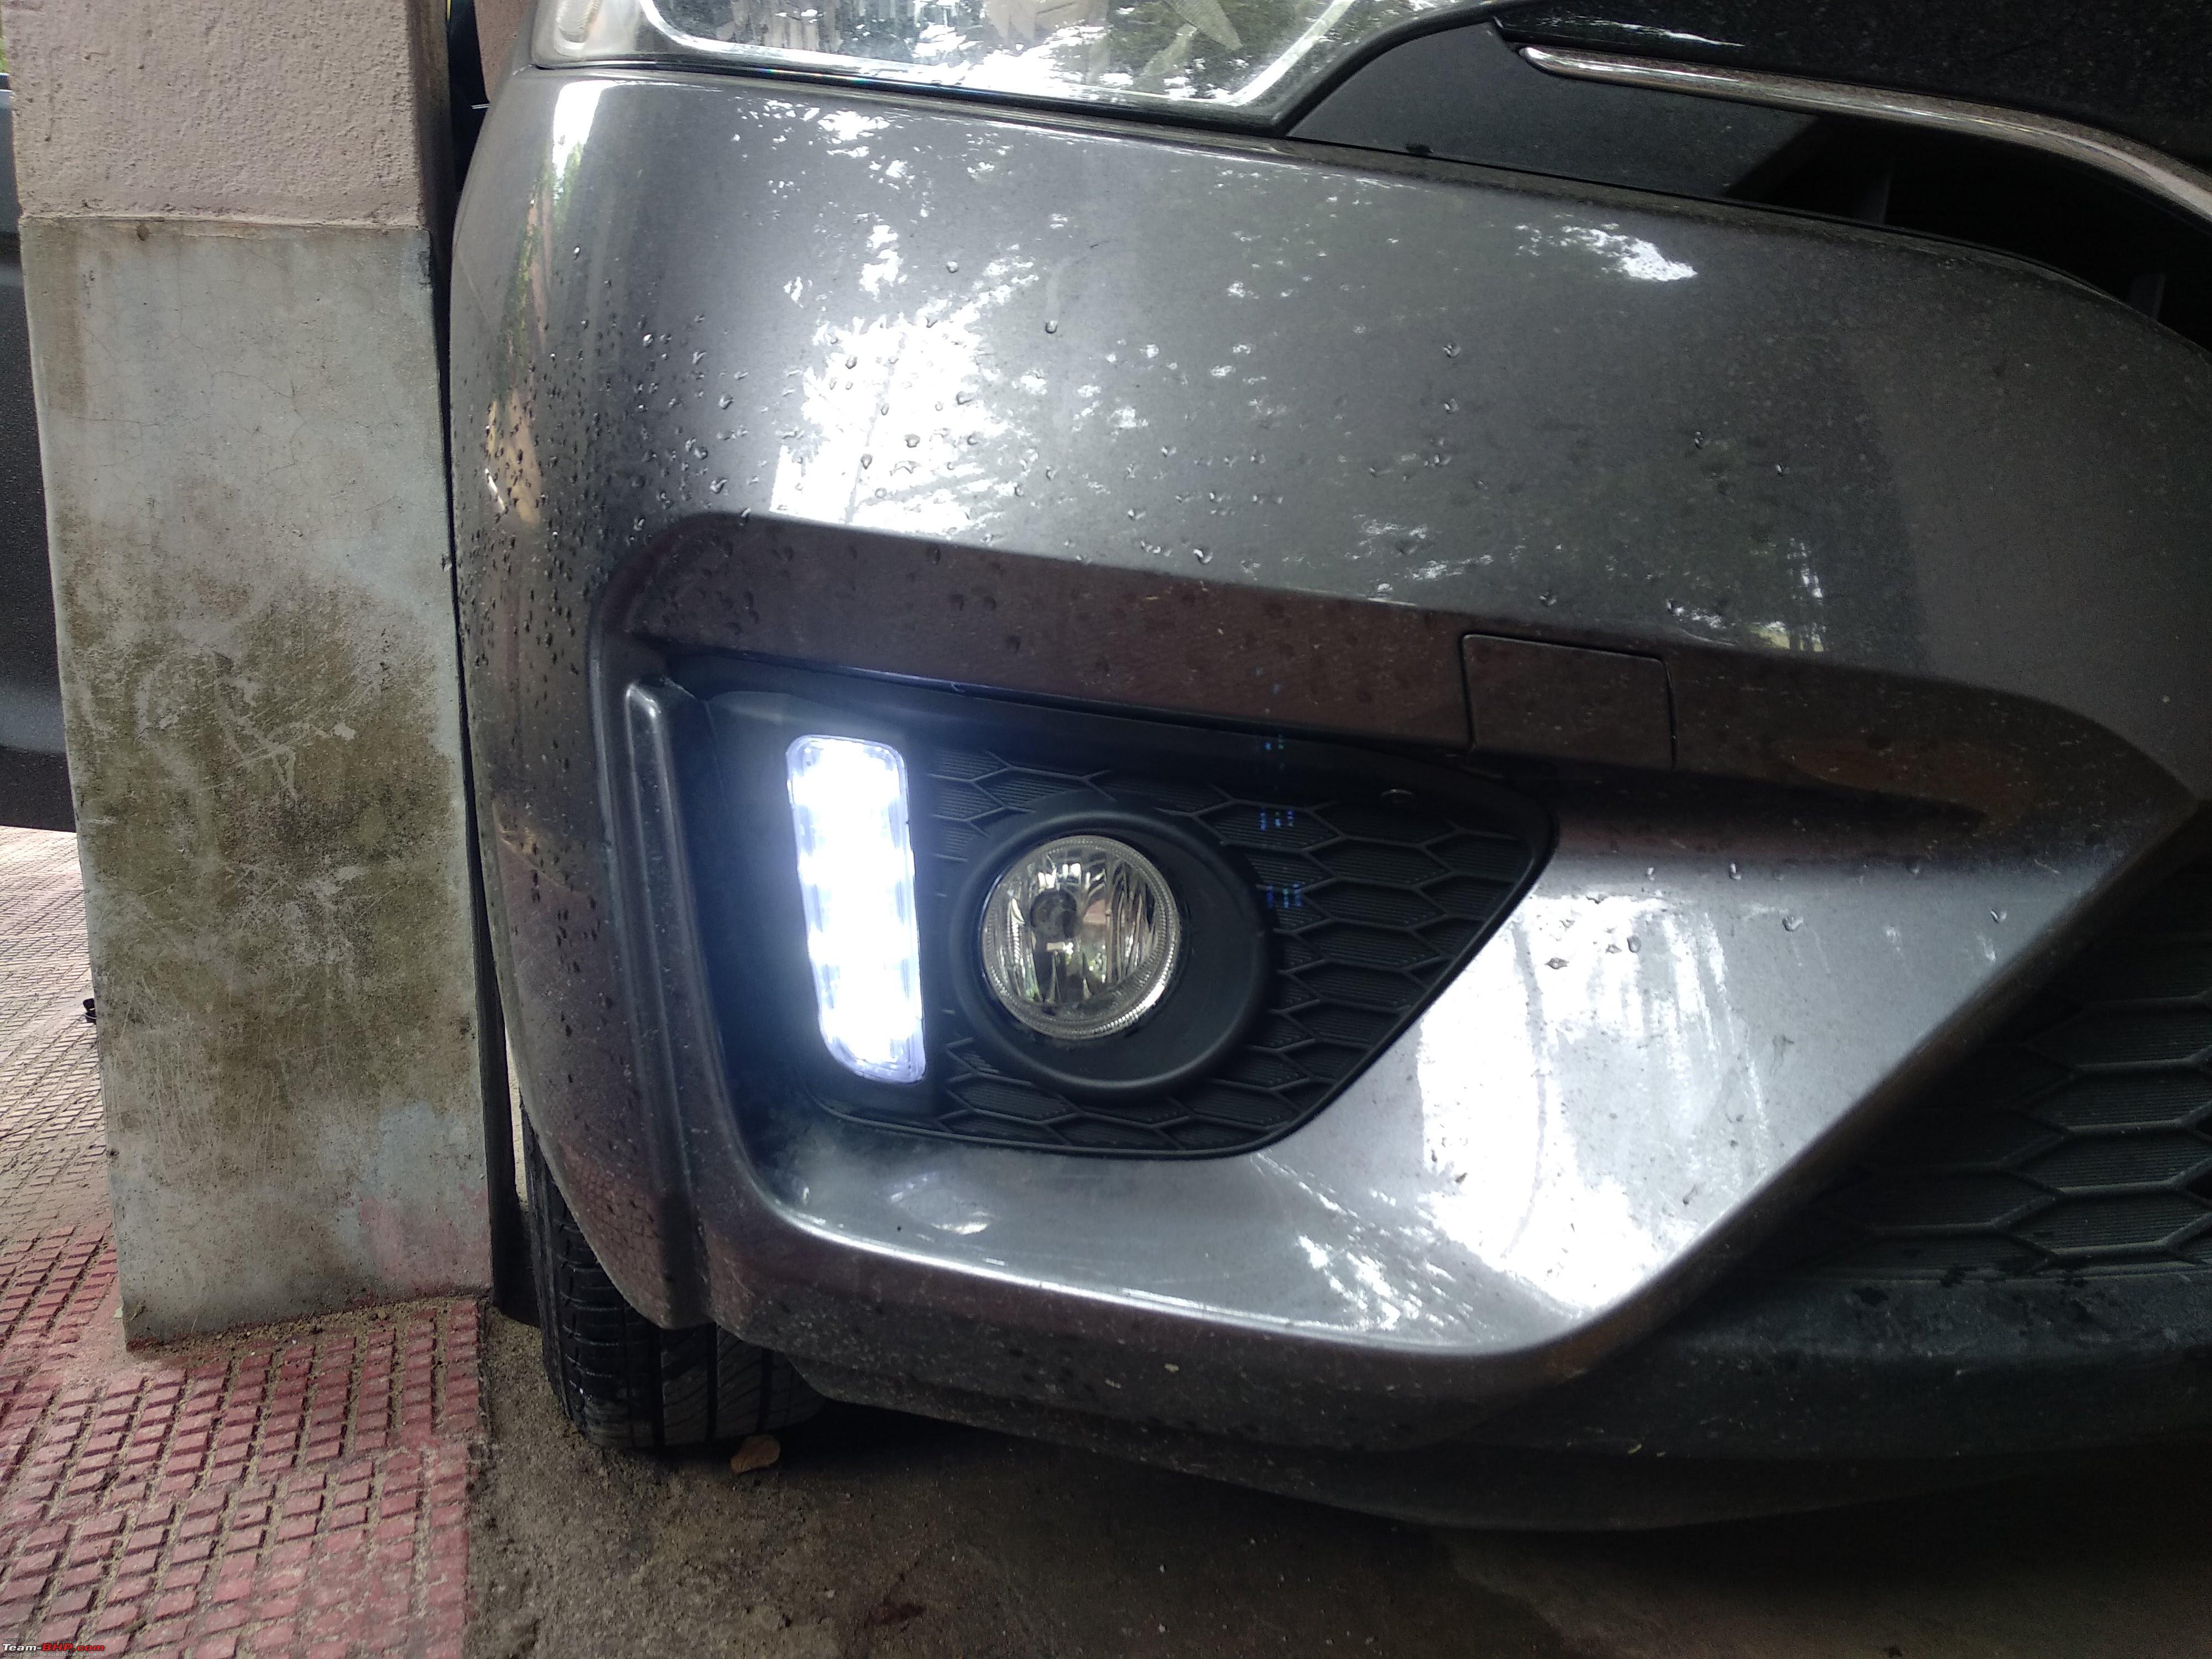
 It is a shame that Honda does not provide the top end trim of Jazz with DRLs, but then, there is always room for a DIY.
|
5th August 2019, 15:26
| #6 |
| BHPian | |
|
| (1)
Thanks
|
|
5th August 2019, 15:40
| #7 |
| Senior - BHPian Join Date: Apr 2018 Location: Bangalore
Posts: 1,550
Thanked: 17,876 Times
| |

| (2)
Thanks
|
|
5th August 2019, 15:48
| #8 |
| Senior - BHPian | |
|
| (4)
Thanks
|
|
6th August 2019, 12:44
| #9 |
| Senior - BHPian Join Date: Feb 2013 Location: India
Posts: 1,798
Thanked: 6,810 Times
| |
|
| (1)
Thanks
|
 Please post some more full frontal pics with them in action.
|
6th August 2019, 16:18
| #10 |
| Senior - BHPian Join Date: Jan 2014 Location: Bangalore
Posts: 1,632
Thanked: 4,052 Times
| |
|
| (1)
Thanks
|
|
6th August 2019, 17:43
| #11 |
| Senior - BHPian | |
|
| (2)
Thanks
|
| |
|
7th August 2019, 22:50
| #12 |
| BHPian Join Date: Oct 2007 Location: Pan India
Posts: 629
Thanked: 1,273 Times
| |
|
| (1)
Thanks
|
|
7th August 2019, 23:17
| #13 |
| Senior - BHPian | |
|
| (2)
Thanks
|
|
8th August 2019, 20:58
| #14 |
| BHPian Join Date: Jan 2019 Location: TN-11, AP-03
Posts: 966
Thanked: 2,528 Times
| |
|
| (1)
Thanks
|
|
9th August 2019, 04:06
| #15 |
| BHPian Join Date: Jan 2018 Location: St.Louis, USA
Posts: 53
Thanked: 61 Times
| |
|
|
 |
Most Viewed