Why an auto dimming IRVM
The facelifted 2018 Honda Jazz VX comes with a click type Day / Night IRVM.
As mentioned in my initial review, I was mostly not impressed with the jittery IRVM which I had to adjust all too often.
Quote:
|
The IRVM day / night toggle switch & mechanism lacks the dampened firmness that is expected from a car in this segment. It's a bit jittery to use.
|
https://www.team-bhp.com/forum/test-...ml#post4457534 (Real Steel - My 2018 Honda Jazz Petrol VX CVT in Modern Steel Metallic) Quote:
The IRVM size is adequate, considering that it covers the rear hatch glass fully.
My chief gripe with the same is on quality - the unit simply doesn't feel like it belongs inside a premium hatchback.
The lever movement from day to night is uncertain and jittery, and I feel that the somehow it is overcompensating the movement causing some light to refract out fully instead of cutting down the glare in it's entirety.
|
https://www.team-bhp.com/forum/test-...ml#post4457536 (Real Steel - My 2018 Honda Jazz Petrol VX CVT in Modern Steel Metallic)
I also mentioned that omitting the electrochromic IRVM is one of the skips that keep the Jazz VX from being termed as a true top end model.
Procurement
With all these gripes in my, I set out to correct the situation by installing a auto dimming IRVM by myself.
Did some research and bought a
suitable unit from Aliexpress. The dealer was helpful and immediately after placing my order, asked for a picture of the bracket and the holder. He even instructed me with detailed pictures on how to take the bracket out of the holder
This is the bracket

And this is the metal holder that's stuck on the windshield

Taking the mirror out of the holder is tricky, as it held very tightly and one has to press the marked clip down, and pull / push the mirror up. As I found out later, the pressing down part is best achieved with a good set of needle nosed pliers.

After inspecting, the seller mentioned that the bracket # 1 on their store shall fit my car, and he shipped the item the next day.
The order was placed on 5th May and the unit arrived on 21st May via Aliexpress standard shipping which is trackable.
Unboxing pictures:


 Installation
I took this to be a moderately easy install, because the positive wire already had a pre built Mini-ATM type fuse ending, and the ground wire had a ring terminal crimped. All I needed to do, I thought, was to take out my old click type IRVM, install the new IRVM, and tap the ACC fuse from the internal fusebox to power the mirror.
But as I figured out how to install the mirror in the morning of 25th, the fusebox design of the Honda Jazz threw a spanner in my works.
2 problems stopped me from tapping power from the fusebox
1. The fusebox uses Low profile mini fuse, which cannot be used on the fuse tap. The fusebox however, also allowed Mini-ATM type fuses to be plugged in and works fine.
2. The fuse box was designed in such a way, the it is not possible to use a fuse tap on certain rows. Unfortunately, ACC power is in one of those rows.


I then figured out that I shall bypass using the fusebox altogether.
Rummaged out an unused USB cable, cut off the USB B side, snipped the data cables (green and white) and stripped the power (red) and ground (black) cables.
Then I snipped the ring terminal from the ground cable and fuse ending from the power cable of the mirror, and stripped the power and ground cables.
Then twisted and used heatshrink tubing to create a USB powered auto dimming mirror !

Checked out the setup by plugging into a 1A USB power source in my car and it worked perfectly.
Then I set out to removing the bracket from the holder, and that's when disaster struck.
Maybe I rushed a little too much or used more force than I should have, but on trying to remove the bracket from the holder, I ripped off the holder from the windshield with some of the black masking + glass where the holder is pasted, and also chipped the glass from the inside.
I was furious with myself, but had to do something quickly.
Went to my nearest hardware store , and asked for the best glass-glass & metal-glass adhesive. He suggested the regular Araldite 2 part epoxy. Rushed home, cleaned the 2 surfaces, mixed the resin and hardener & glued the holder back. Duct taped it from above to ensure some clamping force is there. Left it like that for 24 hours.
On sunday afternoon, after removing the tape, the bond was found to be good and stable.

Unscrewed the tightening screw, and gently slid in the bracke of the auto dimming mirror into the holder.

Then tightened the screw for a firm non jittery fit

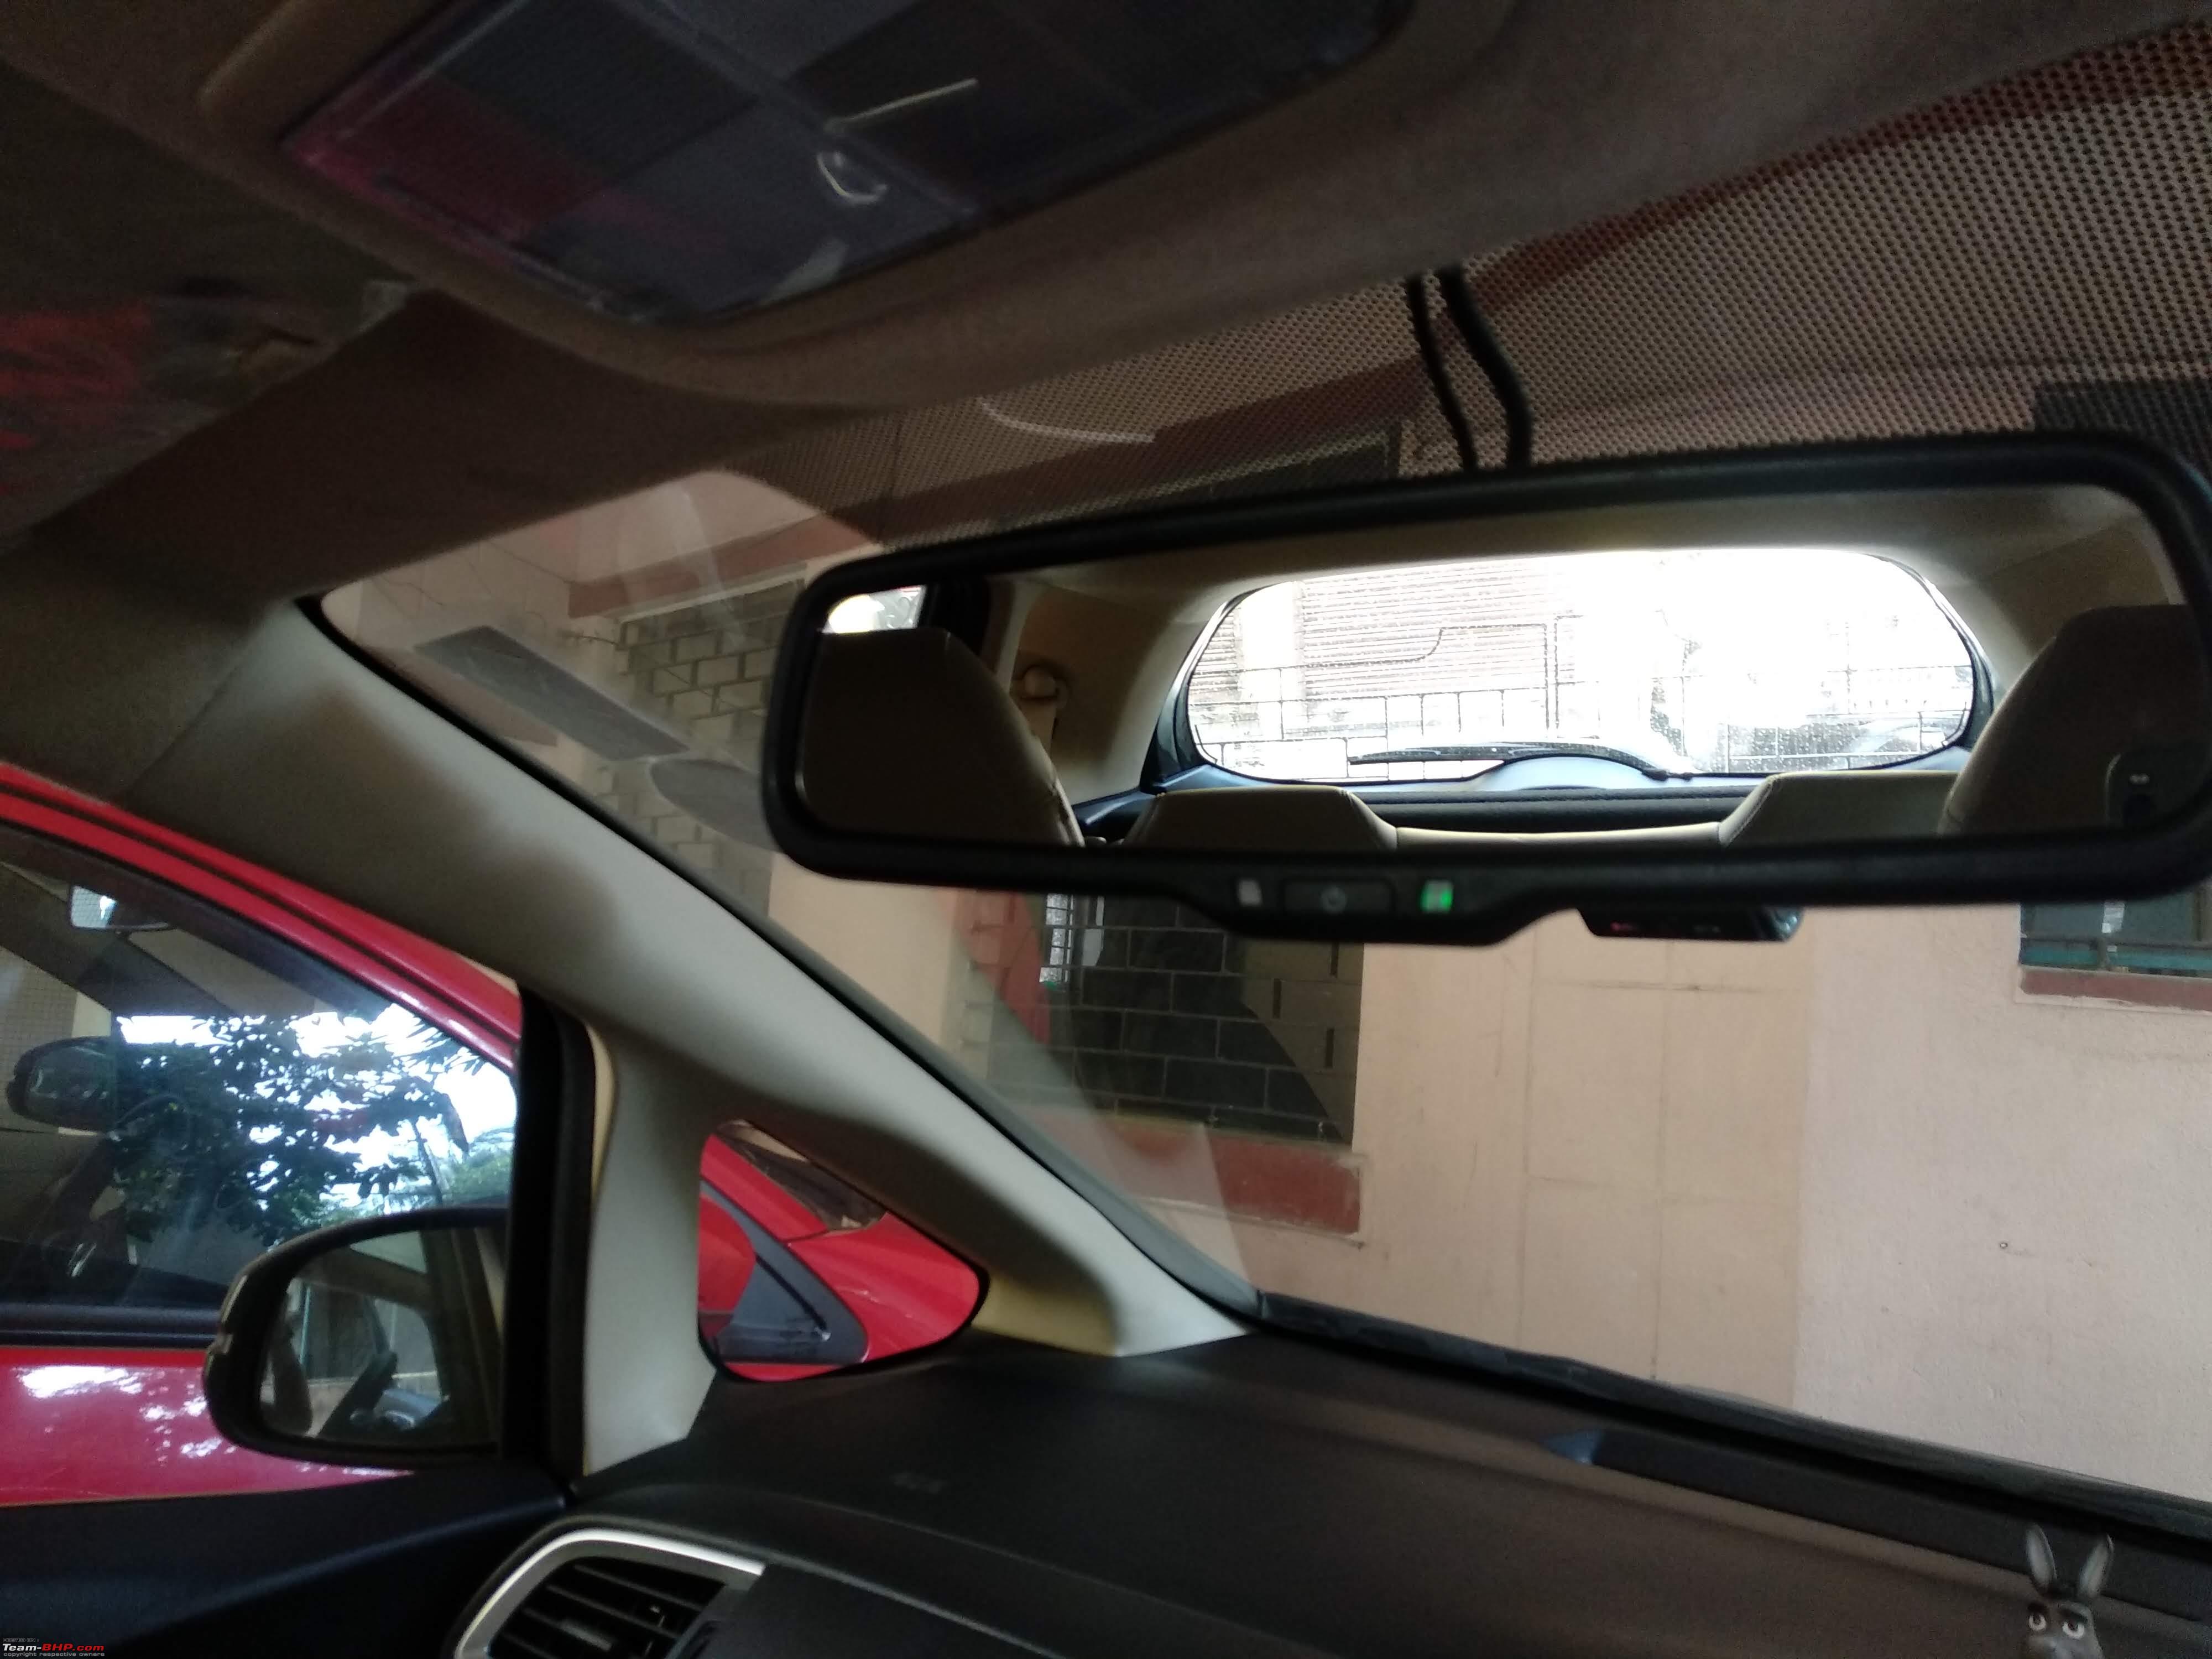
Installation done - in power off mode.

On ACC mode.

Powered from the same adapter as the dashcam.
 Feedback
Drove for a doctor visit in the evening for an up + down of 35-40 kms. Following are the pros and cons:
Pros : Quick dimming, and dims enough so that those ill focused LED headlamps, 100/90 headlamps on high beam & truck headlamps on high beam are not a problem any more on the IRVM. Also, the OEM day/night mirror while set at night mode reflected the back seat area when no one was shining their headlight in the mirror. This one shows the road behind in the normal mode.
Cons: if someone tall enough sits in the middle of the rear seat, his or her head can sometimes block the light from reaching the back sensor, though light reaches the mirror from various other headlight sources. Thus dimming is muted or does not happen. Also, on brightly lit flyovers / under high mast lamps , because the front sensor senses bright light, dimming is muted.
P.S: The wiring is routed in the exact same way as my dashcam, which is elaborated
here (The Dashcam / Car Video Recorder (DVR) Thread).


 27th May 2019, 08:40

 (27)
Thanks
(27)
Thanks