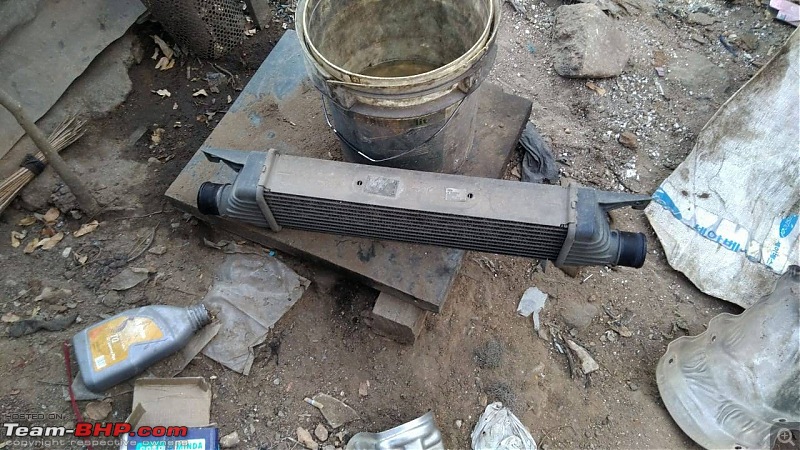
Car :
Chevrolet Sail UVA (Oct-2013 VIN)
Kms - 98,500Kms (4 yrs, 8 mths)
Topic Related point - Never removed air flow plumbing till date other than replacing air filter element, never felt the need to (FE/Pickup was decent).
After reading through few threads in TBHP including this thread, I decided to take the plunge. First I wanted to blank and see its effects and then move to a larger and labor intensive solution involving removing entire air flow hoses, pipes, inter-cooler, inlet manifold, etc.
My DIY Story
Time Taken - 90 Mins
Car - Sail UVA Tdci (1.3 DDis aka MJD engine) Oct2013 (BS 2/3/4 Unknown.!!)
Place - Comfort of home
Basic Tools - Spanner set(s), Screwdriver (philips & minus), Rachet & Socket set with extension rod *MUST*
Power Tools - Angle grinder (cutting & grinding wheel to make a blank), Drilling machine with metal drill bits
For blank - any steel plate (<2mm preferred)
Step 1 : *Level - Easy* Prep Work...
Disconnect Battery, Coolant tank, Inlet Air Hose (rubber), Common Rail Power supply/sensor
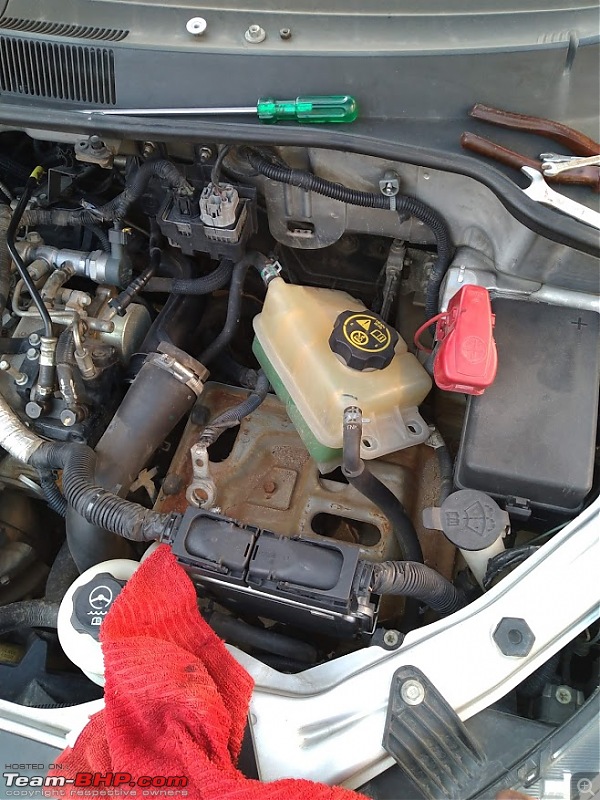
Note - sludge deposition noted in inlet hose, expect much worse ahead
 Step 2 : *Level - Medium* Making Way...
Things get little difficult from now on, the rubber hose from Intercooler goes into a Plastic pipe which is connected to inlet manifold by 2 nuts. One is visible, 2nd is frankly invisible and you need to use your fingers to assume its head position and remove/refit. Take care not to drop the nut of spanner inside the bulk head area, you had it!!
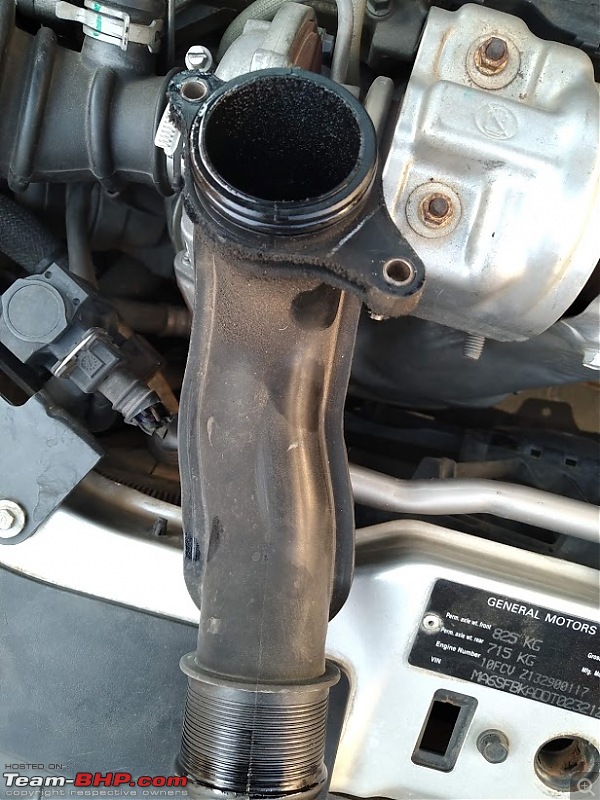

Close up of the invisible nut location

Note - Sludge was oozing/puddled up at BDC of the inlet manifold entry point, I was getting worried and decided to stick my finger to see the extent of damage.
 Step 3 : *Level - Difficult* Finding Ground Zero...
Things get very tight for space now. Once the Plastic bend pipe is out of way you can see the EGR outlet port for the first time. Its visible in the top pics. You will need the extended rachet/socket to carefully (NOTE - SUPER CAREFULLY) remove the 2 bolts holding the aluminium bolts in place. Once they are removed, you need to flex the metal bellow+pipe out of the way to make place for the blank.
 Step 4 : *Level - Medium* Metal works...
Making the blank is a unscientific job and I DONT have steady hands. A Metal worker can make the blank look cool, my output is just functional.
I used a piece of paper and pressed it against the bottom flange and the dust and carbon resulted in a crude shape, which I converted to a hand sketch trace and then onto a unused Stainless steel plate which once did duty in my house hold crockery now transferred to base of a kitchen garden pot.
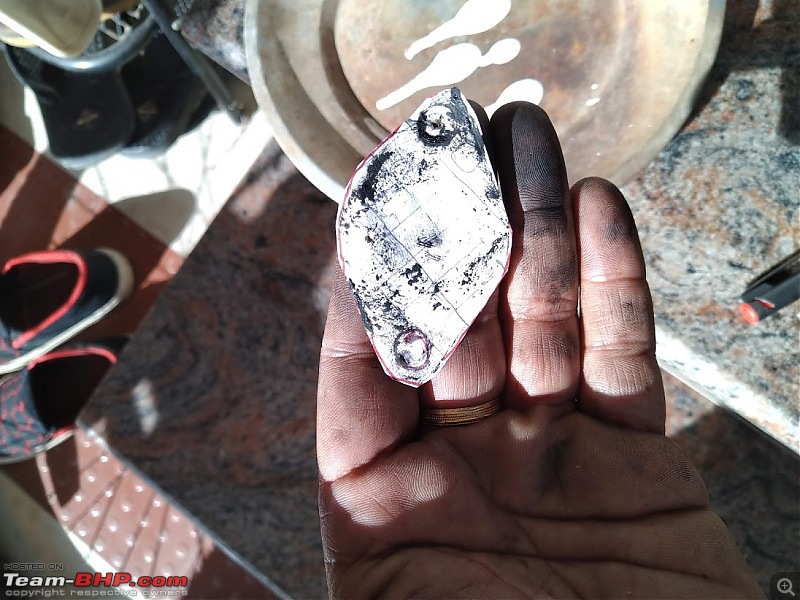

Be careful while using power tools, before you know it you can loose a eye or a finger.

Blank ready, ensure its de-burred and grinded off.
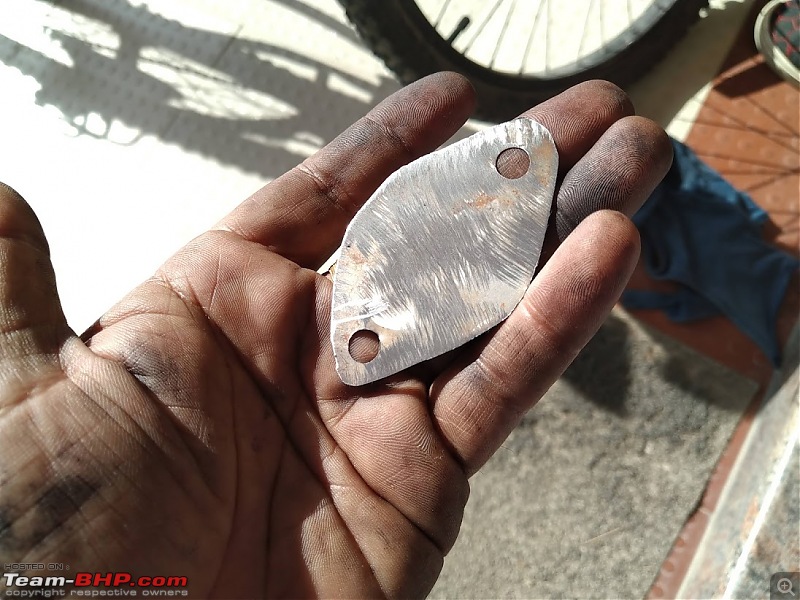
Check the alignment of holes and oversize the bolt holes to allow a bit of nudging and shoving. I had to..!
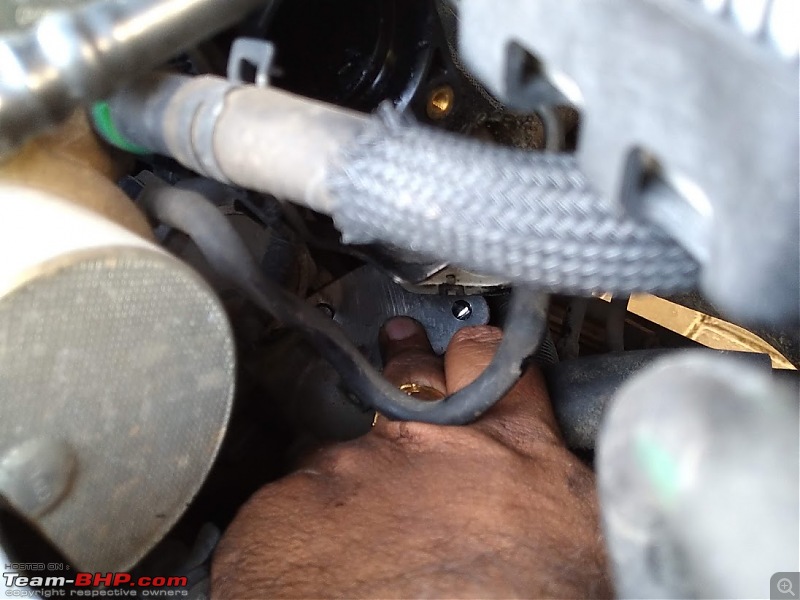
Refit Bellow - Good luck with this step, It took a lot of sweat and back breaking work to get this refit.
 Step 5 : *Level - Medium* Refit everything back...
Take care while putting back the Mr.Invisible bolt of the plastic inlet manifold bend. Rest should fall in place.
PS - I successfully broke the common rail power sensor lock clip

but its not something new for me, will take care of it later.
*END of DIY*
After this cross your fingers and turn the key on, see if it starts. I packed some snacks and few bottles of water and went on a 20Km test. Oh, and its good to have a ELM237 OBD-II scanner and a app like Torque Pro (Paid version).
Initial observations - umm,none!
Slowly opened her up, bit by bit, in all of the gears. Switched off and restarted after a 10-15 min drive. I could sense a very "pronounced" driveability improvement.
As expected EGR error was seen in scanner.

But top RPM went up from 5000 to 5100RPM and coolant stays below 70'C.

More in next post...
 (18)
Thanks
 (11)
Thanks
 (9)
Thanks
 (8)
Thanks
 (2)
Thanks
 (3)
Thanks
 (3)
Thanks

 (4)
Thanks
 (3)
Thanks
 (1)
Thanks
 (2)
Thanks

 (1)
Thanks


 but its not something new for me, will take care of it later.


