

 24th February 2017, 17:27
| #1 |
| Senior - BHPian Join Date: Jun 2008 Location: Kolkata
Posts: 1,498
Thanked: 1,256 Times
| |

|  (35)
Thanks (35)
Thanks
|


| |
|
24th February 2017, 17:42
| #2 |
| Distinguished - BHPian  | |
|
| (8)
Thanks
|
 A few suggestions-
|
24th February 2017, 17:48
| #3 |
| BANNED | |
|
| (1)
Thanks
|
|
24th February 2017, 20:01
| #4 |
| Distinguished - BHPian | |
|
|
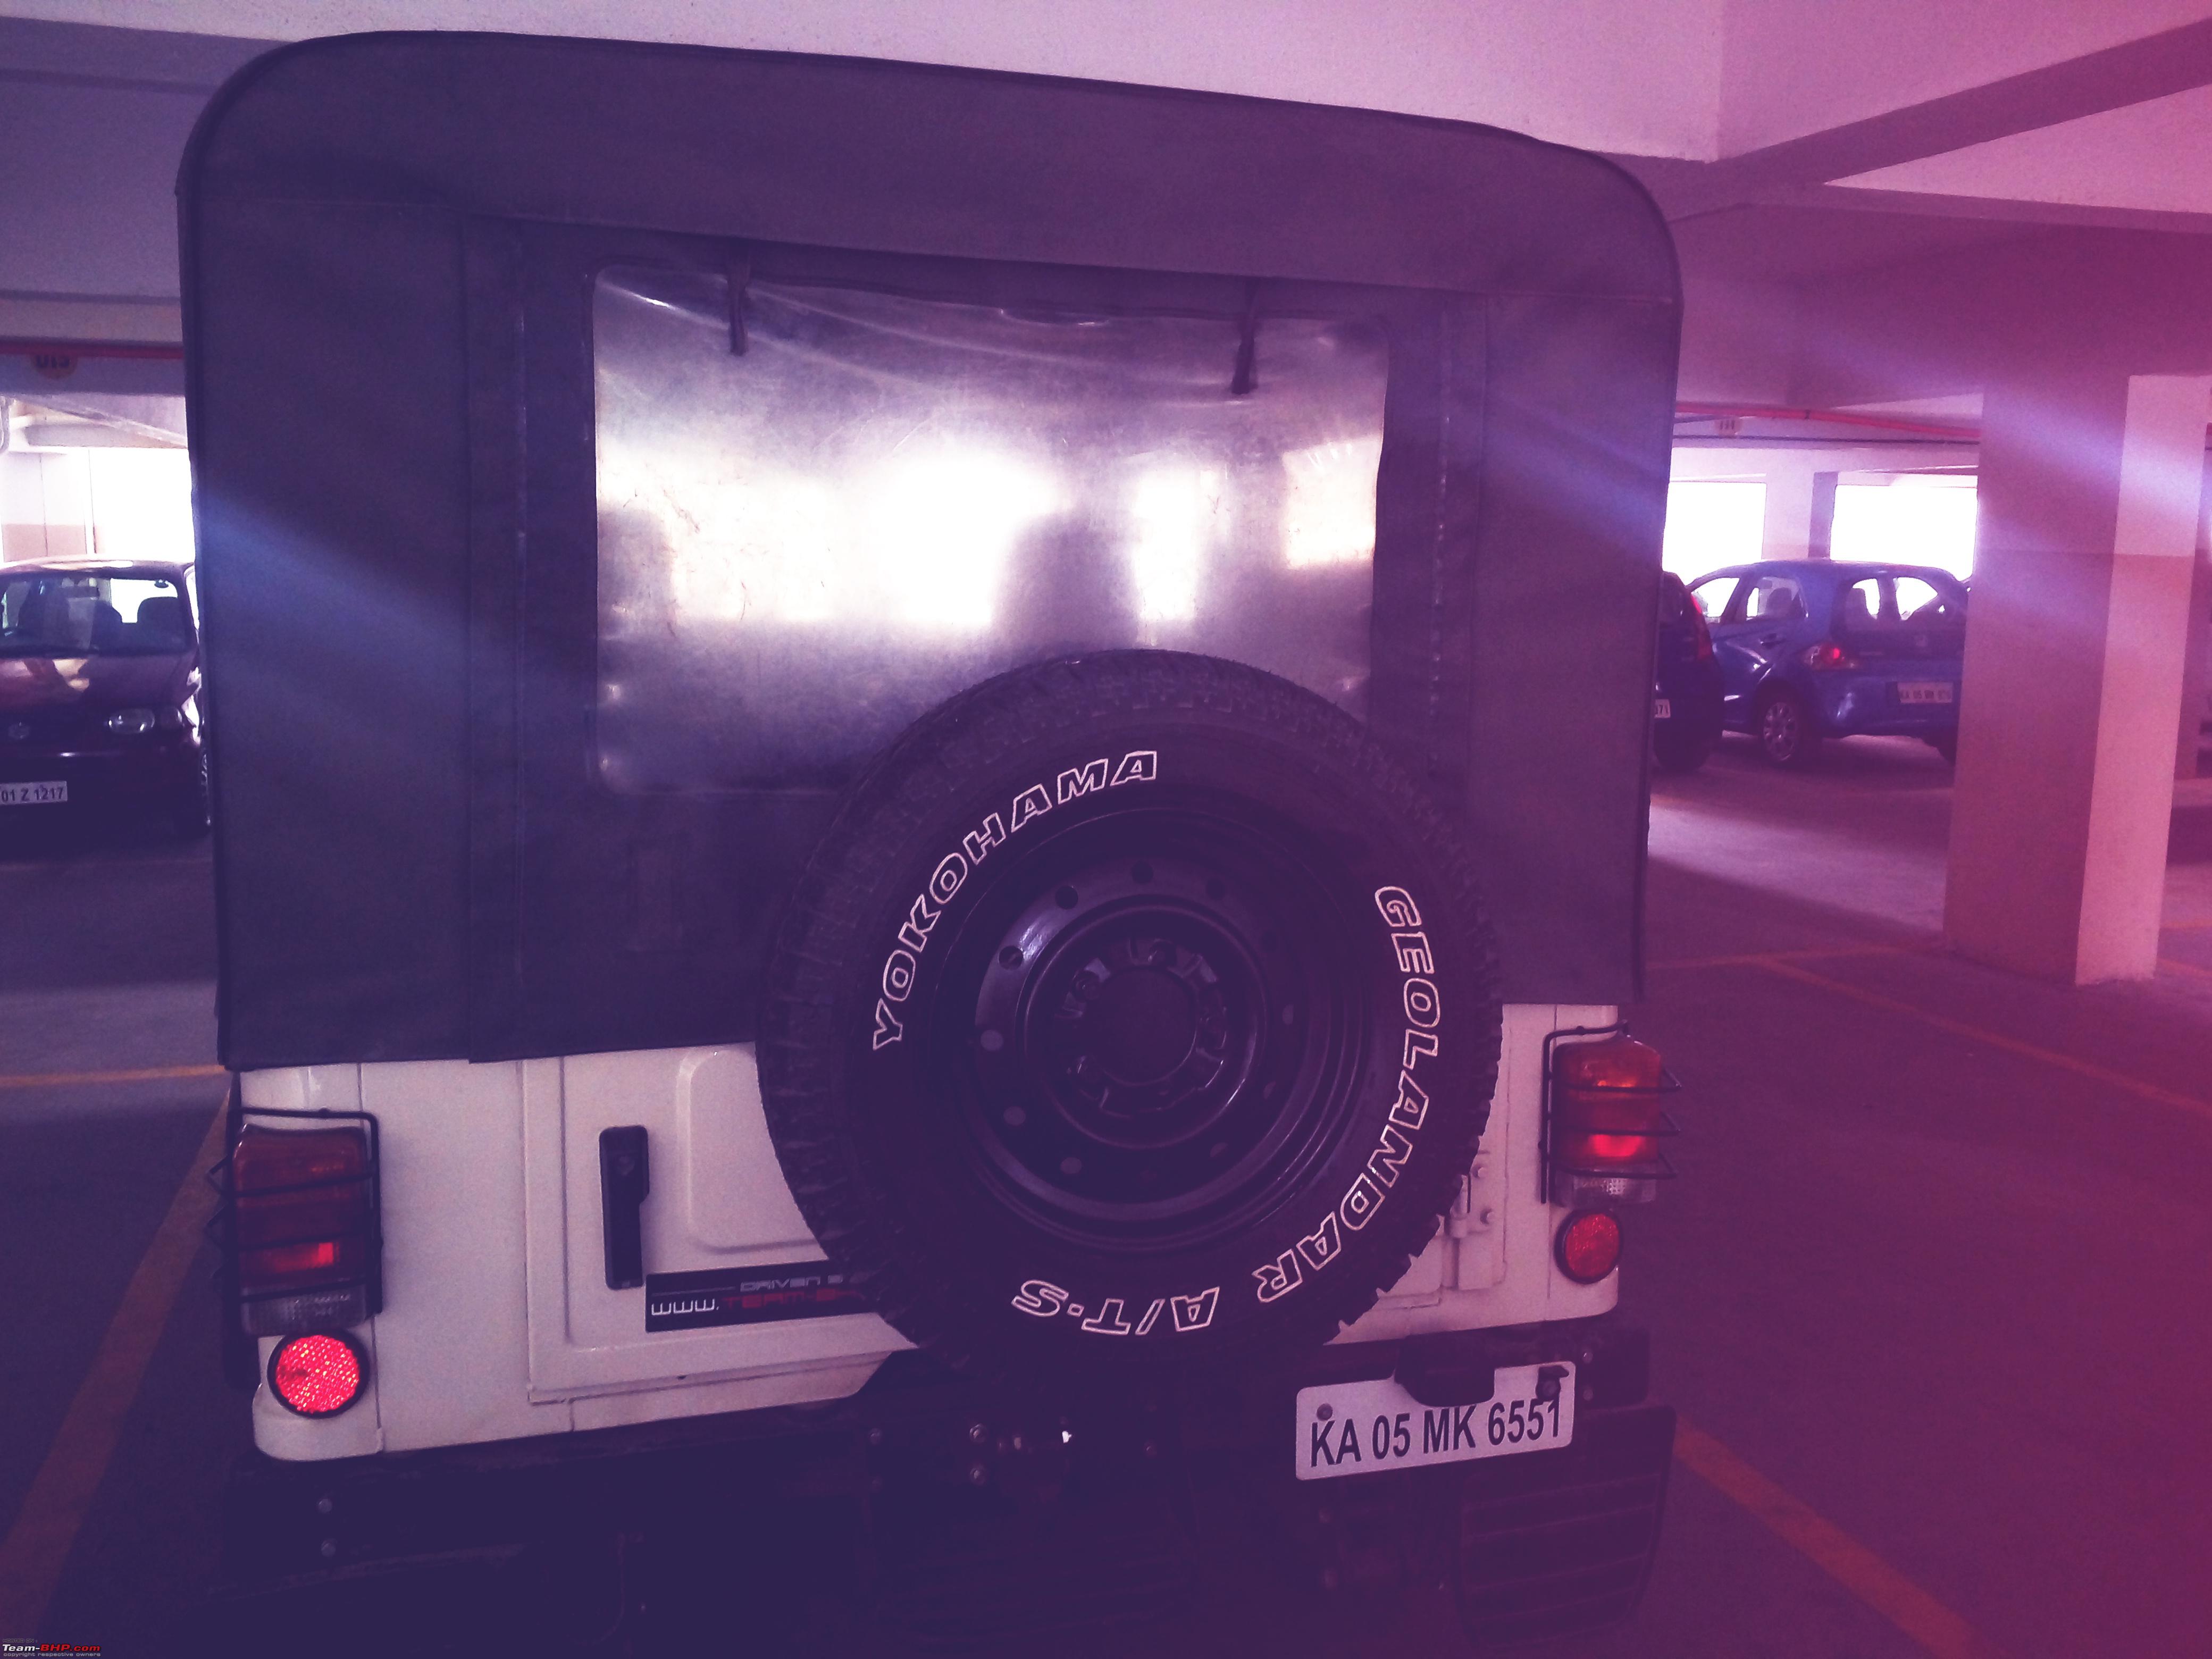
 This is an overkill on Sunny (actually an upsize for Civic and Corolla) Doesn't it scrape? How is the performance?
|
24th February 2017, 22:26
| #5 |
| Senior - BHPian Join Date: Jun 2008 Location: Kolkata
Posts: 1,498
Thanked: 1,256 Times
| |
|
| (3)
Thanks
|

 But overall happy with the outcome. Its far from perfect, but much better than before.
|
27th February 2017, 21:03
| #6 |
| BHPian Join Date: Jun 2007 Location: MAA,COK,BOM,THN
Posts: 309
Thanked: 1,188 Times
| |
|
|
|
28th February 2017, 10:50
| #7 |
| BHPian Join Date: Aug 2014 Location: Bangalore
Posts: 109
Thanked: 133 Times
| |
|
|
|
1st March 2017, 17:13
| #8 |
| Distinguished - BHPian Join Date: Apr 2011 Location: KL-2/KL-7/GA-06
Posts: 1,110
Thanked: 4,355 Times
| |
|
|


|
1st March 2017, 17:25
| #9 |
| Distinguished - BHPian | |
|
|
|
4th March 2017, 17:39
| #10 |
| BHPian Join Date: Feb 2006 Location: bangalore
Posts: 926
Thanked: 1,316 Times
| |
|
| (2)
Thanks
|

 |
Most Viewed