Team-BHP
(
https://www.team-bhp.com/forum/)
My Nissan Sunny Diesel has is now nearing 5 years, and was looking its age. This car is the family runabout has rough daily usage.
I recently got all 4 doors and both bumpers repainted to get rid of the the rust, scratches and minor dents. The car started looking respectable again. However the rims stuck out like sore thumbs. 5 years of hard water had corroded them badly. The original coating was swelling and chipping. It really spoiled the look of the car.
I did not feel like changing to new rims and did get a quote from the paint-shop also. However, I decided to go the DIY route. Couple of YouTube videos later, I was ready to go.
The Objective
To stop the rims from corroding further and to make sure the rims look presentable.
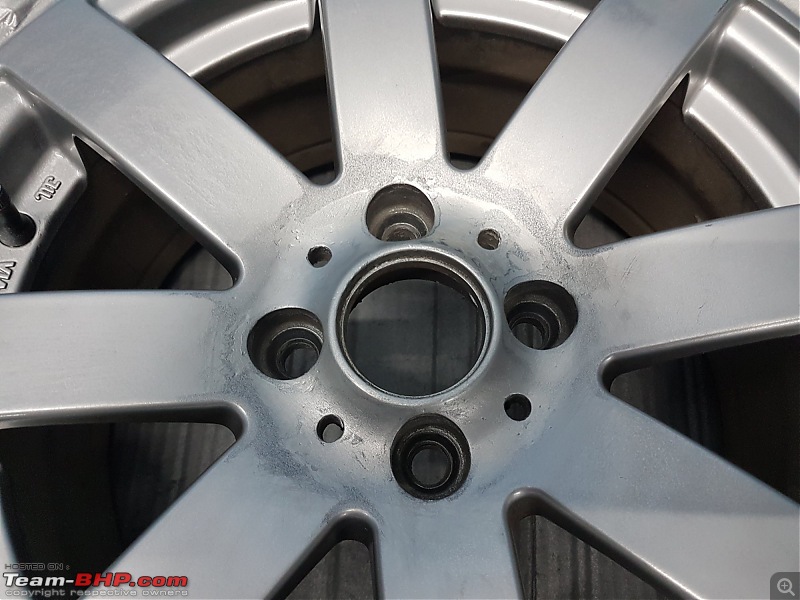
The Before
Here is a before picture, and trust me, this was the best of the 4 rims.

 The Tools
I have used Bosny Spray Cans in the past but did not get them locally. Instead of trusting the unknown Thailand / Chinese imports, I decided to stick to Com Paint.
I ended up buying the following
1) Two 400 ml Cans of Silver
2) Two 400 ml Cans of Clear
3) 1 Ltr Paint Thinner
I dont remember the exact breakup but the total cost was within Rs. 800
I had lying around so didnt end up buying
4) Filler
5) Sand Paper
6) Plastic Sheets and Tape for Masking (I ran out of masking tape and ended up using stationary tape)
7) Rags
 The Prep
The rims were washed with water and dried. The front portion of the rim was cleaned with the paint thinner to get out all the grime. The swollen paint was scraped off using a knife. The whole surface was sanded using sandpaper and made as smooth as possible.
After this filler was applied of the deep grooves and craters to try and smooth them out.

The filler was then sanded and I tried to match the contours of the rims.

The tyre was masked and we were ready to spray.
The Paint
I decided to go with 2 coats of Silver and 2 coats of Clear, the last coat being a as wet as I dared to go coat. The coats were made 15 minute apart and the final coat was given 2 hours to cure before carefully fitting onto the car.
First Coat


Second Coat

Clear Coat
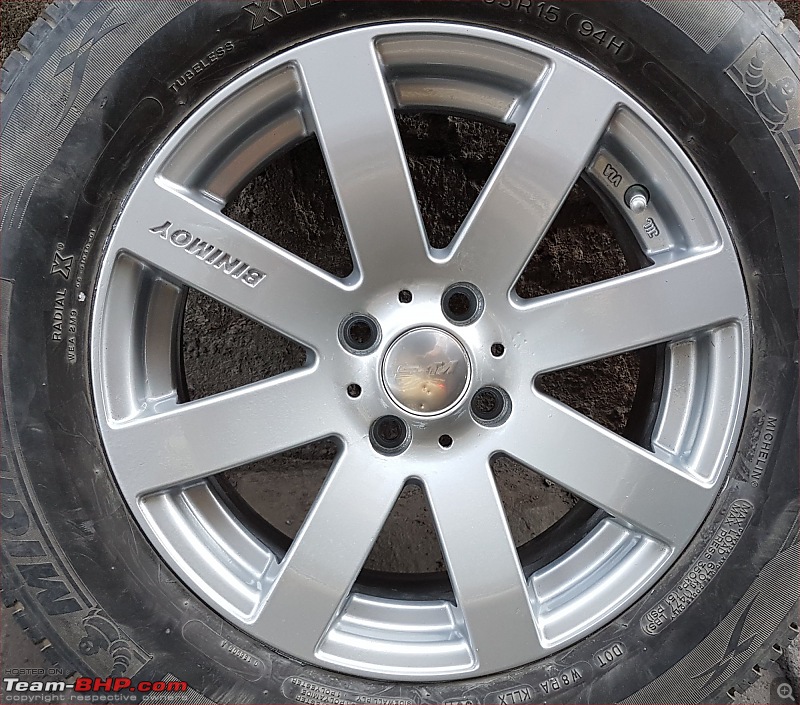
 The Results
Pictures are worth a thousand words. So here you go

 Note:
Note: I could have done a better job at the prep - the filling and re-sanding the surface before the paint. The matching of the defects is far from perfect, and hence there are a lot of defects visible in the pictures. Thankfully these are barely visible when fit the wheels are fitted to the car.
Questions and suggestions for improvement are welcome.
Have you considered Rustoleum peel coat?
I wish you should have put some more effort in surface preparation. You spent all your time and energy on this task, a little more should made an excellent outcome. Anyways, congrats.
Wait, did I see a 205/65R15 :Shockked: This is an overkill on Sunny (actually an upsize for Civic and Corolla) Doesn't it scrape? How is the performance?
PS: Sunny is known for poor braking and such a bigger tire will make it worse.
Quote:
Originally Posted by Leoshashi
(Post 4152743)
You could have used the tip of finger from a glove to prevent paint falling on the valve stem cap.
|
Actually I did mask the first wheels stem cap, but preferred it silver.
Quote:
Originally Posted by greenhorn
(Post 4152745)
Have you considered Rustoleum peel coat?
|
Yes, did think about plastidip, but wanted something more durable.
Quote:
Originally Posted by Mr.Boss
(Post 4152819)
wish you should have put some more effort in surface preparation.
|
So do I clap: But overall happy with the outcome. Its far from perfect, but much better than before.
Quote:
Originally Posted by Mr.Boss
(Post 4152819)
Wait, did I see a 205/65R15 :Shockked: This is an overkill on Sunny (actually an upsize for Civic and Corolla) Doesn't it scrape? How is the performance?
|
Hehe. It is overkill. Been on these tyres for 5 years / 70000 kms now. No issues at all.
Not bad at all, considering most of us are either too lazy or simply prefer to ignore those battered alloys.
How about detailing the BINIMOY with a contrast color - black / red to match the paint on your car?
Also look at painting the callipers (would be much more difficult to execute correctly though) and rear drums.
Like everyone else said, a little more surface preparation would have been nicer. But considering how lazy/busy most of us tend to get, the effort is highly appreciated and the finish is quite decent. 7/10
Great stuff. Keep it up.
Wonderful job there. I have been toying with the idea of painting my alloys with matte black for a couple of years now. Whilst laziness to move my posterior on a non working day made up for one reason of not having achieved it till now, procrastination was the other. Somewhere down the line, I thought I will do a DIY on the paint job. But when it came to ground realities, I realised that I didn't have the equipment nor expertise to get all the wheels removed from the car at the same time. :Frustrati
Either I had to pop up the car on four jacks- which I didn't want to do; nor did I have four jacks. Else, I could take the car to a car wash centre and hoist it up the lift, remove the tyres, take them home and paint it- The shop owner wouldn't have been so benevolent nor would he have wanted a christmas tree at his shop. Next option was to paint it in situ. That would leave the spare tyre cursing me for racism. Then I also had the option to paint each wheel one by one; well, you guessed it right, I do not have so much patience lol:
So, which option did you use to materialise painting of all the wheels?
Quote:
Originally Posted by dhanushmenon
(Post 4155643)
1) Either I had to pop up the car on four jacks- which I didn't want to do; nor did I have four jacks.
2) Else, I could take the car to a car wash centre and hoist it up the lift, remove the tyres, take them home and paint it- The shop owner wouldn't have been so benevolent nor would he have wanted a christmas tree at his shop.
3) Next option was to paint it in situ. That would leave the spare tyre cursing me for racism.
4) Then I also had the option to paint each wheel one by one; well, you guessed it right, I do not have so much patience
|
1) Vehicle on 4 jacks is dangerous and not recommended
2) Obviously people don't / won't entertain such a case, unless it is on a week-off or a spare bay is available
3) Surface preparation is little difficult
4) Possible, but time consuming
Best option is to borrow 4 jack stands from FNG / A.S.S and get the job done in a single shot.
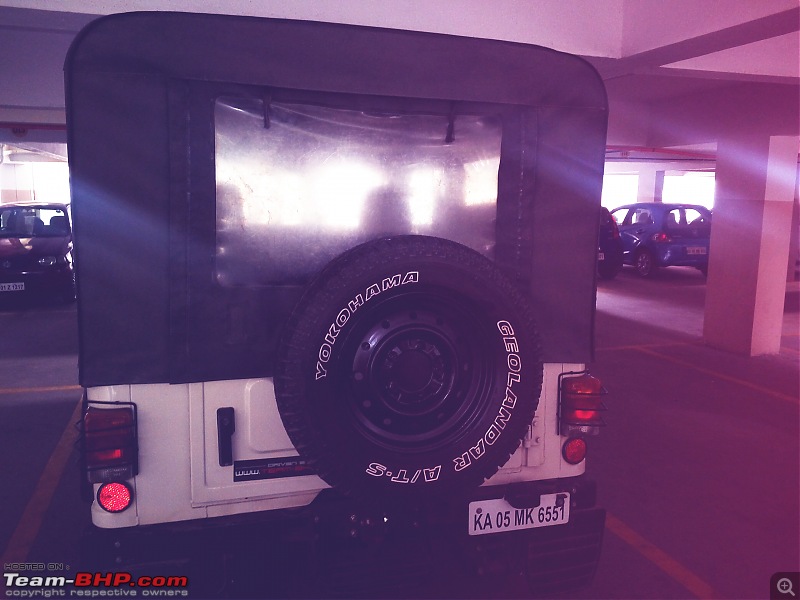
Even I did the same for my Thar di but with black matte.


| All times are GMT +5.5. The time now is 08:14. | |


