Hi Friends,
Most owners are aware of the rattles we are gifted along with the XUV. My XUV is a year old and like everyone, I am also not spared of the rattles. I tried to get help from the ASC to make the vehicle rattle free but they were of little help.
Of-course, I could make out that 80% of the rattles are from the hard plastic door panels hitting against the metal door while driving but I feared removing the door panel as I had made a mess with my Swift back in 2006 where I had damaged most of the mushroom clips and their holders.
But a year with the XUV and the never ending door panel rattles kept me googling, going through DIY's, browsing youtube videos looking for the safest methods to remove door panels without damage.
Finally build up the confidence and planned to do it myself.
Below is the step by step process I followed with some self explanatory pictures. Procedure is same for the front and rear doors -
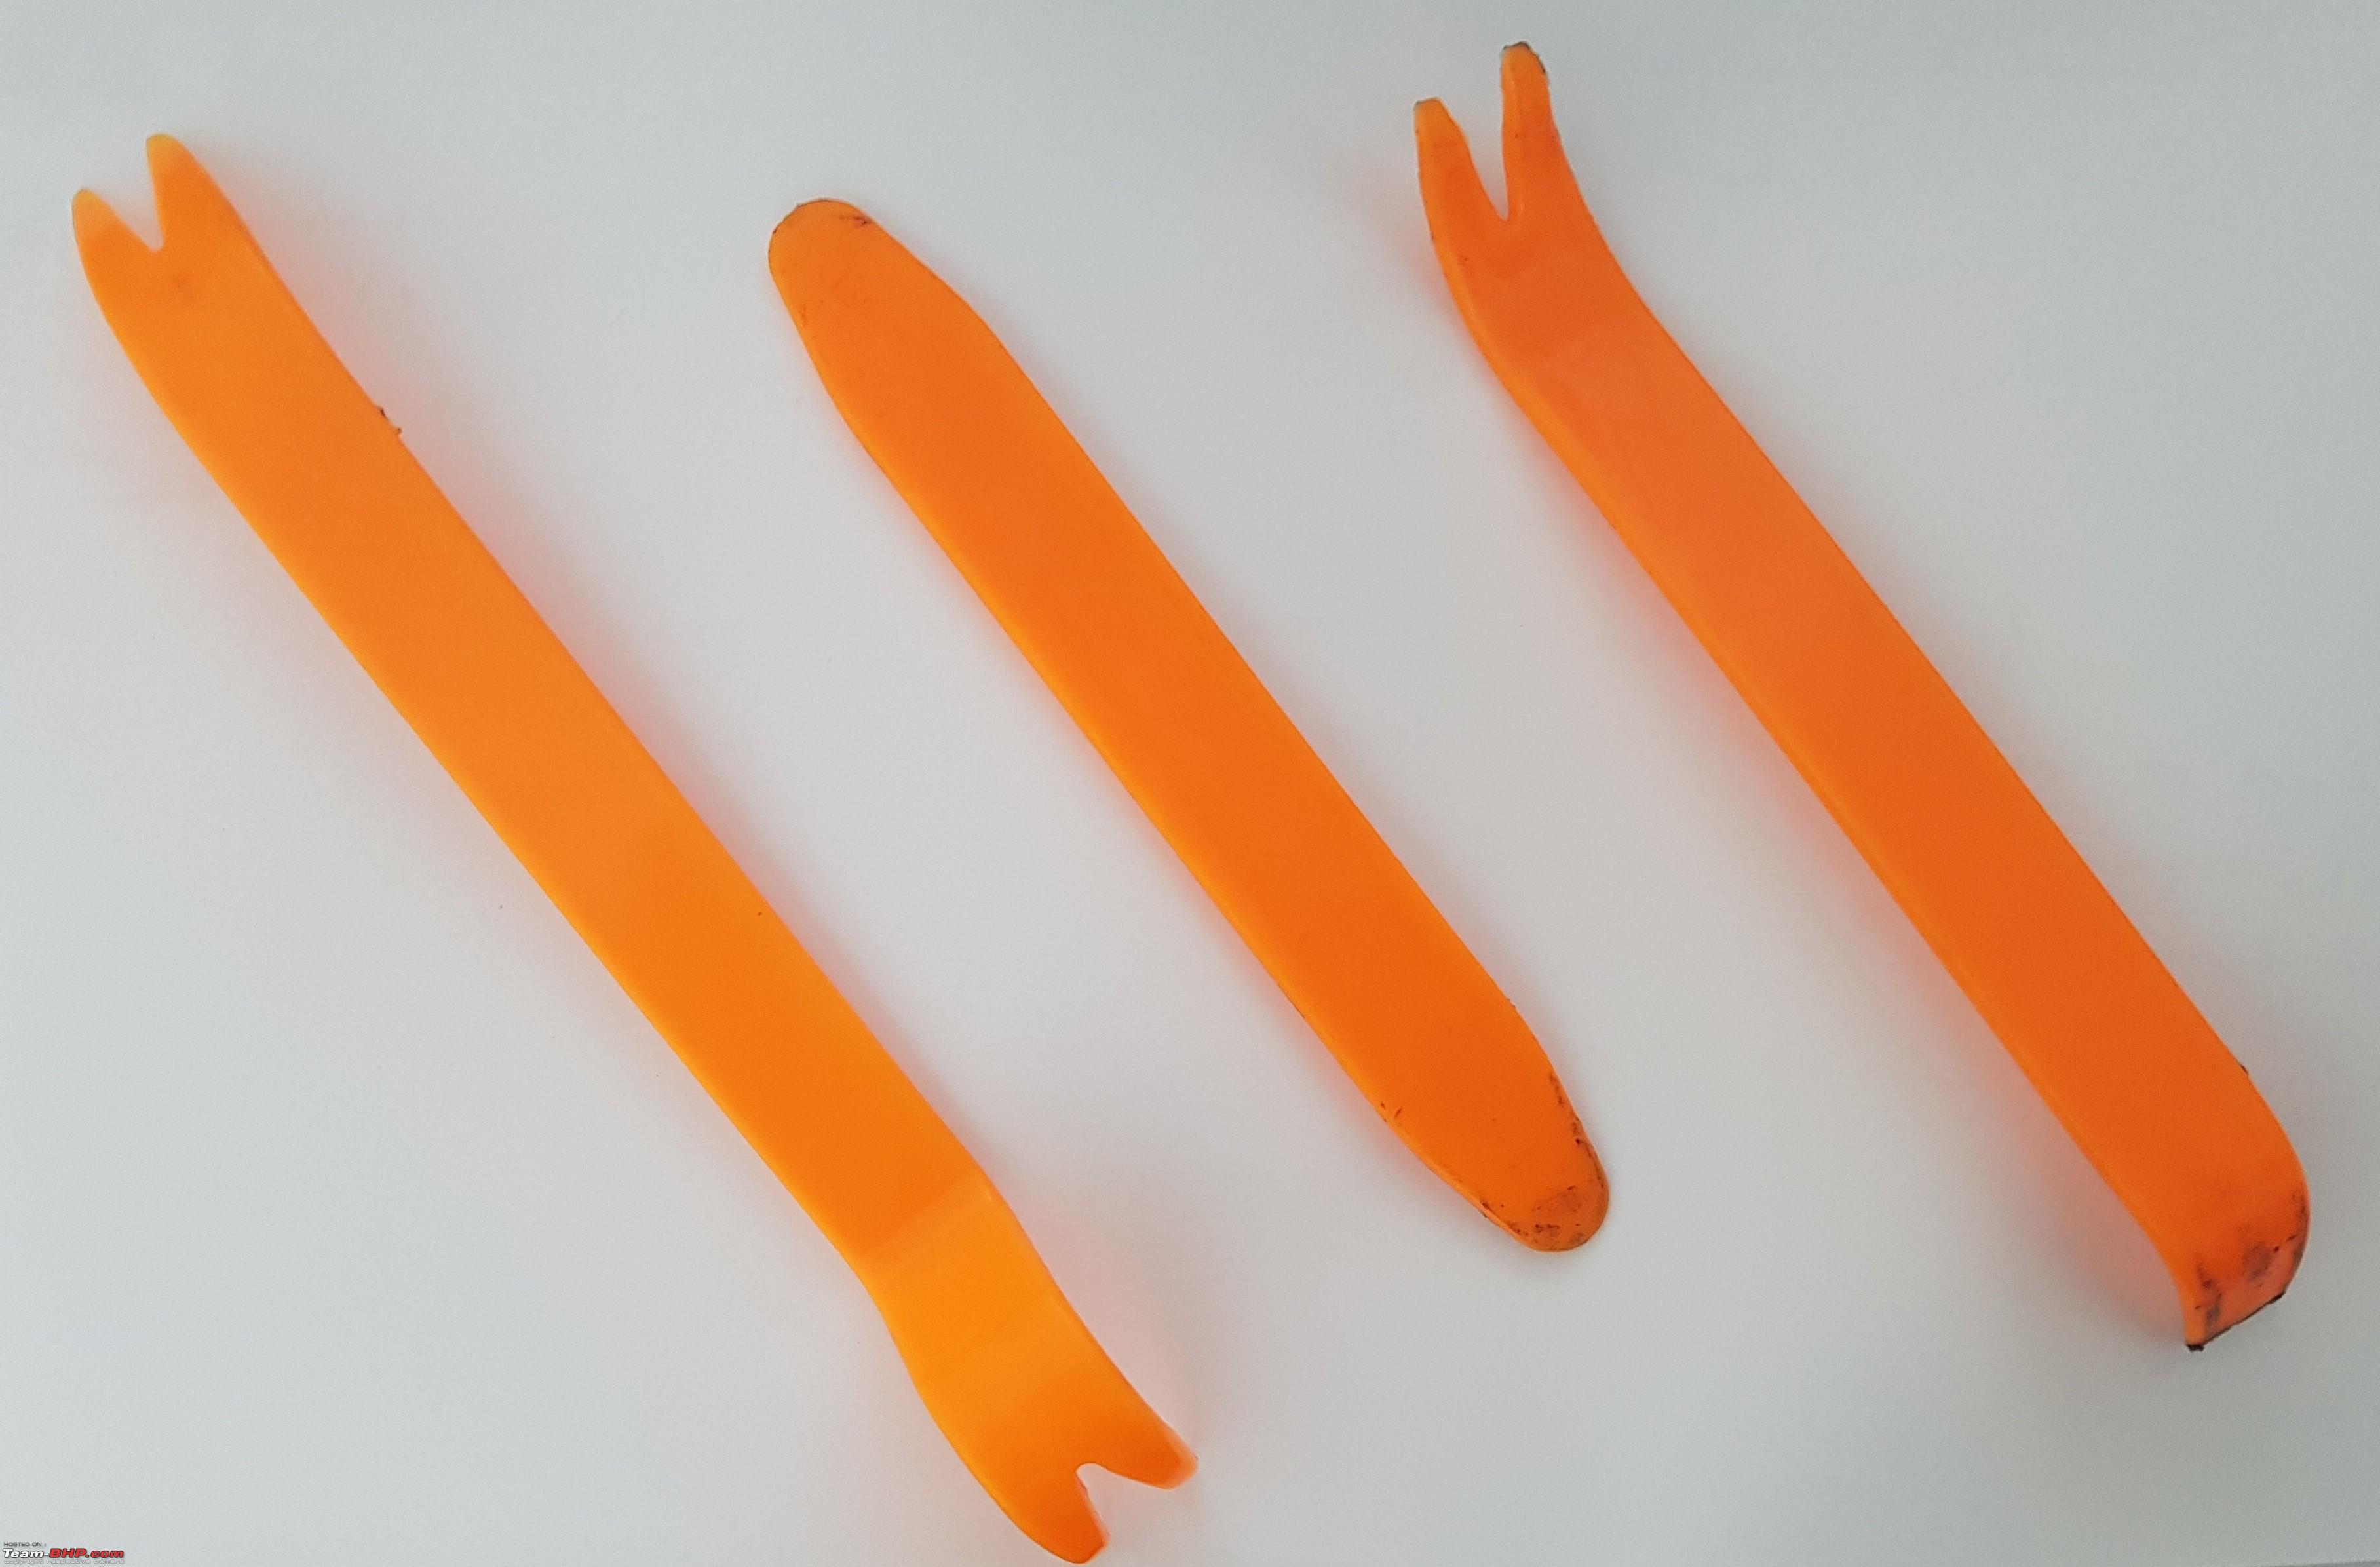
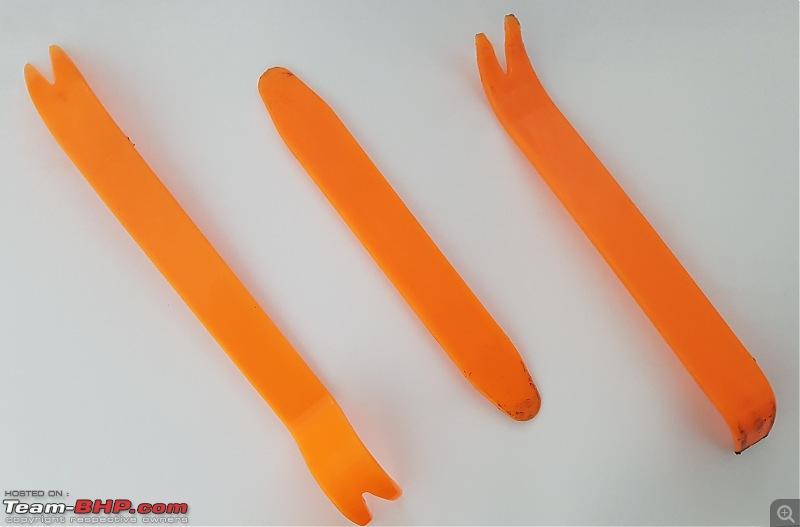
1. Tools
a) Most important, you need prying tools to open up the door panel. They help in preventing scratches to the metal parts as well as the plastic parts.
b) Single side foam tape and screw drivers.
2. Removing the Door Panels
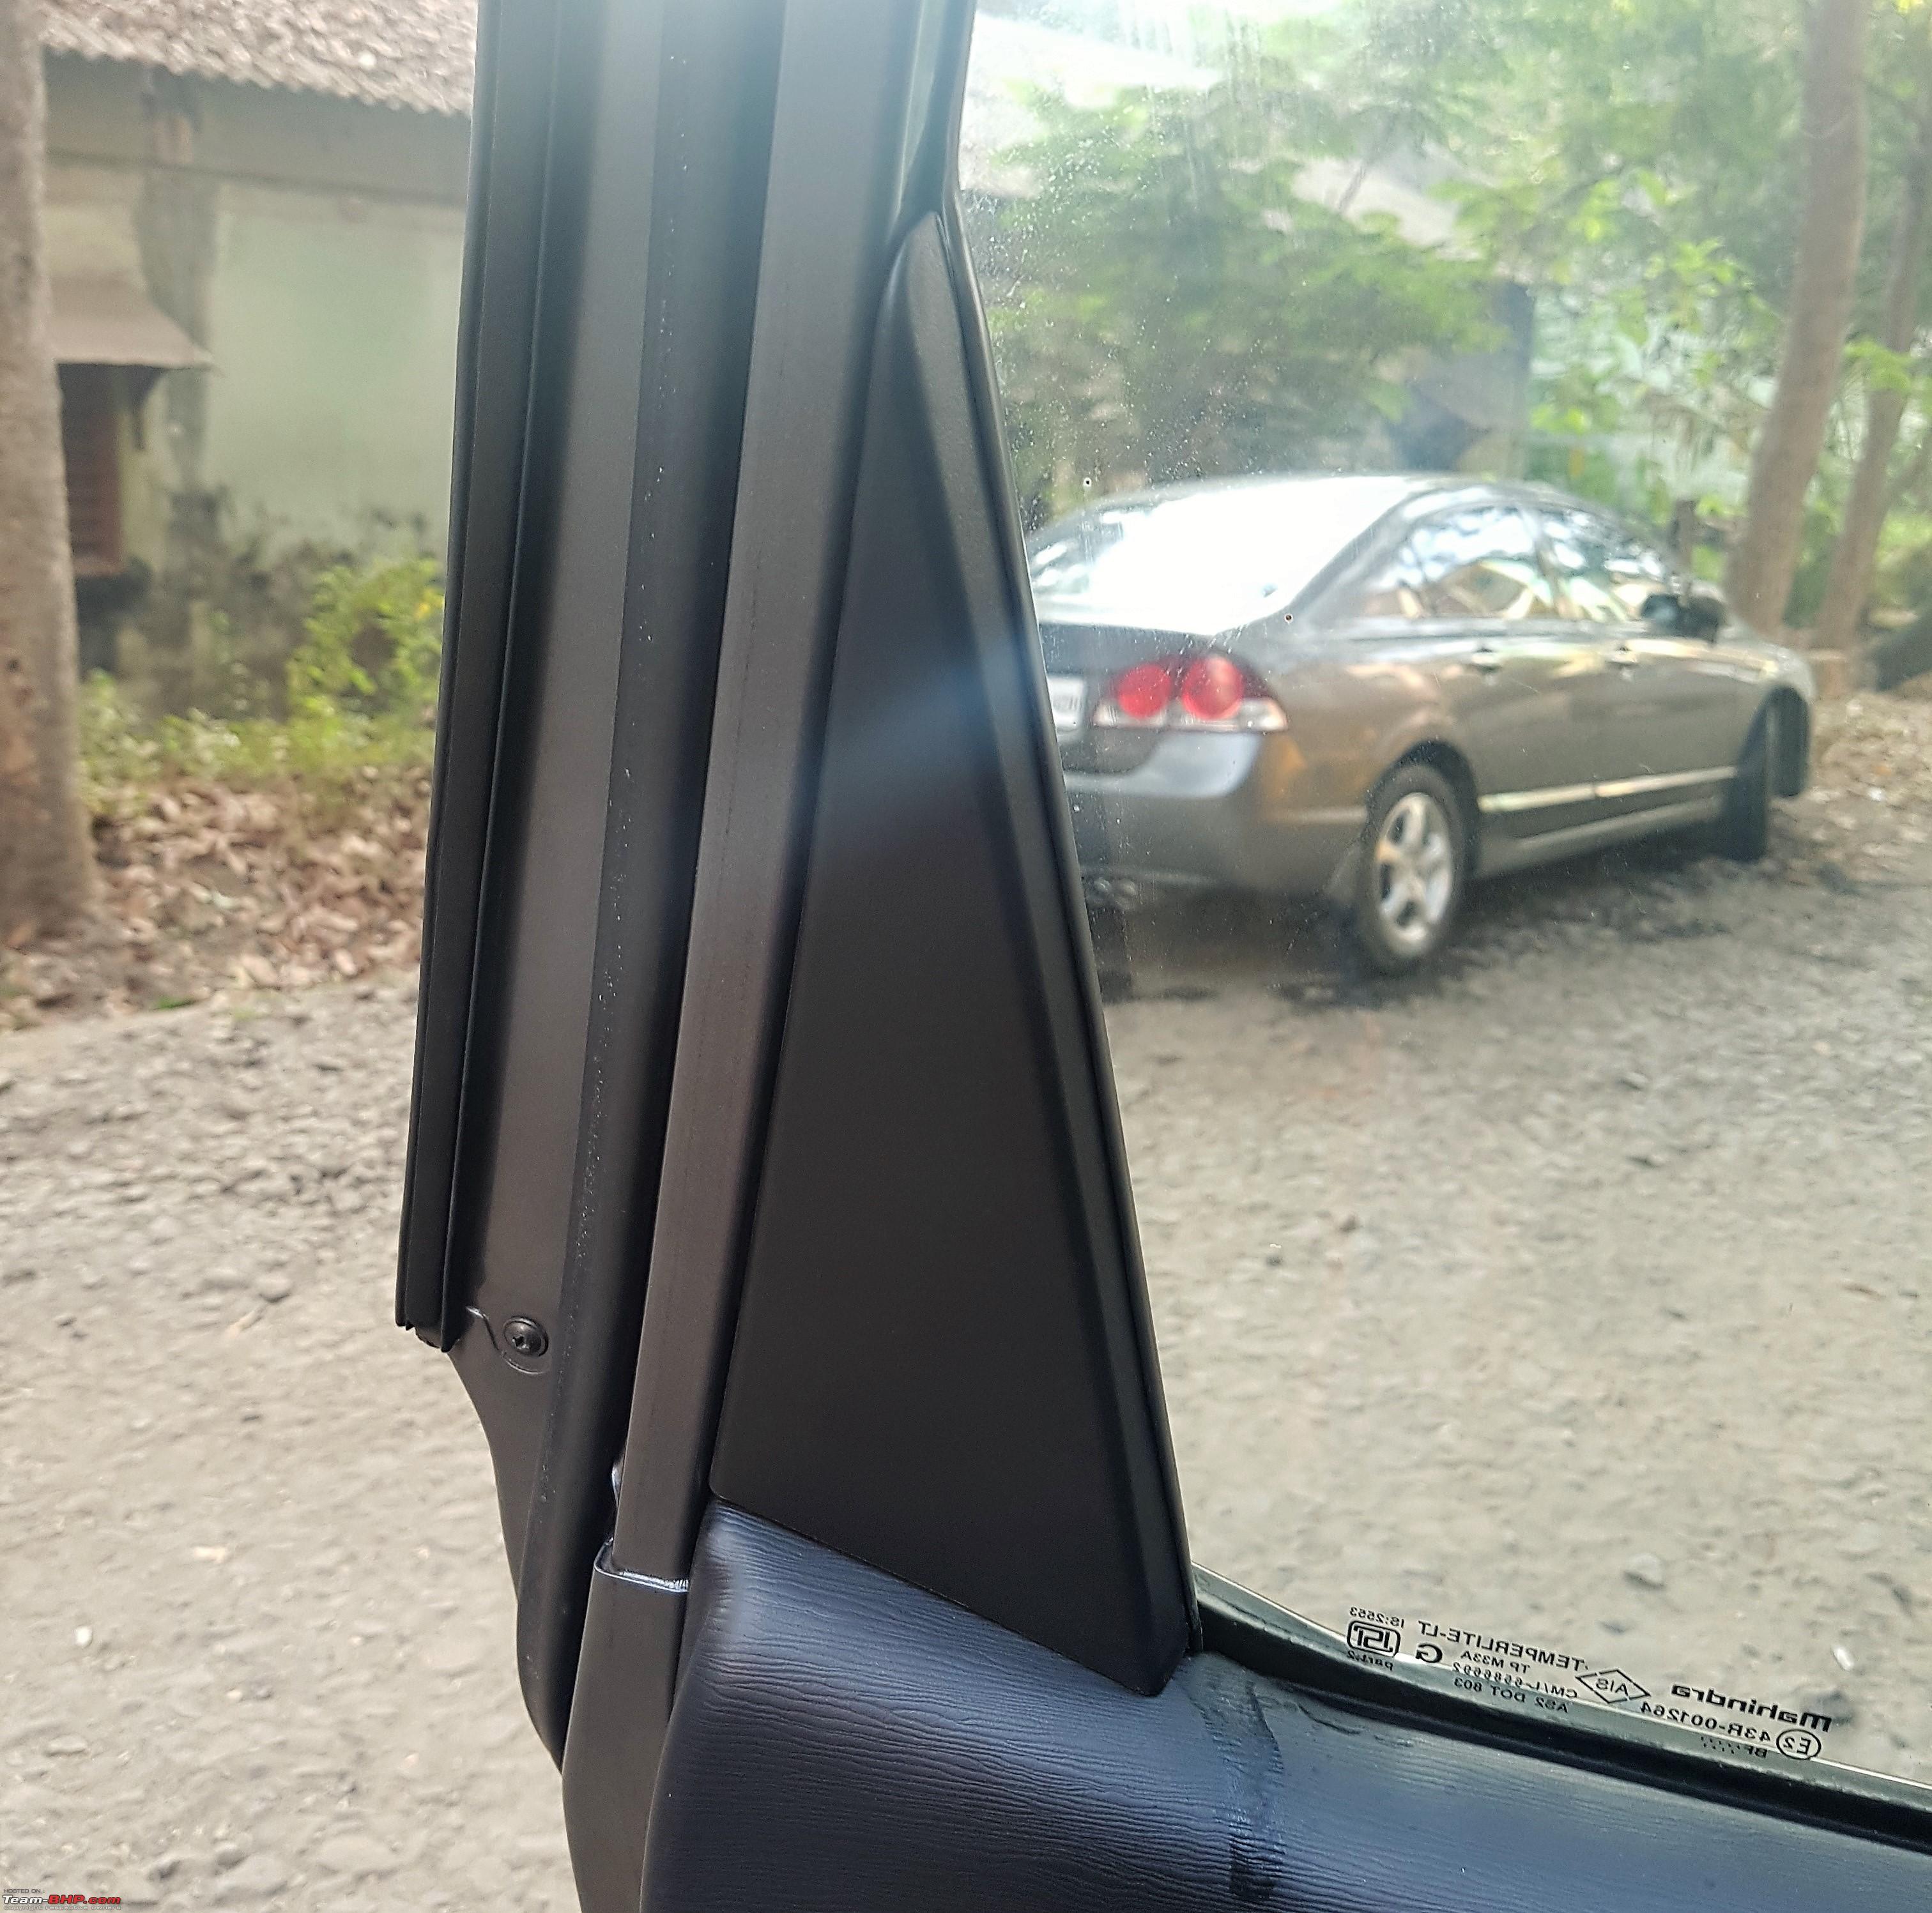
Remove the cover just above the window. Not removing this will create a hindrance in lifting the door panel out especially for the front doors.
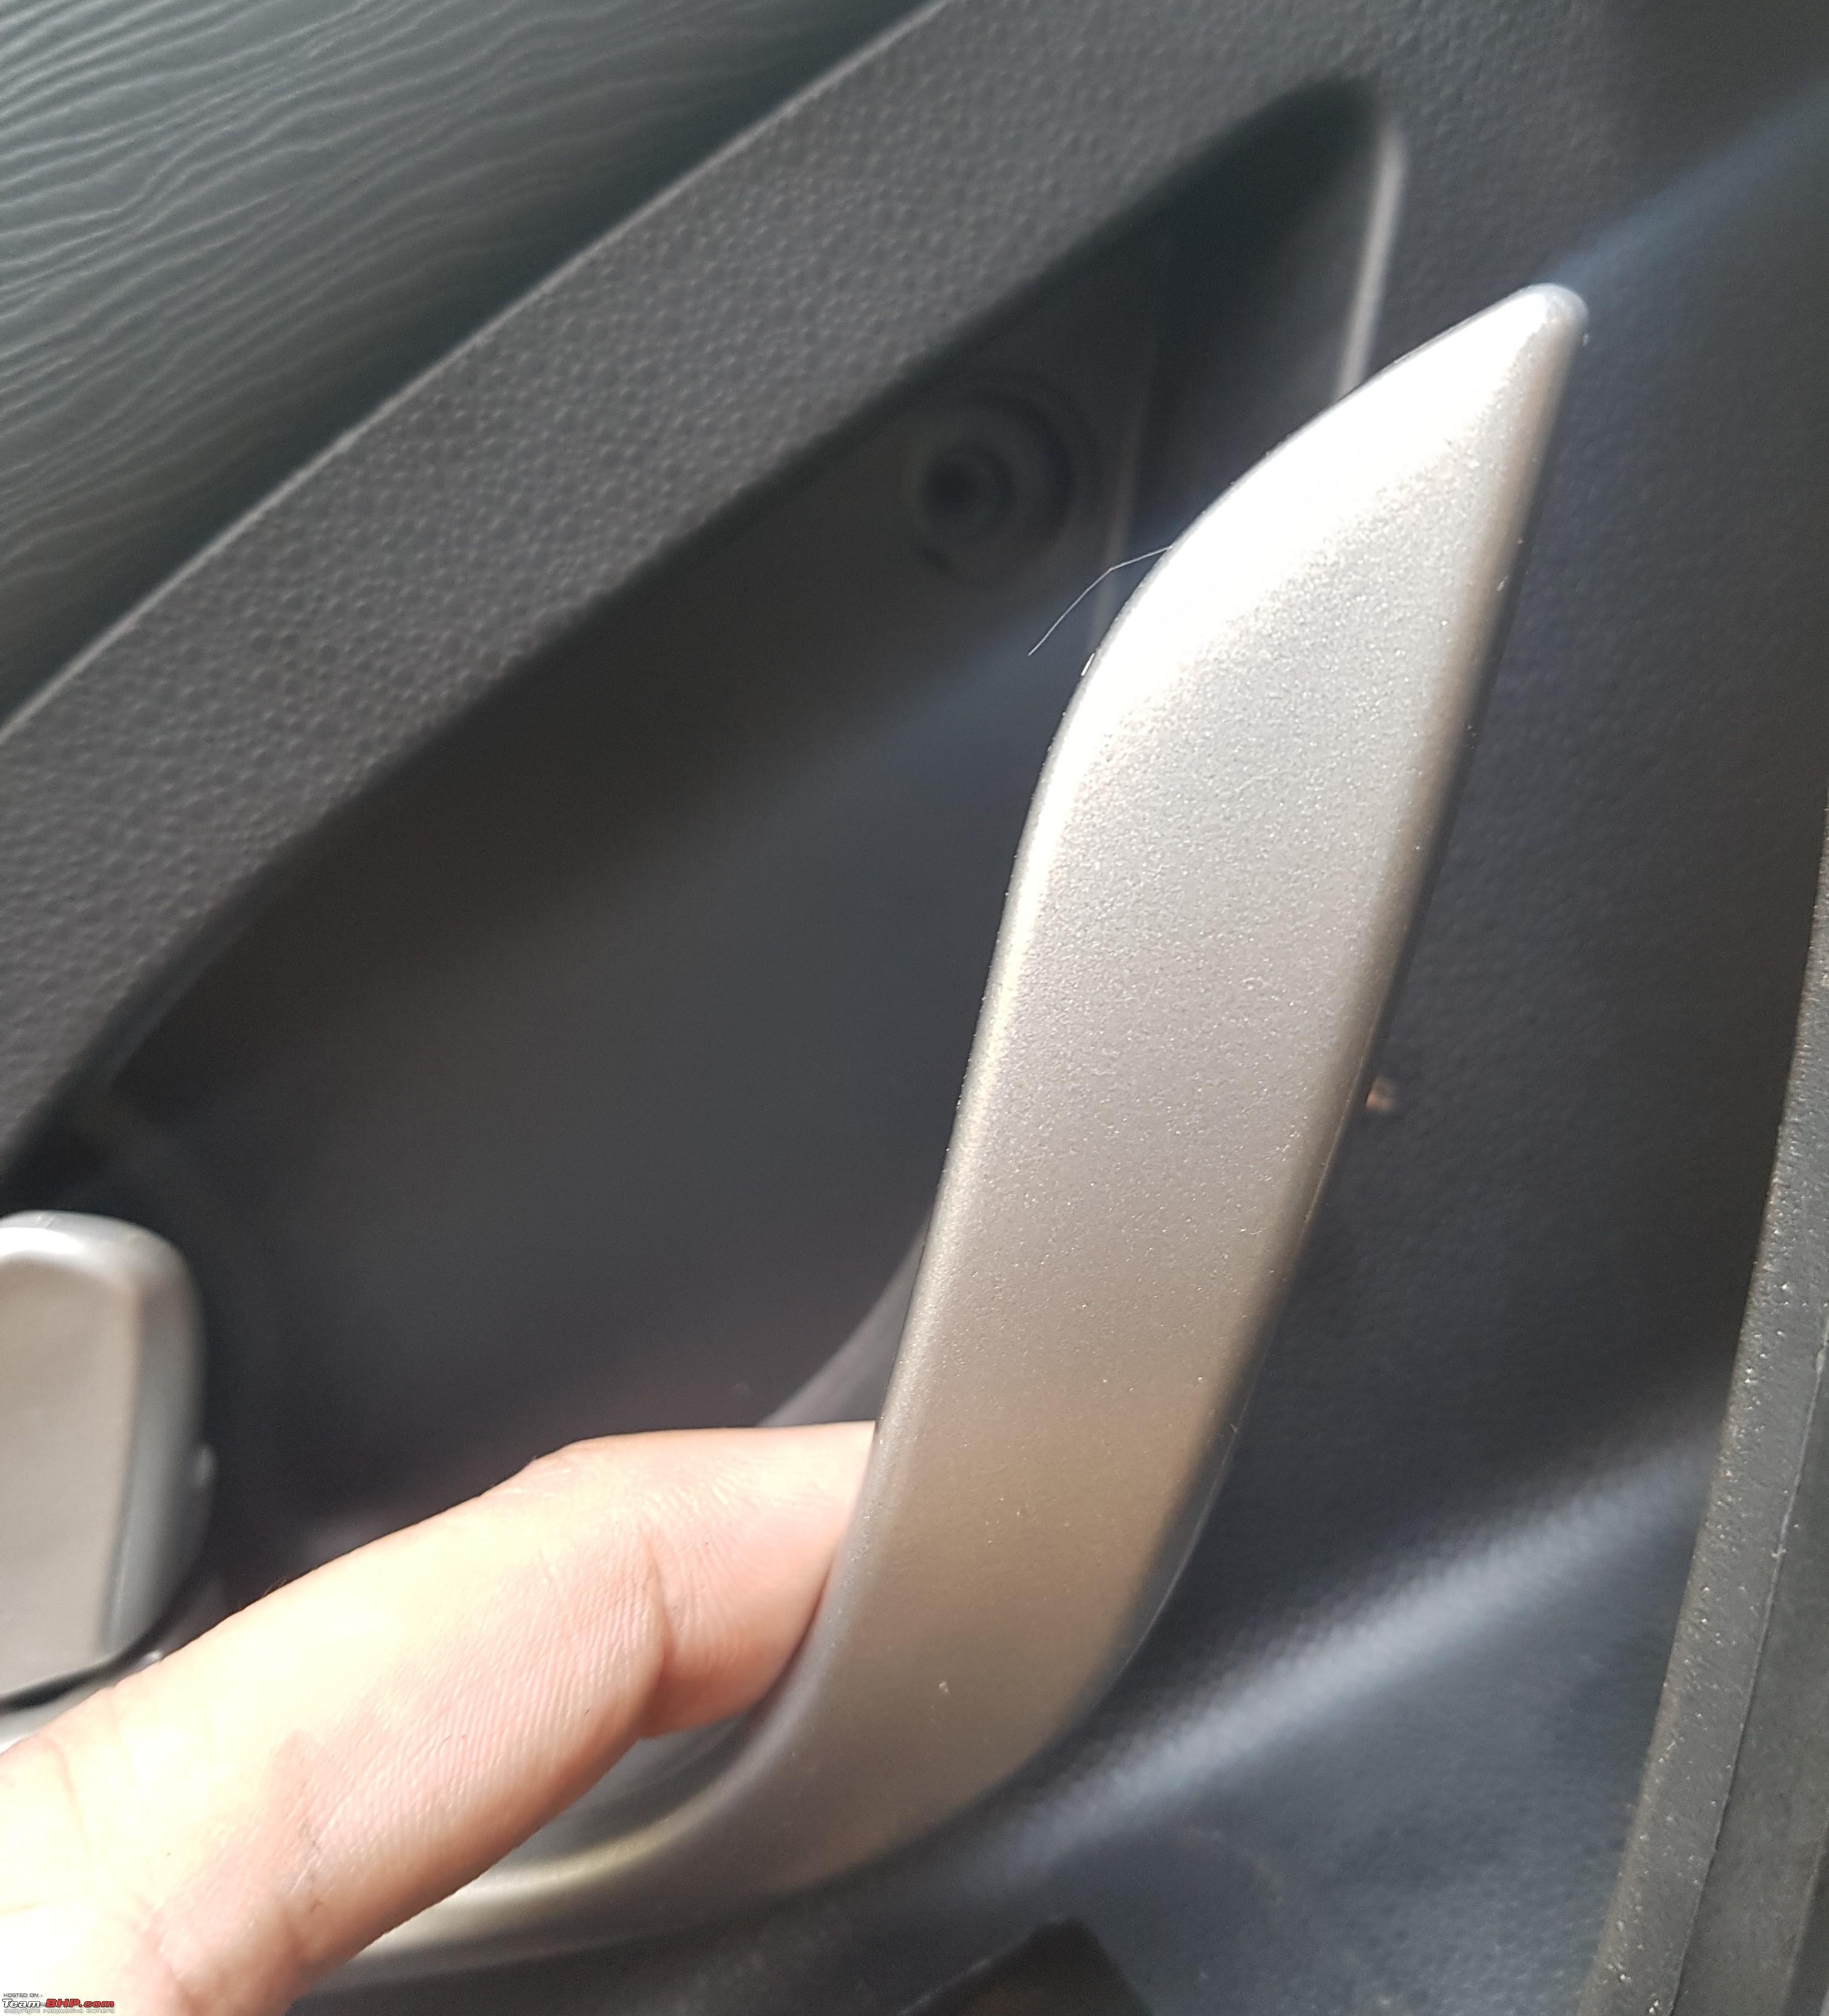
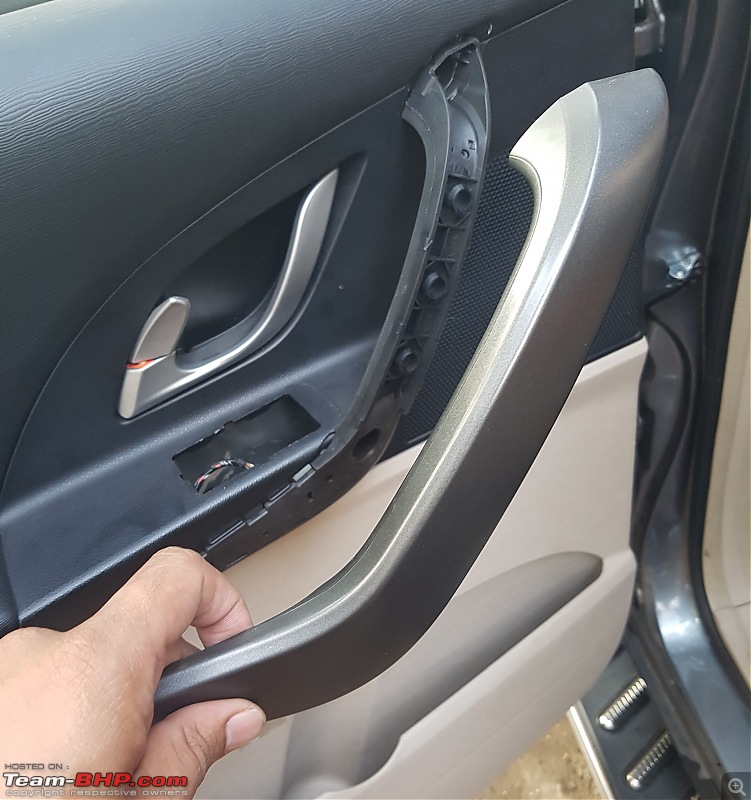
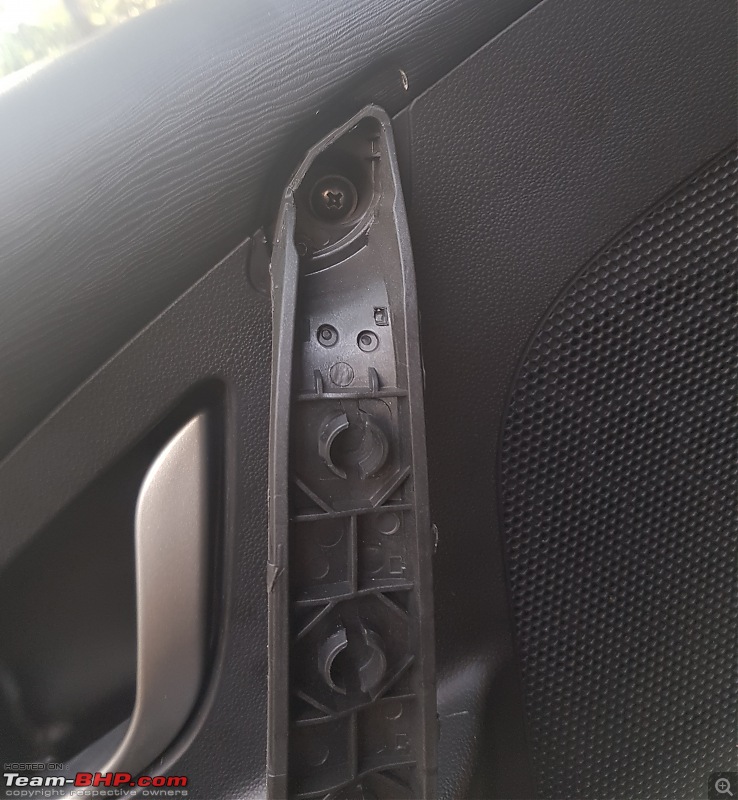
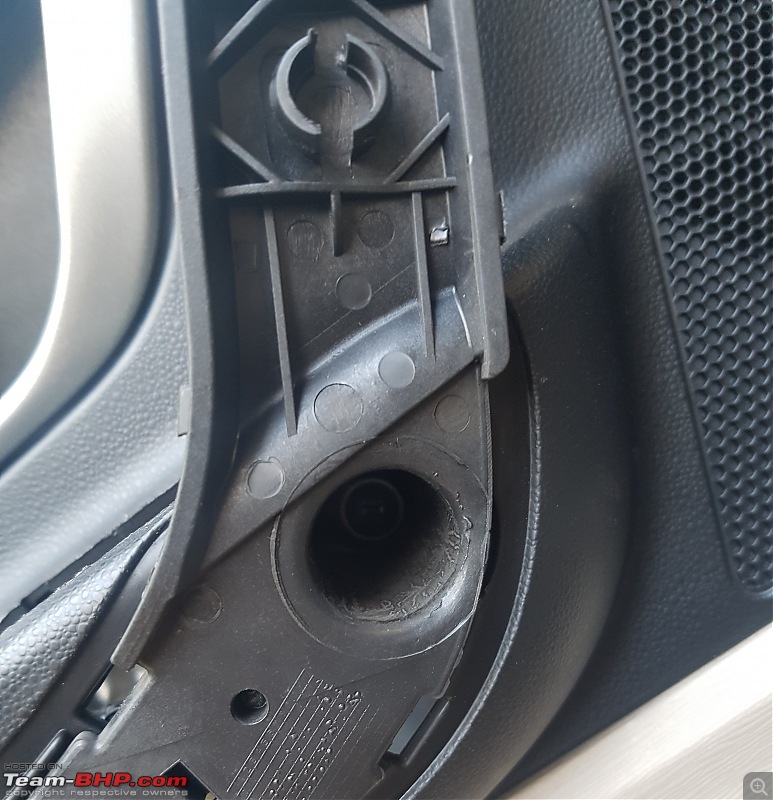
Remove the three screws. One is just behind the door open lever. Two screws are under the door handle. There are four slots on the bottom and side of the door handle cover. Insert a bend pin type tool in these slots to pull the cover out a bit and then pry open with the flat pry in the above picture. Don't use excessive force.
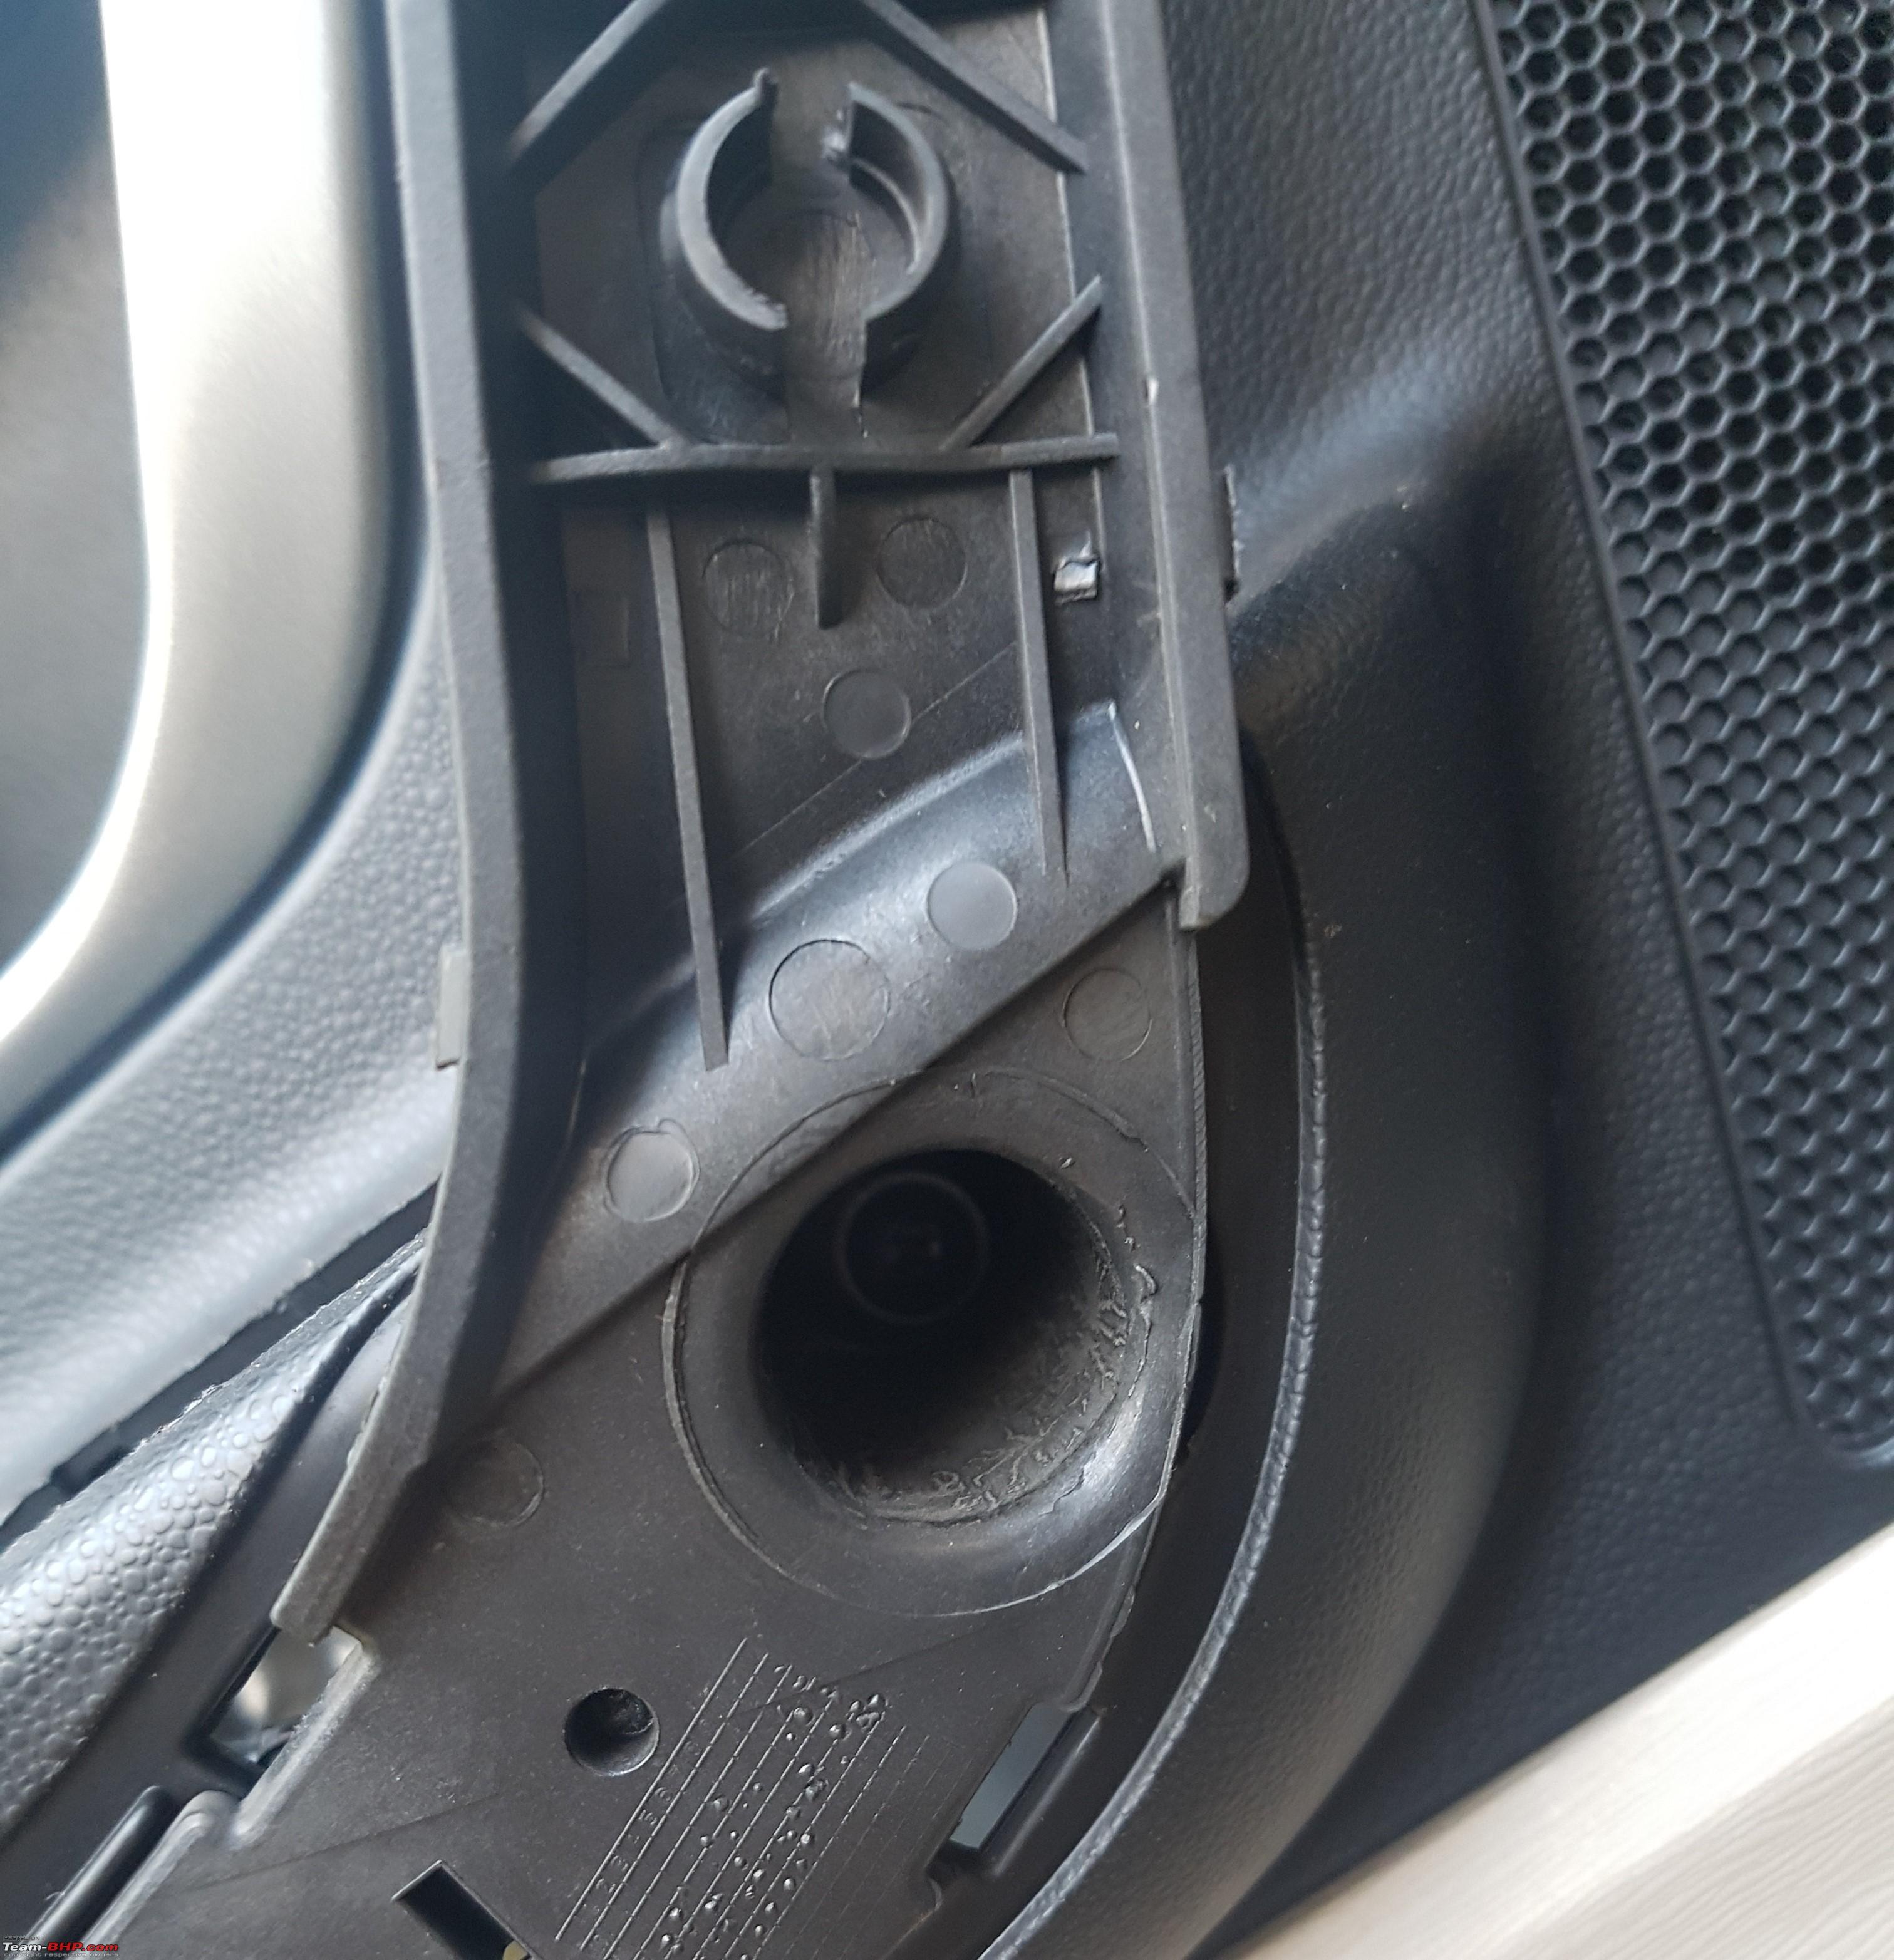
You may or may not remove the power window switch. It is a simple clipped unit and easy to remove with the flat prying tool.
3. Prying open the door panel
Most important and hectic step.
Use the flat pry tool (the middle one in the picture above) and start from the lower end of the door panel. Insert the tool between the panel and the door gap by applying a little force and slide the tool along the edges on the panel. The mushroom clips will open up making loud "TAAK" sound. Some clips will give you a hard time. Its time to use the other two prying tools when the flat one doesn't unlock any more clips. Use the bend type tools and insert them at the location of the clips. You will be able to identify the location of the clips when you slide the tool between the gap and it gets stuck. Insert the slit type tool and unlock the clip by pulling up the door panel using the prying tool and a little force by your hands.
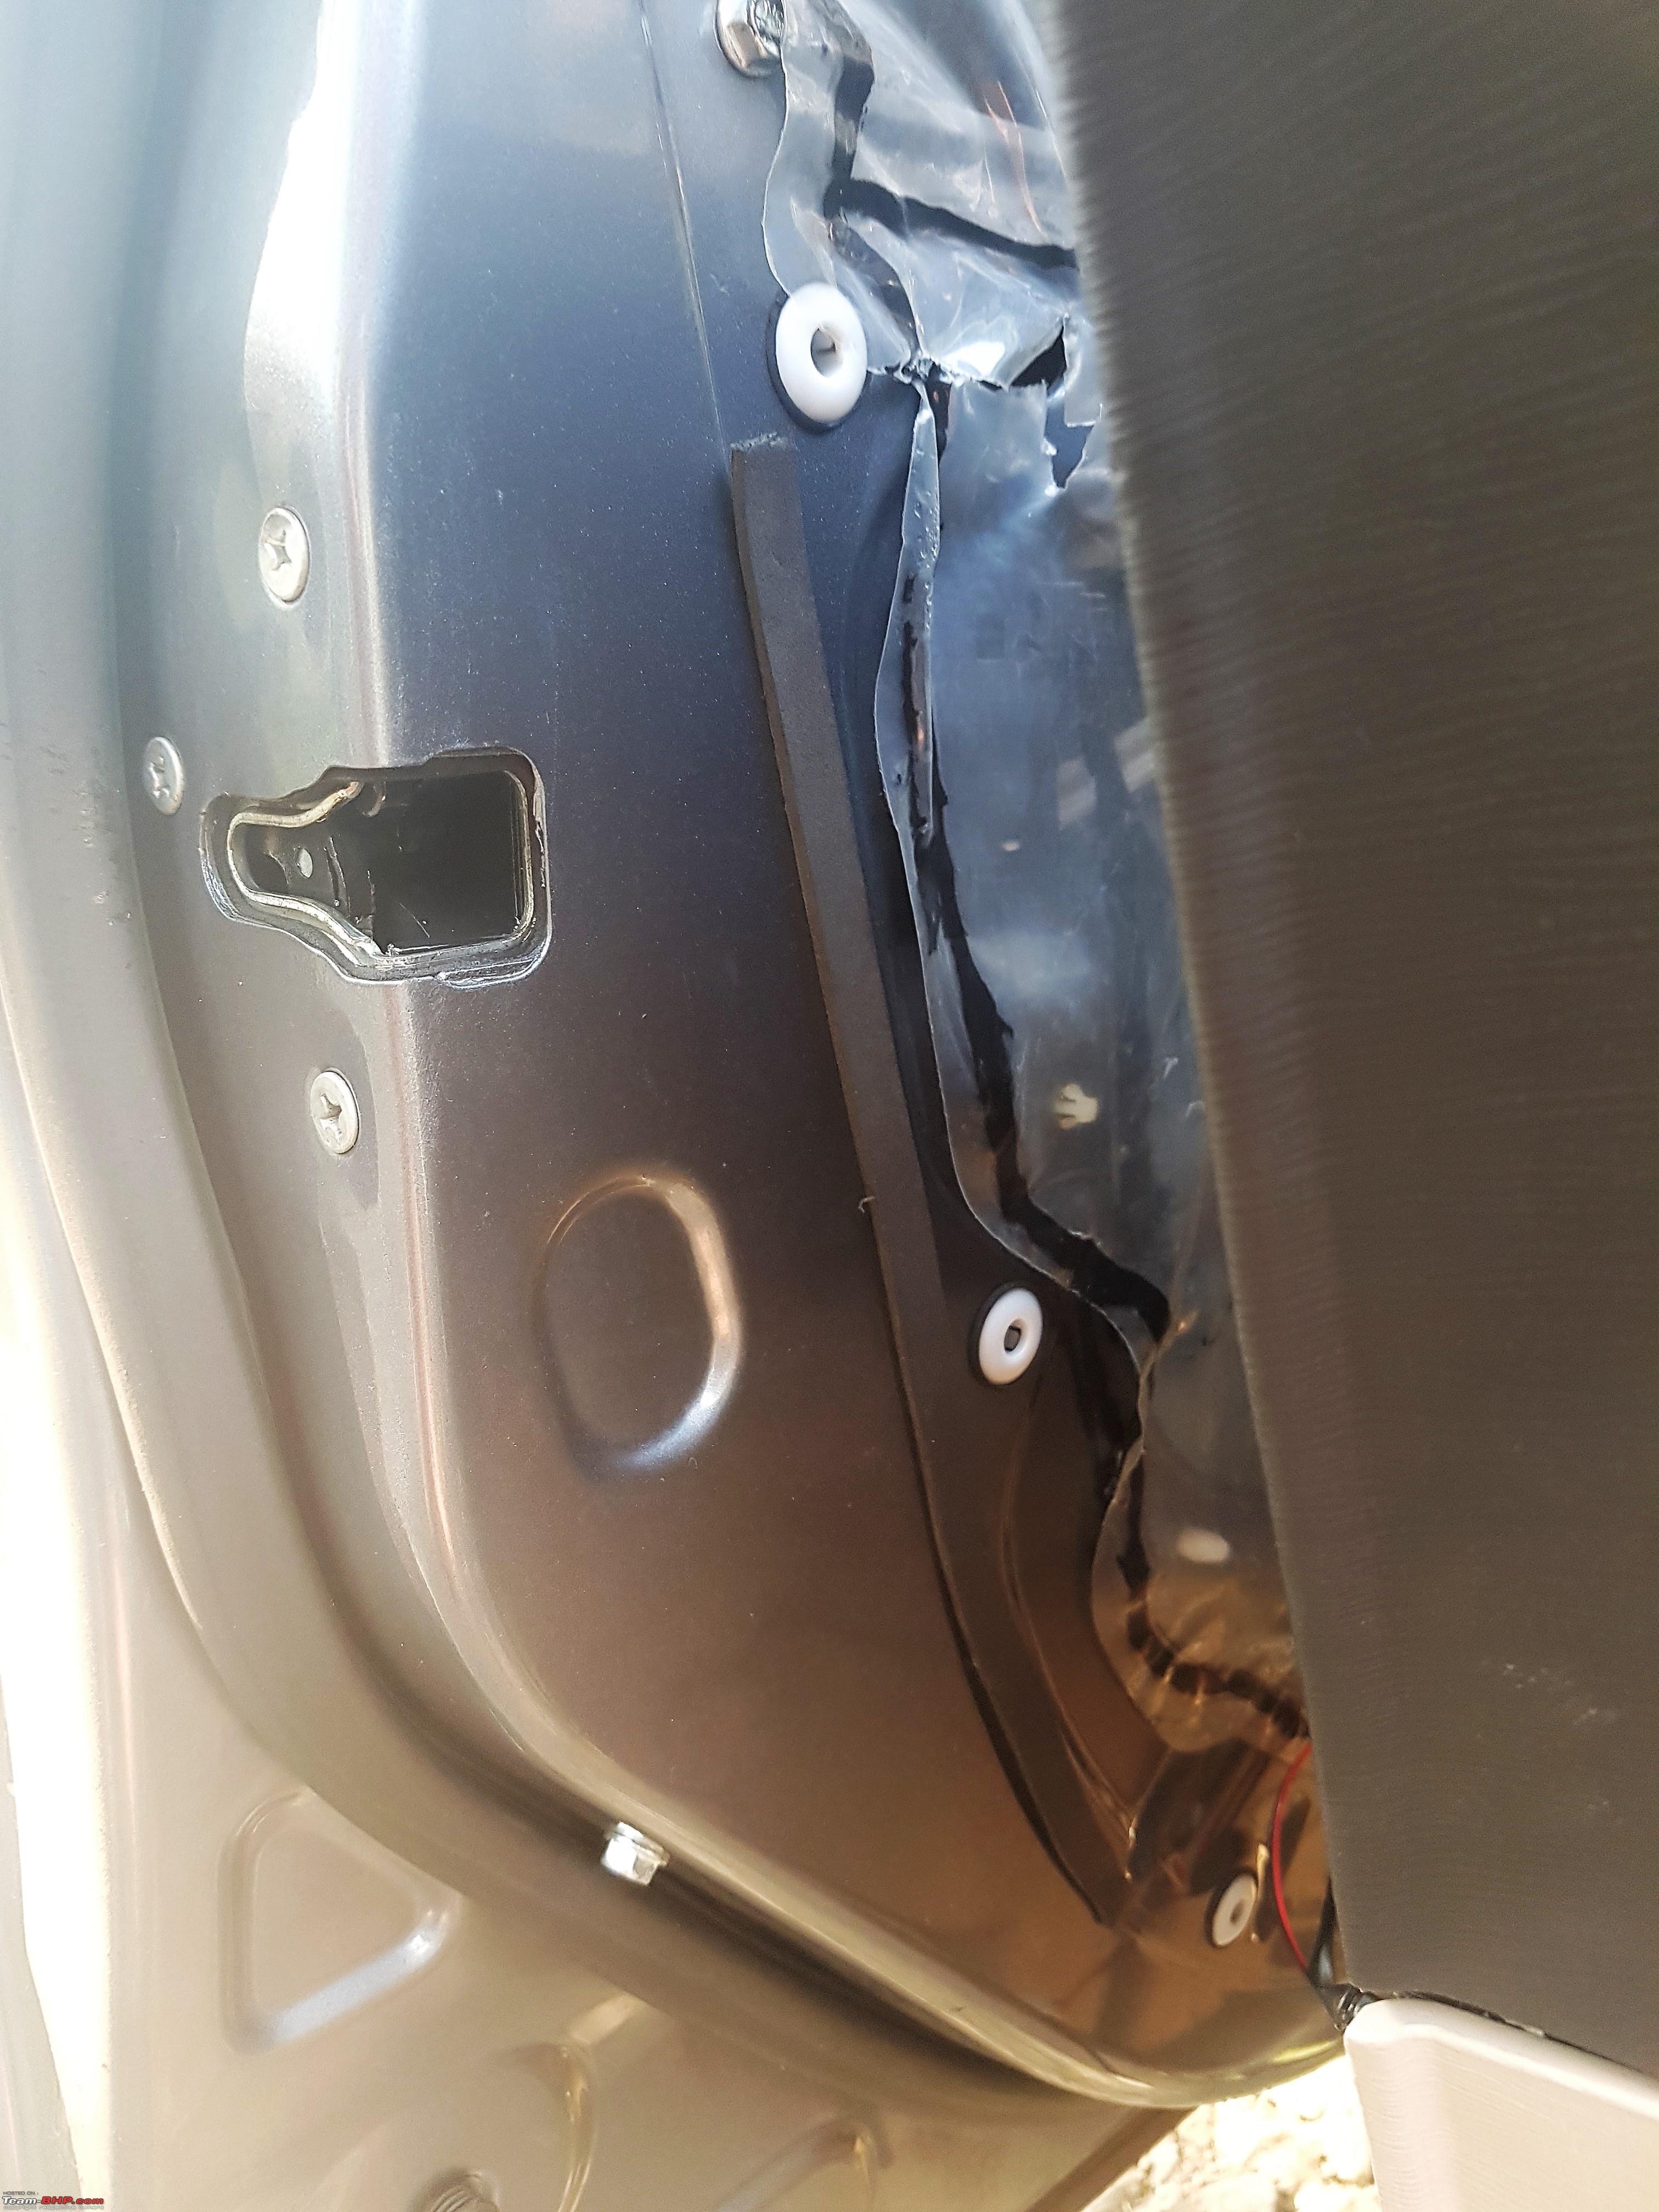
There are 3-4 clips at bottom, 2-3 at both sides (my bad that I didn't click those pictures and neither did I count the exact numbers. In the new age XUV, one clip is there each side behind the black part of the door panel.
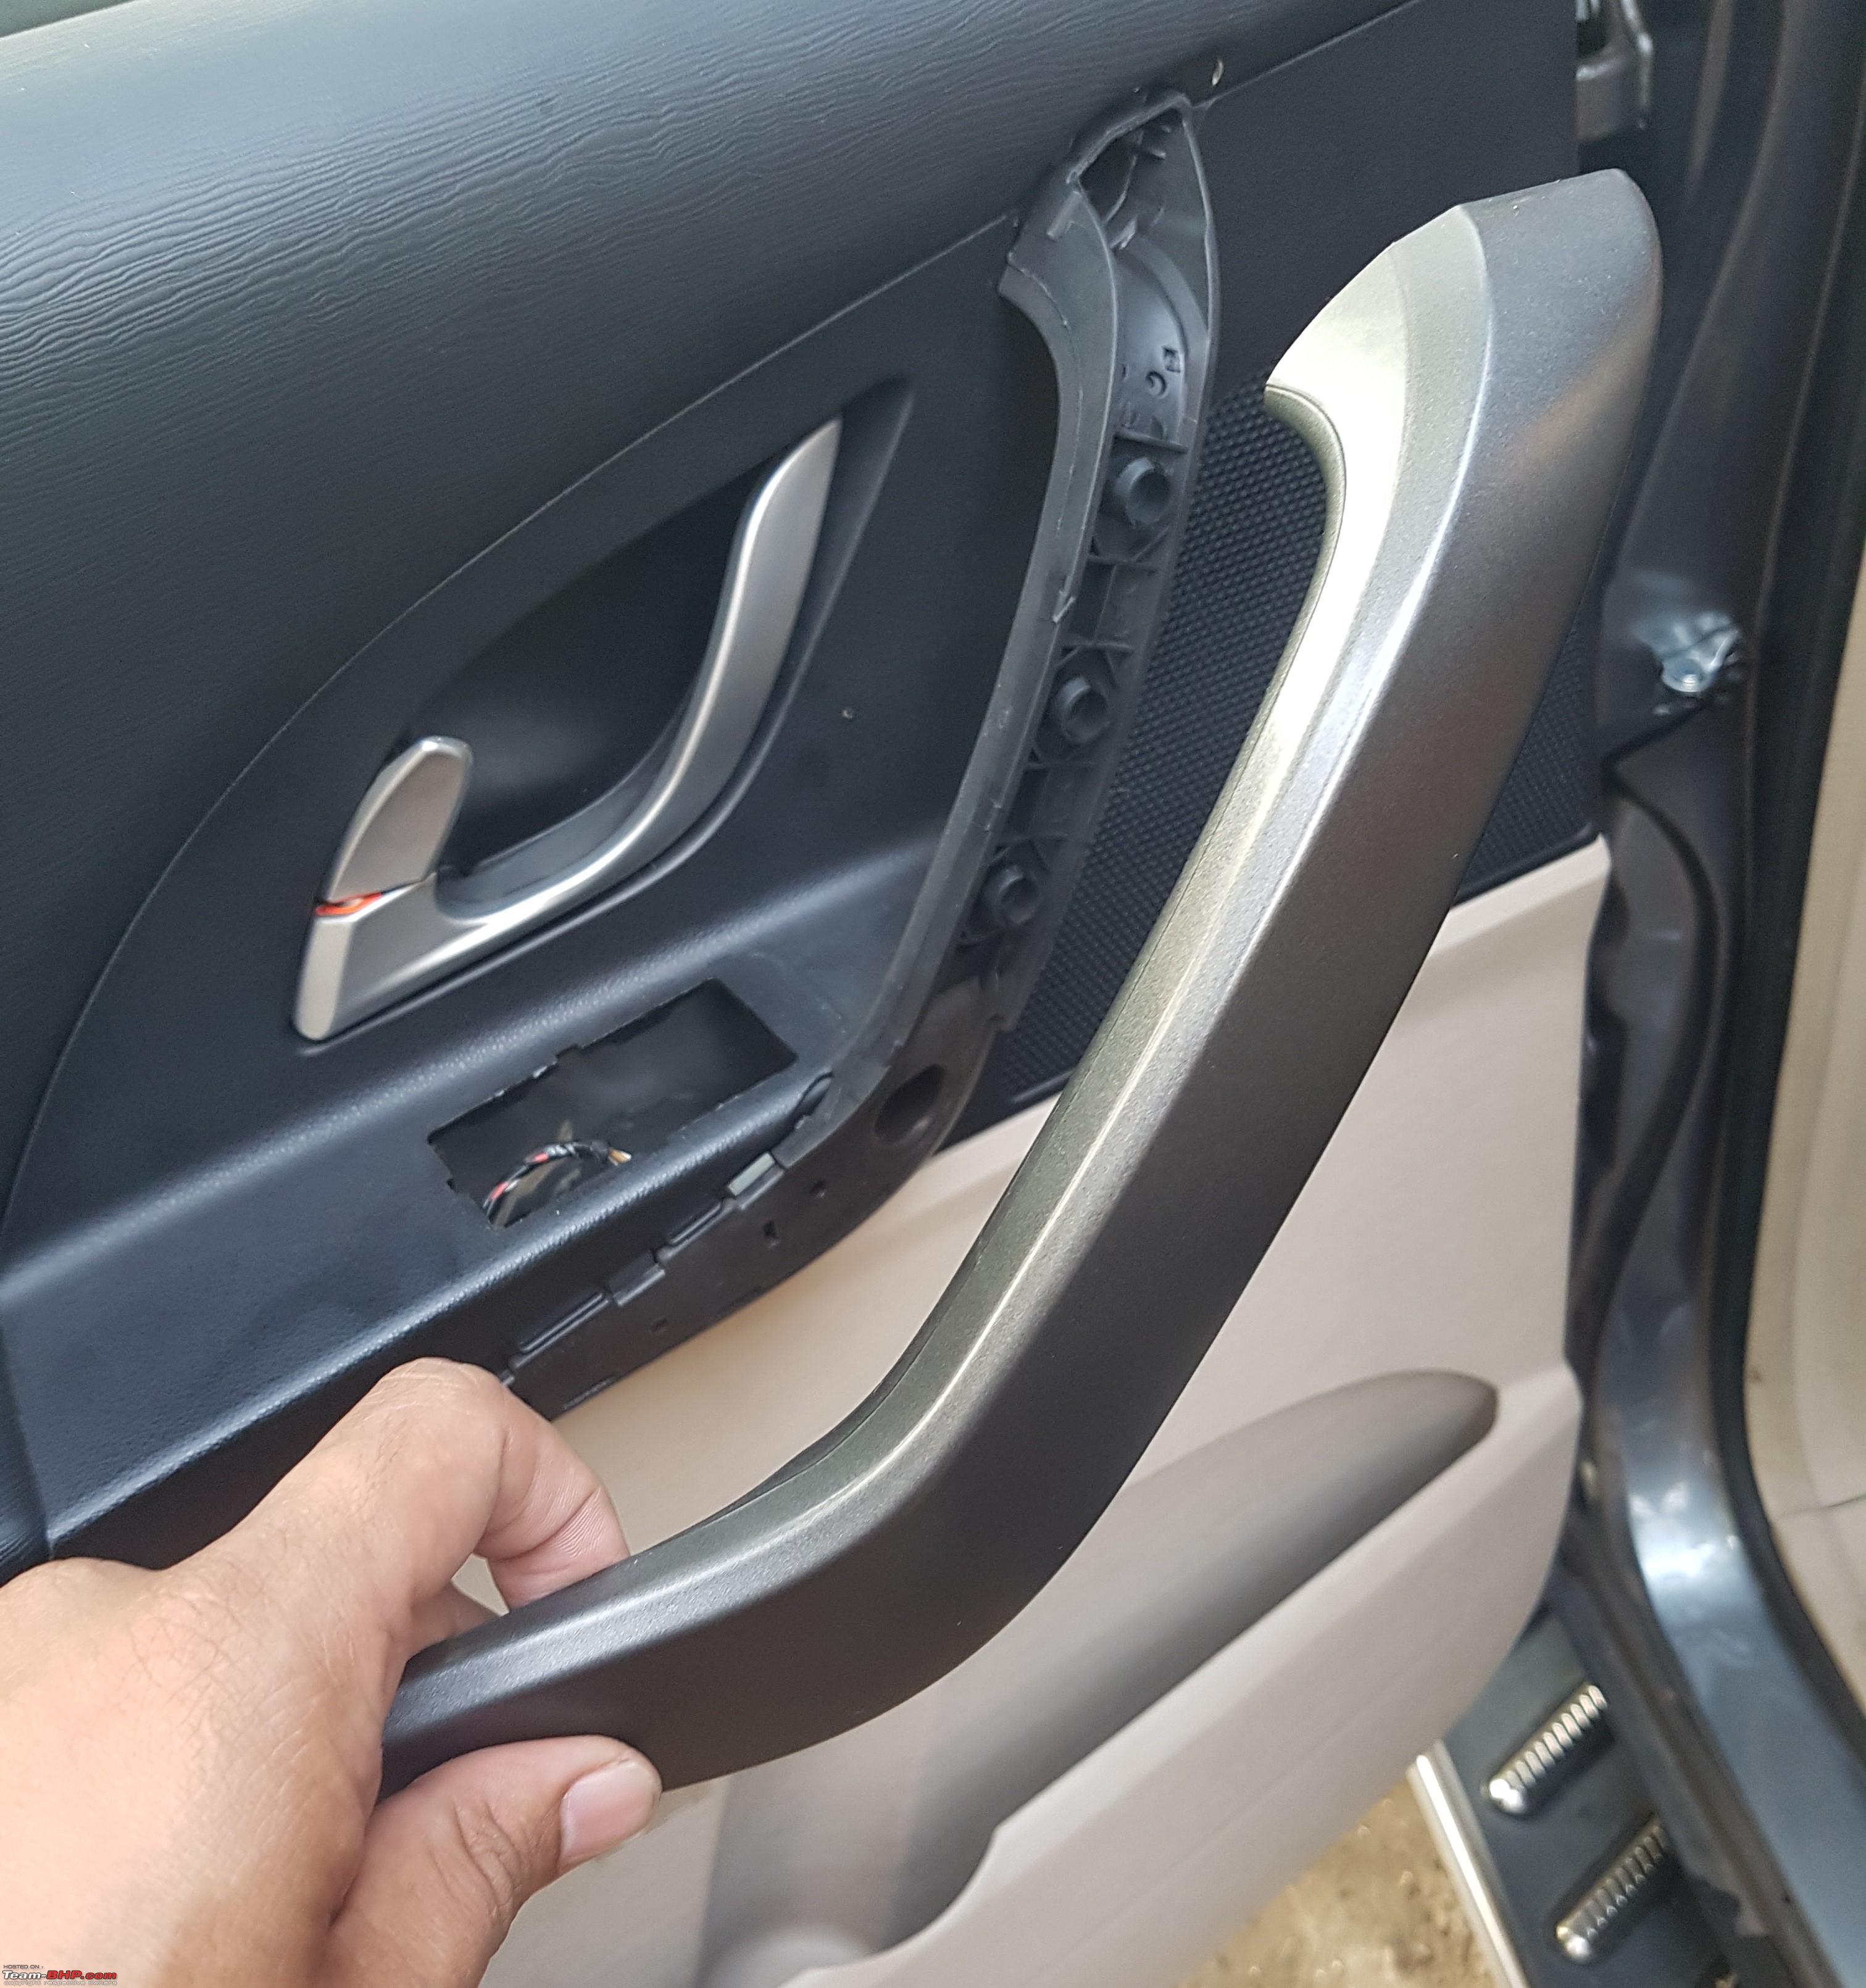
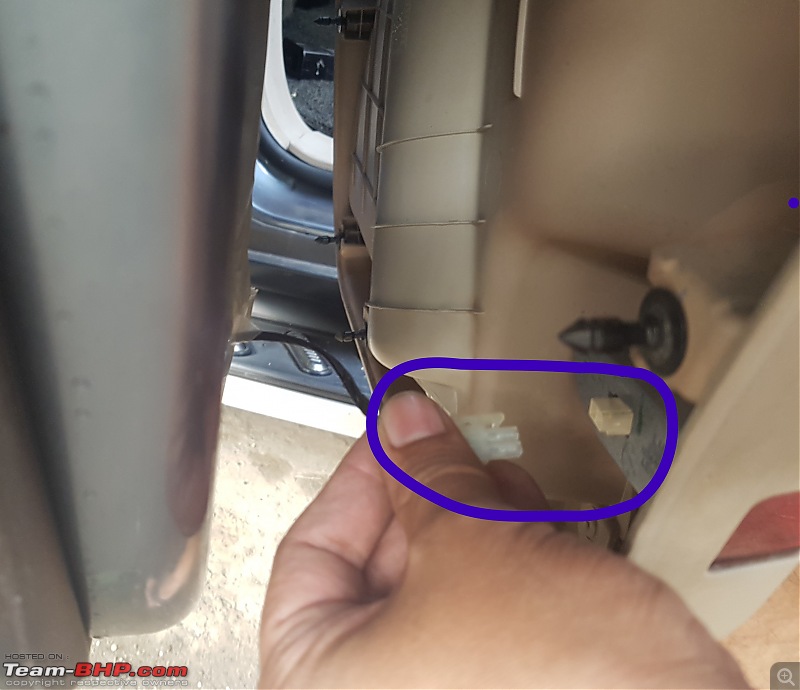
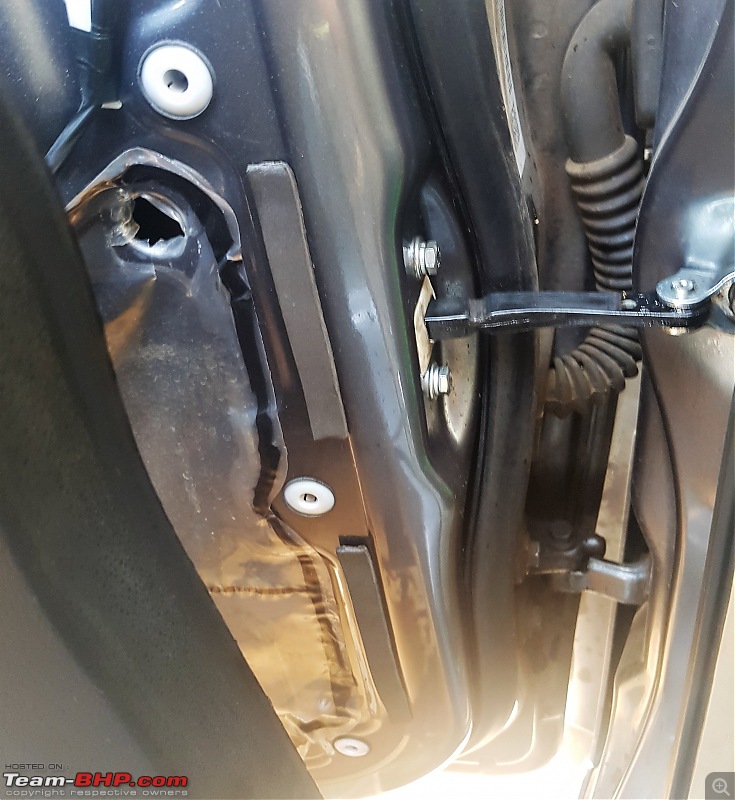
Once all the clips are removed, the door panel will be hanging loose. Remove the puddle lamp connector through the gap.
To remove the door panel, you have to lift it up to disengage it from the slot of the window where it rests and then pull outside.
Watch out for all the mushroom clips, if they are broken, shifted from their slots, lock have come out with the clips (they are black clips with white locks. White locks sit in the door and clips sit in the door panel). No issues with the lock coming out with the clip, as I was able to fix it back again without any issues.
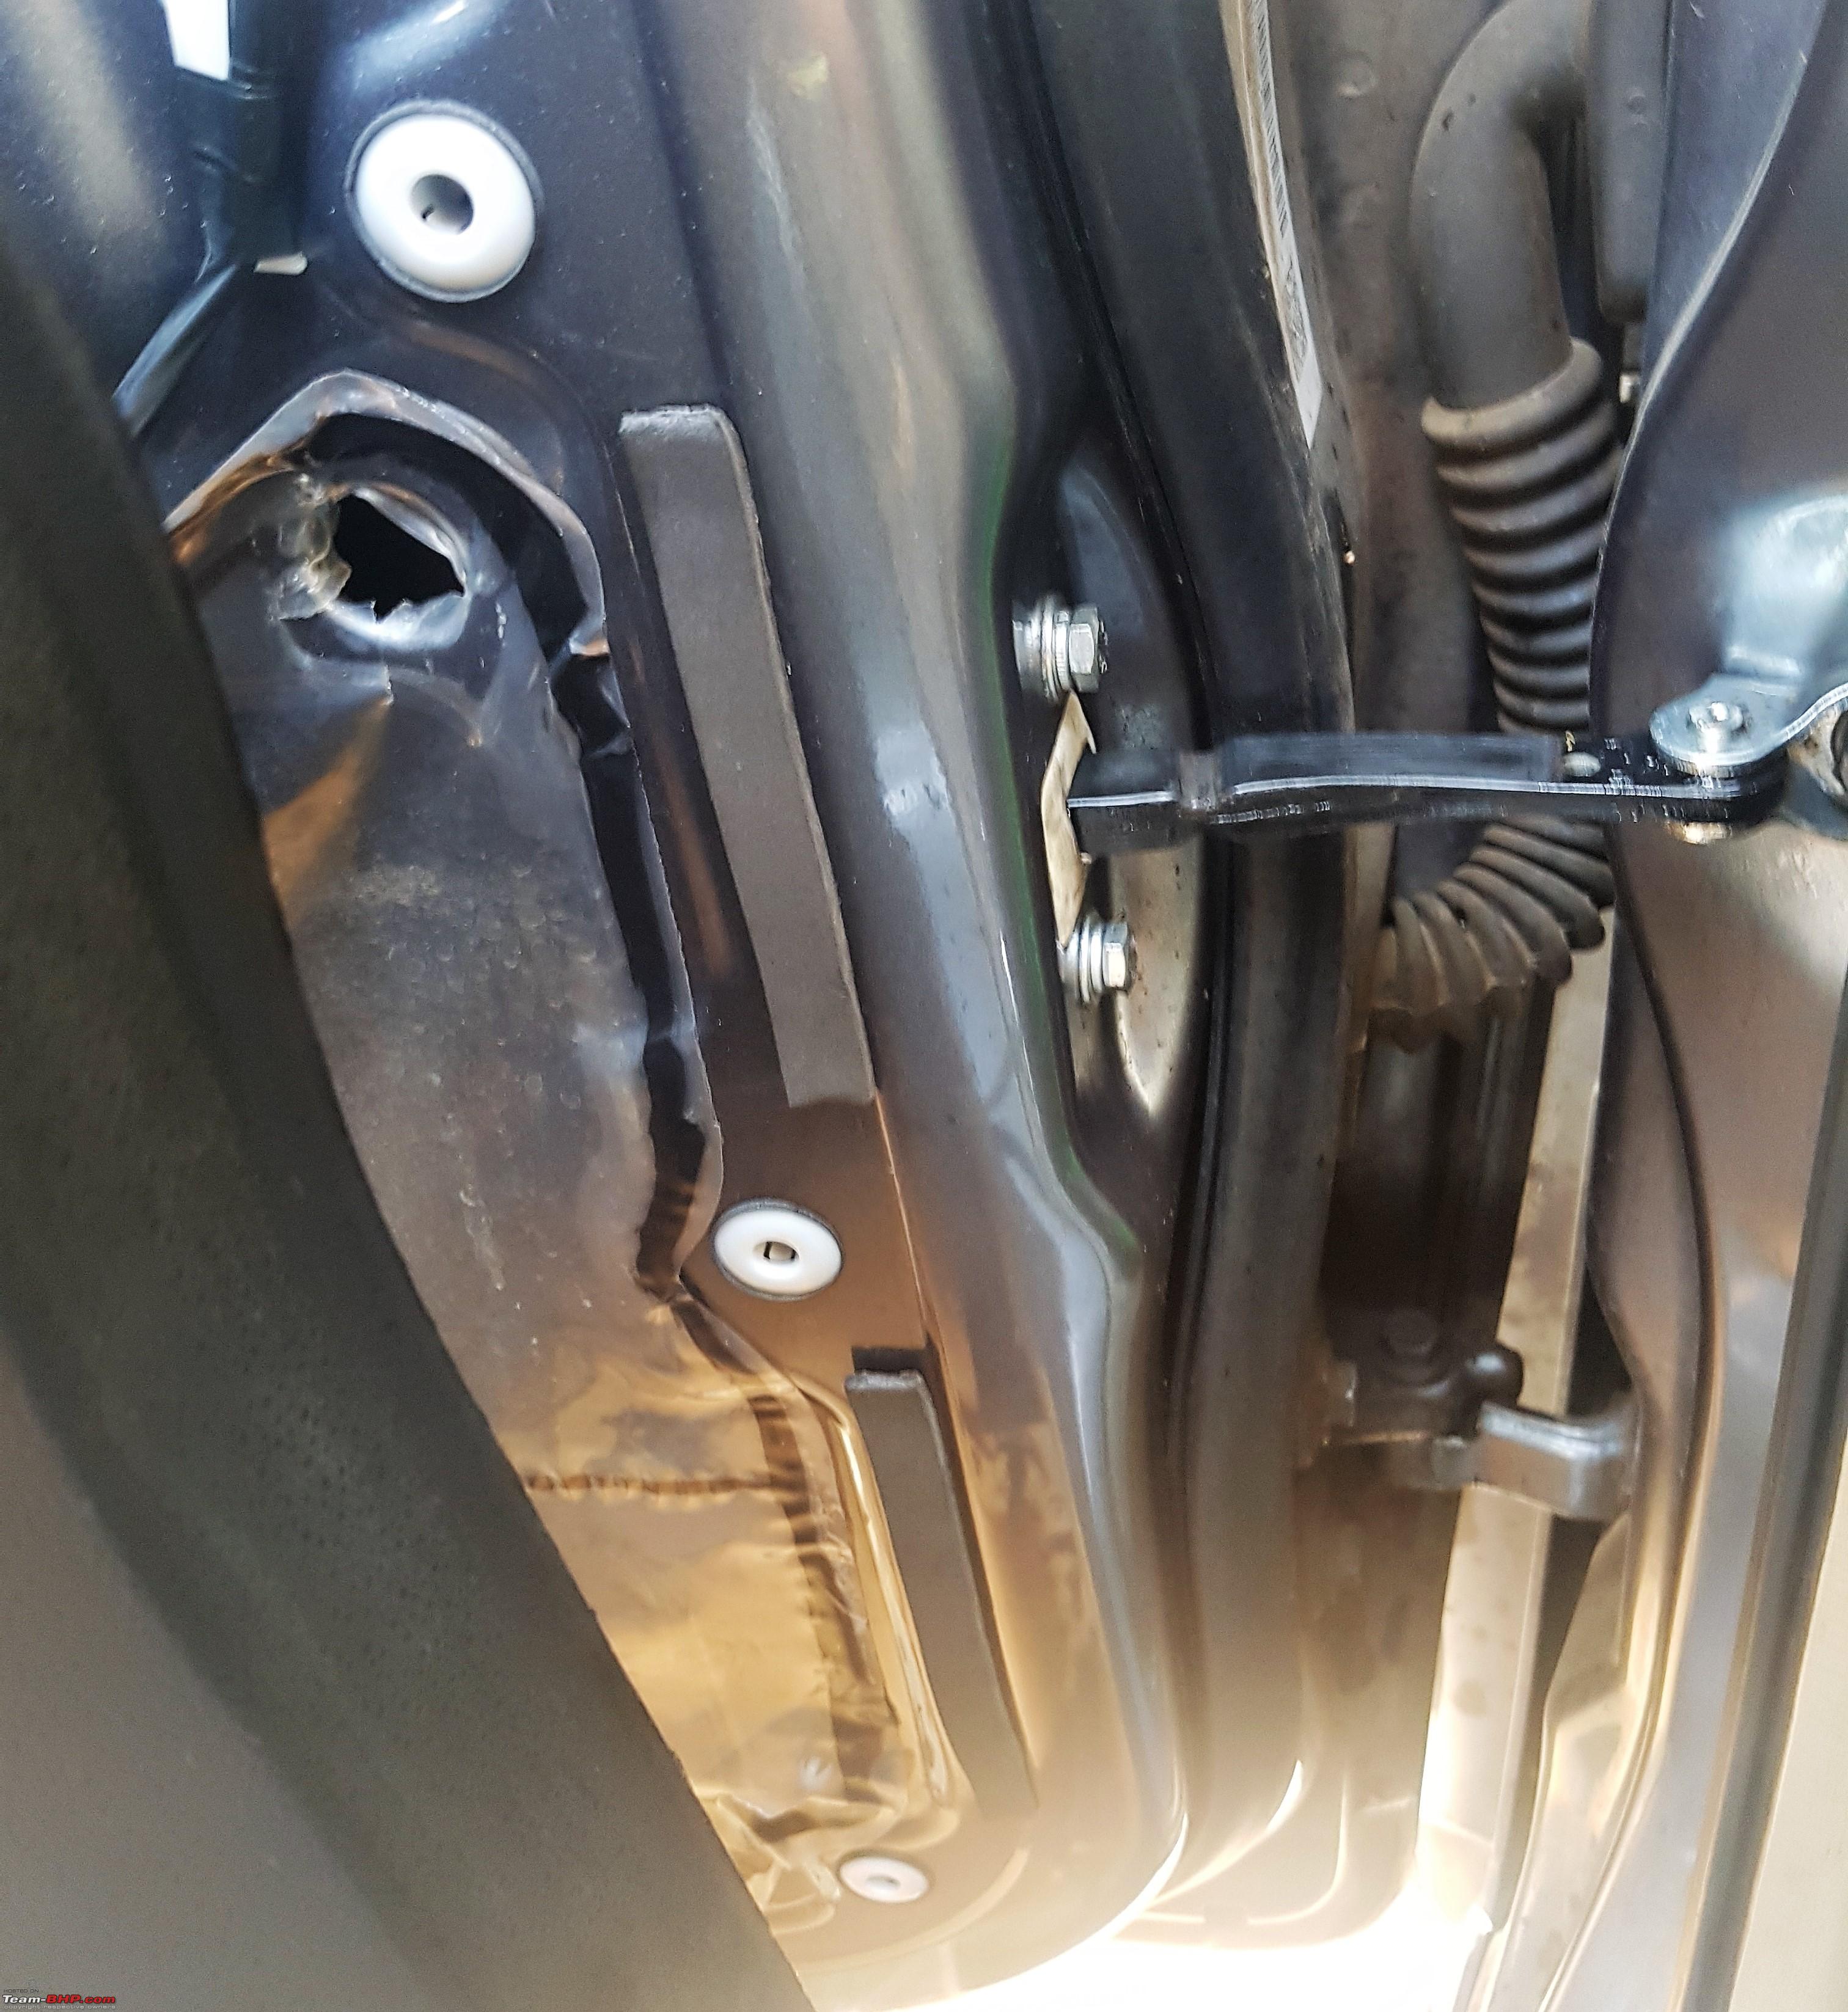
I left the door panel hanging and did not remove any other electrical connections. I was able to apply the foam tape with the door panel hanging.
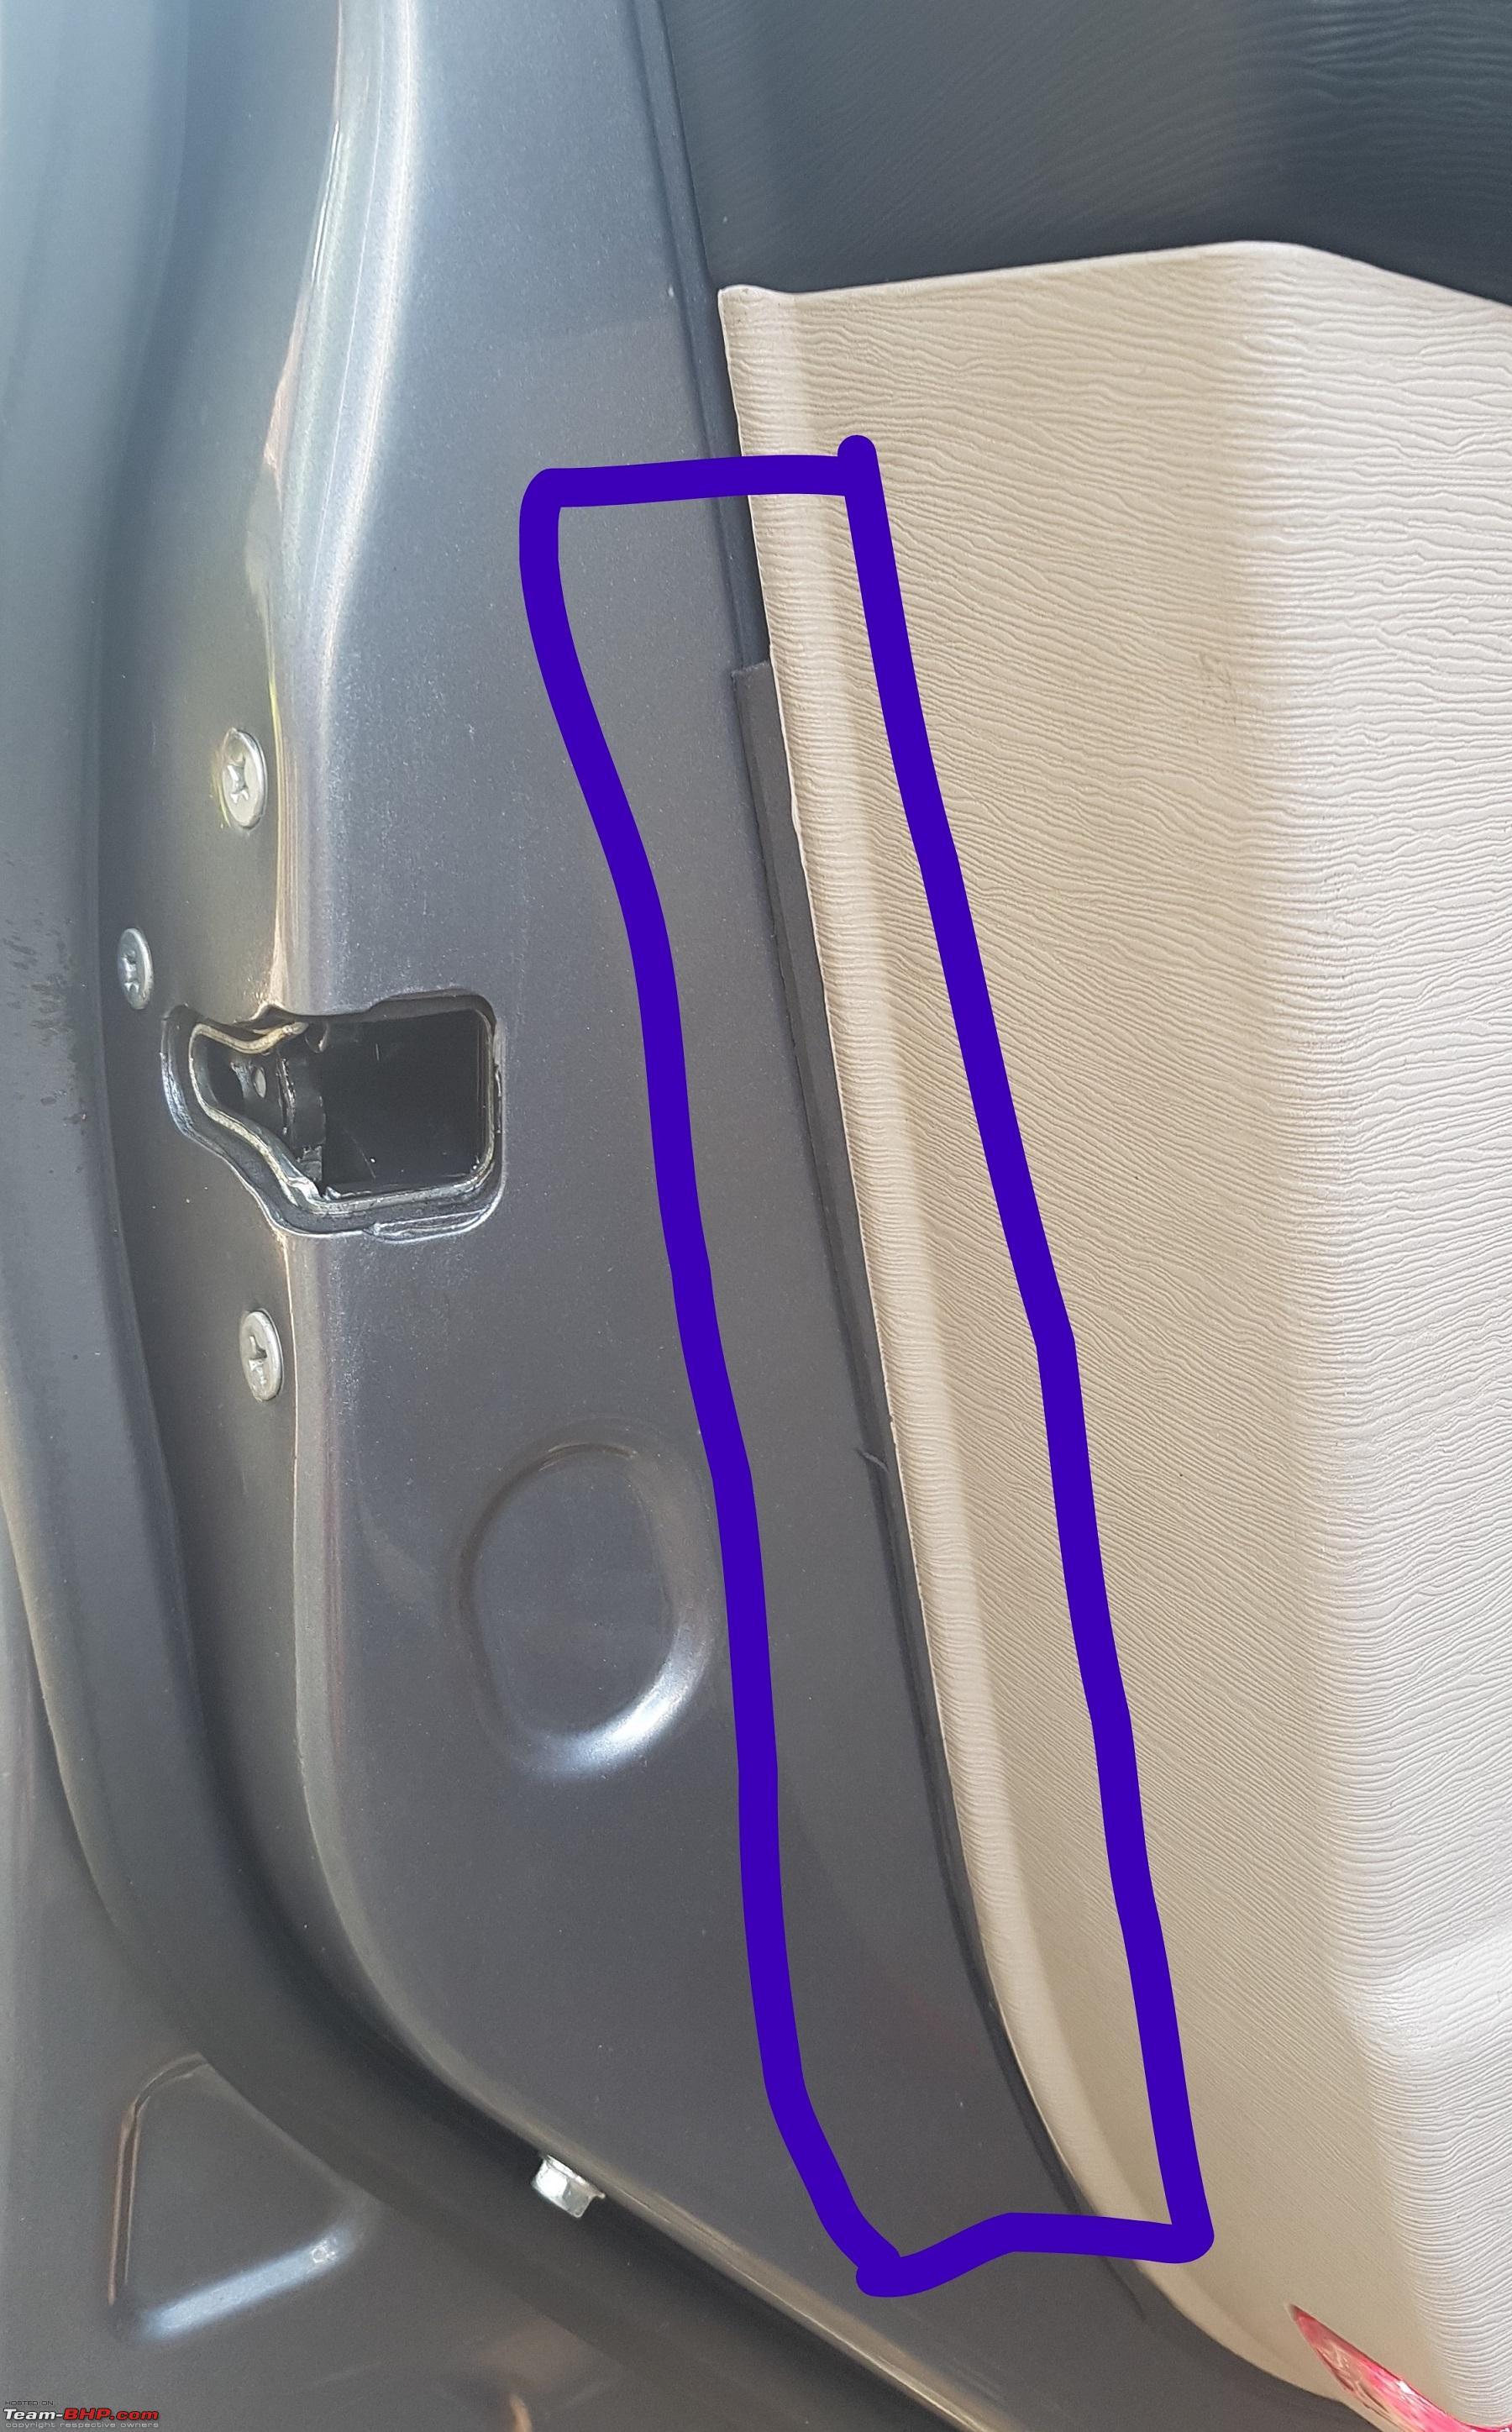
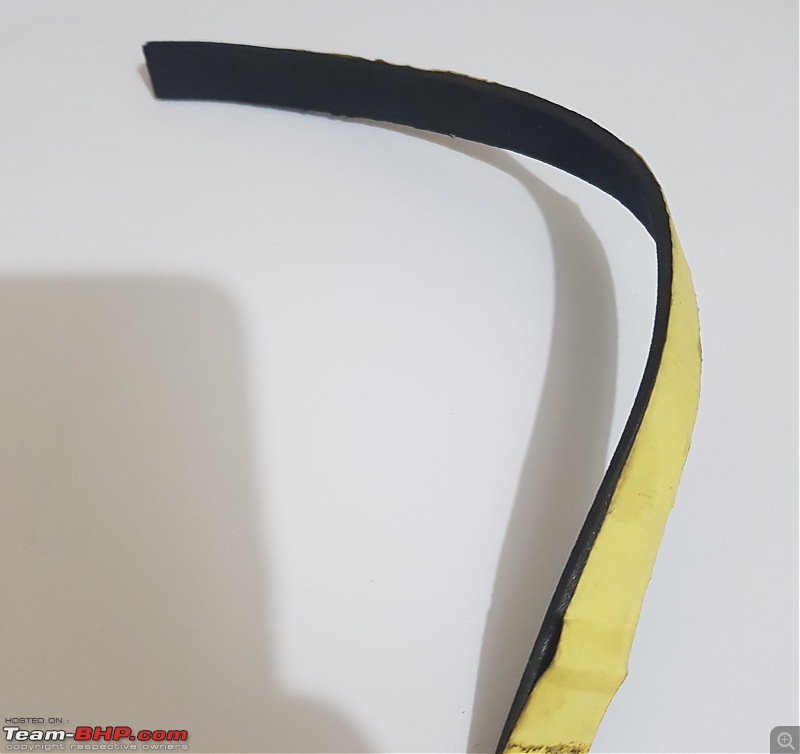
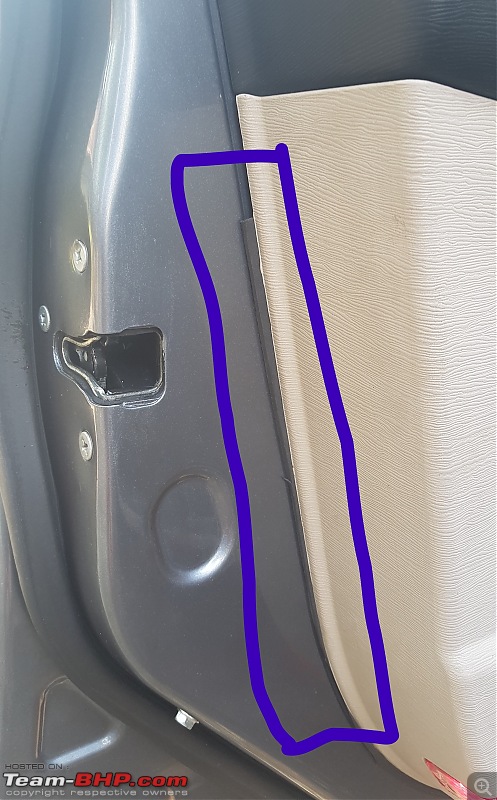
4. Foam Tape Padding
Start applying the foam tape. The location where the door panel edges rest on the door is clearly identifiable on the door. Do not cover the entire area with tape as then the panel doesn't fit back owing to the mushroom clips not being able to lock as the distance is increased by some millimeters due to the foam tape. I did not apply the foam tape behind the black part of the panel as I found it to be soft enough to make any rattles.
I tried some combinations and finally applied the tape like shown int he below pictures. Couldn't click a proper picture of bottom part. I applied the tape between the two mushroom clips at the bottom.

5. Fix back the puddle lamp electric connector, door panel, screws, all covers. If some mushroom clips don't lock in, slightly cut the foam tape around the clip that isn't locking and that will do the work.
Take care that none of the electrical wires are fouling the holes meant for the screws. Before inserting the screws, visually check for any wires. For front door, ensure that the umbrella holder water drain pipe has been inserted in a hole provided in the door before fixing back the door panel.
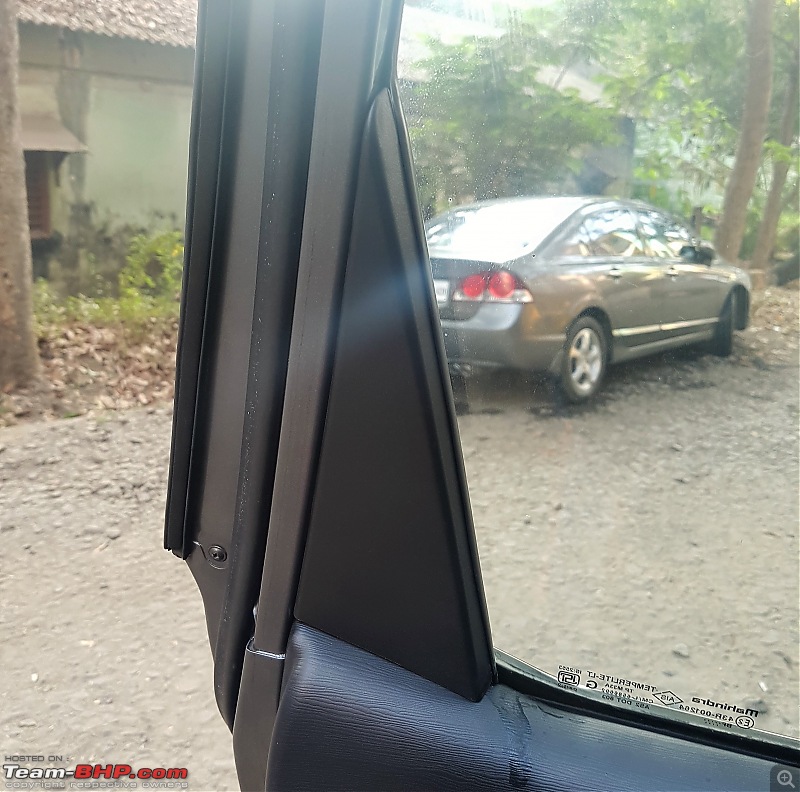
How the foam tape looks after fitting back the door panels -
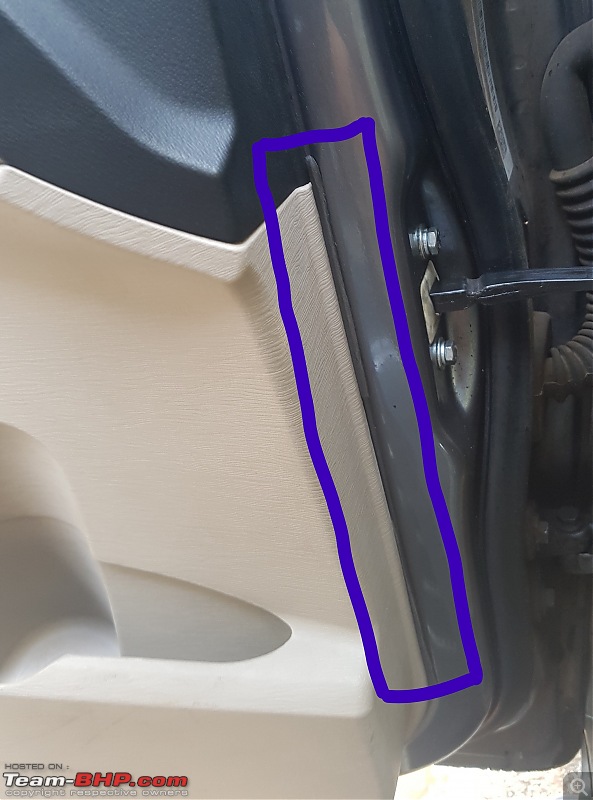
Not bad, isn't it

RESULTS:
I took my XUV for two short drives through bad roads and a long drive in a mix of highways and broken roads and I would say that 80-90% of the door panel rattle sound has been reduced. My XUV definitely feels a whole lot quieter than what it was since the last one year.
Also, makes me feel proud of accomplishing something that the ASC guys never could do or bothered to do

Tools Link -
1. Prying Tools -
http://www.amazon.in/Panel-Audio-Ins...ilpage_o01_s00
I had bought it for 695/-, now it shows 990/-
2. Single side stick foam tape is available in any hardware shops. I had ordered this too, but already had one at home so didn't use it -
http://www.amazon.in/Bapna-Single-Th...ilpage_o01_s01
This is wider and you will have to cut it into two.
Thanks everyone for their patience in reading this long post. Hoping that this will be of help to most of the car owners as door panel rattles are quite common issues everyone faces.


 2nd February 2017, 13:46

 (43)
Thanks
(43)
Thanks