Part 1: Cruise Control
This post is dedicated to Gannu (TeamBHP) & Ciclo (UKPolos.net -
http://www.uk-polos.net/viewtopic.ph...65431&start=15) as without the help of these 2 individuals my cruise control retrofit would’ve only been a dream!
I’m not going to write much about this except that it is was an absolute delight to do this myself – did take a few hours but got it working all right!
The desire to actually have a CC system installed didn’t burn until the stalks I had ordered to give me the control of viewing more options on my Cluster arrived. It enabled the MFD but the left stalks had CC controls and they weren’t working, this I didn’t like – it was like having an ice-cream knowing you can’t eat the cone! This is when the whole research began and I came across the above posts.
Now since Gannu has already described in a lot of detail (and loads of efforts) the various parts required I’ll keep this to a minimum and let the pictures do the talking…
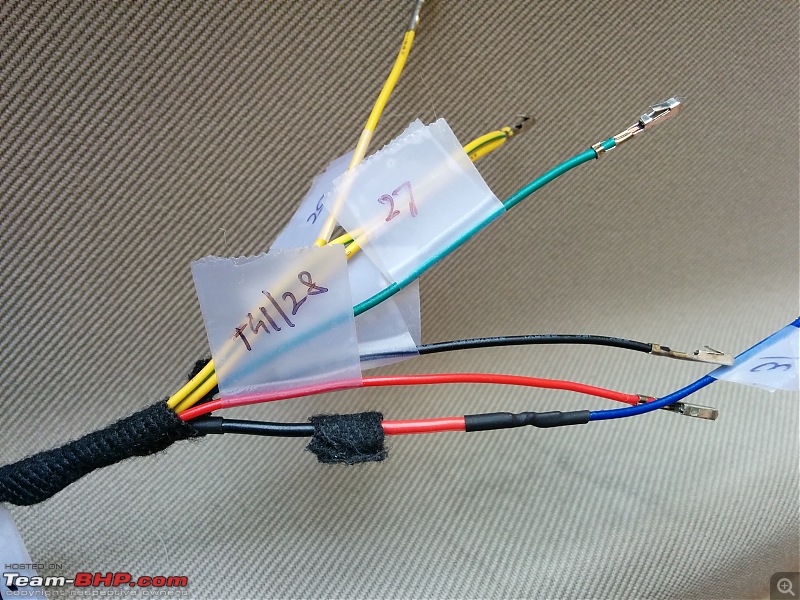
1. The wiring harness (mine didn’t come with the diode – added that easily and labeled all the wires to stop the confusion:
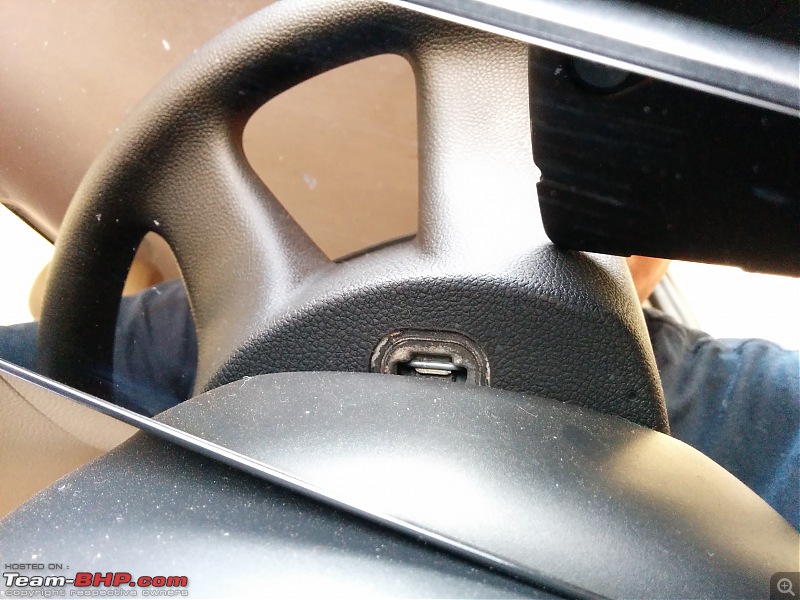
2. The Airbag has to come off first before you can start installing the harness in the T41 Connector, here’s a pic of the airbag clip; you’ve got to lift the clip up and it then pops out – 2 such clips on the back of the wheel.


3. Remove the stalks – since I had already installed the new ones previously I just removed them, stuck the slip ring with tape to ensure it doesn’t move from its position and here’s a pic of the T41 connector

4. Once the harness is in place – reverse process to put back the steering wheel and airbag
5. Now the BCM comes off, here’s a pic of the 2 clips which hold the car wiring harness in place when attached to the BCM. Just ensure you copy the original coding of the car from VCDS for all channels (I took screenshots of all pages just to be good – this is required to ensure the new one is coded correctly)

6. The original OEM BCM Low line (PQ 25)

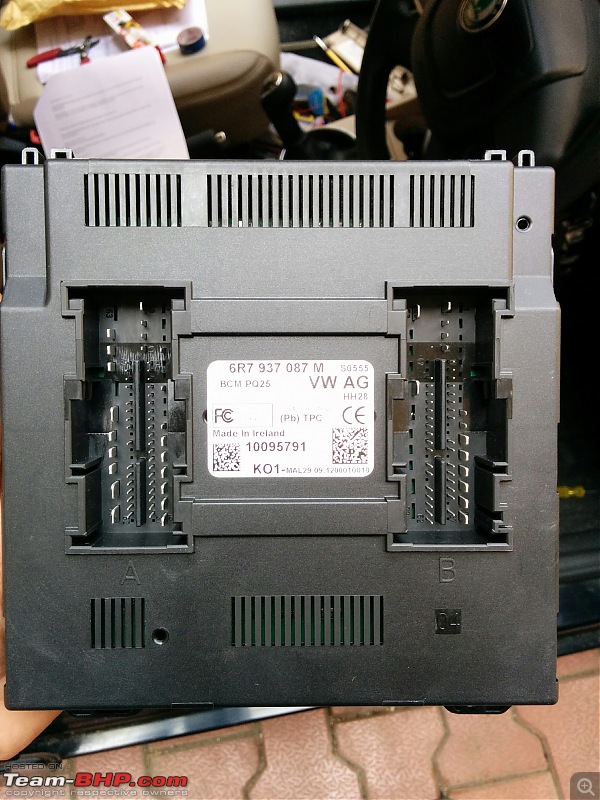
7. The new (ordered from Hungary) BCM PQ 25 – High line – the tricky part here was to insert the ends of the harness to the correct slots and then push the BCM back in to place – this was easier said than done! Took a while before it was snug into its place with the clip back on.
8. Next lead a cable to the ECU – luckily I already had my amplifier power cable running from the engine bay into the car, used the same opening (OEM) and ran the single wire (insulated with heat shrink tube to add more protection right to the ECU)
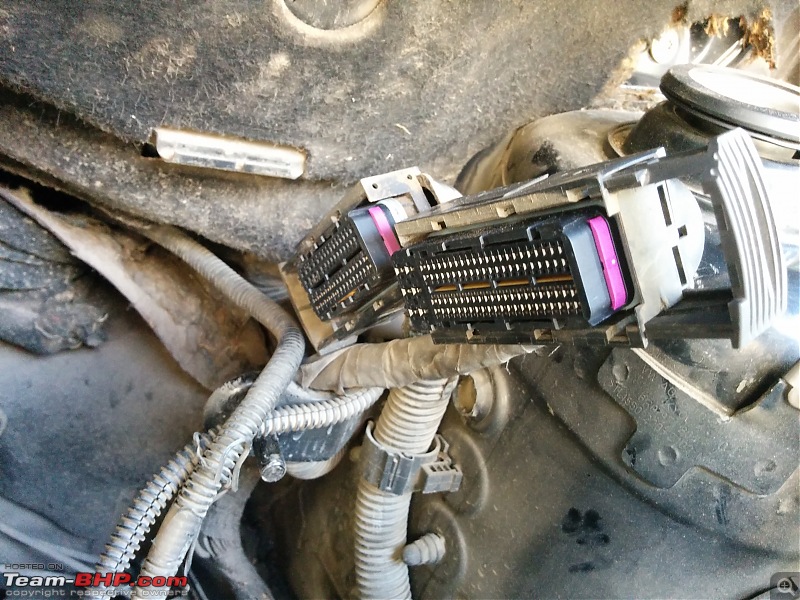

Once the ECU was back into its place – and everything was locked and loaded connected the battery and enabled the new BCM (it was in factory mode) and copied all the original codes and enabled Cruise Control. I was devastated when it didn’t work, as I had invested 3 straight hours into this and I couldn’t figure out what I had done wrong.
I took a scan of the car and it had given me an error saying Terminal 45 switch missing (now T45 is the switch to the CC on the stalk) – I just opened the dust cover of the steering wheel again and pushed the T41 connector together again and heard a click! Shoot I hadn’t put it together well the first time, and voila on my test drive CC was working perfectly!
... just another pic of the CC stalk:

It has been fun ever since and I’m superbly grateful to Gannu and Ciclo – their guides have been of tremendous help!
Part 2: Enabling Remote Control
Now the new BCM unit (87M) along with supporting CC also supports remote control operations which are not available on my original unit the low line version (84A) – the alarm bells rang and I totally wanted this as it should honestly be a default feature on any car you buy (mine is the Mid-version; the Ambiente) and is definitely something which should’ve already been in an INR 7.2lac car.
Anyway – from my research what I found is that in the newer version of the Fabias (5J+ or 2009+) the BCM controlled the entire car electronics and there wasn’t a separate unit which is required (which is in the older 6Y versions -) So this assured me that the BCM + a remote is the only other thing I’d need to have this option available.
I had checked with Skoda the cost of replacement keys and they had quoted me a figure in the range of 12-15k for a set – now that’s as usual so it didn’t surprise me; but I was sure there is another way to do this.
So with more and more information now available on this I found that the version of the key required for my car is 3T0 837 202H (Hella 434 Mhz) – the versions change as per your car model so you’ve got to check this with the year of manufacture and chassis no.
All I did is buy this from aliexpress (it comes with the blade, the remote, transponder, battery and case fob) – you’ve also got to ensure the transponder version is ID48 for this car.

The transponder - ID 48
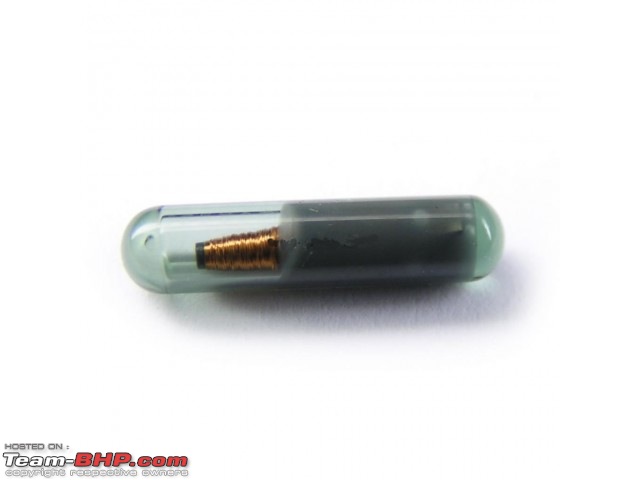
Once this had arrived it was fairly simple to configure the remote to the car (since I already had a transponder chip which I had coded previously from Ashar Keys in Dadar, Mumbai) It was a straight install.
To configure the remote – you’ll need VCDS and process is simple-
The remote was read in the first attempt and my car now also has a fully functional remote locking system (the boot function works too!)
I was super happy with this entire setup, I know now my car’s a manual transmission and I wont benefit too much from CC – but well when I’m on the highway it’s a blessing; just slot into 5th and cruise at the speed you want to – super relaxing!
Hope this helps!
Coming up next – New Suspensions and Monte Carlo headlights installed!
Cheers,
Aayush


 (22)
Thanks
 (1)
Thanks
 (1)
Thanks
 (1)
Thanks
 (1)
Thanks

 (2)
Thanks
 (1)
Thanks
 (1)
Thanks
 (1)
Thanks
 (2)
Thanks


