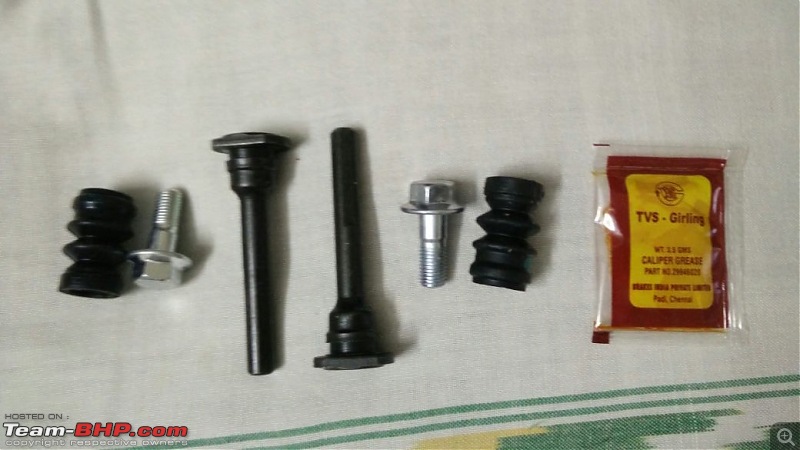
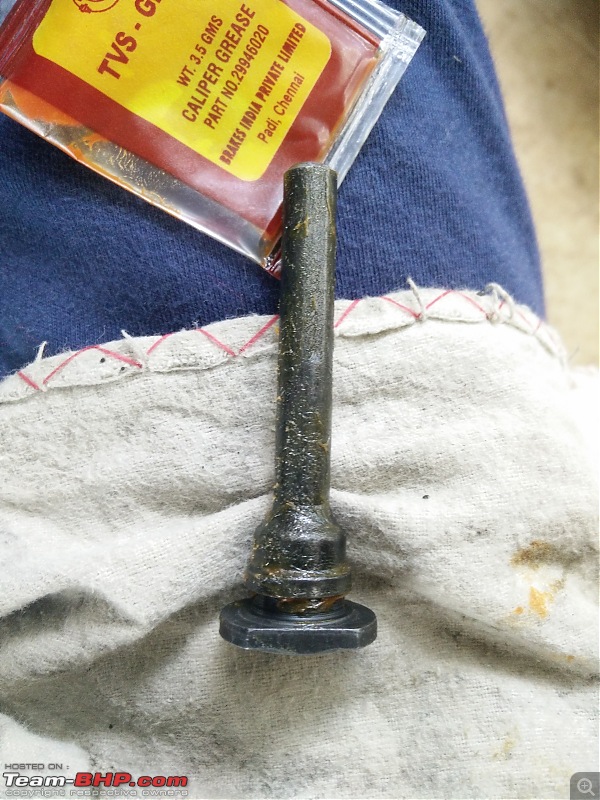
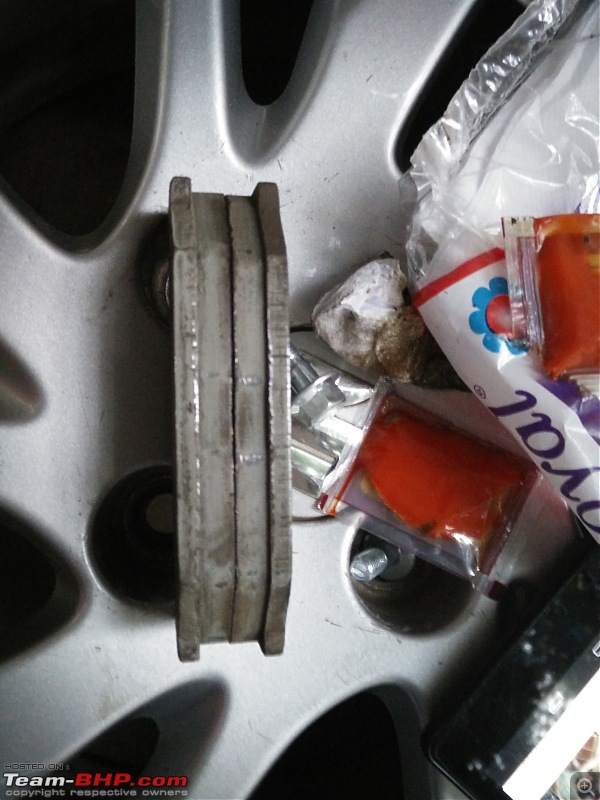
Q: What have I done? A: In this job, I have replaced the sliding pin, sliding pin boot after greasing it and also cleaned the caliper, brake pads plus replaced the sliding pin bolts (12 mm).
Q: Why I have done this? A: Increases the pad life and gets the braking efficiency plus it helps me stop the car when in need.
- Sliding pin or (Guide pin) is located inside the caliper support body and is a machined piece that moves the brake caliper in and out when the piston exerts pressure over the pads during braking.
- A good and free moving sliding pin will apply equal pressure on the two brake pads by moving the caliper unit evenly when pressurized through the piston. The caliper squeezes the brake pads against the rotor creating friction hence decelerating the car.
- If the sliding pins are stuck or not moving freely, the pads would wear unevenly and also not be effective in braking performance.
- It is essential to do the greasing on a regular basis as I have made sure that the sliding pins are greased at both my MASS and the FNG near home. But this time I decided to do it myself.

Q: How have I done it? A: Process to do this is easy and straightforward. I’ll put the steps in points so it is easy to read and follow it yourself.
Disassembly: Step – 1: Park the car on a firm and level ground and engage the handbrake for safety.
Step – 2: From the toolkit provided, use the L-shaped wheel spanner and loosen the lug nuts a bit.
Step – 3: Place the jack under the mounting point and raise it till the wheel rotates freely. Once raised, loosen the lug nuts and remove the wheel. Place the spare wheel under the car for additional safety.
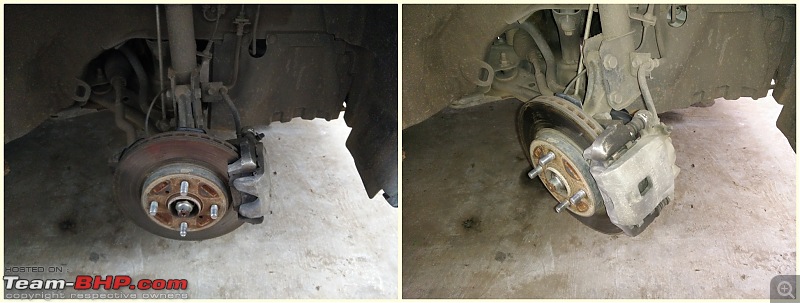
Step – 4: We now have the caliper assembly ready to be opened, the caliper is held onto by two bolts. For that we need a 12 mm socket that will get the caliper out to get access to the brake pads and the sliding pin.
Step – 5: The two 12 mm bolts are placed on the inner side of the caliper body (I mean it is towards the engine side) which is difficult to access so for easy removal, turn the wheel to the side you are working (E.g.: If you are working on the right side wheel, turn the steering to the right so the whole assembly turns outward so the caliper bolts are visible and more accessible.
Step – 6: Use the 12 mm socket and remove the bolts, this frees the caliper, just pull it outwards and then using a zip tie hand it to the strut
*.
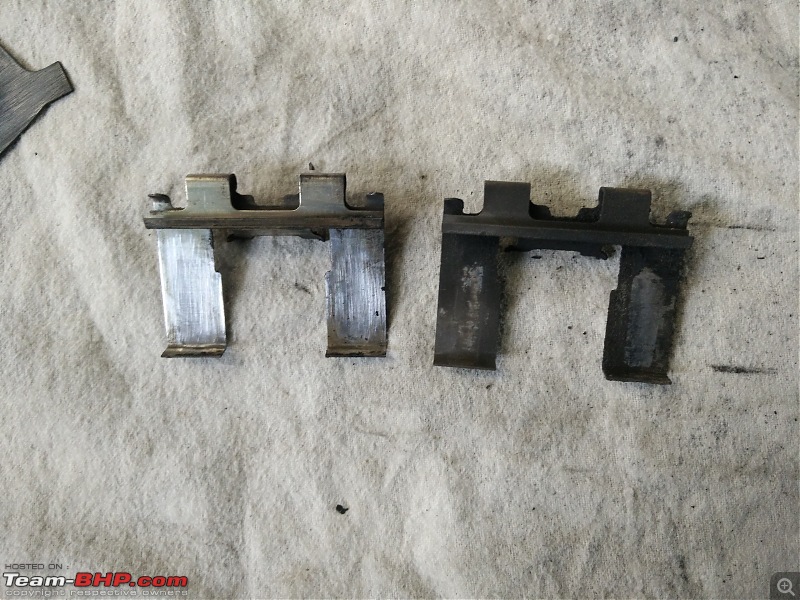
Step – 7: Use a flat-head screwdriver and dislodge the pads from assembly and then pull out the two pad clips located on top and bottom of the caliper support.
Step – 8: After the pads are out, pull the sliding pin out of the assembly along with the boot. Now we are done with the dismantling procedure.
*PRECAUTIONARY NOTE:
When the caliper is unmounted / free from the assembly, don't just let it hand around all the while till the cleaning, greasing and re-assembly is done. Letting the caliper hang would exert pressure on the brake fluid hose and cause it to get damage internally that may give way when brakes are applied. So always hold the caliper using a cable or a zip tie so to not let the hose be under pressure. I chose the suspension strut hole to hold the caliper.
---------------------------------------------------------------------------------------- Cleaning Procedure: Step – 1: With the pads, pad clips, sliding pins and the boot out of the assembly, take a wire brush and clean the caliper body and caliper support unit to free it of the dirt and brake dust that has accumulated over the period of time.
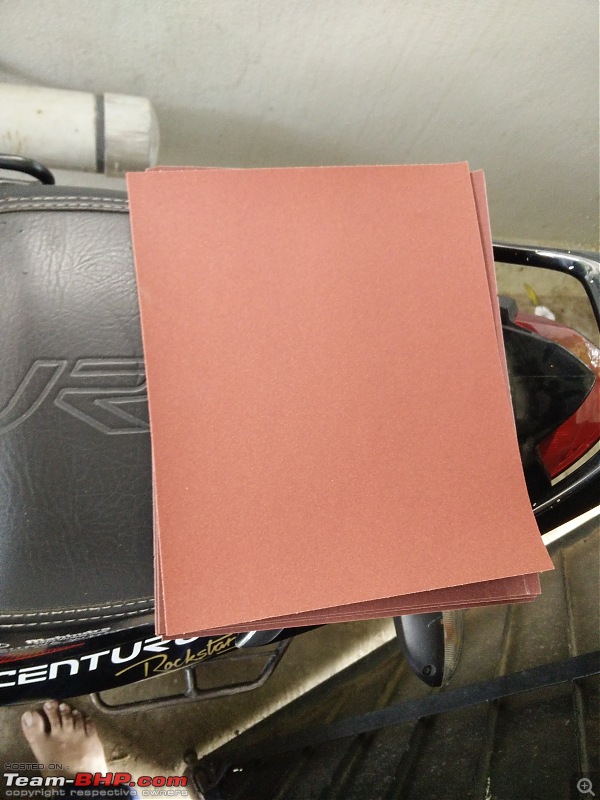
Step – 2: Take a small piece of the sandpaper 150 grit and clean the pads, pad clips and the shims to remove the dust and to give it a smooth texture so the binding would be better once restored.
Step – 3: Before the new greased sliding pin goes into its position, the old grease that is inside the caliper needs to be removed. For this first wipe clean any one of the sliding pin and then push it into the body and pull out, when the sliding pin comes out, it gets the grease stuck to itself. Clean wipe it and repeat till the pin is clean when removed. Repeat this for the second one too.
---------------------------------------------------------------------------------------- Re-Assembly Process:
I’ll focus mainly on the sliding pin reassembly as the rest process to be followed is same of the Disassembly procedure but in reverse.
Step – 1: Cut open the caliper grease (sliding pin grease) that came supplied in the kit (MGP) that I bought.
Step – 2: Take the new sliding pin and clean first with a tissue paper to remove any dust before greasing. Once clean, apply grease all over evenly coating it throughout.
Step – 3: Simultaneously fit the sliding pin boot on the caliper body after which the sliding pin would be inserted.
Step – 4: Insert the new, greased sliding pin and press it couple of times so the whole interiors are coated with grease. Remove the sliding pin and add a bit more grease and press it in again to fix it fully.
Step – 5: Once this is done, repeat the Step – 4 for the second sliding pin too. Post this place the pad clips and brake pads onto the caliper support unit.
Step – 6: Cut the cable tie and fit the caliper into the position and tighten using the two 12 mm nuts provided in the kit.
Step – 7: Fit the wheel, tighten the lug nuts and go for a test drive to ensure all is well.
We are done with this job! Happy driving with a peace of your brakes functioning well as it should helping you stop in time when required.
 (13)
Thanks
 (11)
Thanks
 (30)
Thanks

 (3)
Thanks
 (3)
Thanks
 (3)
Thanks
 (4)
Thanks
 (1)
Thanks
 (1)
Thanks


