Hi All,
So finally after the last DIY (Fog Lamp Installation) I got something more to do with my car!
Her 4th Service was due, and I wasnt planning on taking her to Skoda to do this. So with this thought in my head, I started my research on how to service the car for her 4th year.
The 4th service however was not documented by me, so I can only share my experience.
In Summary this is what I've done:
1. Purchase a Socket Set (Stanley STMT727958 24-Piece Drive Metric 1/2 inch Socket Set & Stanley STMT727948 46-Piece 1/4 Drive Metric Socket Set)
2. Purchase Mobil 1 0w 40 Fully synthetic engine oil - 4l
3. Purchase Oil Filter (OEM)
4. Purchase Fuel Filter (OEM)
5. Purchase AC Pollen Filter (OEM)
6. Jack Stands (set)
After the purchase of all of the above, it was time to complete the service. With many online manuals available on how to Change the oil, the fuel filter and oil filter and AC pollen filter, I followed these and was able to complete my car's 4th service MYSELF!!
Total Cost: Socket sets: 4000, Mobil 1 Oil: 3600, Oil Filter: 300, Fuel Filter: 1290, Pollen filter: 300, Jack Stands: 1100 = Rs. 10290.
I know that the above figure is as much as I would've spent on Service at Skoda, but out of that amount Rs. 5100 is Capex! So I've only spent another 5k on the service, which is Awesome.
For all those who are planning to do this, please ensure the following:
1. Get a Pair of Jack Stands (cannot tell you how important this is before getting under the car). Your car jack is only to lift your car!
2. You'll need pro tools.
3. You'll have to get under the car.
4. Go through videos and keep a documented guide to assist you along the way.
5. And finally, get a soda or a beer once done - Enjoy your own DIY and look at it in Awe!
Sorry I didnt take any pictures of the above, but I have another update to share - DIY brake disc/rotors change.
So, the rotors have never been changed. With Skoda telling me last year that the discs are fine for another year.
I decided to get them replaced, considering they've been on there for 4years and 54k kms.
Once again, I decided to invest my own labor in to this and the research onslaught commenced.
There are lots of guides on the net to help you attain this, so I downloaded a few and kept them for reference (printed them too).
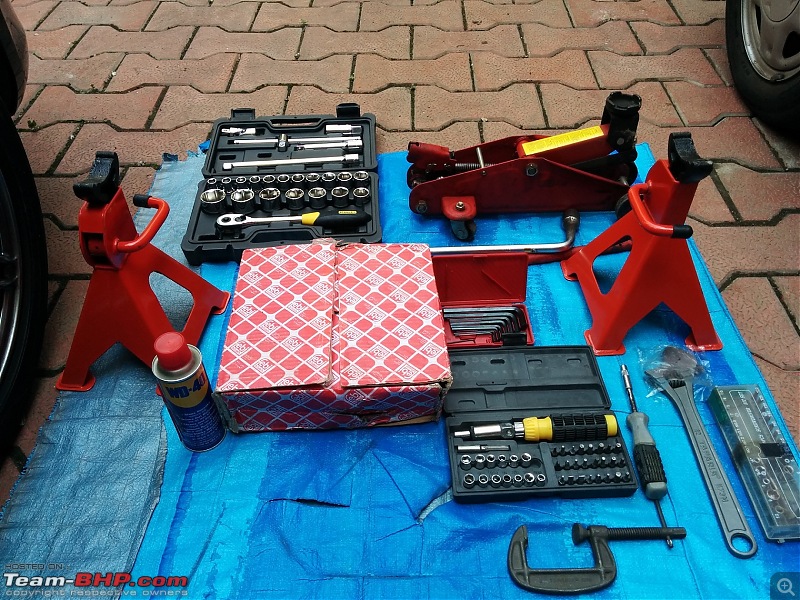
Here's a list of tools and equipment you'll need to pull this off:
1. New Brake Discs/Rotors
2. New Brake Pads (recommended)
3. Allen key set
4. Spanner and socket set
5. WD40
6. Copper grease
7. Cleaning agents
9. Hammer/Rubber Mallet
10. Jack
11. Jack Stands
12. G Clamp
13. A mat to sit on
..and a lot of patience.
In the above I have recommended to replace brake pads too, but havent done it myself as my pads were replaced only last month, and they havent had much wear (upon inspection).
From now i'll let the pics do the talking:
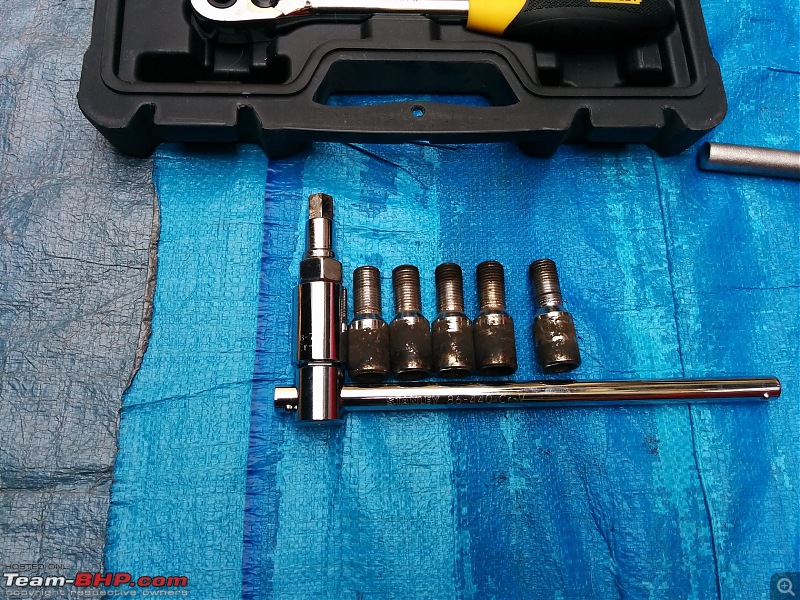
A look at all the tools you'll need to this, once again always use jack stands when working under the car, with or without the wheels off. In this case they have to come off.
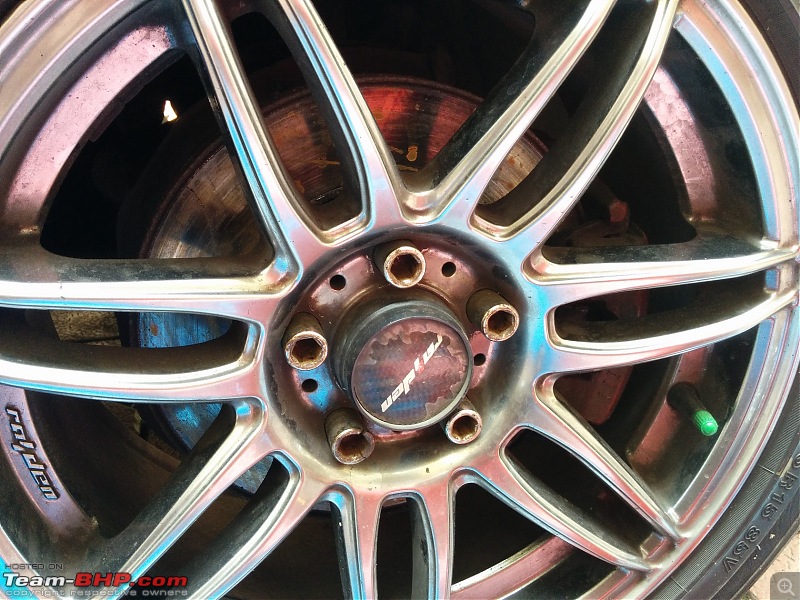
Thats really dirty, I know! A clean up is due this week. Once this is done!
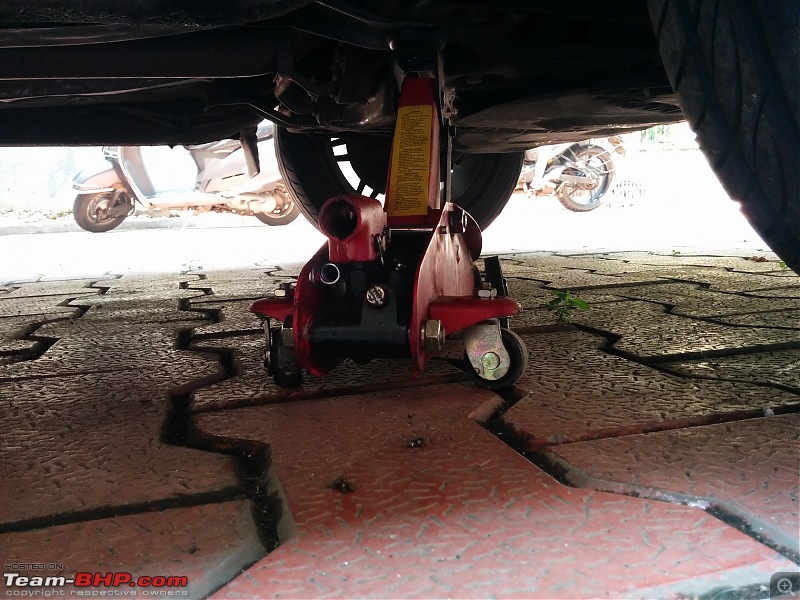
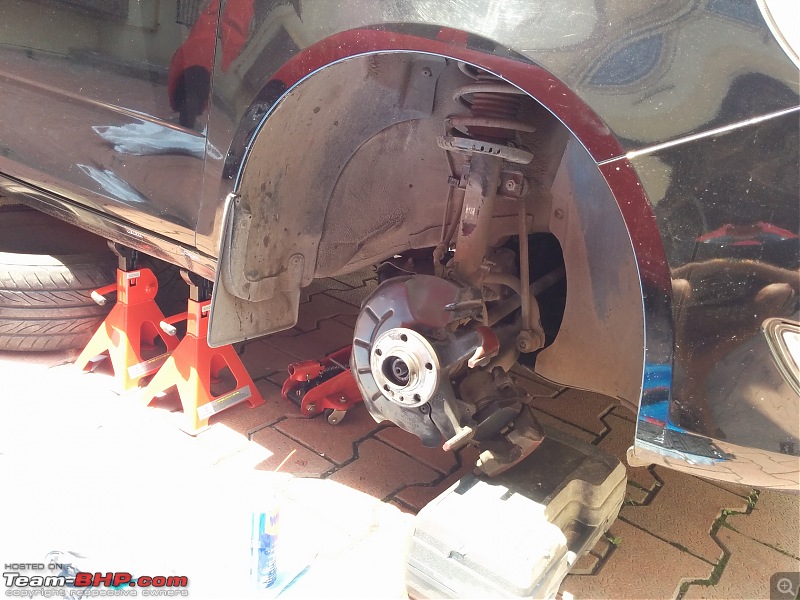
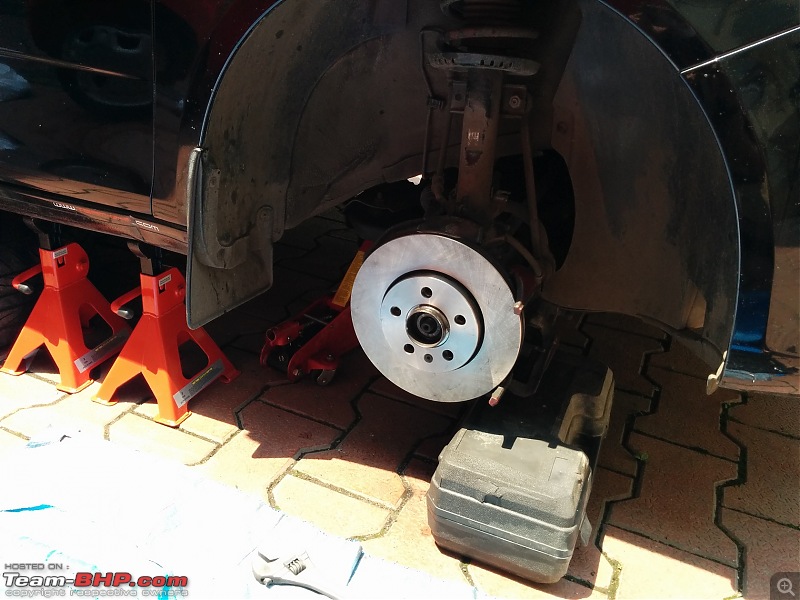
Thats my Hydraulic Jack (2ton - 320mm) under the car and supporting the front axle.
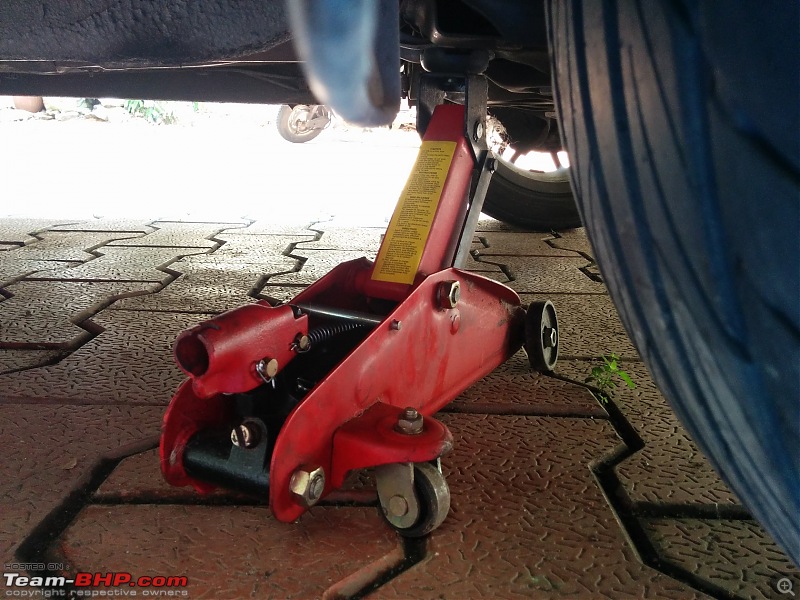
..and I used both my jack stands under the car, along with the H.jack supporting the axle about 95%. As i let the stands take the weight and the jack as back up. I'm so paranoid about this I even, put my wheel under the car in case of a mishap. But living to tell the tale is so much more worth it!
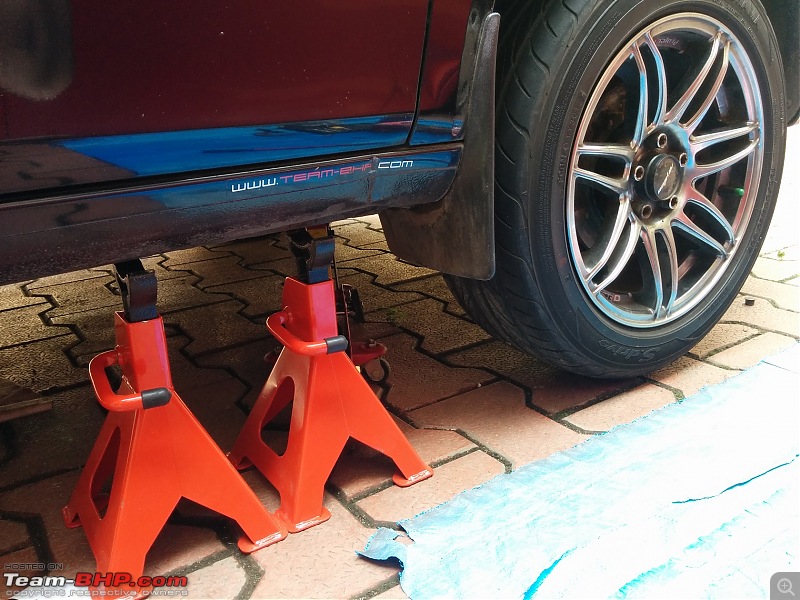
I did this side by side, with the drivers side wheel coming off first.
So until here, nothing much of an add on except my paranoia! The DIY actually begins here.
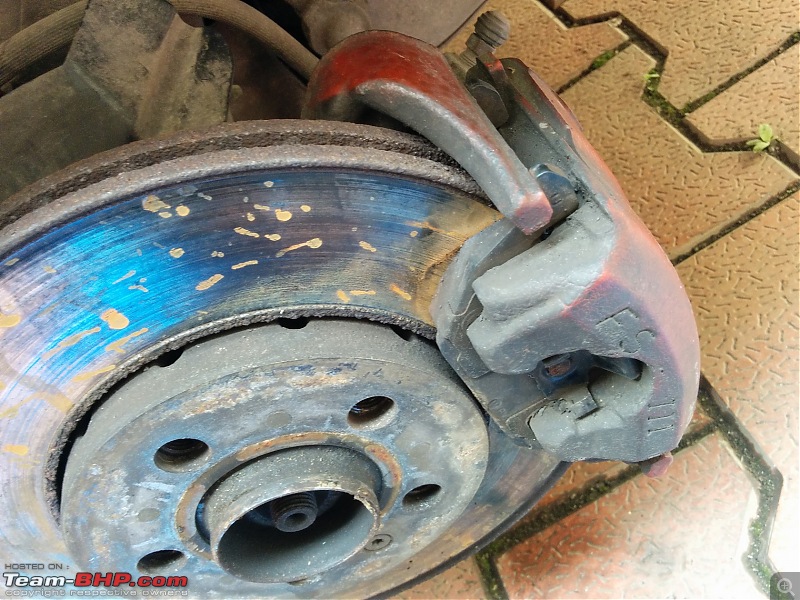
Thats a look at the brake system, you can see how bad the discs have actually got, should've changed them at the time of replacing the pads (surprisingly when this was done at Skoda, they didnt ask me to!)
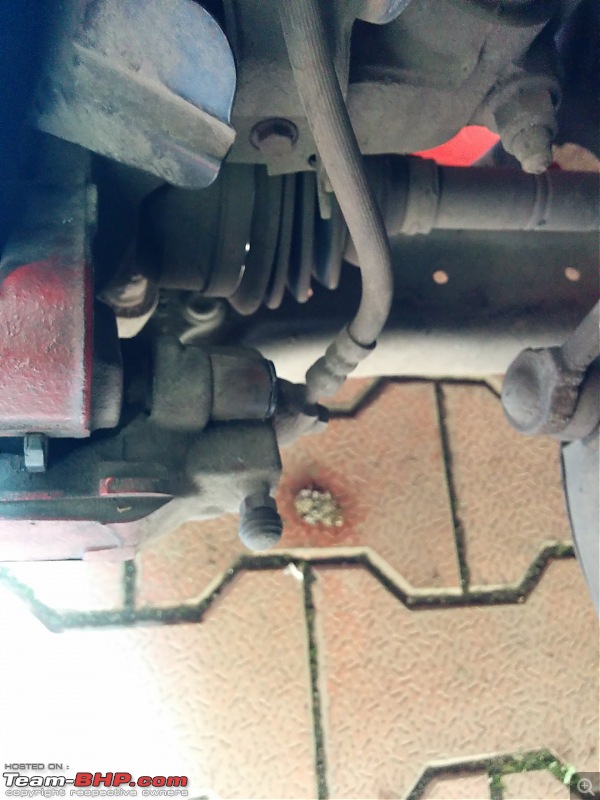
The first step next is to detach/unbolt the caliper, which houses the brake pads. To do this you'll need your allen key set and use the 6 to 7 mm key.
Now before you'll be able to access these bolts (theres 2), you need to take off 2 plastic covers first.
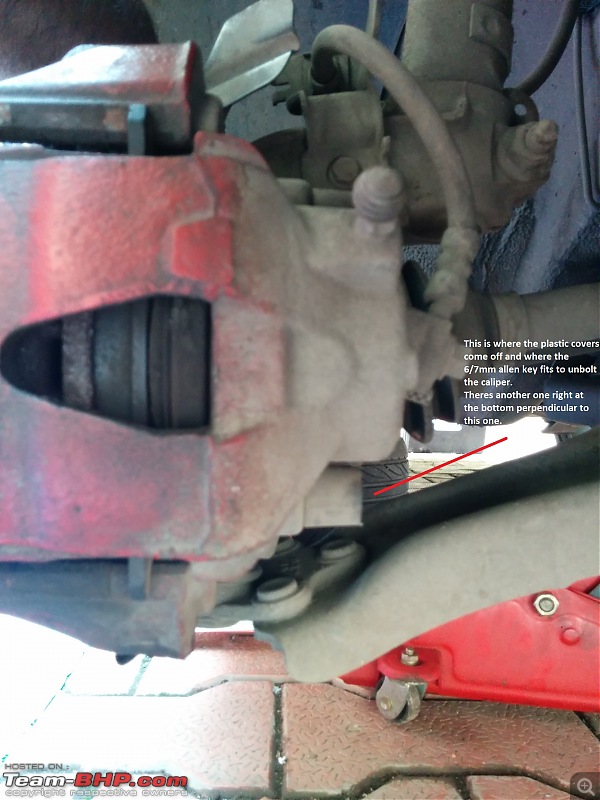
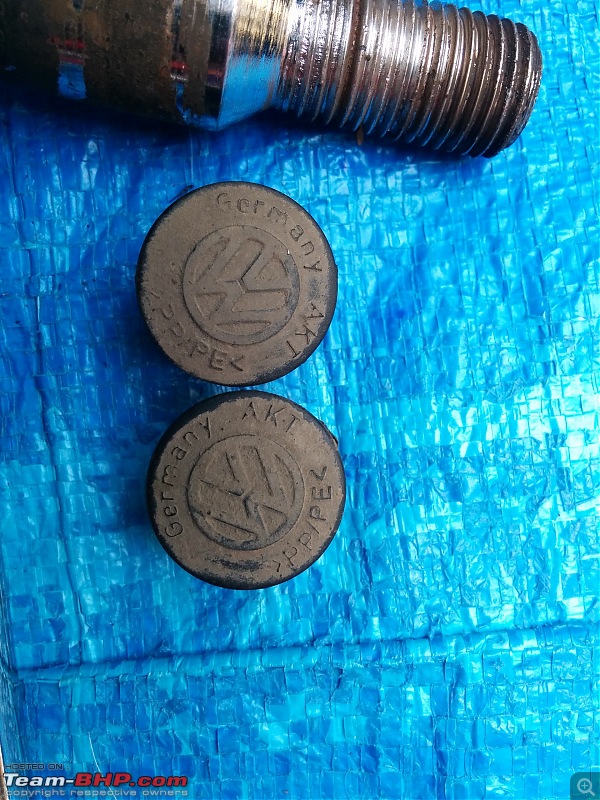
Once thats done use the allen key, go easy as you dont want to cause a bolt burn out. But you'll need one good push to get it going (once again remember not too hard).
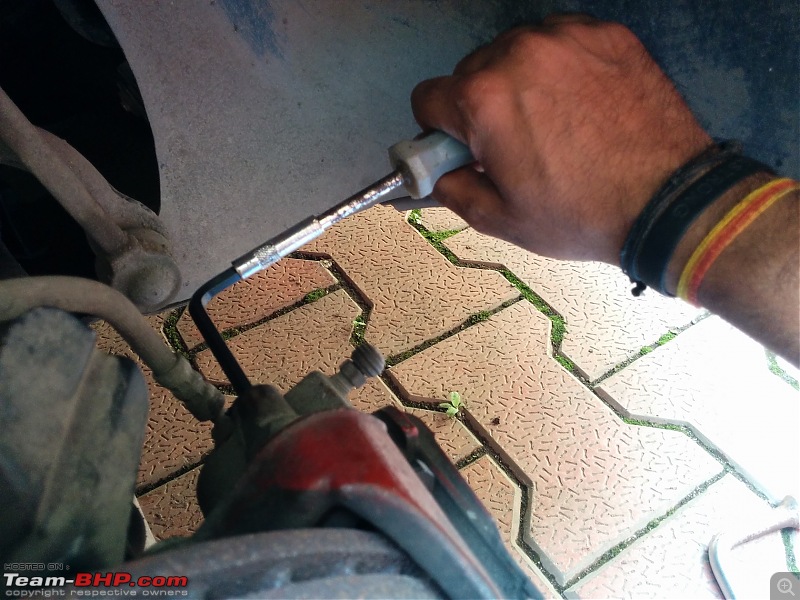
Thats how the bolt looks.
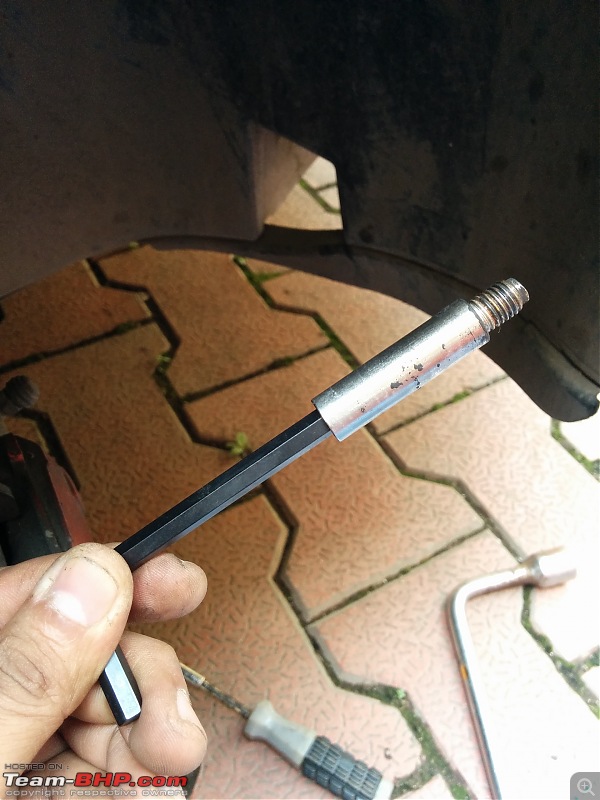
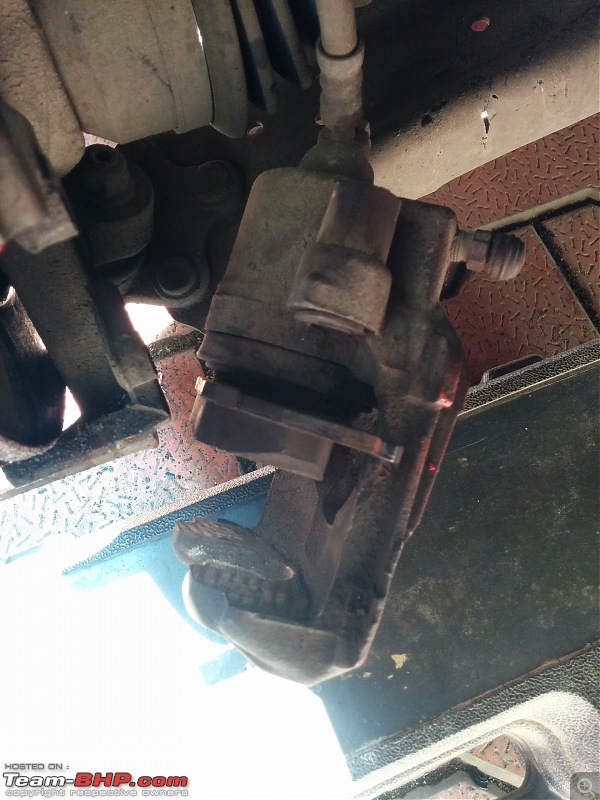
And now to pry the Caliper off the disc. This was tough as the discs were well eaten into and since the pads were new, they just couldnt be pulled off. So a little extra prying with a screwdriver and hammer did the trick and here' how it would look once off.
Remember to not let the brake cable take the weight of the Caliper, place something to hold the caliper without letting the cable stretch.
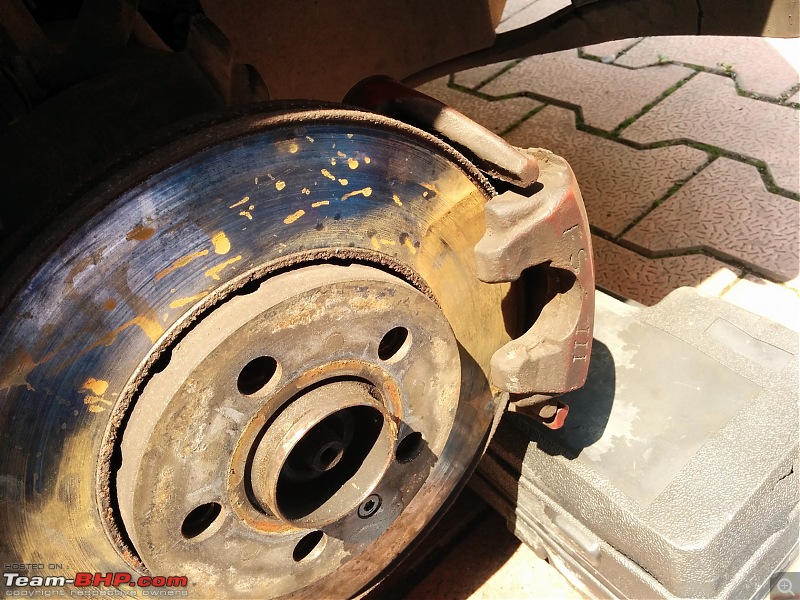
Just a few more shots of the old brake disc and its condition, with the caliper now off and being supported.
Its time to take the disc off, its fairly simple, all that it needs is Torx (T30) bit and its off.
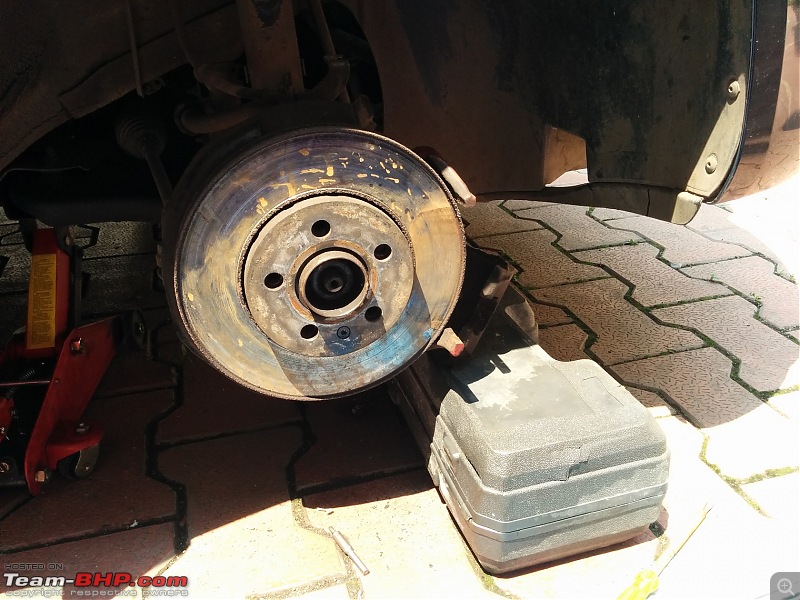
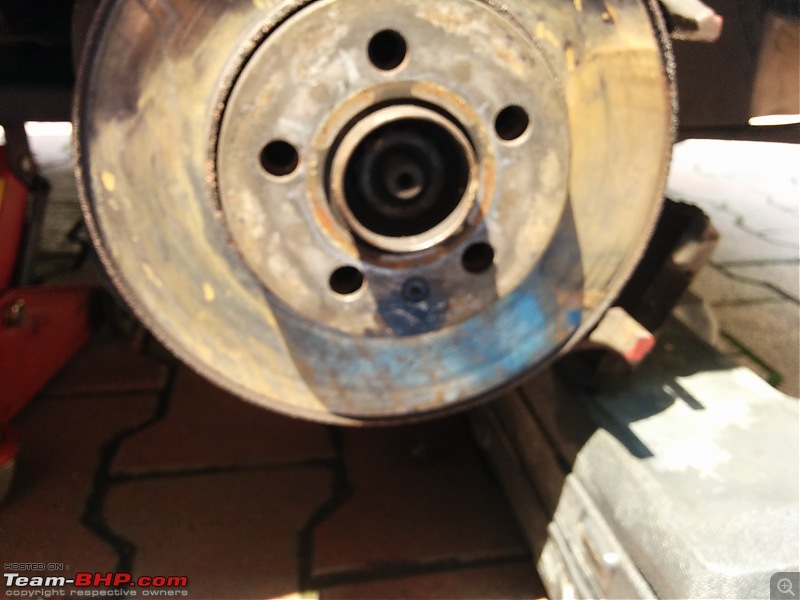
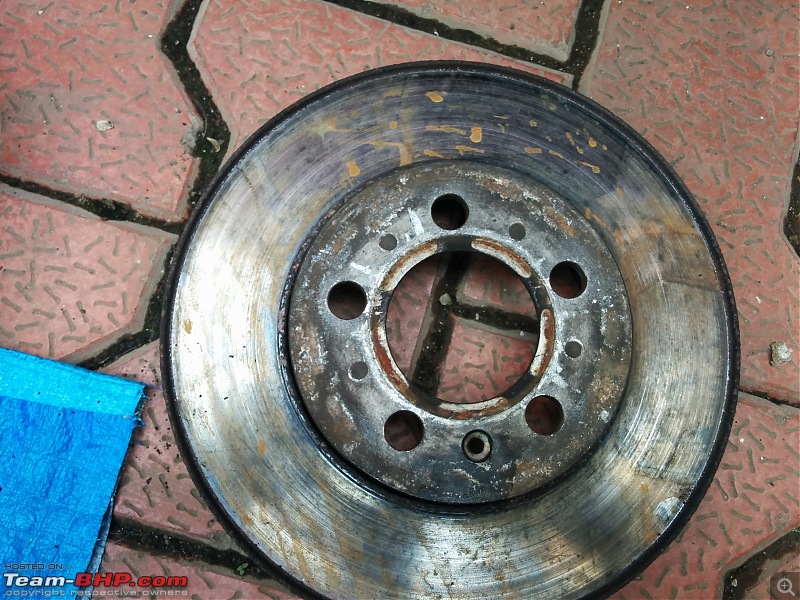
..after some WD40 and a clean up!
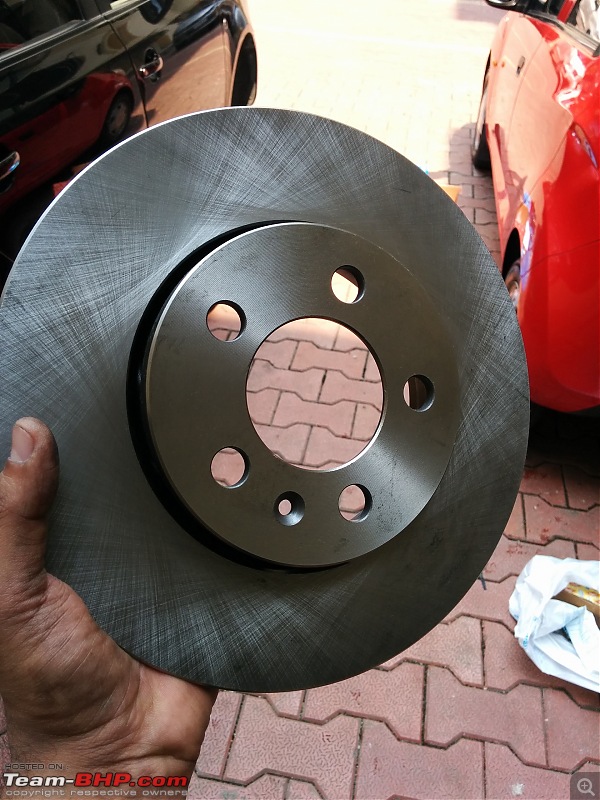
The new Brake Rotors.
I sourced these from City Motors in Opera House, Mumbai. Have to say, one of the best sellers of auto spares. I got my engine oil from them too and they really give a good rate.
Brand: Febi Bilstein 14040
Cost: 3800 (set)
They look and feel of high quality, guess I'll find out.
So the installation process is just reverse in the order of removal.

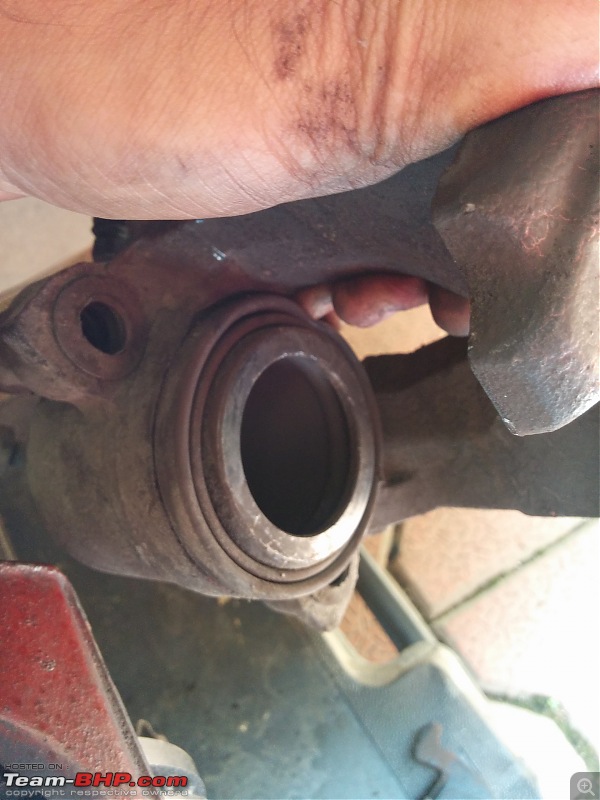
Just need t ensure, that you use a brake caliper tool or a g-clamp in my case to push the brake piston back into place, otherwise the brake pads will not fit the disc. To do this, always unscrew the brake fluid container and take the cover off.
Once both sides are done, switch on the ignition and pump the brakes to take out any air in the lines. Next put the cover back on the brake fluid container and shut tight. Next pump brakes again to test if the pedal sinks or builds strength. This is a good way to check if the brake lines have a leak or if the master cylinder is working fine.
Next test drive to check if the brakes function alright.
Finally after the test drive and checking if the install was successful, i was able to confirm everything went fine!
Here's to another DIY, and many more to come!
Hope you all enjoyed reading this.
Thanks Anyway!
Until next time,
Cheers,
Aayush.
 (26)
Thanks

 (3)
Thanks

 (6)
Thanks

 (2)
Thanks
 (1)
Thanks

 (3)
Thanks
 (1)
Thanks


