Disclaimer : This whole process is itchy and time consuming. You can itch as long as you want at your own risk if you dont use proper protection. By proper protection I mean to say covering your skin which can be exposed to FG.
First and foremost a big thanks to the following members
1 -
Satya (blueraven316) for helping me source the raw materials.
2 -
Shreyas (shreyasma) who answered every single query of mine with regards to working on this whole DIY thingy.
3 -
Raghavendra ( pavan_kadam) took me to his painter to get the paint job done.
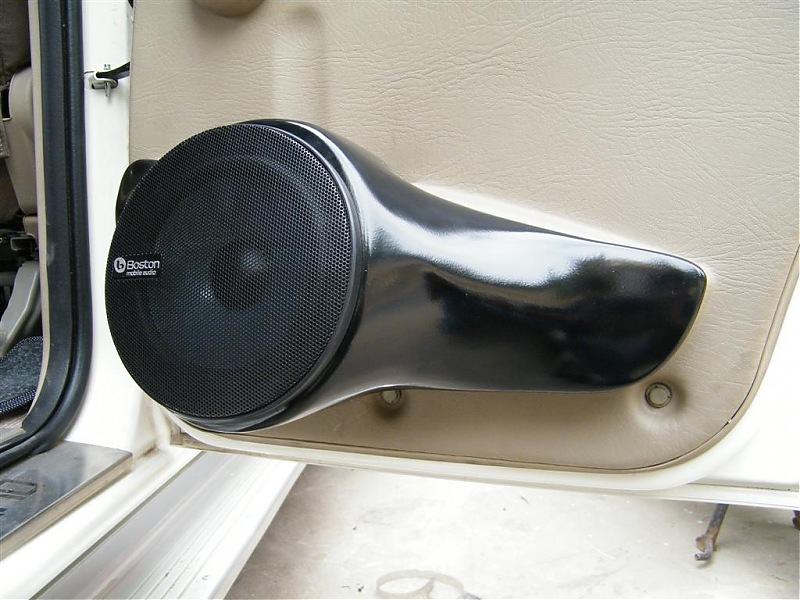
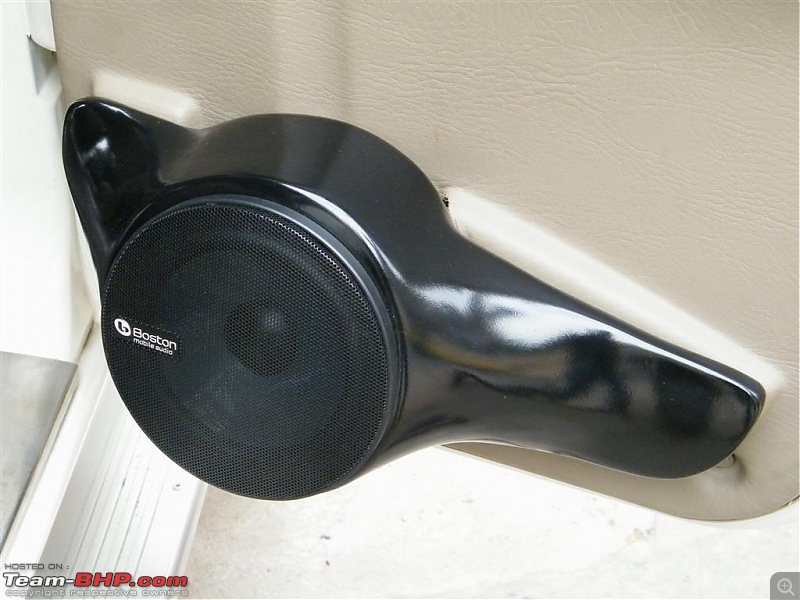
Well as the title says its pretty simple and straight forward. My Scorp's center doors needed custom work to fit the components into them. Without the center stage there was a complete disconnect in the acoustics. I drove the scorp' around without compo's in the center doors for a few weeks and realized that something had to be done.
Call up Satya and he says we can do a temporary fitment by removing the bottle holder and installing the compo's. I went ahead and did so, however to my eyes it looked appauling. He says FG is the way to go.
Apparently to get this done I would need to leave the door pads with him for atleast a week.With the kind of weekend travel bug that I am, it was next to impossible for me to do so. Thats what the idea of DIY struck my brains.
Did a lot of research and a gazillion questions to both shreyasma and satya I was ready to begin with my project. I knew this was gonna take time, patience and was gonna cost me loadsa shouting from my better half. I said what the heck, lemme try and convince to her. I showed her some threads from here and a few threads from other automotive forums , voila she was convinced and gave me the green signal.
I will try and finish this in two consecutive posts so that it could be easy to follow. The whole process is documented step by step with images and is self explanatory.
Well here's what went in with the cost details
- MDF board (2ft x 4ft) = 120/-
- MDF Spacer Rings x 4 = 400/-
- FB Mat = 120/-
- Resin (1 kg) = 100/-
- Hardener = 35/-
- Accelerator = 35/- (Blue Colored liquid)
- Paint brush x 5 = 125/-
- Surgical Goves (5 pairs) = 125/-
- Acetone 1/2 liter if you don't want to invest on new brushes.
I picked up the resin, FG mat, hardener and accelerator from
Swathi Chem' in Comm' street. Below is the map to get to the place.
Address
Shop No. 4,
2nd Cross, Ramamurthy Complex, K. Kamaraj Road, Bangalore - 560042
This is how the compo's were installed. Spacer rings sandwiched on one another and the compo's mounted on them.
In this image you could see that the gap where the spacer ring is accommodated is same location where the bottle holder was fixed.
Remove the compo's and am a little disgruntled

. Darn the door pads have been cut and looked absolutely shoddy.
With no other options I decide to go ahead and make the speaker pods differently by using exact measurements. Initial idea was to use masking tape and make a mould using FG on the door pads.
Ok time to move on and then I tried my hands at carpentry too.
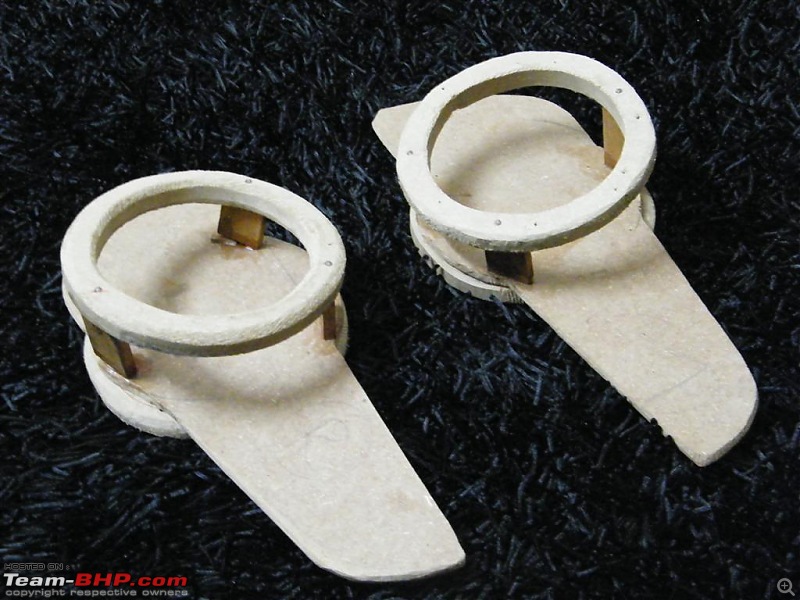
Once the skeleton was made using the MDF board and MDF spacer rings went on to cover it with an old t-shirt. Please note ensure that you get something that really stretches. I would say fleece works really well.
Cut the enclosure opening after applying super glue . Even Fevicol SR 99 works well.
From now on its gonna get cumbersome. Get your gloves, ensure you are wearing an old sweatshirt or a full sleeved shirt which you dont fancy using anymore.
Initially mix resin and the hardener in the ratio 4:1 and stir the mixture properly.
It would turn into a dark shade of blue. Next use very little accelerator and an ideal ratio would would be
4(resin) :1(hardener) :1 (accelerator). Once you have added the accelerator,
stir the blue mixture till it turns green.
(
Please mix them in small quantities coz I did a mistake of mixing a large quantity initially and even before I could finish one coat on the pod the whole thing turned into pulpy mass like jelly.Mix them in small quantities and don't over do it.)
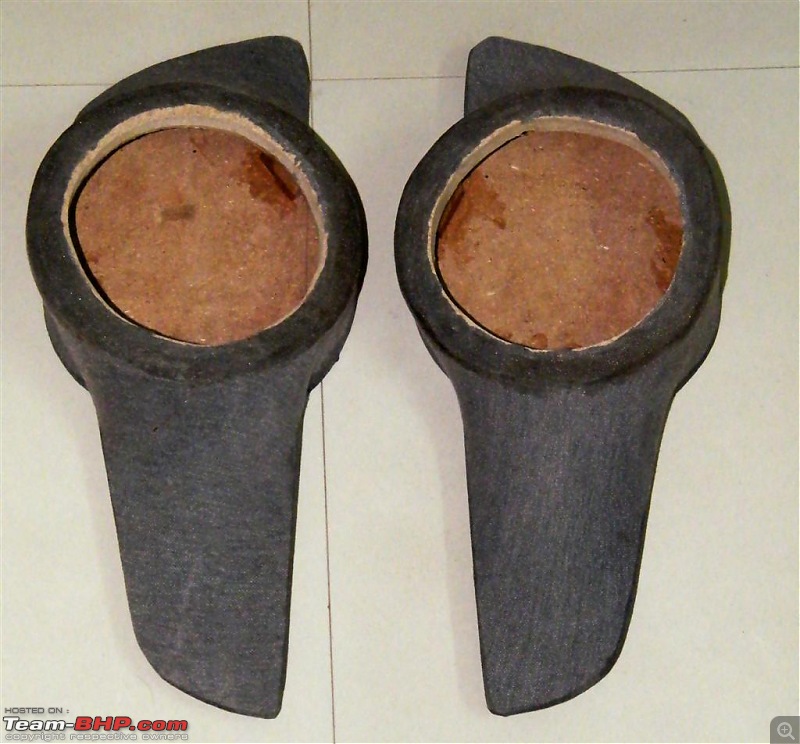
This is how the pods looked after the 1st coat of resin . Leave it for a day or two in proper sunlight.During my 1st attempt I wasted 2 brushes on 1 speaker pod. Its ok, you get better at it over time.
 (1)
Thanks


 . Darn the door pads have been cut and looked absolutely shoddy.


 .
. 

