| |||||||

| Search Forums |
| Advanced Search |
| Go to Page... |
 |
| Search this Thread |  9,826 views |
 9th July 2020, 23:45
| #1 |
| BHPian Join Date: Dec 2018 Location: Mumbai
Posts: 123
Thanked: 696 Times
| DIY: Angle mounting Focal Expert PS165V1 components! Hello Team, Within a matter of 6 months, I've turned from an audio noob, to a sort of audiophile when I got a system installed in my Honda City from a store. Watching them, I learnt many things about the Do's and Don'ts of car audio installation and the itch to upgrade was always there in the back of mind. So let's get right into what was done, how it was done, and why it was done this way. A little background of my system:
Now the Blaupunkt Velocity is an entry level component speaker, which is much better than the paper cone woofers and micro tweeters manufacturers provide to trick you into thinking you have a better than mediocre audio system. This system was doing just fine, but I wanted to expand the sound of the car and move the stage a bit higher. Thought of getting the Focal Access series 165 component, but then the Expert series was a matter of a few thousand bucks. It gave a much better mount, split crossover, and a better construction overall. Now the factory tweeter location is next to the door handle, which is quite lower than the driver's ears, so it feels like the sound was coming from below. So the factory location for the tweeter was not used by me. Instead, I made a bit of modification and installed it in the sail panel (next to ORVM) using the angle mounts provided by Focal. This raised the stage, and makes the sound immersive and like Taylor Swift is melodiously singing right in front of you, with her background music immersing you from all directions. Sorry, back to the topic: Sail Panel can be removed by lowering the window and gently yanking it's retainer clips out of the door body: 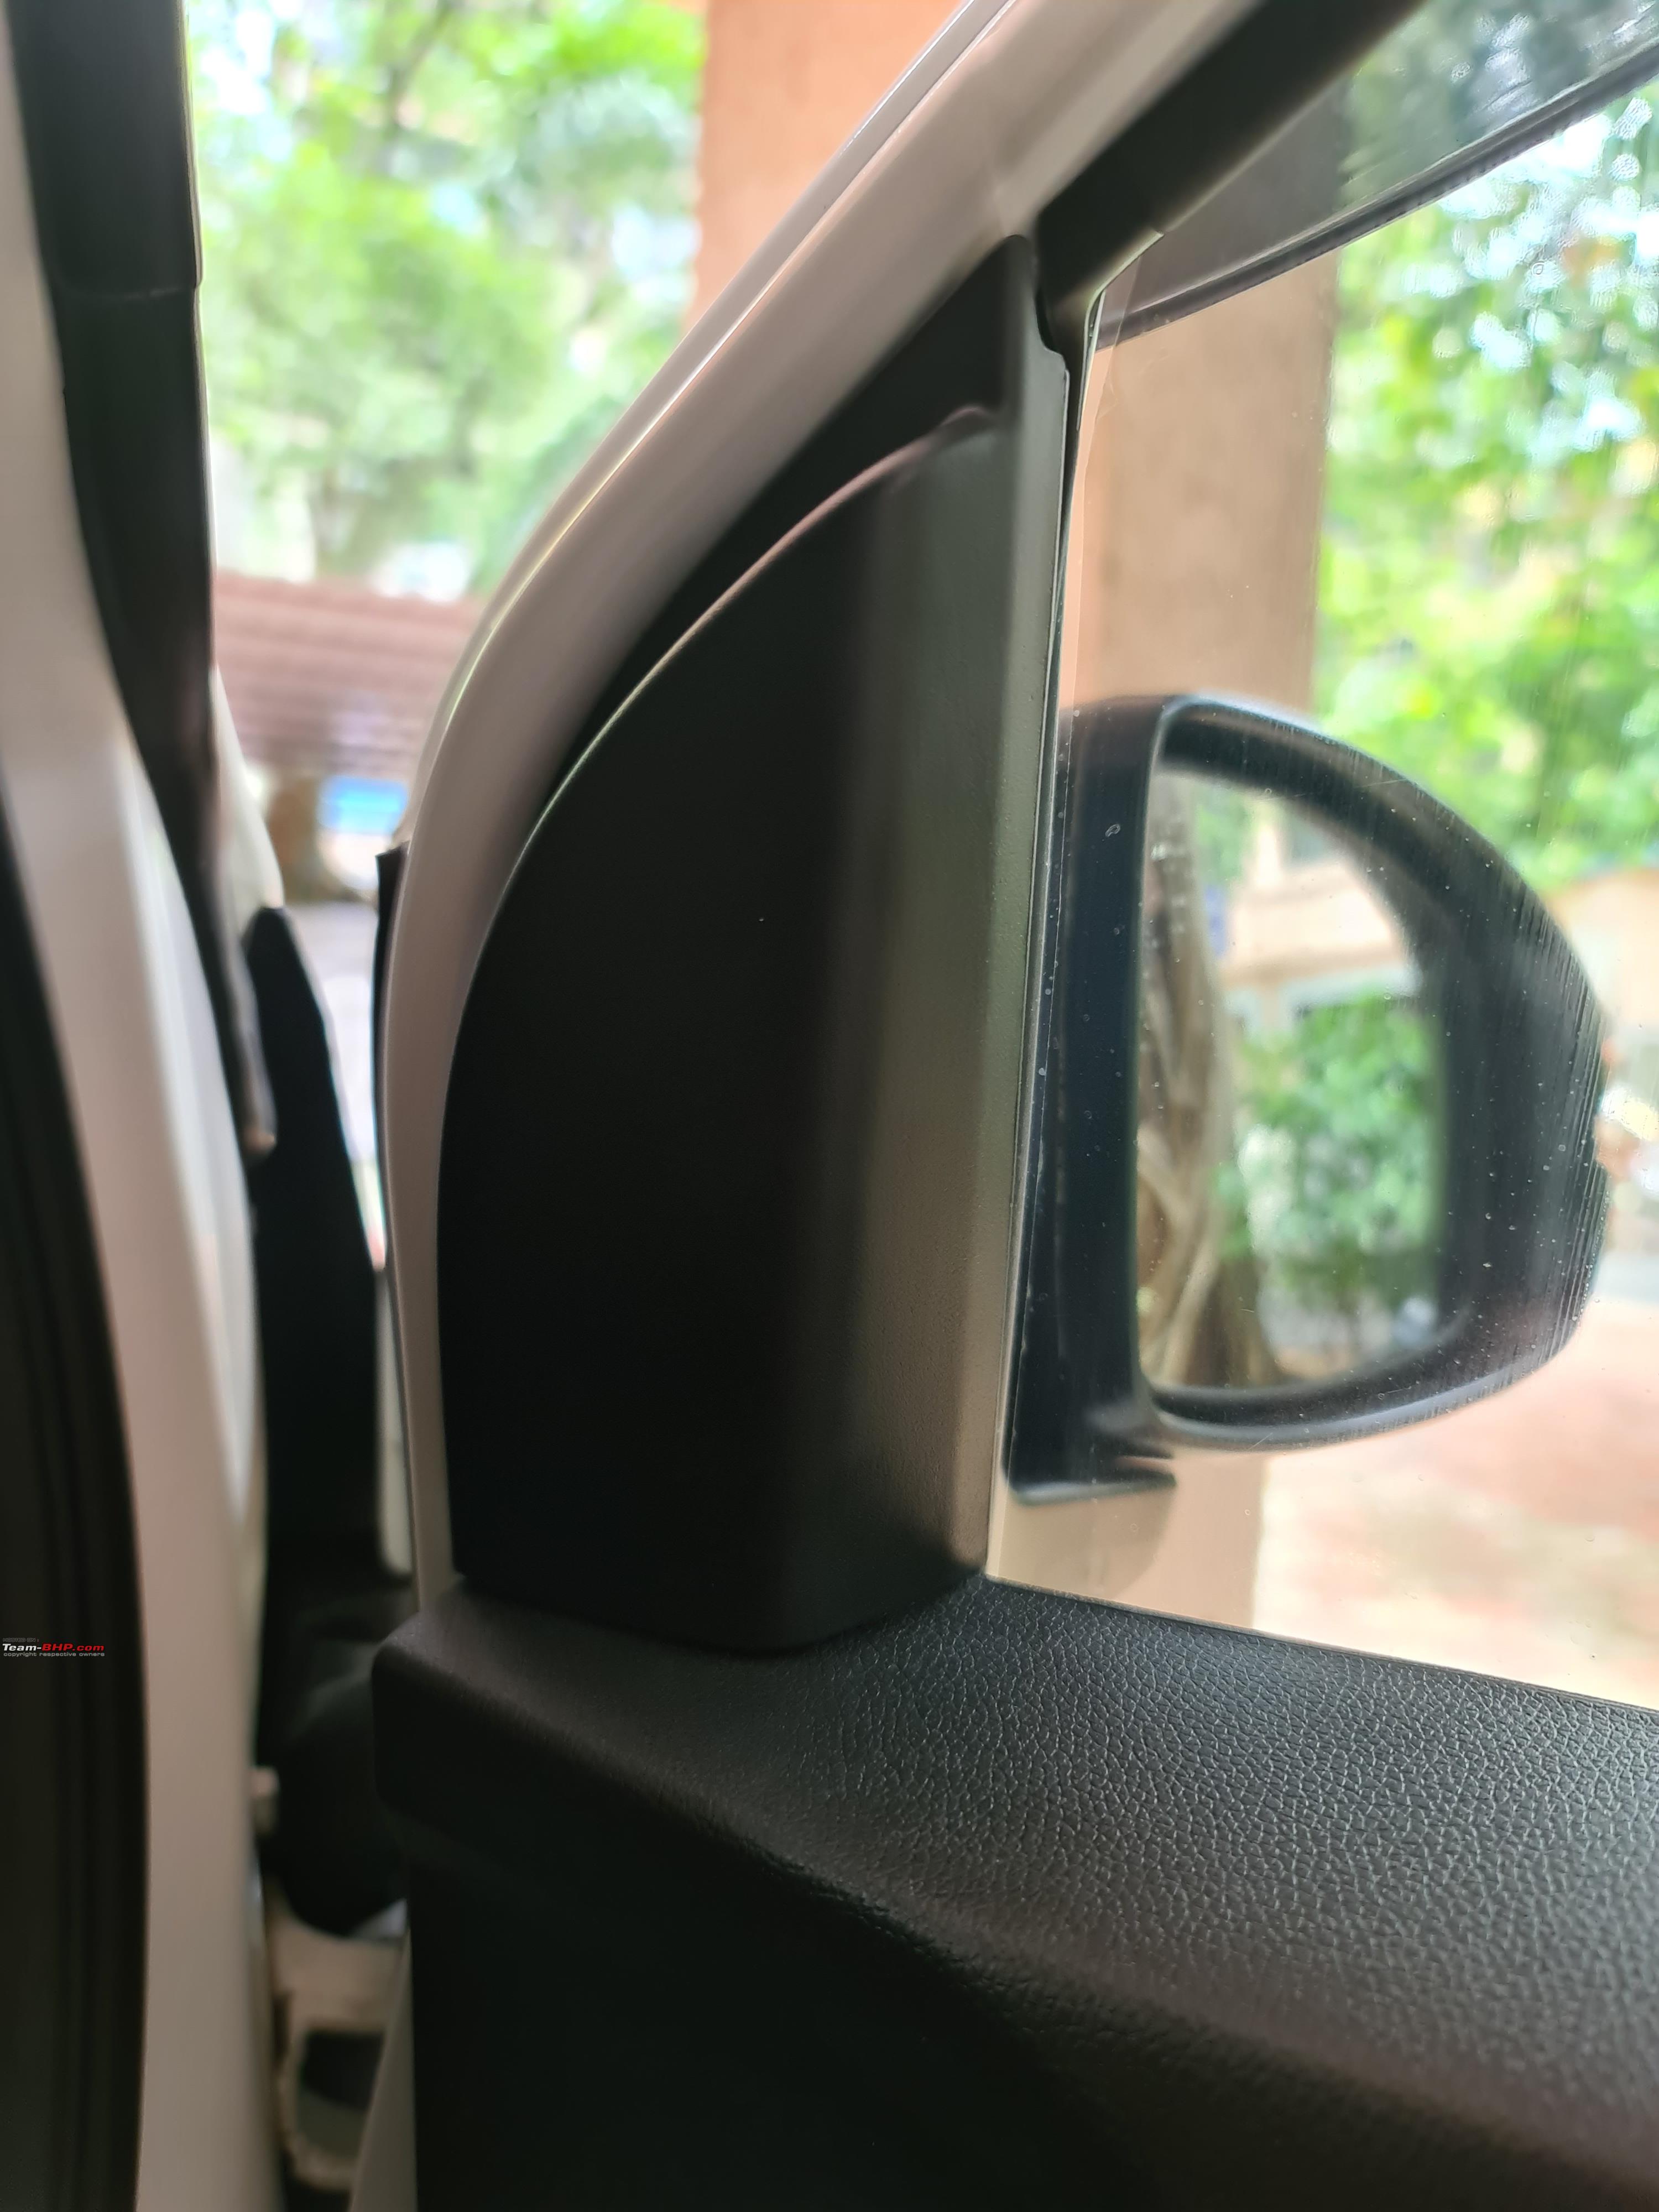   Sail Panel, Front and Back Next, we take these and our angle mounts up home and start making holes in it. Now, due to the lack of a drill, I used a soldering iron to make holes. But don't worry, even if this step is messed up, a new sail panel doesn't cost more than 150 bucks.  Sail panel, angle mount, and supplied hardware.  Place the mount on the panel, check for clearances first. Measure how many ever times needed, make holes ONCE. After the iron passes through the plastic, take it out quickly, and remove the melted surround with a sharp blade, before it hardens. Otherwise the mount won't be flush.  The mount secured with three nuts and bolts. There is a separate, larger hole for passing the wire through.  Test fitting the panel.  Checking for clearance. Fits perfectly and with just a little space on top and bottom. Believe me, this was the easier part. Fitting the woofer was another nightmare. Focal advertises these as a 6½ inch woofer but it is ever so slightly larger at 6¾ inches. This caused a problem because the woofer wasn't sitting in the older MDF ring. New rings had to be bought which were the rainguard type, but since the magnet was so large, it would hit when the windows were rolled down. Anyway, to fit this woofer, I had to take apart the grill provided in the box and separate the plastic casing from it, effectively using about 2 rings. This was very stressful to do, as I was worried, I'd damage the cone or something else, hence could only take few pictures during this step. Apologies for that. Removing door panel:  Pry out the power window panel, and unscrew the screw hidden inside with a philips head screwdriver. Then yank the door pad out by pulling from the bottom and place it aside. Be sure to replace the clips if any are broken, or it will rattle later.  Old woofer and MDF ring around it. New woofer just won't fit in that hole. Unscrewing the screws around the speaker will remove it from the ring, which was further held by two screws.   New woofer held firmly by screws on the modified double ring structure. Checked the window, works fine. Its good to have a helping hand around as the woofer is quite heavy. The wires were wrapped in a plastic wire loom (not pictured) and secured with electrical tape and zip ties. Crossovers were secured into place by double sided tape and leftover foam, so they never rattle. Tested out the system, worked well. Putting the door pads back is the same process. Fish the power window harness out of the gap. Firmly press the door pad into place. Screw the philips head back in, connect the harness and fit the panel back into place. Voila! We are done. 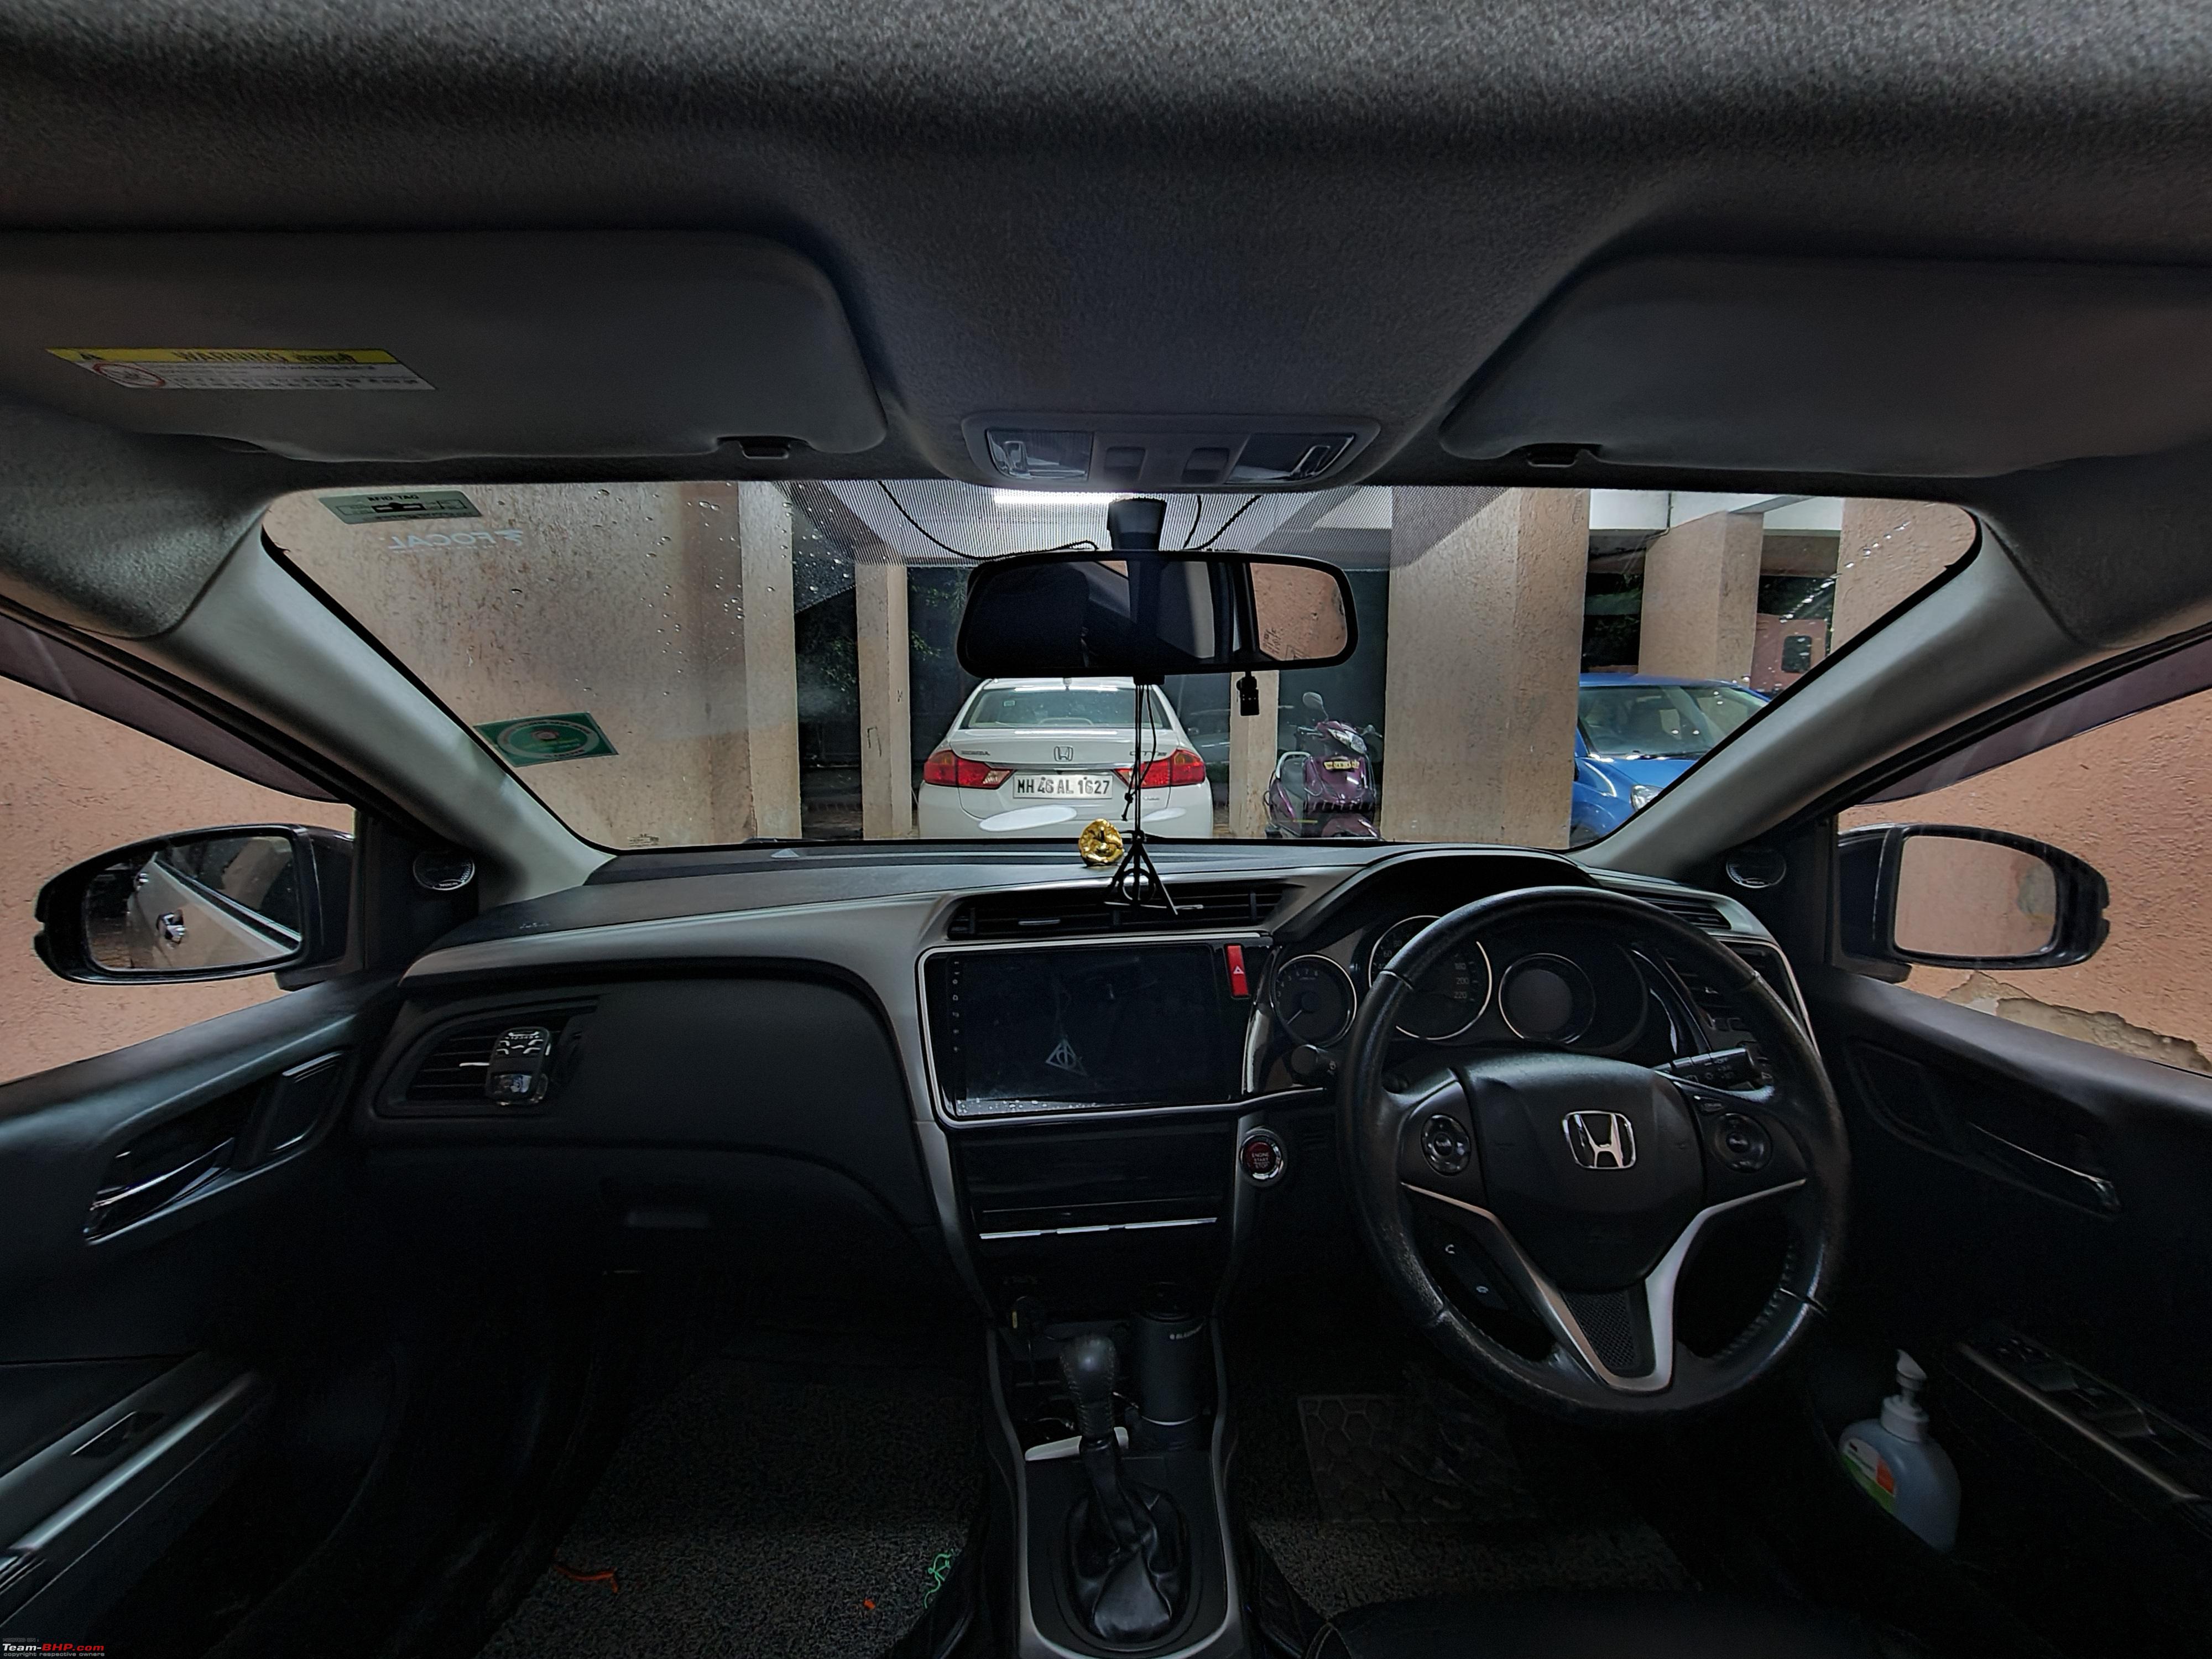 Interior shot. I like the way the tweeter looks, it is a personal opinion of course. The focals sound excellent and the old components in the rear are just for the rear fill.  Using the DSP, the system can be time aligned, speaker levels can be set individually, and it connects through an iPhone to simply bypass the pathetic DAC of the Android head unit and enjoy crisp, clear and pure sound. Thanks for reading! As always your support keeps motivating me to do more such DIYs in my car. |

|  (22)
Thanks (22)
Thanks
|
| The following 22 BHPians Thank city2491 for this useful post: | 2himanshu, anantpoddar, Arun Venugopal, audioholic, Gannu_1, govigov, GTO, hmansari, InControl, keroo1099, kptraveller, K_Drive, lovetorque, Mr.Boss, navin, neil.jericho, Rambo-RS, Reinhard, sharktale, thecarguy, The_Outsider!, truezealous |
| |
|
10th July 2020, 12:40
| #2 | |
| Team-BHP Support  Join Date: Mar 2004 Location: Mumbai
Posts: 25,402
Thanked: 9,945 Times
| Re: DIY: Angle mounting Focal Expert PS165V1 components! Quote:
I worry about the tweeter install not because of the sound but because some over zealous car cleaner might knock it and damage it. I would have much preferred a flush install in the sail panel as the pictures below detail. (source: google images). Anyway, happy listening and thanks again for this. | |
|
| (7)
Thanks
|

| The following 7 BHPians Thank navin for this useful post: | Arun Venugopal, giri1.8, hmansari, ike, NTO, sreeJiva, ST172 |
|
10th July 2020, 21:30
| #3 | |
| BHPian Join Date: May 2020 Location: Pune
Posts: 77
Thanked: 330 Times
| Re: DIY: Angle mounting Focal Expert PS165V1 components! First off, lovely post, I generally avoid such DIYs just because I'm scared that I might break something. This is one confidence building post. I appreciate the small things mentioned like that the cost of sail panel if in case it breaks. Quote:
I was a bit concerned earlier when the first hint of having it mount on sail panel of externally dropped, thinking that it might look out of place but actually by the end it looks pretty cool.  Looking ahead for more DIY posts by you. (It's a bug, now you must be starting to crave for doing something else) | |
|
| (1)
Thanks
|
| The following BHPian Thanks petrolHead_1609 for this useful post: | hmansari |
|