It has been almost 7 months in waiting for this DIY to happen. I have been waiting for the amplifier to arrive from US since I purchased in Jan2019. And finally last week, I was able to get my hands on the amp when a good friend of a friend agreed to carry it. It was a good thing though- gave me enough time to learn about ICE upgrades, order other parts and tools and get ready for the DIY. I didn't waste a single moment and went right into it this week. Took me about 3 days to get the job done.
Interestingly I was not inclined towards the upgrade when I purchased the amp. Our S-Cross whatsapp group was awash with ICE upgrade discussions and I got drawn into it.
There is not a lot of new information to add here since most of the knowledge is shared here on TBHP in elaborate DIY threads and discussions by ICE experts. Here is a run-through of the install.
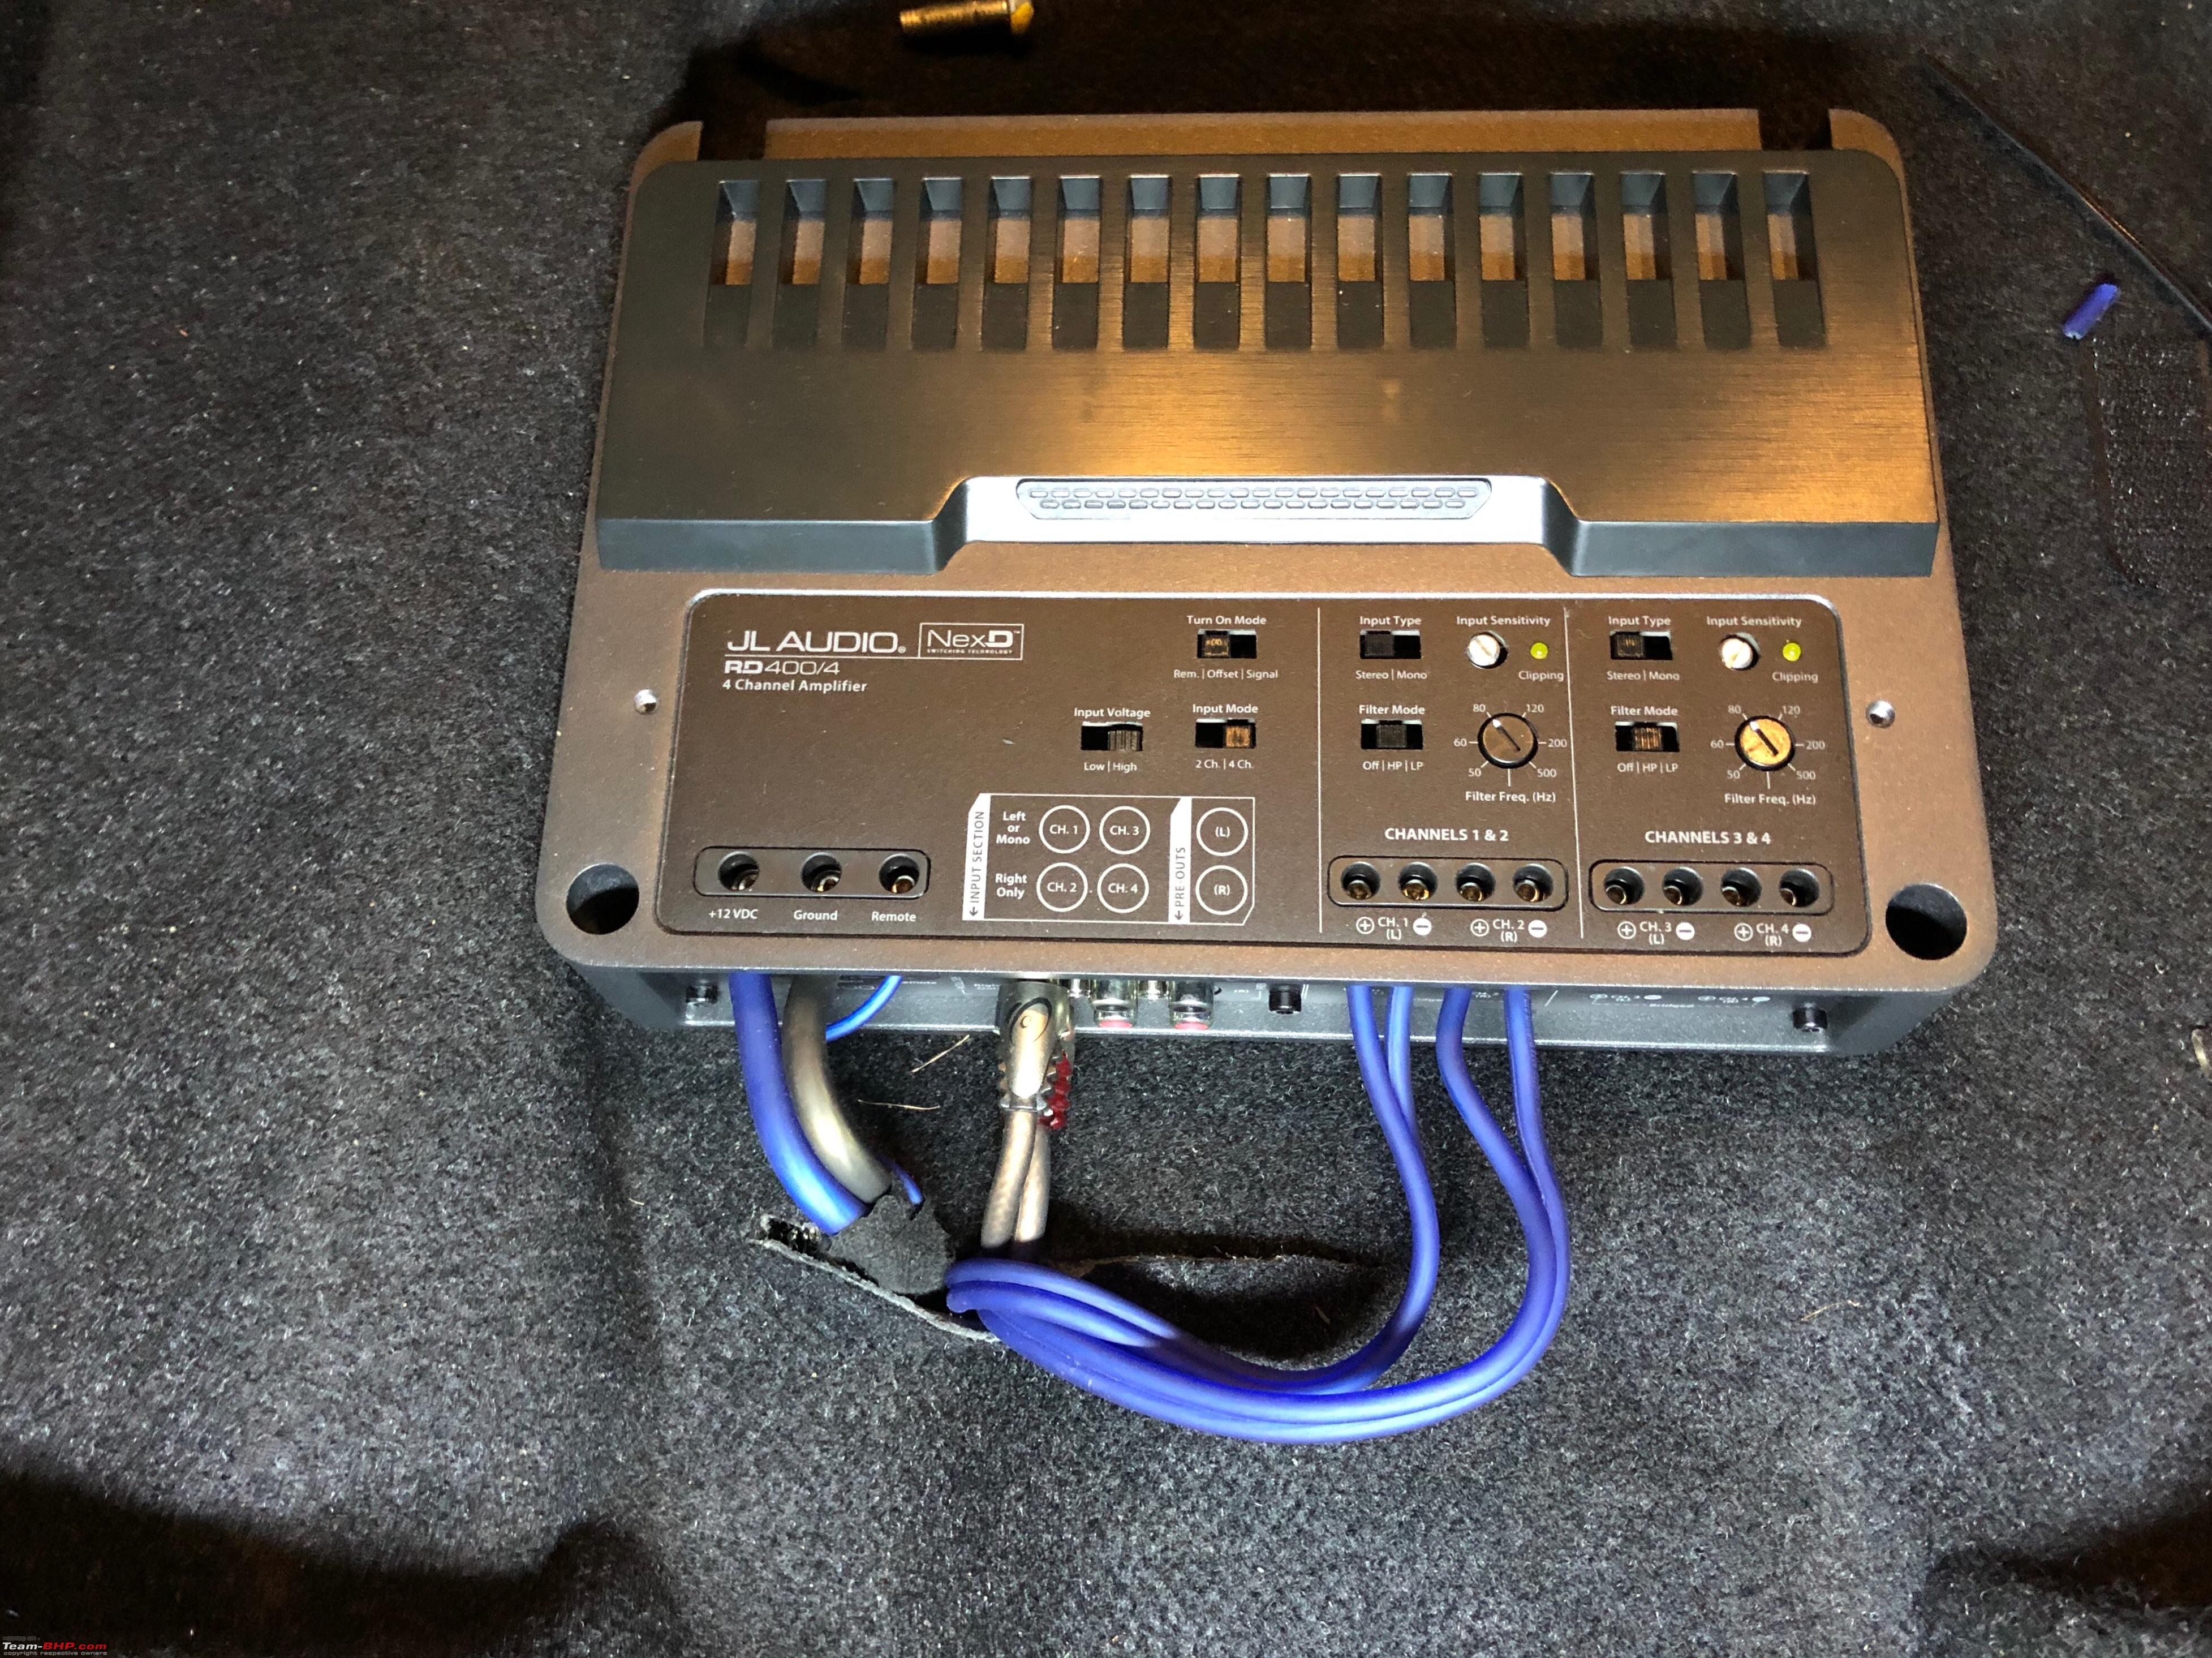
Equipment and Tools- JL Audio RD400/4 four channel amplifier
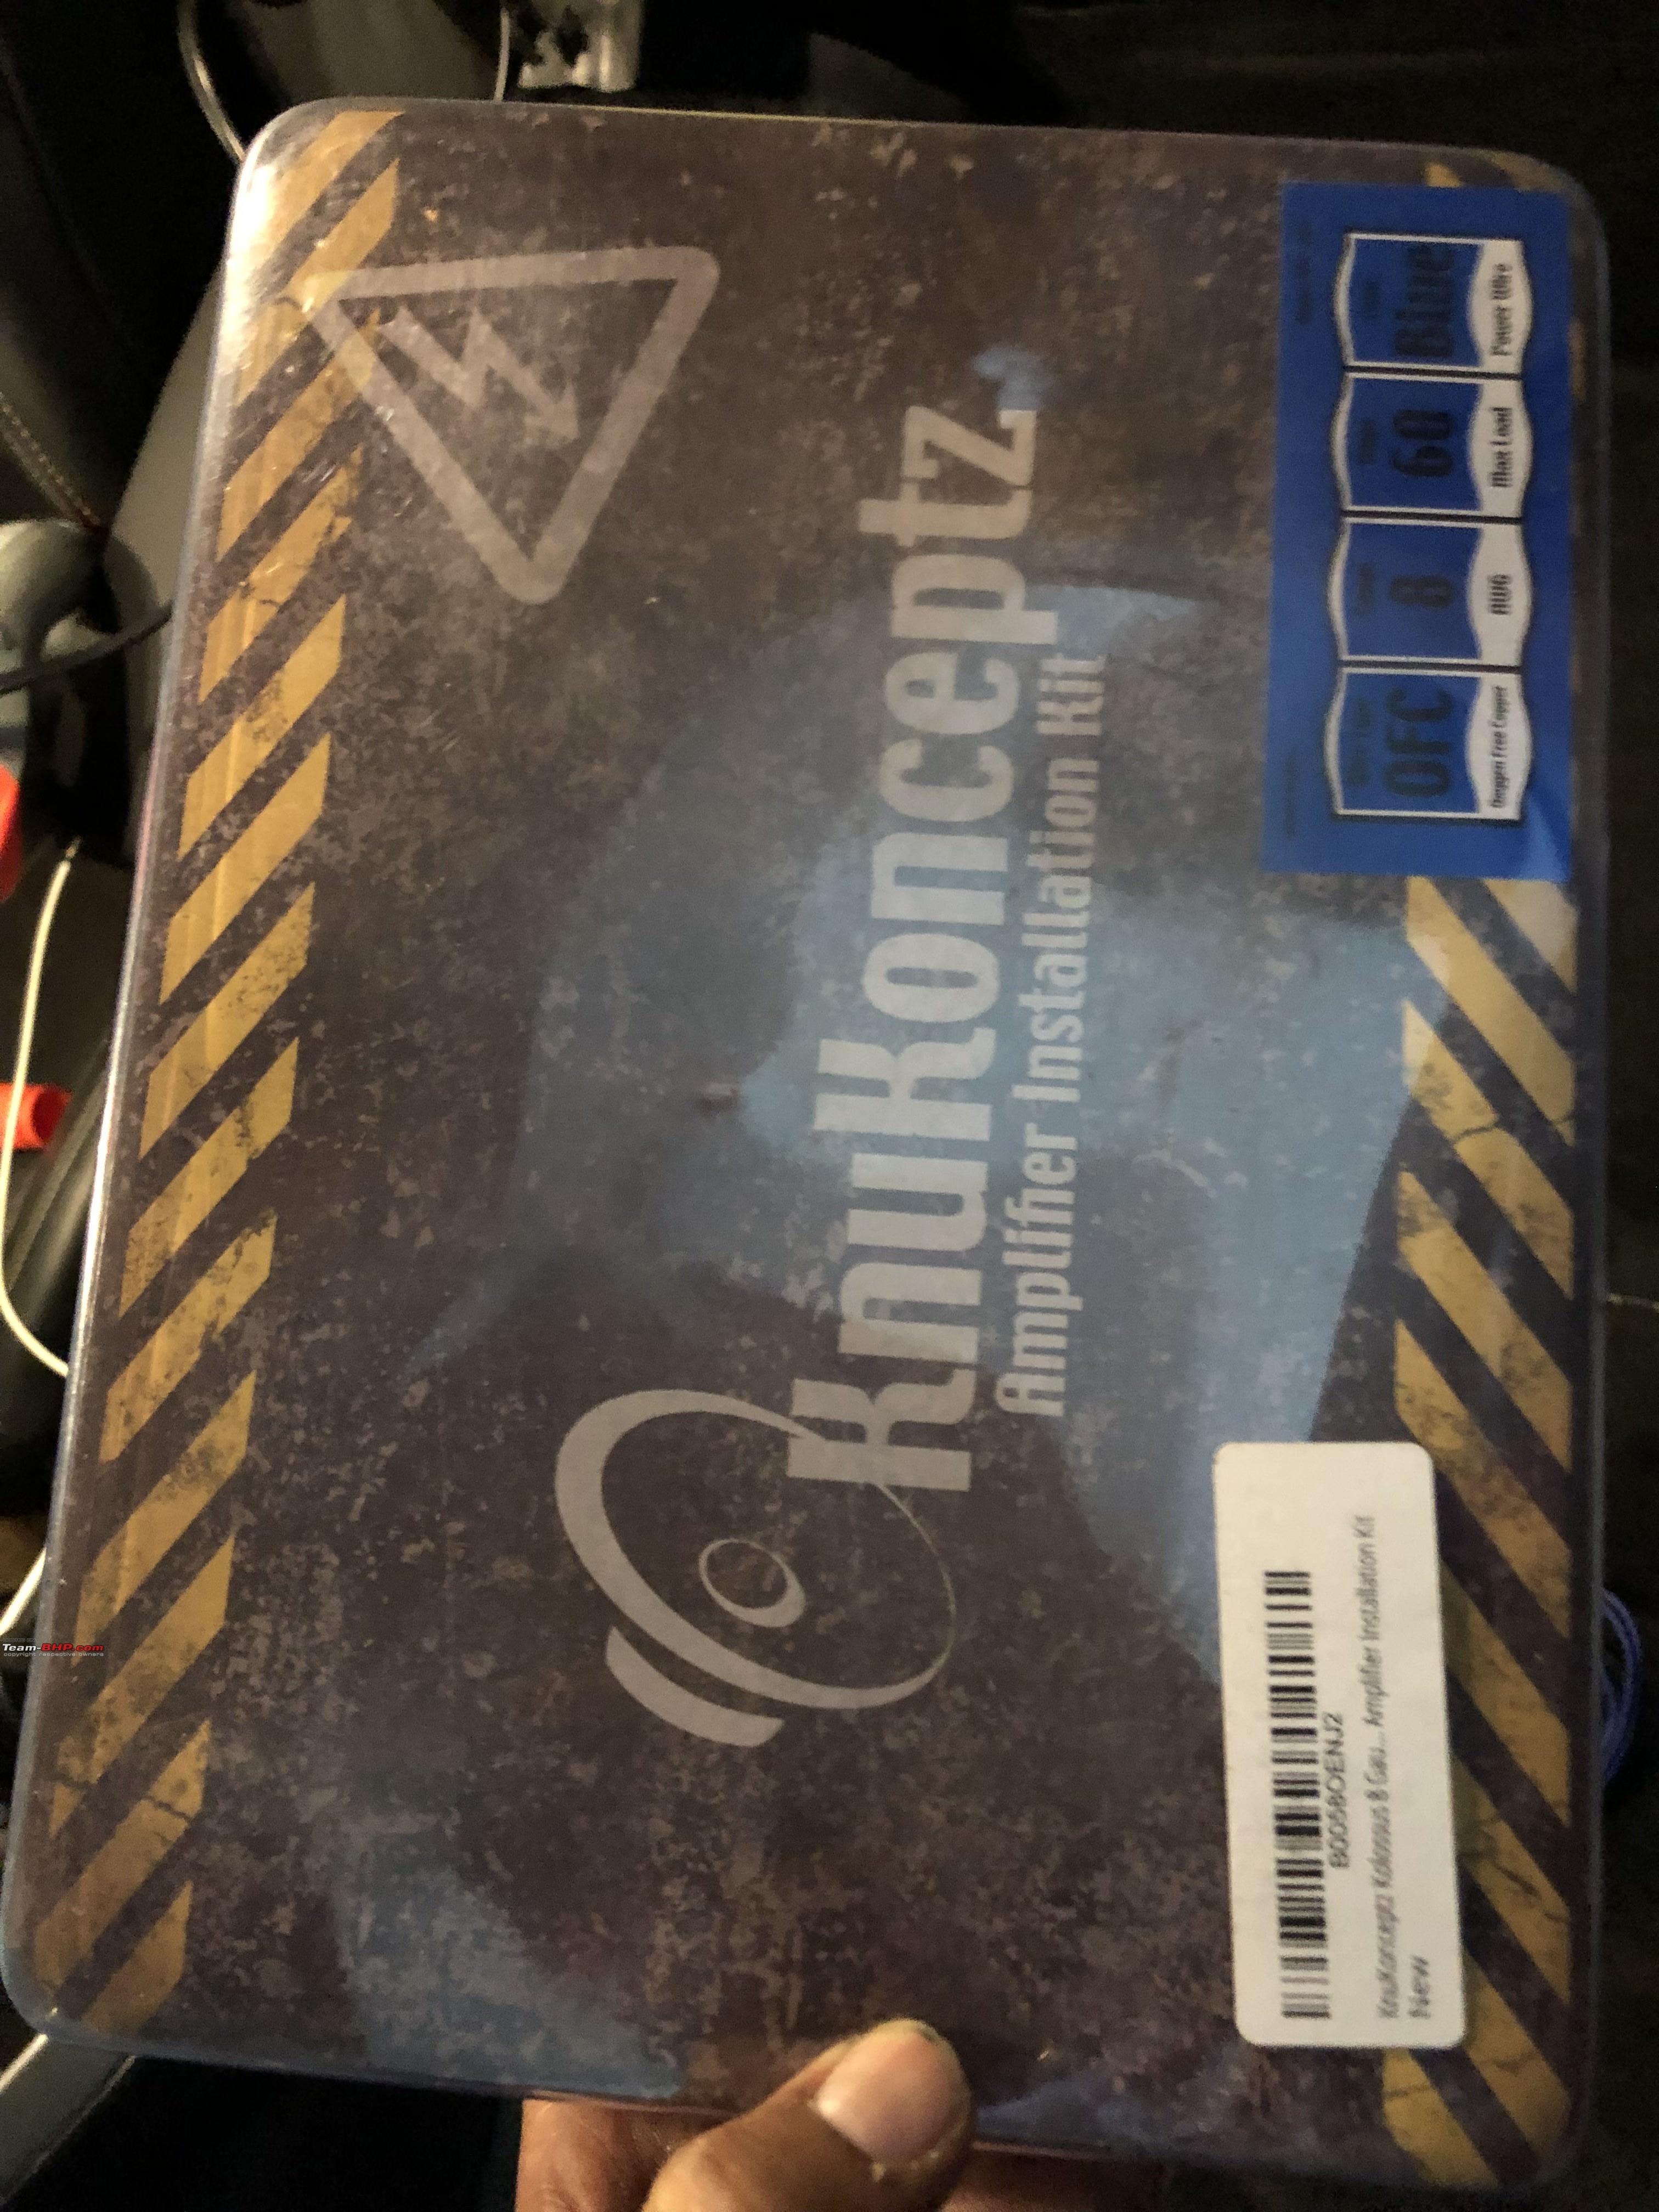
- Knuconceptz OFC 8 gauge wiring kit
- Infinity Kappa 60csx component speakers(only front channels upgraded)
- ISO 20 pin coupler harness for Suzuki
- STP silver damping sheets
- 3mm Closed Cell Foam sheets(adhesive backed)
- Damping roller
- Tesa tape
- Electrical tape
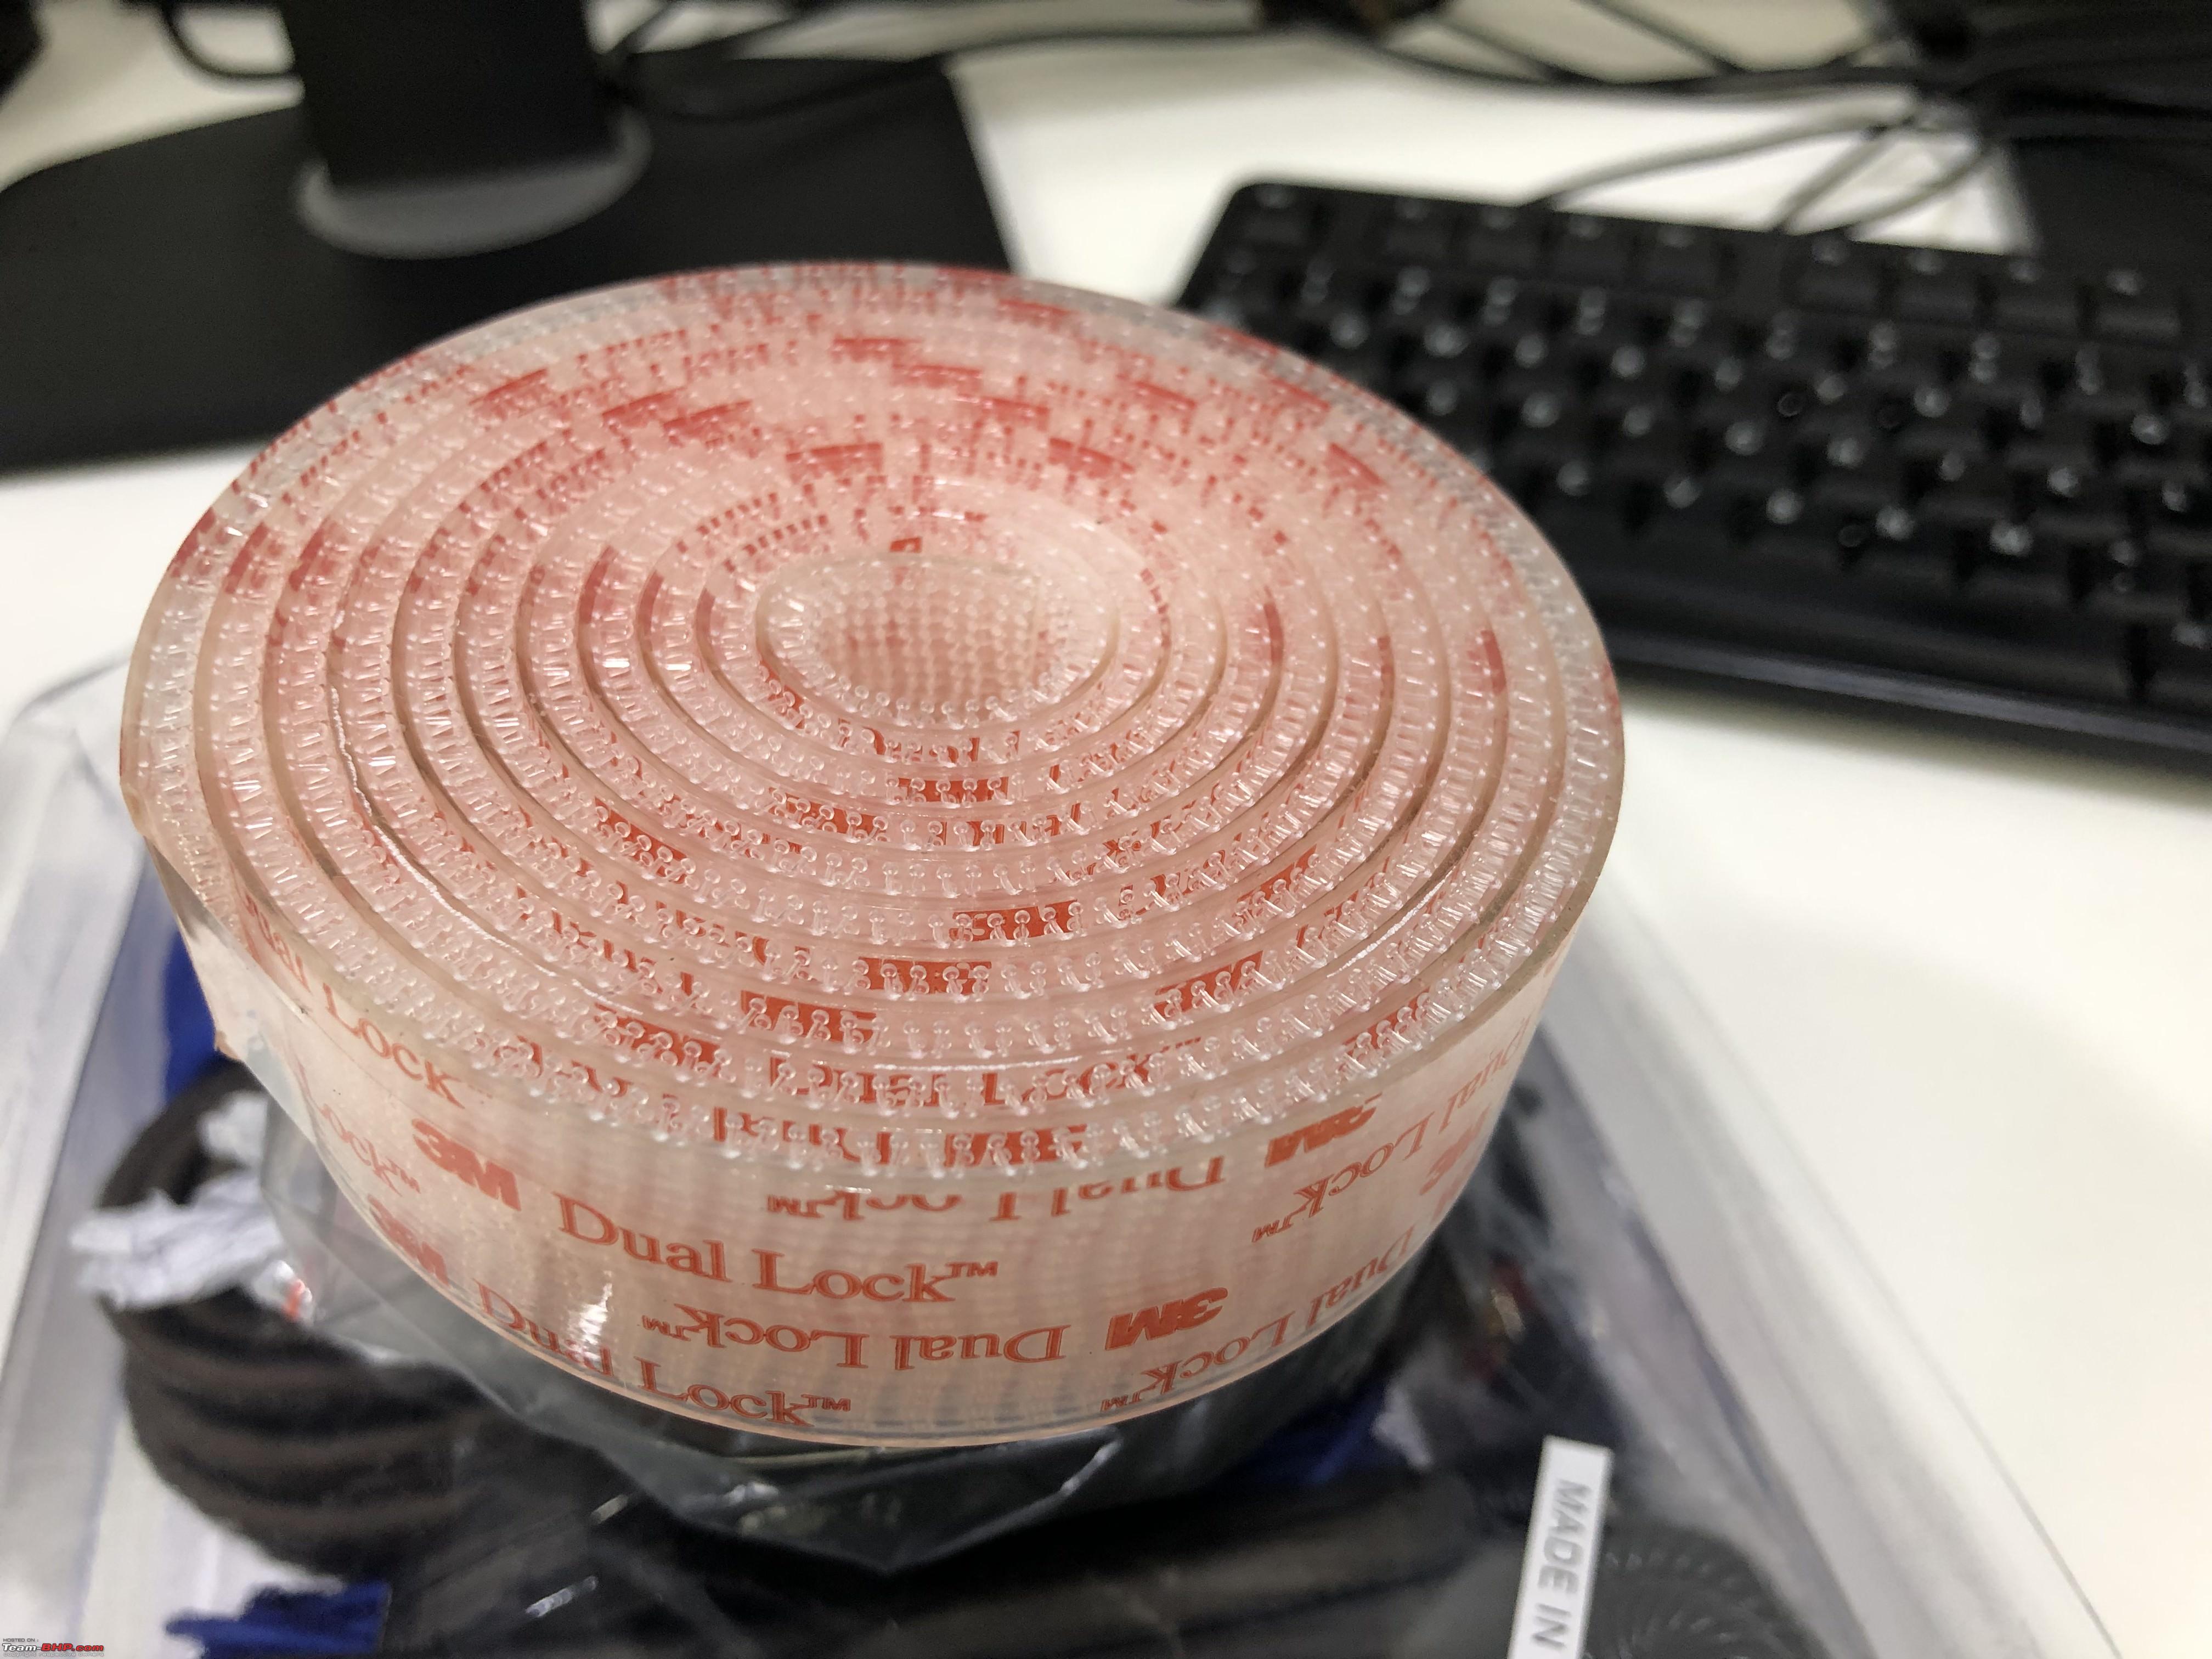
- 3M dual lock strips
- wire cutter and crimper
- crimp connectors
- Bosch cordless drill
- Bosch X30Ti drill bit set with countersink
- Rainguard PVC speaker adapters
- Heat Shrinks
- IPA solution
- RCA coupler
- Zip ties of different sizes
- Vaccum cleaner
Thanks to bhpian Sudeepg for lending the drill machine and the vaccum cleaner.
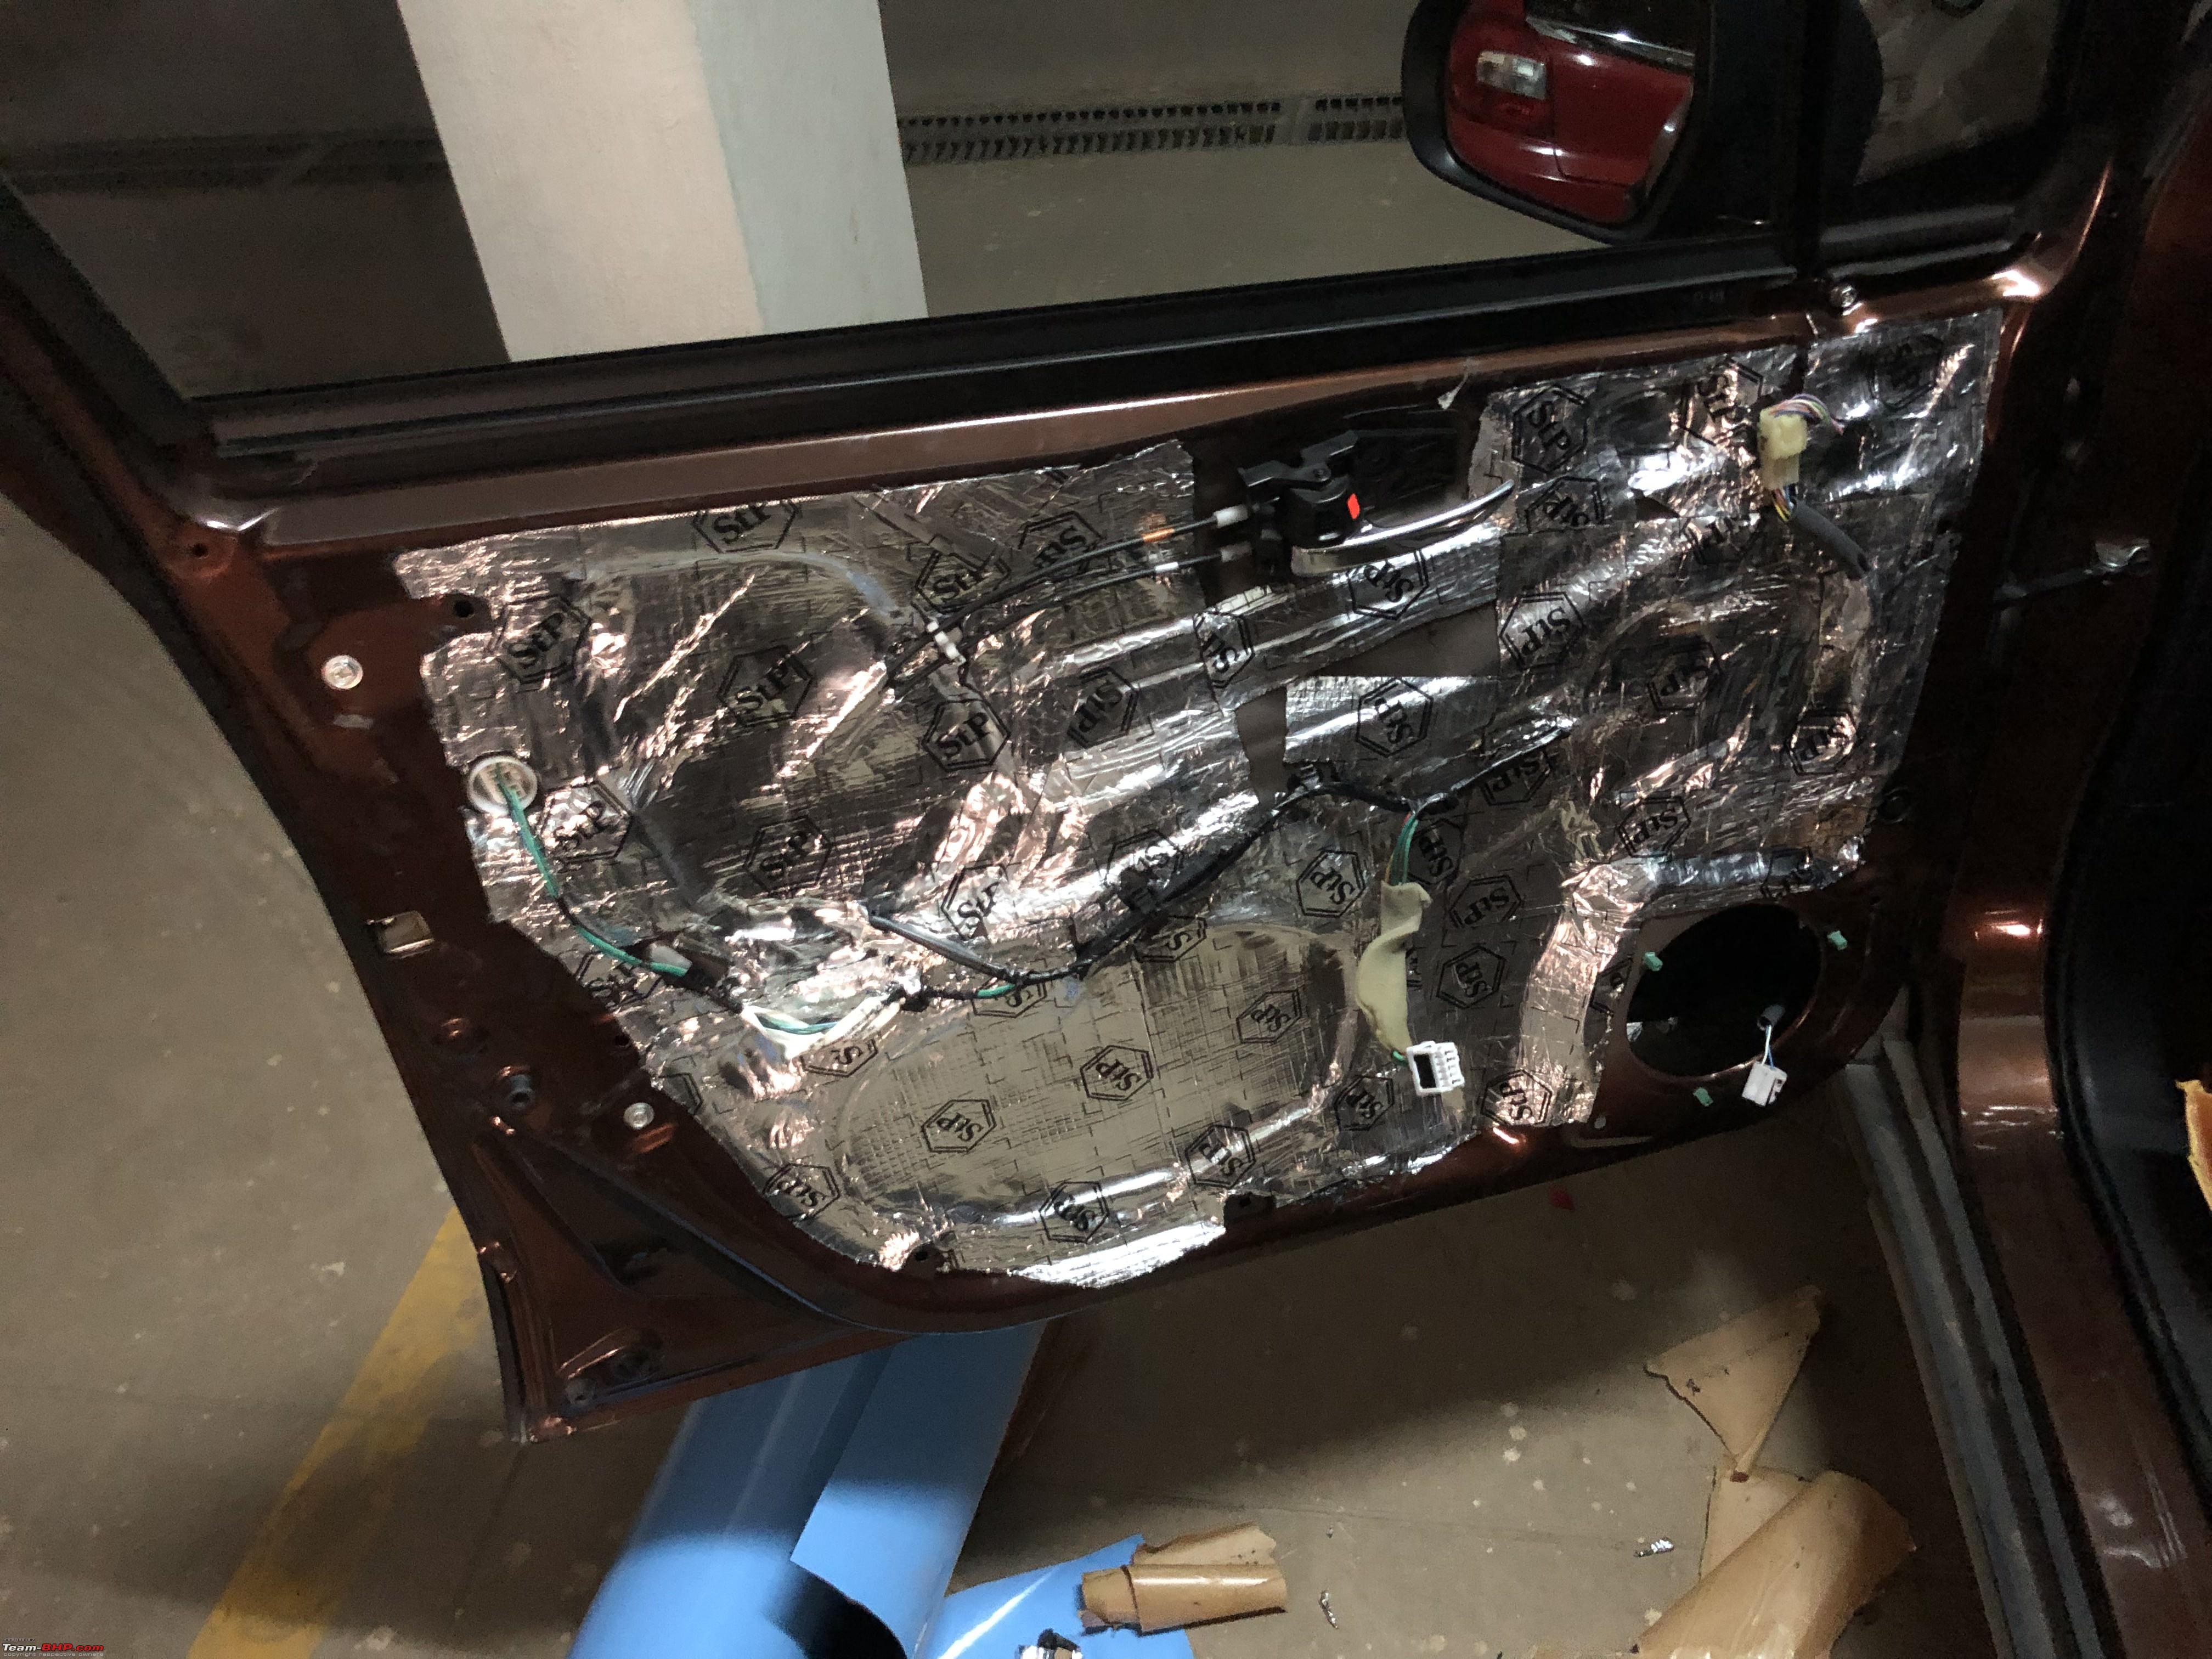
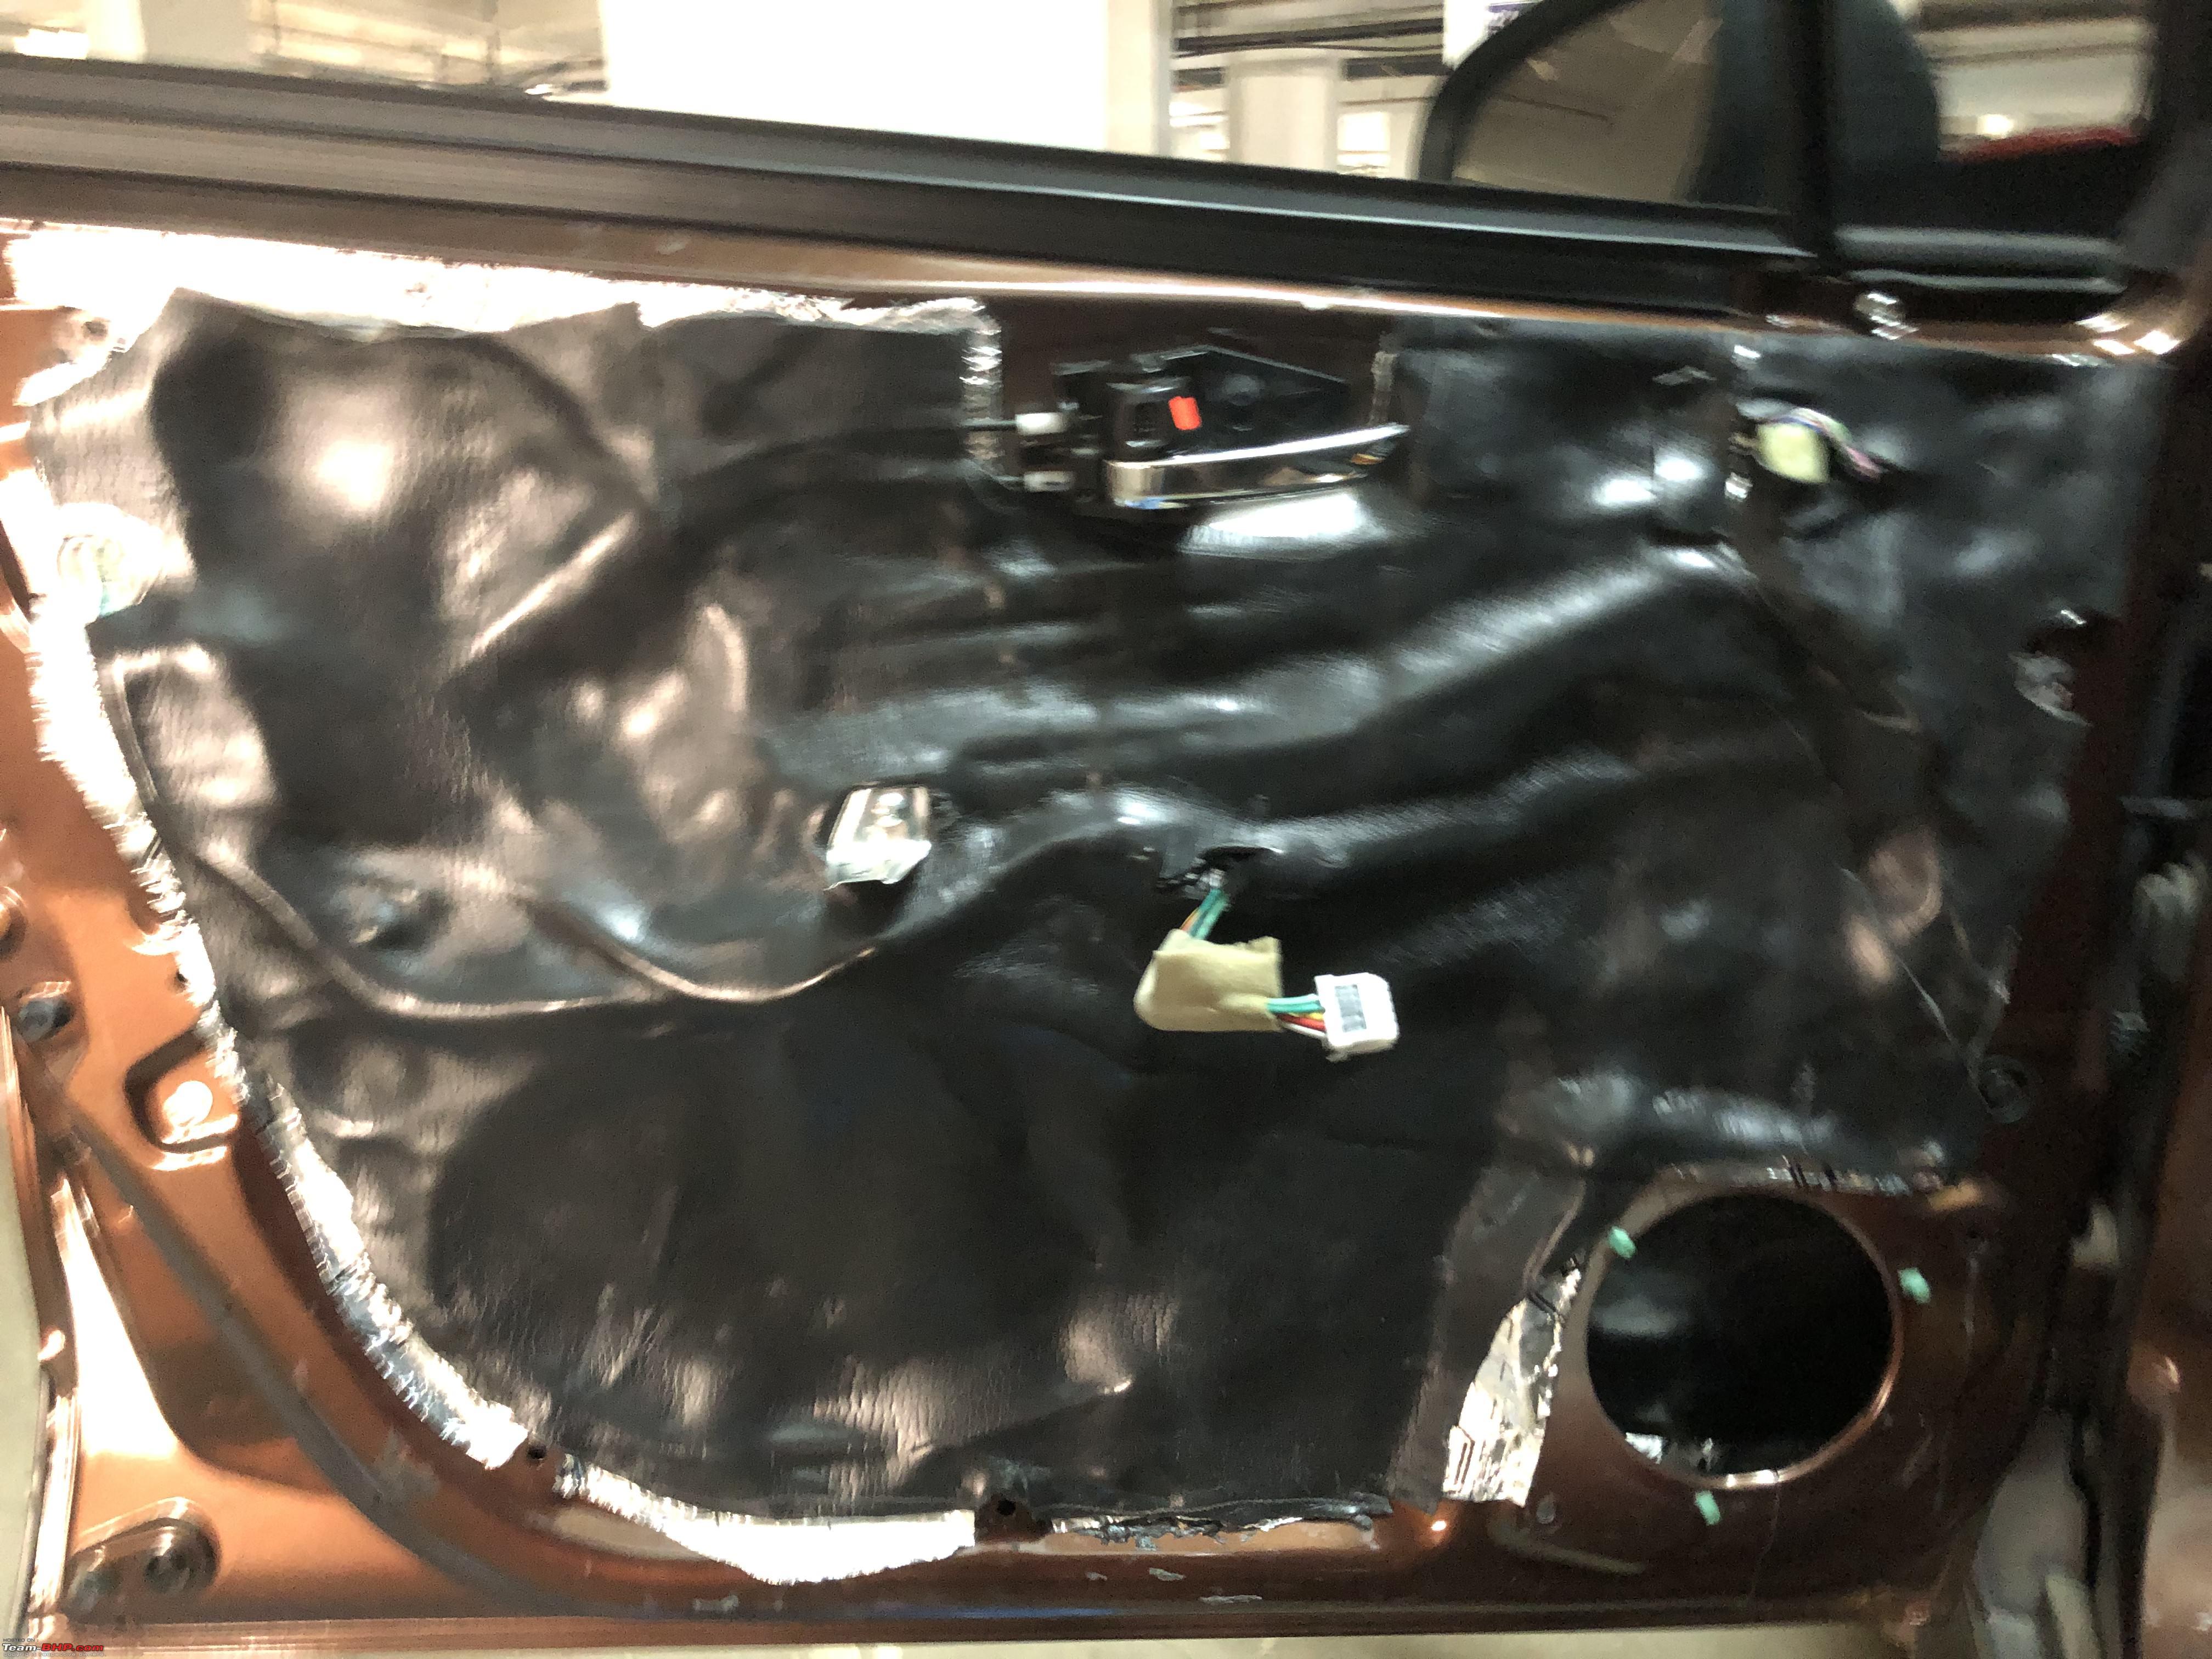
Damping
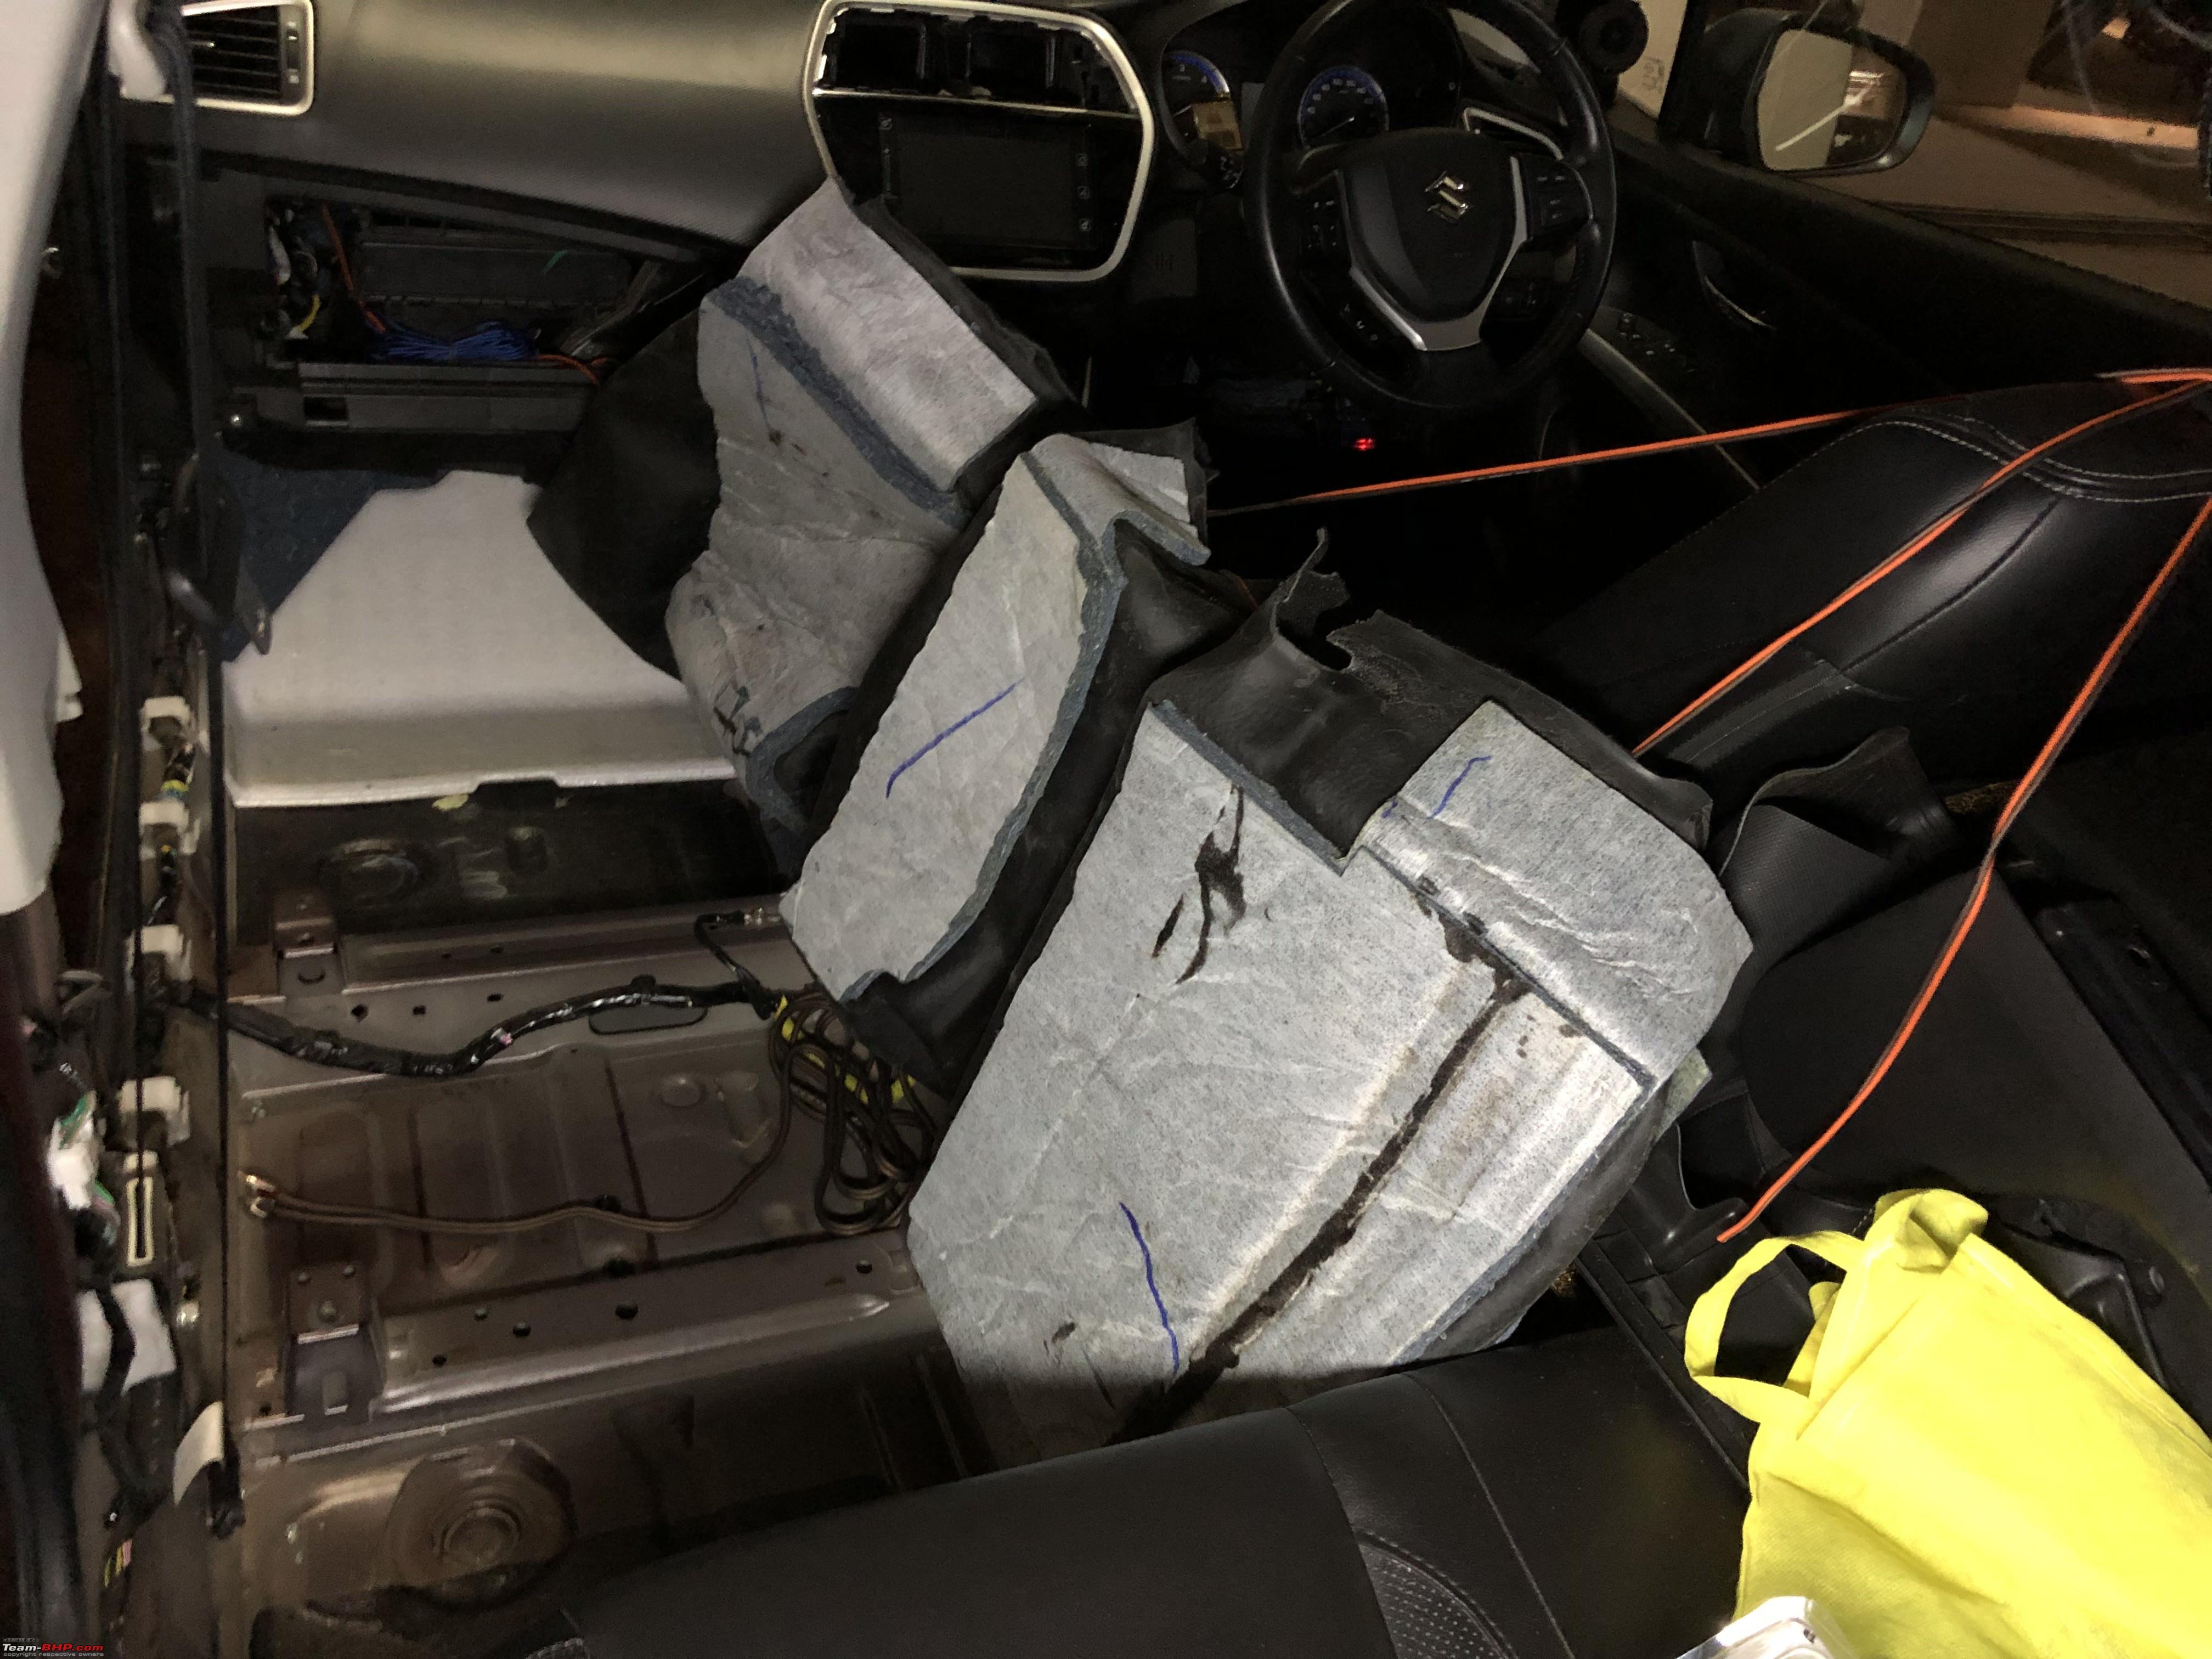
I finished the front door damping couple of months before the amp install. Beside using STP damping sheets, I also added a layer of closed cell foam on the door and the trim. Filled the large gaps in the trim with some old towels.


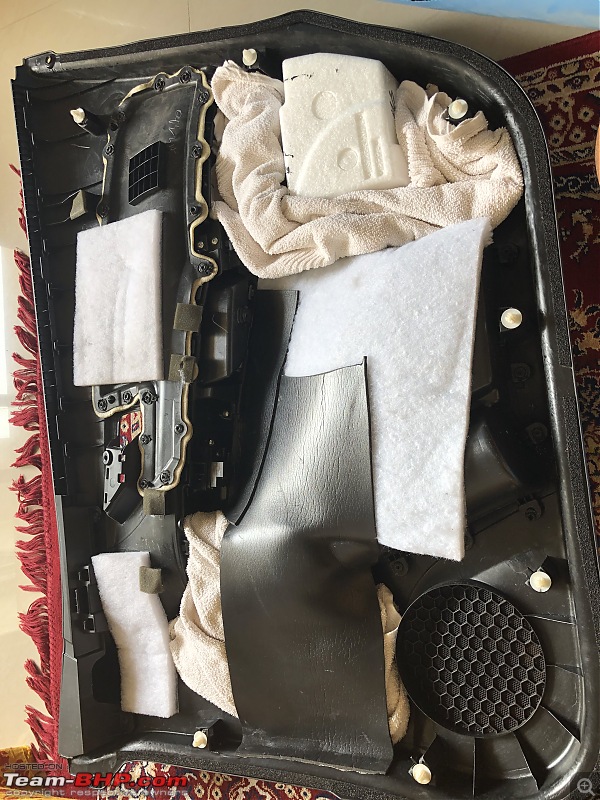
]

I also damped the floor- see the Amplifier install section.
Head Unit wiring
The center piece of the HU wiring was this 20pin harness with coupler for connecting to the stock harness at one end and the HU at the other. And what ever cutting/splicing/soldering required is done on this harness. This leaves the stock wiring pristine and made the HU wiring a snap for me.
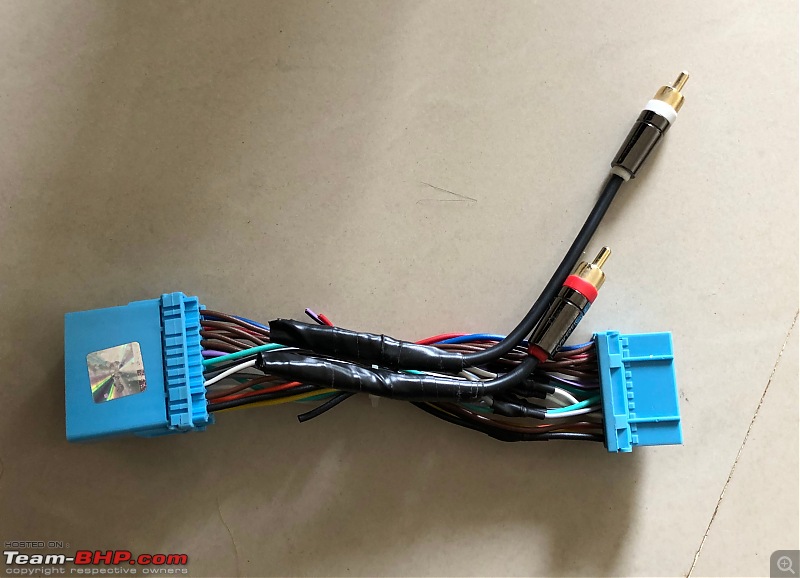
The amplifier accepts both low and high level inputs. But the inputs are only RCAs and does not have molex like connector for input signals which many amps have. Only way to connect the amp to HU output is using RCA patch cables. At the HU end my options were to buy Hi-Lo converter(at least another 3k for a good quality 2 channel one) or solder some rca connectors to the harness and connect the patch cables. I had some old rca male connectors which I soldered on to the harness. Since the patch cables were also terminated with male rcas, I bought a rca female-to-female coupler too. The whole thing after connecting looks quite ugly to be frank(forgot to take a pic) but it works just fine. The speaker inputs from crossover are also connected to the harness and then driving the speakers via stock wires. In fact I haven't routed any wires at all in the door as the crossovers are also placed under the dash.
 Amplifier Install and Wiring
 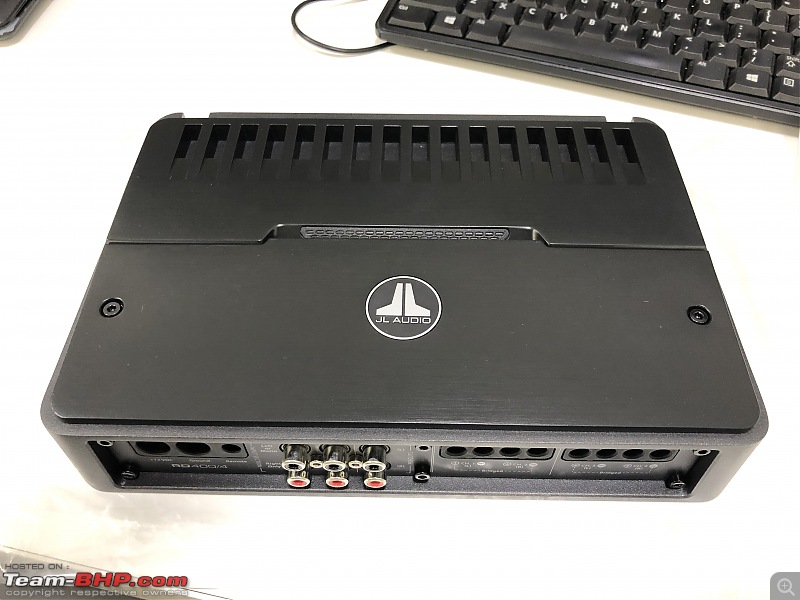 Pièce de Résistance
I chanced upon a good deal on an open box item on sonicelectronix. Wasn't sure of the condition of the amp since it was open box but turned out to be all fine. The amp pairs well with the Infinity Kappa speakers(which are at 2.5ohms impedance). The amp has enough juice(100W RMS at 2ohms per channel) to drive the speakers with lots of clean power.
Before beginning the amp installation I did a quick dry run by firing up the amp. I wanted to be sure the thing works before ripping out the seat and carpets.

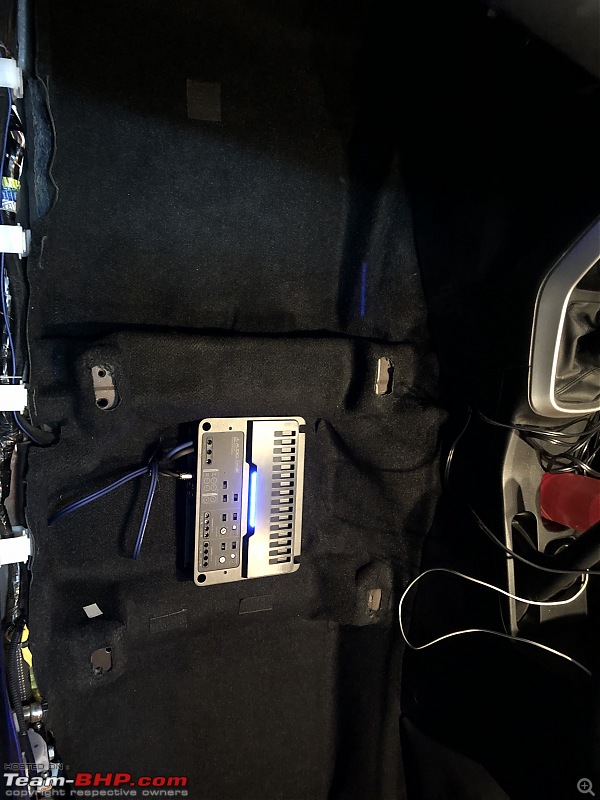
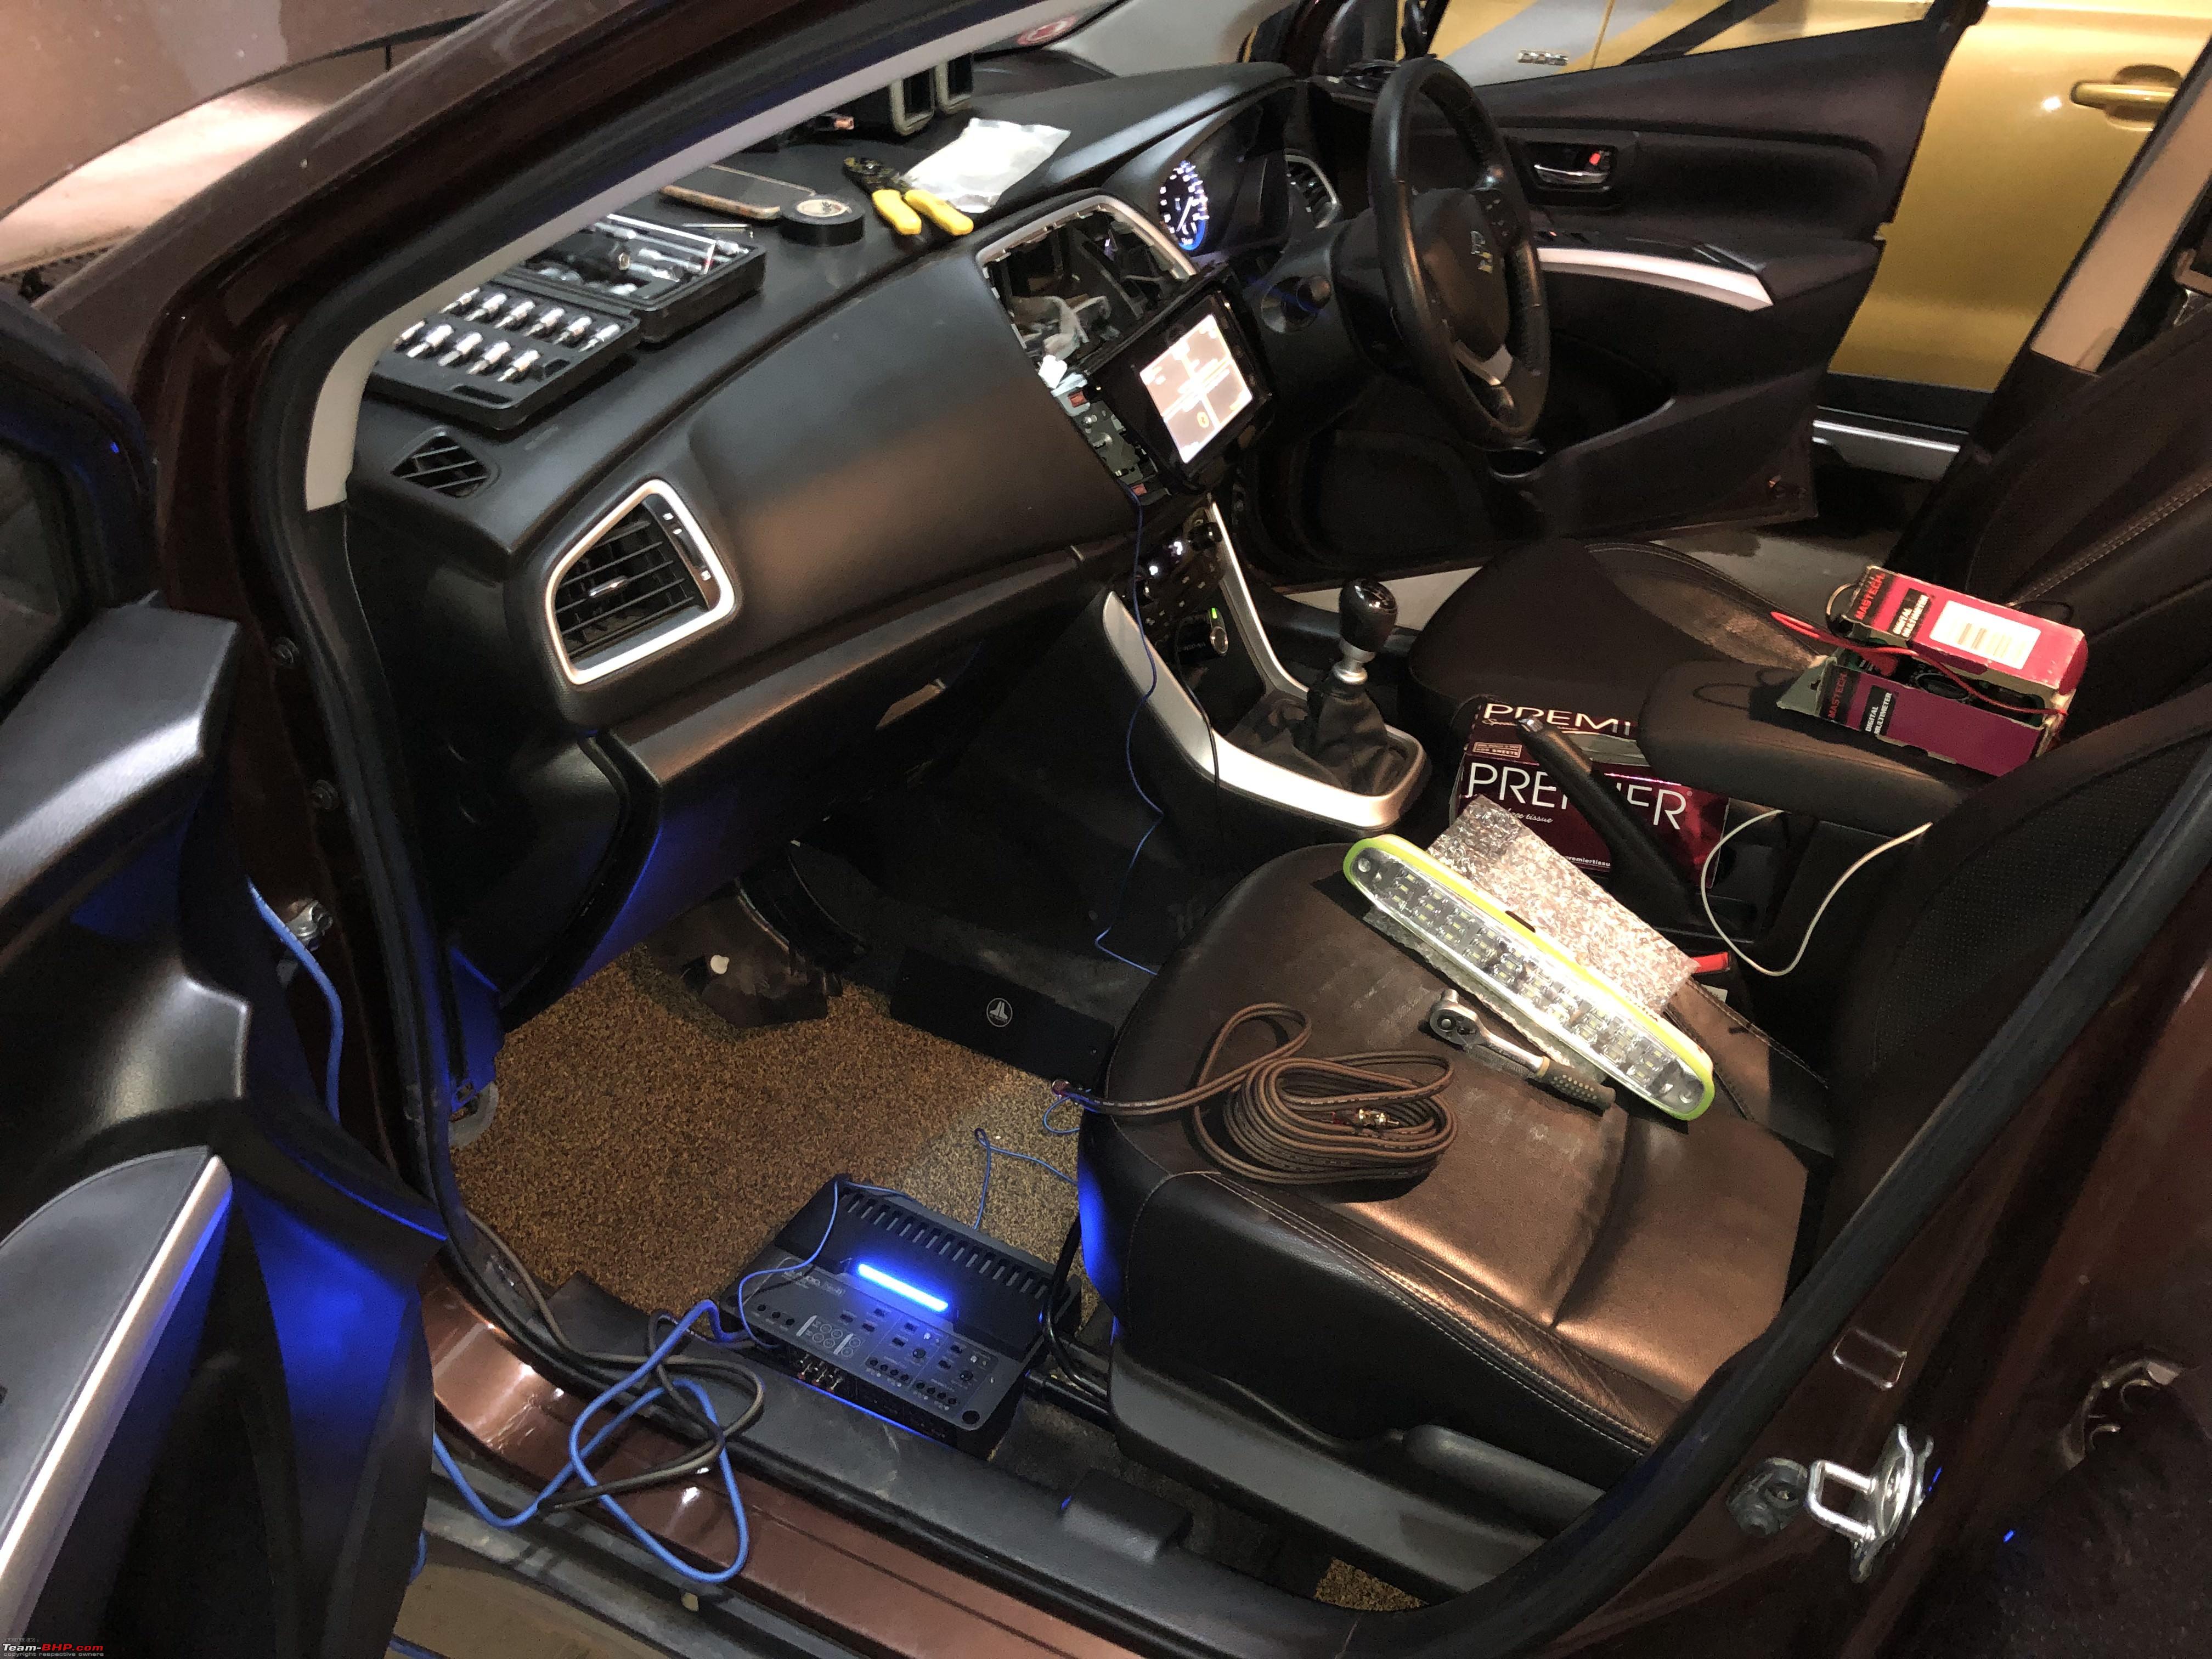
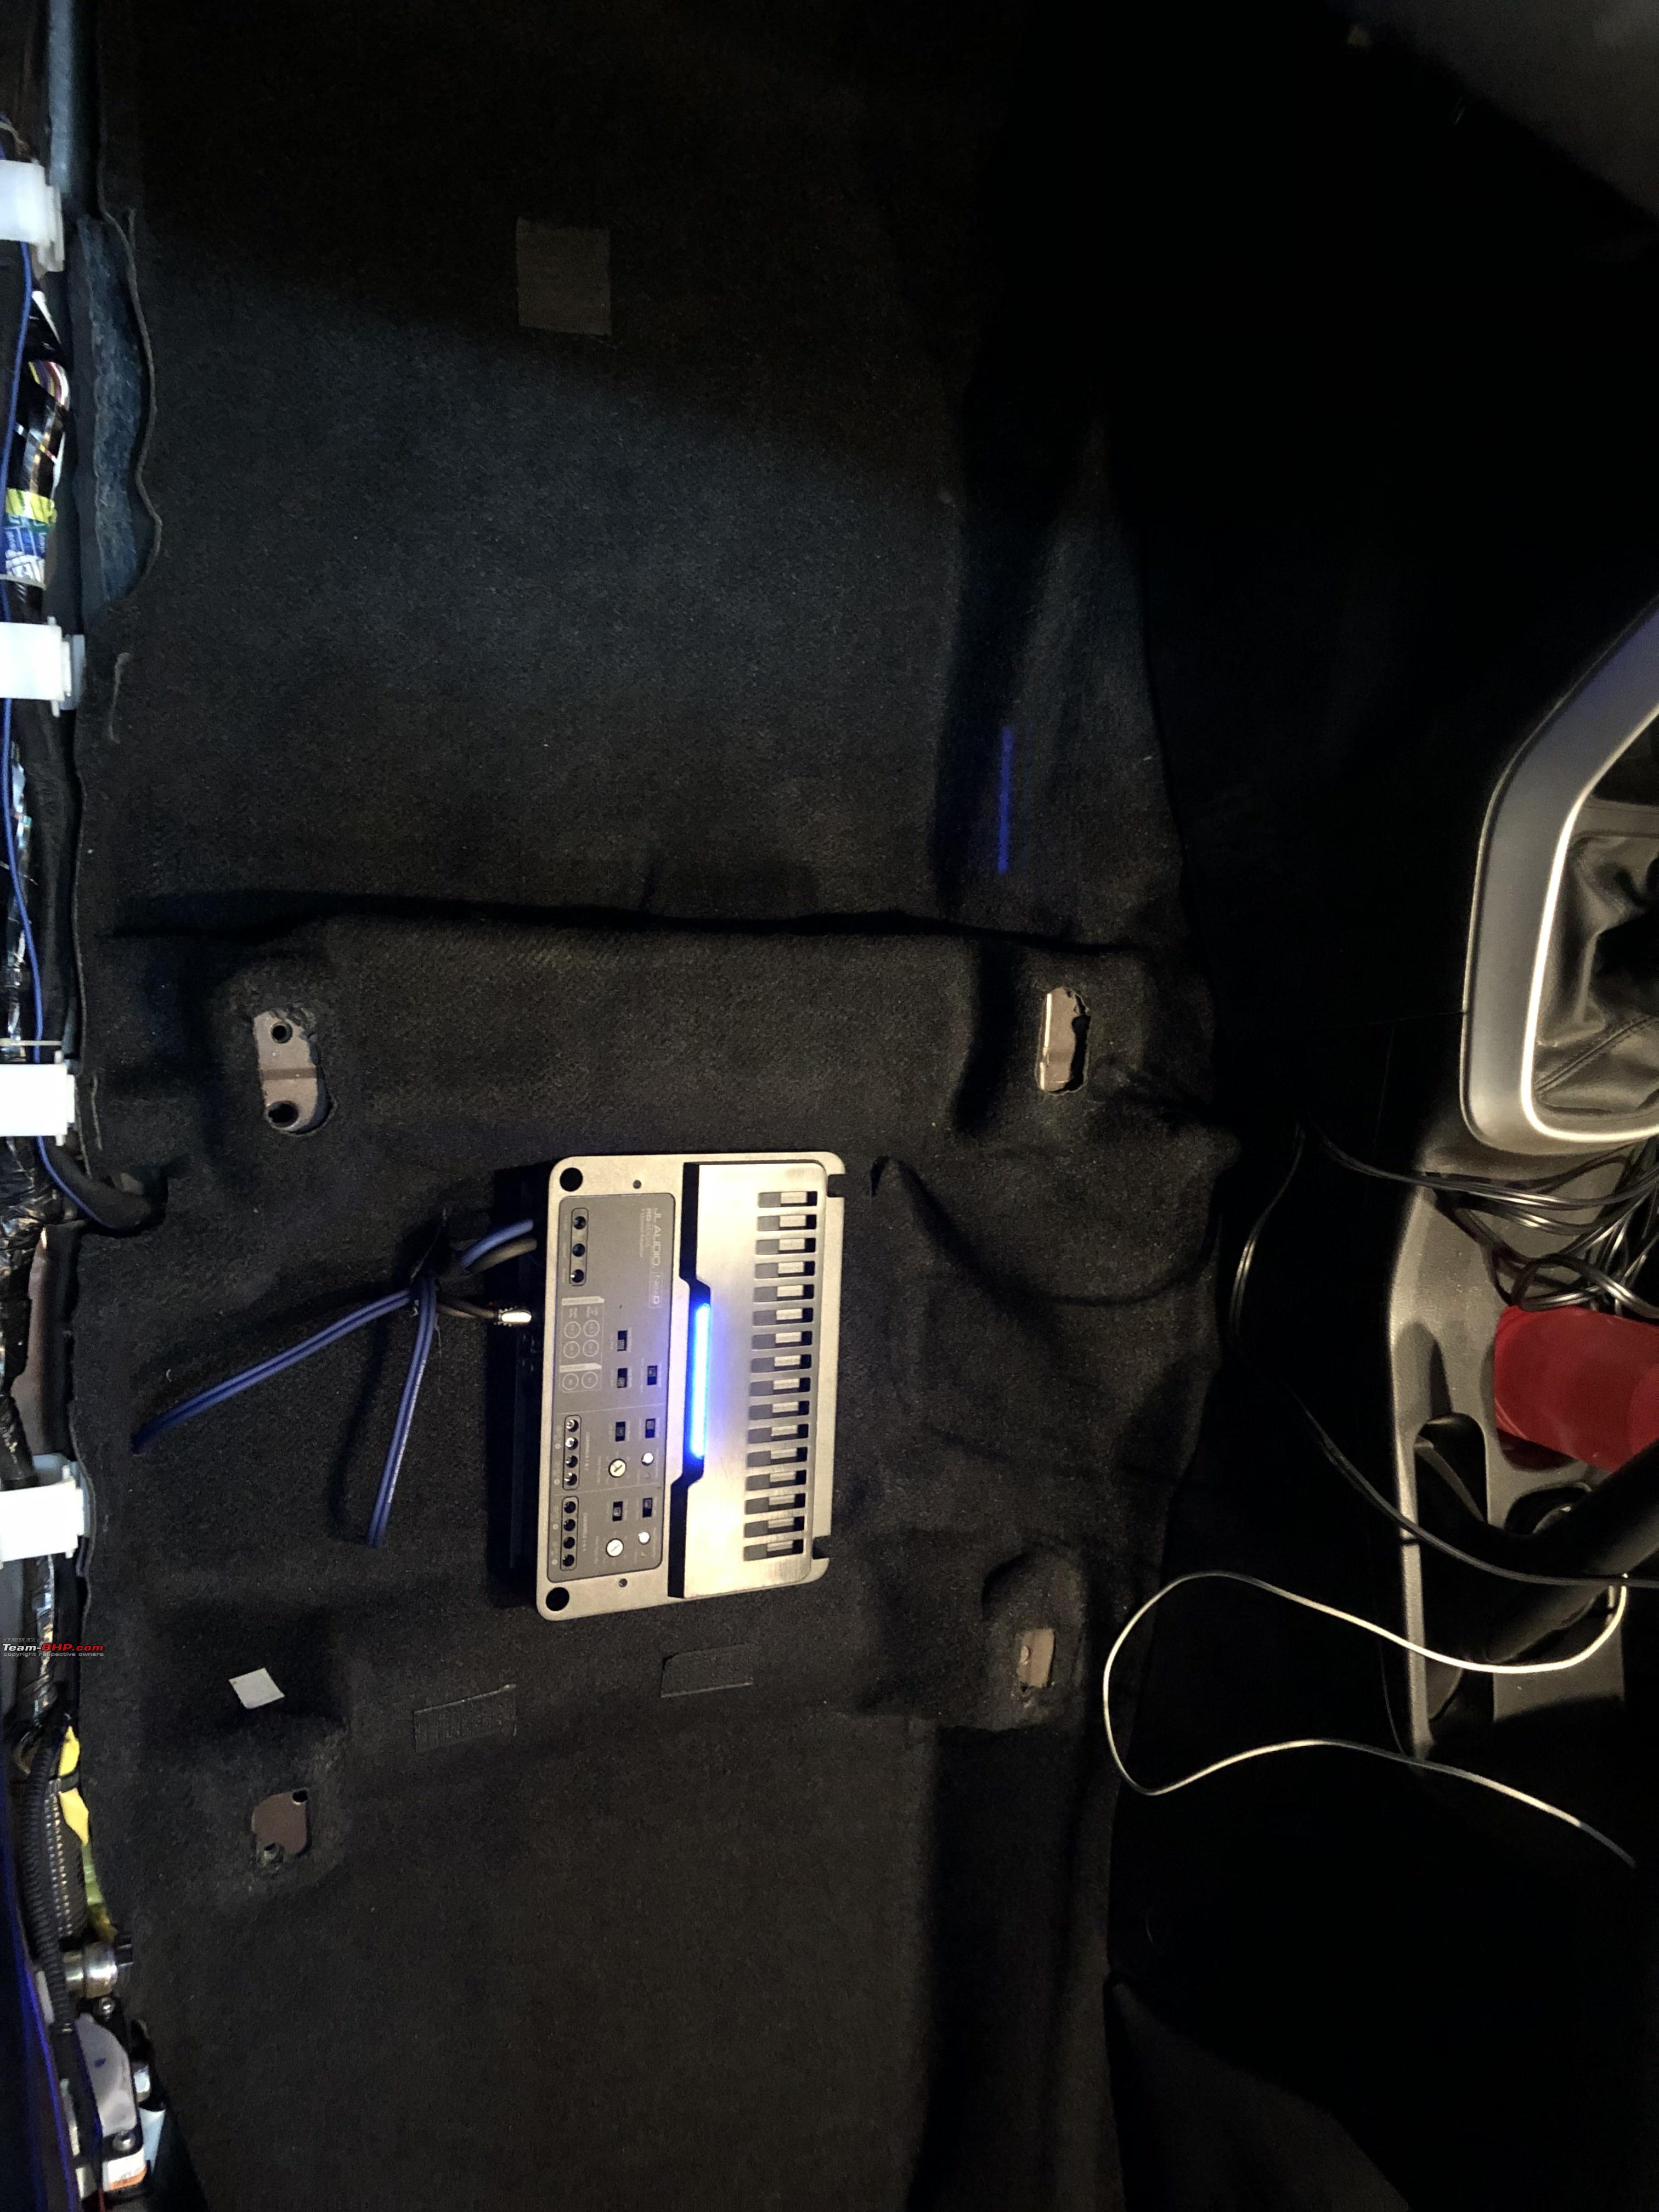
Once the dry run was successful it was time to dive in. I decided to put the amp under the front passenger seat like most other installs I have seen so far.
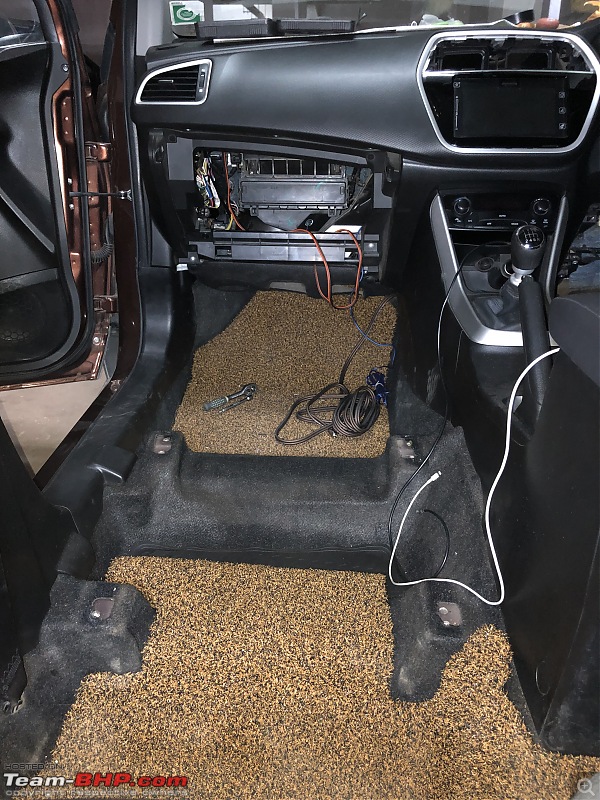
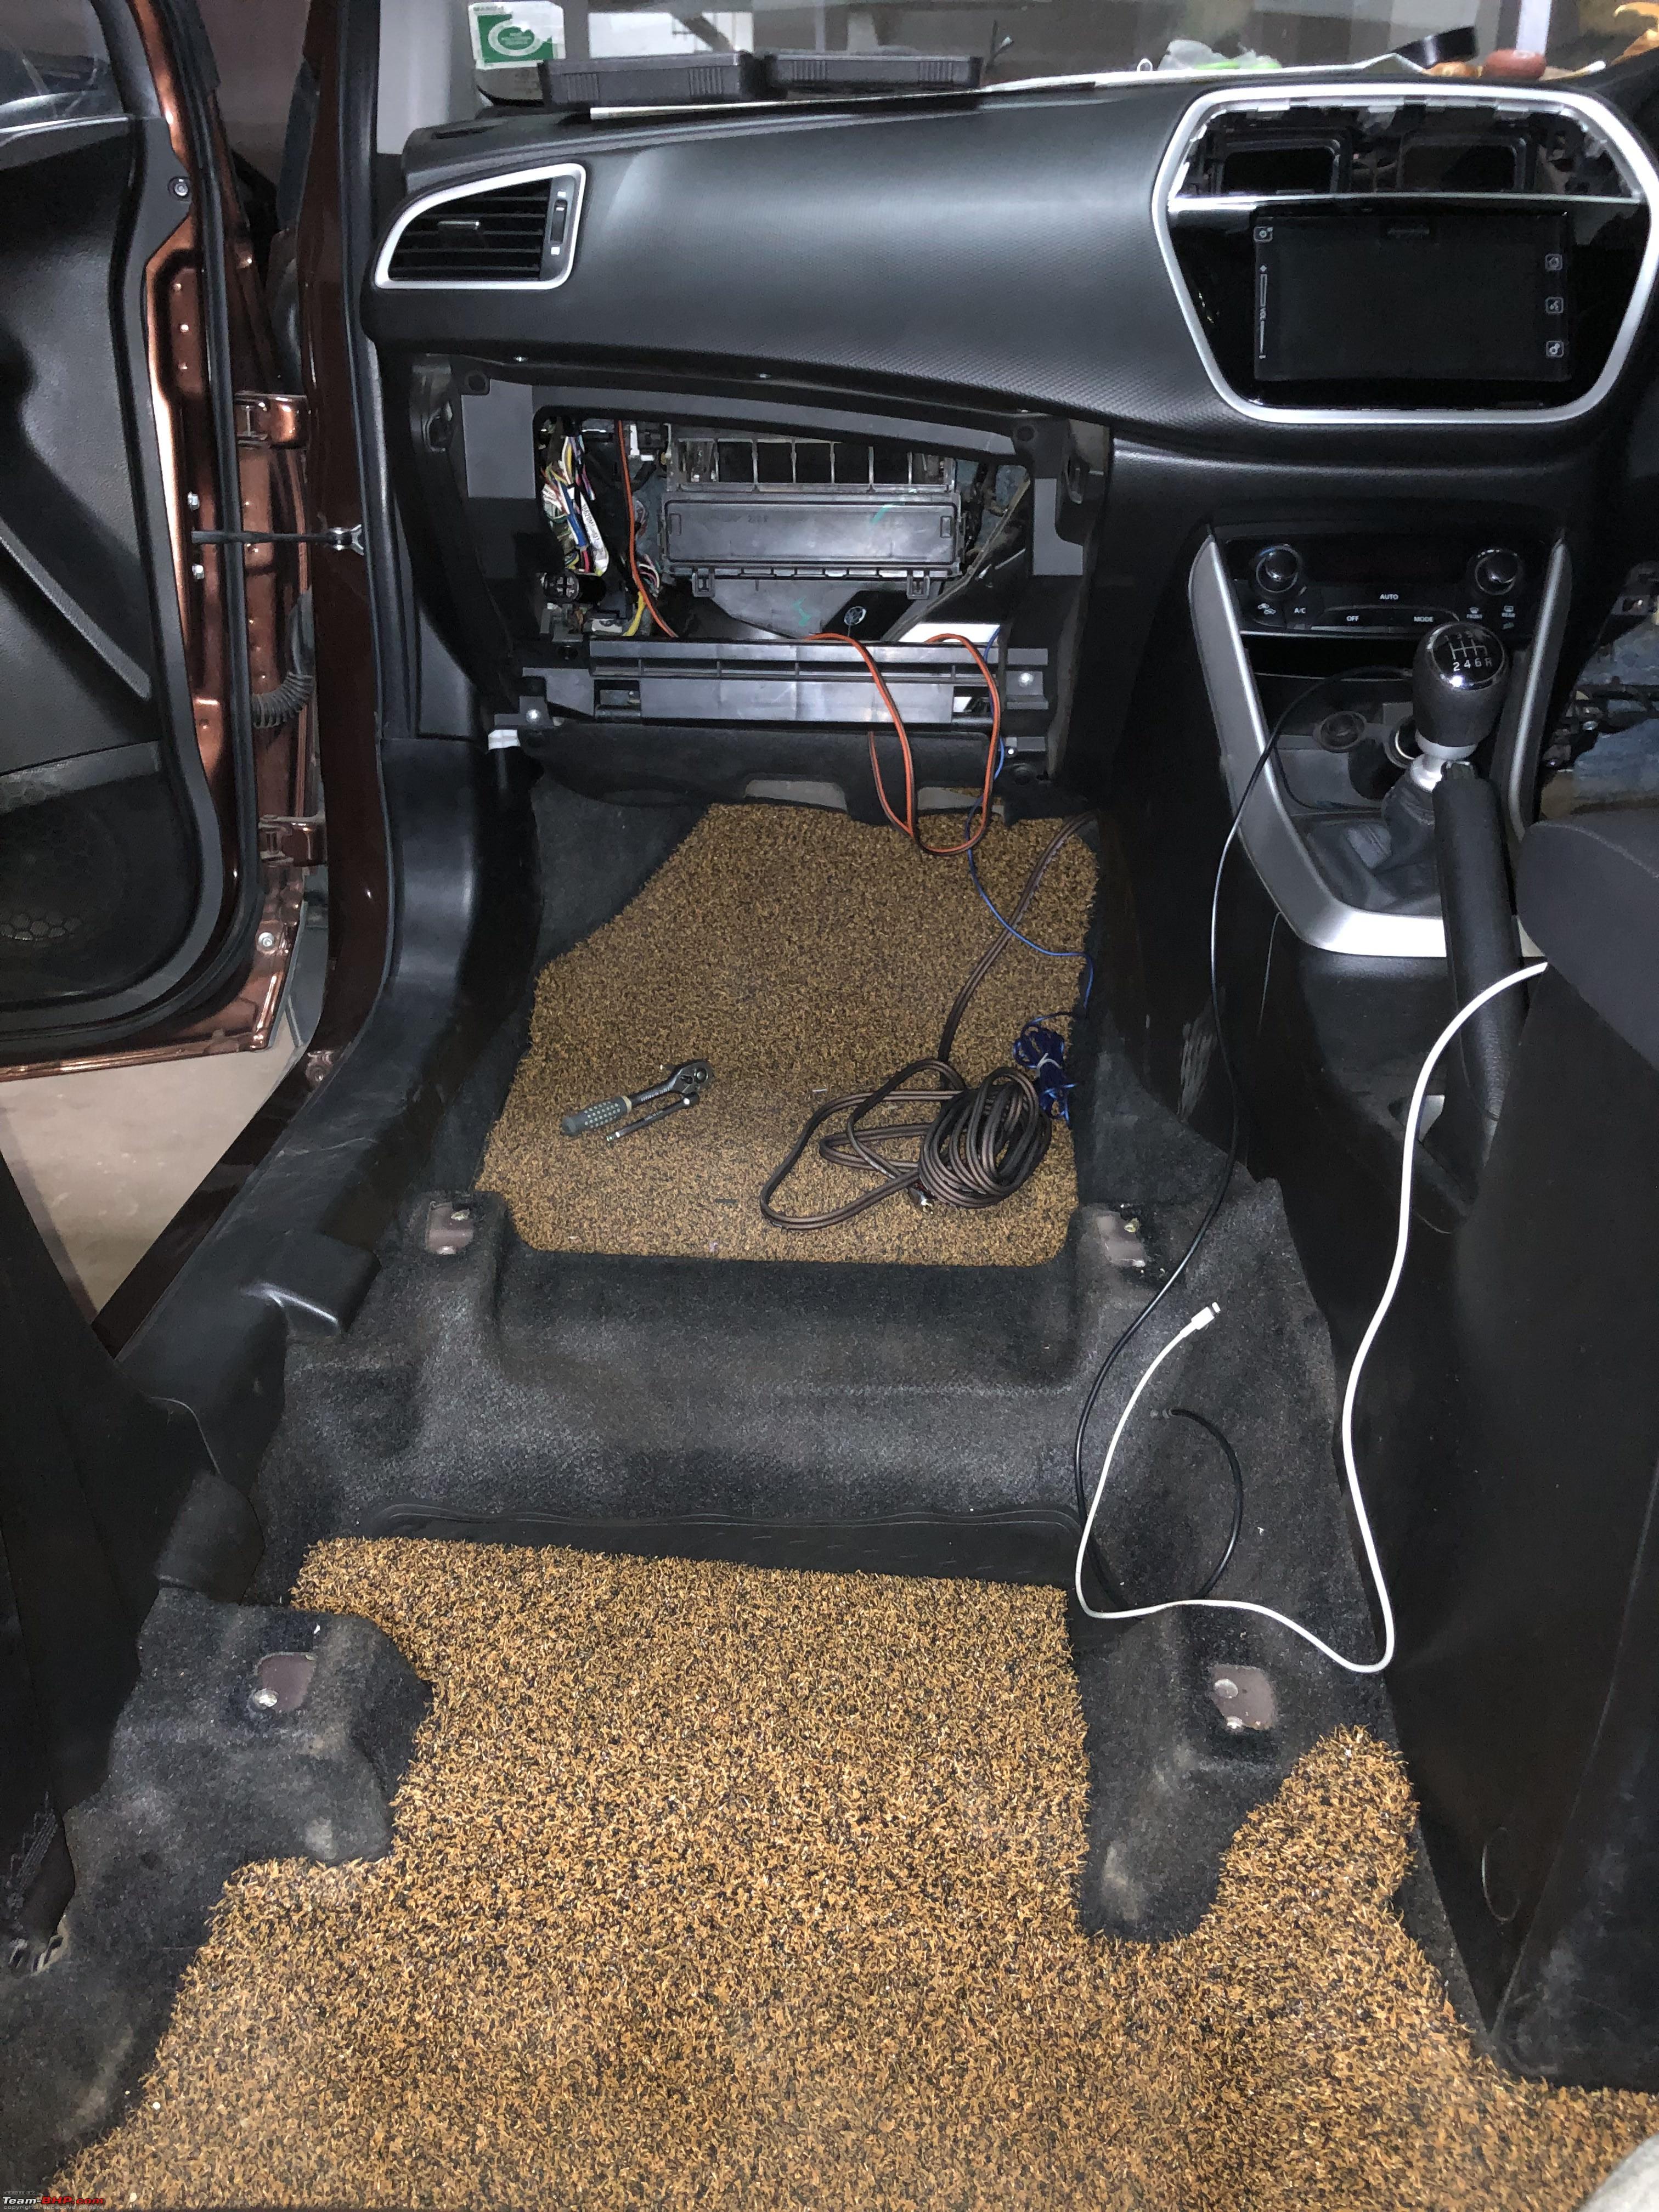
Took out the front passenger seat, door sill trims and the left side carpet.
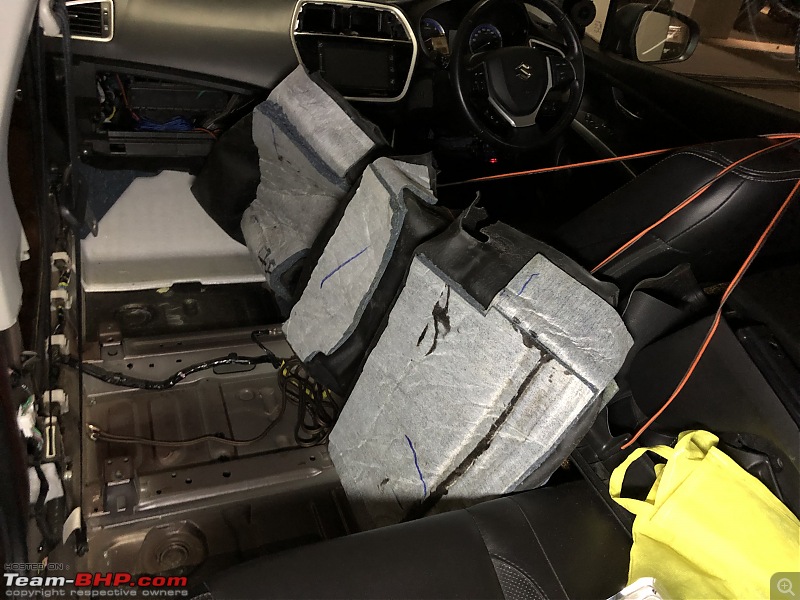 Tied the carpet to the driver seat allowing me to keep my hands free for the install
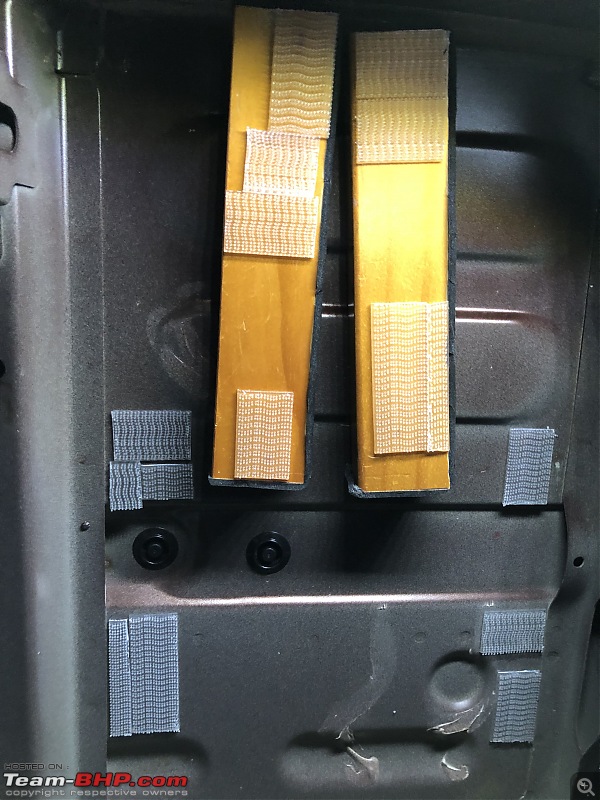
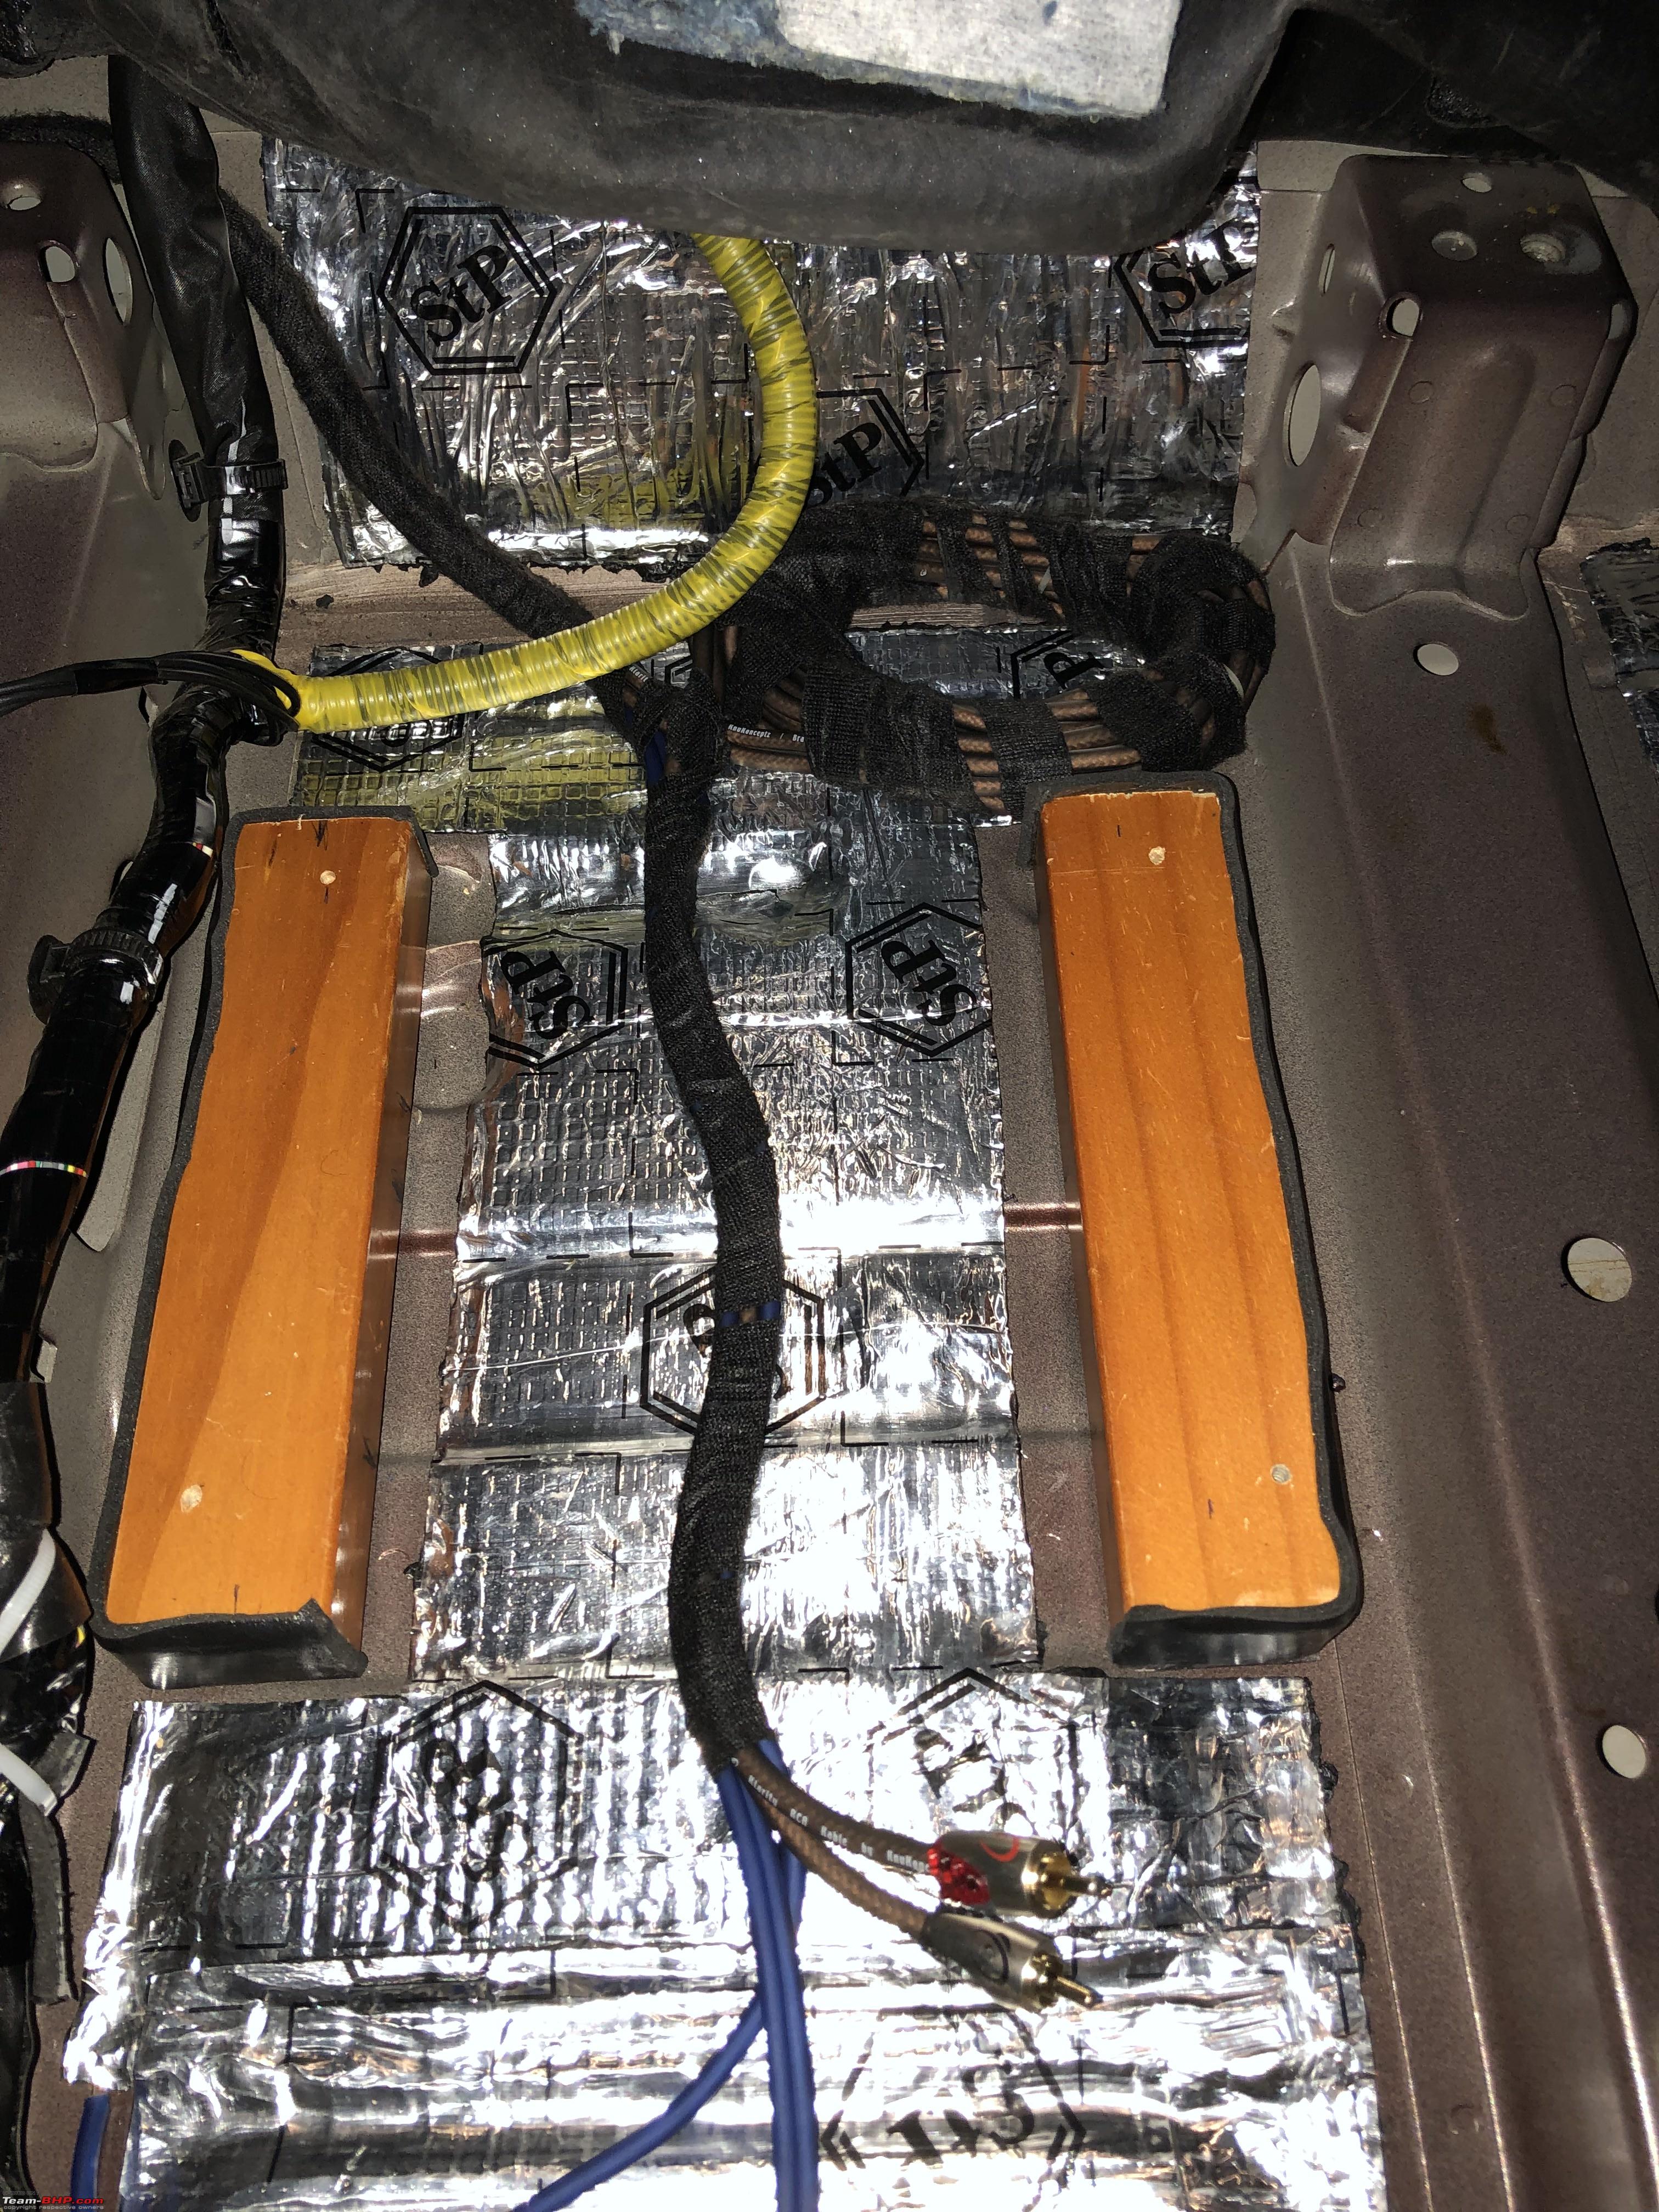
Used pieces of wood salvaged from old discarded furniture to make a base for the amp. Almost all installers drill self tapping screws into the metal floor to fix the wooden base. I was averse to this and kept it as a last resort. Came across this velcro like product called
3M dual lock which gives better rigidity compared to velcro. It comes as a single strip(unlike velcro which has two separate strips- hook and lock) and locks onto itself with a snapping sound. Sticks well to wood and metal. Cleaned the surfaces with IPA before fixing the strips. They are doing the job quite well. After putting the carpet back and bolting the amp on to the base there is no movement or play at all. But the rigidity is going to be as good as the glue lasts. Will see how it holds in the long run.

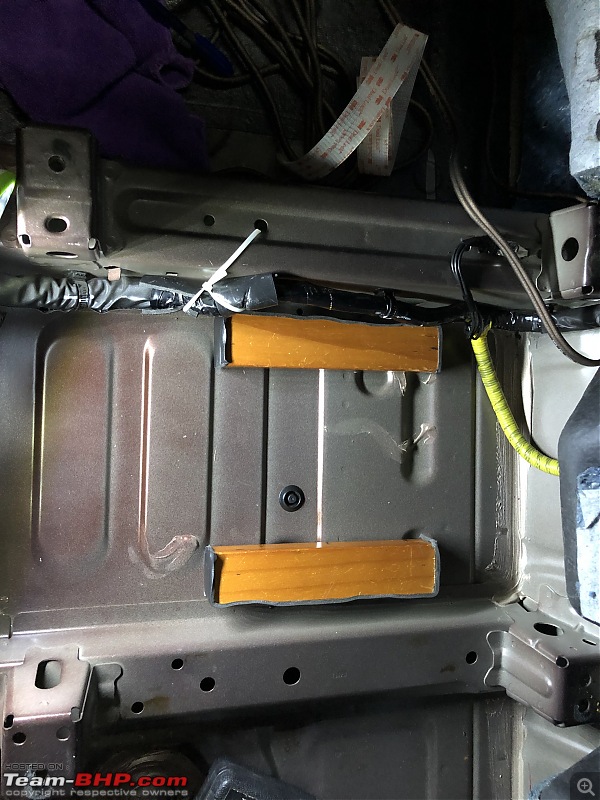
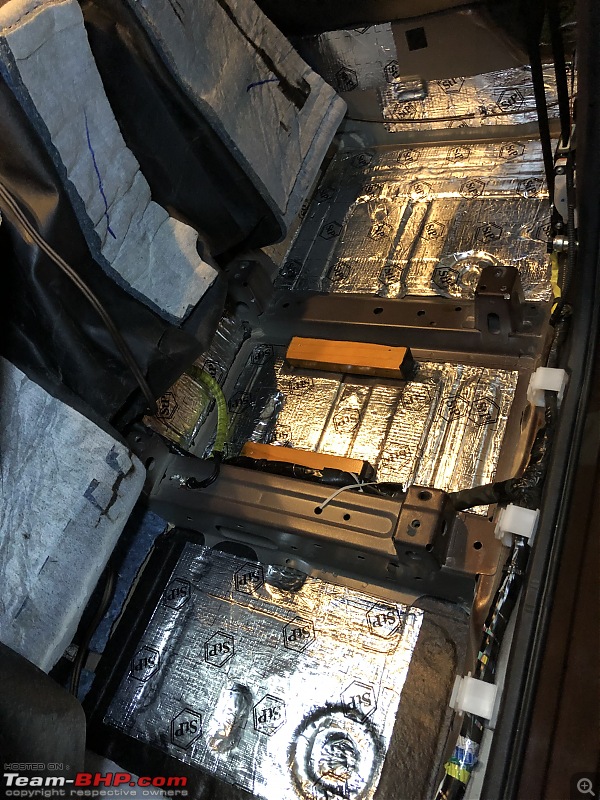
With the base fixed with 3M dual lock, I decided to add a little bit of damping to the floor since the carpet was already removed.
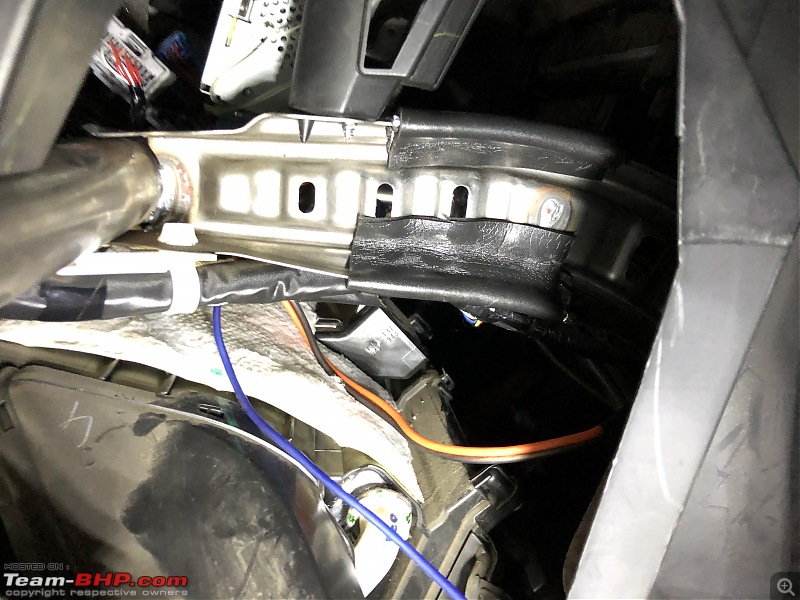
Next up I finished the wiring. All went as planned. Routed power cables(including 12V Acc remote turn on wire) via the door sill. The signal cables run alongside the transmission tunnel up the center console. Tesa taped and zip tied where required.
I heard about some folks getting noise in audio output due to interference when signal cables are routed alongside transmission tunnel and was afraid I might get the same. But I haven't been able to identify any interference yet.
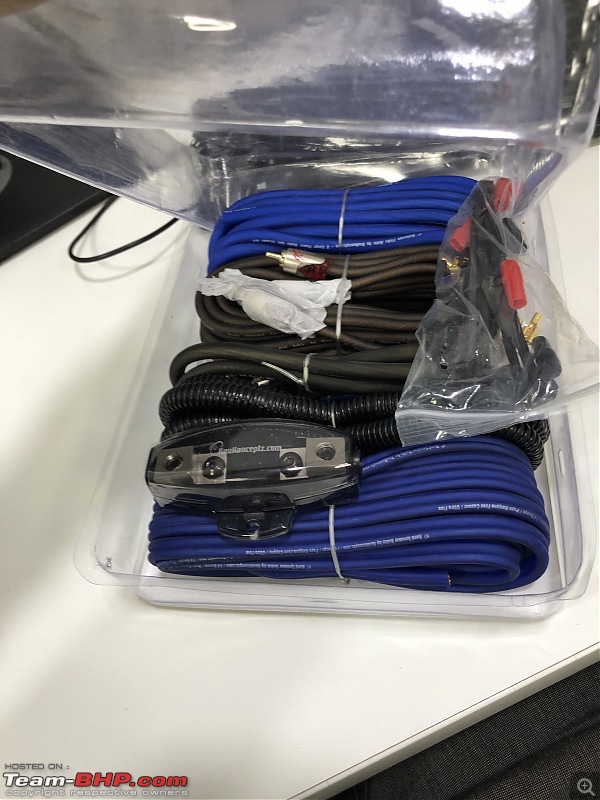
 Knuconceptz wiring kit
  Power cables crimped and heat shrink applied
  The rca patch cables are quite long. Rolled up the excess, taped up with tesa tape and placed it in the top right corner. Taped the wire to floor with some small pieces of damping sheet.
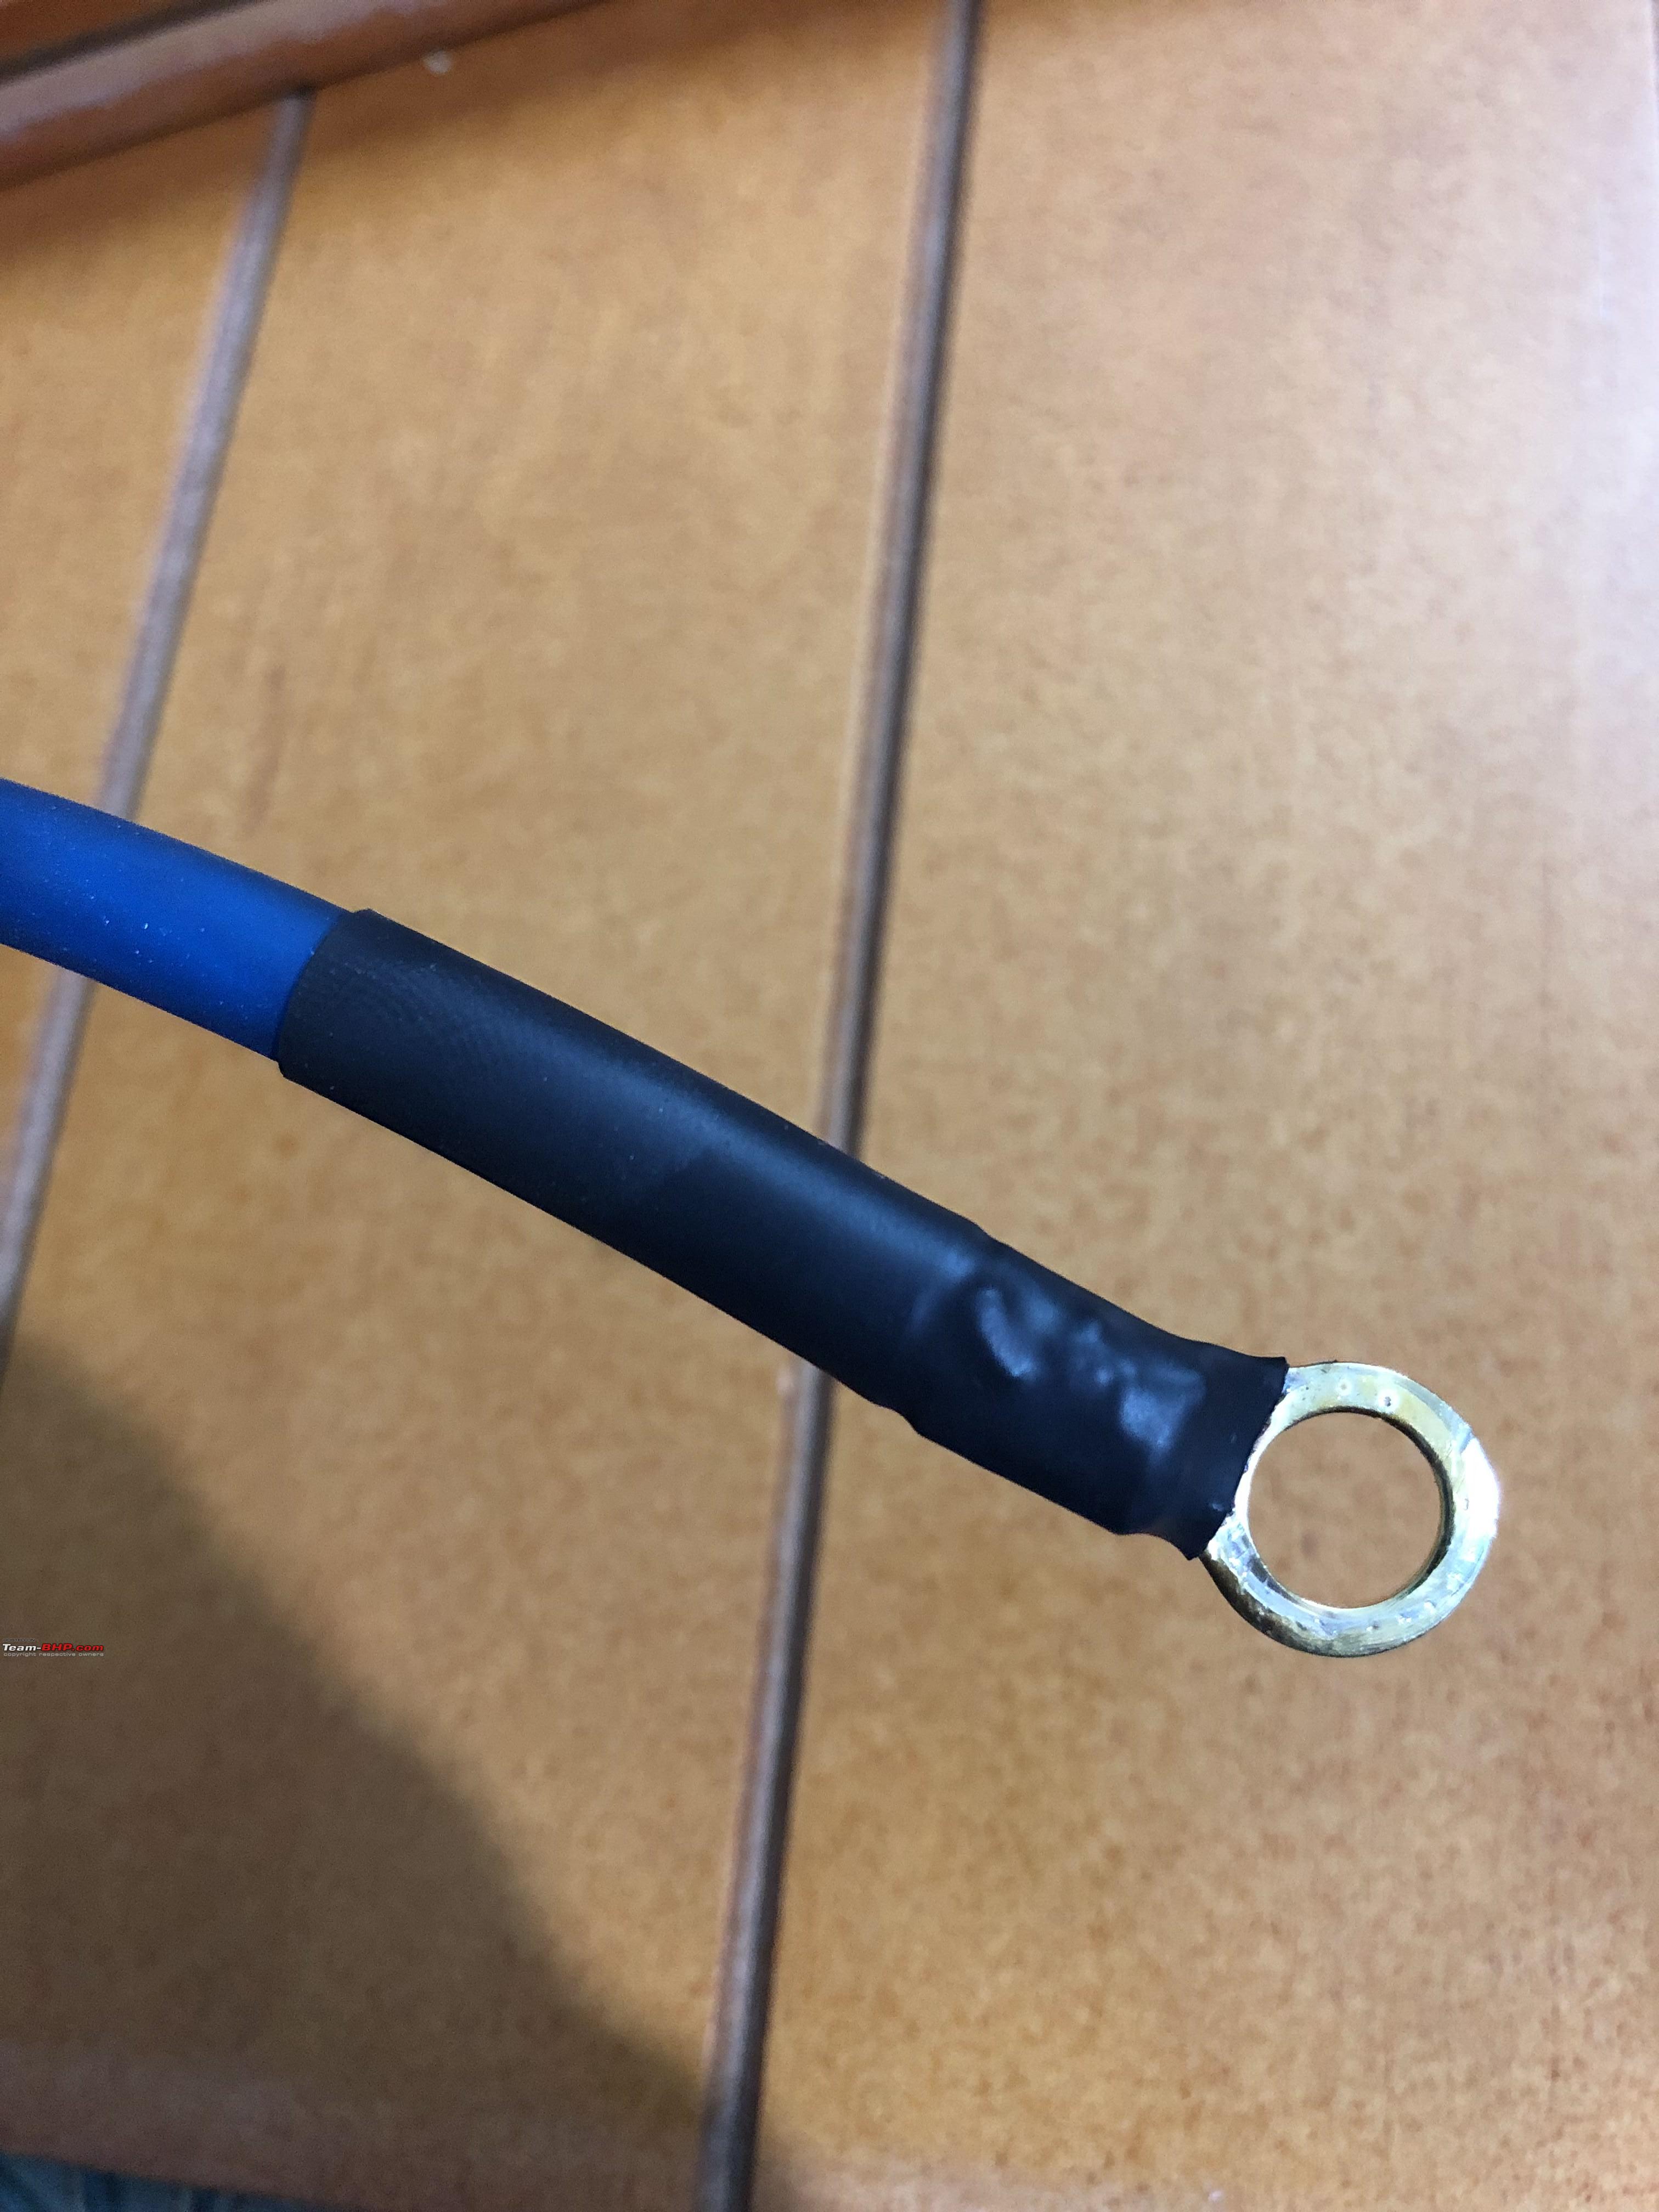
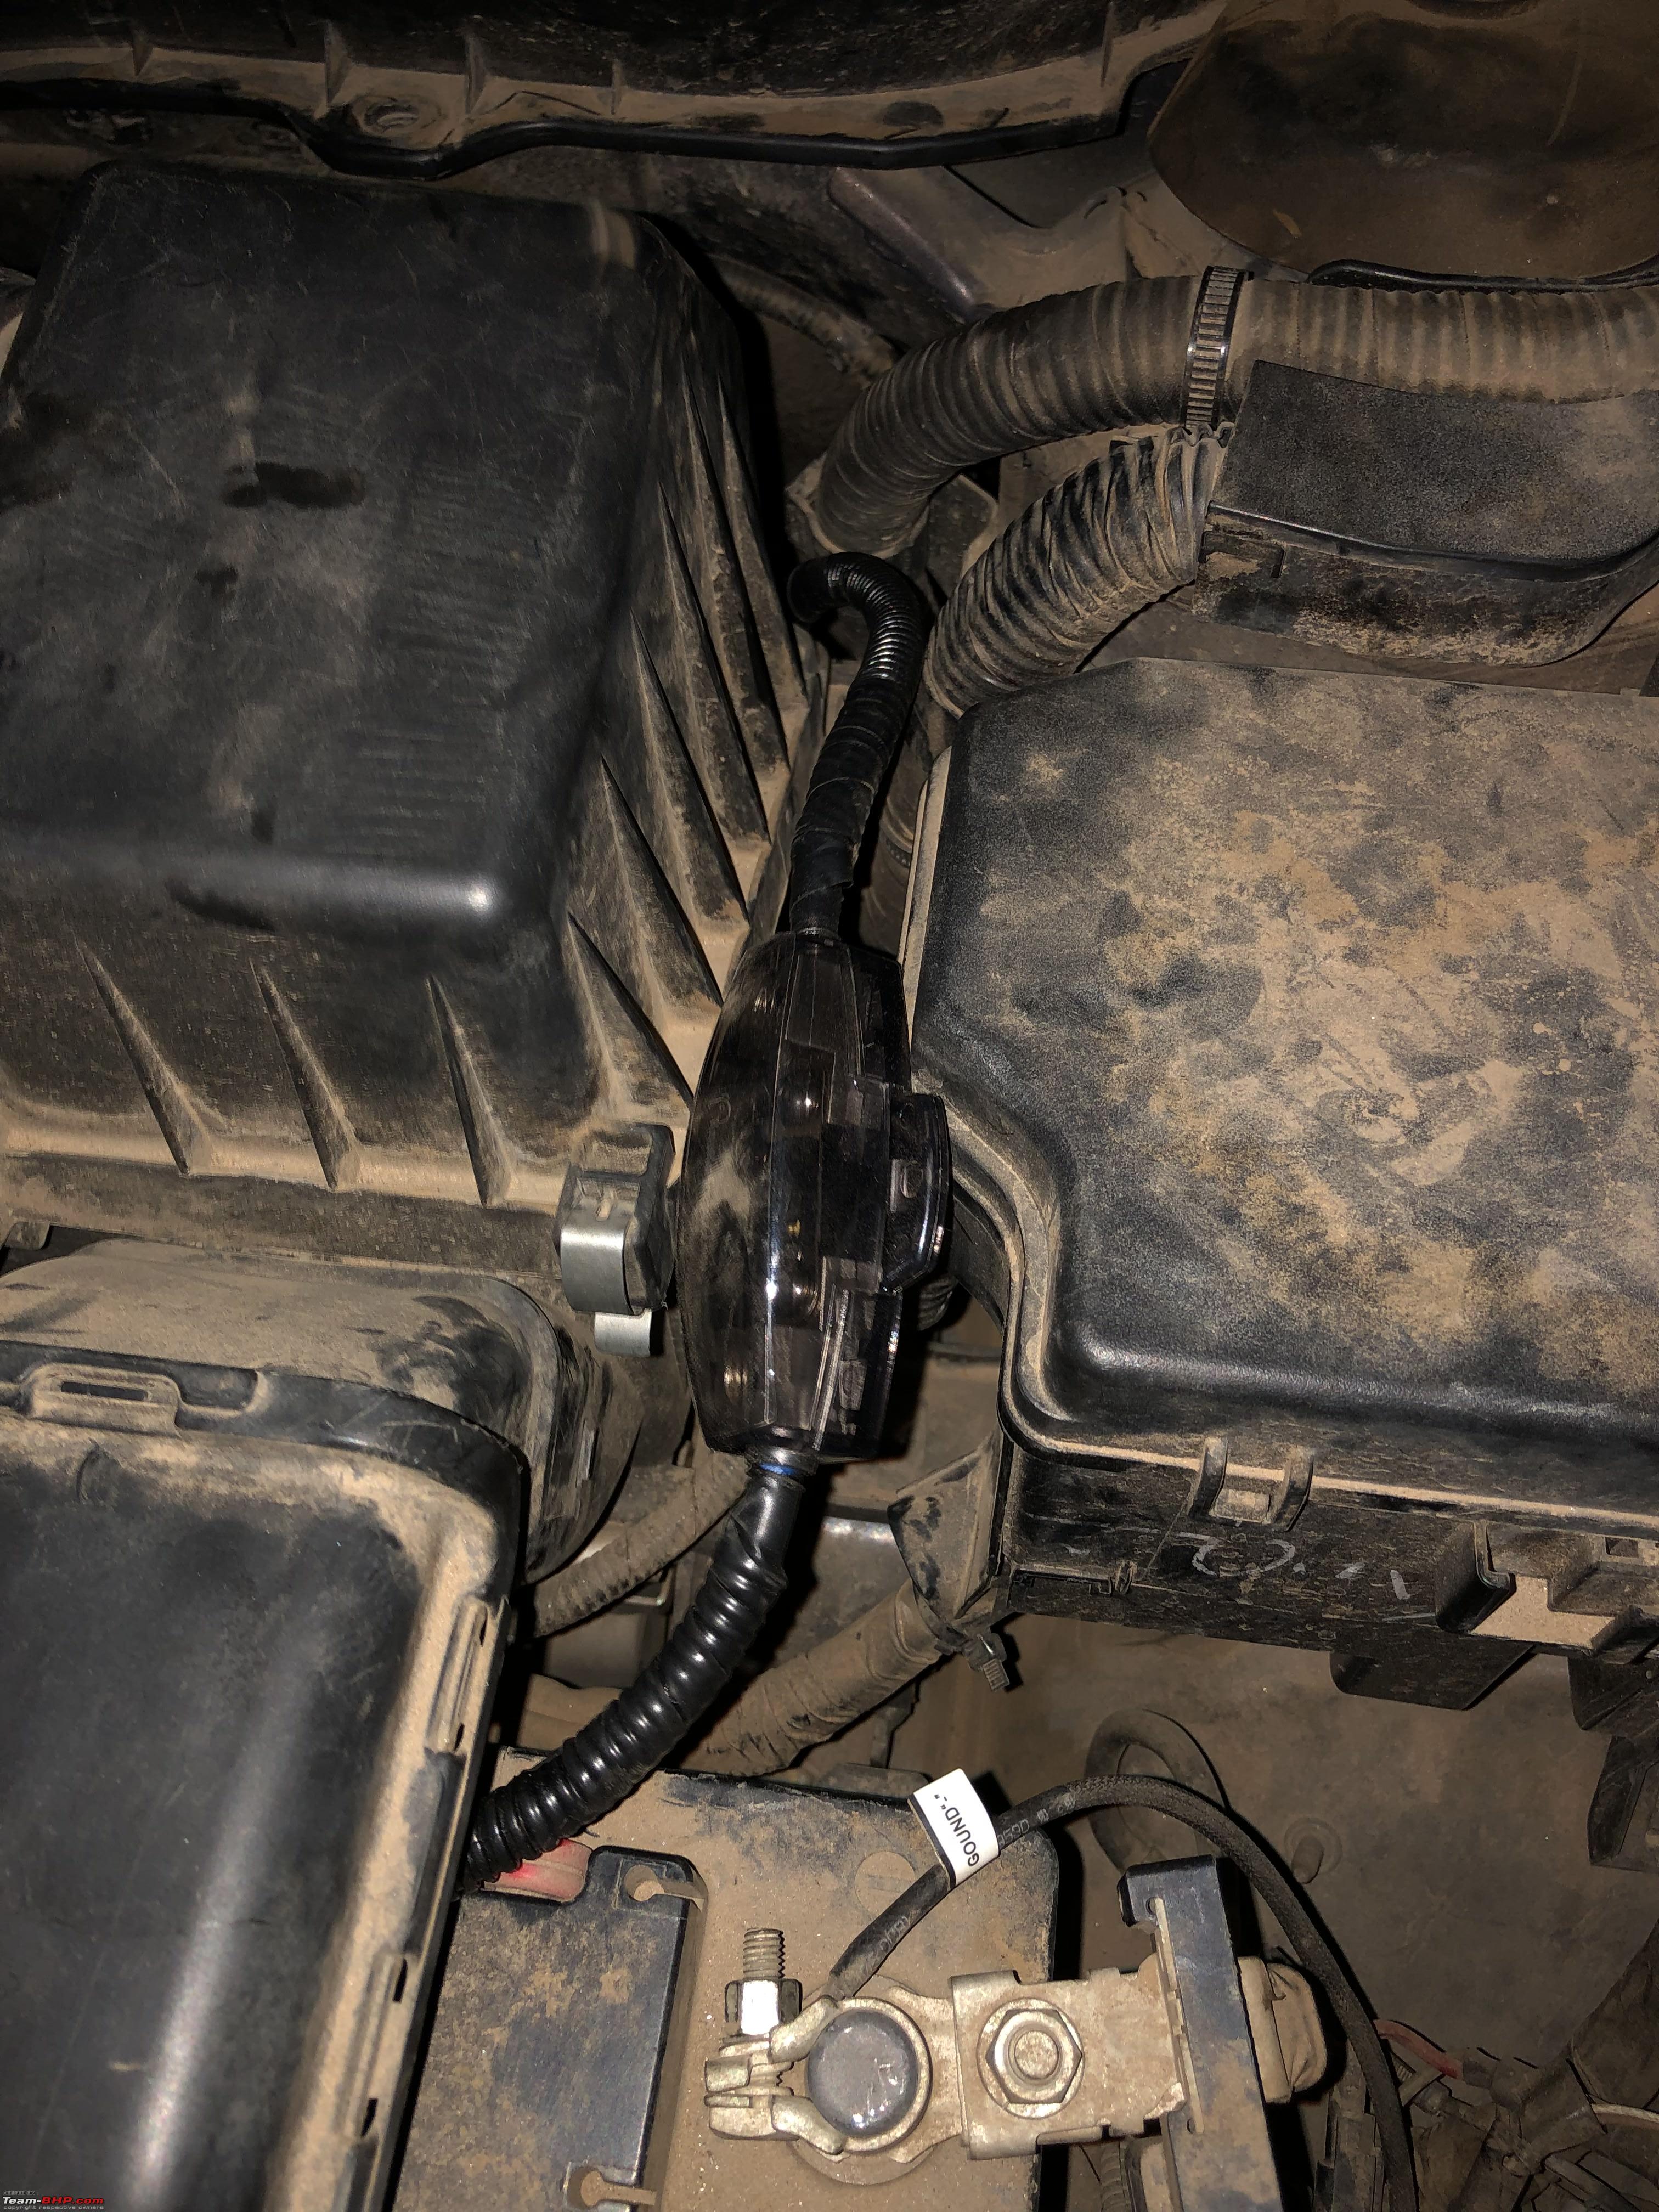
  The grommet probe! Taped the positive power cable to this piece of iron wire and pushed it through the firewall grommet on the passenger side.
  Fuse holder added to the positive power cable within 12 inches from the battery terminal. The fuse holder was fixed in place with some 3m dual lock.
Once the wiring was complete, dropped the carpet back on the floor and laid it out securely before bolting the amp on to the base.
 Tweeter, Crossover and Speaker Install
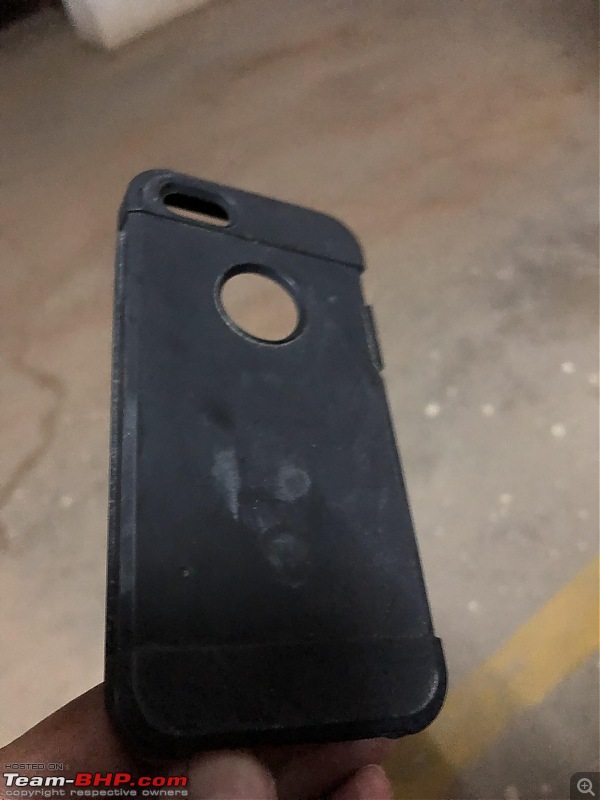
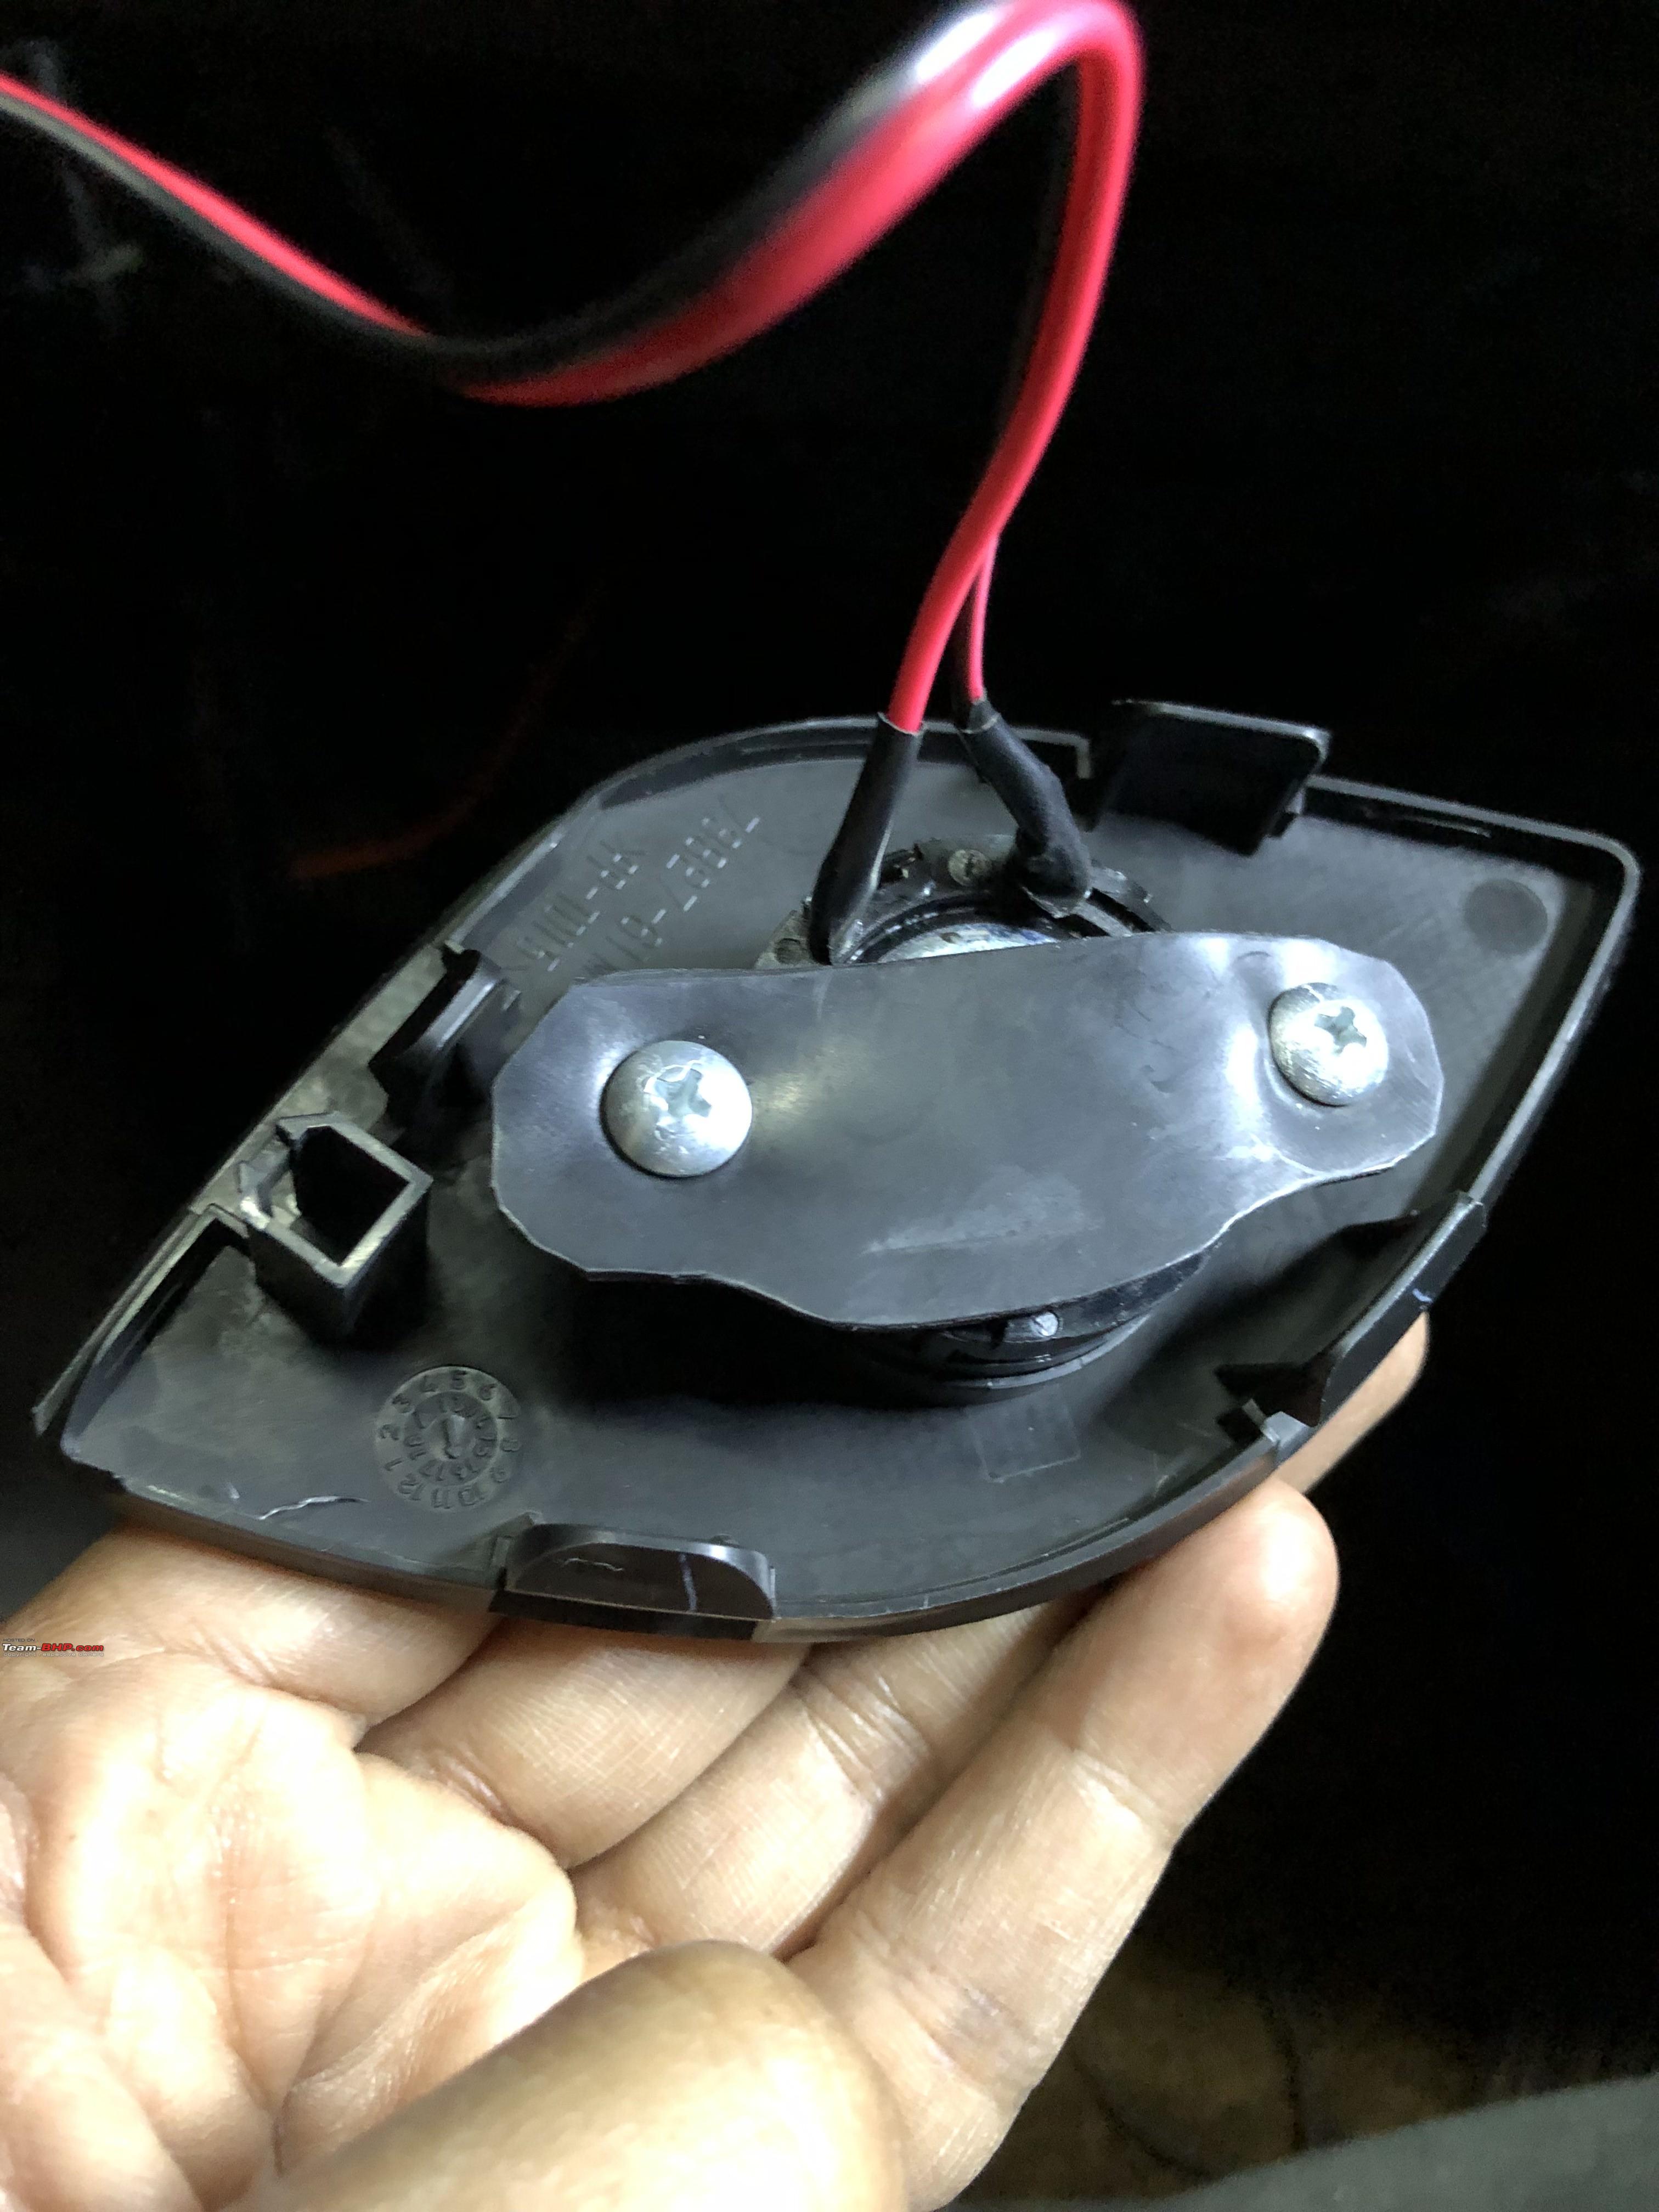
Tweeter install was probably the easiest since they fit right in to the stock grill. Wasn't a snug fit but enough to hold it in place with some rubber cut pieces from an old mobile phone case. Tweeter wire routing was also a breeze.

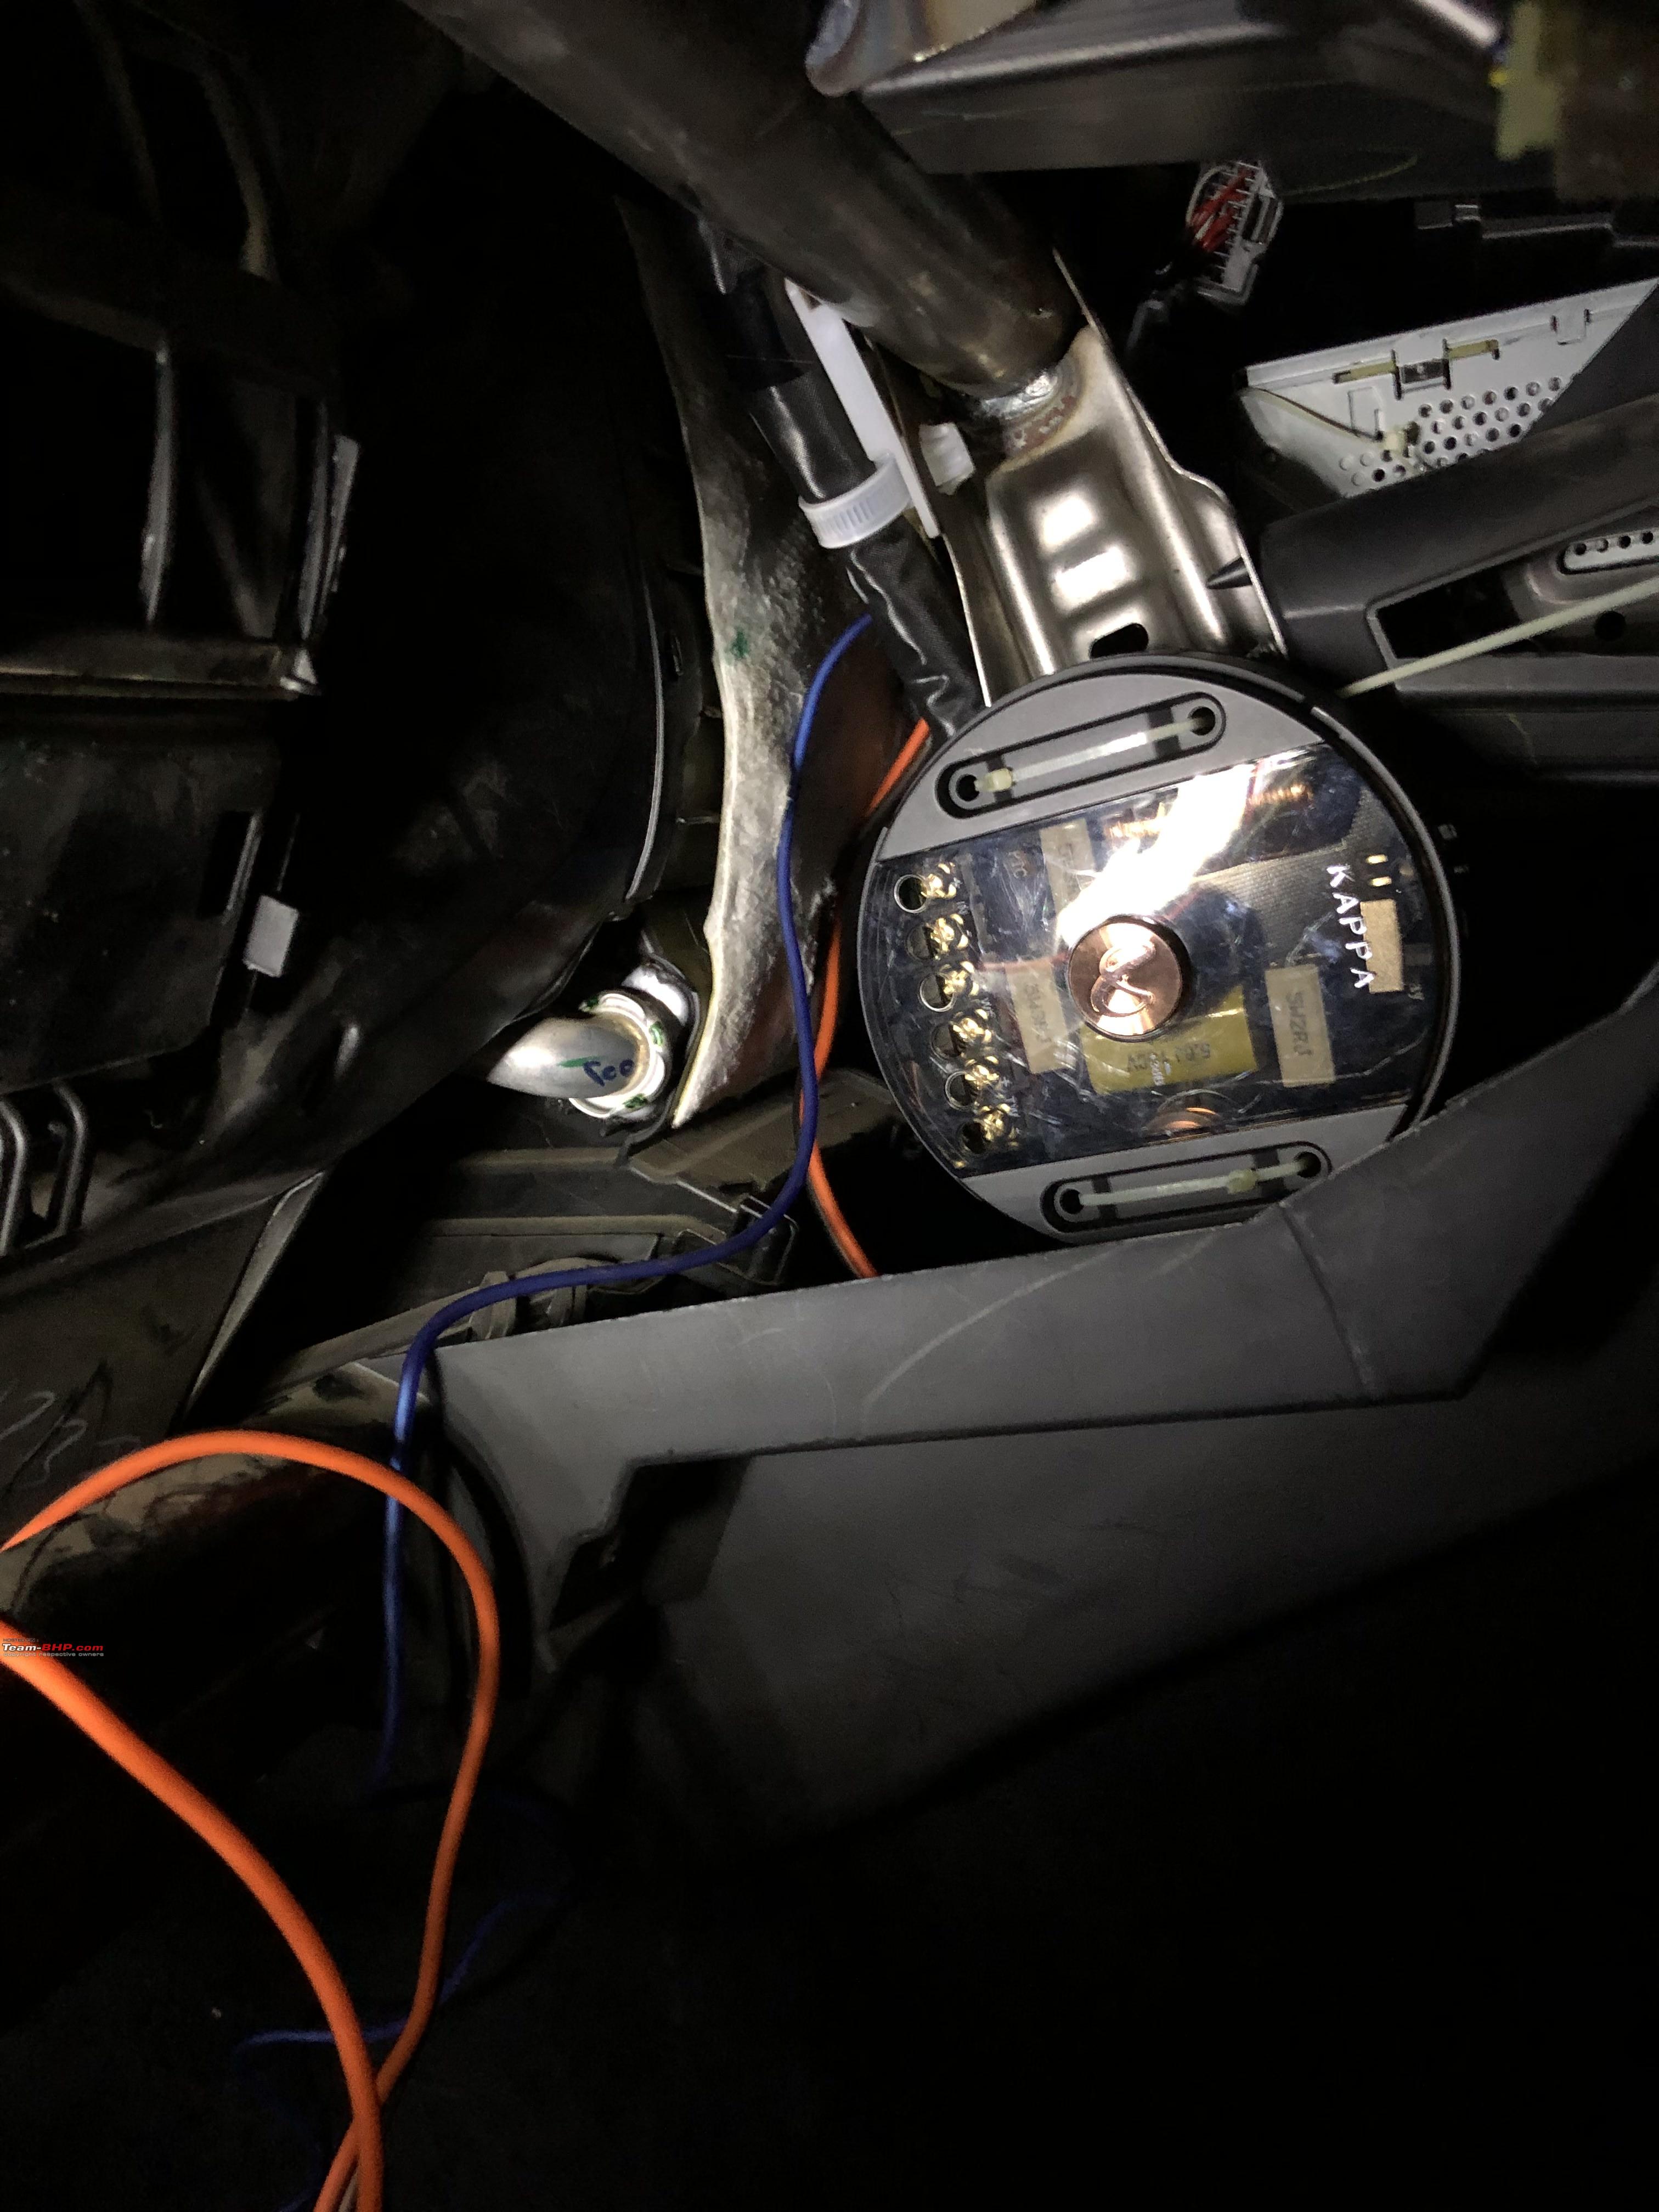
Crossover install was time consuming for me due to various reasons- first I chose a somewhat difficult location to install them(see pic) and second the crossover design made it difficult to quickly fix to any surface. Third the crossover terminals had very little gap to push through 16awg spkr wires and had to use spade connectors to finish the connections. But the crossover works great and can even be setup for a 3-way system.
 Fixed the crossovers to these steel frames under the HU. Added some damping to the frame.
  Crossover damped
  Crossover installed
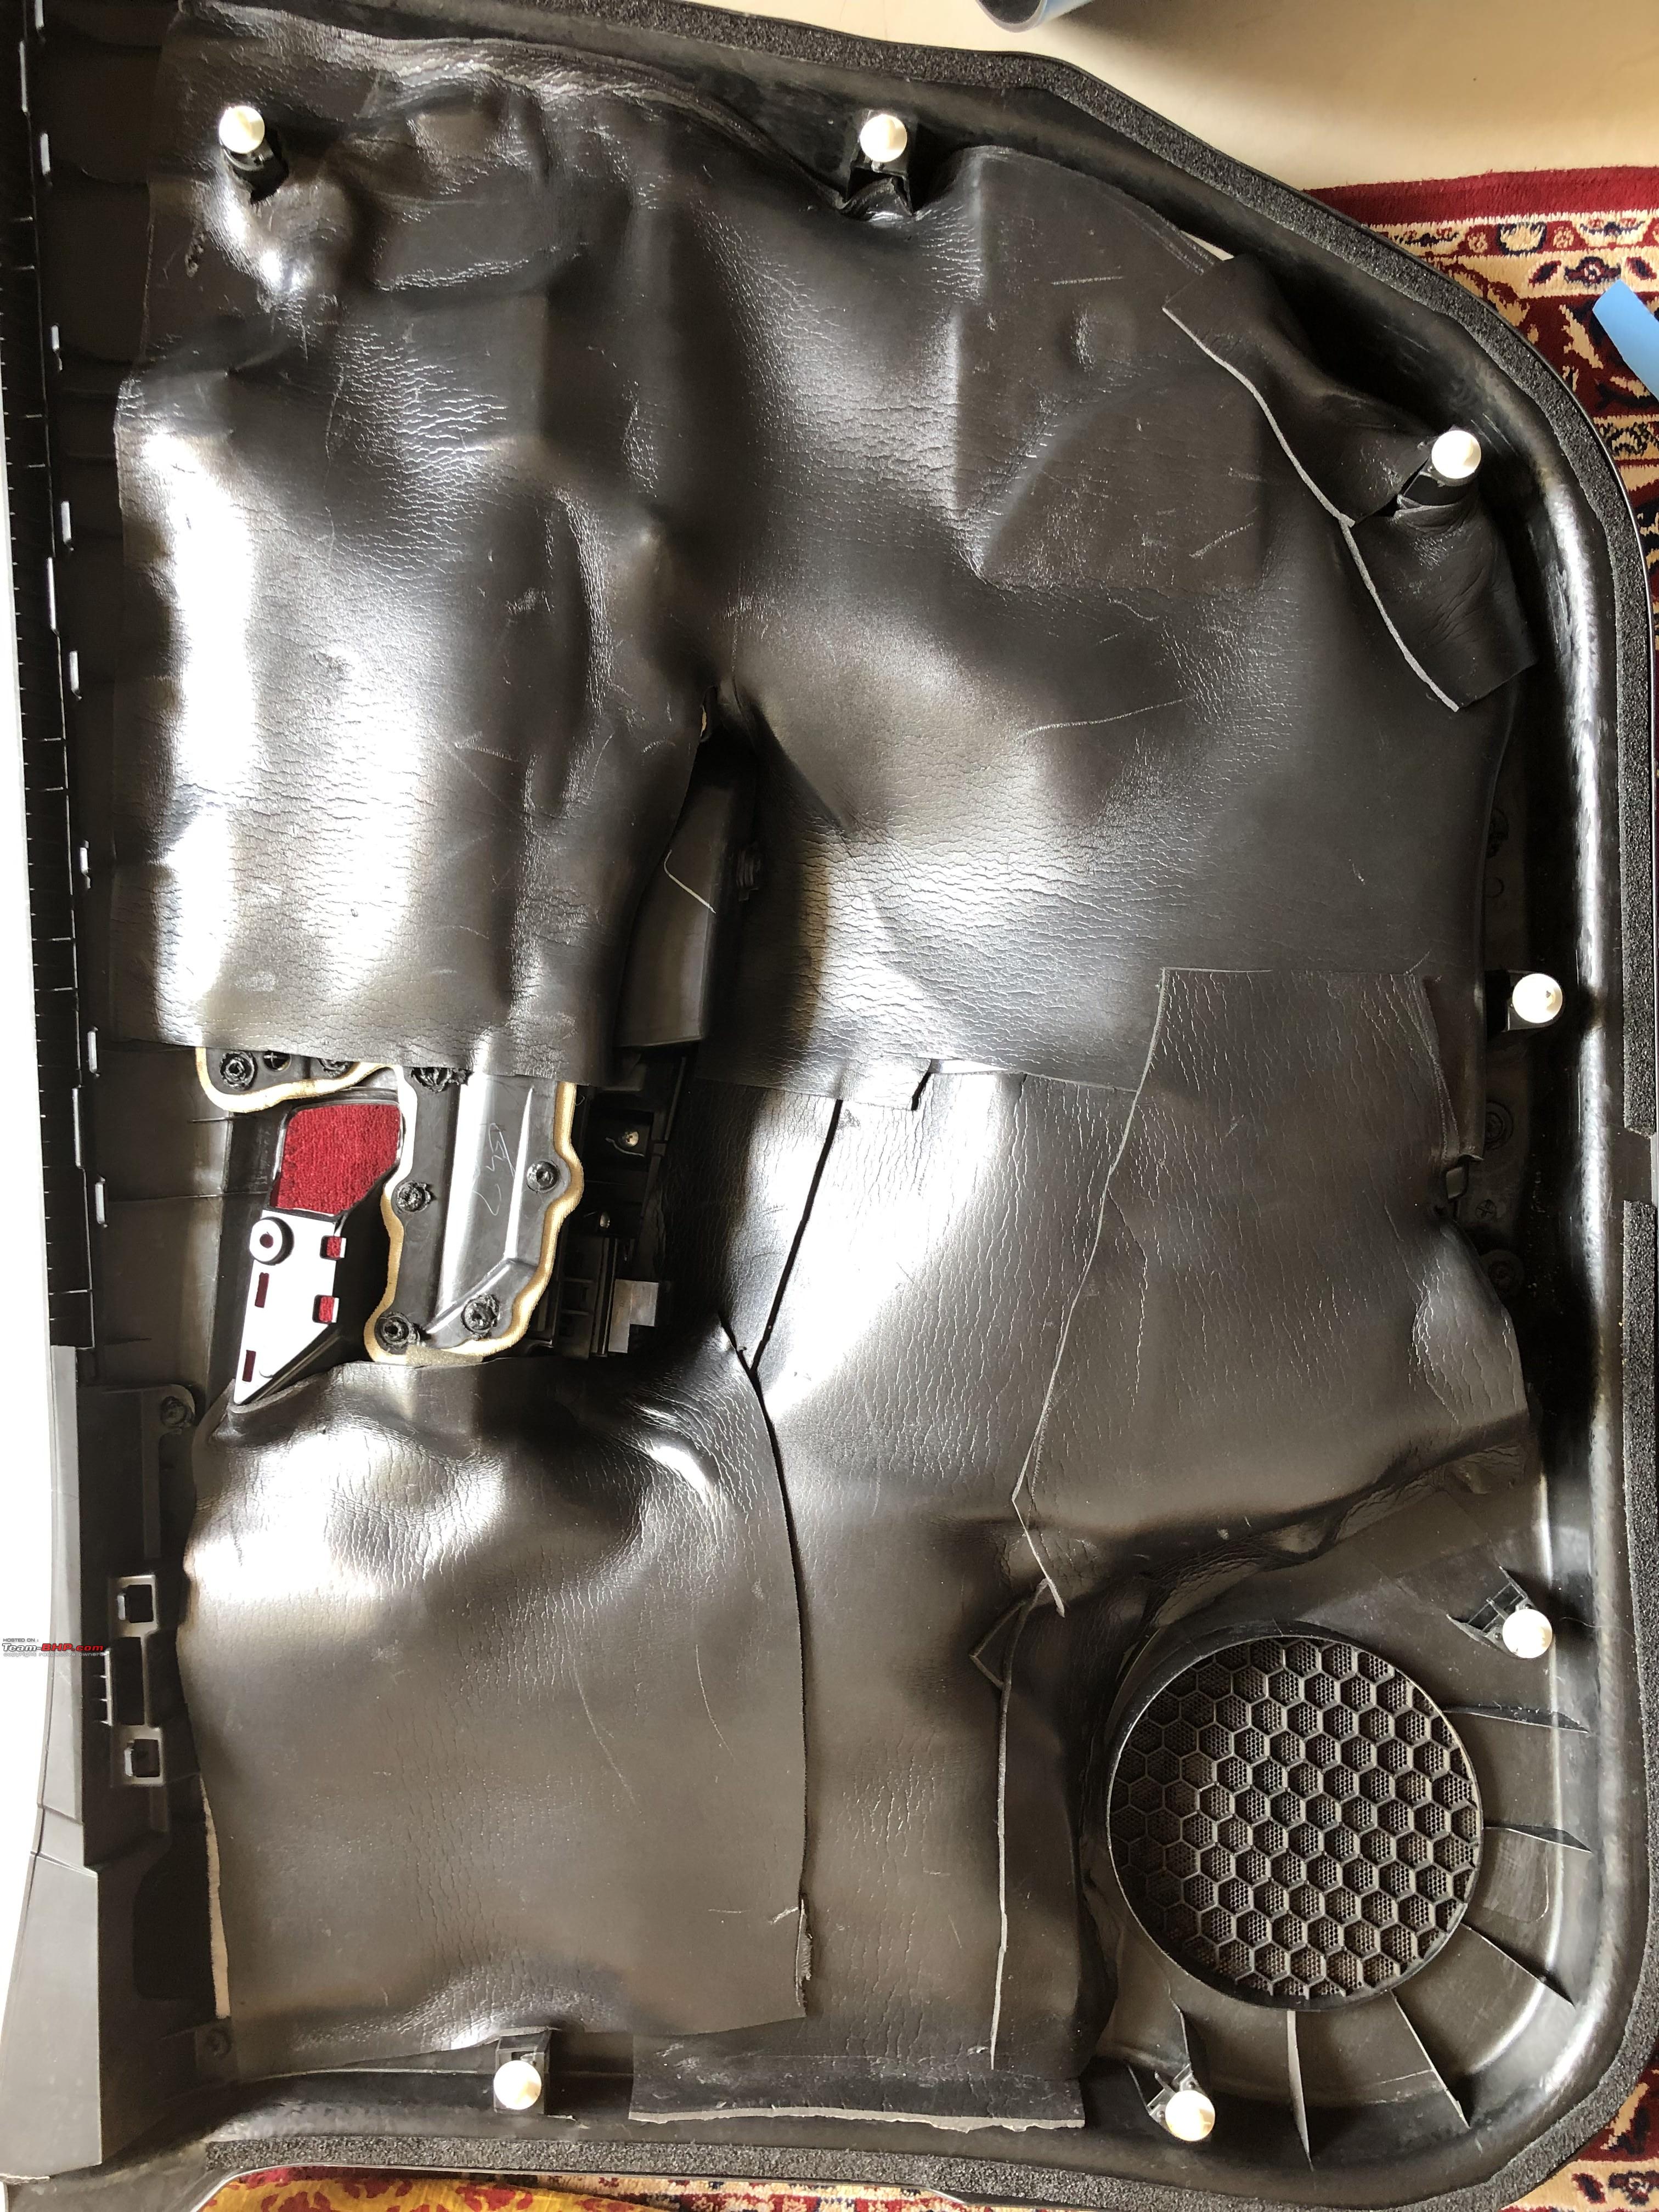
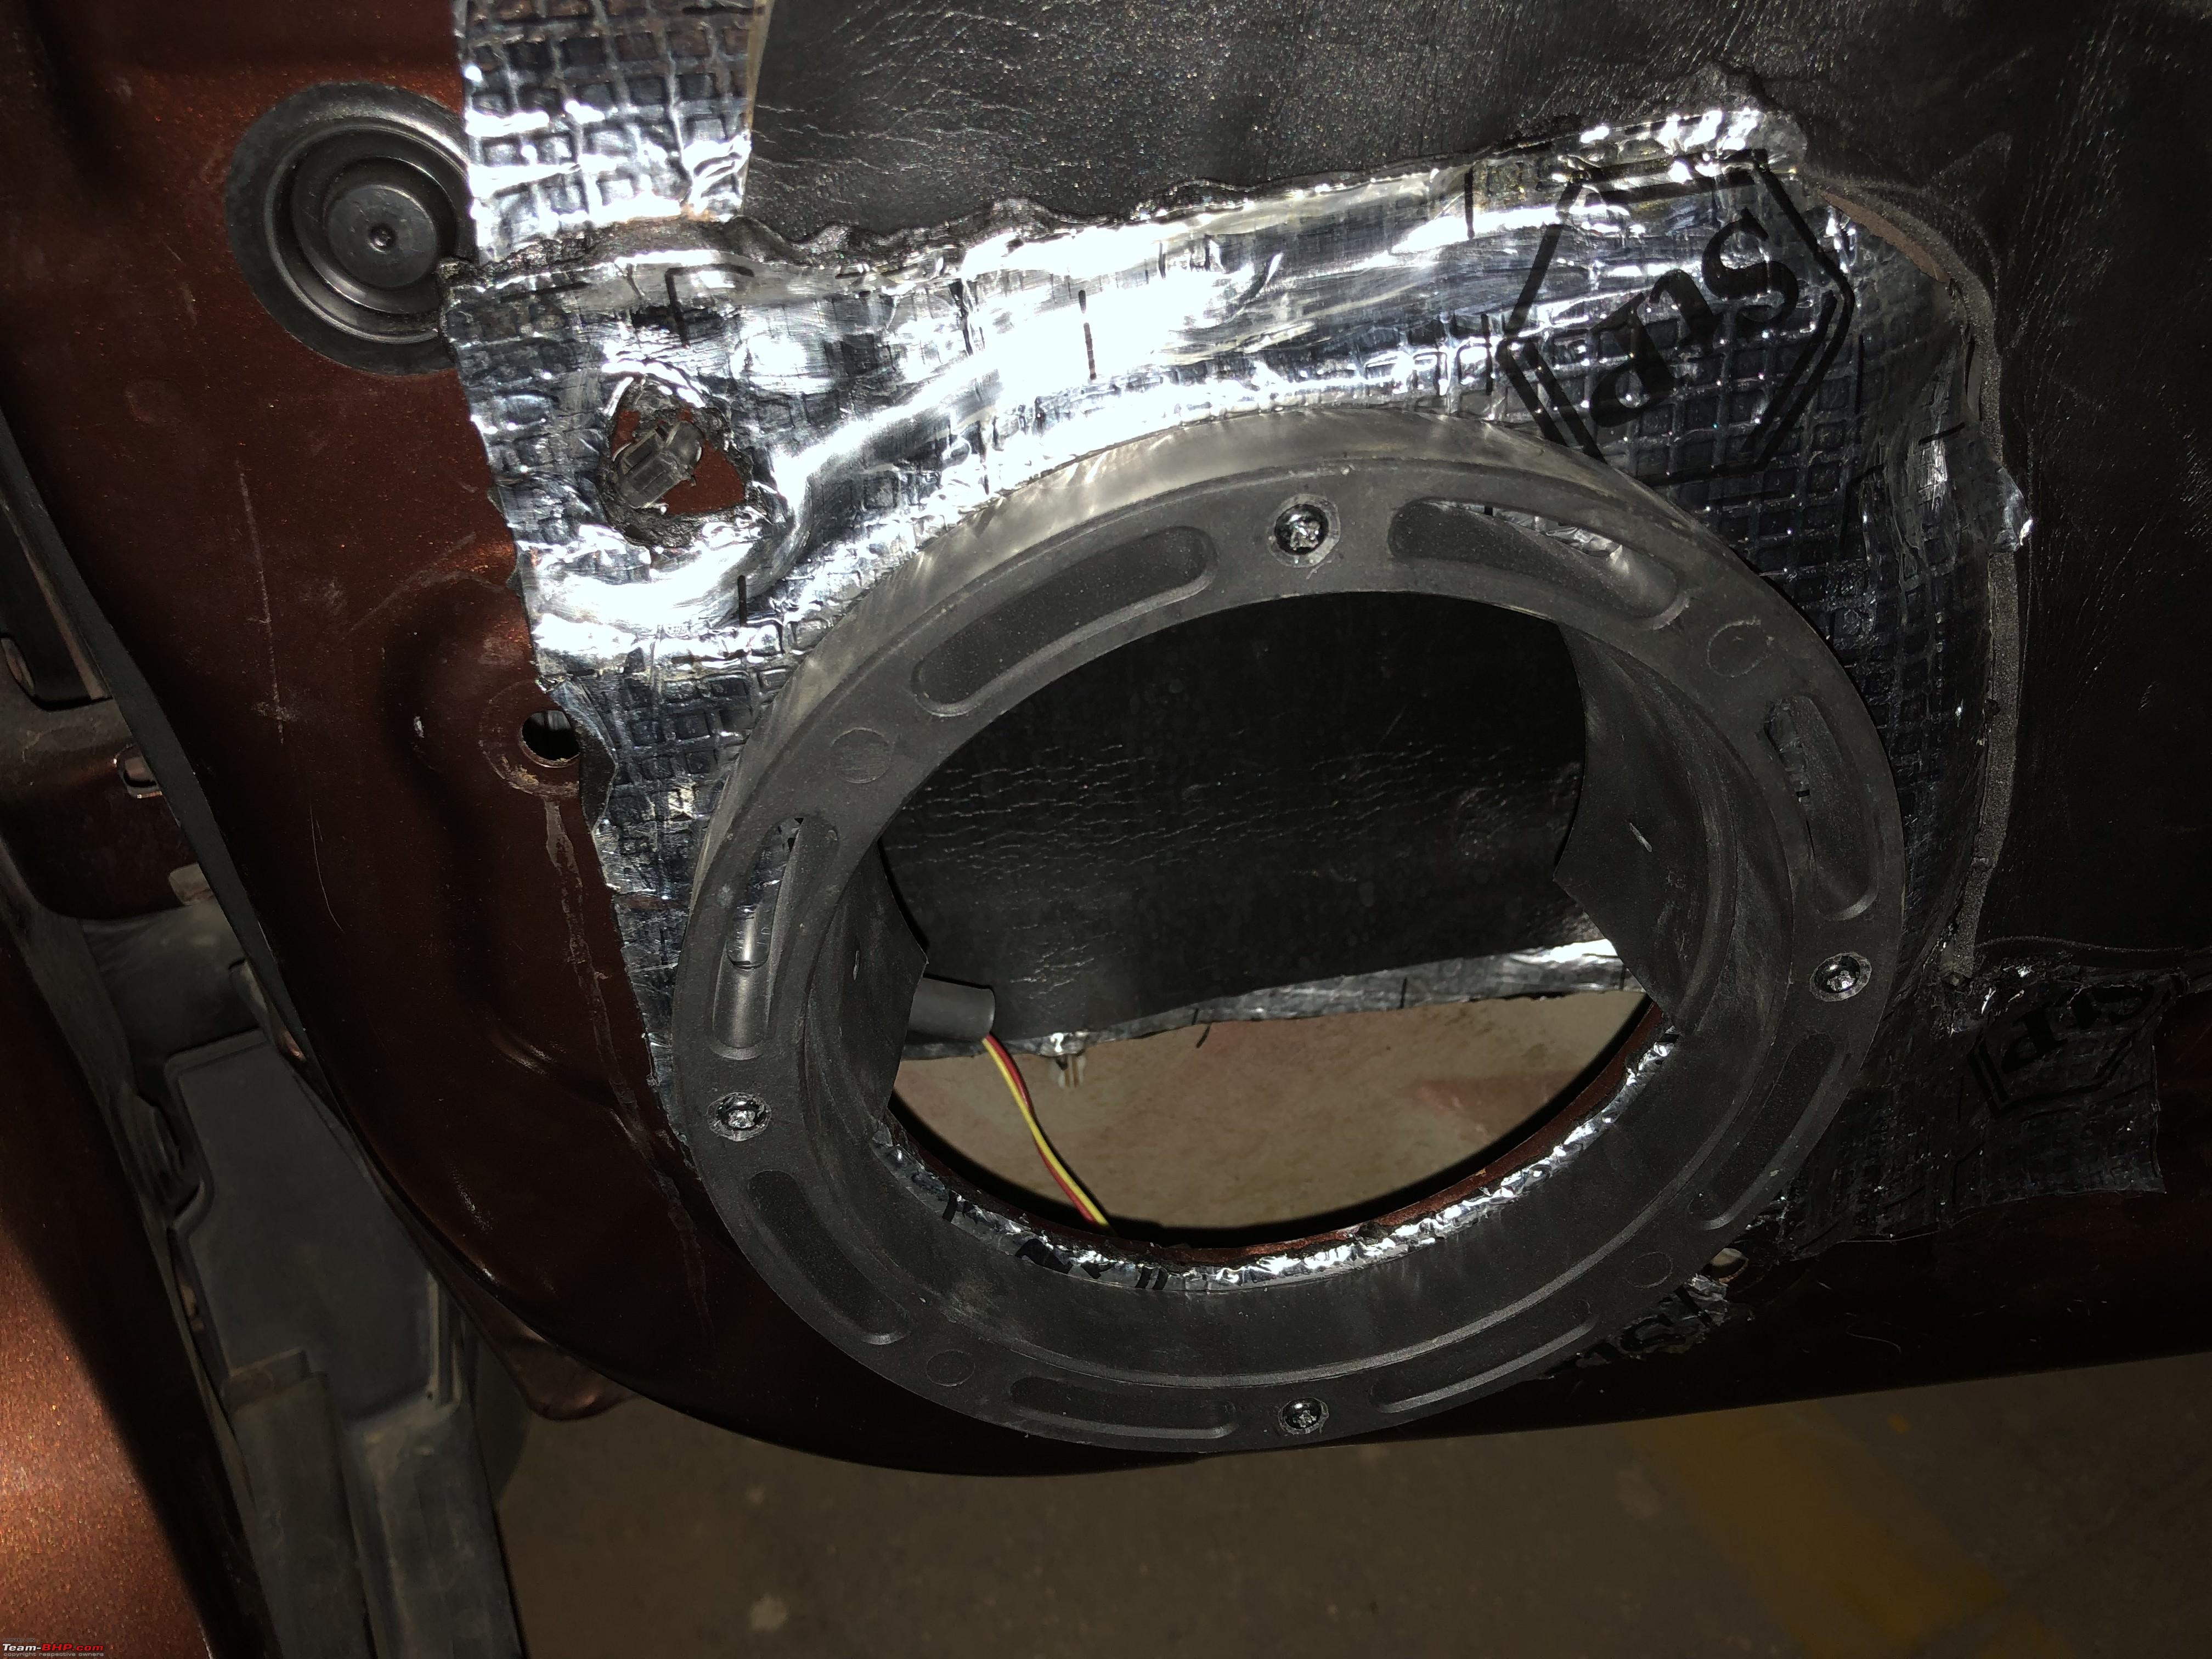
The woofer speaker install in the doors was straight forward again. Since the speakers are being driven by stock wires, I used some spade connectors to hook up with the molex speaker connector in the door. Didn't want to splice. I plan to rewire the speakers at a later time with new 16awg speaker wire.
I used PVC Rainguard speaker spacers for the install. I am not aware if these are good or bad sonically but made it very easy to install. Used speaker gasket to seal the speaker on to the spacers and bolted them.
 Spacer installed
  Speakers bolted on
Fired up the system to check if all was good and I was done with the install.
Tuning and SQ
I have little to no knowledge about tuning. The amp has clipping indicator LEDs for each set of front and rear channels. When adjusting the gain these light up at the mark where maximum unclipped output is achieved. In other words the amp output is distortion free till this point. It makes setting the gain an easy and sure shot task. Played 50Hz to 8KHz audio samples at 3/4th volume on the HU with speakers disconnected to set the gain. Reconnected the speakers and then played some favourite tracks while adjusting the HPF filter control for optimal sounding bass performance.
The system overall sounds bright and I have turned down the treble on the HU to counter this. The overly bright nature has already mellowed down and I am hoping it will become smoother after the run-in period.
Current settings-
Gain/Input sensitivity- 40%
HPF- approx 70Hz
HU Preset EQ- Flat
HU Bass- 0
HU Treble- -2
I haven't heard the system extensively yet but the SQ is at another level compared to stock. Vocals and mids are extremely clear. Bass is sure footed and distortion free even at higher volumes.
Over all I am happy that I was able to pull the install on my own and thoroughly enjoyed it. Next up is upgrading the rear door speakers and routing new wires for all speakers. The itch to upgrade ICE is contagious and that is exactly what has happened to me but I will just put a stop here

.


 7th July 2019, 11:53

 (35)
Thanks
(35)
Thanks


 so no HU swap. That is some setup you have and lot of patience to tinker for so long.

