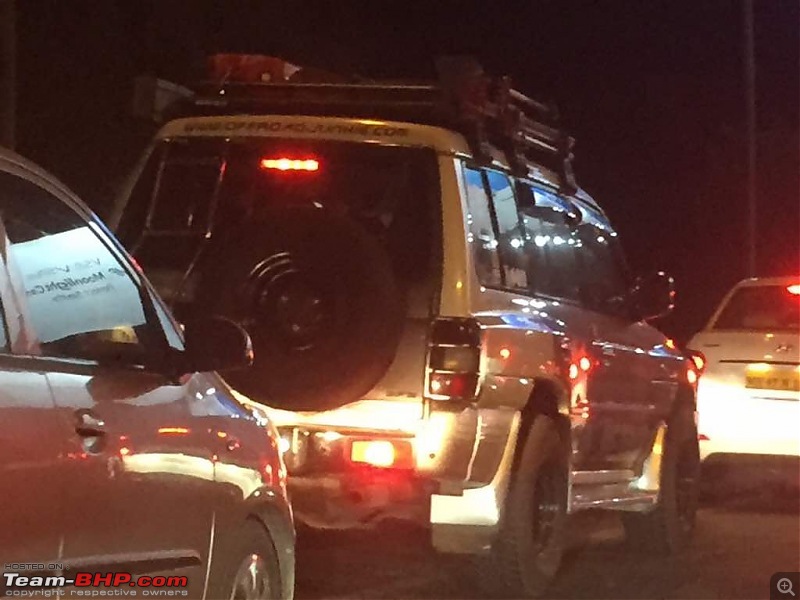
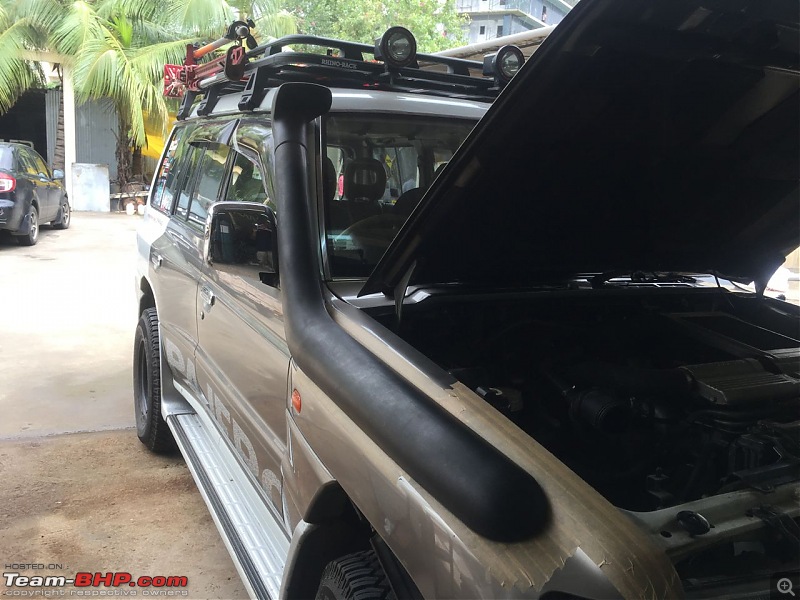
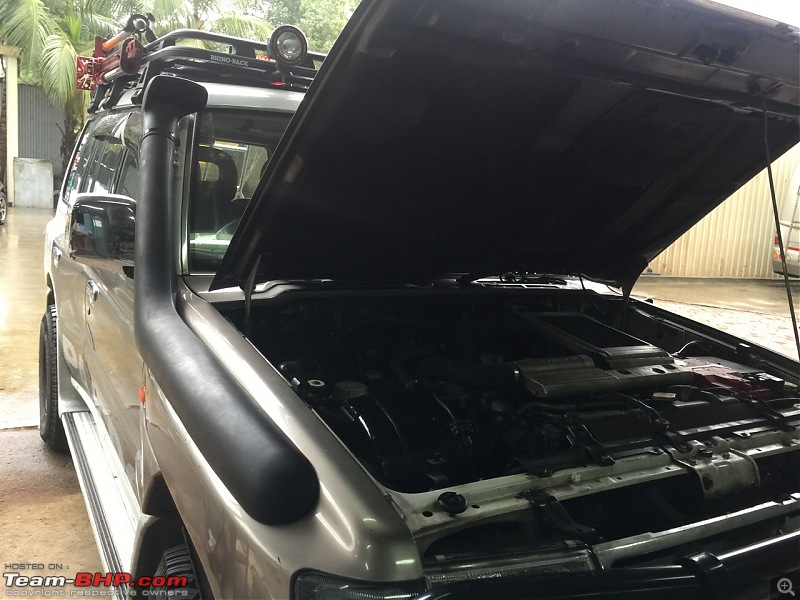
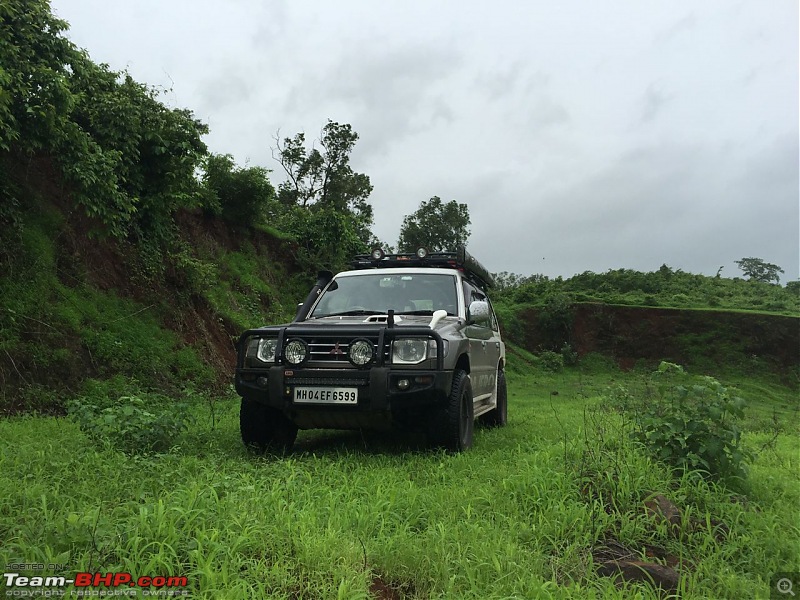
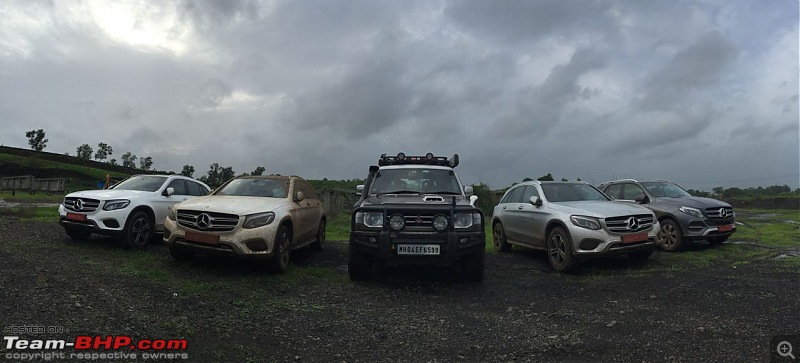
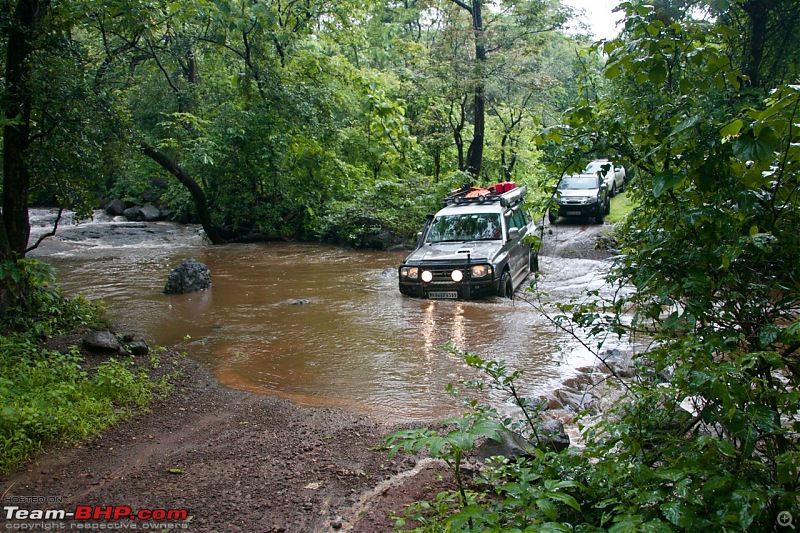
After a long time finally got a chance to fit the snorkel. This snorkel was ordered from Tushar Amin (Amin Sons - Baroda - contact given earlier). It's a TJM clone and costs approx 12k, whereas the original TJM one costs 30k.
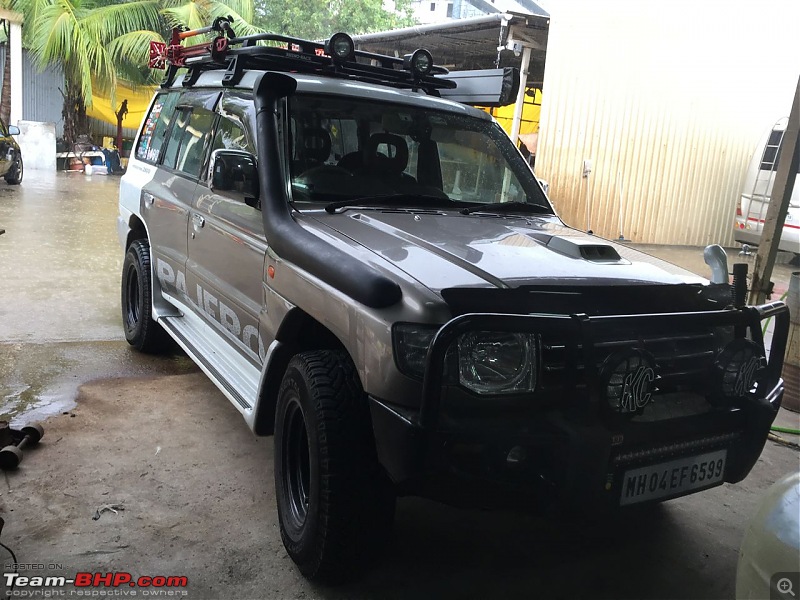
What's different?
The TJM one definitely has better finishing with the TJM logo embossed on the body. The snorkel head grill is also better.
The original has "magic grooves" to divert away rain water that gets sucked in while driving. This clone is supposed to have it. Time will tell.
Others who have had this snorkel installed on their Pajeros for over 2-3 monsoons have no water issue and this gave me the confidence to get this one. Else no way i would have risked water ingestion.
After installing yesterday, i drove in heavy rain back home (30kms) and then checked the air box. Was dry and so was the filter.
But will periodically keep checking in the rains.
The other thing that the clone doesn't have is a 'firma' or guide or stencil to guide you to make holes.
All my work for the vehicle is done at my friend, Allan's garage and he refused to do trial and error lest some hole goes wrong.
So i requested a friend who would one day get this pajero (he already had the snorkel installed from someone else who had done many previous installs) to Allan's garage and allan took the stencil copy from his vehicle.
Thanks Harshil
Step by Step Procedure
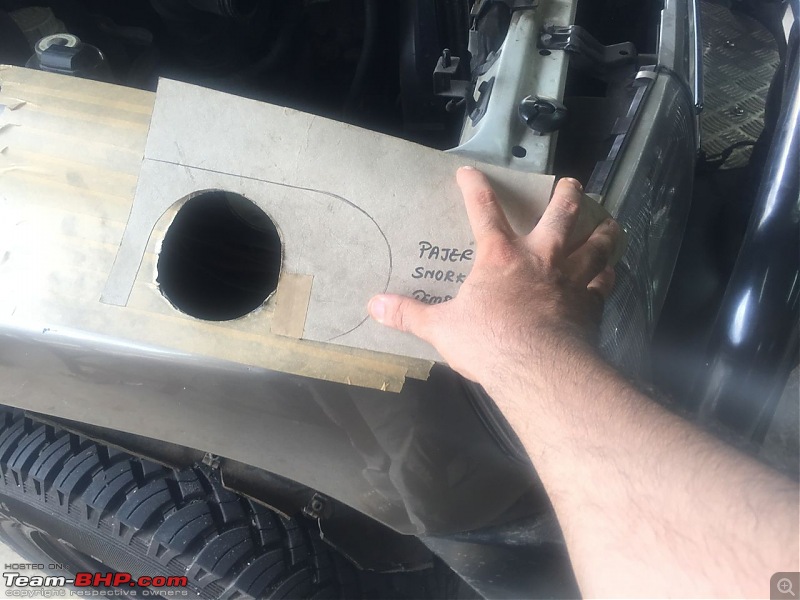
1. Here's the stencil cutout:
2. Masking tape on the vehicle to aid marking and avoid paint damage while drilling
3. Stencil positioned on the vehicle. It's then secured by tape and then the marking transferred.
4. Marking transferred.
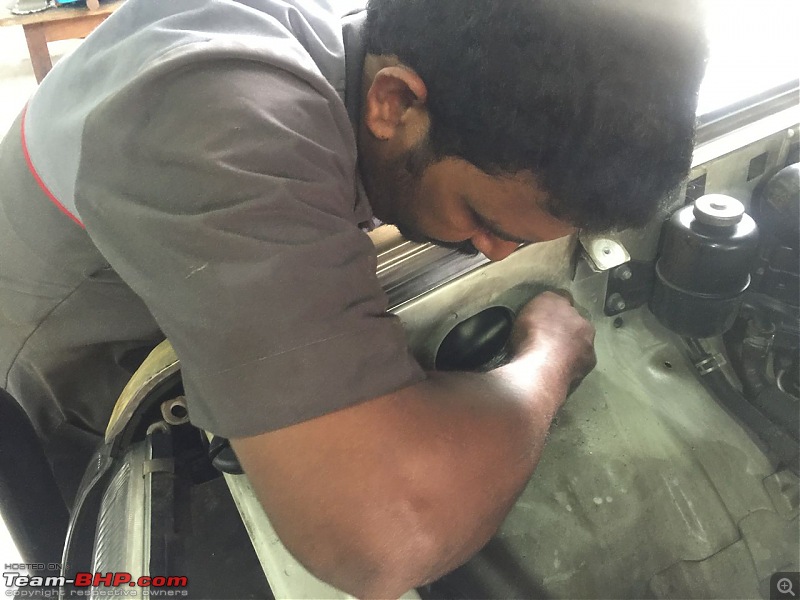
5. Airbox and internal wheel well cladding to be removed. Even side indicator light needs to be removed.
6. Drilling holes. Due to the contour of the body panel, one large drill could not be used.
7. The holes:
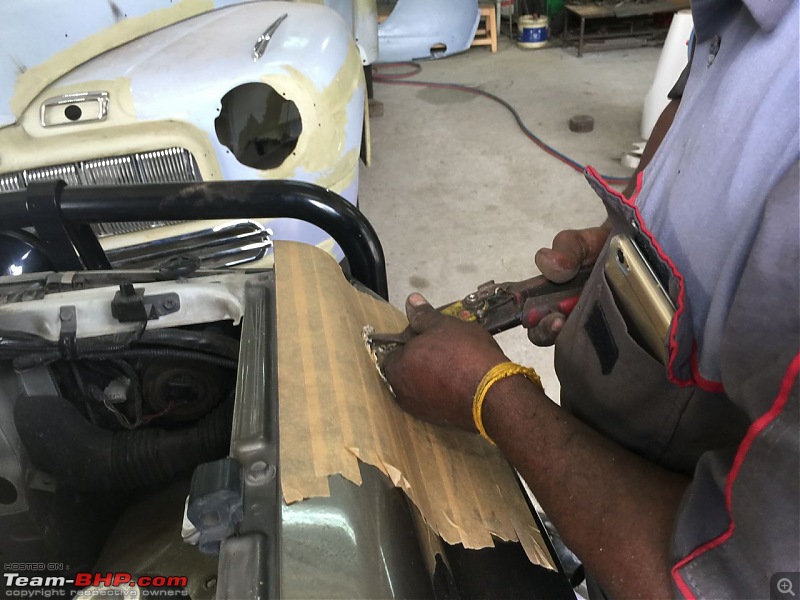
8. Joining the holes using a metal cutting shear
9. Removed the centre part:
10. Finishing with an angle grinder
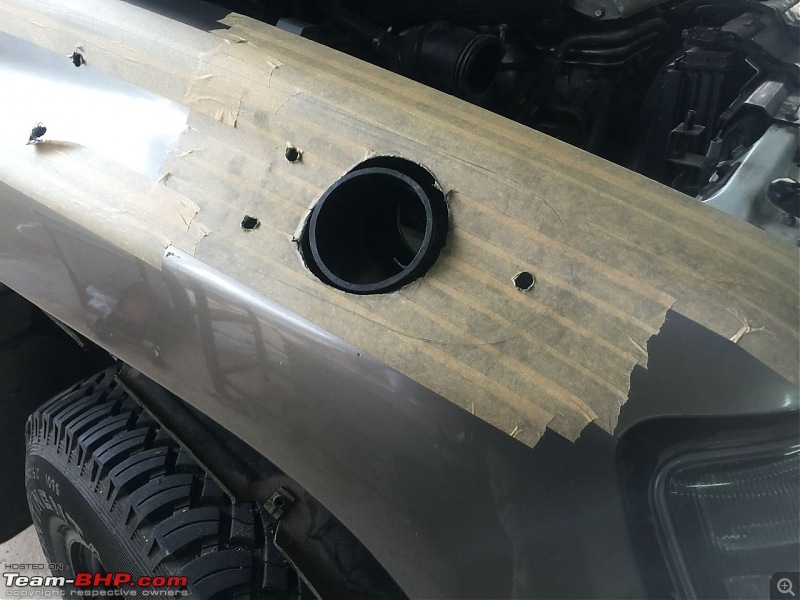
11. Smoothening with a file
12. The hole for the snorkel:
13. Next is to make a template for the screws and position it on the vehicle to transfer markings:
14. Drilling screw holes:
15. Checking position of the bracket on the A pillar:
16. Checking final position:
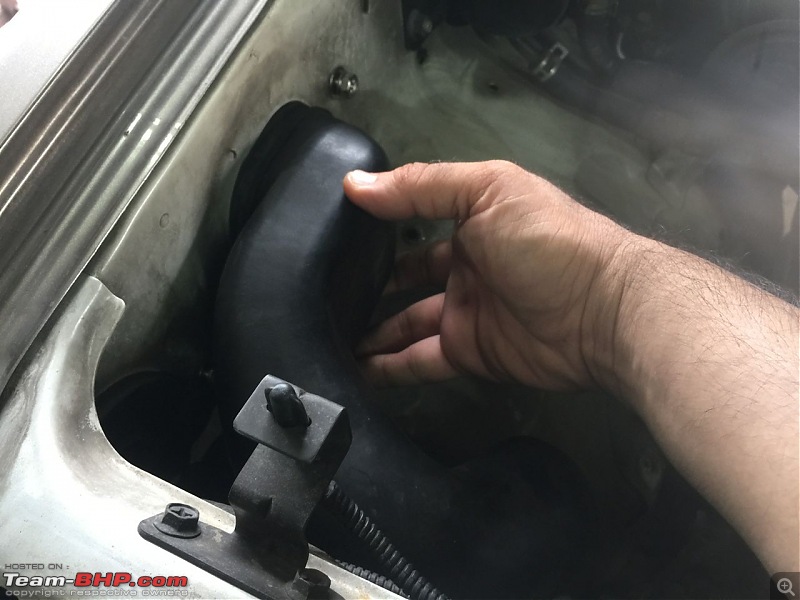
17. Fitting the internal coupling that connects the snorkel to the air box. Forgot to take pics of the same:
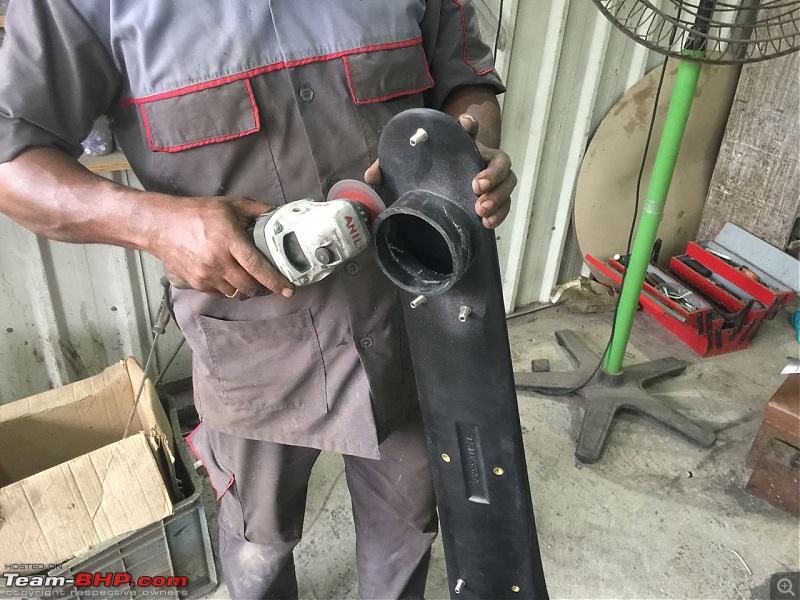
18. The coupling end towards the snorkel:
19. This again where the clone is not good as the original. We had to cut off a bit of the extension from the snorkel to get a good fit:
![Mitsubishi Pajero SFX - Project Overland Conversion-18-cutting-snorkel-attachment.jpg](https://www.team-bhp.com/forum/attachments/4x4-vehicles/1652609d1689776937t-mitsubishi-pajero-sfx-project-overland-conversion-18-cutting-snorkel-attachment.jpg)