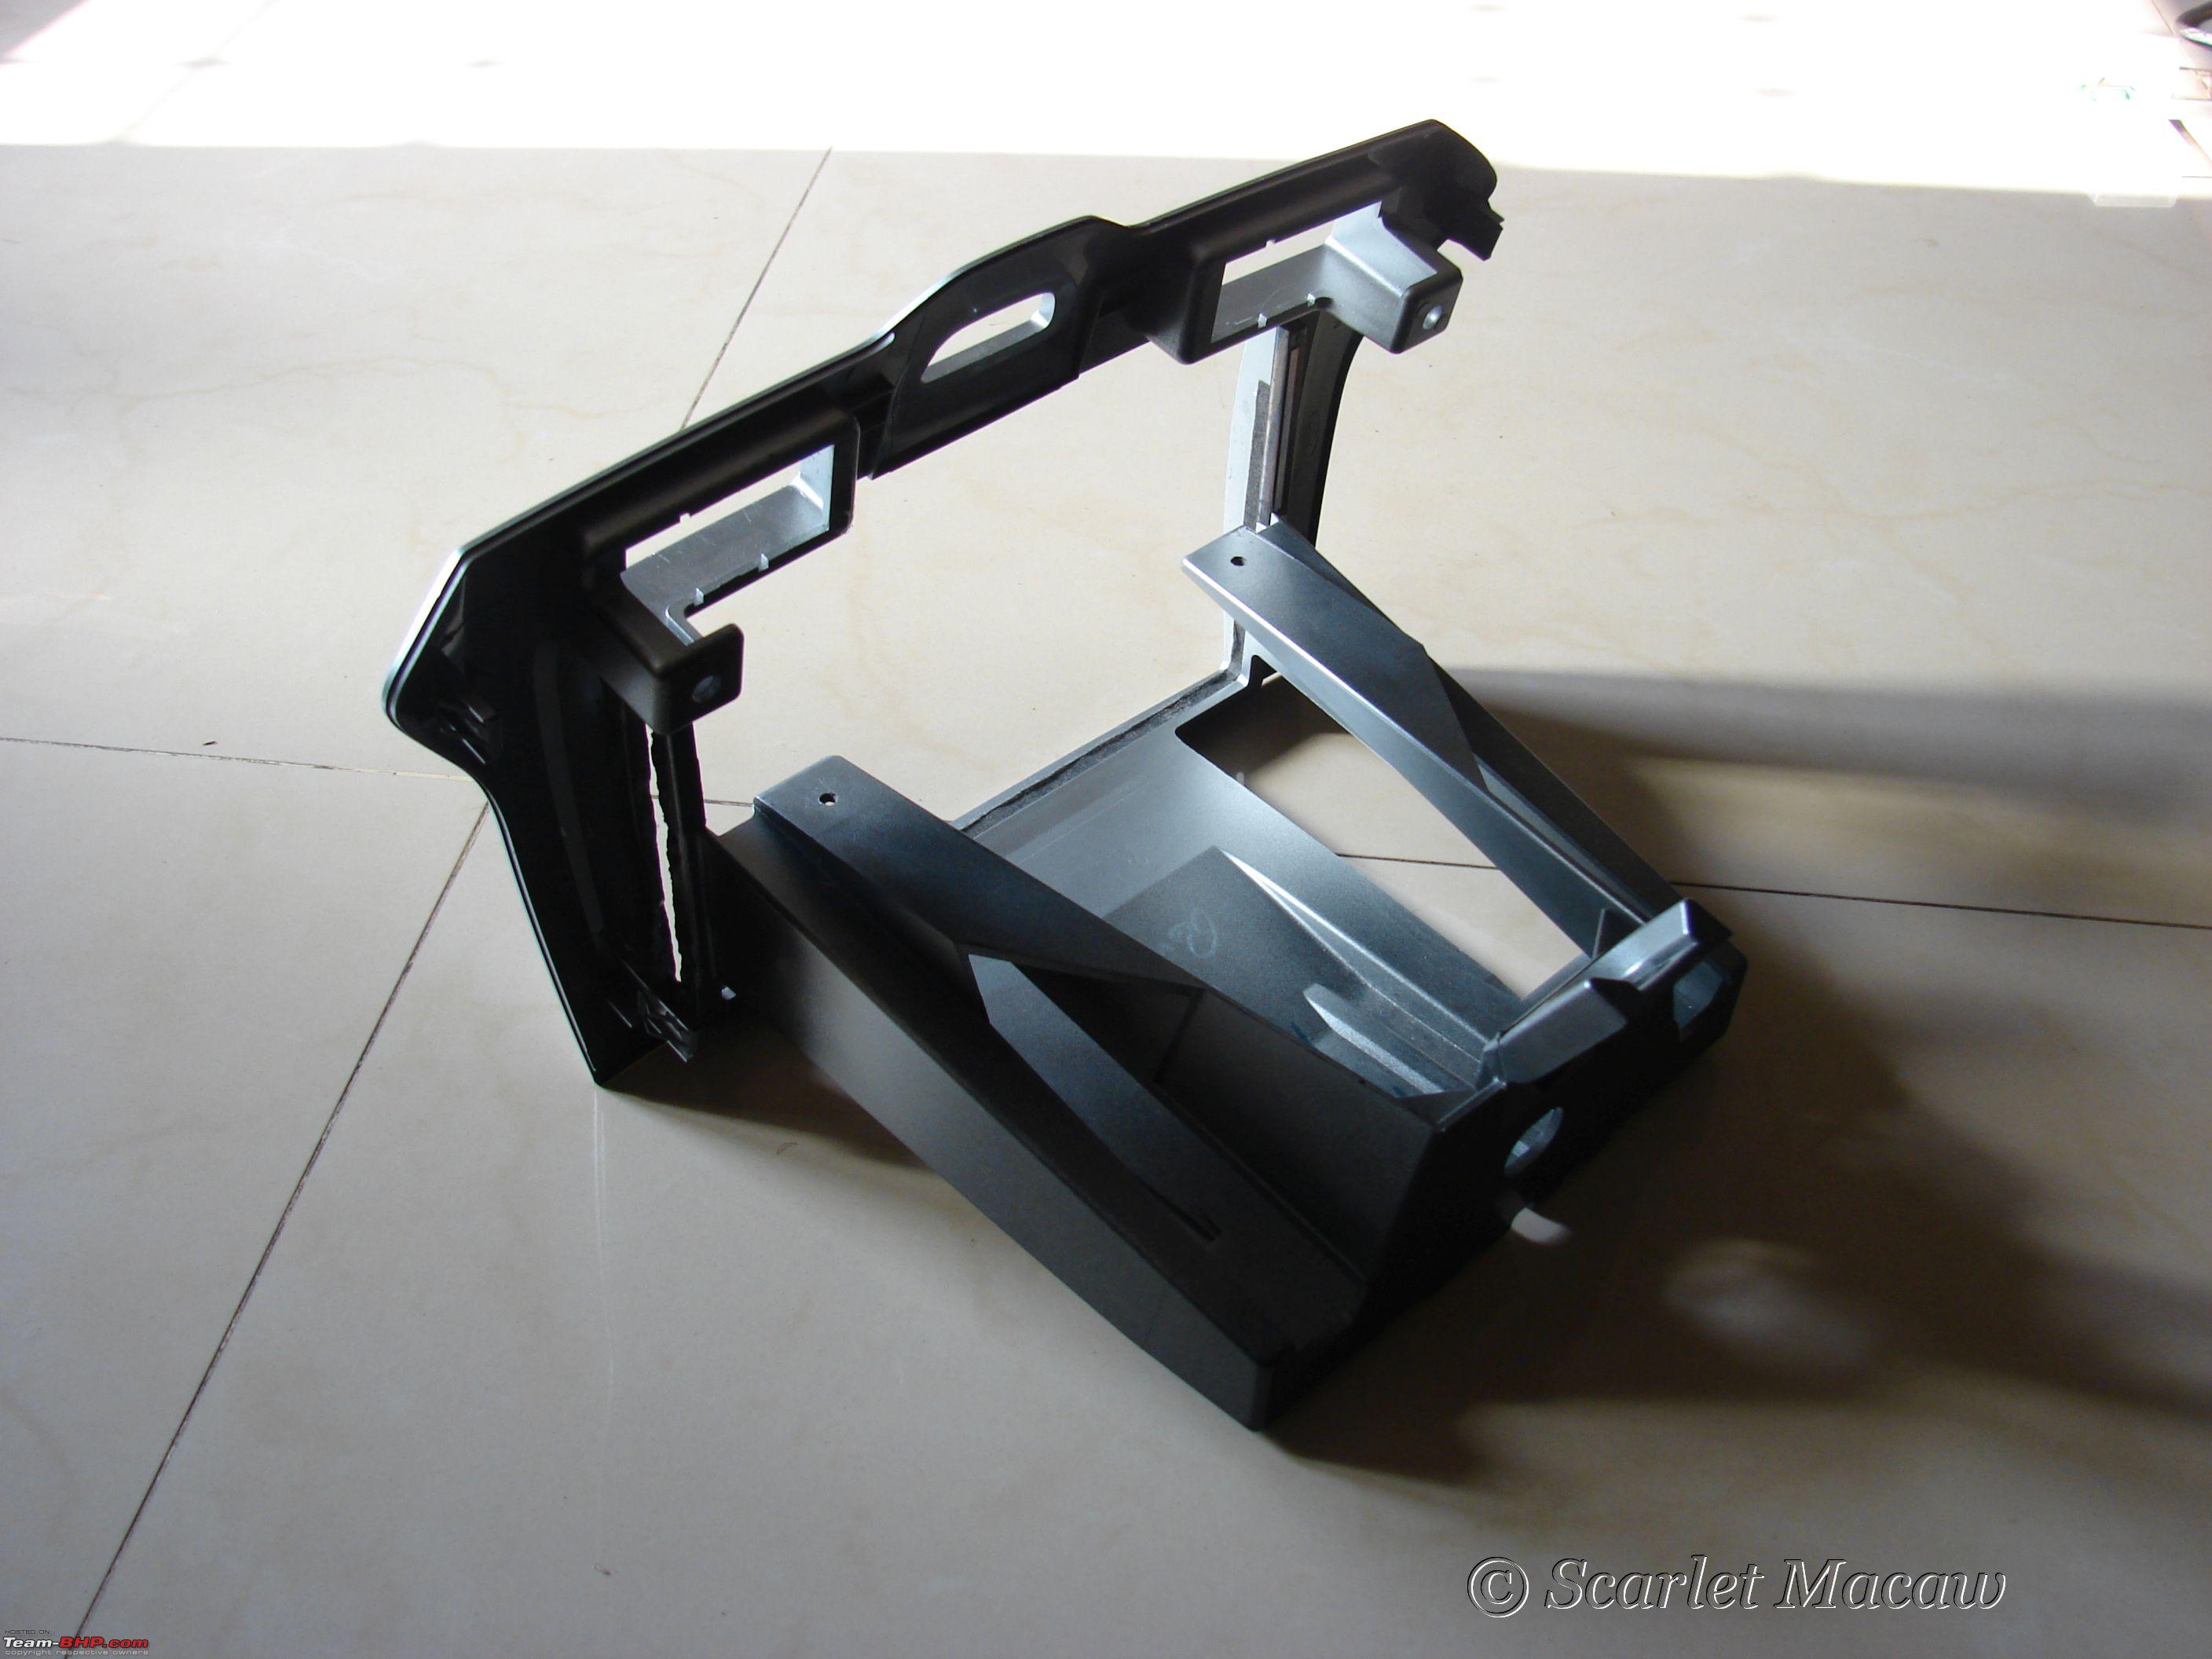
The Inventory Tablet
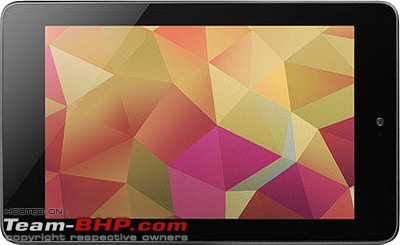
The most popular choice amongst other ICE tab enthusiasts was the Nexus 7 2012. This was mostly due to the form factor of the tablet plus Timur's ROM which was custom-built for in-car setups. However, the 3G model of this tab was not available in India and it was still being sold for a high price in the US, inspite of the N7 2013 being released. On top of that, the 3G version did not support voice calling. The other candidate that I was seriously considering was the Lenovo Ideapad 3000. It had received decent reviews plus it had both 3G+voice calling options. After quite a bit of contemplation and showroom visits, the Timur's ROM ultimately tilted the scales in favour of the N7. So it was a
N7 2012 32GB that I settled for.
 Tab Accessories
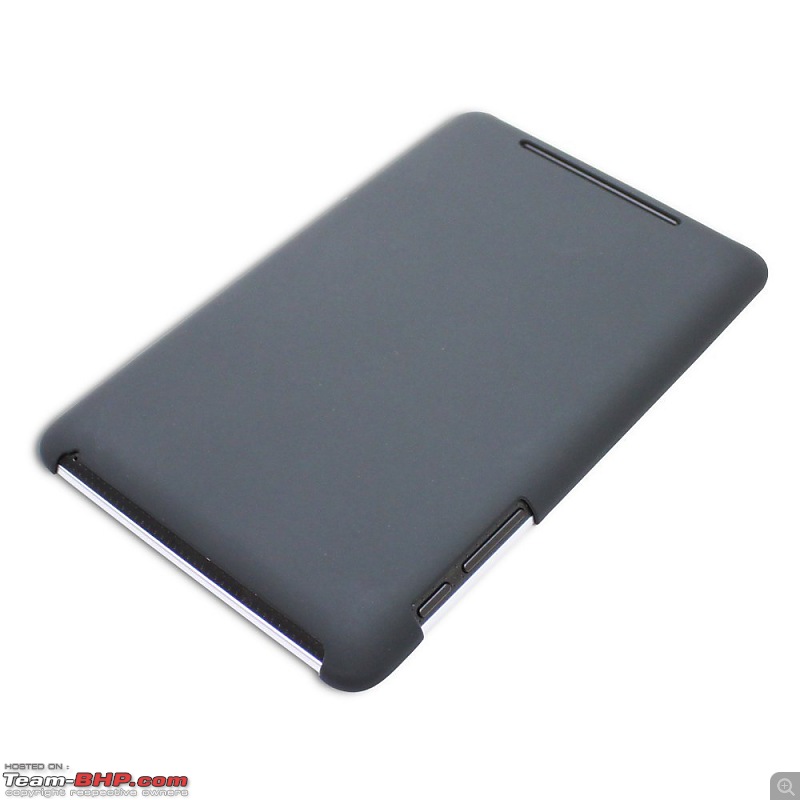
Wanted to get a protective case to prevent the tab from getting scratched and to absorb the vibration/shock from the vehicle. The choice:
Fosmon Snap-On Case. Also got a pack of anti-glare
screen protectors.
The snap-on case has chipped and cracked in a few places now. Might replace it with a silicone based cover soon.
 DAC
DAC
While the N7's built-in DAC is good, the temptation to add an external DAC became stronger after hearing lot of positive things about them. Based on the reviews, had zeroed in on
Sabre DAC. Unfortunately, at the time of ordering, it was out of stock and I did not have the luxury to wait till it came back in stock, since my parents were returning home shortly. After another round of reviewing the rest, settled for
Behringer UCA 222. It turned out to be a blessing in disguise, since this DAC had an additional stereo line-in as well as a dedicated optical output.
 Amplifier
Decided to use the stock head unit's amplifier for now and lock it down permanently to aux mode. But this meant that I had to decide what goes into the center console and what goes elsewhere. Had the following options:
- Relocate the faceplate of the HU to an accessible place and retain the unit in its current place. This would free up the space for installing the tablet in lieu of the faceplate. The other components could probably be placed in the glove box
- Relocate the HU completely to the glovebox and have the tab and other components in the center console.
Option(1) was the preferred choice, as this way, I wouldn't lose the BT hands-free feature. However the faceplate was connected to the HU using a snap-on connector as against my expectation of a ribbon cable. And I wasn't even sure what the technical name of this connector was, lest alone I could search for it online. I found that Molex was a popular manufacturer of board-connectors and found that they had an office in Chennai. When I spoke to them over phone, they promised to provide whatever help they could. After looking at the HU connectors in person, they declared that these were proprietary and not standard connectors that I can procure in the market. However they did confirm that they were the ones who were providing these connectors for Visteon (the HU manufacturer), but helpless in this situation.
The proprietary connectors:
Female  Male
Male 
Also had a few email exchanges with Digikey's technical team with images of the connectors, but they too concluded that these were not standard connectors. Boom went the idea of faceplate relocation. Had to settle for option(2) for now. However, one of the future projects in mind is to write an Android app, that could make the tablet act as a handsfree for my (non-Android) phone, to reclaim the lost hands-free feature.
The modified HU with an aux-in cable
 Power supply regulator
The initial choice was to get one of those el-cheapo 12V to 5V DC-DC converters. However N7 was known to be very finicky about the input voltage and even a minor voltage drop would make it switch to trickle-charge mode. Decided to play it safe and went in for this
DC-DC converter.

It is explicitly built for automotive purposes, though the price was a bit on the higher side. But it had its own pluses with support for programmable timing and output voltage. Even with this unit, the tab acted up initially and kept switching to trickle charge mode. After tuning the output voltage to a certain level (slight boost to compensate for the eventual drop due to load), the tab returned to happy charging ways.
Enclosure for the power supply:  FM Radio
Now that the HU is going to be locked away in the glove-box and out of my reach, and mine being a pre-facelift Figo with no steering stalk controls, there was going to be no way I could switch between FM and other sources while driving. I had two options:
- Get a FM tuner hardware that could work with the tablet
- Assuming that my HU has support for a wired-remote, get the steering stalk controls alone fitted from FASS or design/fabricate one on my own
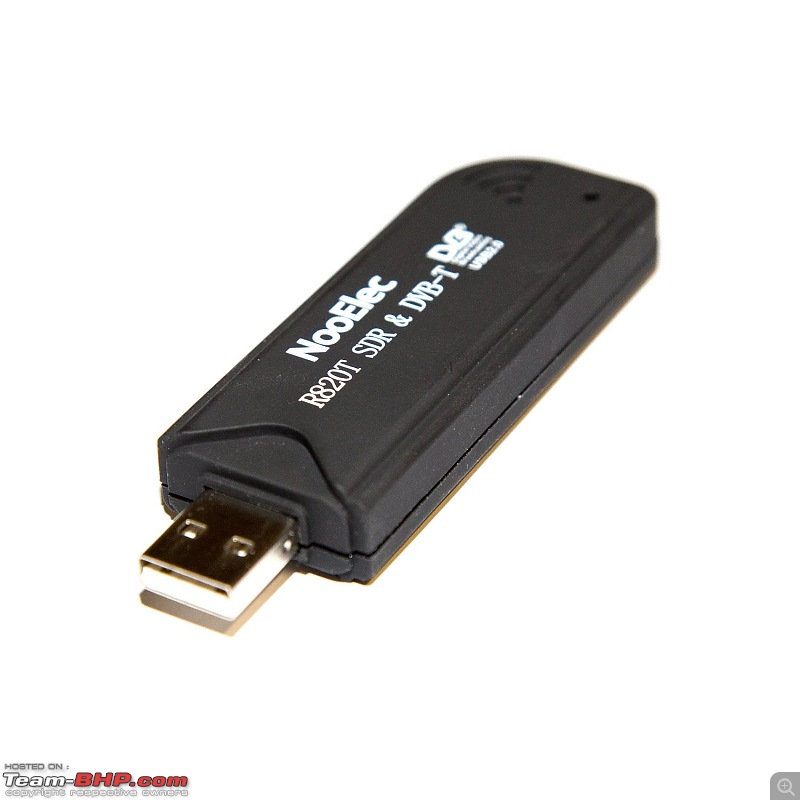
To play it safe, I went with a dedicated
FM tuner. The key for these to work with android harware is the RTL2832U chipset. SDR touch was the only decent front-end in the play store and it needed this chipset for it to work.
However for the records - we were able to design and build our own remote for the Head Unit later. Would like to reserve those details for a separate post/thread.
Internet Connectivity
Was already in possession of a
3G wifi router and it just had to be integrated into this setup, so that it can be kept charged all the while.
 Remote Control for the Tab
The popular choice was to get a Joycon Ex/r/d and program it to control the tab as one desires. However this required steering-stalk/wheel controls to be present in the vehicle. I contemplated sourcing one explicitly for this purpose. However when reading through the Joycon manual, realized that all it was doing was to simulate a HID keyboard. An idea bulb glowed - what if I could get a bluetooth keyboard instead? I could program it instead as I wish for my control needs. The search began for the same and soon had divulged into looking for BT controllers instead of keyboards, since anyway I wouldn't be typing anything when driving. Shortlisted the following three after doing some extensive reading:
- satechi bt remote
- motorola remote
- impulse controller
Settled for the Satechi remote, based on the positive reviews and immediate availability. However the Satechi website listed two variants of the same product and claimed that the white remote was android-compatible while the black version was for iPhone. I wanted to get the black one though. The buyer reviews on Amazon helped alleviate my fear of the black one not working with Android devices. Relieved, placed an order for the black one.
 Power supply
For the 12V supply, before running a wire from the battery terminals, wanted to check the fusebox, if there are any unused live points, which I could tap into. Luckily, there were three such live points, which were left open. Probably these are being used by Figos sold in other countries - not sure. Two of those points were providing power permanently while the third was ignition-powered. This turned out to be a perfect option to use with the DC-DC converter. The converter can take two inputs one from power and one from ignition and programmed to turn itself on, only when the ignition pulse is alive.
Ordered
these fuse taps for this purpose.
 OBD Setup
Was already using an
ELM327 BT OBD Device. However there were two primary gripes with it:
- Kept forgetting to remove the device from the port after a drive.
- Accessibility of the port was a slight issue as well, with me having to bend down and reach it for installation/removal
To solve the first gripe, decided to add a power switch to the device. That somebody had already done it, made it easy for me to follow suit. Got a three-pole toggle switch and and routed the pin 16 connection via this switch. For the second gripe, got
this extension cable, so that I could fix the device in an accessible location. Right now the device sits in the driver-side mini storage compartment.
 USB hub
Needed a USB-hub to connect the FM tuner, DAC and any future peripherals to the tablet. I was looking for one with toggle switches for each port, so that I could turn on/off the devices on will. Picked
this one. That the toggle switches came with LEDs was an added advantage. The idea was to install it in the dummy switch to the right of the hazard switch if it fit. However the hub turned out be a tad big for that switch cut-out and had to be concealed away behind the tab.
 Voice Control
This was an unexplored area, but still wanted to get the necessary hardware and work on setting it up at a later stage. Got
this noice-cancelling microphone, which people claimed to work well in an in-car setup.
 Power Supply for the Test Rig
For testing the setup at home, bought a PSU from a local electronics shop. It had two 12V DC outputs. Used one as constant power and one as ignition to simulate various conditions and ensure that the circuitry worked as expected


 20th September 2014, 20:53

 (27)
Thanks
(27)
Thanks